Thank you for your recent inquiry about creating receipt ranges. Please follow the steps below:
Create Receipt Range:
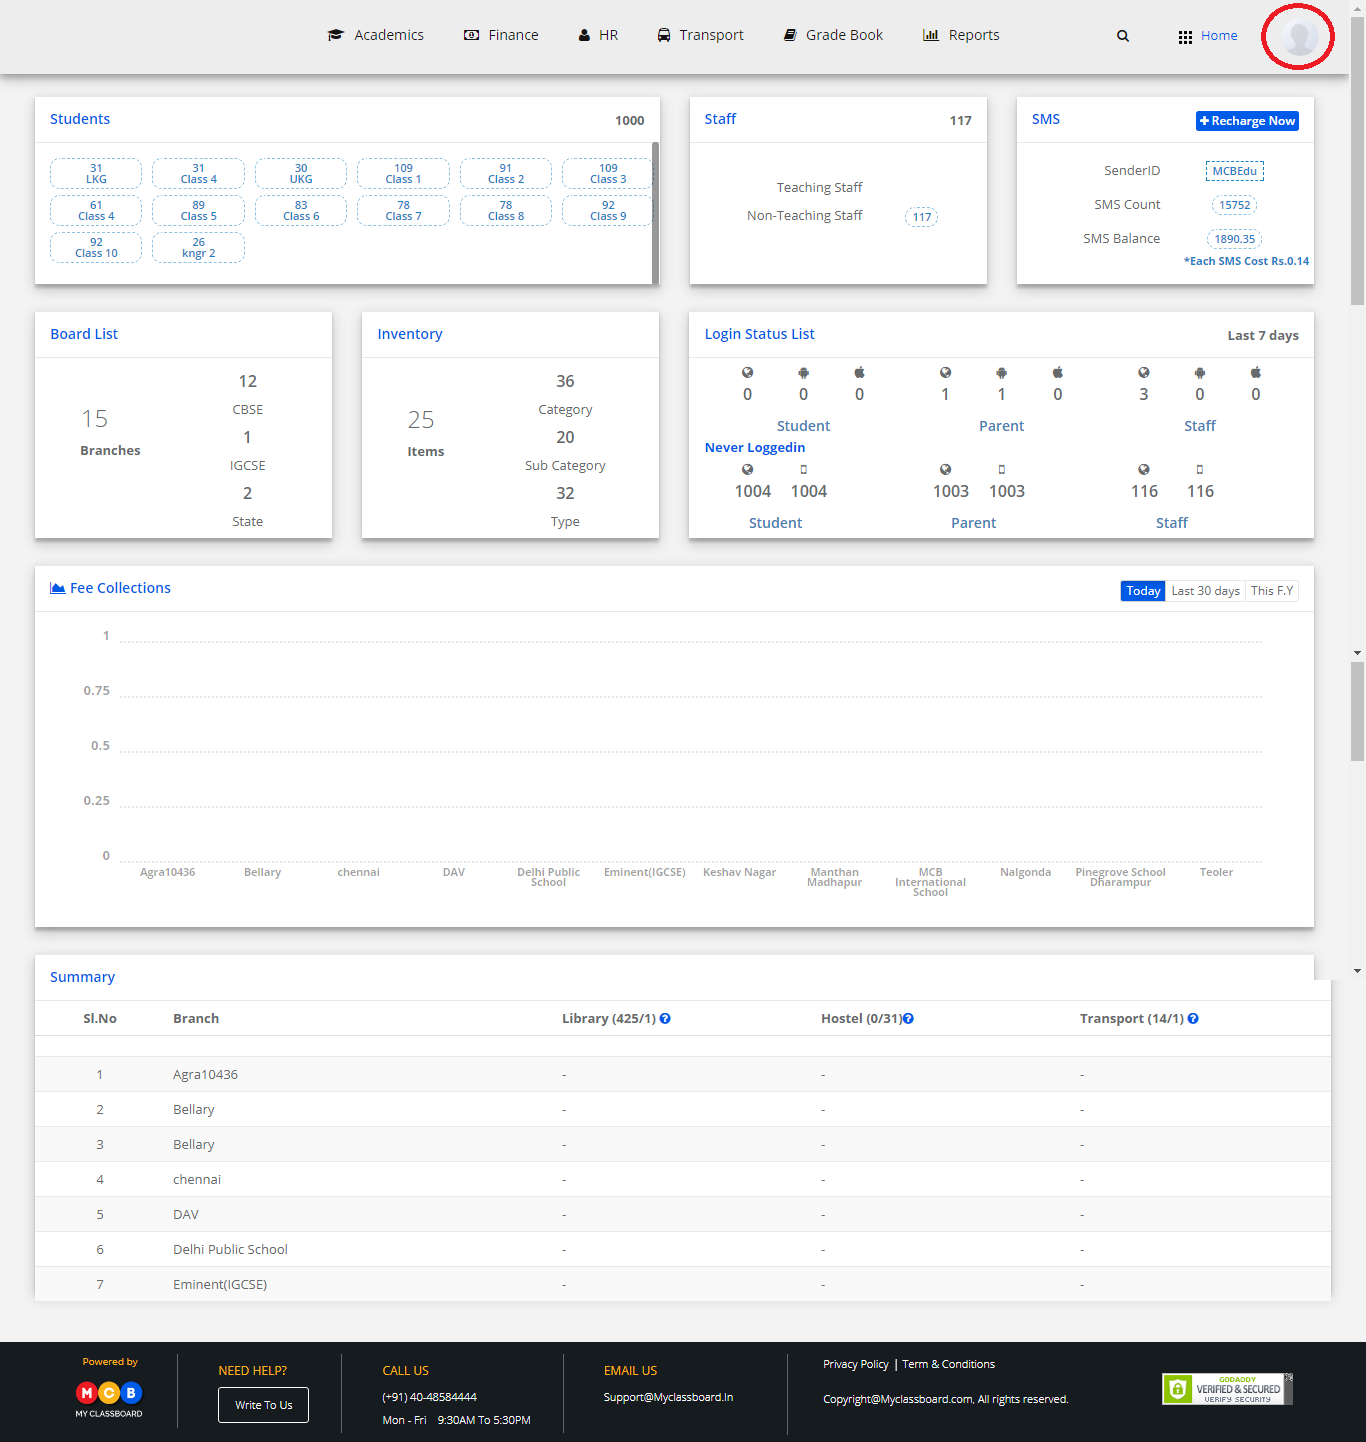
Step 1: Login to MCB with SysAdmin login credentials.
Step 2: Click on the “User Profile” icon on the right-hand top corner.
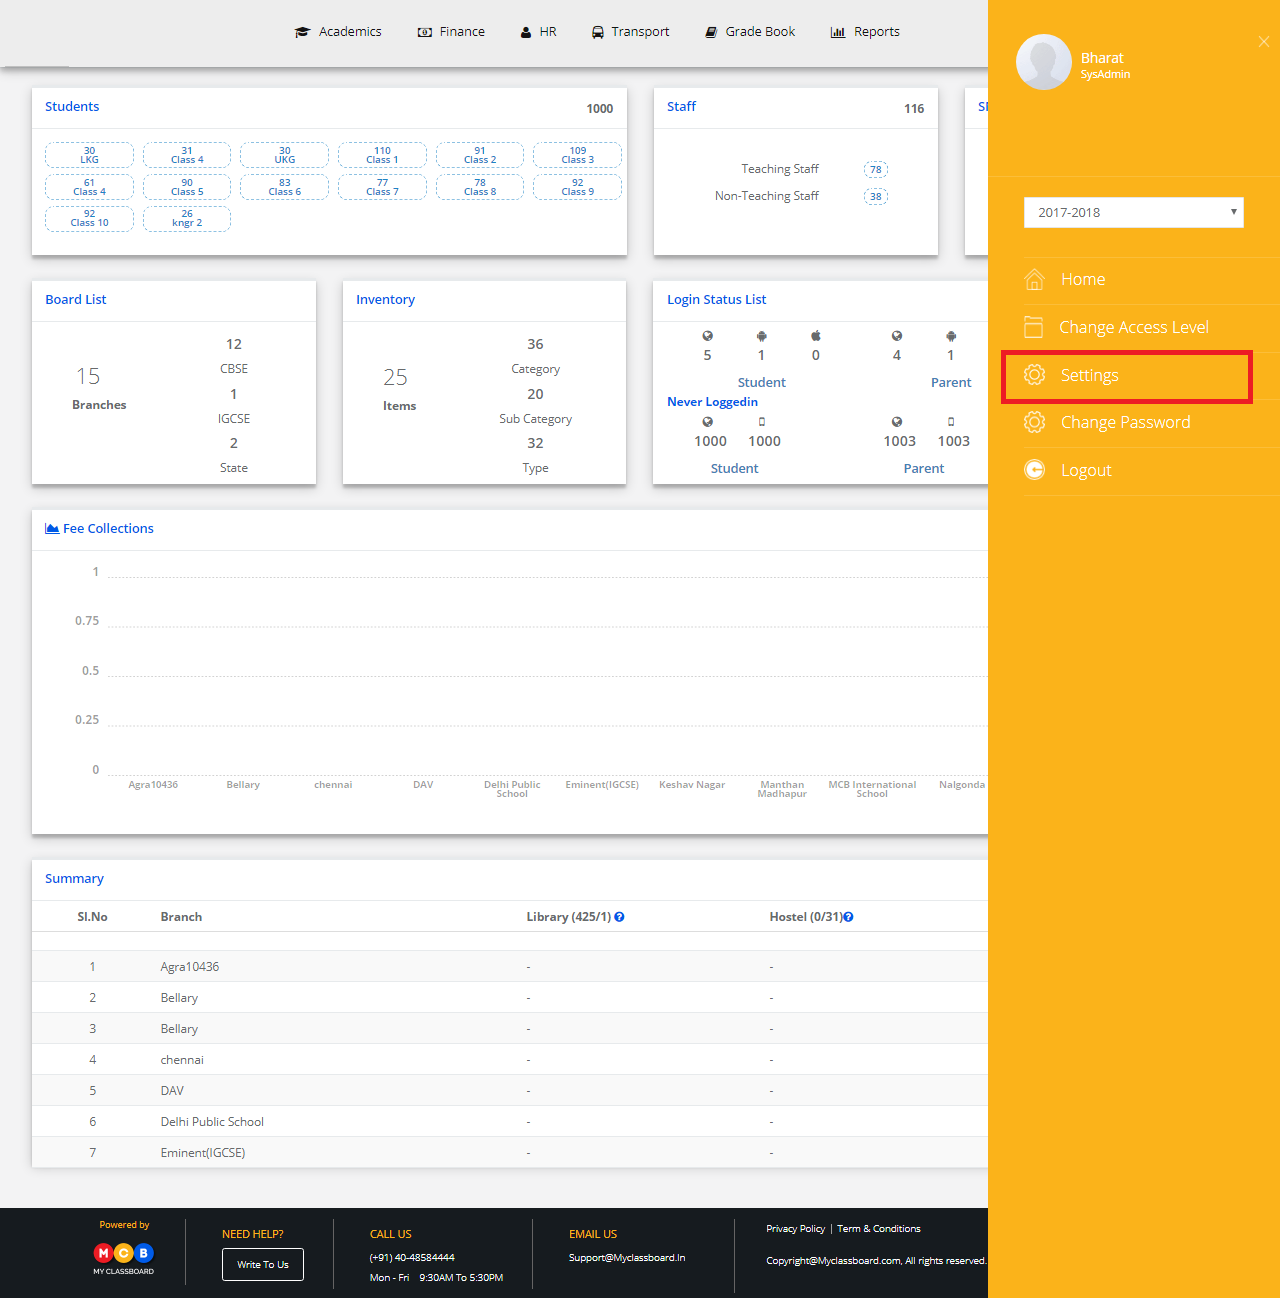
Step 3: Select “Settings”.
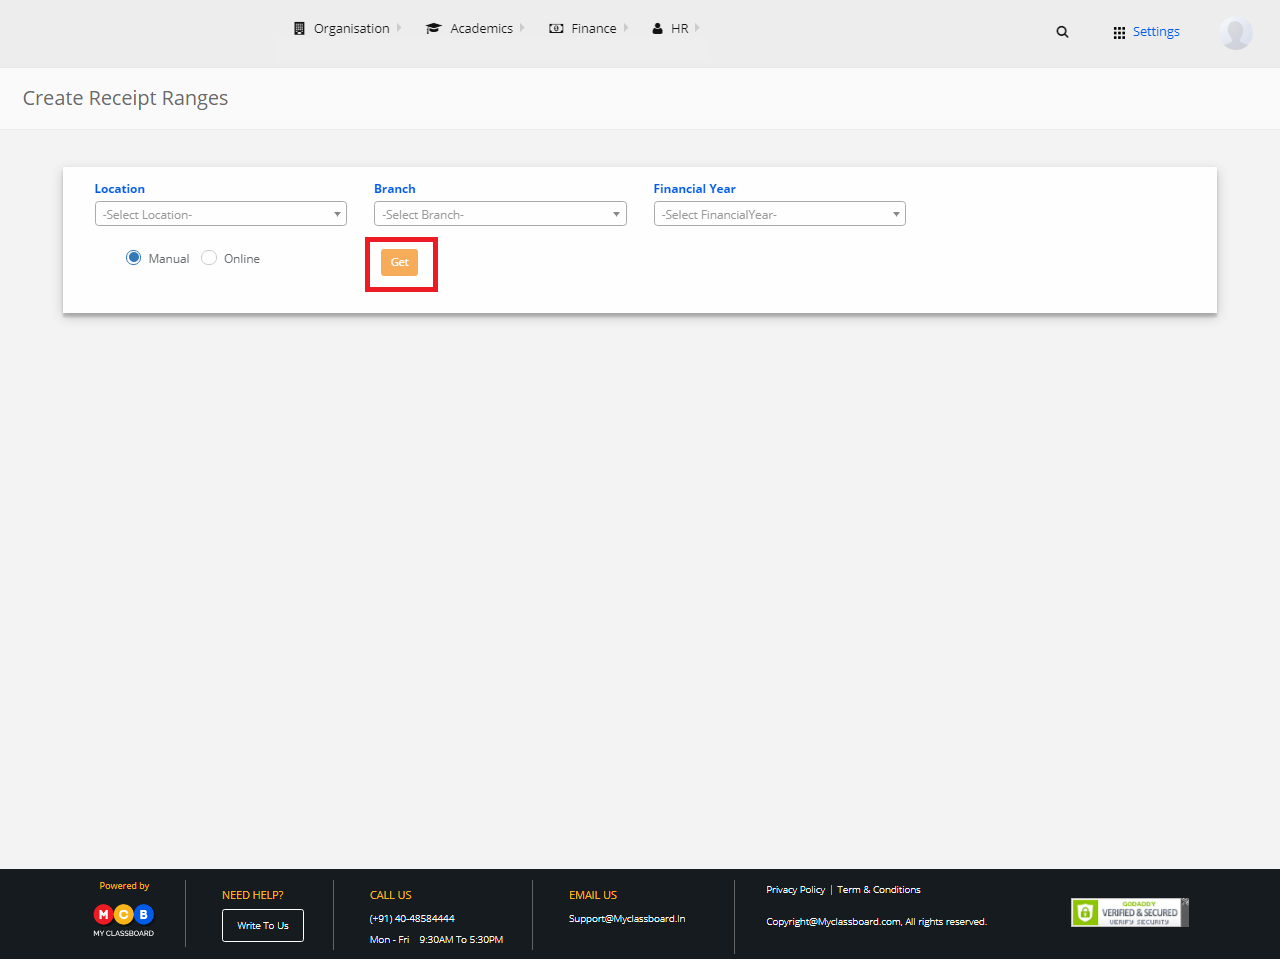
Step 4: Select Finance and click on “Receipt No. Ranges”.

Step 5: Select Location, Branch, Financial Year, choose “Manual/Online” option and click on “Get”.
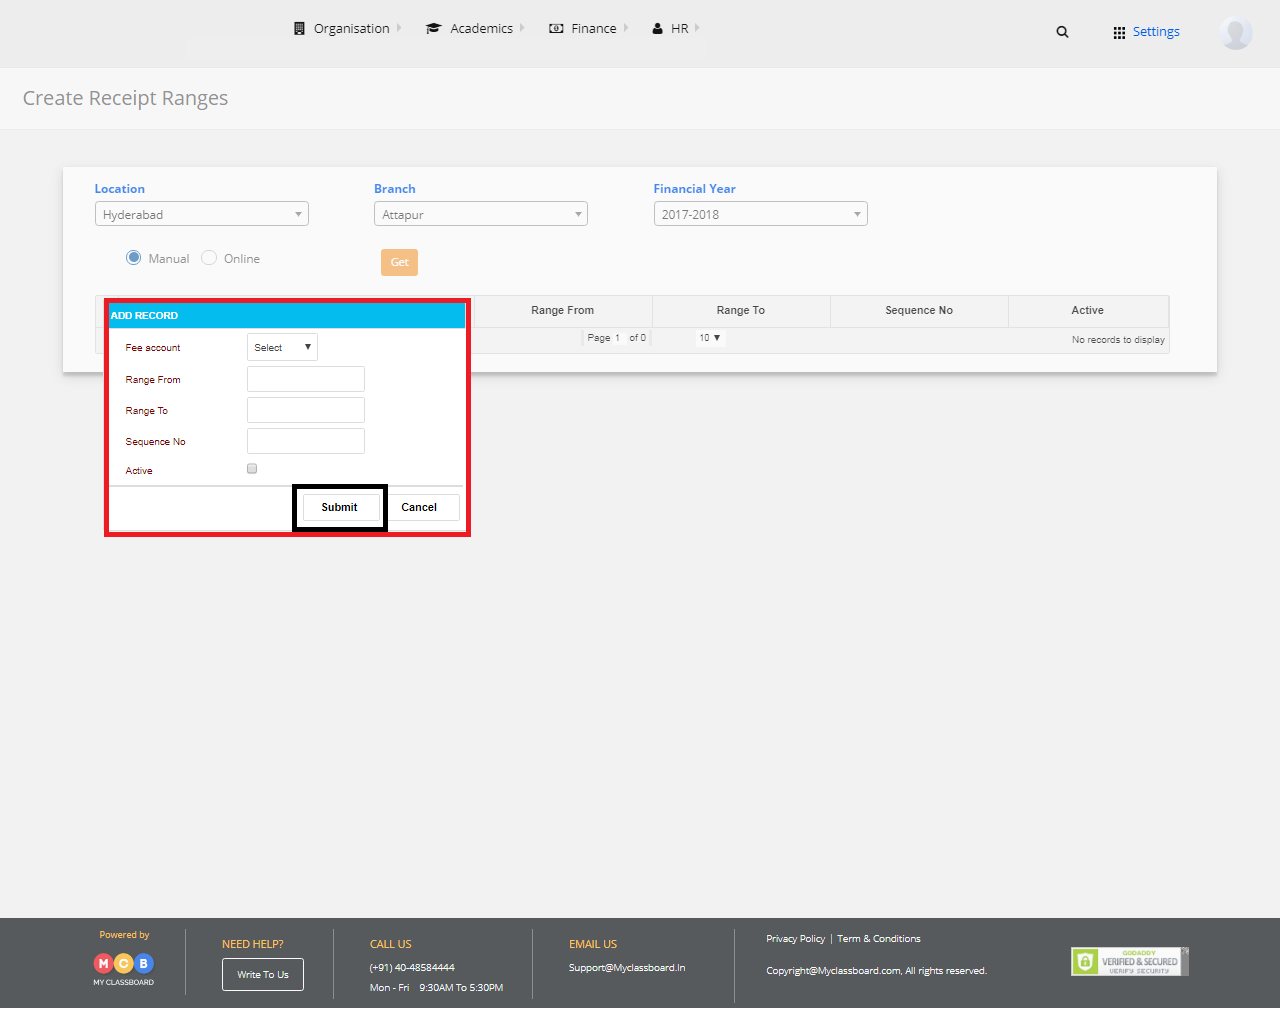
Step 6: Click on “Add New Row”.

Step 7: Add a new record by giving Fee Account, Range From and To details and other information as required. After entering the required details, click on “Submit” to create the “Receipt Range”.
Edit Receipt Range:
Step 7: Select any row and click on “Edit Selected Row” to edit.
Step 8: Make the necessary changes and click on “Submit”.
Step 9: The changes are updated successfully.
Hope this helps. Please feel free to reply back to this email or call us at 040-48584444, should you need any further assistance.