Schedule Email and SMS parents will trigger the Email and SMS as per the schedule you have set with the template you choose. The users need not log in and send it manually when you have the schedule ON.
The option is available only in the system admin level under Communication Alerts for Enterprise Pack subscribers.
To schedule the Email / SMS, please follow the steps mentioned below
Step 1: Log in to MCB with system admin credentials. Switch to communication module by clicking on the Home option on the top right corner.

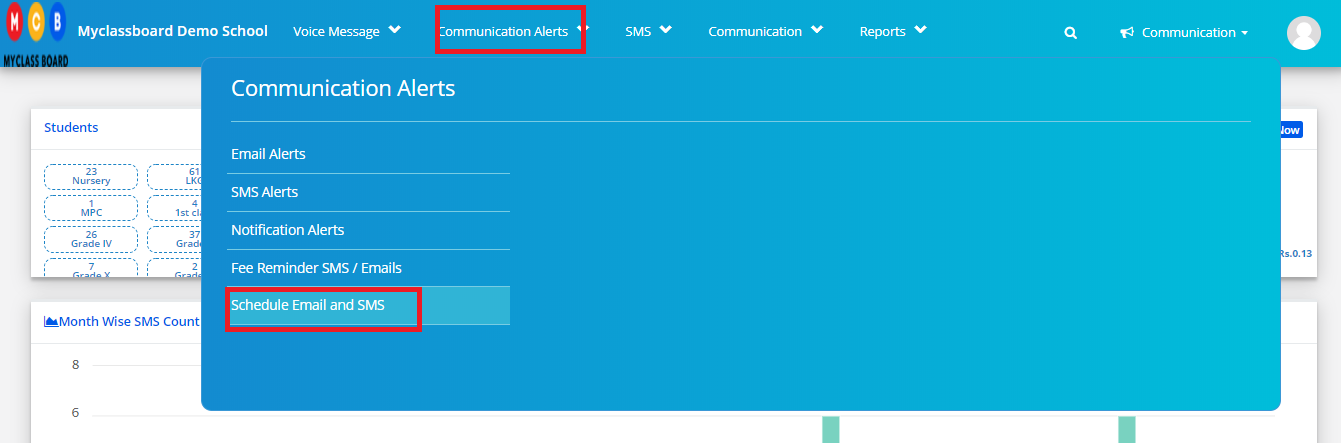
Step 2: Click on Schedule Email and SMS option under Communication Alerts menu.
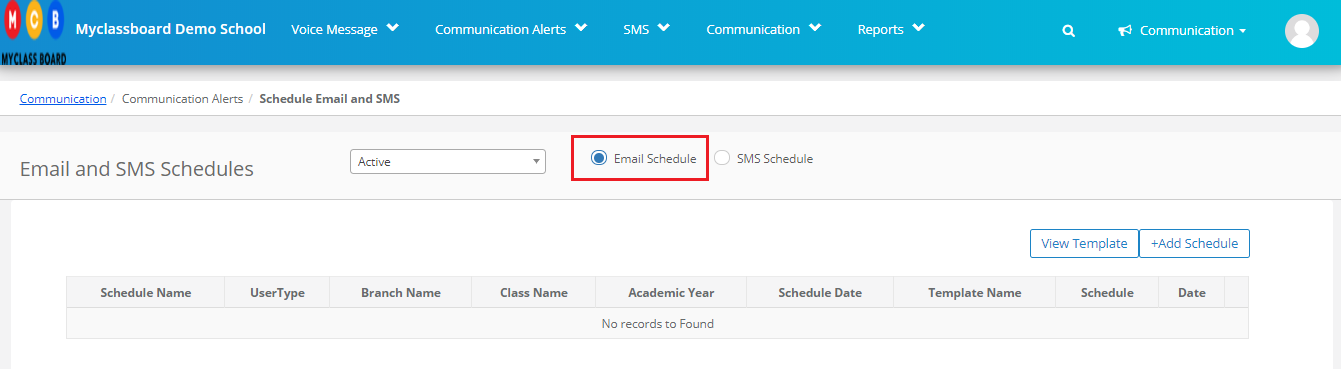
Schedule Email:
Step 3: To schedule Email, choose Email Schedule option.
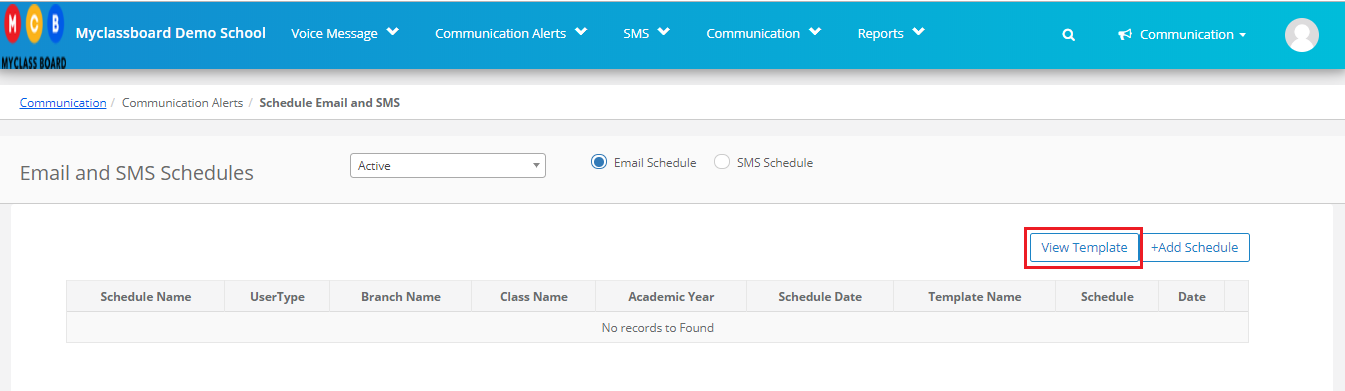
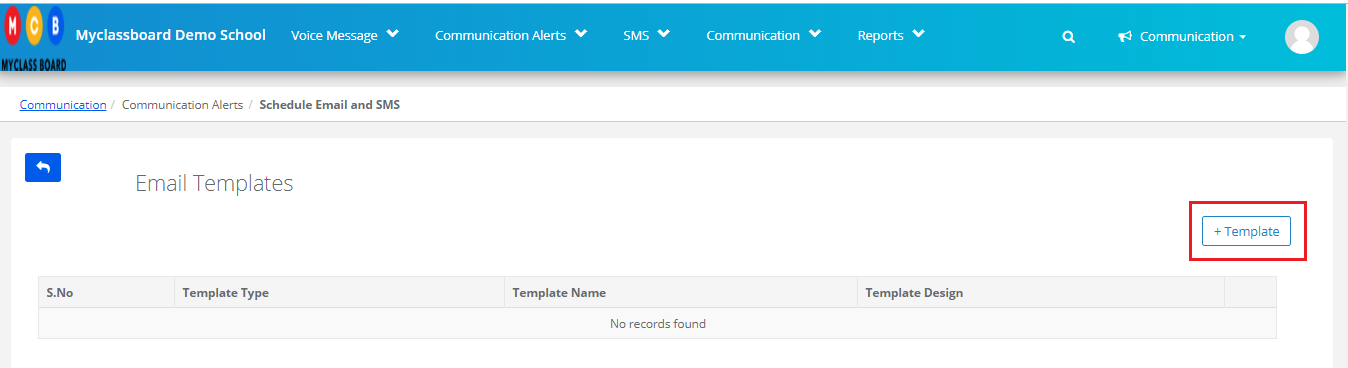
Step 4: To view or Add template, click on a view template option.
Step 5: Click on the +Template option to add a new template
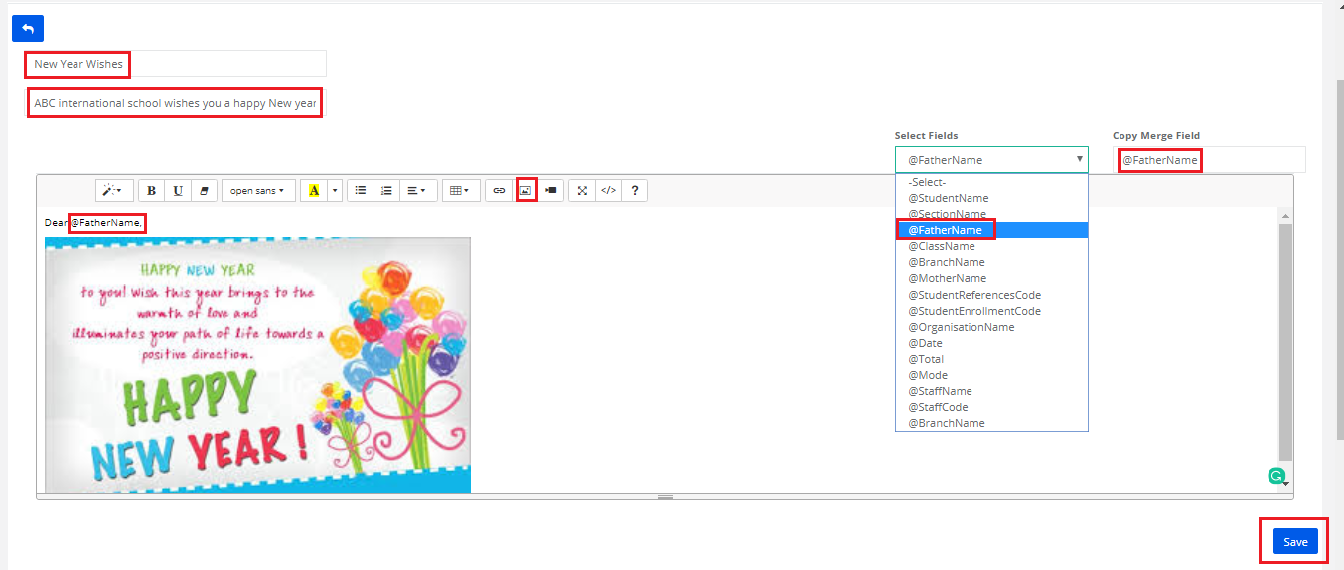
Step 6: Enter the template name, subject line of the email, email body.
You can add the details available in MCB as part of your email body. Choose the field from the drop down, copy the code from merge field and add it in the text. You can attach a video, image, link, table, etc., in the message. Click on Save button to save the email template.
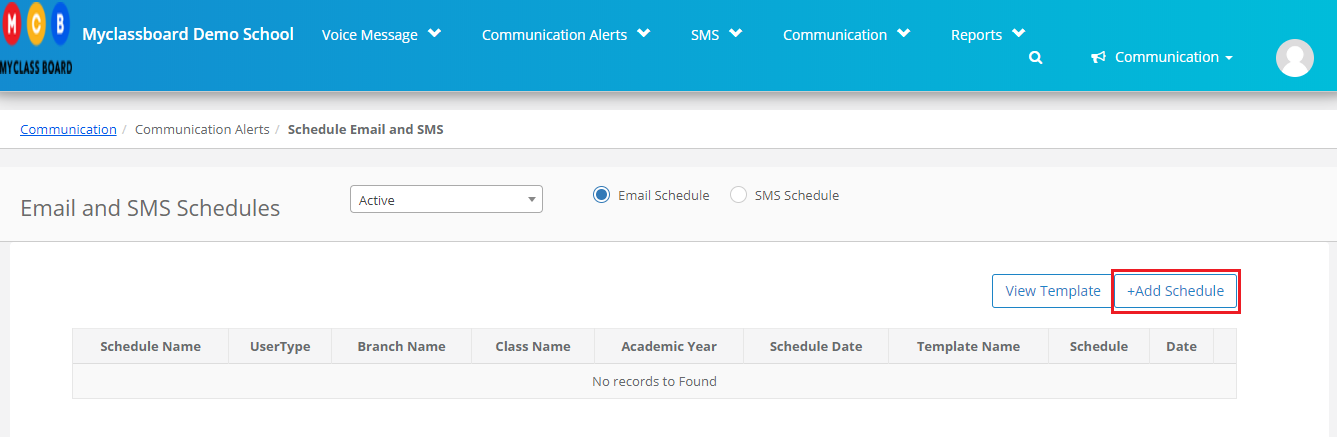
Step 7: To schedule the email, Click on Add Schedule button.
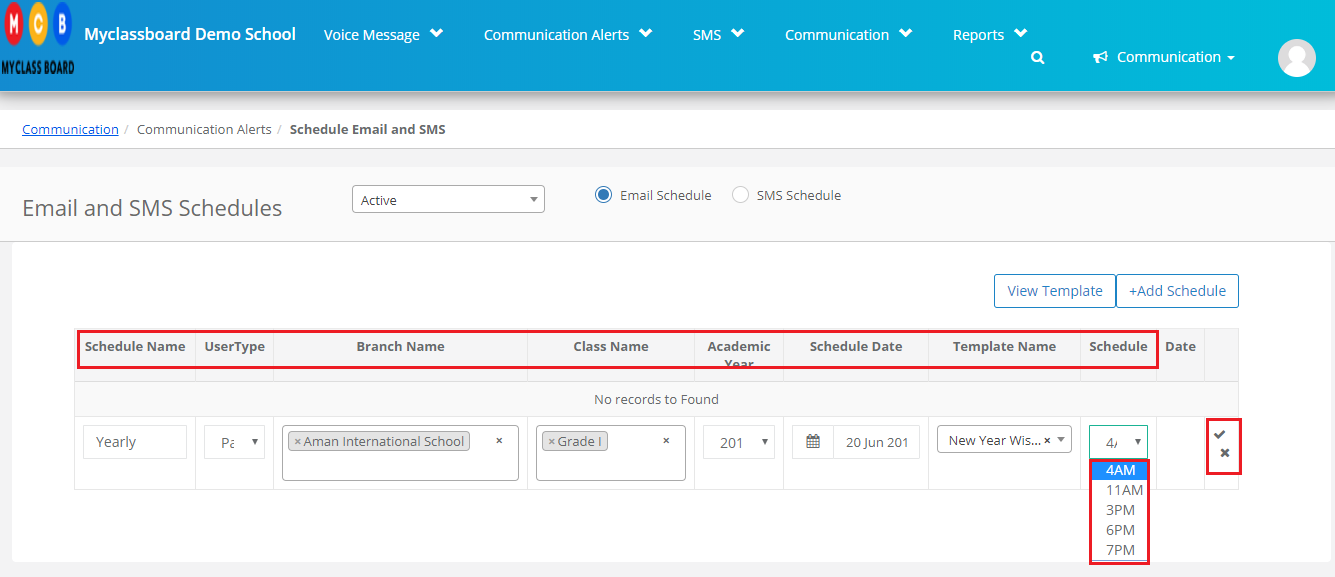
Step 8: Fill in the following details
Enter Schedule name,
Choose parent as user type,
Choose All if you want to schedule the email for all branches or a specific branch,
Choose All classes or a specific class,
Choose All academic years if you wish to send the same email every year or a specific academic year
The select the date on which the email has to be sent
Choose the time slot to define the time to trigger the emails to parents.
Click on Tick mark to save the schedule or Cross marks to cancel.
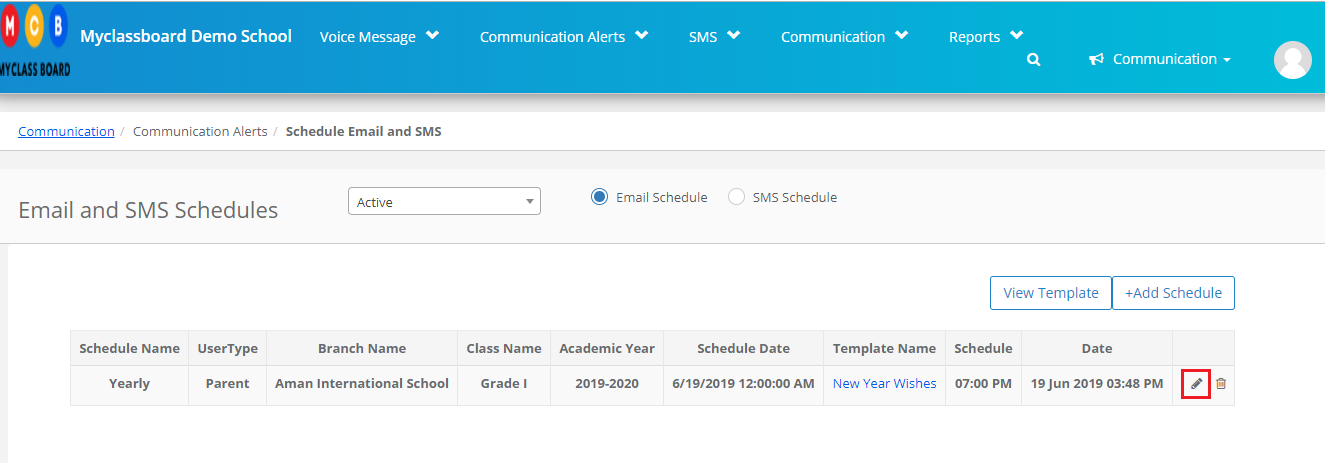
Step 9: To edit the schedule, click on the Edit icon against the schedule.
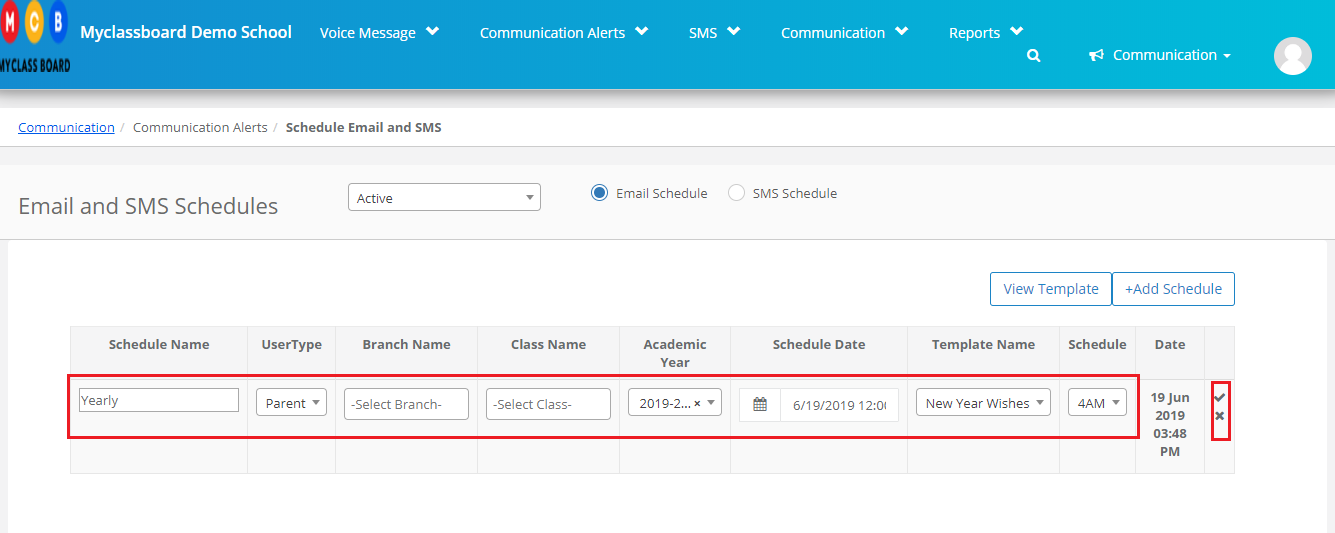
Step 10: Make the necessary changes and click on Tick mark to save the changes. Click on cross marks to revert the changes.
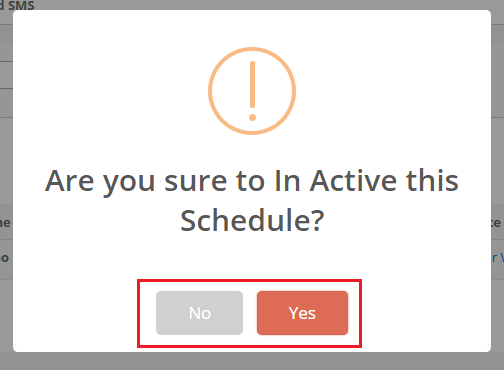
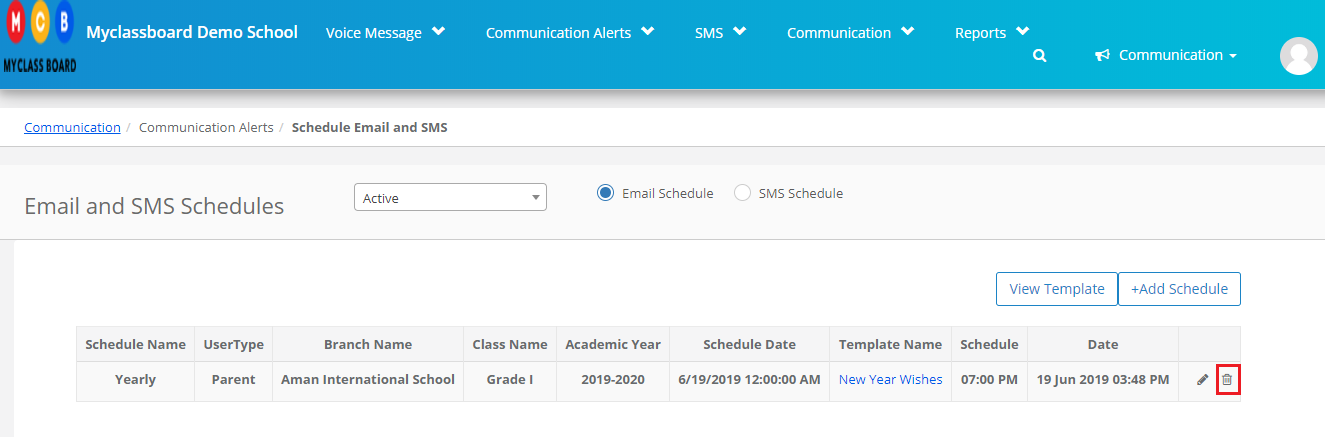
Step 11: To delete the schedule, click on delete icon against the schedule.
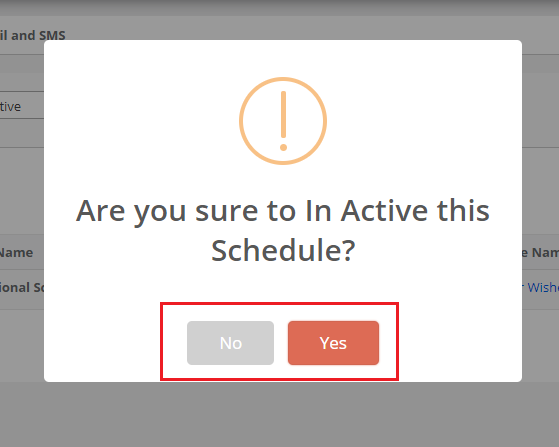
Step 12: Click on Yes to confirm the deletion or No to cancel the deletion.
Schedule SMS:
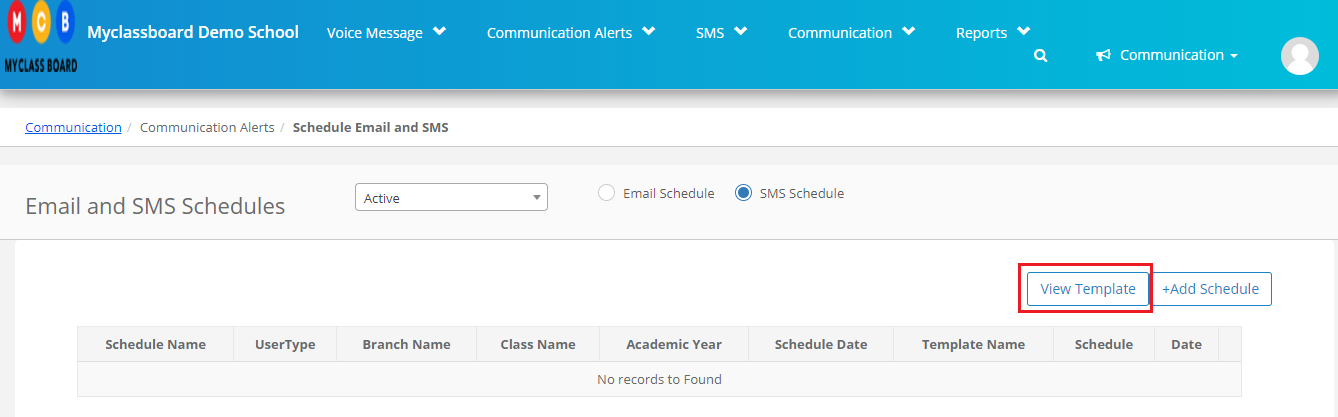
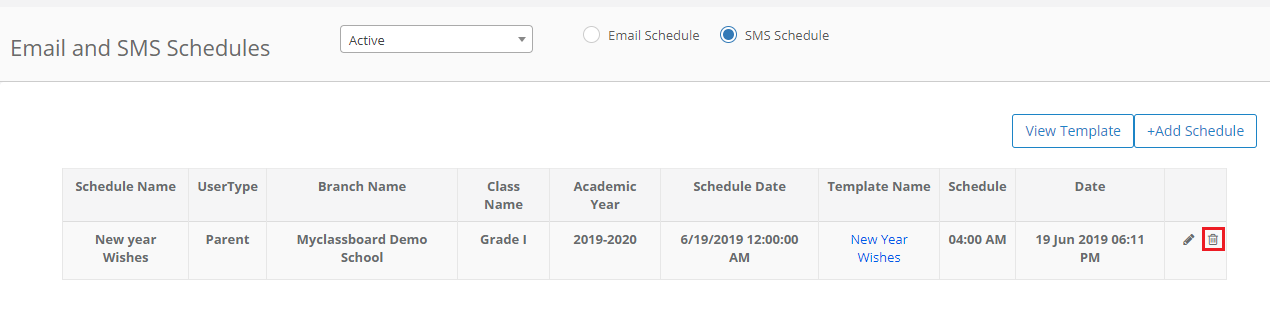
Step 13: To schedule the SMS, choose SMS schedule option.

Step 14: To view or add a template, click on the View Template option.
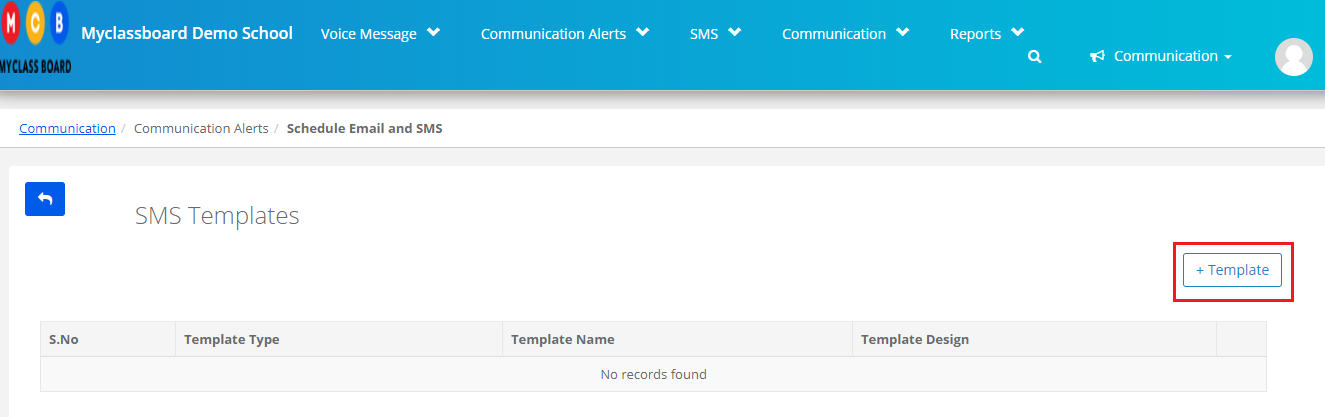
Step 15: To add a template, Click on +Template option.
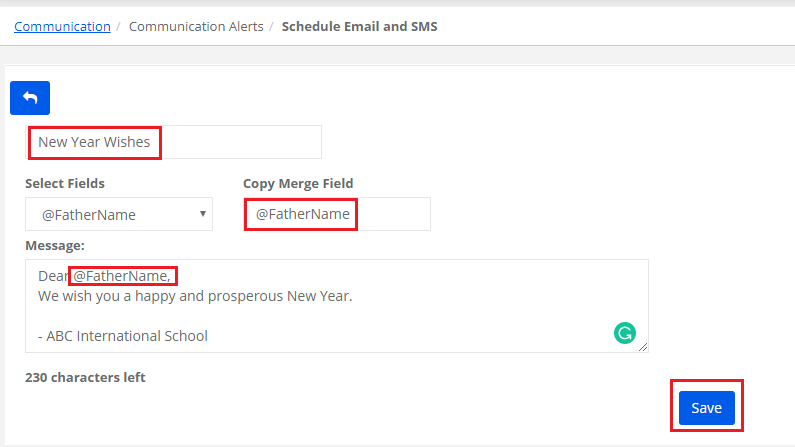
Step 16: Fill in the following details
Enter the template name
Type in the message. If you wish to bind any of the details available in MCB in the message automatically like student name, father name, etc., choose the required field from the drop-down, copy the code shown under copy merge field and paste it in the message at the required place.
Click on Save to save the template.
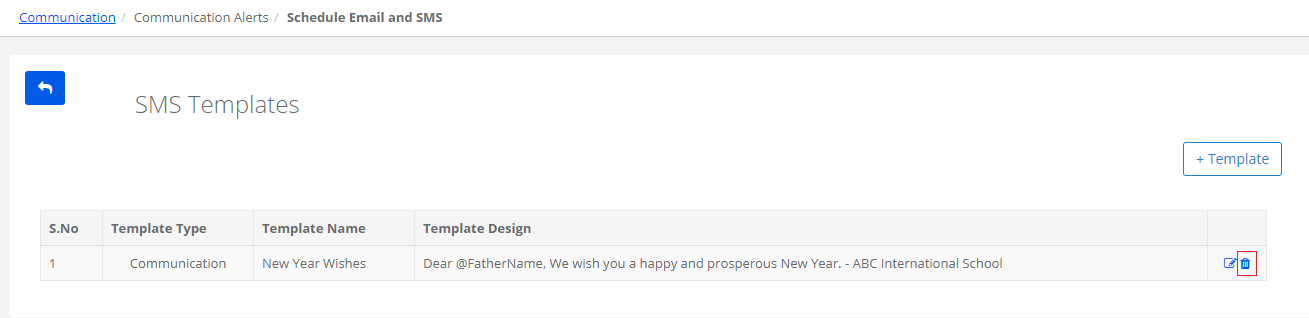
Step 17: To edit the template, click on Edit icon against the template, make the necessary changes and click on tick mark to save the changes or cross mark to revert the changes.

Step 18: To delete the template, click on delete icon against the template.
Step 19: Click on Yes to confirm the deletion or No to cancel the deletion.
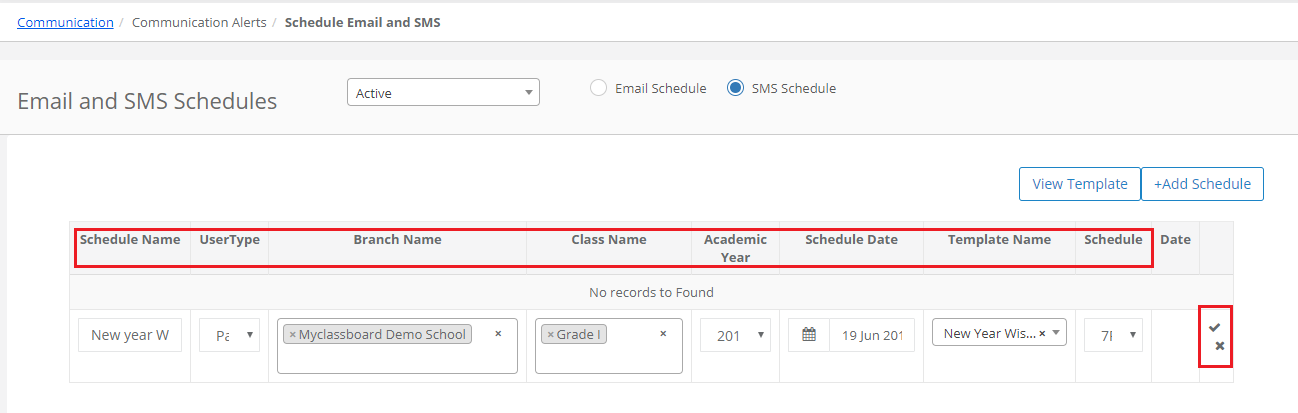
Step 20: To add SMS Schedule, click on +Add Schedule button.

Step 21: Fill in the following details
Enter Schedule name,
Choose parent as user type,
Choose All if you want to schedule the SMS for all branches or a specific branch,
Choose All classes or a specific class,
Choose All academic years if you wish to send the same SMS every year or a specific academic year
The select date on which the email has to be sent
Choose the time slot to define the time to trigger the SMS to parents.
Click on Tick mark to save the schedule or Cross marks to cancel.
Please make sure you have SMS balance available as per the schedules.
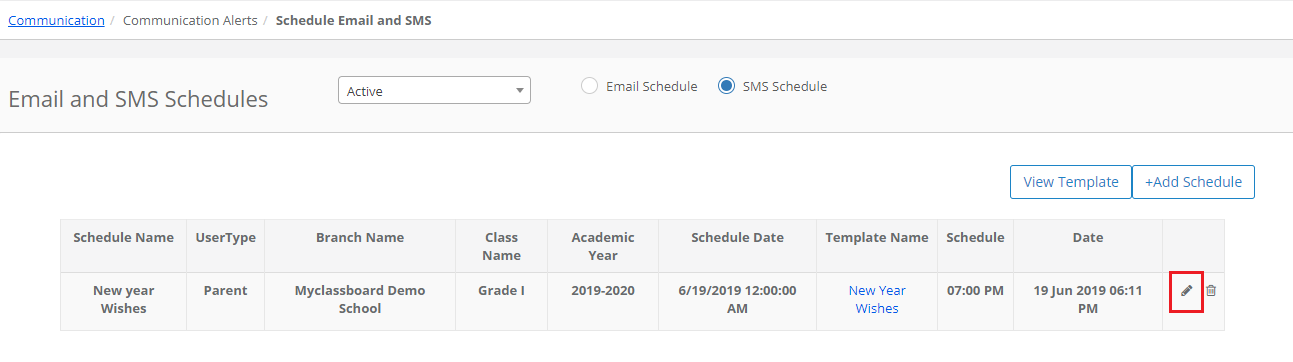
Step 22: To edit the schedule, click on the Edit icon against the schedule.
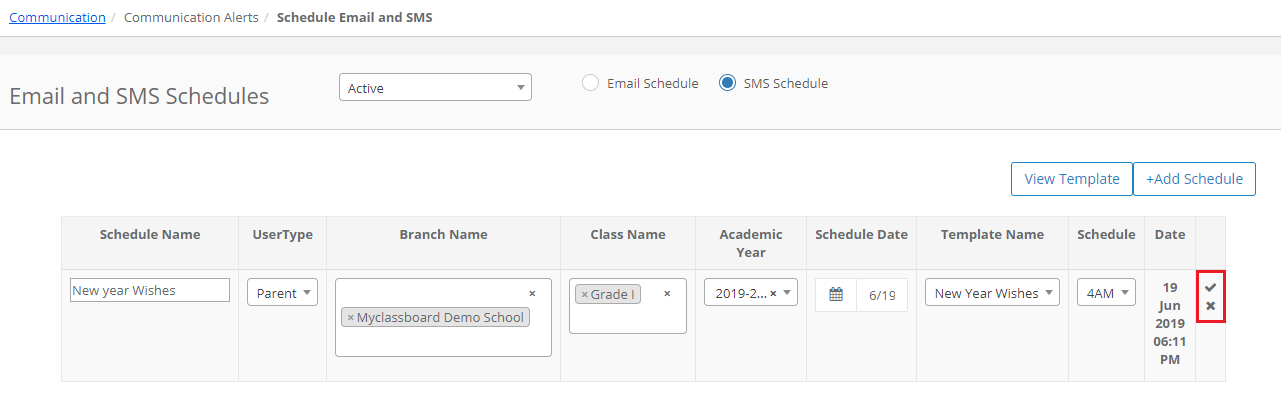
Step 23: Make the necessary changes and click on Tick mark to save the changes. Click on cross marks to revert the changes.
Step 24: To delete the schedule, click on delete icon against the schedule.
Step 25: Click on yes to confirm the deletion or No to cancel the deletion.