How to generate staff online meetings reports?

Web Version

How to Generate Staff Online Meeting Reports from Raveendra Choudary

Step 1:Login to MCB with the Login Credentials.

Step 2: Click on the Online Classes module from the modules palette.

Step 3: Click on “Reports” on the top bar and select “Staff Online Meetings Report ”.

Step 4:Select the Report Type: Today, Last 7days,last 30days,Custom date,Till date & click on show Report.

Step 5: It will display a list of sessions conducted by whom, time & duration. You can also view the Status of the Online Meeting Completed / In Progress.
You can get the Participants count who attended the meeting.

When you click on the number at the No.of Participants column, it will display the list of Staff details who have attended the meeting.

How can Students submit online assignment?

How a Student Can Submit an Online Assignment from Raveendra Choudary

Students can submit the assignment from the web portal and mobile app.

Step 1: Log in to the MCB Web portal with the student login credentials. Click on the Assignment option on the menu.

Step 2: It will list all types of assignments by default. You may filter online by clicking on the online radio button. To submit the answer, click on the Submit Answer option against the exam.

Step 3: Write the answer and click on Submit. You can answer in the form of text, insert the image, link, etc.

Step 4: Click on View Answer against the submitted Assignment to revisit the answer.

How can students attempt online exam?

How To Submit Online Exams – MCB Parent App & Web Portal from Raveendra Choudary

Students can attempt online exam from the web portal and mobile app.

Step 1: Log in to the MCB web portal with student login credentials. Click on Online exam option on the menu

Step 2: It will list the exams that are available with the below status.

Start exam: This indicates that the exam needs to be attempted.

Due Date Expired: The due date of the exam has been crossed. Hence, it cannot be attempted.

View Results: It indicates that the exam is attempted and the results are ready.

View Question Paper: It indicates that the exam is attempted and can view the question paper.

The Exam type can be of two types.

  1. Self-paced: Indicates that the exam can be attempted at student’s own pace
  2. Time-based: Exam needs to be completed within the given time.

Step 3: To attempt the exam, click on the Start button against the exam.

Step 4: Click on the first question, choose the correct answer, and click on Next. Please note, instead of clicking next, you can click on the question number to view or answer the question. Answering the questions in a sequence is not mandatory.

Once all the questions are answered, pls click on the Finish button to submit the exam.

Step 5: Click on verify to revisit the questions and answers marked. Click on the Submit button to confirm the exam submission.

Step 6: If a school chooses to publish the result instantly, the result is visible soon after the student submits the exam. The result includes overall performance along with question wise analysis. Click on the Print icon to print the result of the exam.

Exam key section will you how many questions are correct, wrong, and unattempted.

Please note the color indication as

Correct answer: Green

Wrong Answer: Red

Un Attempted: Orange

Step 7: The completed exams are shown with Green background. To view the result of a completed exam, Click on View Result option against the exam.

Step 8: Click on print icon print the result.

Step 9: To get the question paper of the completed exam without answers for practicing again, Click on the Question Paper option against the exam.

Step 10: You may print the question paper by clicking on the Print icon.

What is a learning league? How does Learning league help Teachers, Students & parents?

Learning League feature enables the staff, students, and parents to collaborate in one group to express their opinion on the given topic in the form of likes and comments.

This feature promotes teacher lead discussions and peers learning in academic and non-academic areas.

A Student gets personalized feedback on the work submitted and can discuss the topic with the teacher until all misconceptions are cleared through teacher posts.

Students are exposed to different perceptions on a given topic by debating on the topic given and participate in group discussions through student posts.

Parents can also participate and help students to extend their learning and set a direction to students thinking.

In the Learning league created with a group of classes or an individual class, teachers and students can create posts.

Teacher posts: Teachers can create topics under the Learning Leagues that are created under General and Subject wise categories.

  1. General Topic: The general topic that is created by a teacher is visible all teachers and students of the classes that are assigned to the learning league which is created under the General category. Student can comment on the topic and is visible to the teacher When teacher replies to the comment, is visible to only the student who posted the comment. The general topics can be on non-academic areas like a field trip, annual day, events preparations, etc.,
  2. Subject Topic: The subject topic created by a subject teacher is visible to themselves, class teacher, and the students who belong to the classes that are assigned to the league which created under Subject Category. Student can comment on the topic and is visible to the teacher When teacher replies to the comment, is visible to only the student who posted the comment. The subject-specific topics could be assignments, worksheets, revision, doubts clarification, etc.,

Student Posts:
Students/parents can now create a topic from their login in the available learning leagues. Topic creation allows text, images, attachments, videos, and files. It can be done from a mobile app or web parent portal.

As the topic is created by a student, a notification is triggered to all the participants of the learning league. They can log in, check the topic, and participate in the form of comments and likes. The comments feature allows text, images, attachments, videos, and files.

The host of the topic and other participants can like, reply to the comments and topic.

Discussions can go on among the students irrespective of the classes that are present in the group. It promotes peer learning; students get exposed to different perceptions.

These can be of academic and non-academic related topics. The topics and discussions of students can be accessed by the school admin, but not the teachers. It is an exclusive platform for students to collaborate and learn.

School admin can view the comments, likes from his login.

Admin can edit the learning leagues, branches, and classes assigned.

Admin can also delete the learning leagues and comments if necessary.

How to Create a Learning League?

How Can A School Admin Create Learning League from Raveendra Choudary

School admin (System admin or Branch Principal) has to create a learning league for the students/parents to participate. Learning leagues can be created in the following combinations.

  1. All Branches /All classes
  2. All branches / Selected classes
  3. Selected branches/All classes
  4. Selected branches/ Selected classes

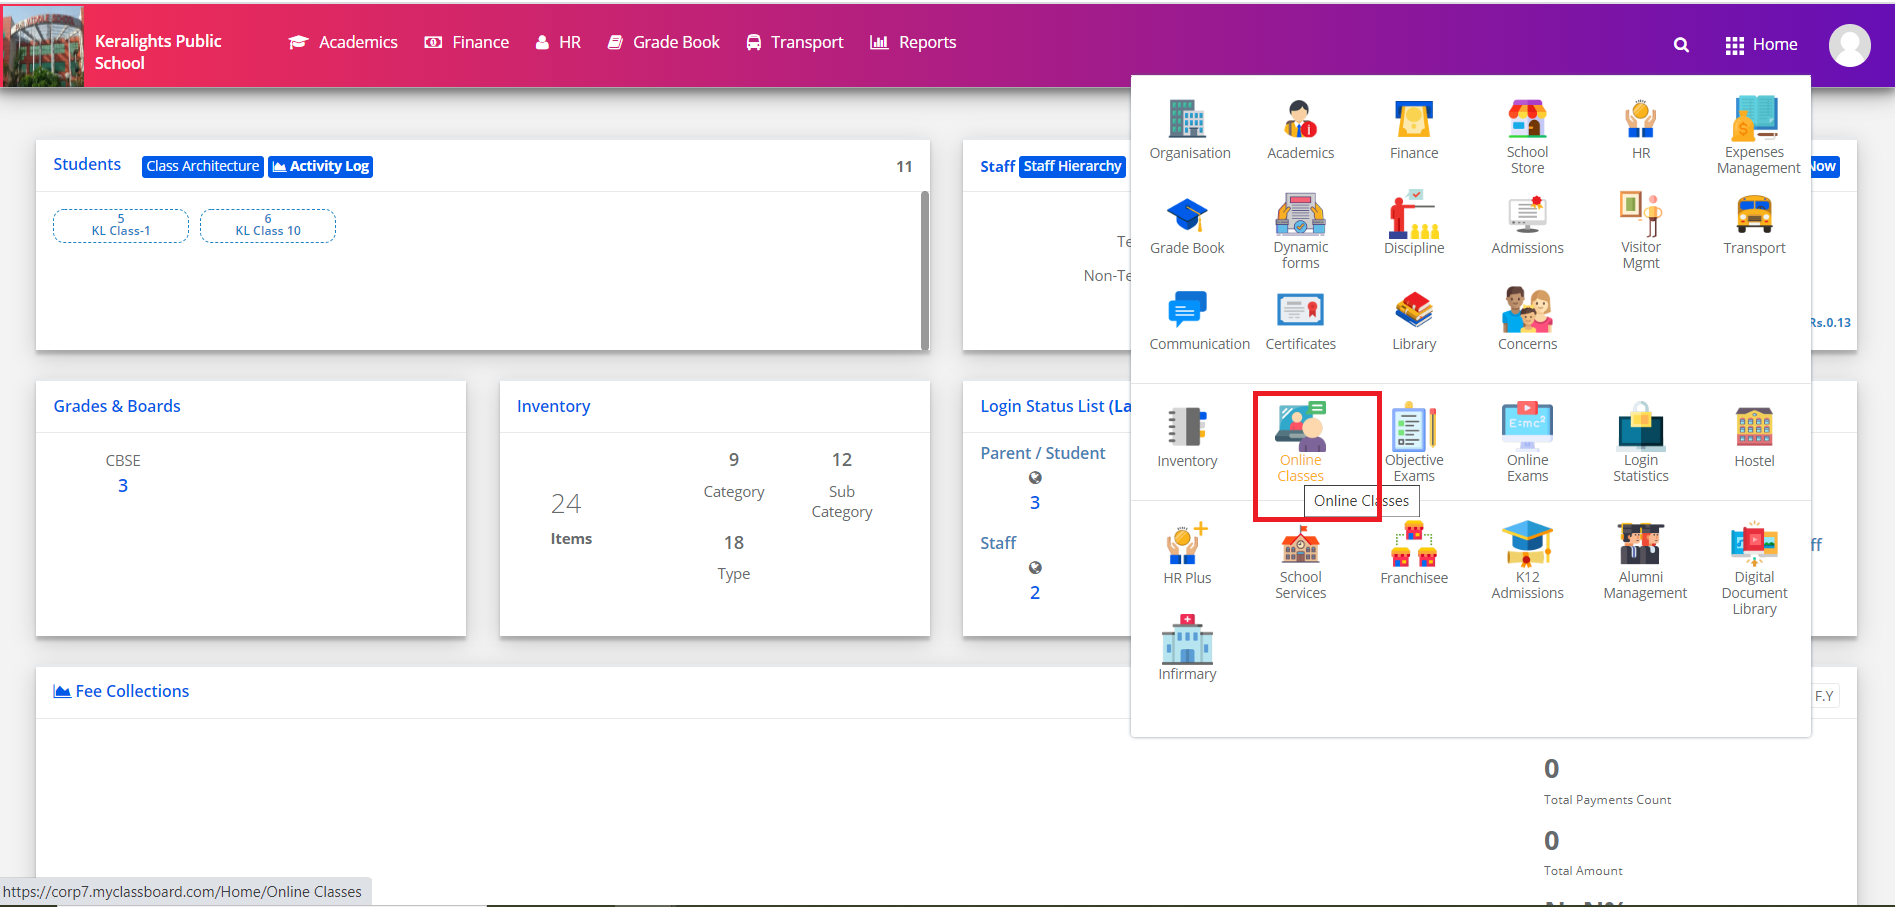
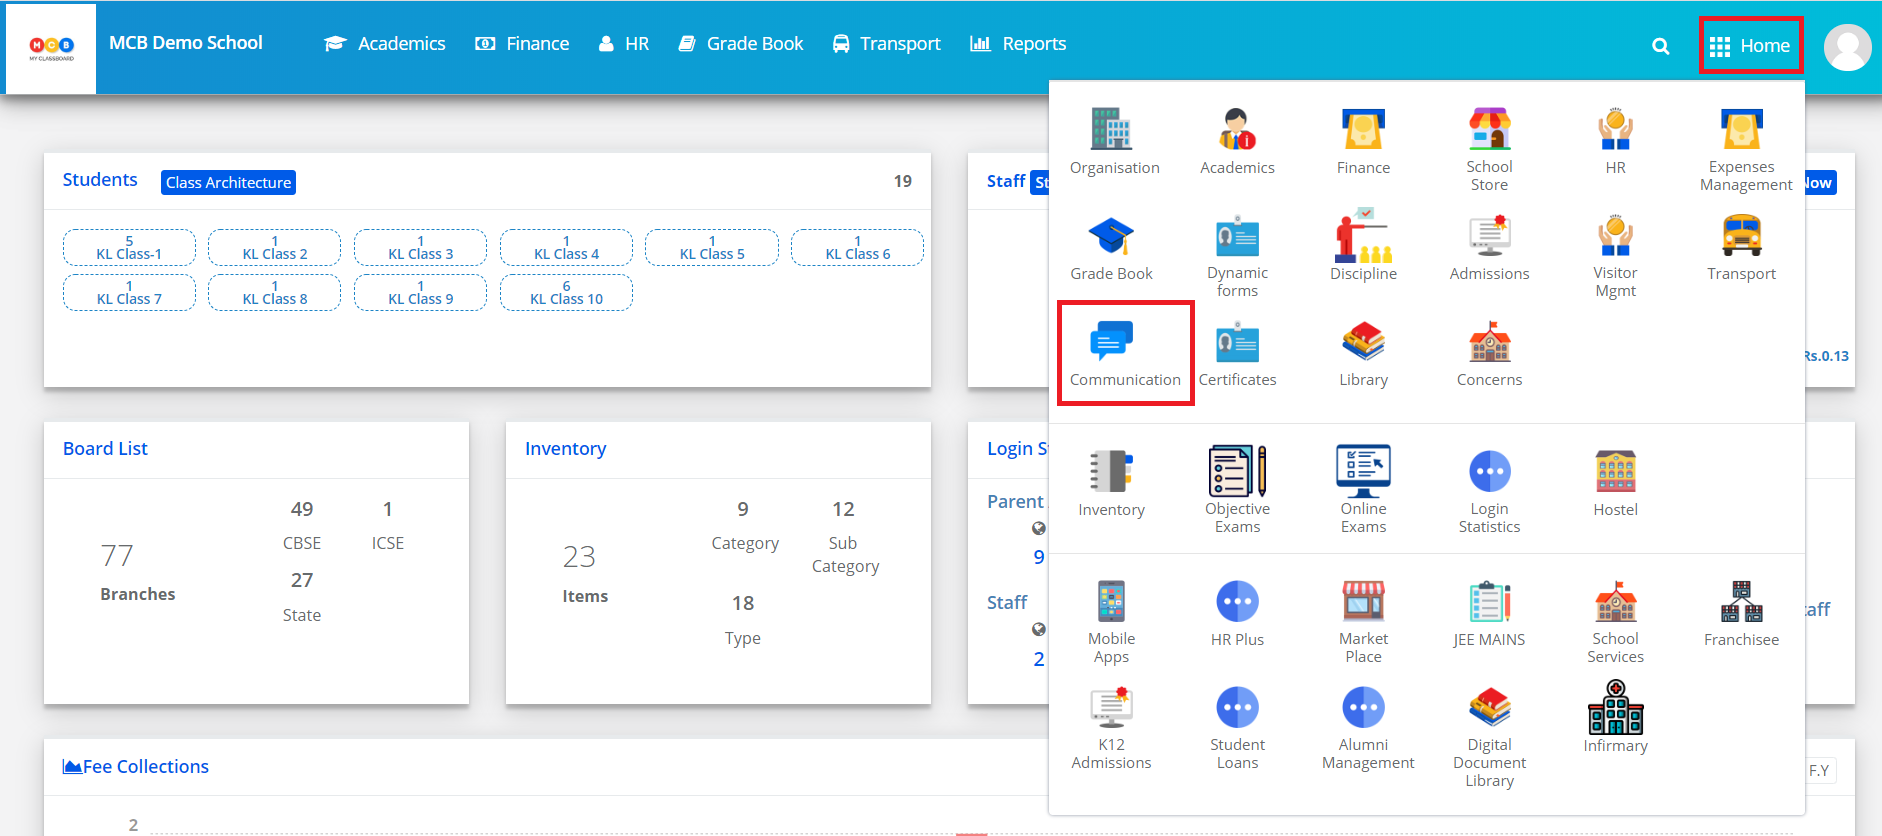
Step 1: Log in to system admin login, click communication module in the modules pallet.

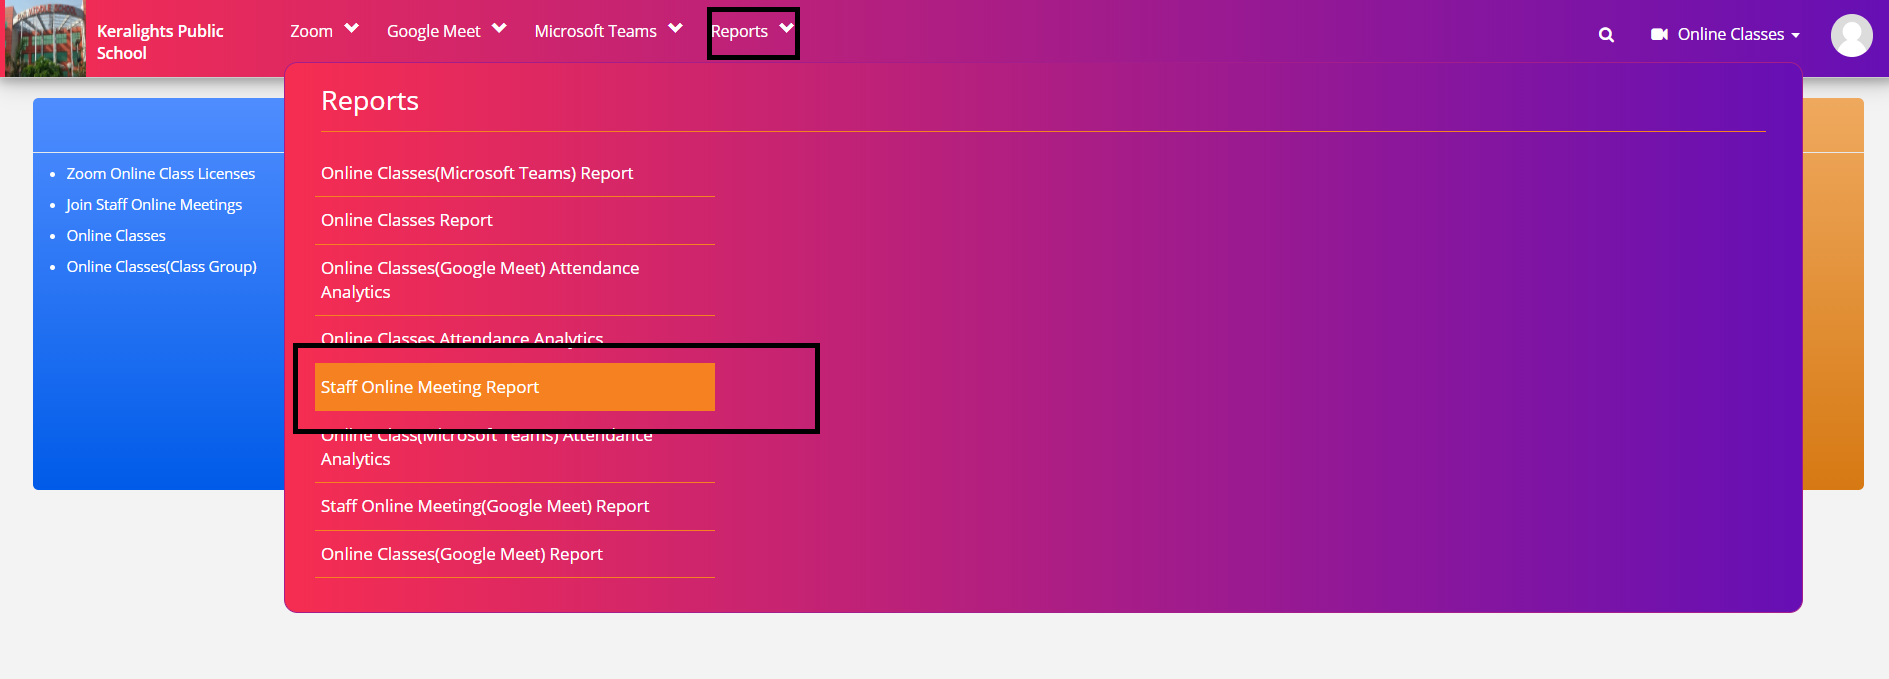
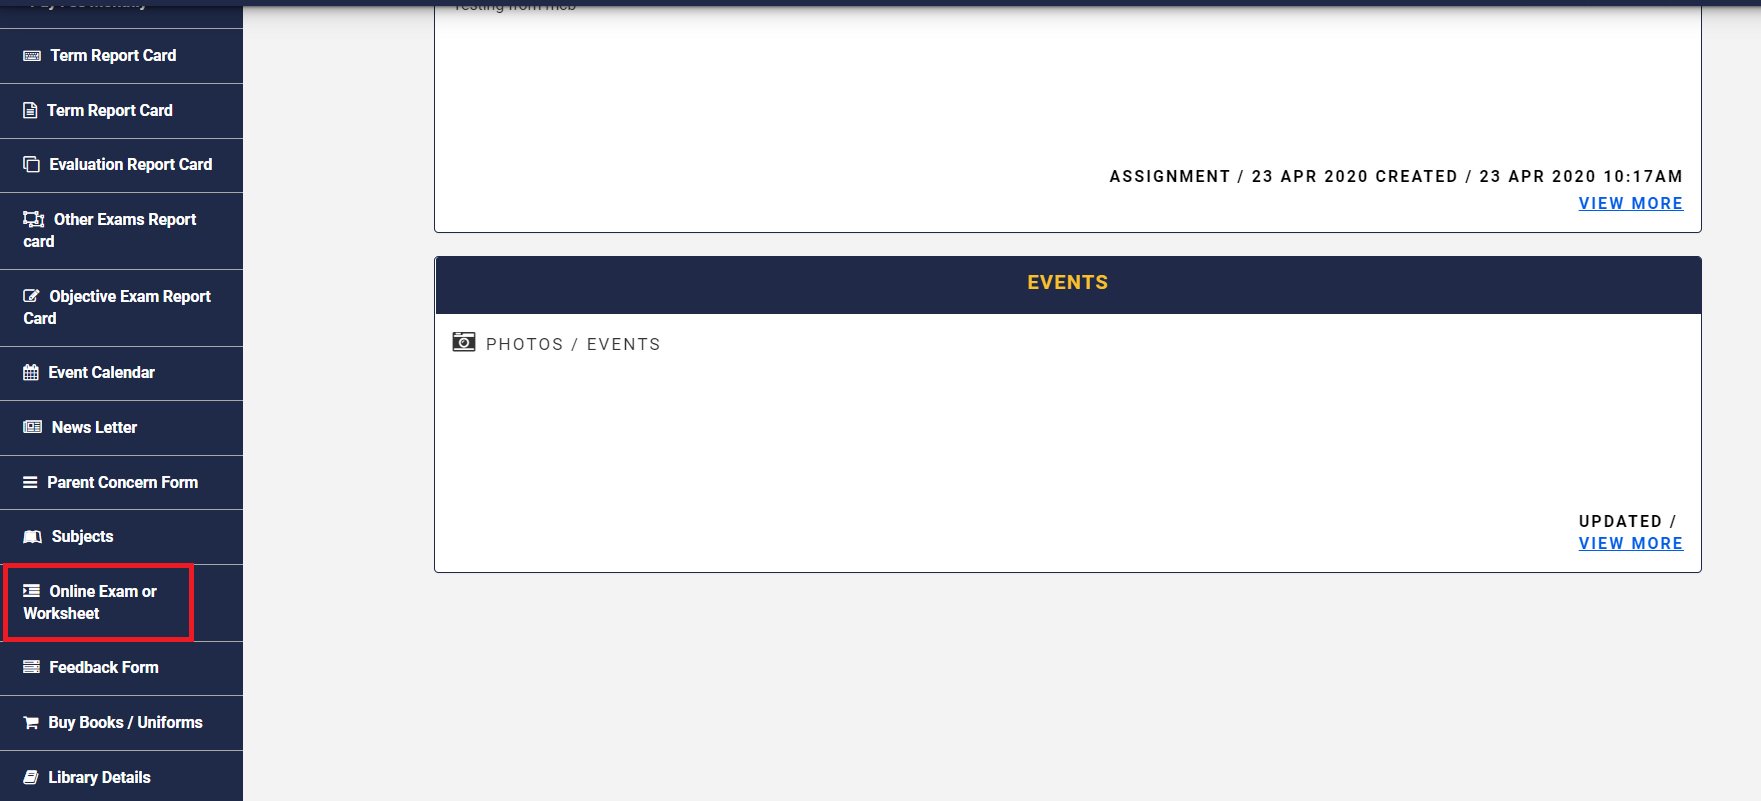
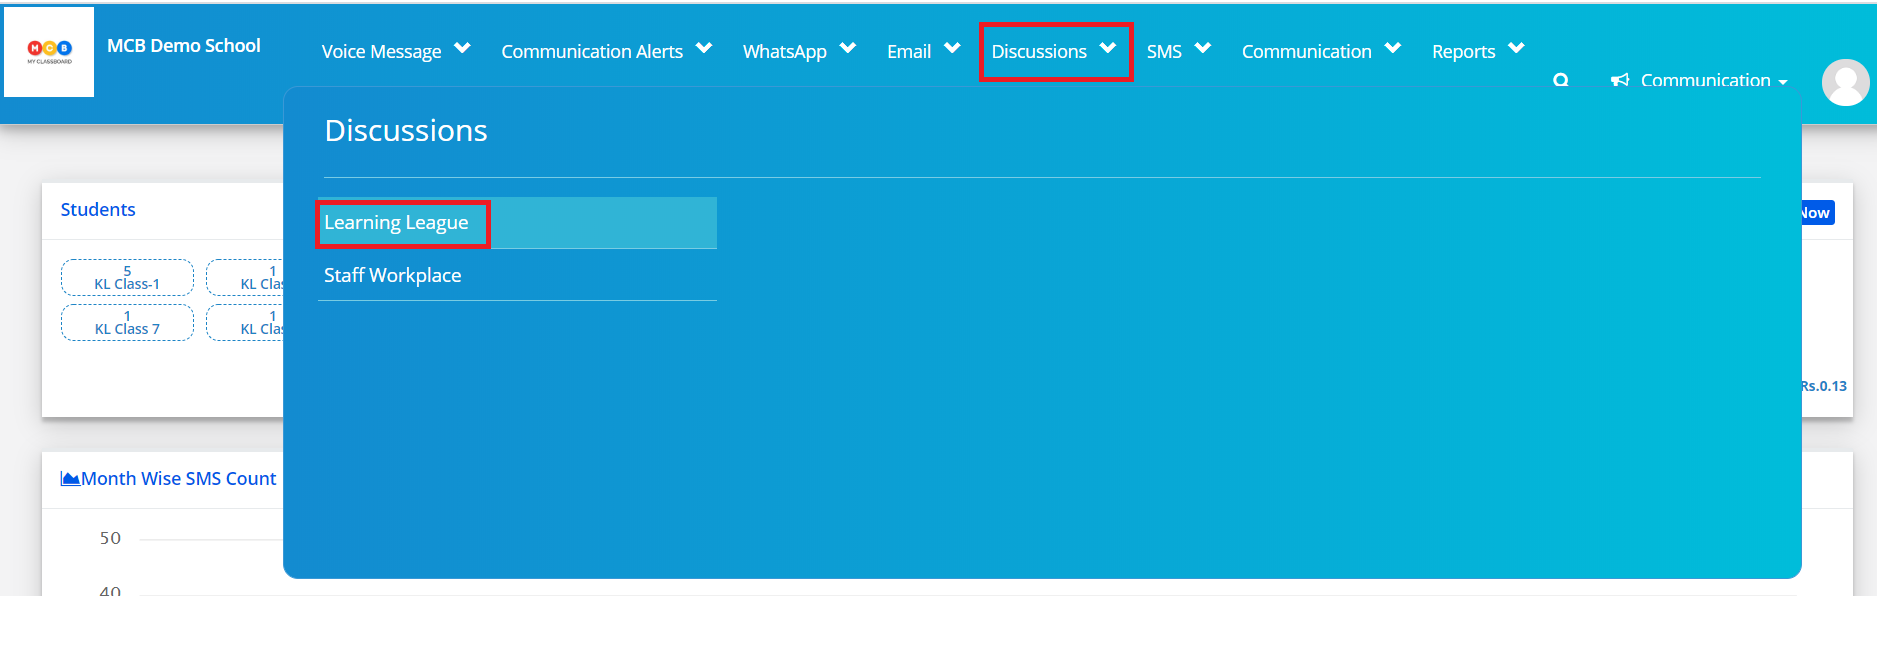
Step 2: Click on the Learning League option under the Discussions menu.

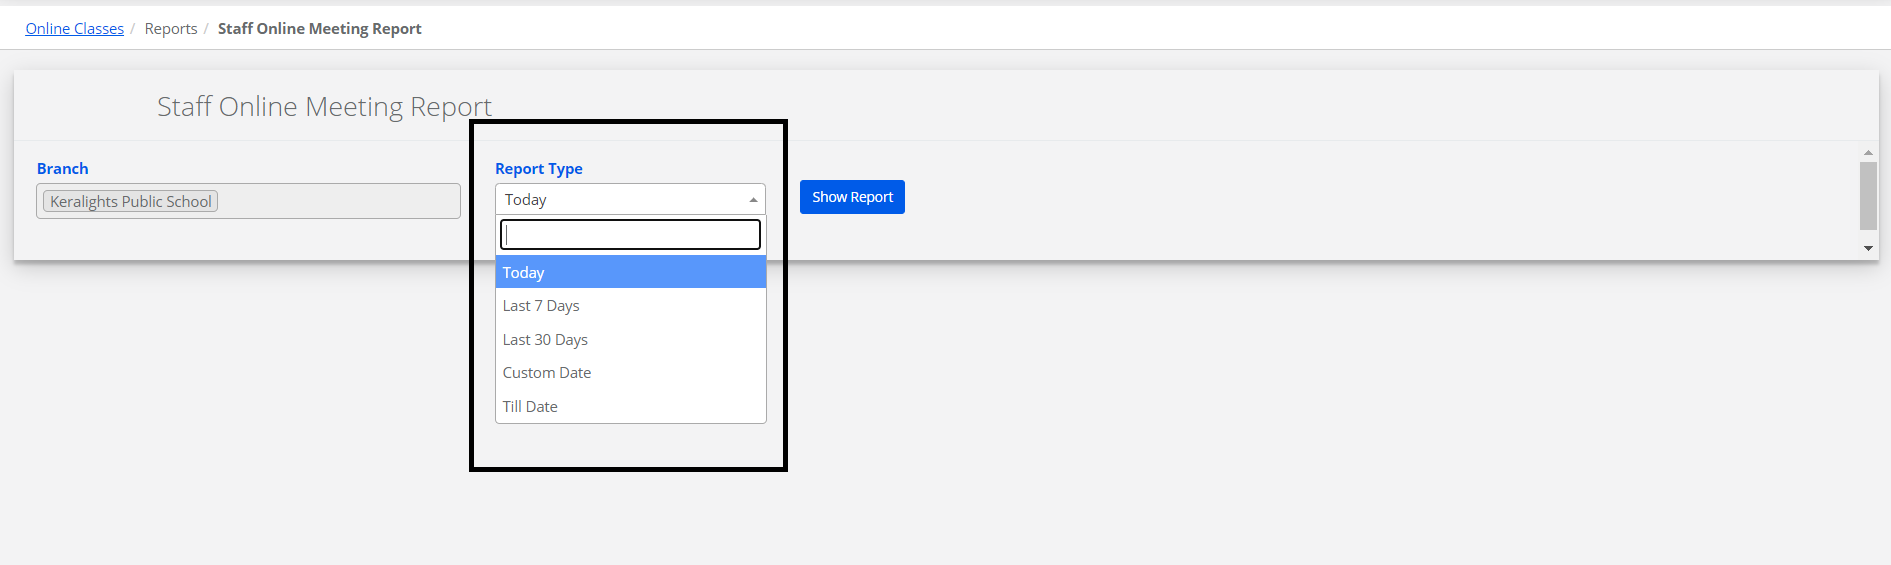
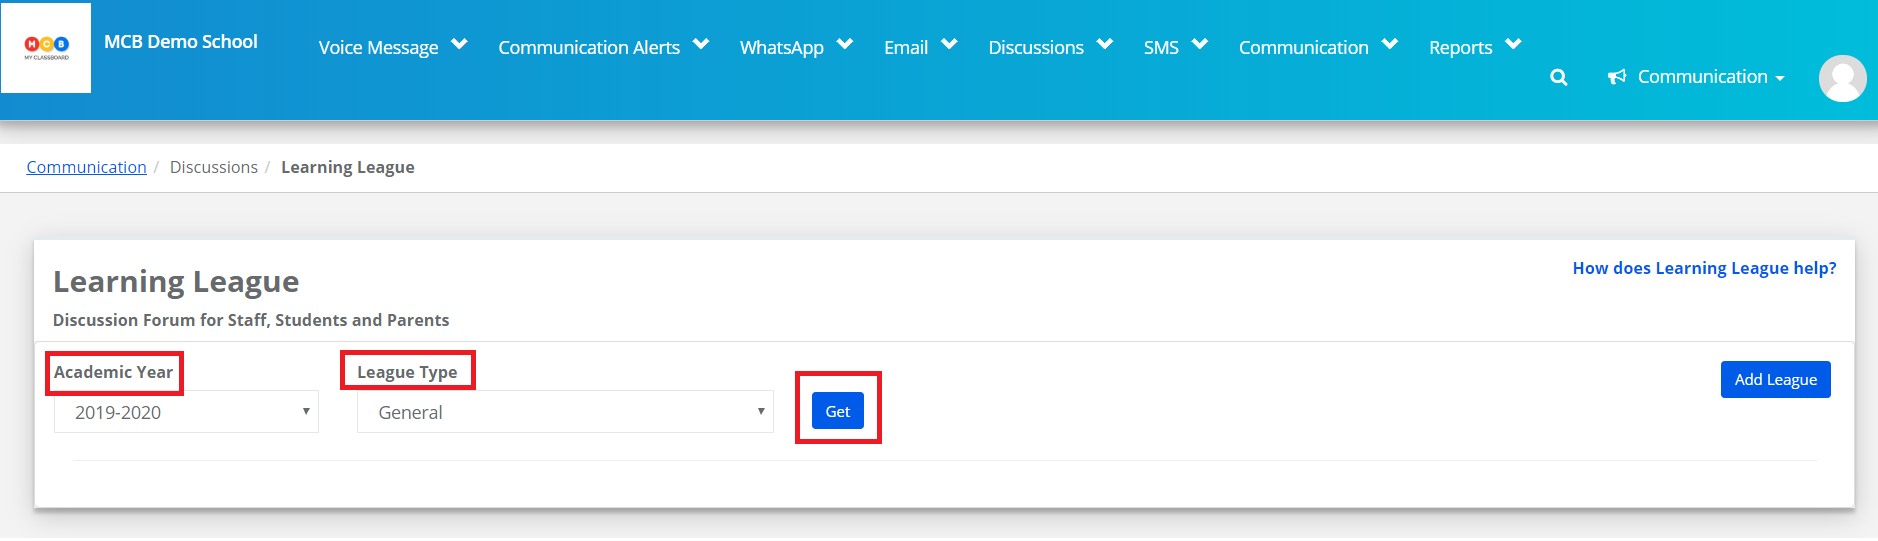
Step 3: To get the list of existing leagues, choose an academic year, League type as General or Subject wise, and click on Get button.

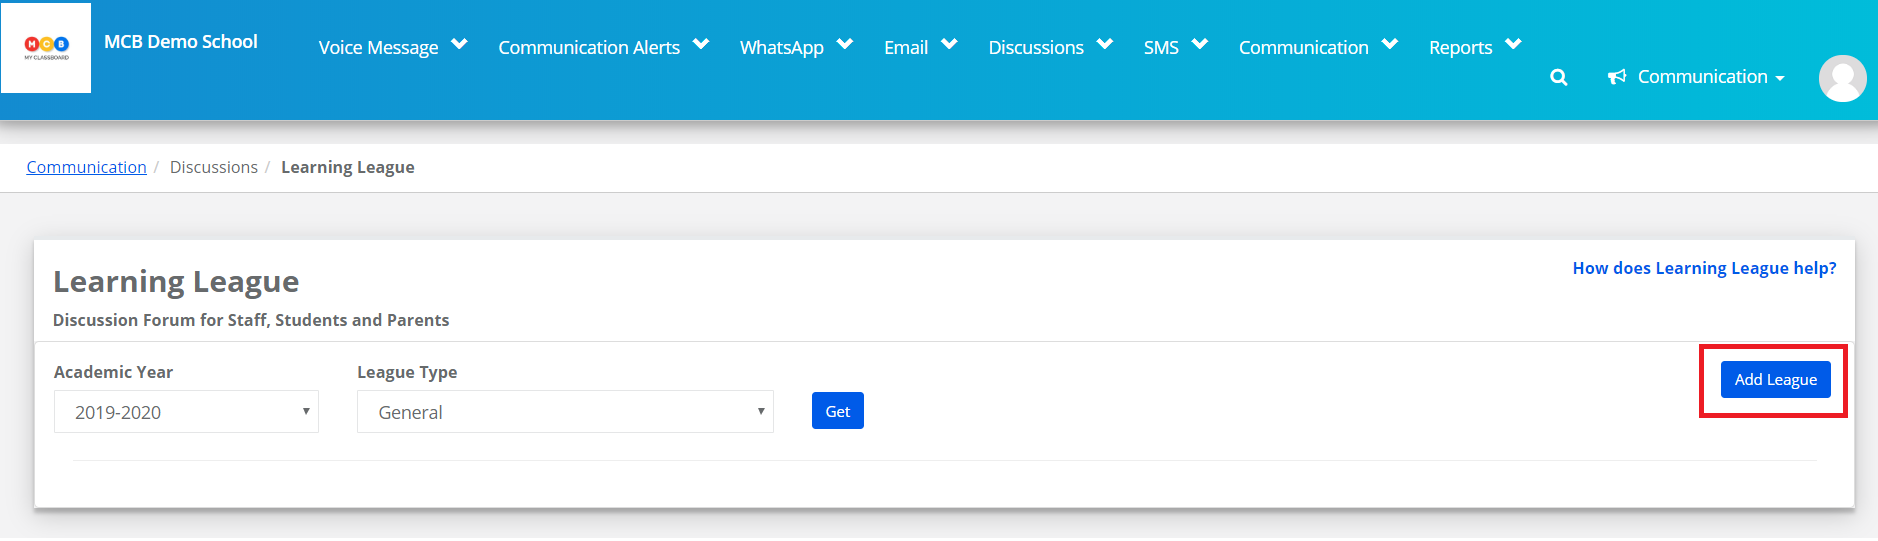
Step 4: To create a new League, Click on the Add League button.

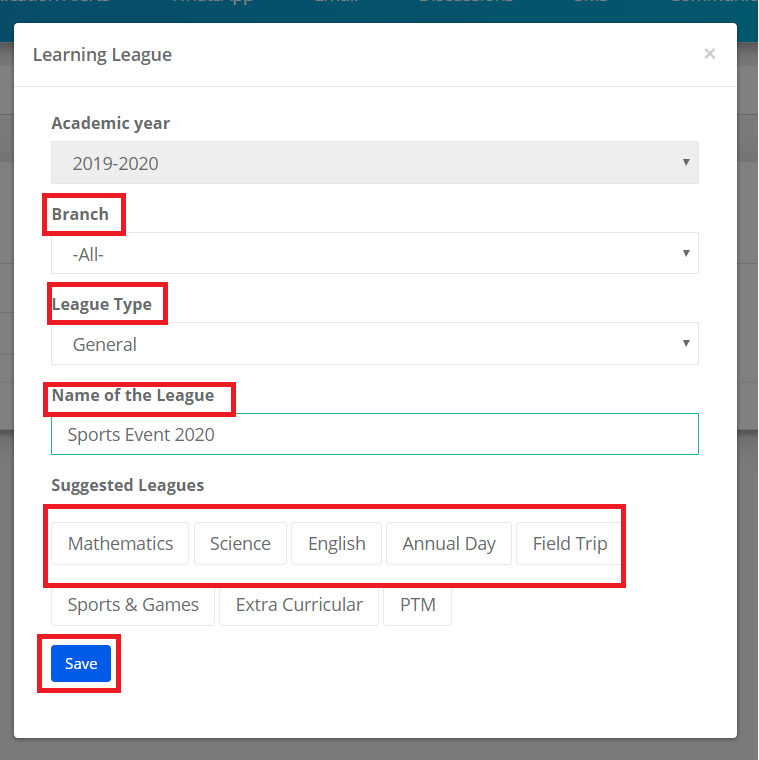
Step 5: To create General League – Choose All branches or a specific branch, League type are General, enter the name of the League or choose from the suggested Leagues and click on Save button to create the League.

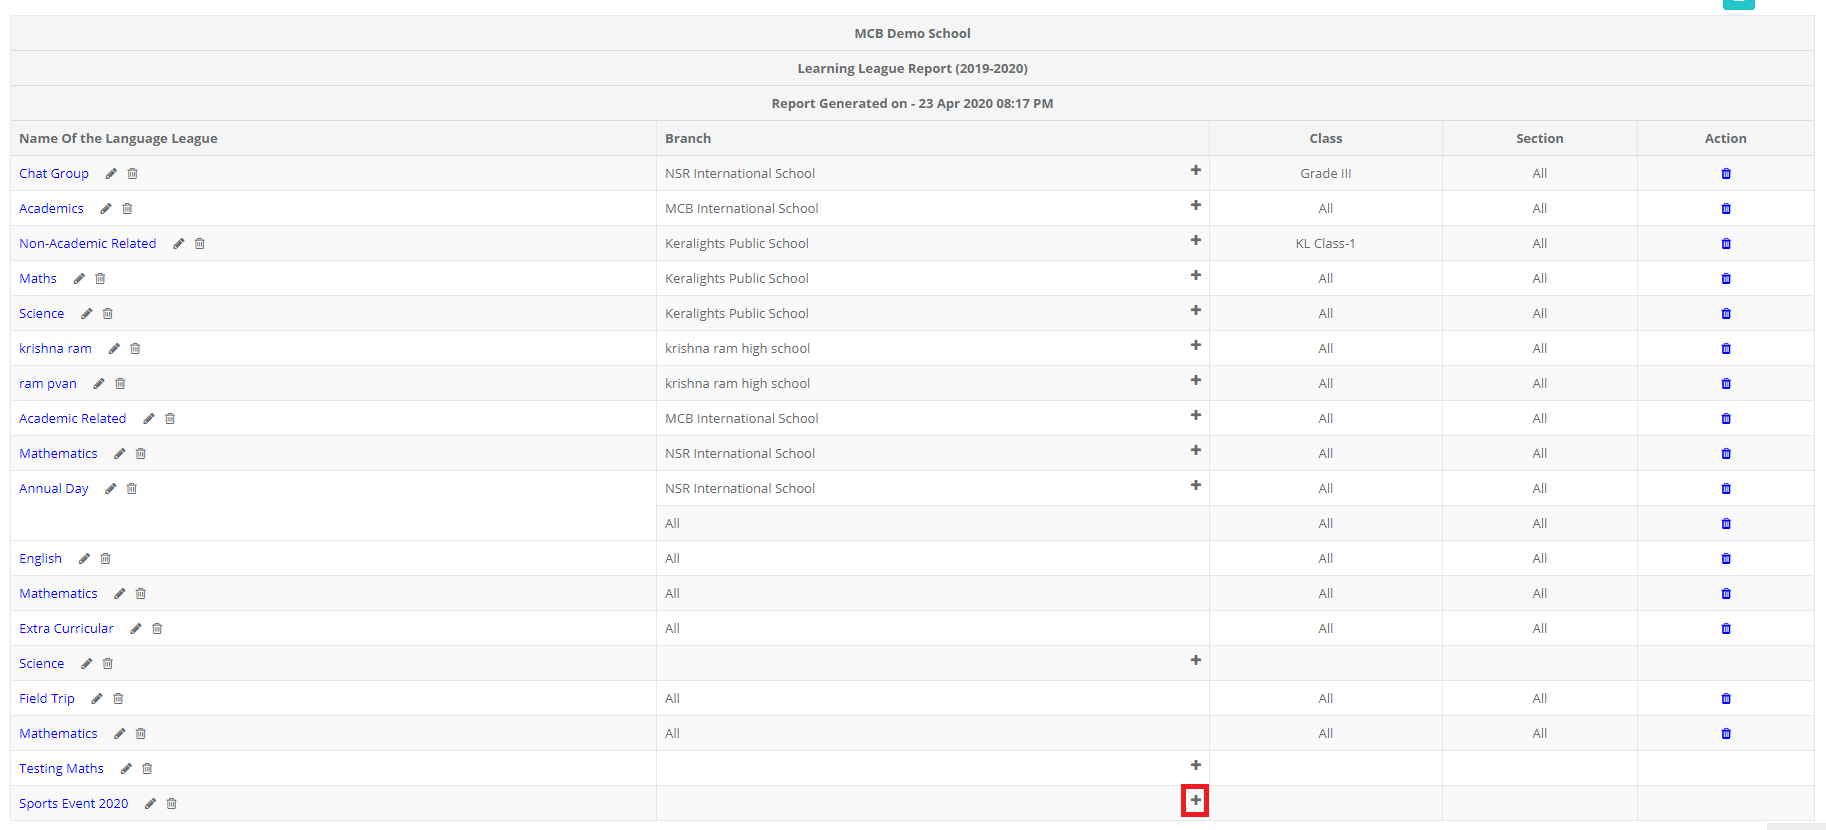
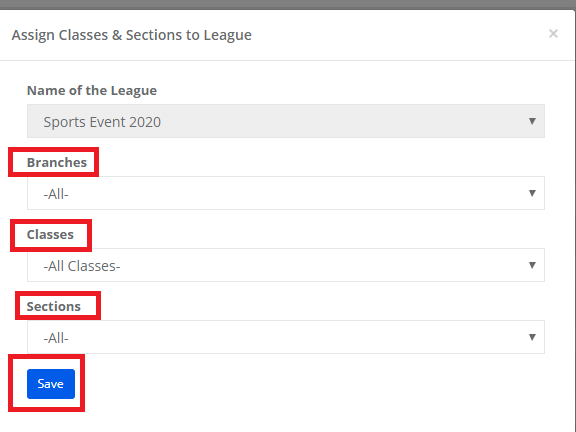
Step 6: Click on the “+” sign to add classes and sections to the league.

Step 7: Choose All branches or a specific branch, Choose All classes or a specific class, Choose All sections or a specific section, and Click on Save.

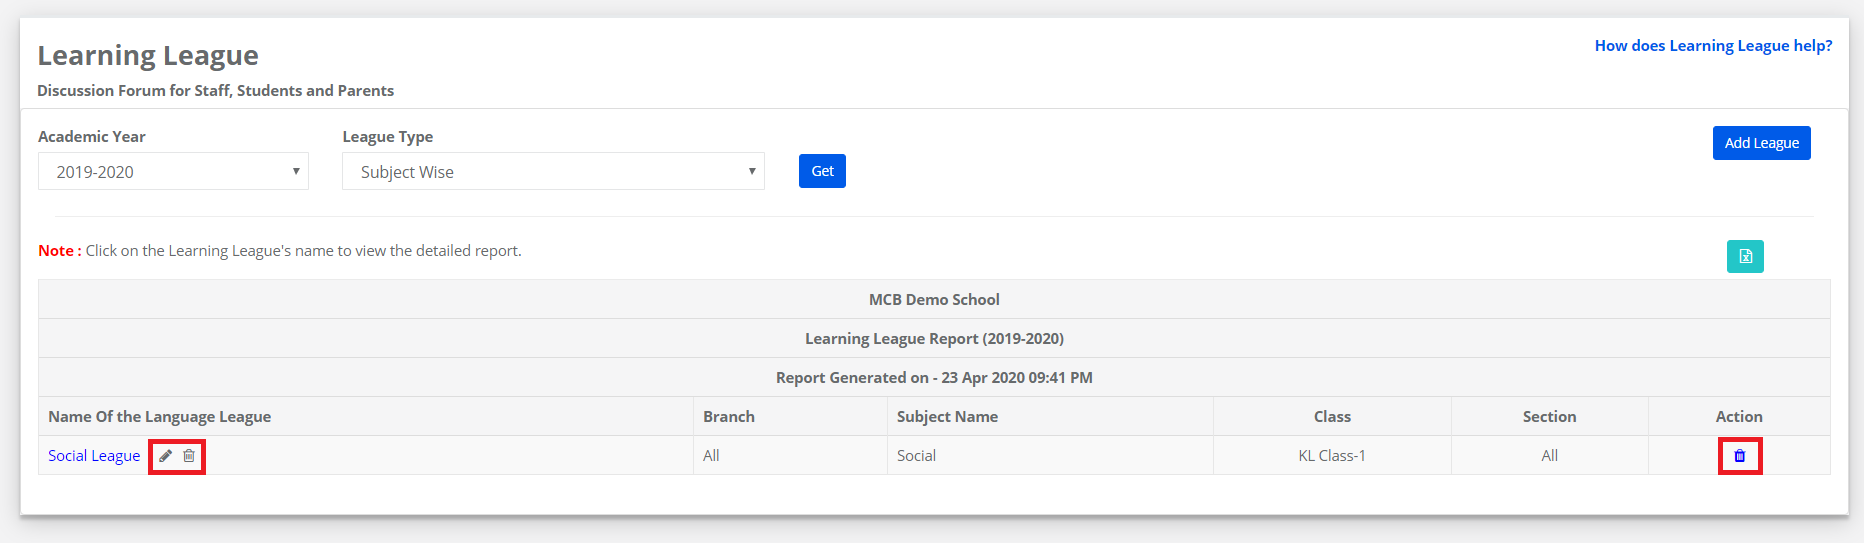
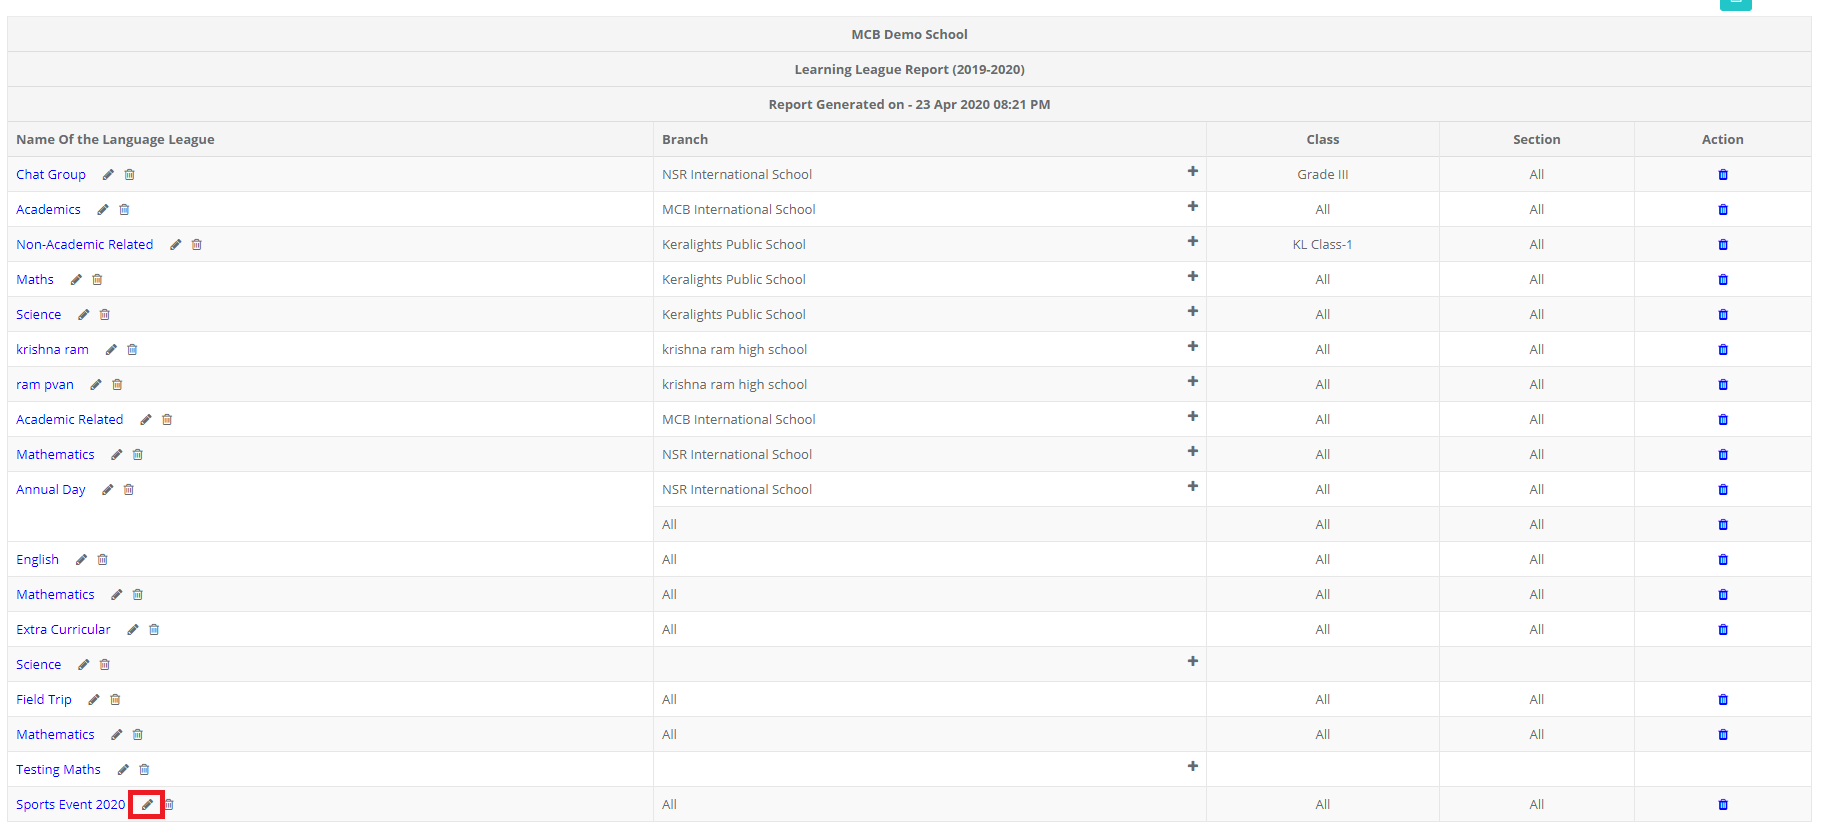
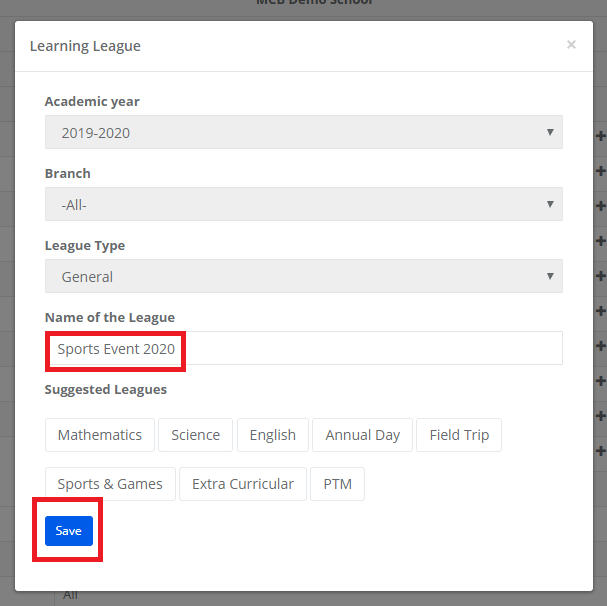
Step 8: To edit the League’s name, click on Edit icon against the league.

Step 9: Make the changes in the League’s name and click on Save. Please note that the changes can be done only for the Leagues’s name.

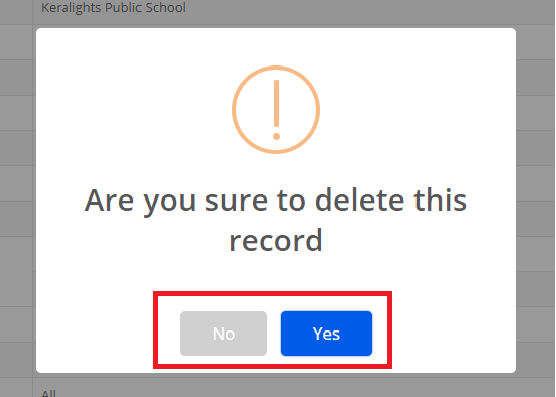
Step 10: To delete the league, please make sure the assigned branches are deleted. Click on the delete icon to delete.

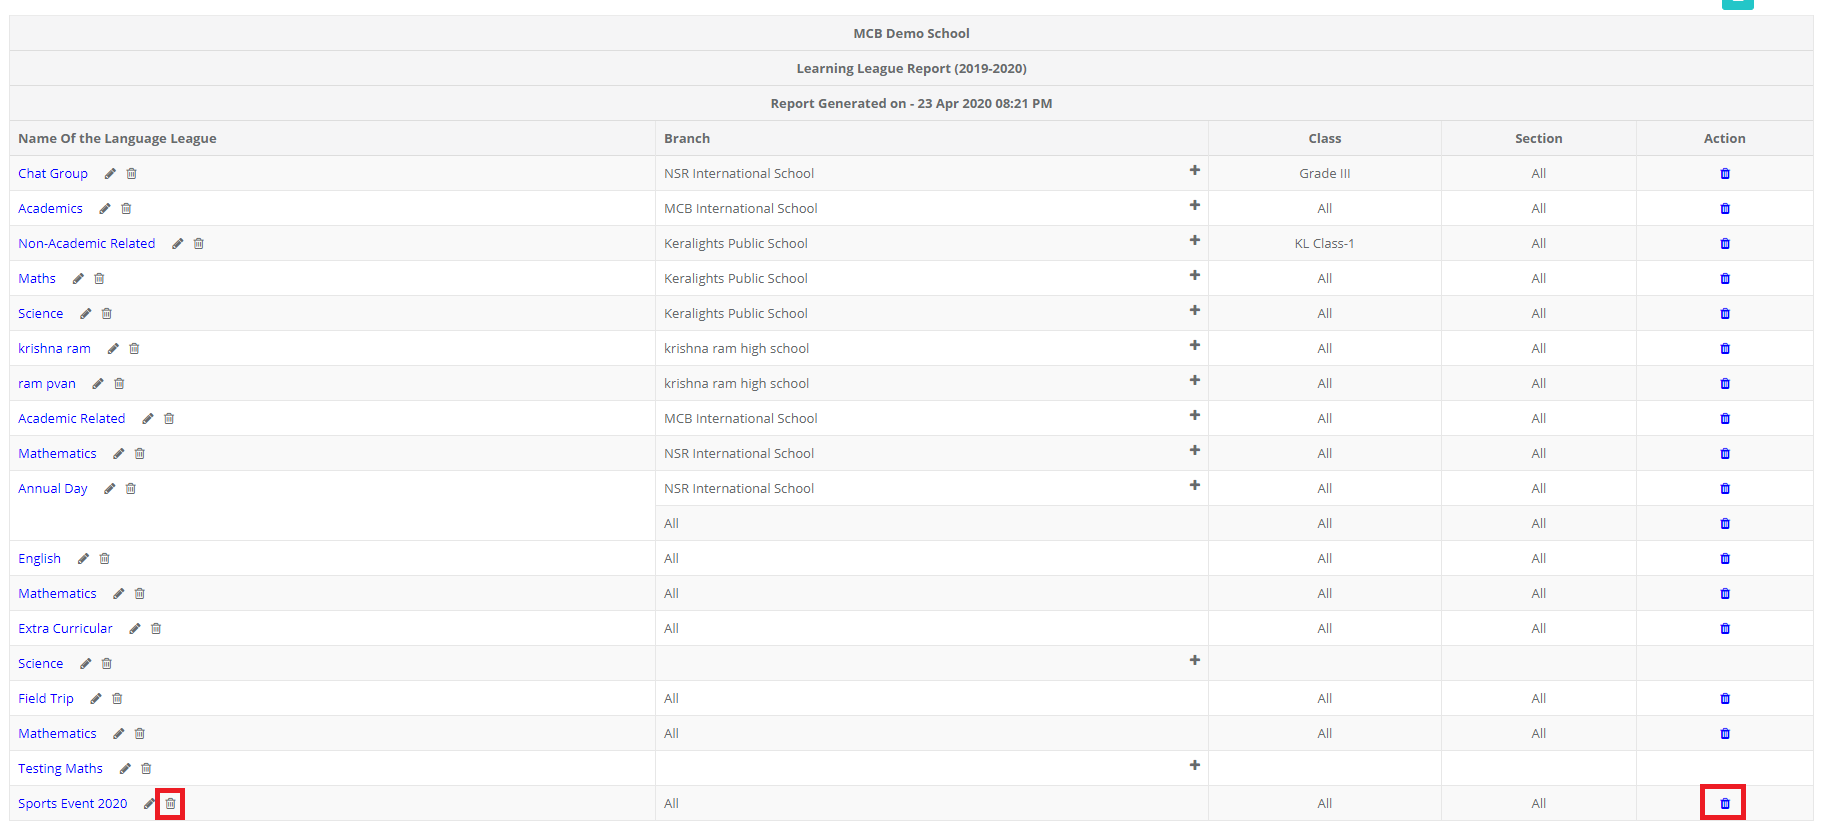
Step 11: Click Yes, to confirm the deletion or No to revert the action.

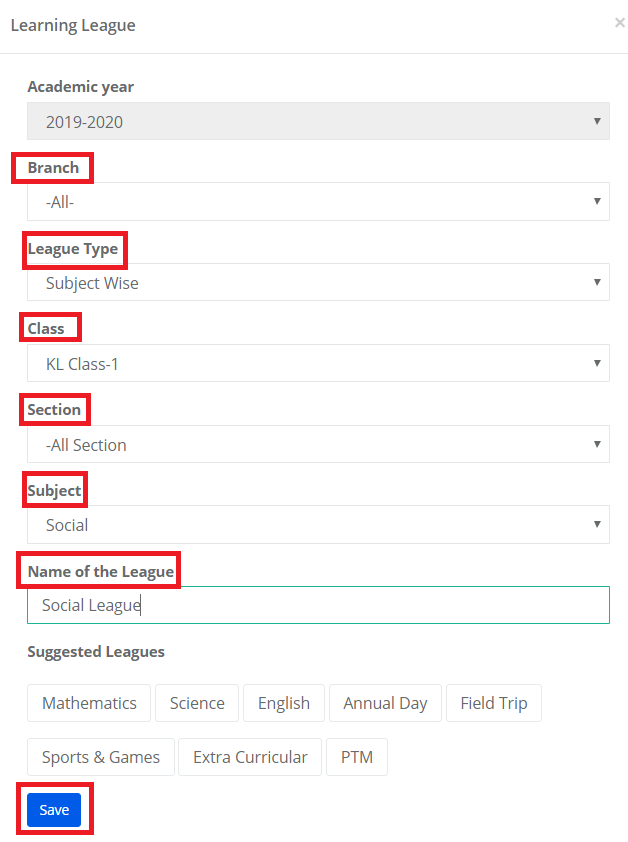
Step 12: To create a subject-specific league – The subject-specific league can be created by choosing one subject for a specific class. To create the league

Choose Branch, League type as Subject, Class, and Subject.

Choose All sections of the class or a specific section of the class.

Enter the League’s Name or choose from suggestions.

Click on the Save button to create the league.

Step 13: The subject-specific league is created for the selected branch, class, sections, and the subject. Hence we need not assign them separately unlike general league.

To Edit or delete the league, click on the respective icon and confirm.