Term Report Card Calculation Settings are made when you would like to show the results with Sum / Best/ Average, etc. Of all tests or specific tests. This feature helps you to make settings as per your school’s assessment policy.
To make the settings, pls follow the steps mentioned below.
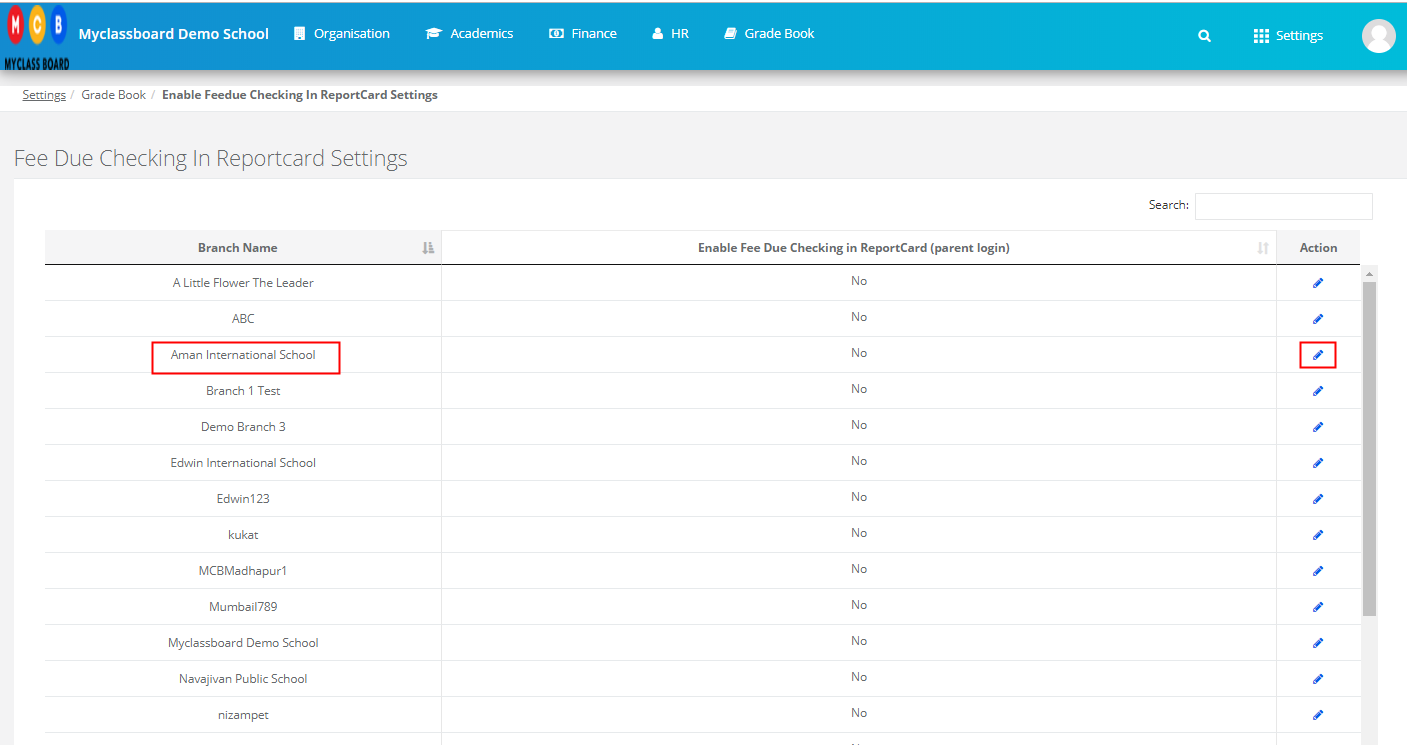
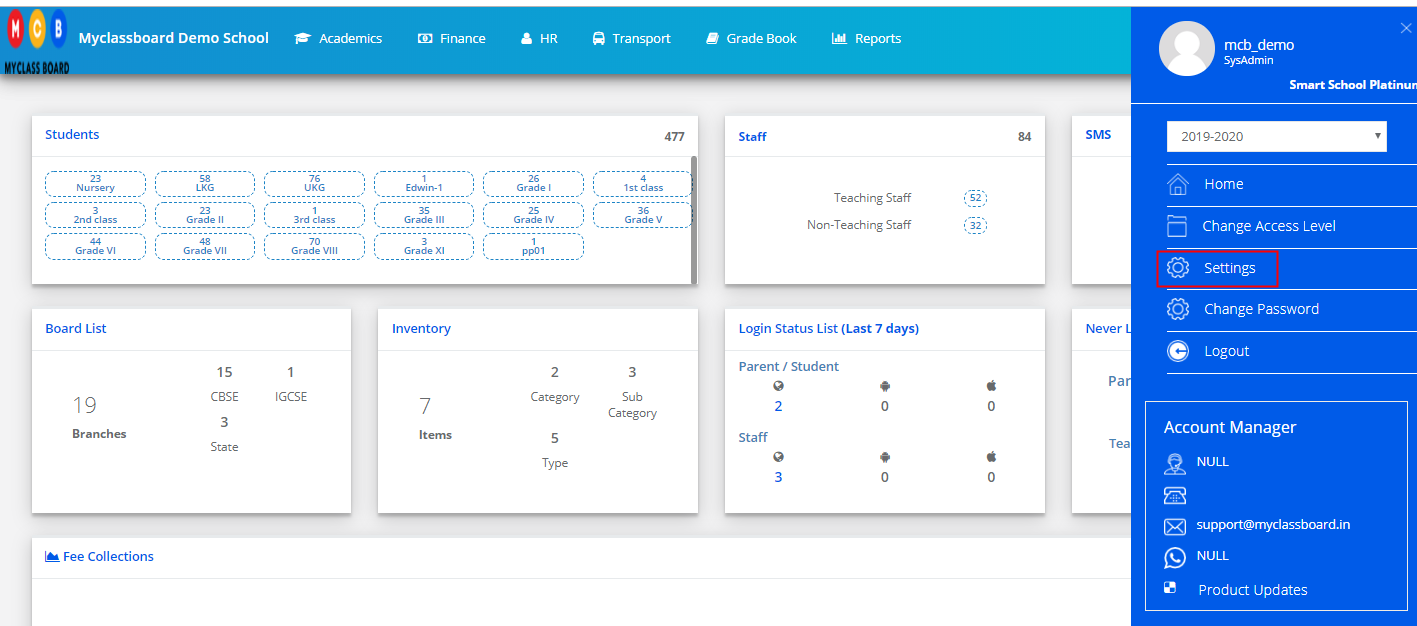
Step 1: Login to MCB and Switch to branch level by clicking on Settings on the right panel as you click on the user profile picture.
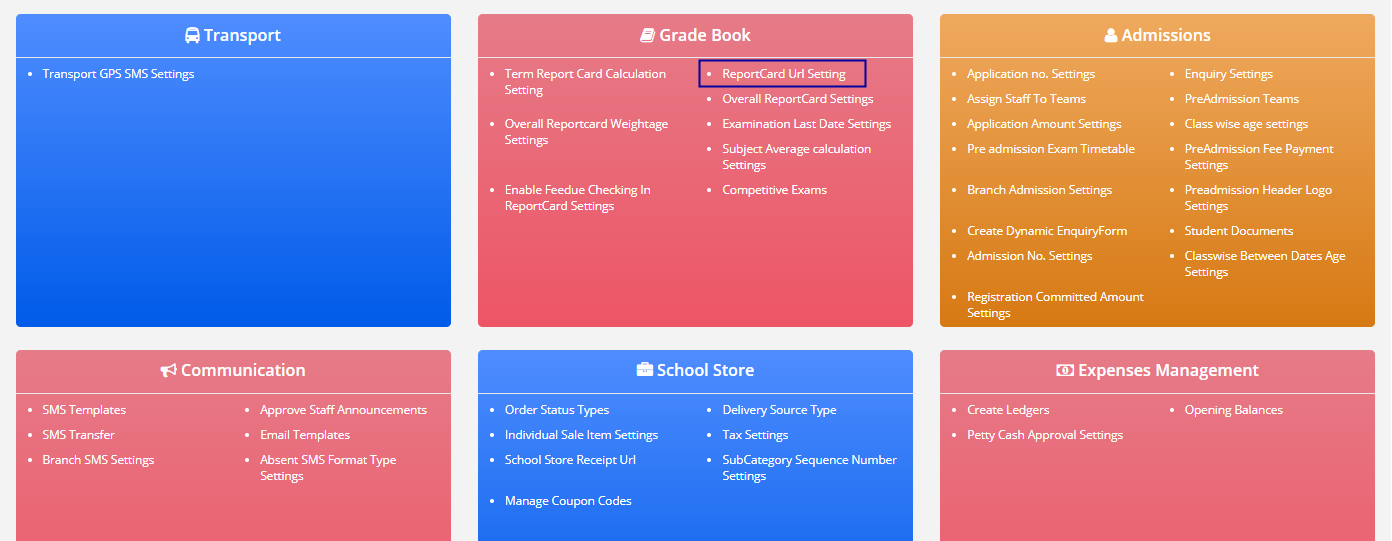
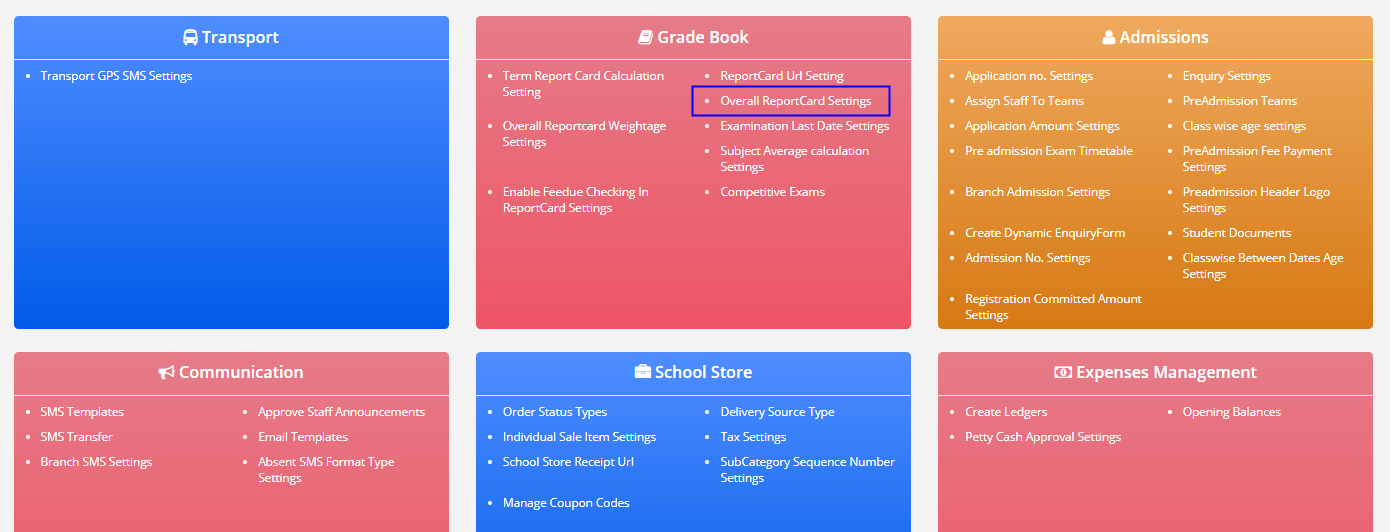
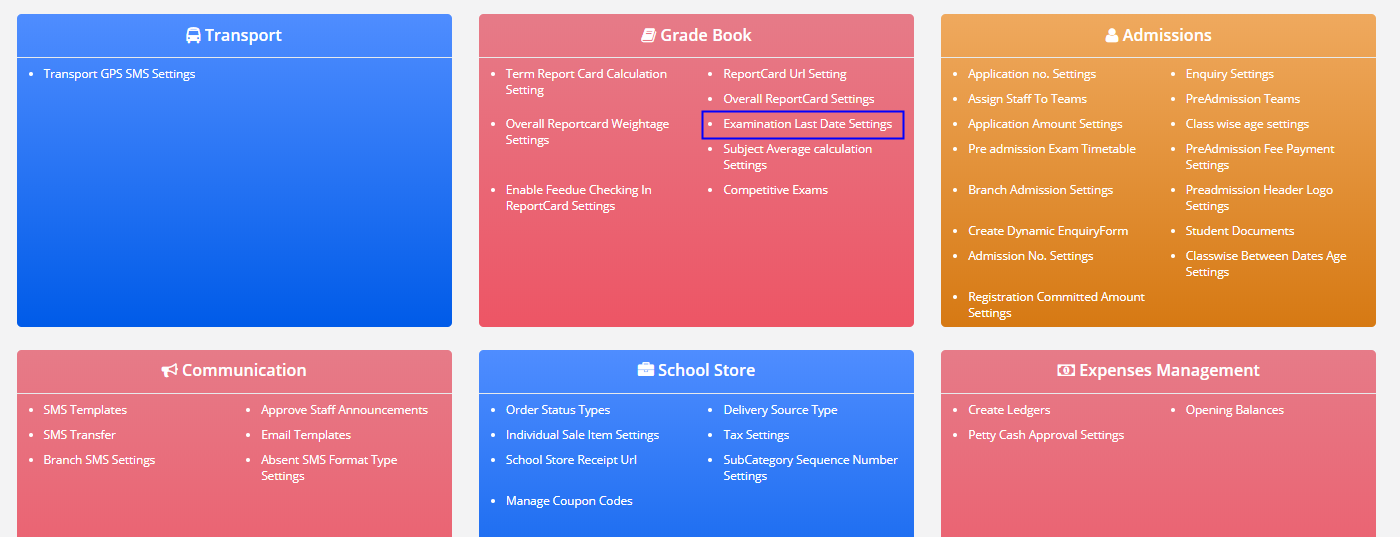
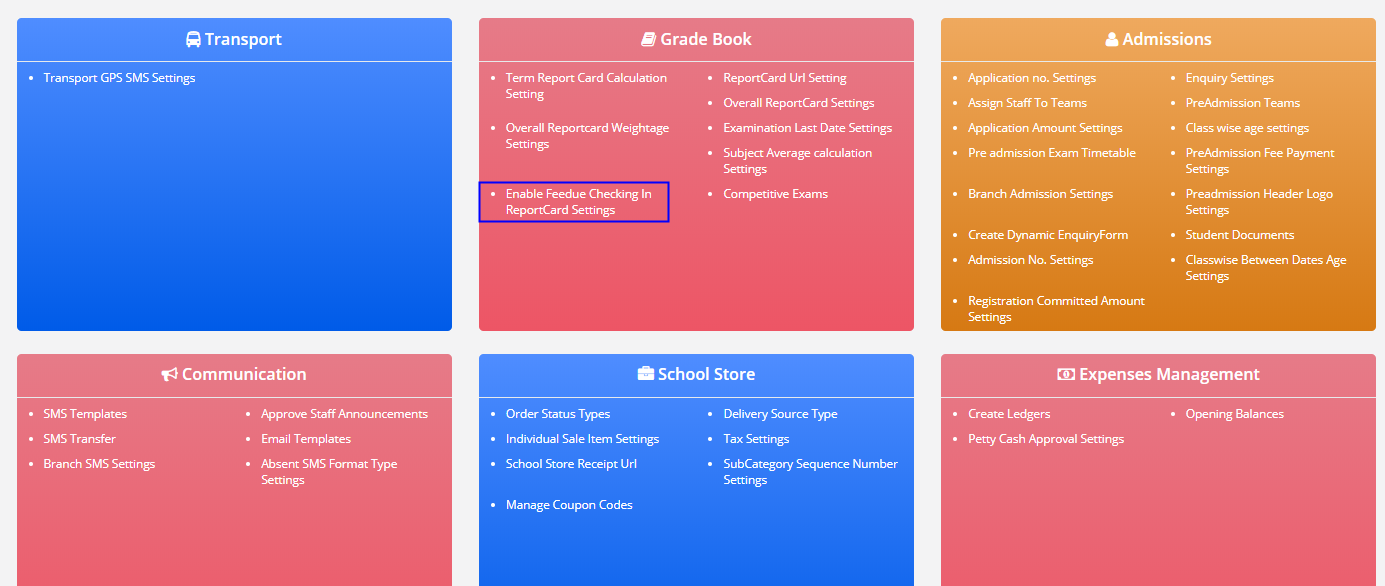
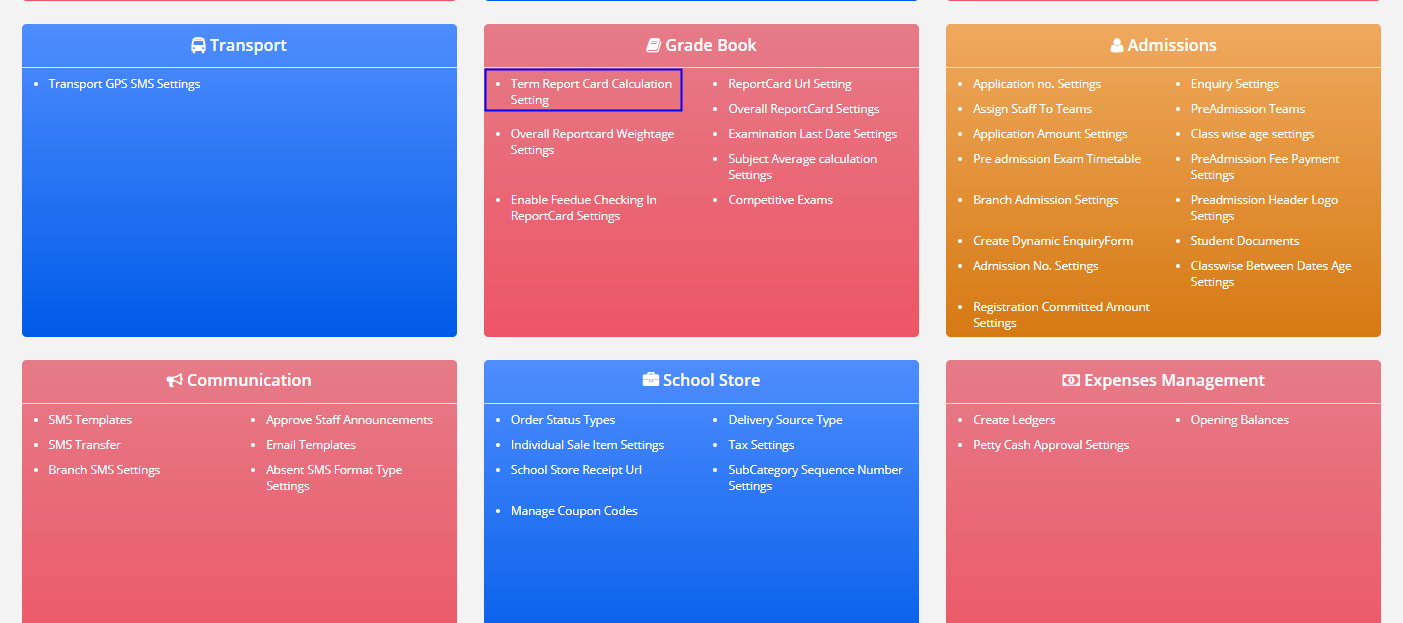
Step 2: Click on Term Report Card Settings under Grade Book Settings.
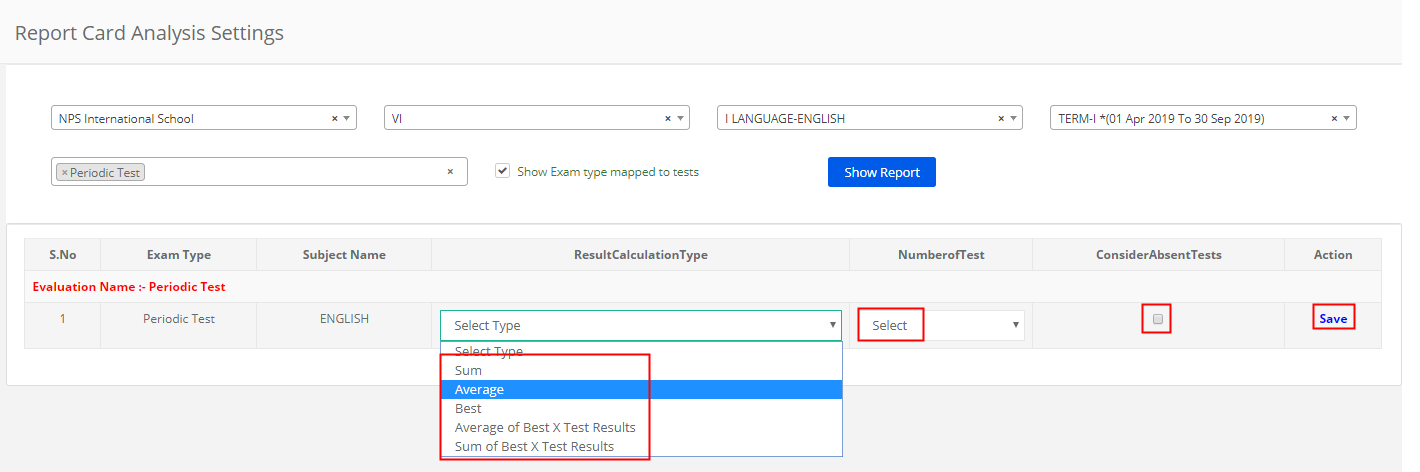
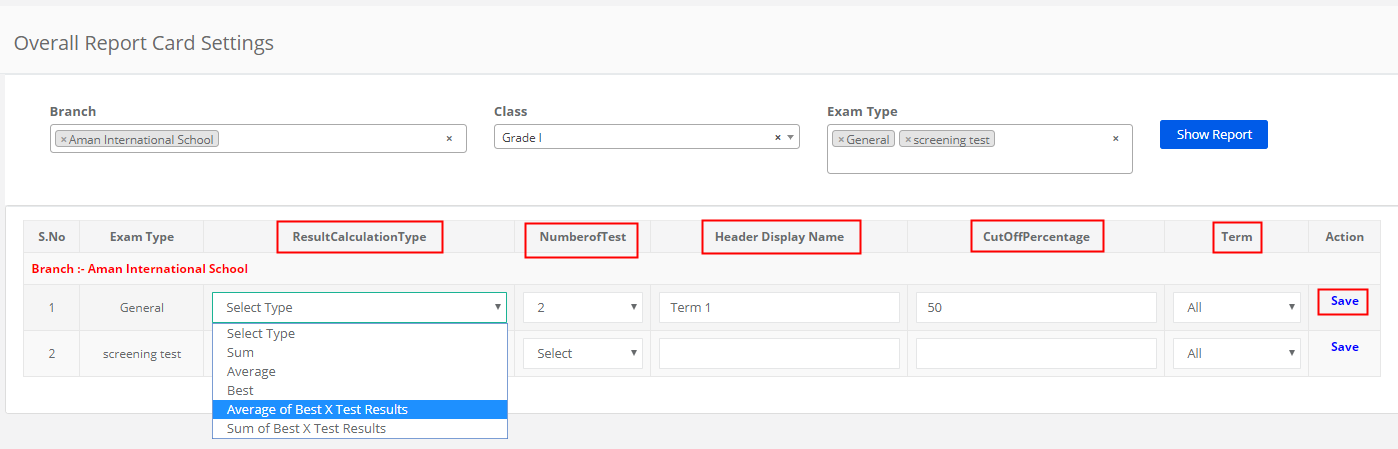
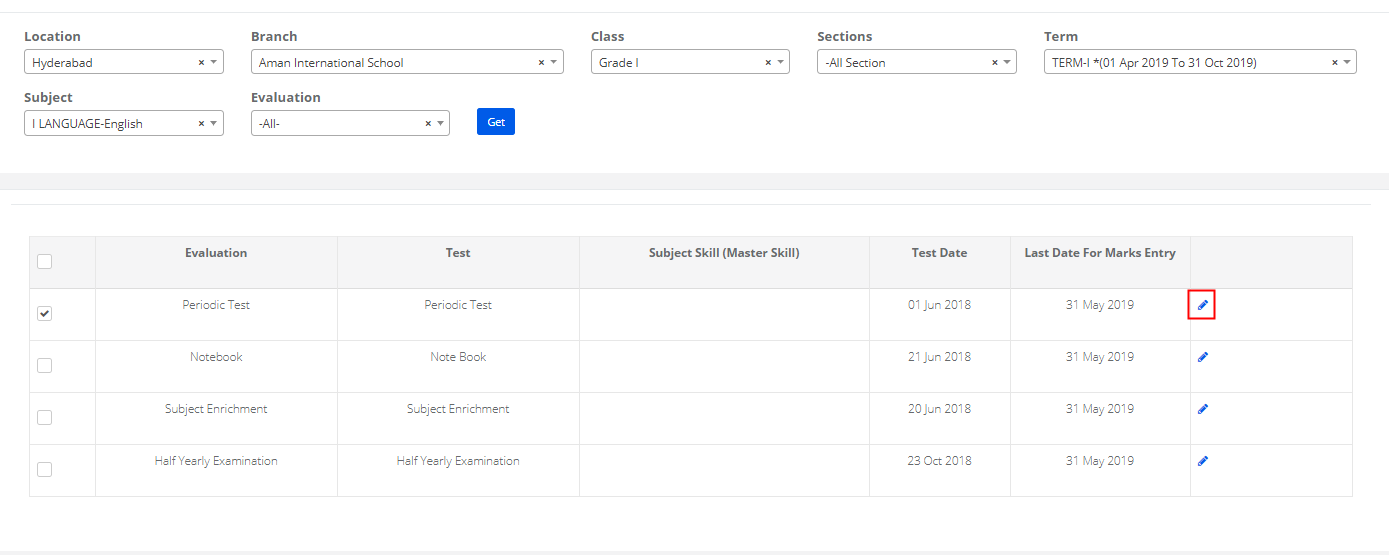
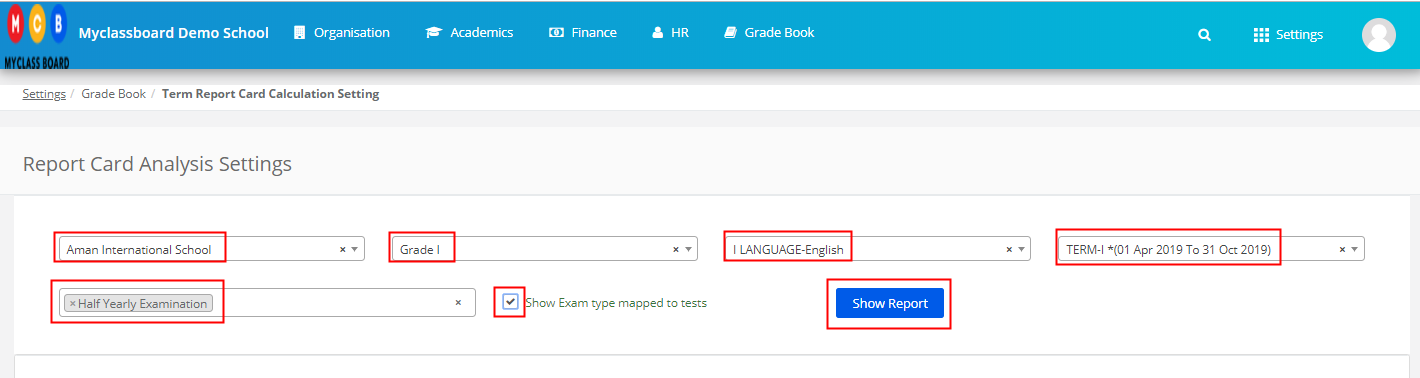
Step 3: Choose Branch, Grade, All subjects or specific subjects, term, all evaluations or specific evaluations, select the check box of show exam types mapped to tests and click on Show Report.
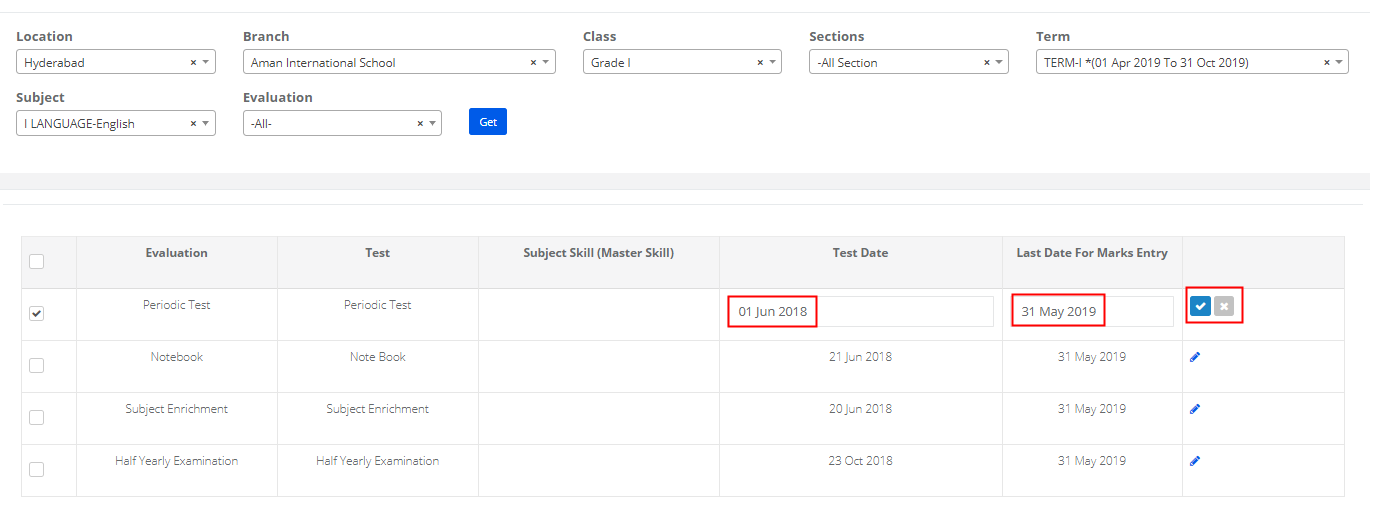
Step 4: Choose the calculation settings as per your requirement from the options available in the drop-down, choose the number of tests to consider for the calculation, select the check box consider absent to add the tests for which student is absent and click on Save option.