Step 1: Login and switch to a new version
Step 2: Choose Settings ( Click on user profile picture in the right corner)
Step 3: Under Academics – click on Create Certificate
Step 4: Select the location, Branch, Certificate type as ID Card, create a new certificate and click on get. If you wish to follow the same format for all locations and branches, select all in the respective fields.
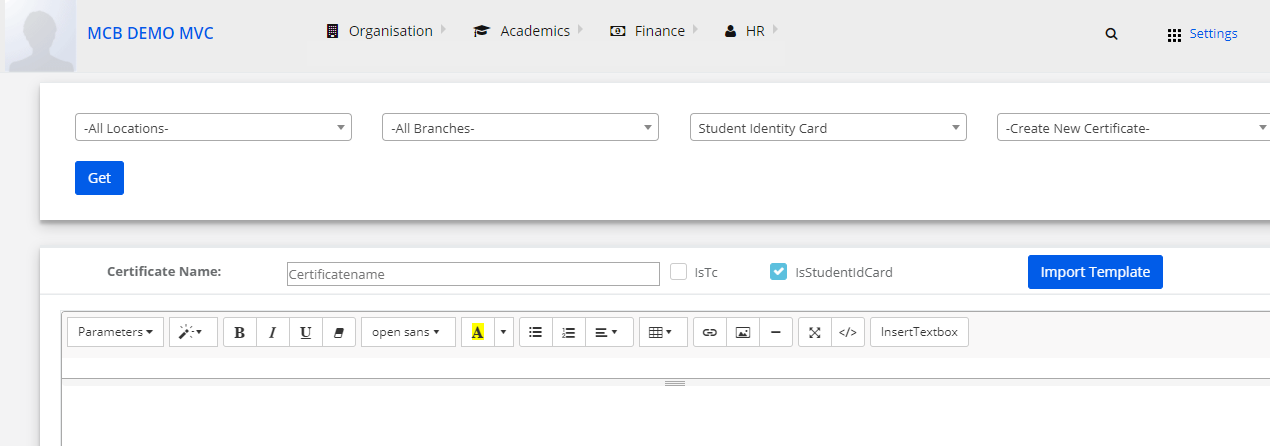
Step 5: Give Certificate Name and start creating the ID Card with the tools provided. Or you can choose from the templates available and make the necessary changes.
Step 6: To use the format from the template available, Click on Import Template button
Step 7: Choose the format that suits your requirement and click on use this template

Step 8: Edit the fields by choosing the required options from parameters tab, format the text and alignments from the tools available and click on Save.

Step 9: To access the ID card – search for student
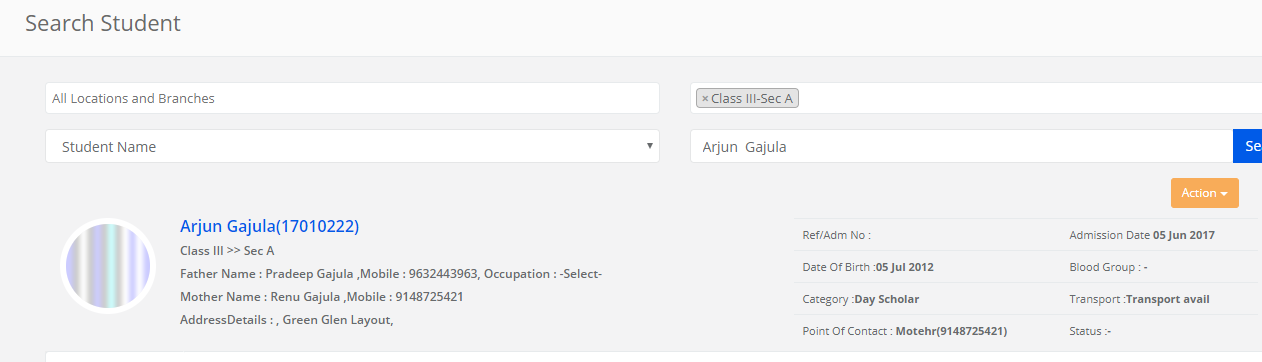
Step 10: Click on Action

Step 11: Choose Student Certificates
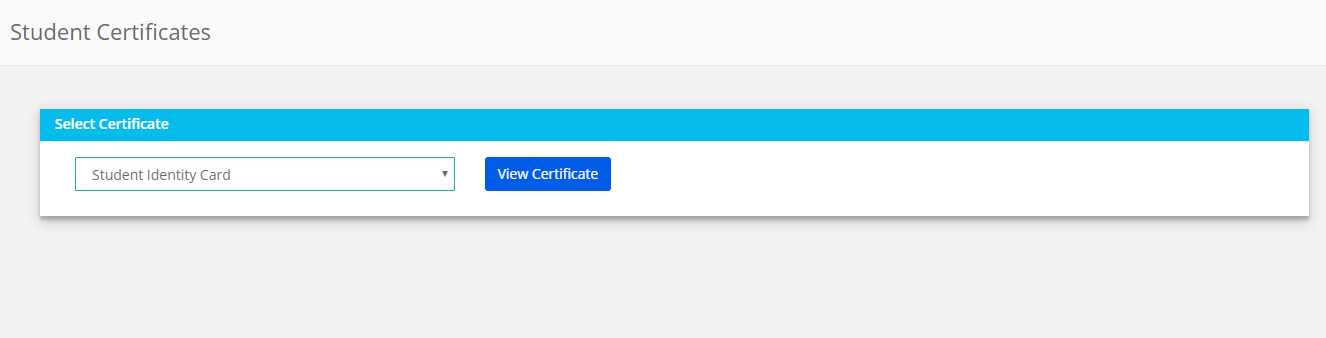
Step 12: Select Certificate Name and click on view certificate
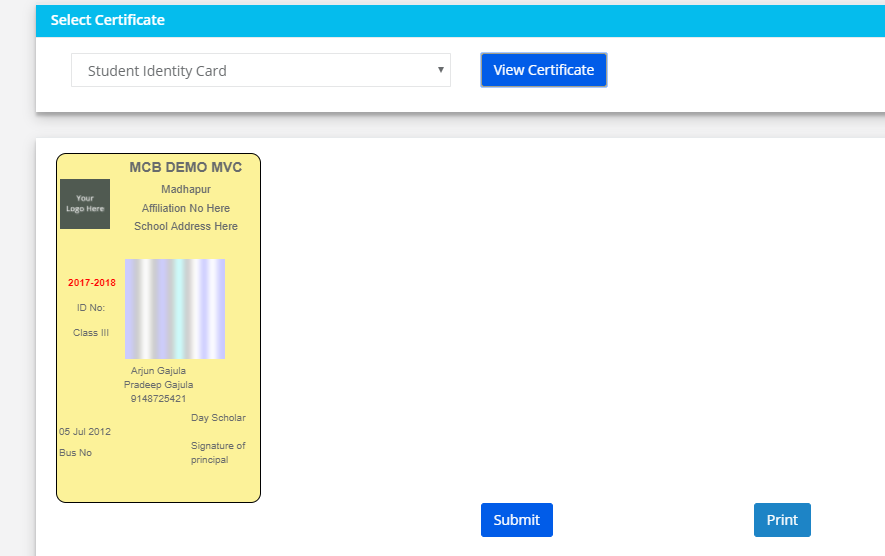
Step 13: You may save it or print it directly.