School can conduct elections for the designations created in its student council.
Student council can be formed with the designations School wise, class category wise and Class group wise.
Once the designations are added in the student council, you can conduct elections.
To create the election, pls follow the process mentioned below.
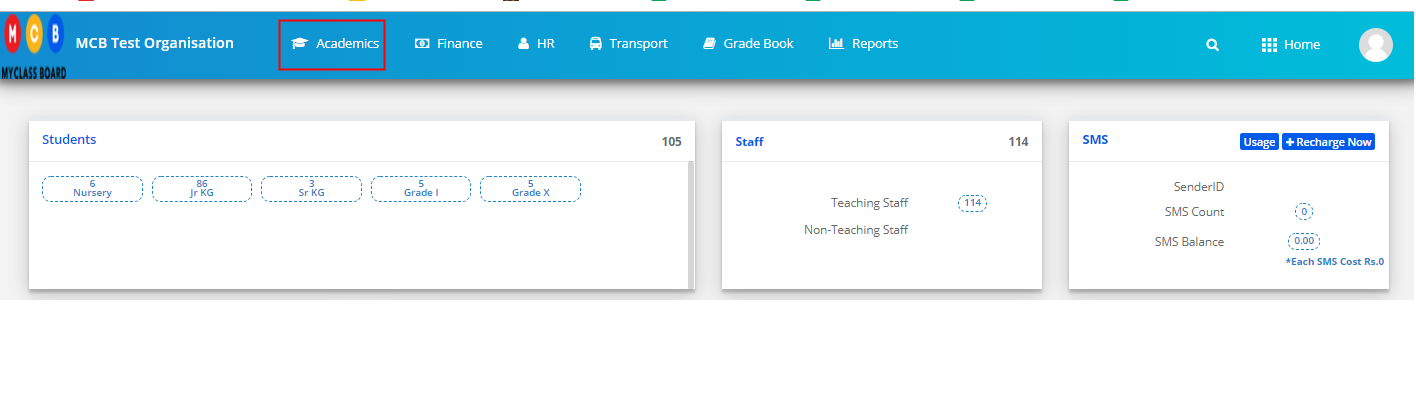
Step 1: Login to MCB and click on Academics on the top menu bar.
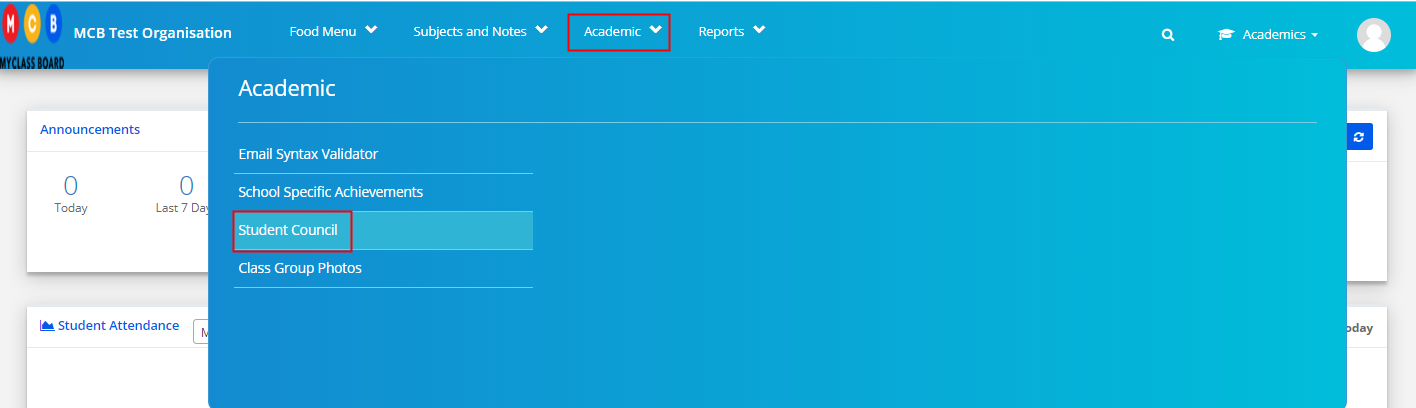
Step 2: Choose Student council option under academic menu
Step 3: Click on Manage Elections option.

Step 4: Click on Add Election Date option to create the Election.

Step 5: Choose academic year for which you are conduction the election, Branch name, and Election date. Enter Remarks and Click on Add button.

Step 6: To edit the election details, click on the edit icon.

Step 7: Make the necessary changes and click on tick mark to save the changes or cross marks to revert the changes.

Step 8: Click on Delete icon to delete the election.

Step 9: Click Yes to confirm and No to revert.

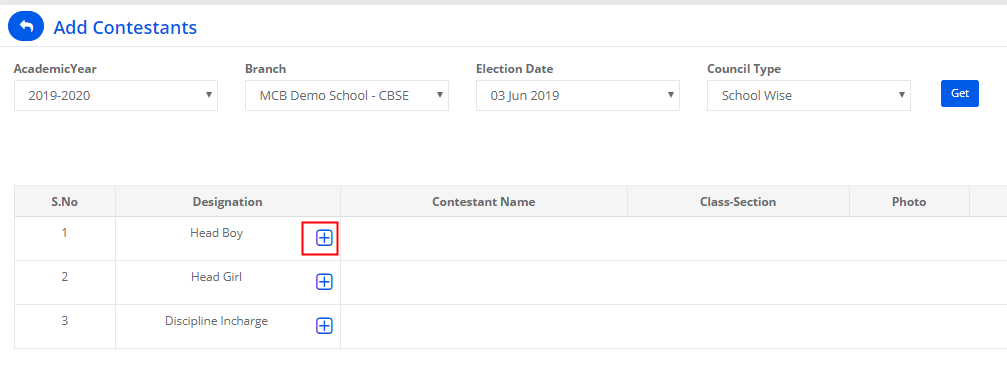
Step 10: To add contestants, Click on Add Contestants.

Step 11: Choose election date, council type and click on Get to list the designations available for the selected council type.

Step 12: To add contestant for a designation, Click on + sign against the designation.
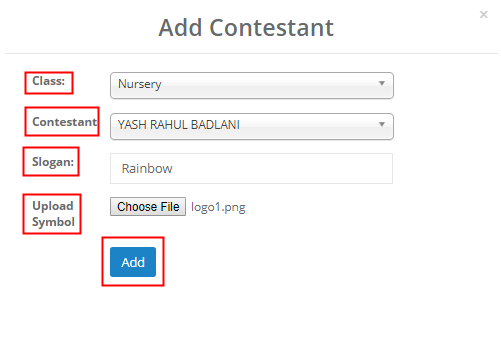
Step 13: Choose the student’s class from which he/she is contesting and name of the contestant. Enter the Slogan and upload the election symbol. Click on Add.
Step 14: Click on Edit icon to change the Slogan and Election symbol.
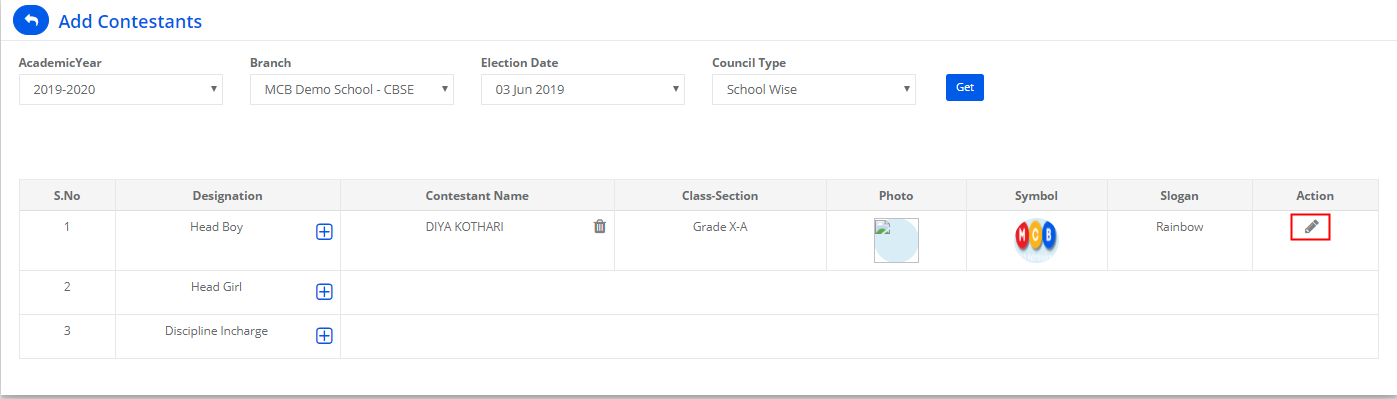
Step 15: Make the necessary corrections and Click on Update.

Step 16: To delete the contestant, Click on the delete icon.

Step 17: Click Yes to confirm the deletion or No to revert.
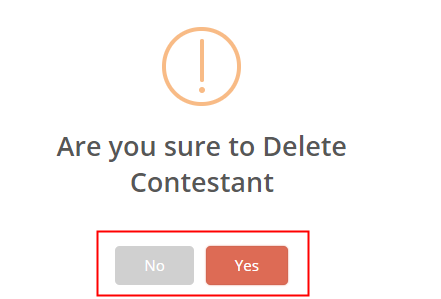
Note: when you delete the contestant, the slogan and symbol are also deleted along with the contestant.
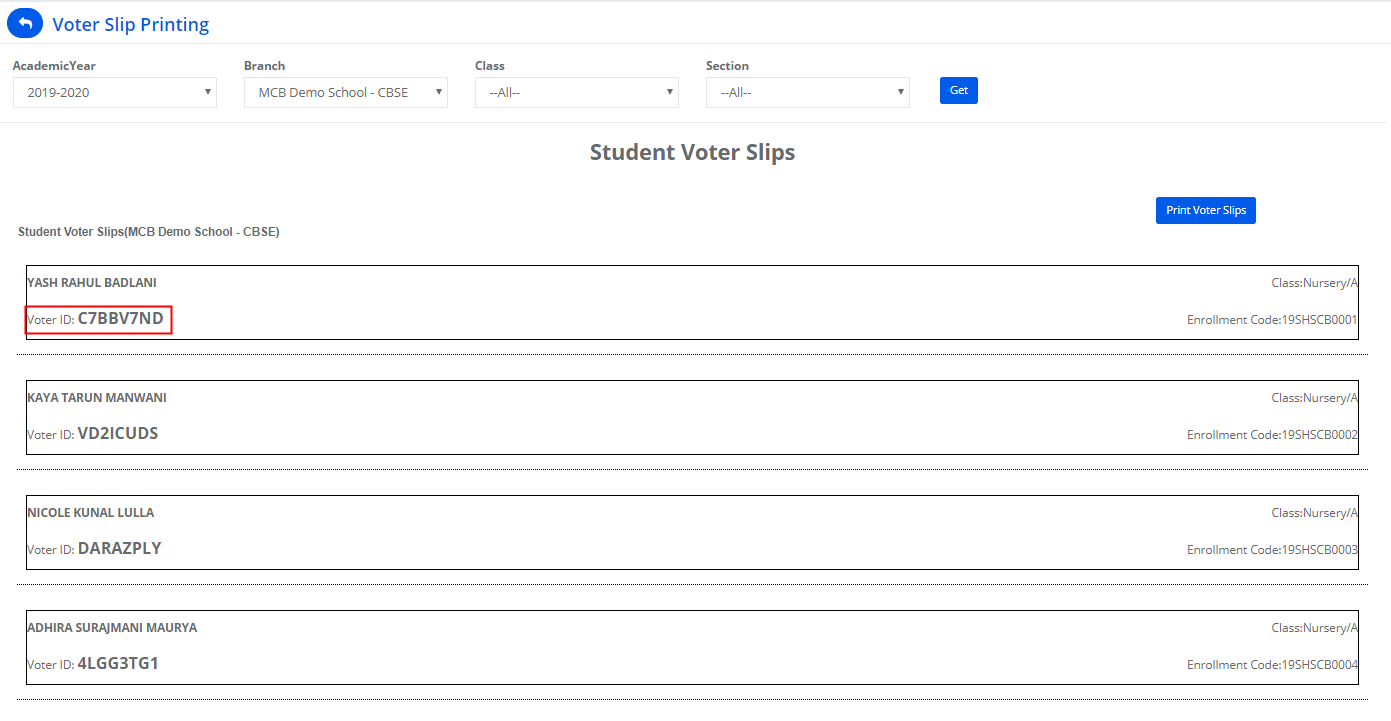
Step 18: Generate voter slip by clicking on Voter Slip printing option.

Step 19: Choose the Academic year, Branch, Class & sections who have the right to vote and click on Get.

Step 20: Click on Print Voter Slip option to print the slips.

Step 21: The Voter ID is used to login to the voting portal to cast the vote.
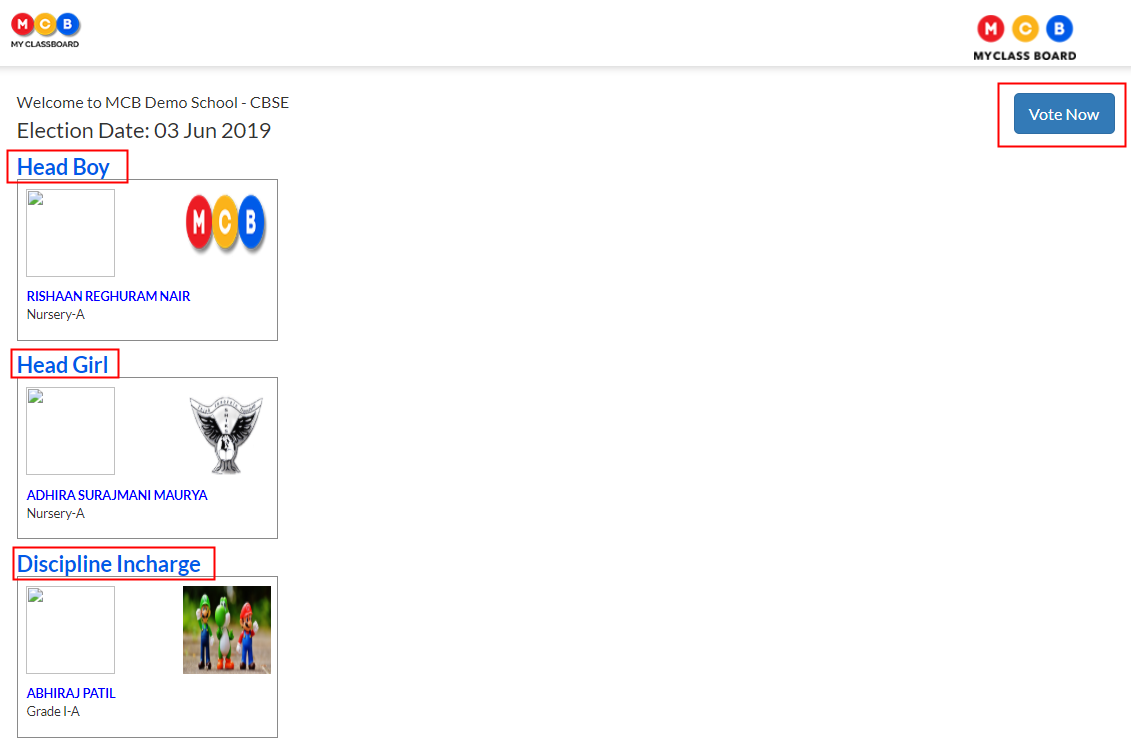
Step 22: To view the voting link, click on View vote link.

Step 23: The view vote page displays the list of contestant along with their details.
The vote now the link is enabled only on the date of polling.
This link needs to be made available for the students to vote on the day of the election.
Click on vote now to cast the vote.
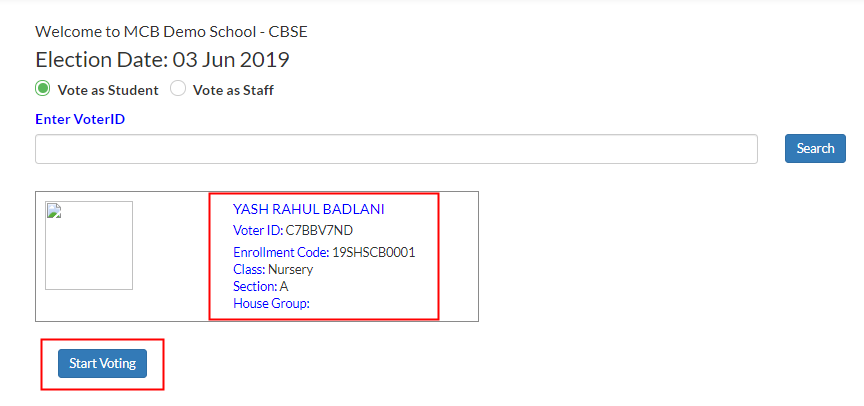
Step 24: Choose the role and enter the voter ID and click on Search.

Step 25: Student can verify the details and the entered code. Click on Start Voting button.
Step 26: Click on the contestant box to cast your vote against each designation and click on Save your vote button.

Step 27: To view the Election Results, Click on Election Results option.

Step 28: Choose Academic year, Branch, Council type, Election name/date and click on Get to view the results.

Step 29: Please note the details like No of votes available, No of student votes and staff votes casted for each contestant. The contestant who gets the more number of votes among all contestants is treated as winner and name is displayed in Green colour.
When you click on the number under student votes or staff votes, you will get the list of students/staff who voted.
You can export the report by clicking on the Excel option available on the top left corner of the report.
