What is KYA?
Know Your Aptitude | CBSE Aptitude Test 2019
Central Board Of Secondary Education (CBSE) recently introduced KYA for the students. The Know Your Aptitude (KYA) or CBSE Aptitude Test was launched to make students aware of their skills and strengths. The test will help students in deciding what choices they should make for the future. The test is launched for the students of 9th and 10th Class.
Know Your Aptitude (KYA) test covers seven areas: Language Aptitude (LA), Abstract Reasoning (AR), Verbal Reasoning (VR), Mechanical Reasoning (MR), Numerical Aptitude (NA), Spatial Aptitude (SA), and Perceptual Aptitude (PA).
Understanding The Meaning Of KYA– Test Scores
1. To know how a student has performed on different sub-tests of aptitude, you need to have an
estimate of her/his standing among students of the same class.
2. The total score obtained on each sub-test will become meaningful when converted to a standard
score, which is called the “Sten score”. These are in the range of 1 to 10.
3. To convert the score obtained on a particular sub-test into Sten score, consult the relevant Norms
table depending on the Class to which the student belongs.
4. Record in KYA – Aptitude Test Report Sheet, the students score on all subtests,
its corresponding Sten score and description of Sten score.
5. Plot the sten scores obtained on the seven sub-tests on the graph given in the KYA – Aptitude Test
Report Sheet.
6. Now identify those aptitudes in which the student has scored high. This can be clearly seen in the
KYA – Aptitude Test Report Sheet. Keep in mind these identified sub-tests.
High aptitude in a subtest may be used to facilitate exploring of courses and occupations related to
that particular aptitude. Suggestions/Remarks need to be based on a students’ performance in these
subtests/aptitudes of the KYA- Aptitude Test.
An Example To Score, Record And Explain KYA – Test Results
Let us now see how to understand the performance of Manju, a girl studying in class IXth in one of the schools.
Steps:
1. Fill in the details of the student in the KYA- Aptitude Test Report Sheet ).
2. Calculate the score obtained on the first sub-test i.e. LA sub-test by counting all the correct
responses using the Scoring Key – Stencil. Let us assume that the total right responses/score of
Manju is 15 on LA.
3. Convert score 15 to sten – score by referring to Norms Table for Class IX (Girls).
As can be seen, the score of 15 on LA falls in Sten 5. Therefore Manju’s Sten score on LA is 5.
4. Check the Description table to understand the meaning of this Sten score. The Sten
a score of 5 on LA sub-test indicates that her performance is in “Average” range.
5. Record on the KYA – Aptitude Test Report Sheet:
(i) The obtained score i.e. 15.
(ii) Corresponding Sten scores i.e. 5.
(iii) Description of Sten score specific to LA sub test i.e. “average”.
6. Now for the remaining sub-tests, let us assume that Manju has scored 27 in AR, 25 in VR, 6 in MR,
19 in NA, 11 in SA and 43 in PA. Repeat the steps 3 to 5 for the remaining sub-tests.
7. Plot Sten-scores on the graph.
8. Identify those sub-tests/aptitudes in which Manju has scored high.
9. Based on Manju’s performance, offer suggestions/remarks.
Here is the sample KYA report sheet based on the above example.

KYA Test marks Entry: can be done from system admin and branch logins.
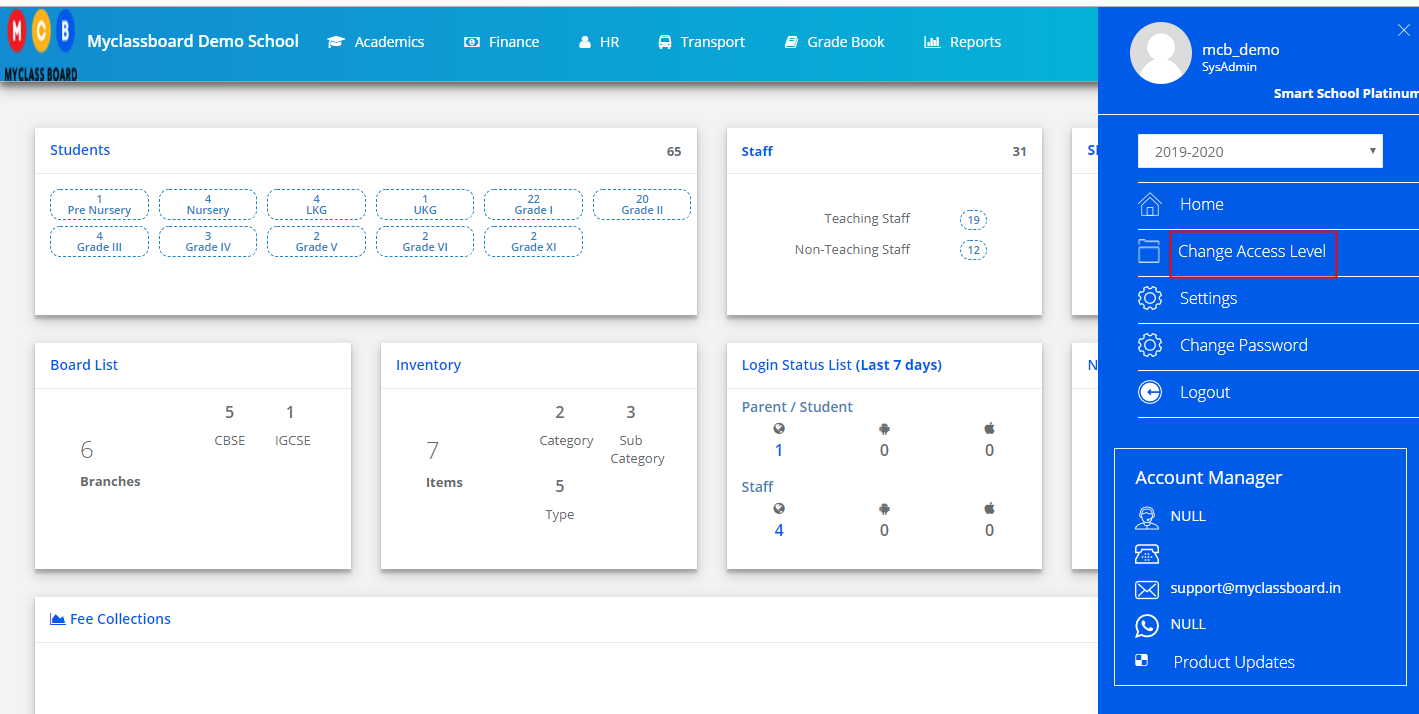
Step 1: Login to MCB and Switch to branch level by clicking on Change access level on the right panel as you click on the user profile picture.
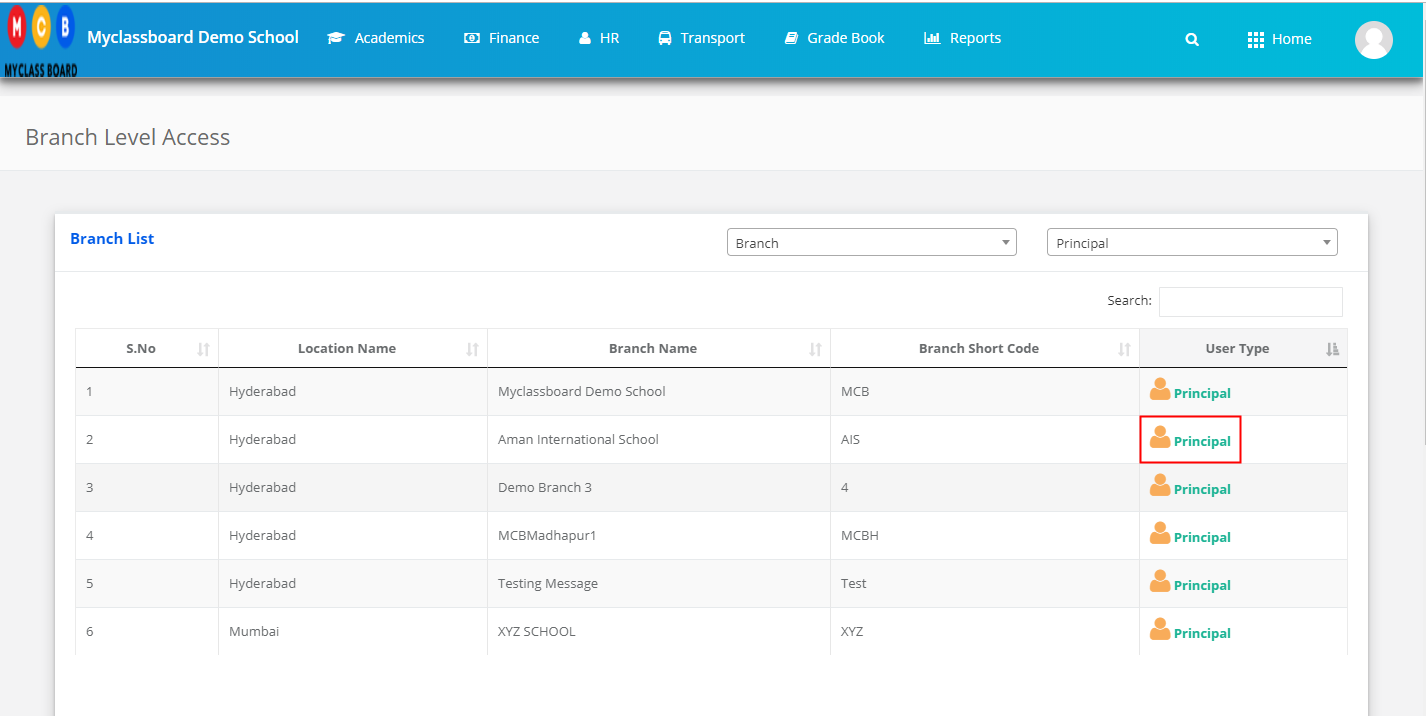
Step 2: Click on the user type against the branch name.
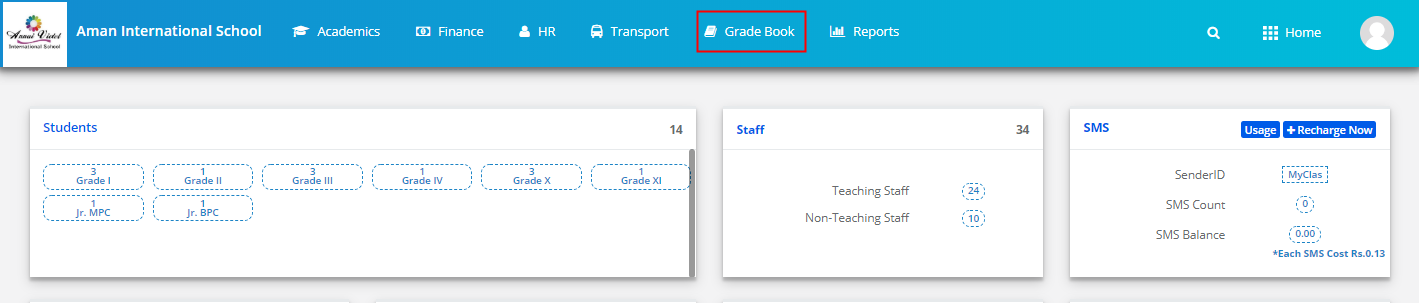
Step 3: Click on the Gradebook on the top menu bar.
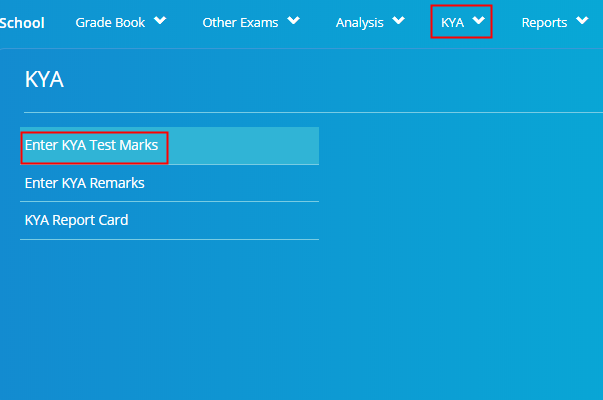
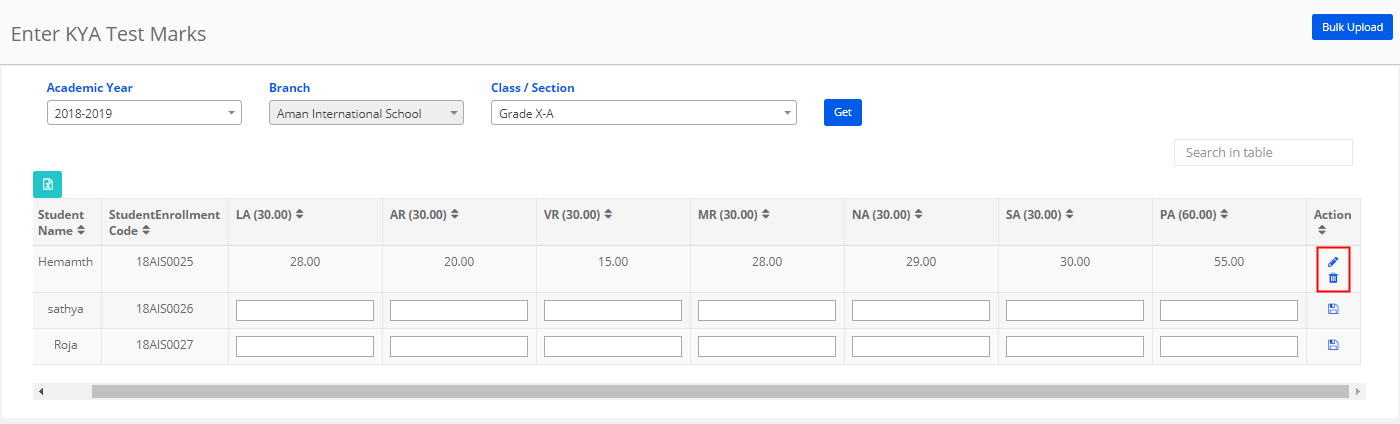
Step 4: Choose Enter KYA Test Marks under KYA menu.
Step 5: Choose Academic year, class & section and click on Get to get the list of students.

Step 6: Enter the marks under each parameter and click on Save.

Step 7: You can edit or delete the marks by clicking on the respective icon against the row.
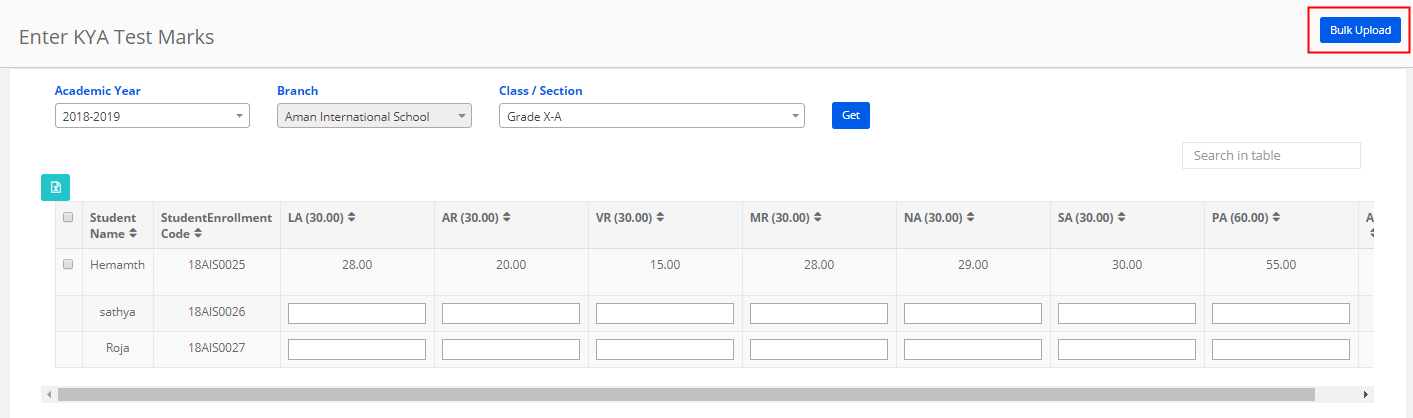
Step 8: To upload, Click on Bulk Upload button available on the top right corner.
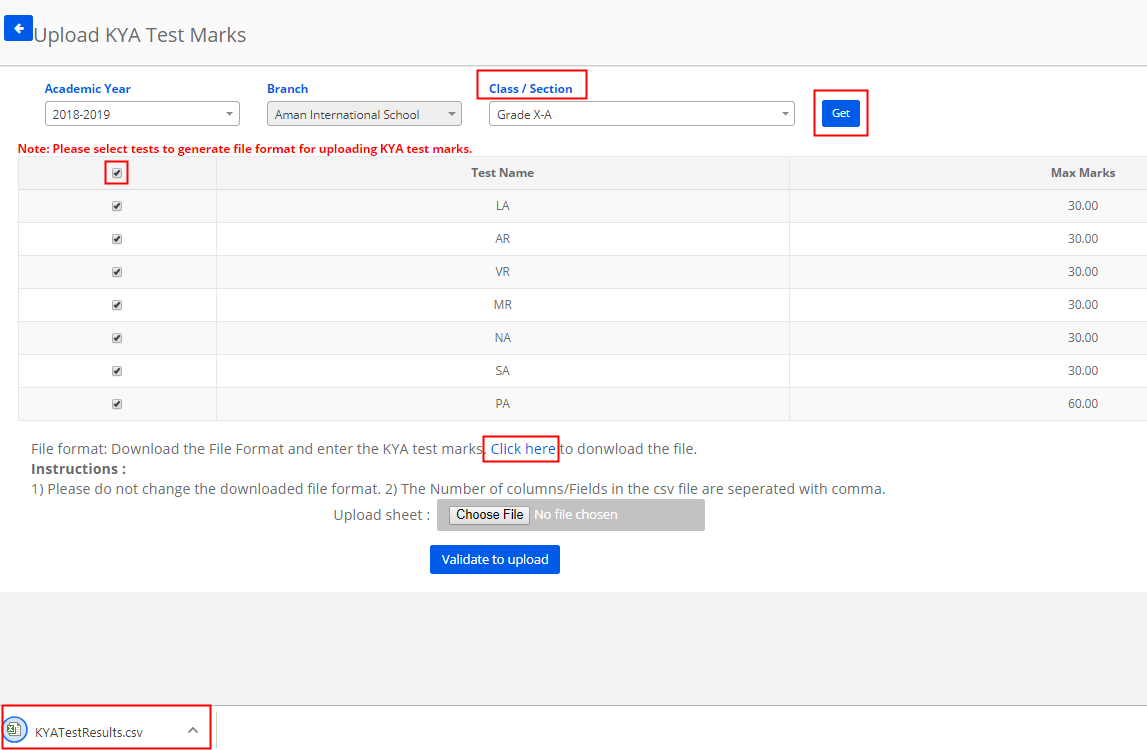
Step 9: Chose the class details, click on Get, Choose all or specific parameter for which you would like to enter marks for and click on Click here link to download the file format.
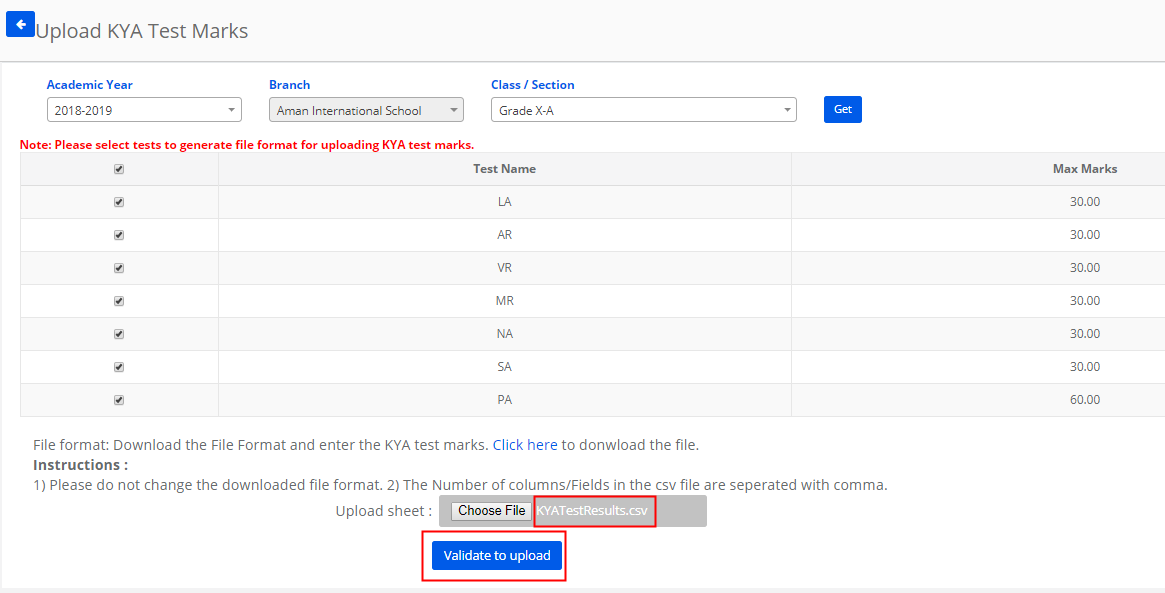
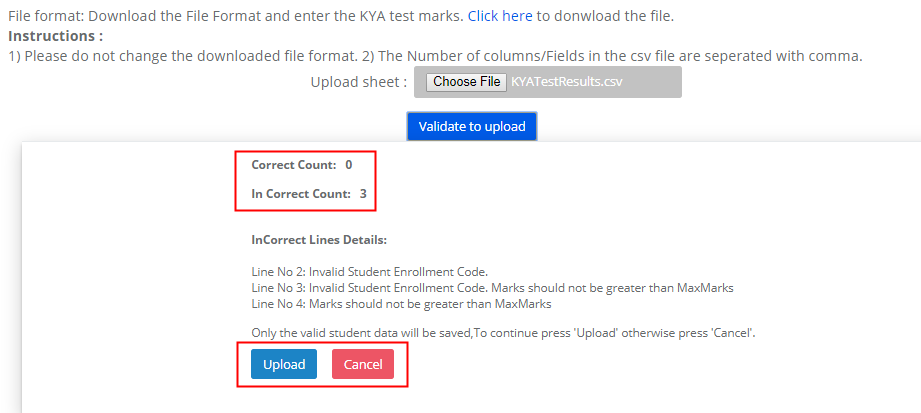
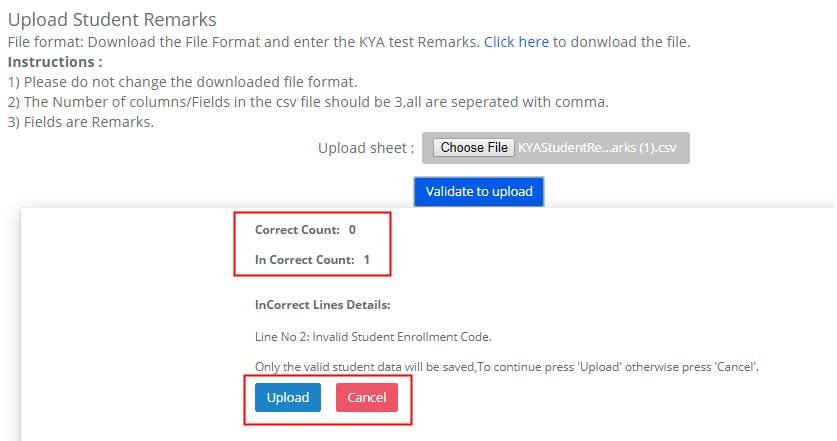
Step 10: Enter the marks and save the file. Please make sure you do not change the file format while saving the file. Browse the file from your computer and choose it. Click on Validate to upload.
Step 11: Check the correct records count and click on the upload button to save the marks or cancel to revert.
KYA Remarks Entry:
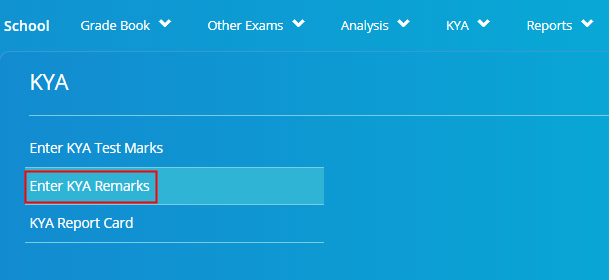
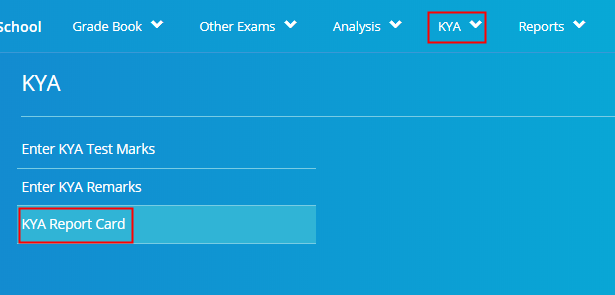
Step 12: Choose Enter KYA Remarks option under KYA menu
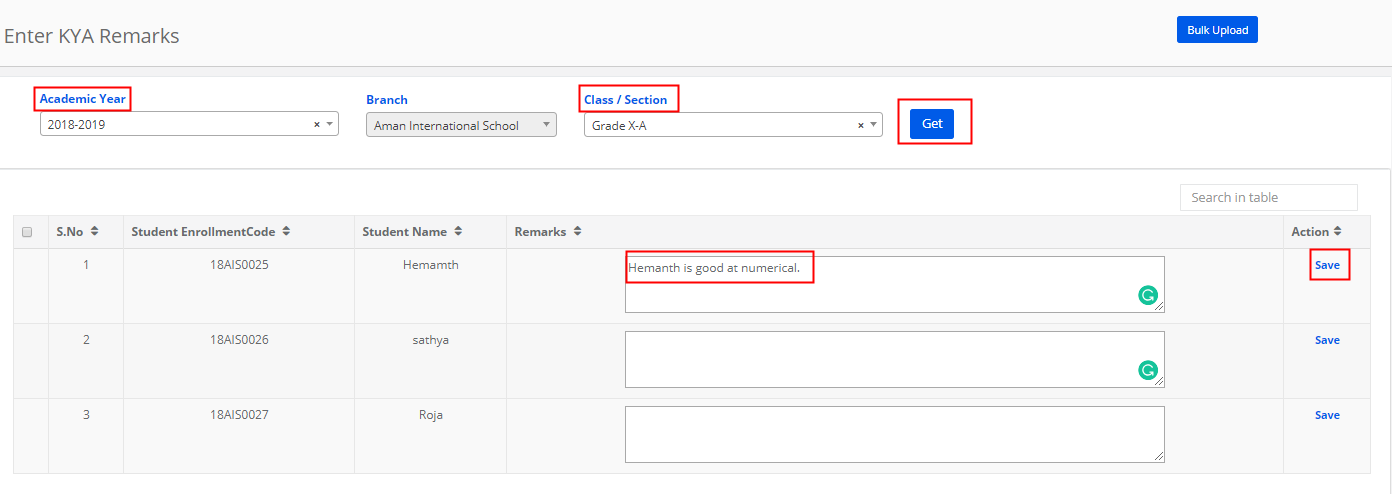
Step 13: Choose an academic year, class/section, click on get. Enter remarks against the student name and click Save.
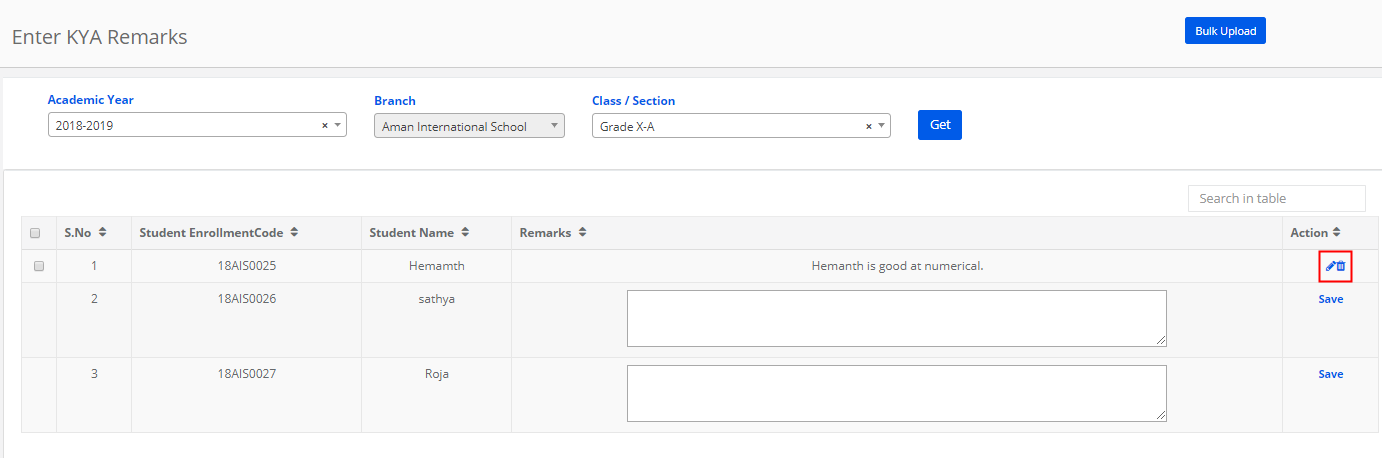
Step 14: To edit or delete the remarks, click on the respective icons.
Step 15: To upload, Click on Bulk Upload option available on the top right corner.

Step 16: Choose Academic year, class/section and click on Get. Click on Click here link to get the file format downloaded.

Step 17: Check the validation message and click on upload to save the remarks or cancel to revert.
KYA Report Sheet Generation:
Step 18: Choose KYA Report Card option under KYA menu.
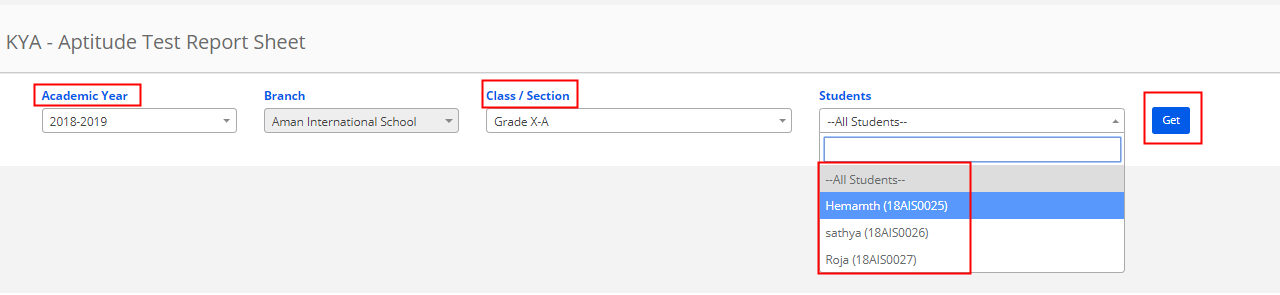
Step 19: Choose Academic Year, Class & Section, All students or specific students from the drop down for whom you would like to generate the report and click on Get.
Step 20: Click on Print to print the generated KYA report of the students based on your selection.
