Student Feedback forms are designed to take feedback on General Areas of school and Subject-specific areas defined by the school.
Feedback can be taken on a defined rating scale for all questions added in the form.
A comprehensive report is made available for general and subject feedback forms separately with tabular and graphical views.
The feedback form can be created only from the system admin login.
Create Feedback Type:
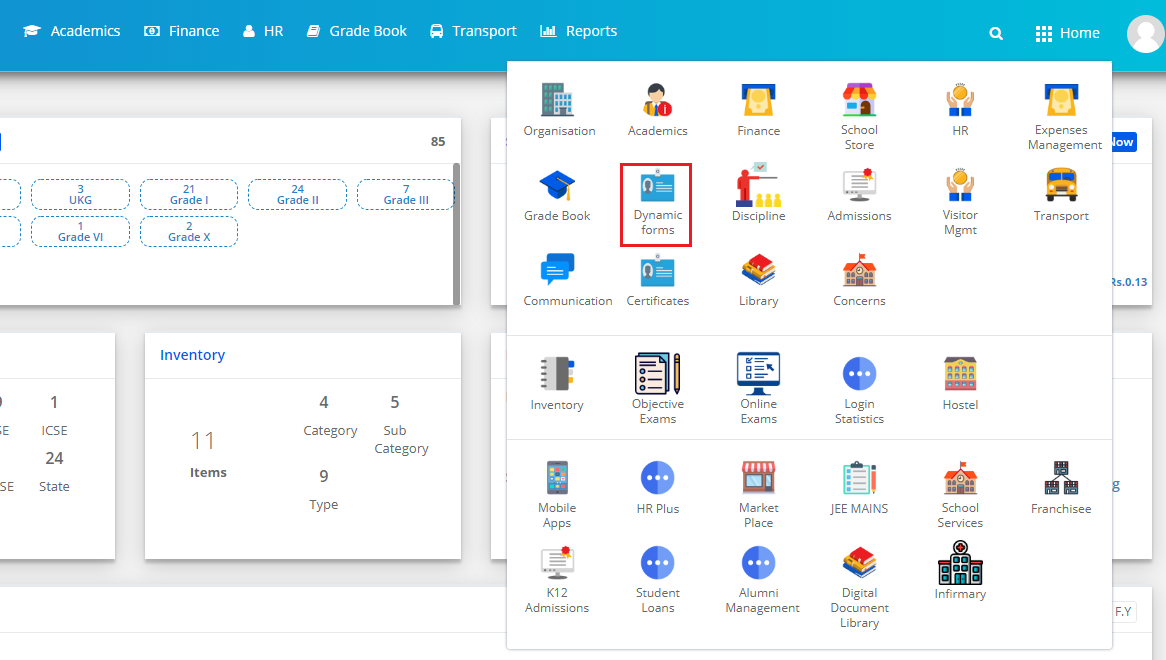
Step 1: Login to MCB with System Admin credentials and visit Dynamic Forms Module.
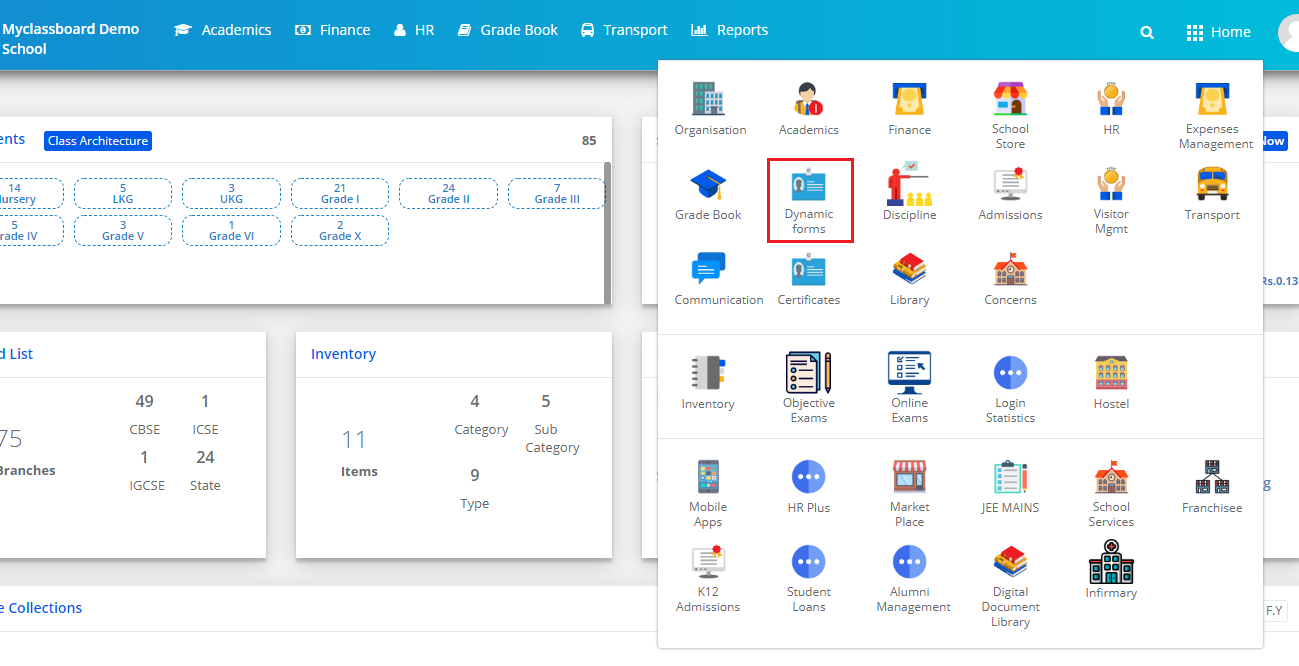
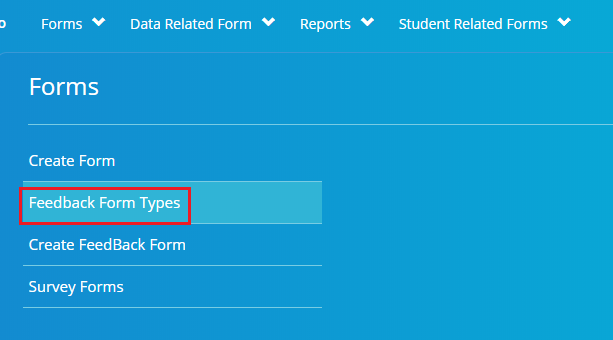
Step 2: Click on Feedback Form Types link to create the Feedback Types and the questions pertaining o the type.
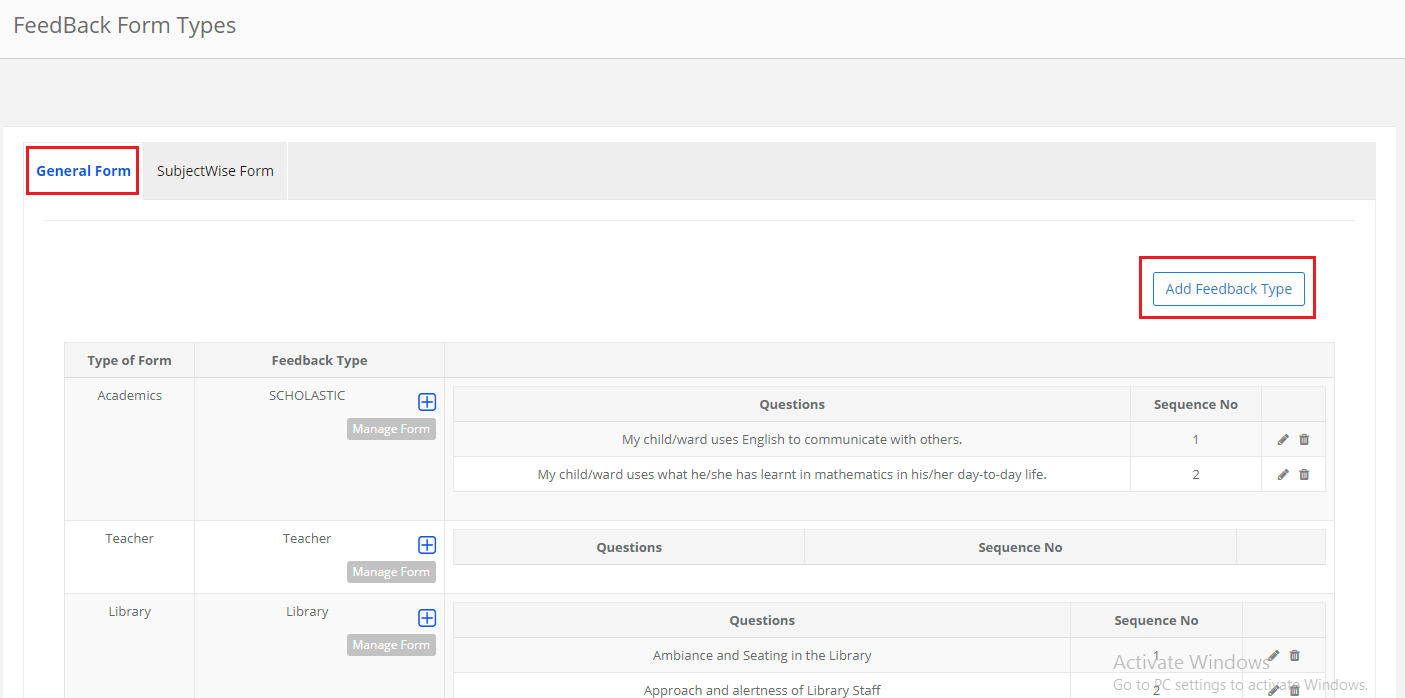
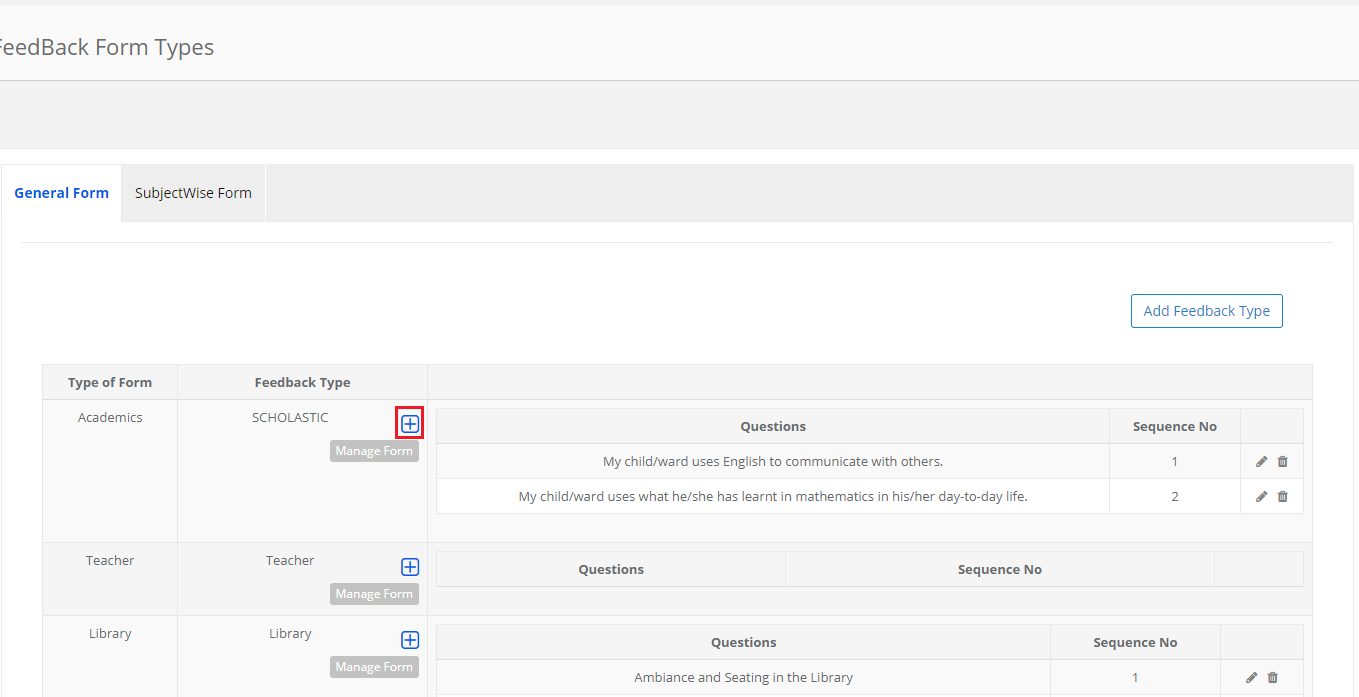
Step 3: To create Feedback type for general forms, Click on the General Form tab. It will list the types that are already available under the category. To add a new feedback type, Click on the Add Feedback Type button.
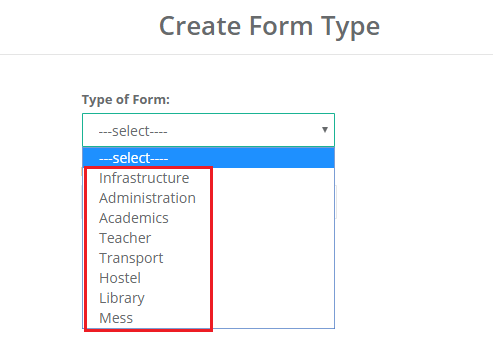
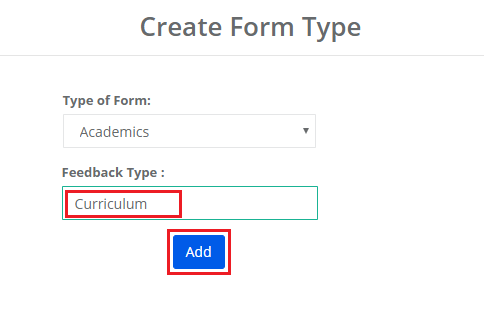
Step 4: Choose the Form Type from the available options in the dropdown.
Step 5: Enter Feedback type against which you will create the questions. Click on the Add button.
Step 6: To add questions for the Feedback type, Click on “+” sign against the type.
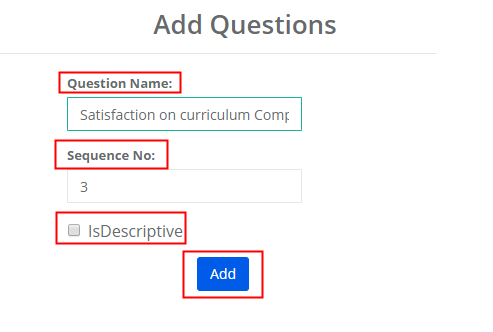
Step 7: You can create 2 types of questions like the question to be answered based on rating and question that accepts the description.
Enter Question, Sequence Number and select the checkbox against the IsDescriptive if the question is descriptive type and click on Add button to save the question.
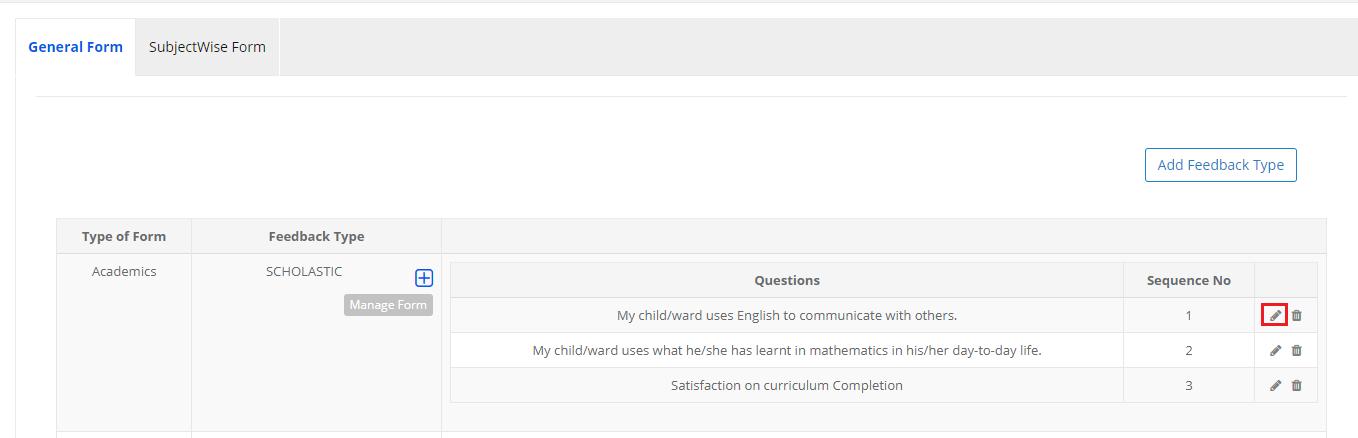
Step 8: To edit the question, click on Edit Icon against the question.
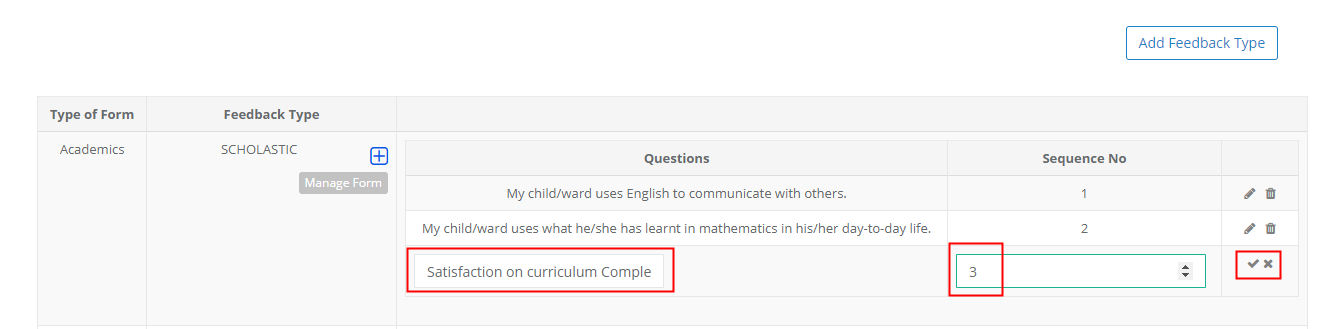
Step 9: Make the changes required and click on the Tick mark to save the question or Cross mark to revert the changes.
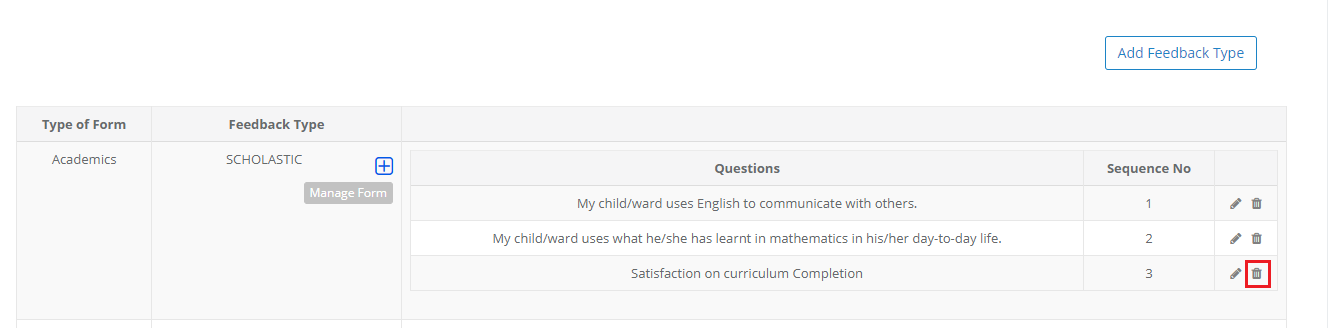
Step 10: To delete a question, click on the delete icon against the question.
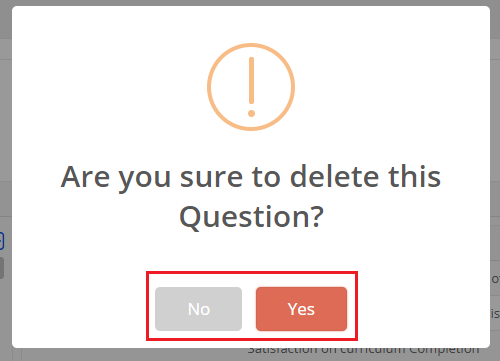
Step 11: Click yes to confirm the deletion or No to revert.
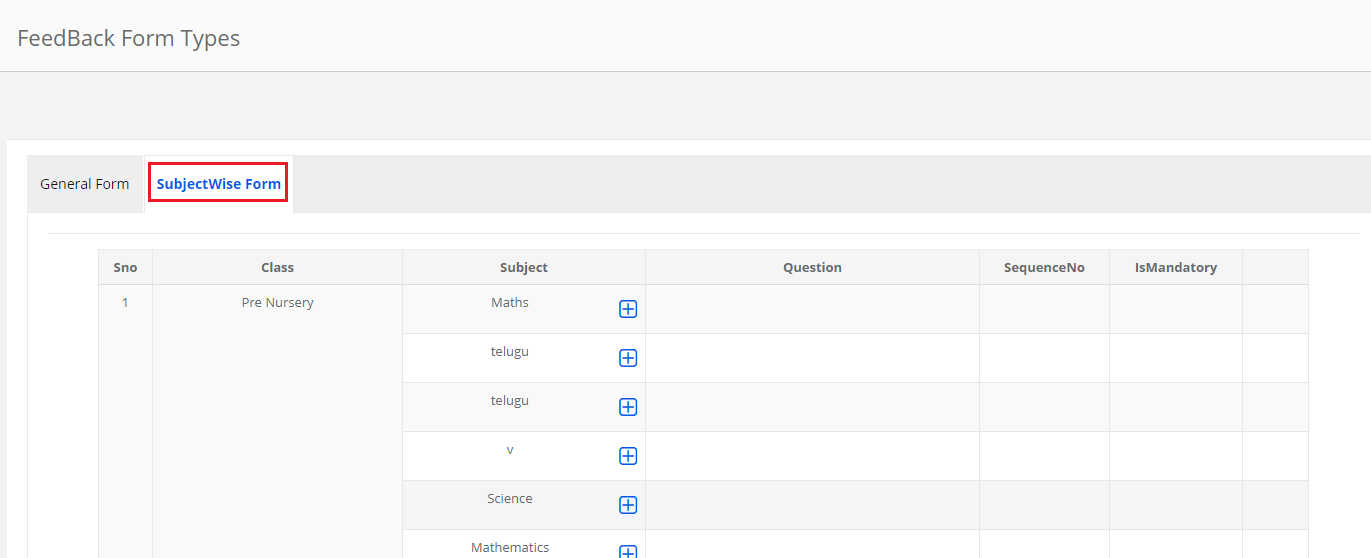
Step 12: To create Questions for Subjects, Click on the Subjectwise form. It will list the subjects created for the classes.
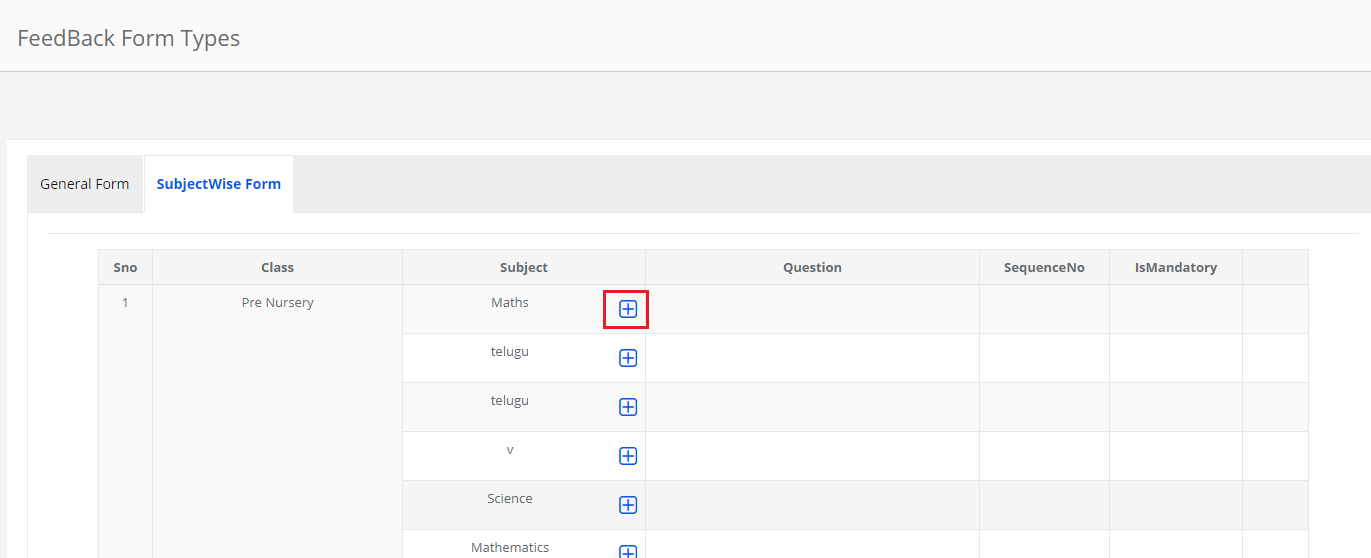
Step 13: To add a question for the subject, click on + sign against the subject name.
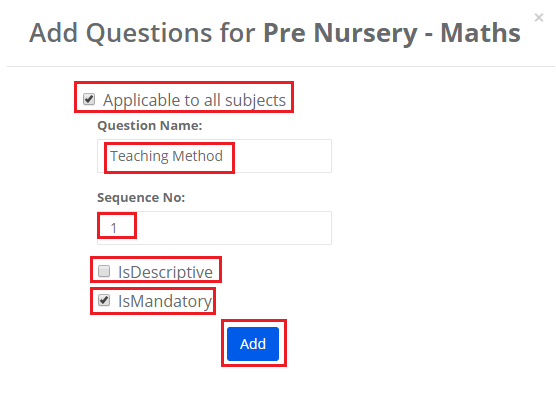
Step 14:
- Select the checkbox against Applicable to all subjects If the question is common for all subjects of the class
- Enter Question Against the Question Name and Sequence Number
- Select the checkbox against IsDescriptive option if the question should accept the descriptive text
- Select the checkbox against the IsMandatory option if the question should be made mandatory for saving the form.
Step 15: Please note that the question is saved for all subjects and will be reflected under all subjects while the parent is filling the feedback.
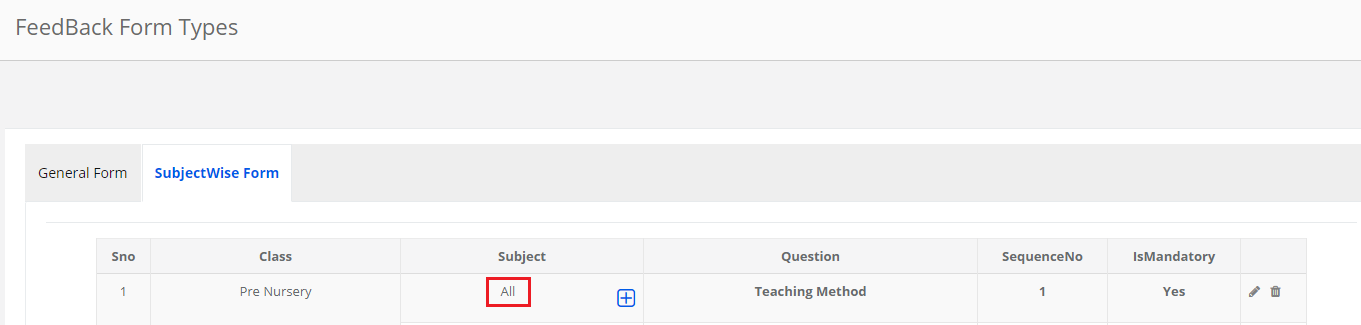
Step 16: If a question is created for a specific subject, it would appear against the subject name as below.
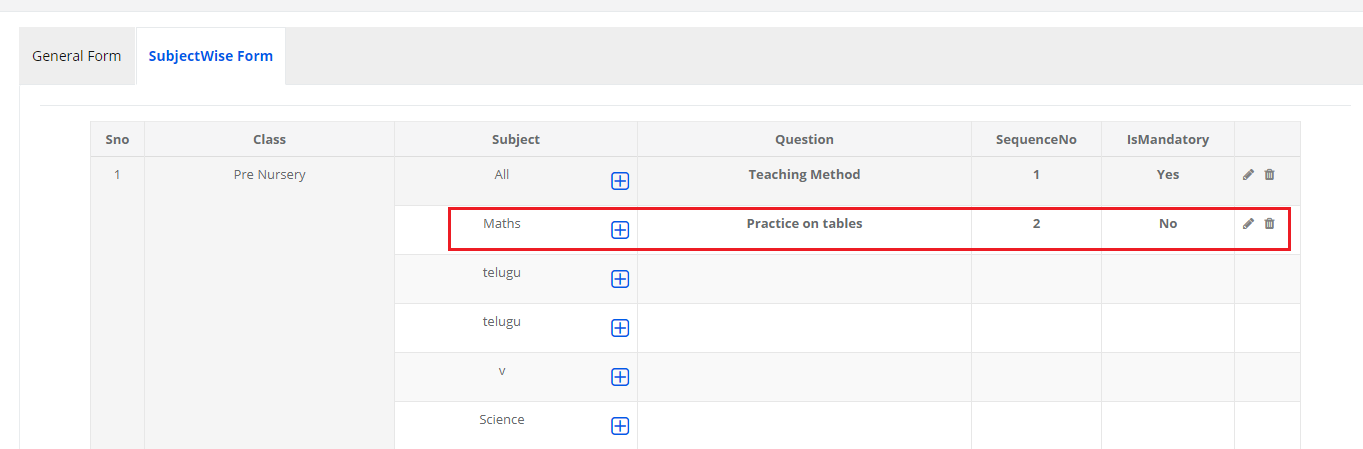
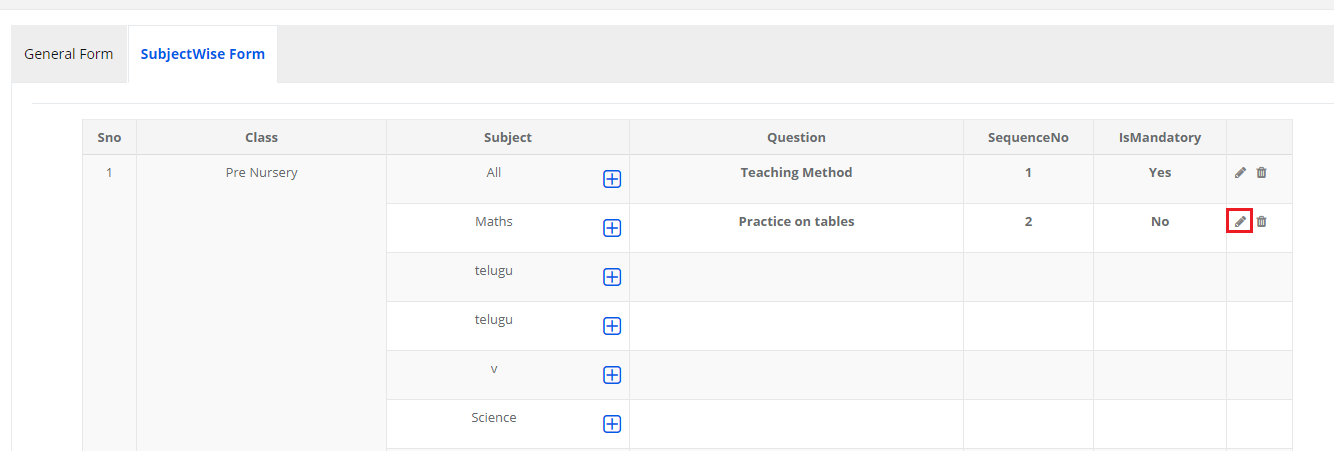
Step 17: To edit the question click on Edit icon against the question.
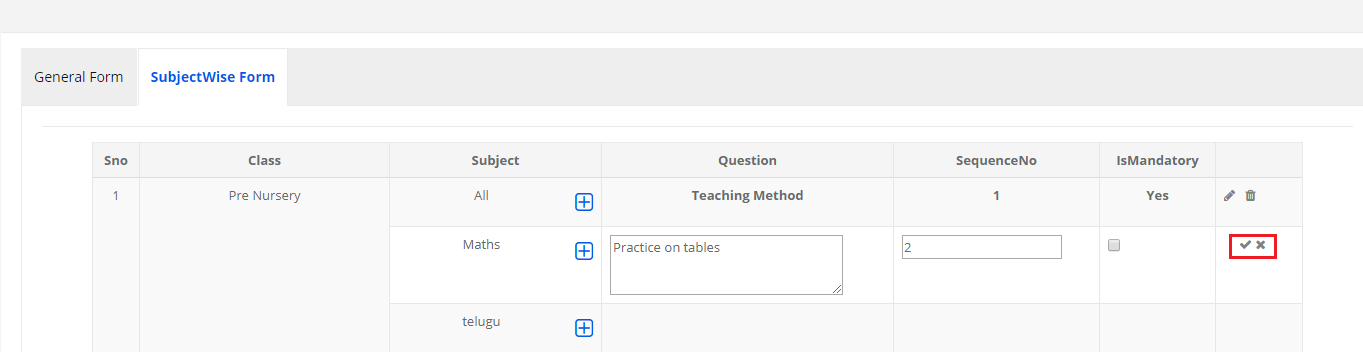
Step 18: Make the changes required and click on Tick mark to save the changes or Cross Mark to revert the changes.
Create Feedback Form:
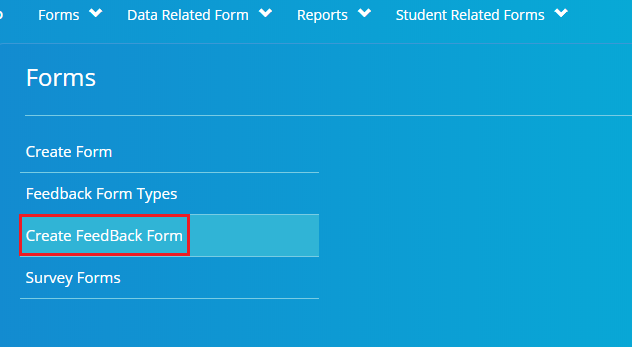
Step 19: To create Feedback Form, click on Create FeedBack From link under Forms menu.
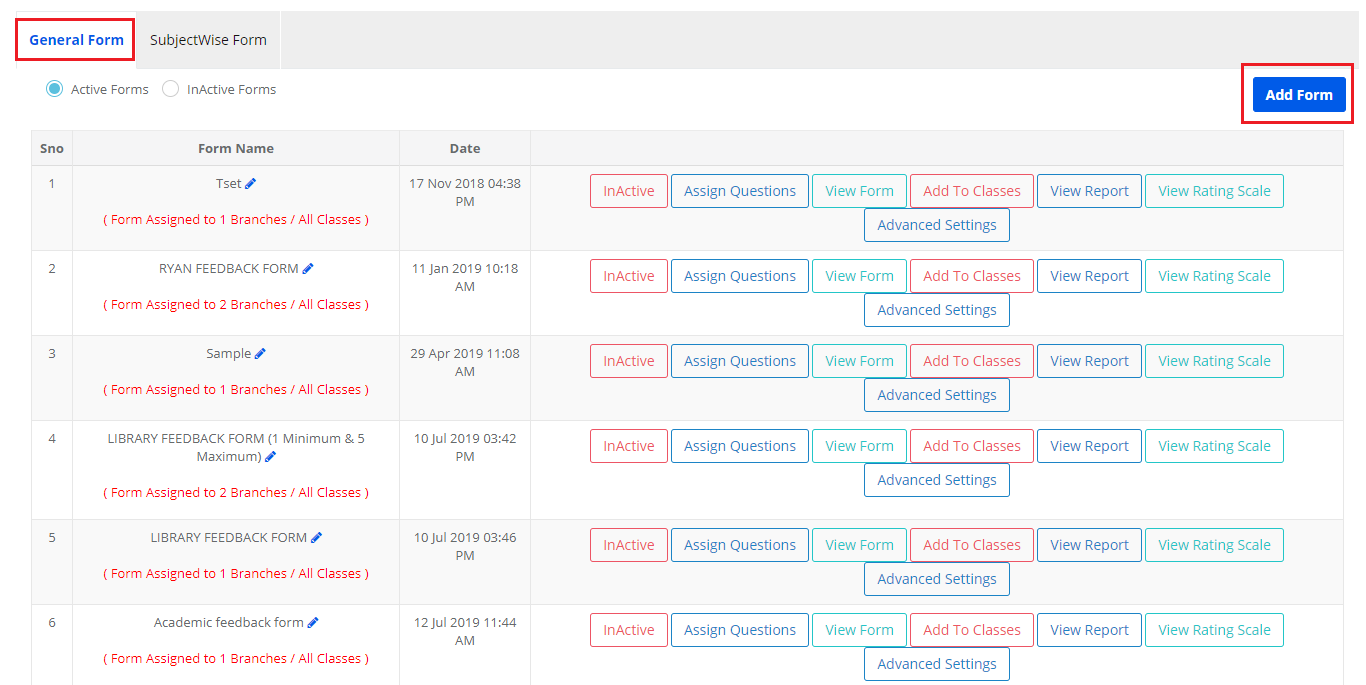
Step 20: To create General Form, Click on General Tab. It will list the existing forms. To create the new form, Click on Add form.
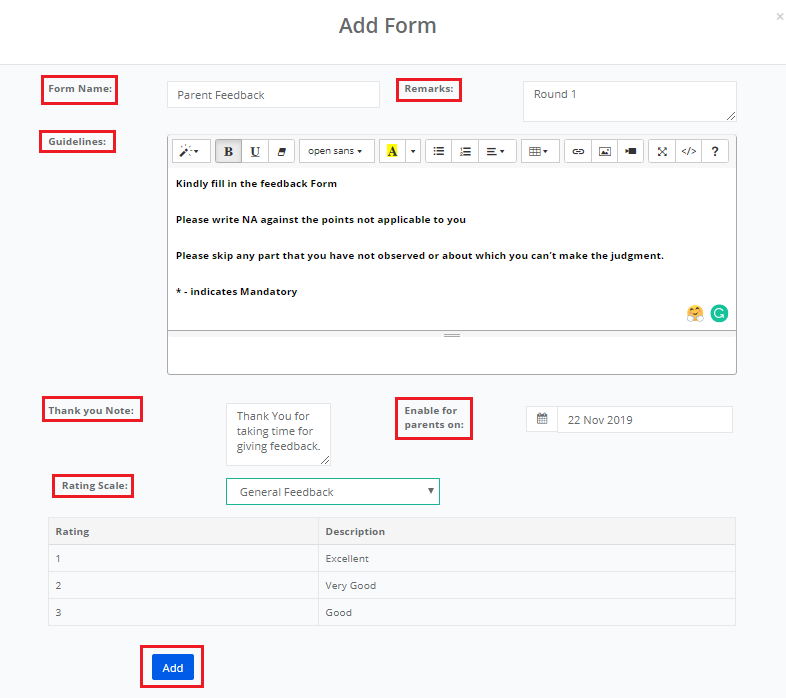
Step 21: Enter Form name, Remarks, Guidelines(Appears right above the questions) and Thank you not (Shown upon submitting the form).
Choose the date when would you like the form to be enabled in parent login
Choose the rating scale to be applied for the form
Click on Add.
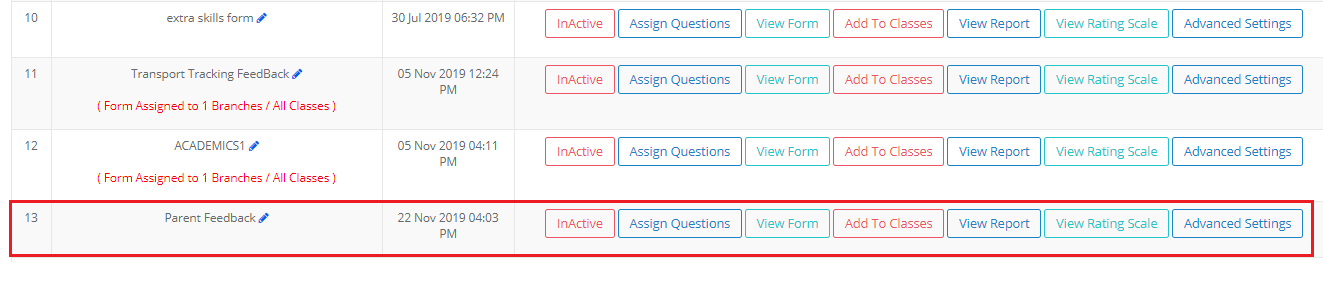
Step 22: The form is created. Please note the settings that can be done for the form against the form name.
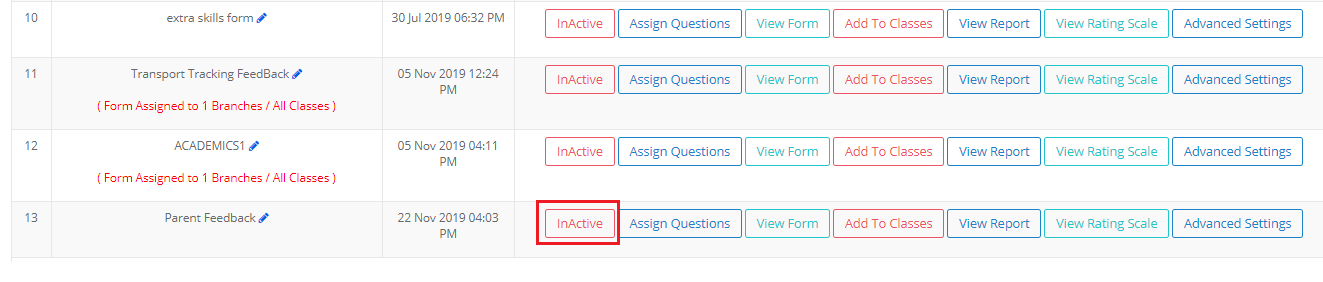
Active or Inactive the form:
Step 23: You can active or Inactive the form by clicking on Inactive/Active option.
The Active forms will have the option as InActive an Inactive form will have the option as Active.
Assign Questions to the form:
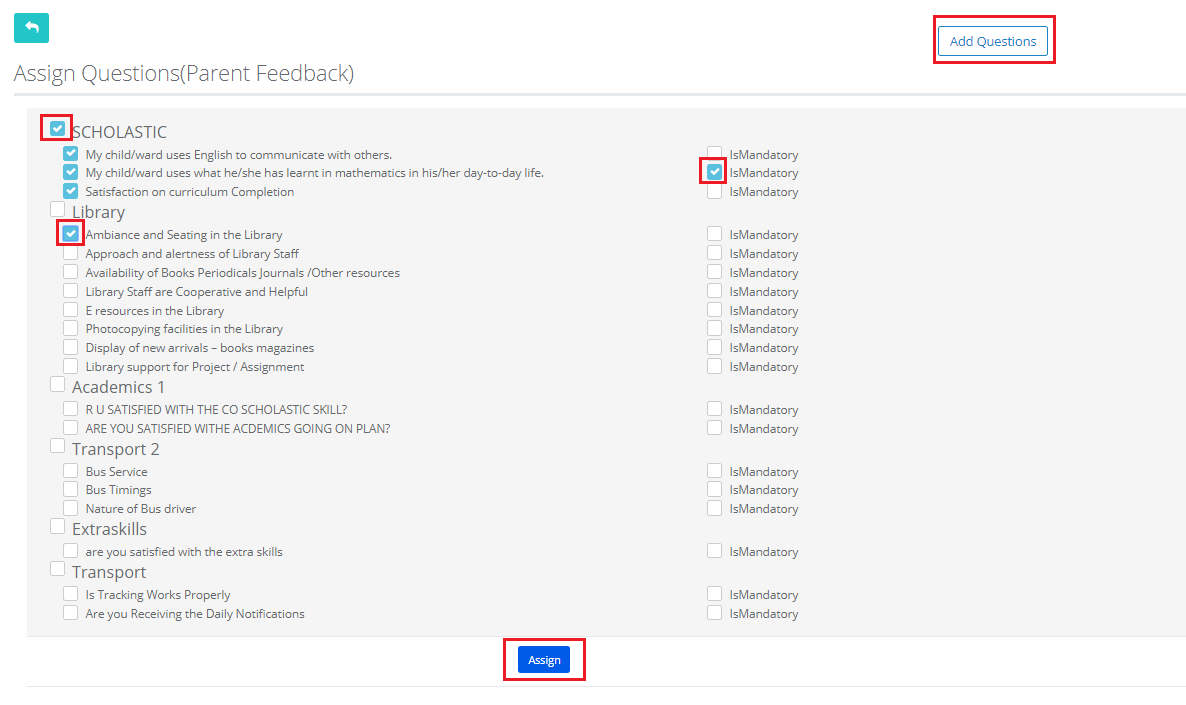
Step 24: To Assign questions to the form, Click on Assign Questions option.

Step 25: Choose the check box against the type if you wish to add all questions created under it or select the check box against the question.
Select the Mandatory check box against the question to make the question mandatory to submit the form.
Click on Add Questions option to create a new question.
Click on Assign button to save the questions you selected.
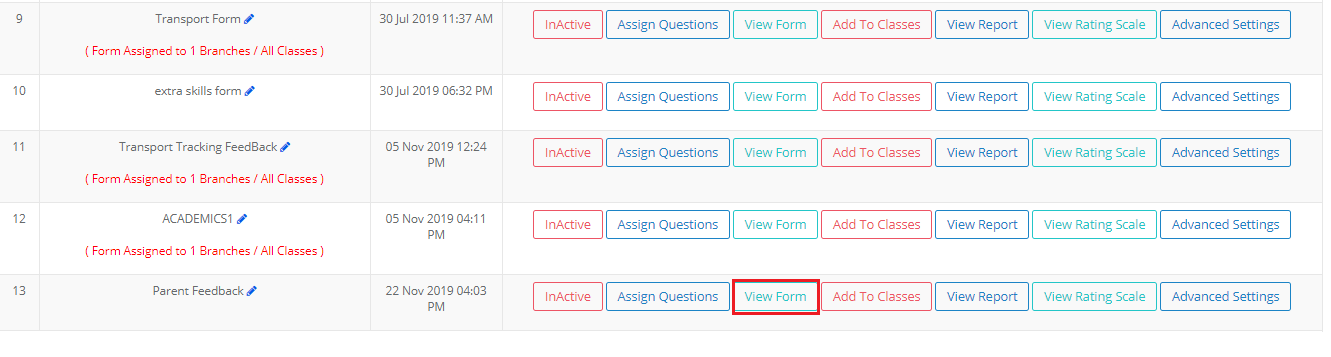
To View Form:
Step 26: Click on View Form option to view the form how it appears for parents.
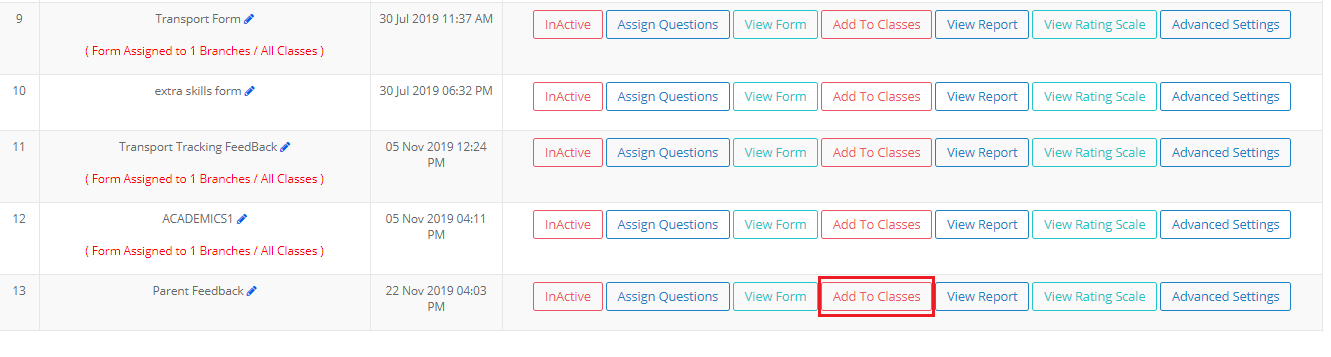
To add Classes:
Step 27: Click on Add to Classes option to assign the form to all classes or specific classes of a branch or all branches.
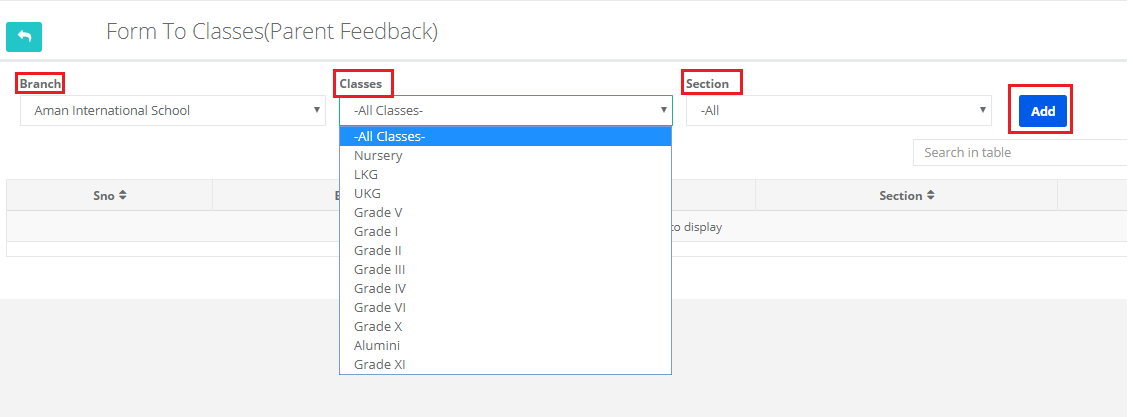
Step 28: Click on Add button.

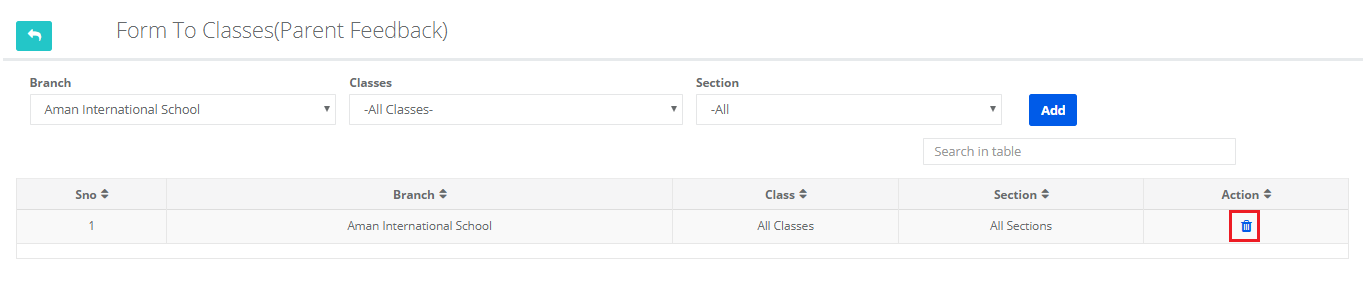
Step 29: Choose All branches or a specific branch, All classes or a specific class, All sections or a specific section and click on Add button.
Step 30: You delete the assigned branches, classes and sections by clicking on the delete icon.
To view Rating Scale:
Step 31: To view the rating scale applied to the form, Click on View Rating Scale Option.

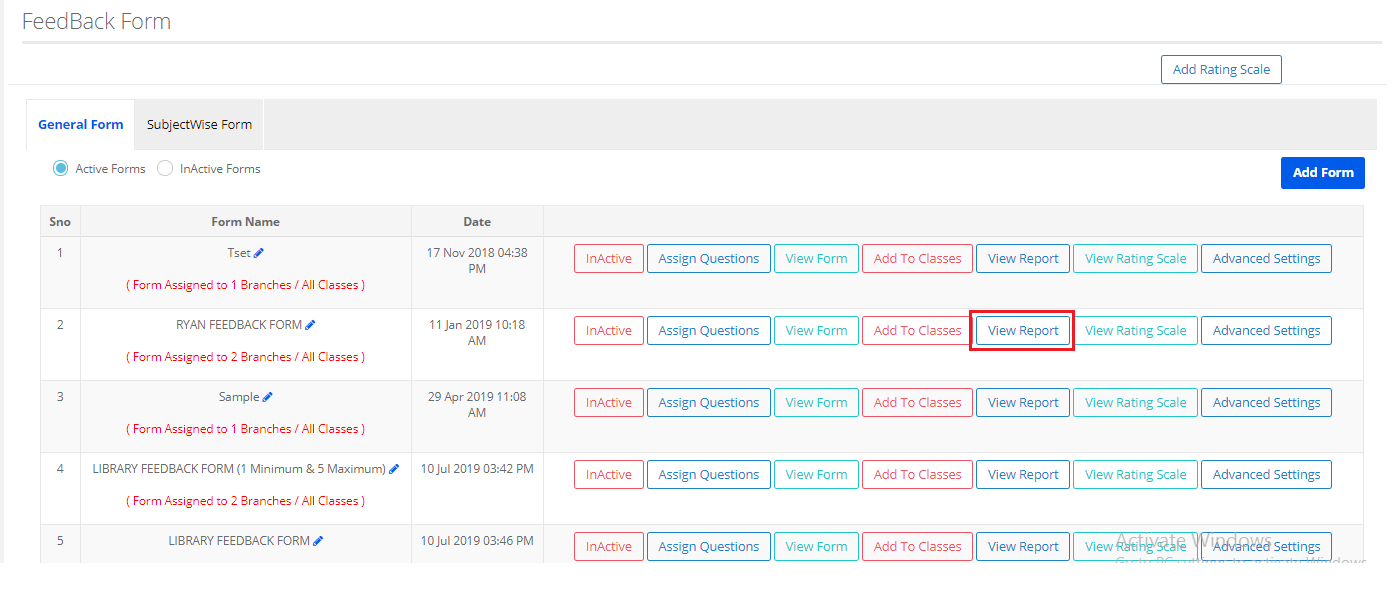
To view Report:
Step 32: To view the report to check the responses submitted for the form, click on View Report Option.
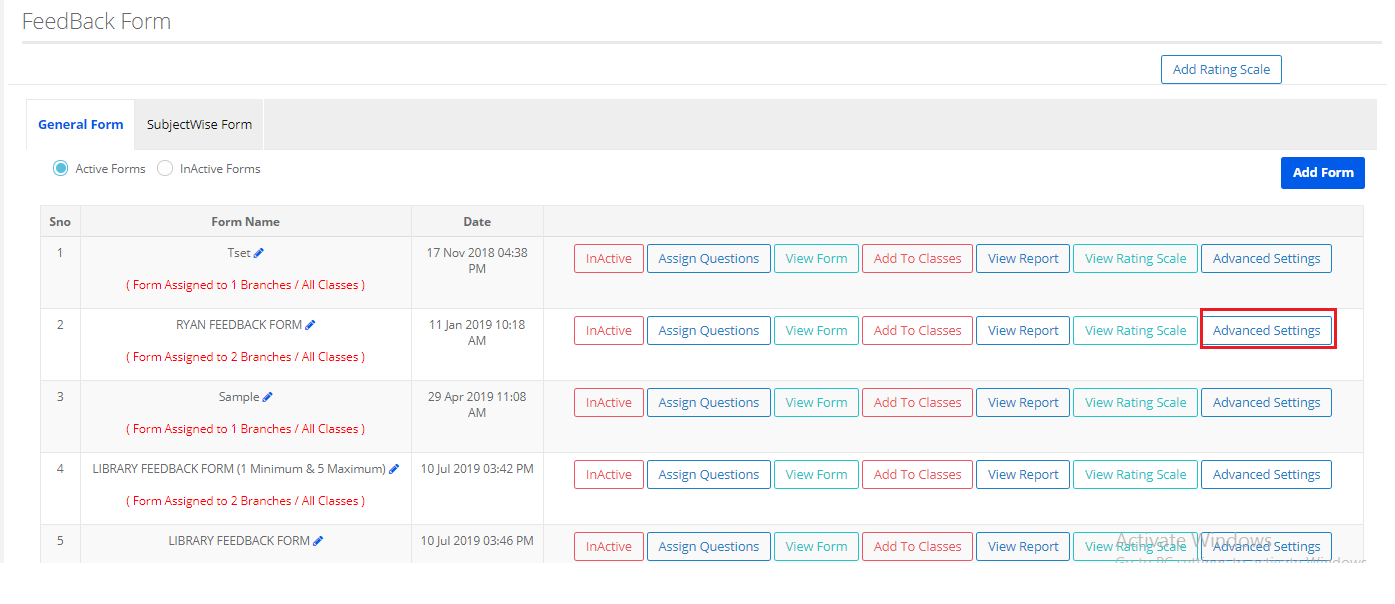
Advanced Settigs:
Step 33: To make the settings of number of times a feedback from can be used by parents to submit the feedback, click on Advance Settings option.
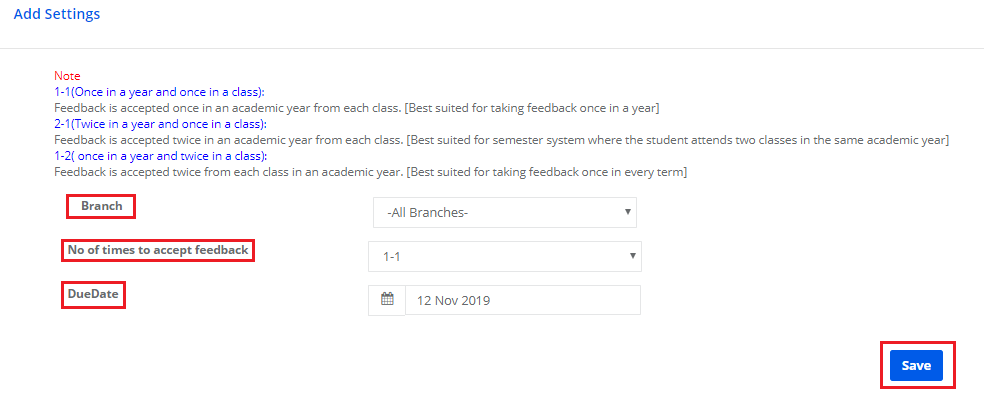
Step 34: Click on Add Settings.

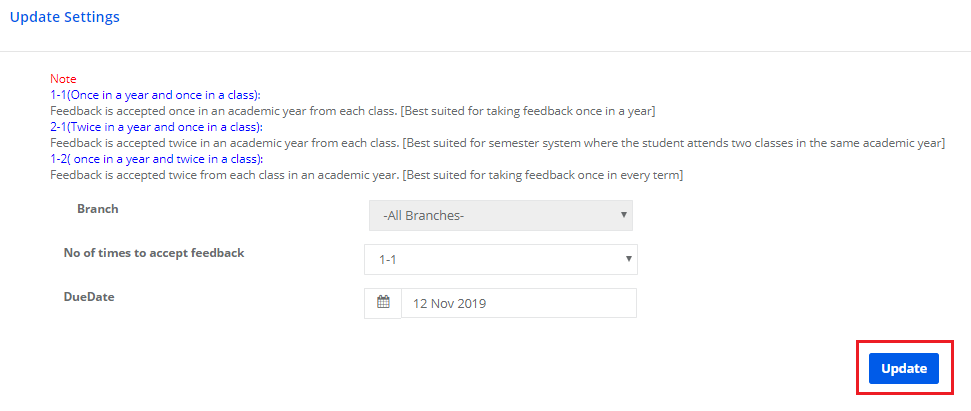
Step 35: Please note the functionality of the options given at No of times Feedback to accept option.
1-1 (Once in a year and once in a class):
Feedback is accepted once in an academic year from each class. [Best suited for taking feedback once in a year]
2-1 (Twice in a year and once in a class):
Feedback is accepted twice in an academic year from each class. [Best suited for semester system where the student attends two classes in the same academic year]
1-2 (once in a year and twice in a class):
Feedback is accepted twice from each class in an academic year. [Best suited for taking feedback once in every term]
Choose All Branches or a specific Branch, Options based on the requirement considering the functionality mentioned above and due date for form submission. Click on Save.
Step 35: To Edit the setting, click on Edit icon.

Step 36: Make the changes required and click on Update button.
Create Subject wise Form:
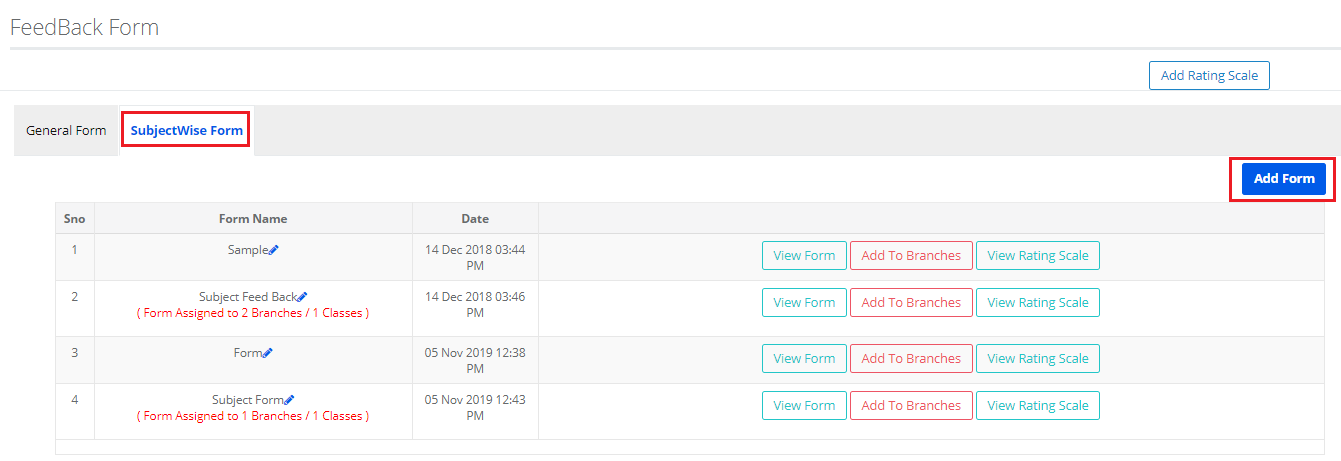
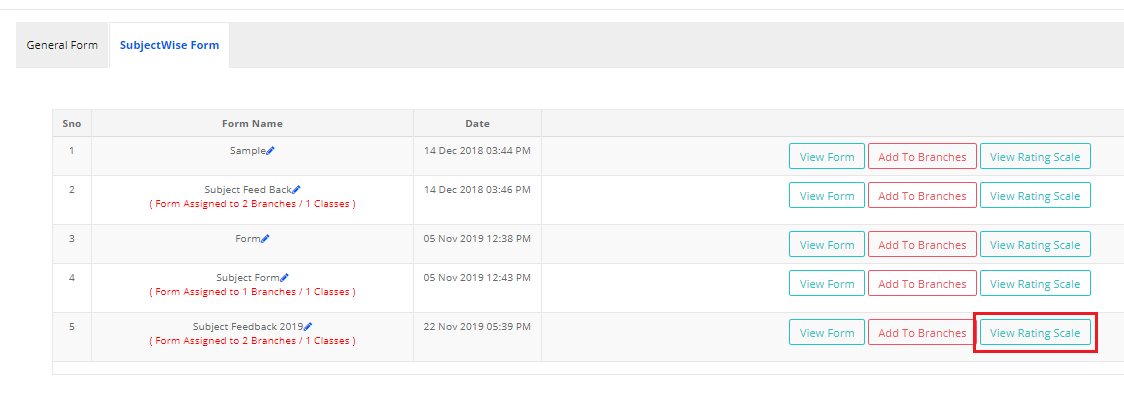
Step 37: To create subjectwise feedback from, click on Subjectwise form tab. It will list the existing forms.
To add a new form, Click on Add Form Button.
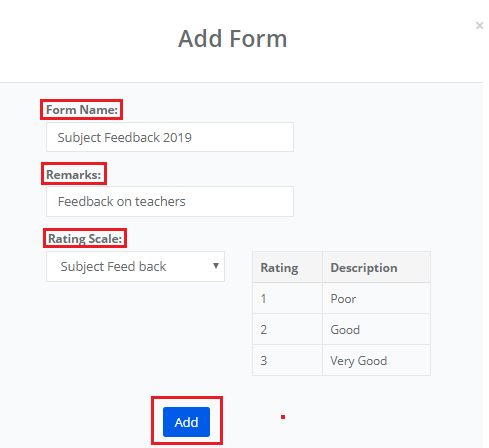
Step 38: Enter Form Name, Remarks, Choose Rating Scale and click on Add.
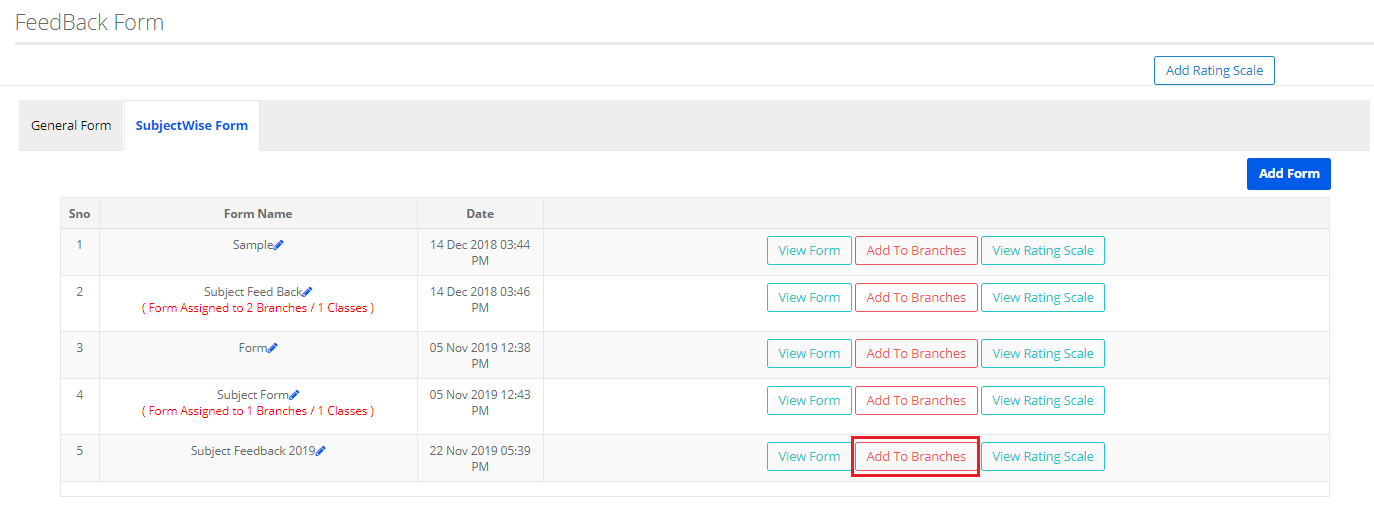
Add Form to Branches
Step 39: Click on Add Branches option to give access to form for the branches.
Step 40:
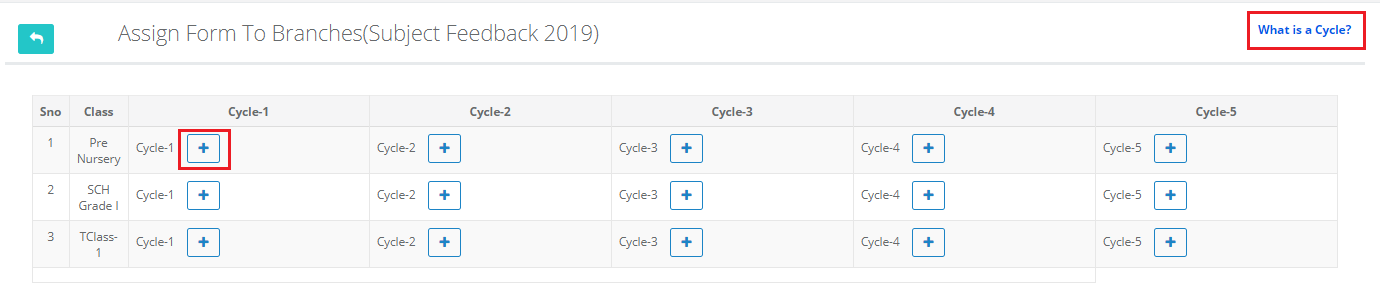
What is a cycle?
A Cycle denotes each round of feedback opened for users in an academic year.
The Subject-wise feedback form can be opened for 4 times in an academic year.
If the class is common across multiple branches, you can assign the form to all branches and sections or specific branches and sections.
Ex: If class 5 is created in common for branch 1 and branch 2, you can assign the form to both the branches & sections or specific branch & specific sections.
Classes are listed based on the questions availability against the class.
Click on +Sign to add the branches, Classes and Sections.
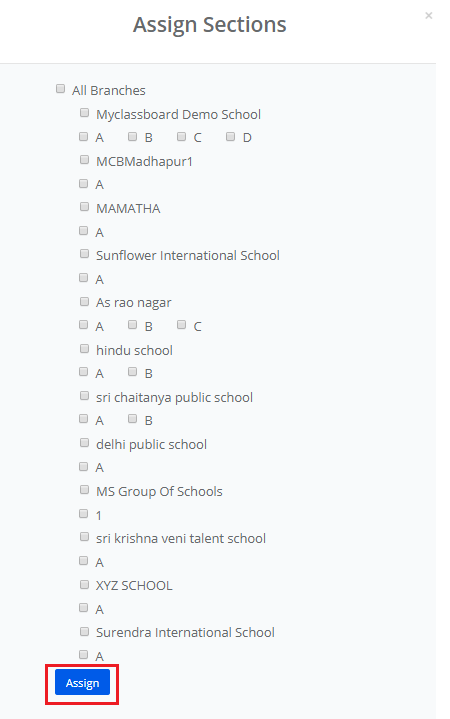
Step 41: Choose the branches, Classes and Sections required. Click on Assign Button.
Step 42: To edit the assigning of branches and classes, click on +Sign and make the changes.

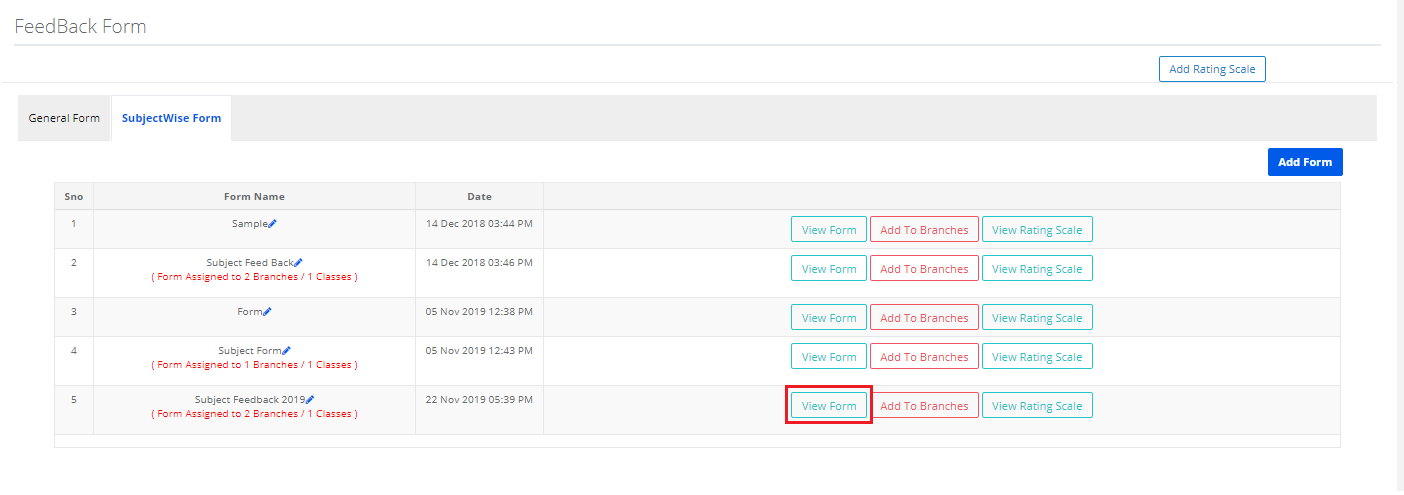
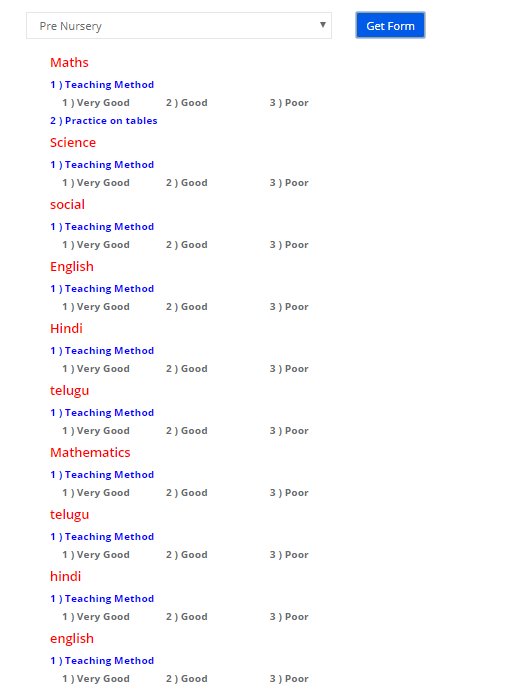
Step 43: To view the form how it appears for the class selected, click on View Form.
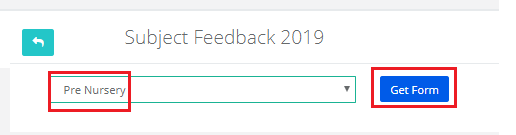
Step 44: Choose the class and click on Get Form.
View Form:
Step 45: It shows how form would appear with the questions of each subject.
If question is added by selecting all subjects, the question will be added for all subjects that are created for class.
If question is added by selecting the specific subject, the questions would appear only for those subjects.
View Rating Scale:
Step 46: To view the Rating Scale applied to the form, Click on View Rating Scale Option.
How to fill the Feedback Form:
The Feedback from can be filled in 3 ways.
1. Parent login
2. Search for student [By School Admin and Teachers]
3. By Section wise [By School Admin and Teachers]
From Parent login:
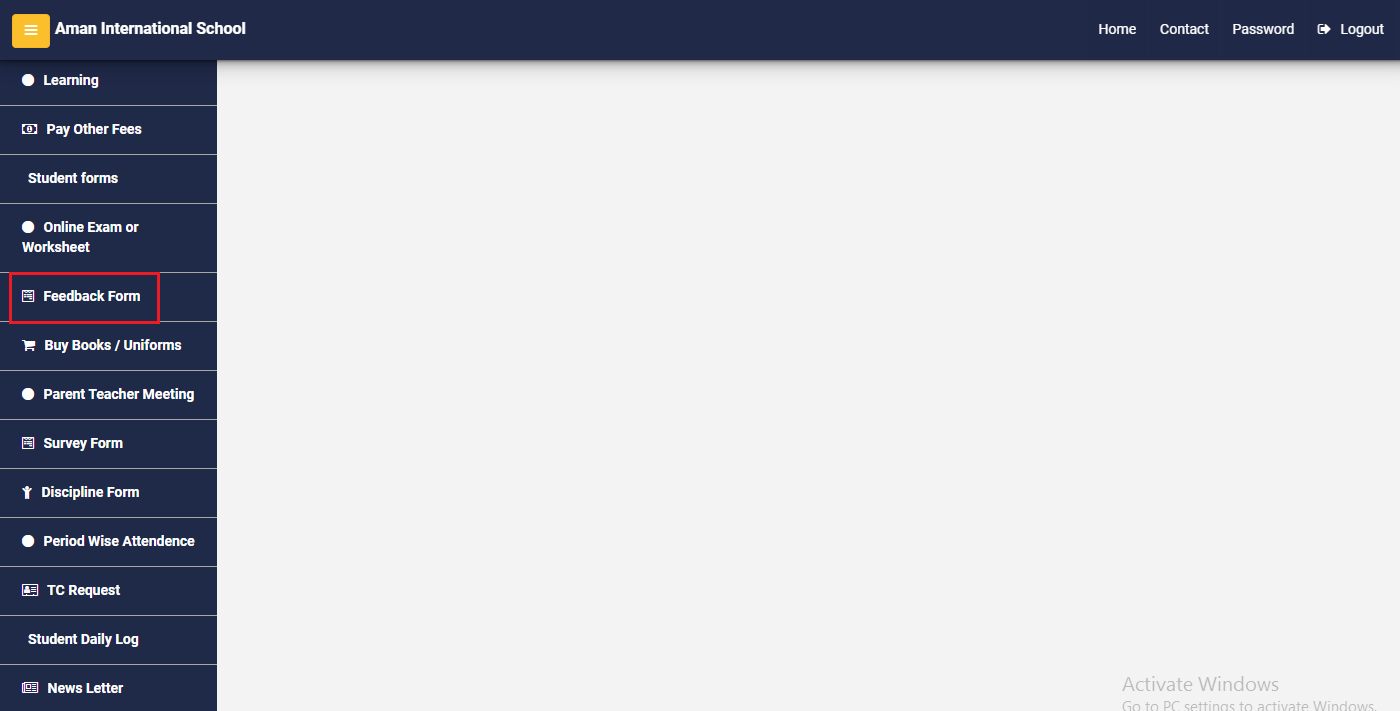
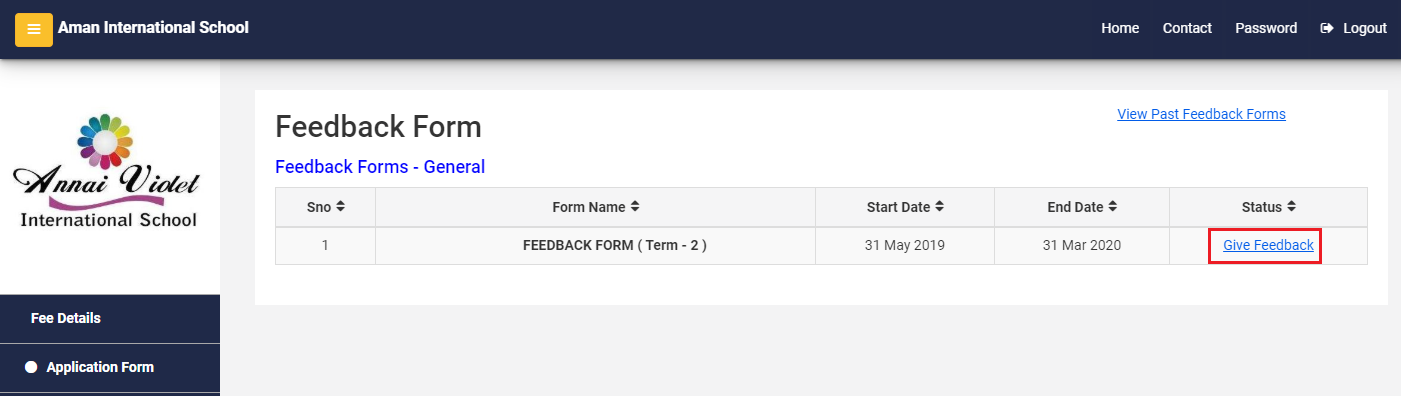
Step 47: Login to MCB with Parent Login Credentials. Click on Feedback Form.
Step 48: Click on Give Feedback option against the form name to fill.
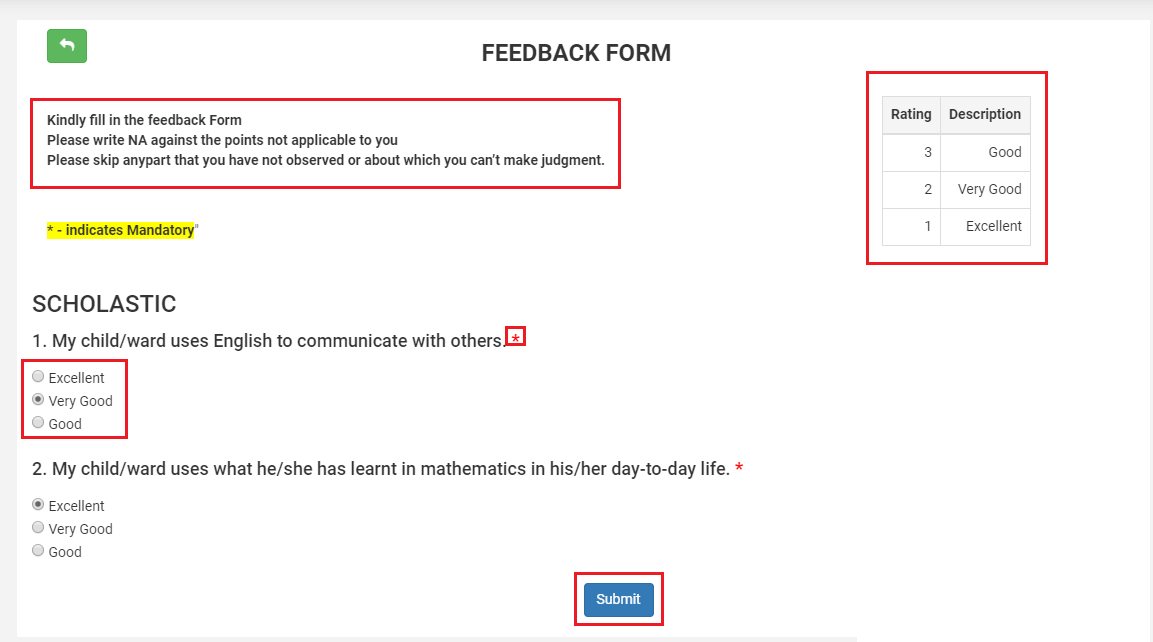
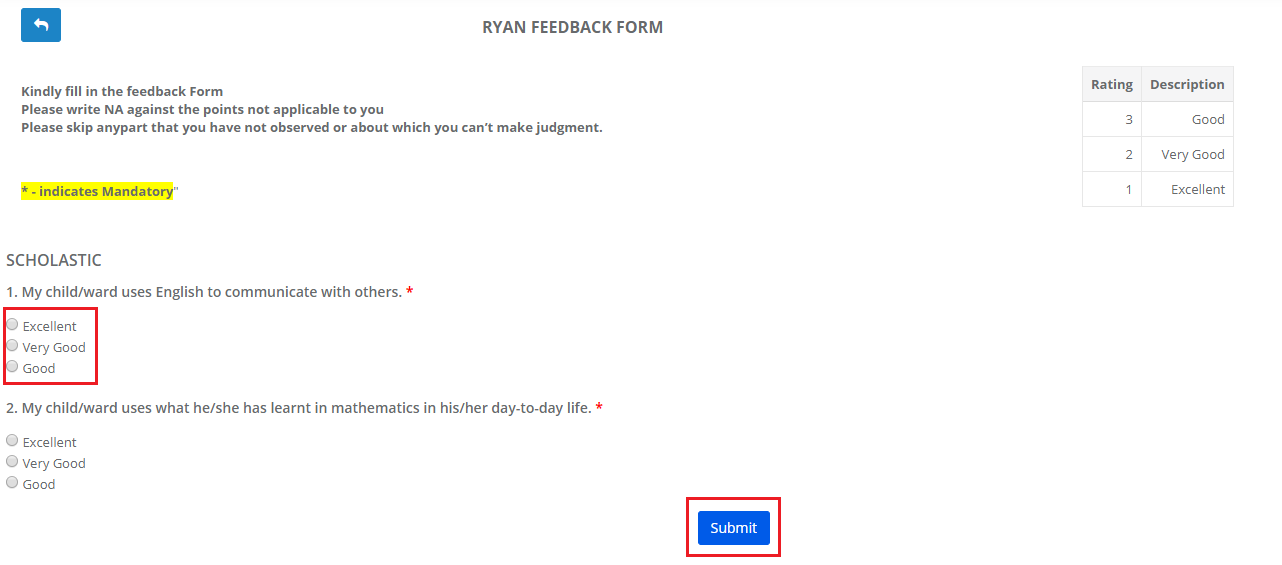
Step 49: Please note the guidelines, Rating scale set for the form.
* Mark at the question indicates that the question is mandatory to submit the form.
Choose the relevant answer for all the questions available in the form and click on Submit button.
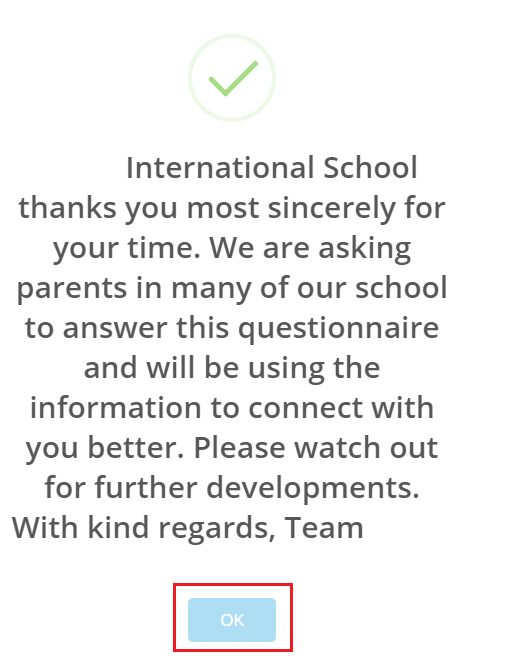
Step 50: A Thank You message set for the form is shown to confirm that the responses are submitted for the form. Click Ok.
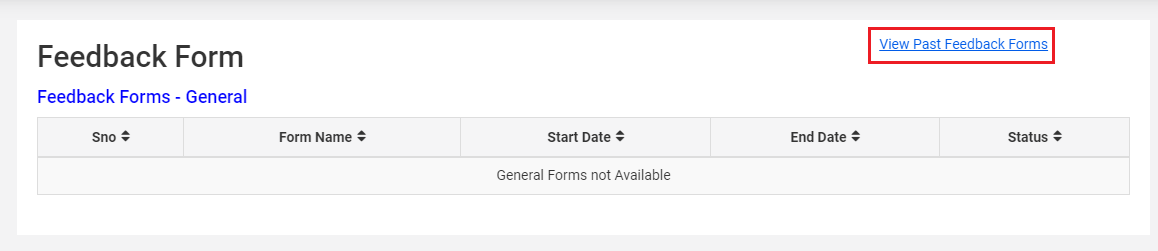
Step 51: To view the forms that are already filled , Click on View Past Feedback Forms option.
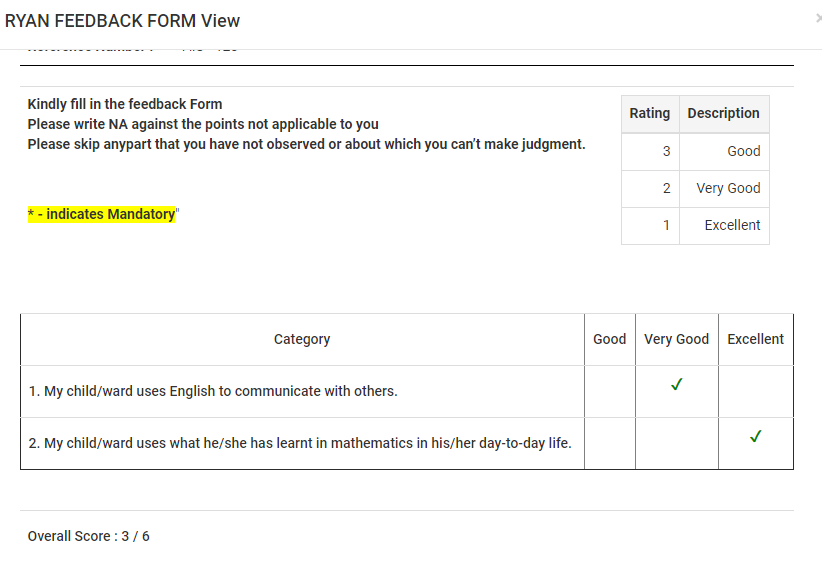
Step 52: Click on View form to check the responses submitted for the form.

Search for student [By School Admin and Teachers]
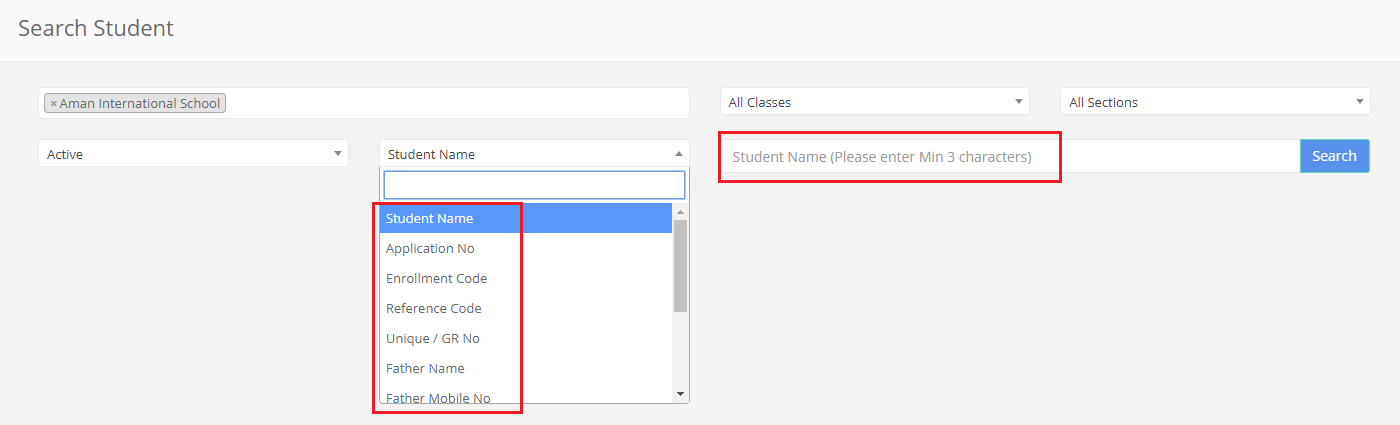
Step 53: Login to MCB School Admin or a teacher login and click on Search for student. Search the student with the help of options available in the drop down.
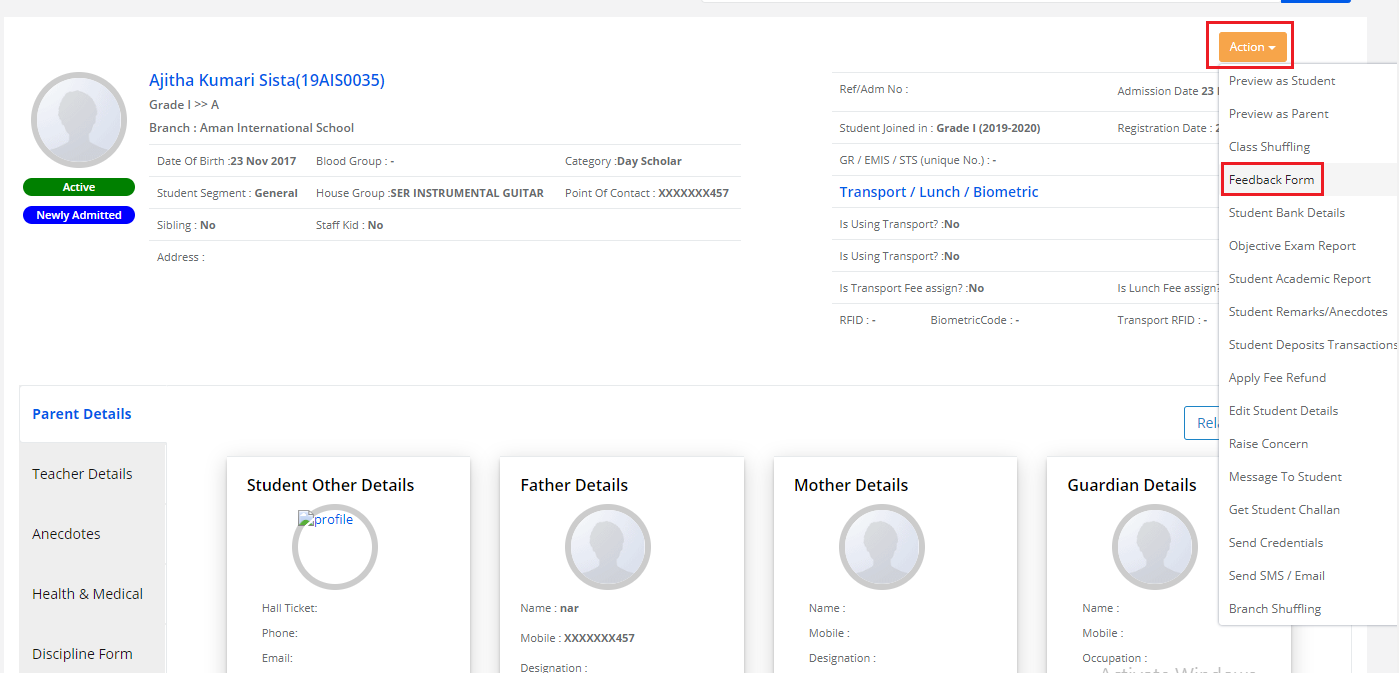
Step 54: Click on Feedback Form options under Action Button.
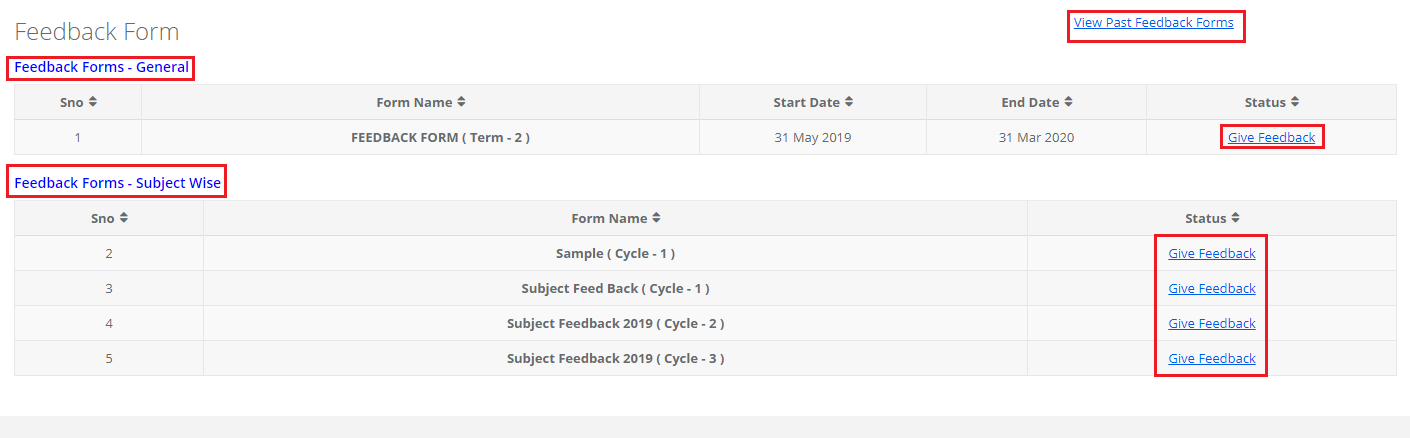
Step 55: The list of Feedback Forms assigned for the student’s class are listed in separate categories subject wise and general. To submit the feedback, click on Give Feedback against the form name.
To view the filled in forms, click on View Past Feedback Forms option which is on the top right corner.
Step 56: Choose the relevant answer and click on Submit button.
By Section wise [By School Admin and Teachers]
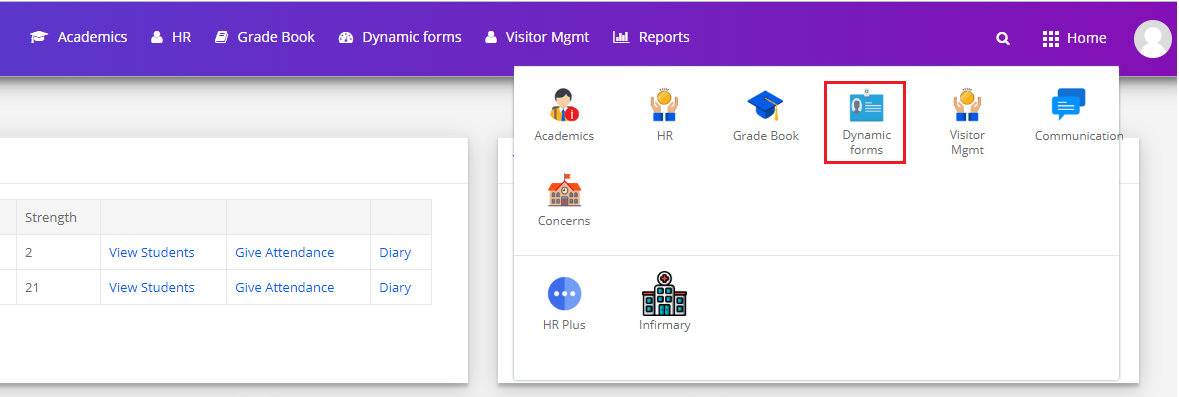
Step 57: Login to MCB with School Admin Login or Teacher’s login. Visit Dynamic Forms Module.
Step 58: Click on Feedback Form(Section Wise) link under Feedback Form menu.
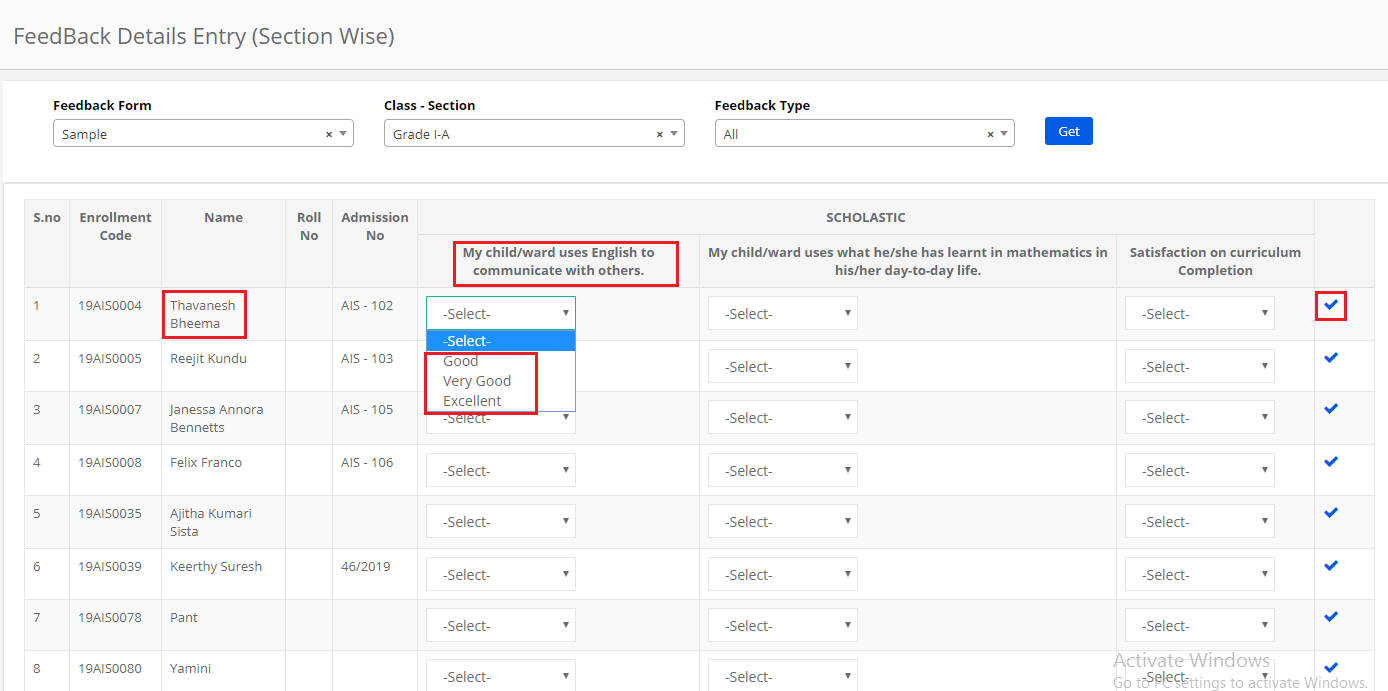
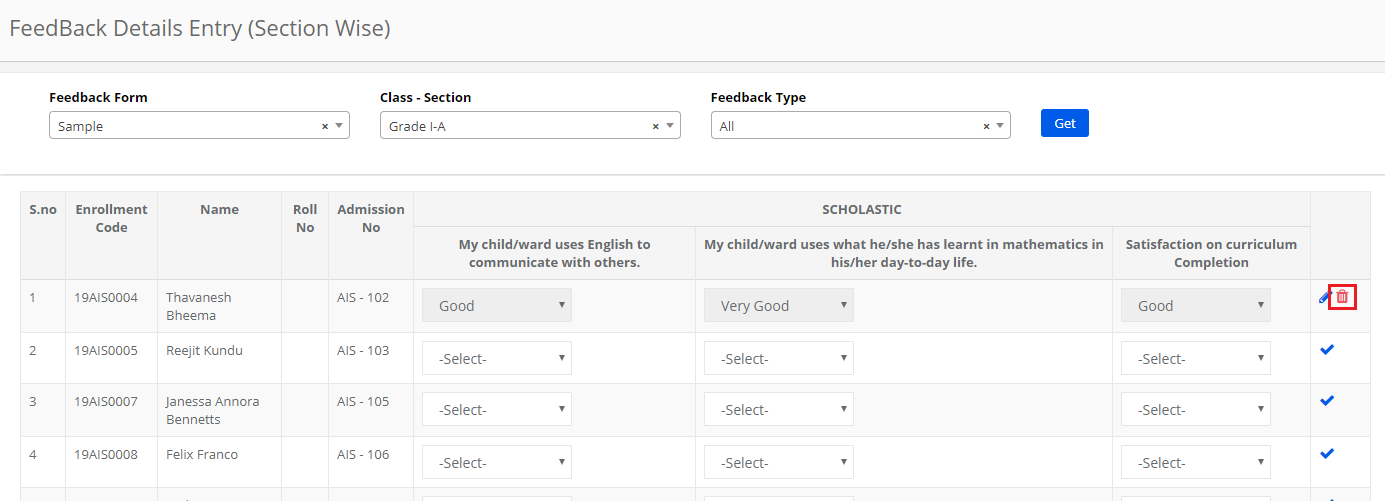
Step 59: Choose Feedback Form name, Class-Section, Feedback Type and click on Get.

Step 60: Choose the rating for the question from drop down for each question and Click on Tick mark to save the record against the student.

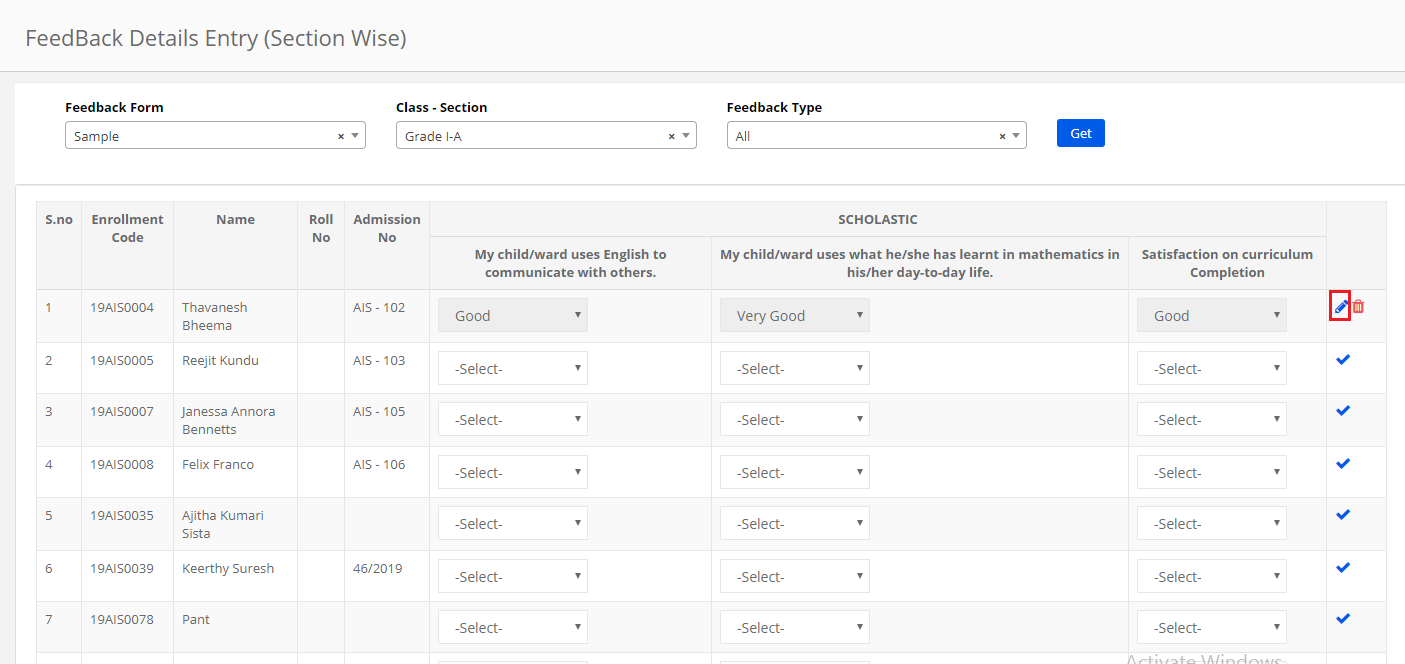
Step 61: To edit the record, click on Edit icon against the record.
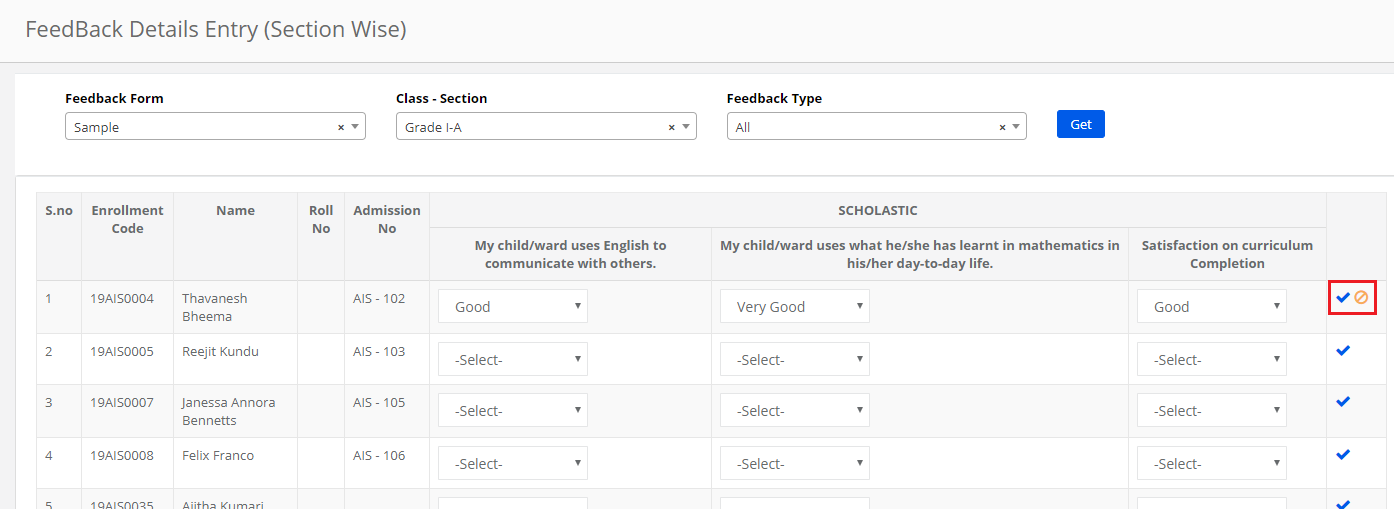
Step 62: Make the changes required, click on Tick mark to save the change or Stop mark to revert the changes.
Step 63: To delete the record, click on delete icon.
Step 64: Click Yes to delete the record or No to revert.
How to view the General Feedback Form Report:
The General Feedback form report card be generated from System admin login and Principal Login.
When the report is generated by selecting all branches, it shows the count of students who submitted the feedback against rating scale for every feedback type along with the percentage. You can compare the branches feedback received on each feedback type and make the necessary action plan.
When the report is generated by selecting a particular branch, it shows the detailed report which includes no of students submitted the feedback class & section wise and count of students who submitted the feedback against the rating scale for each question along with the average percentage.
Feedback form report generated in Tabular view and Graphical View.
The graphical view is provided for the consolidated values only.
Step 65: To generate the report, Login into MCB with system admin or principal login and visit Dynamic Forms module

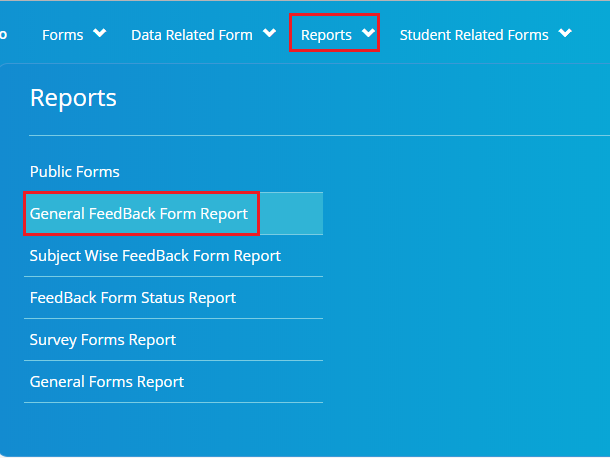
Step 66: Click on General Feedback Form Report option under Reports menu.
Step 67: Choose Branch Name, Form Name, Student type as Active or Inactive , Report type as Consolidate or Detailed and Click on Get.
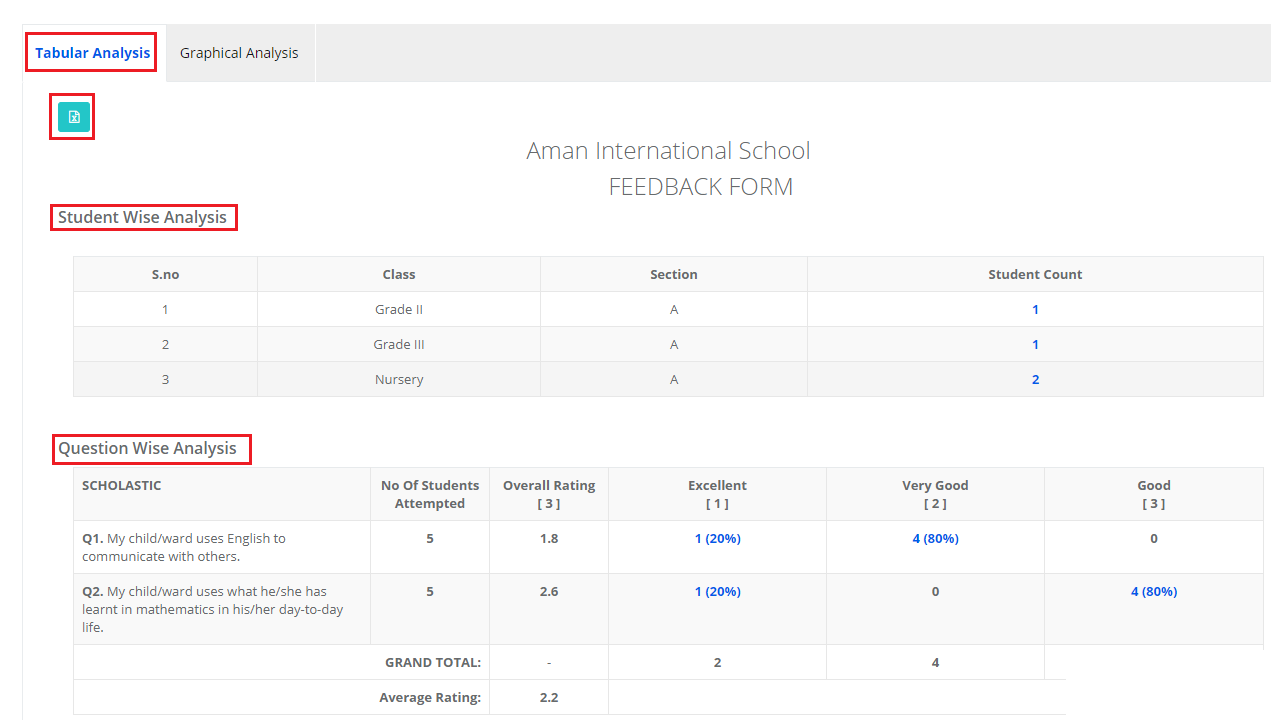
Step 68: In Tabular view, Please note the Student Wise feedback given count and Question wise analysis against the rating scale along with descriptive type questions.

Step 69: The graphical view shows the question wise rating in Graphical view. The graph can be exported to PDF, JPEG, PNG, SVG Vector Image by clicking on the icon on the top right corner of the graph.
Please note that the graphs can be exported individually only.
How to view the Subject wise Feedback Form Report:
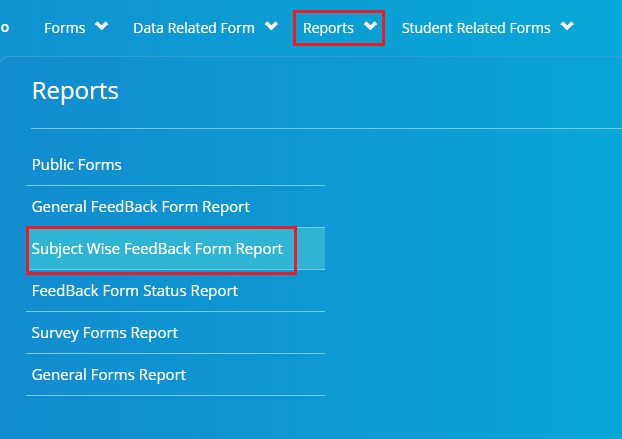
Step 70: Click on Subject wise Feedback Form Report option under Reports menu.
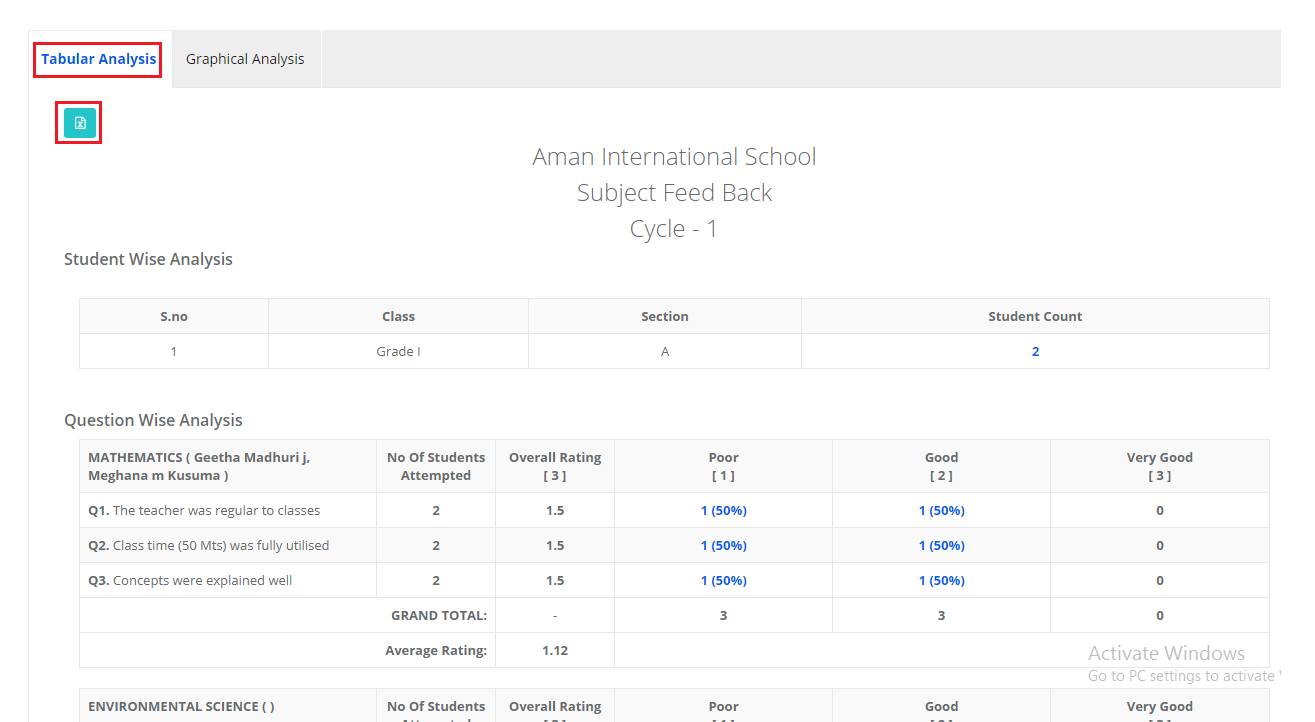
Step 71: Choose Branch, Class, Form Name, Cycle and Click on Get.
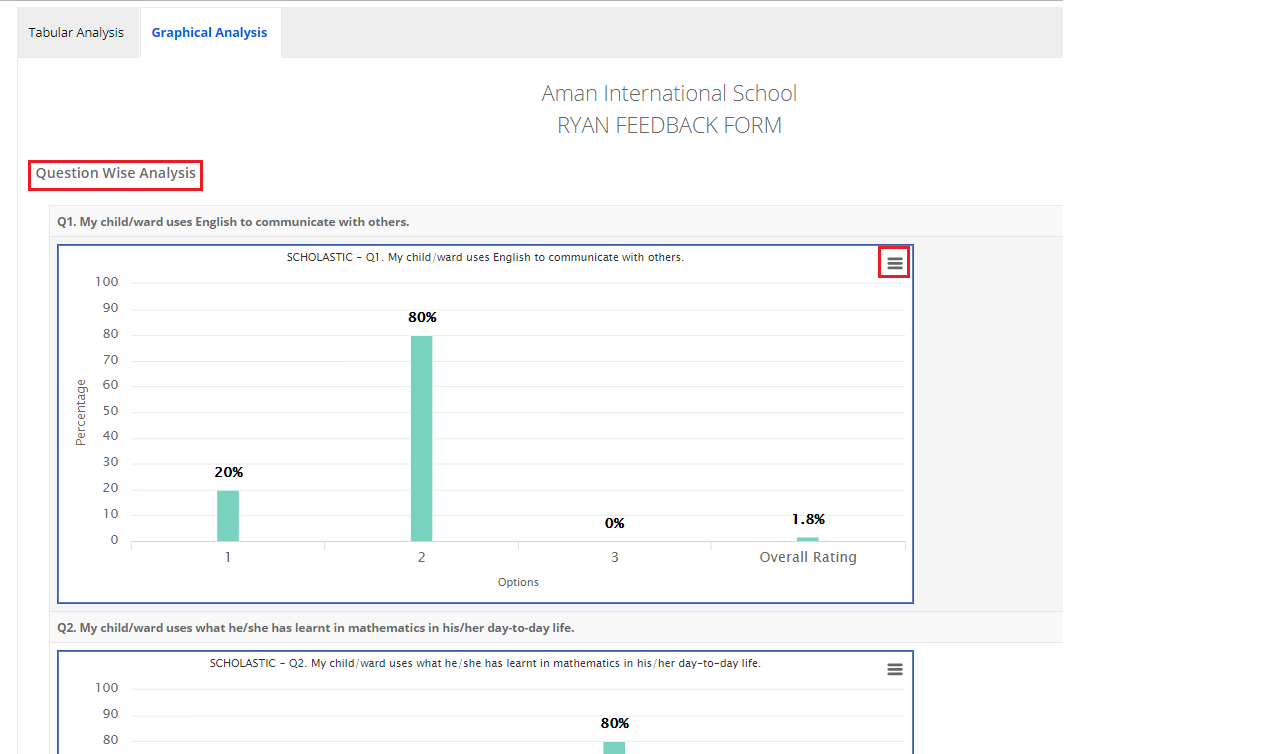
Step 72: In Tabular view, Please note the Student Wise feedback given count and Question wise analysis against the rating scale along with descriptive type questions.

Step 73: The graphical view shows the question wise rating in Graphical view. The graph can be exported to PDF, JPEG, PNG, SVG Vector Image by clicking on the icon on the top right corner of the graph.
Please note that the graphs can be exported individually only.