The learning resources, self-assessment/ exercise shared by teachers can be accessed from student/parent login. These resources and self-assessment help students to deepen their understanding of the topics.
The online examinations help students to understand how much more they need to work on the concepts based on their result.
To access the learning resources, please follow the steps mentioned below.
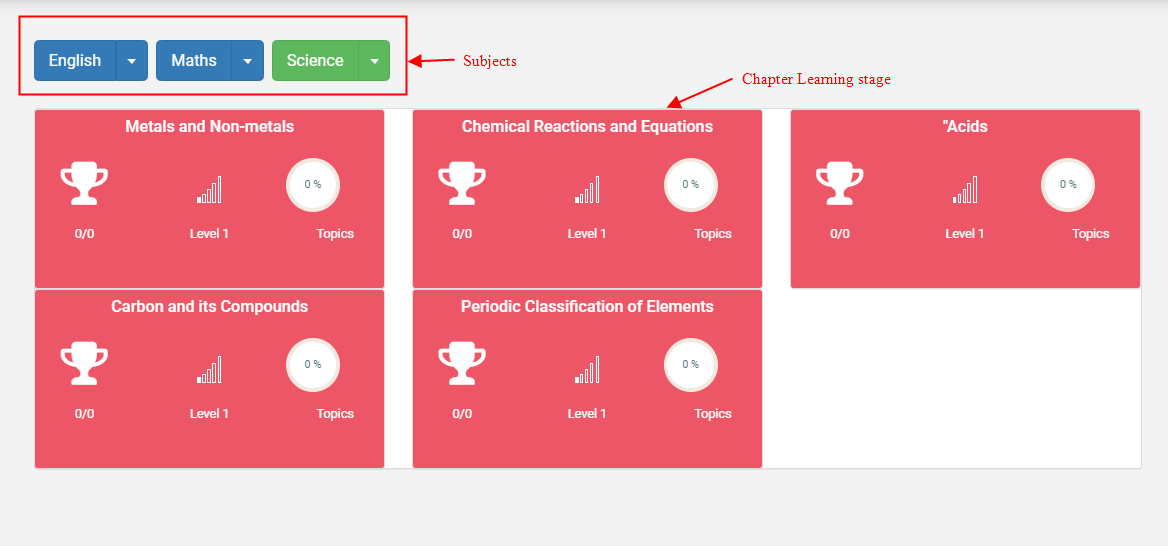
Step 1: As you login to the parent/student portal, locate the Learning management tab and look for the subjects available for learning.
The subjects are listed in the first row. By default, the first subject’s chapters are loaded for learning. If you wish to change the subject Click on the respective subject’s name to list you the chapters available.
Each box represents one chapter of the subject along with the learning stage, percentage of topics completion.
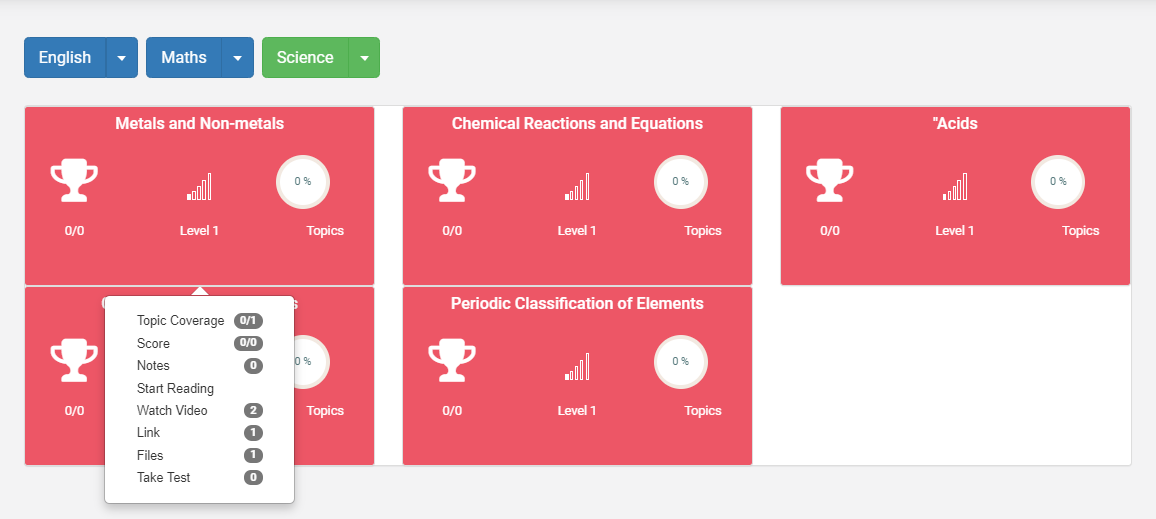
Step 2: As you click on the chapter’s box, the drop-down shows the following options
1. Topic Coverage: Percentage of topics read by the student
2. Notes: Notes made by the student during learning the topic
3. Watch the video: Shows the count of videos available for the chapter.
4. Link: Shows the count of links available for the chapter
5. Files: Shows the count of files available for the chapter
6. Take test: Shows the count of Online assessments/ exercises available for the student to practice.
Step 3: To access the learning resources click on Start reading.

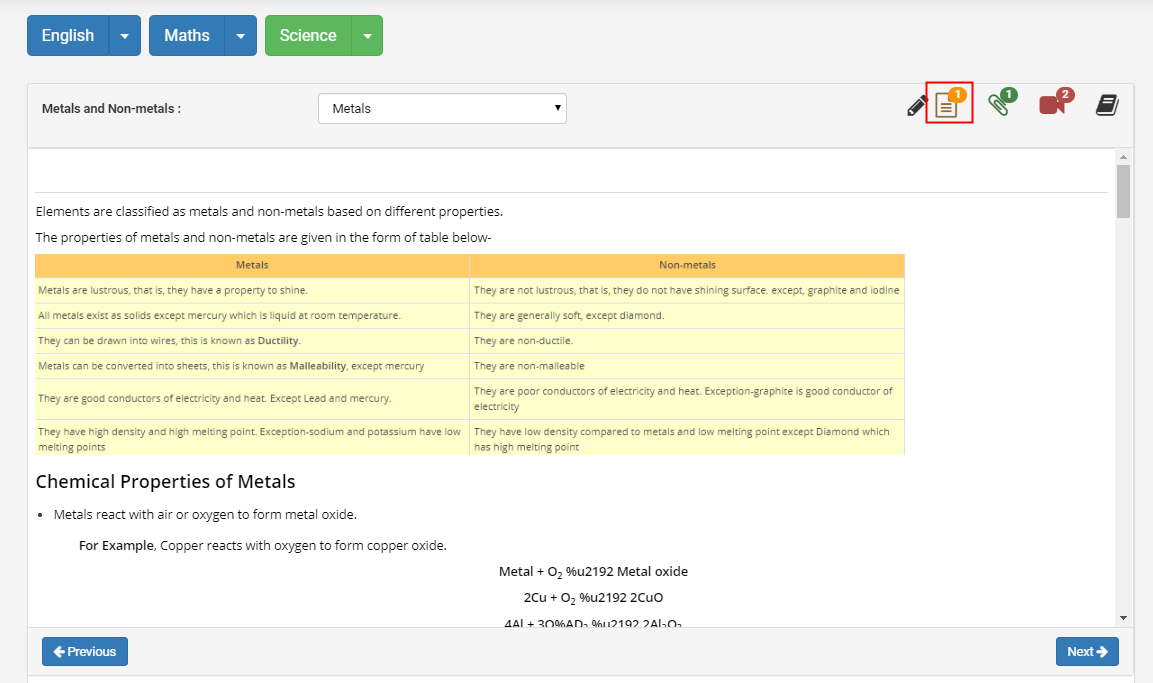
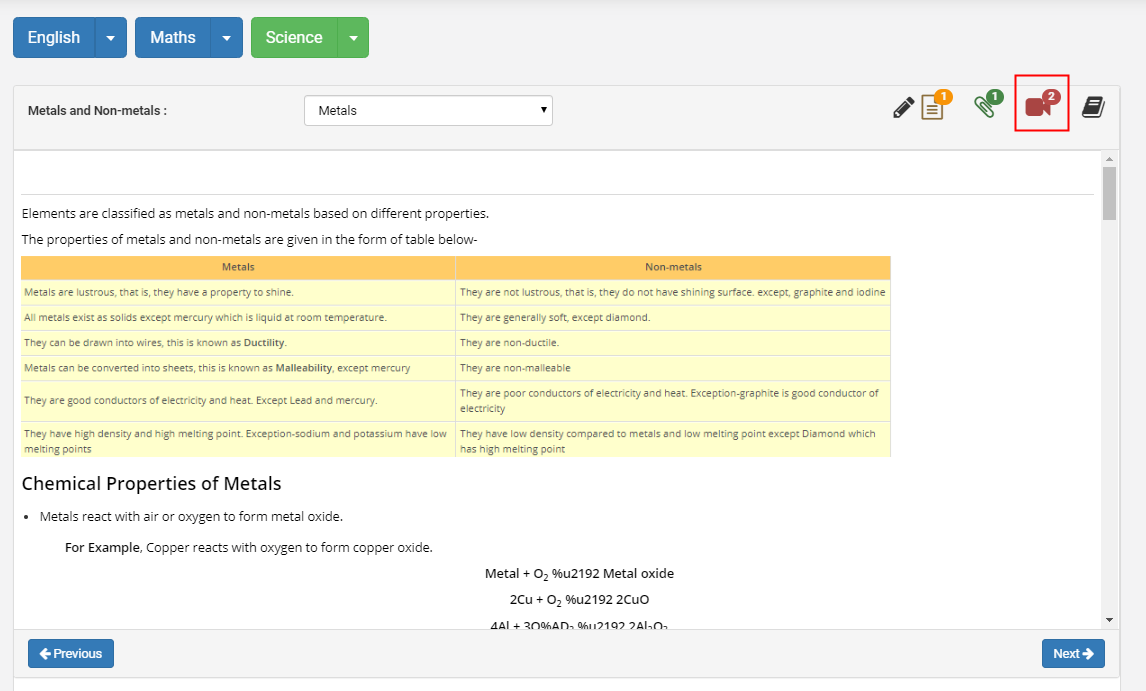
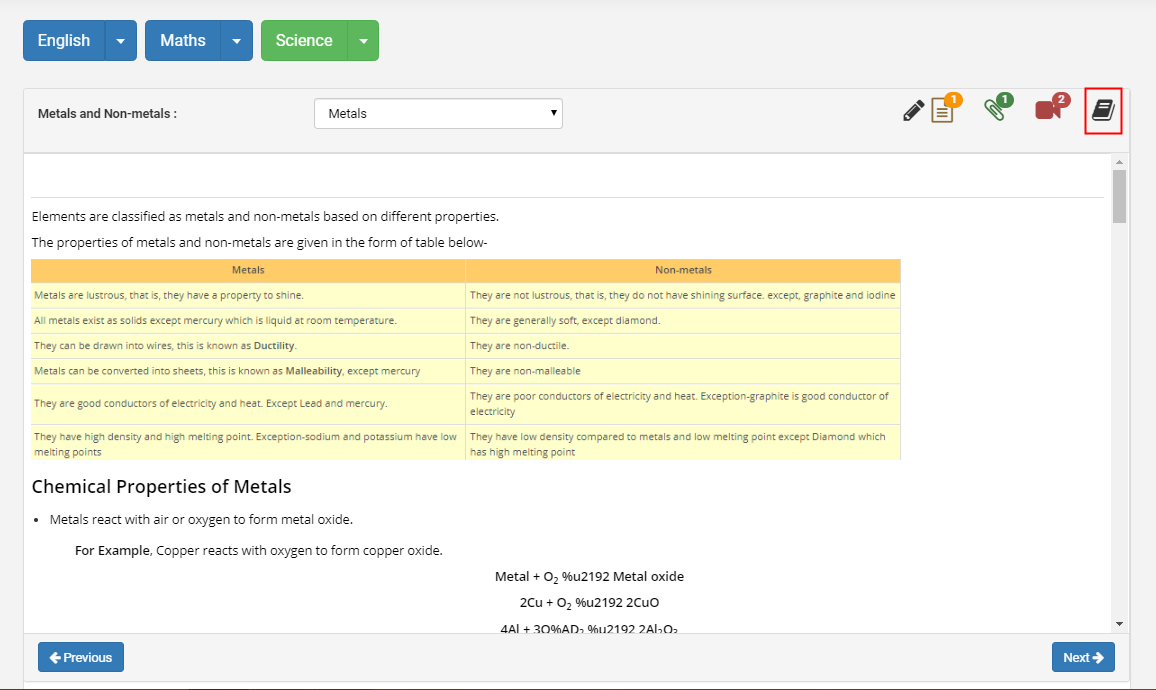
Step 4: You will be directed to the page where you can find the Topics drop down. As you select the topic, it displays the Topic description, Notes, Files, Web links, Videos and Exercise options. The number in the superscript of the icons represents the quantity of the resources available.

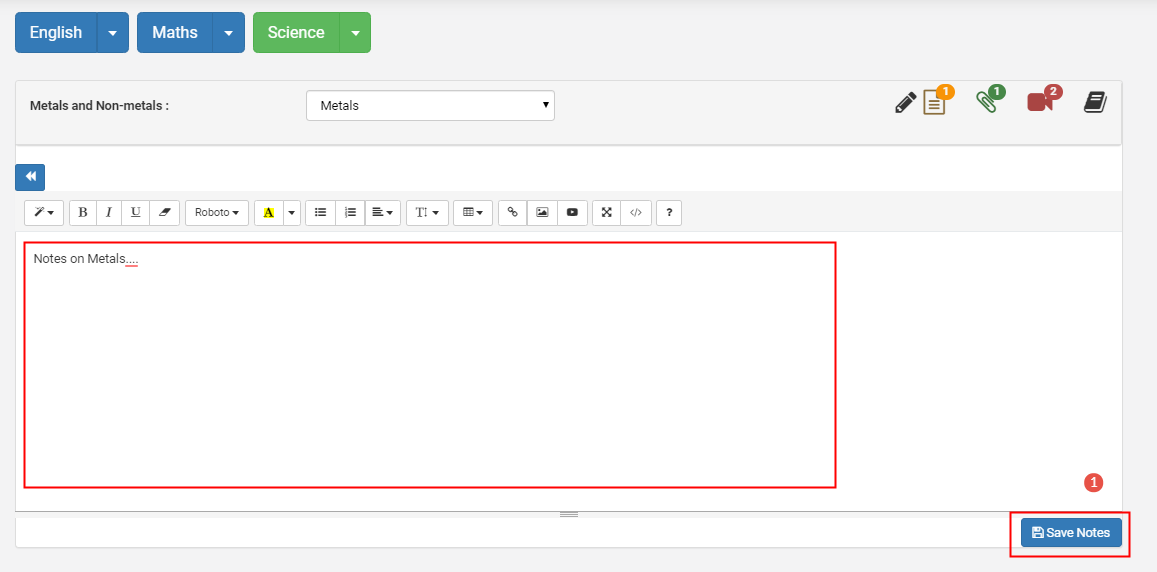
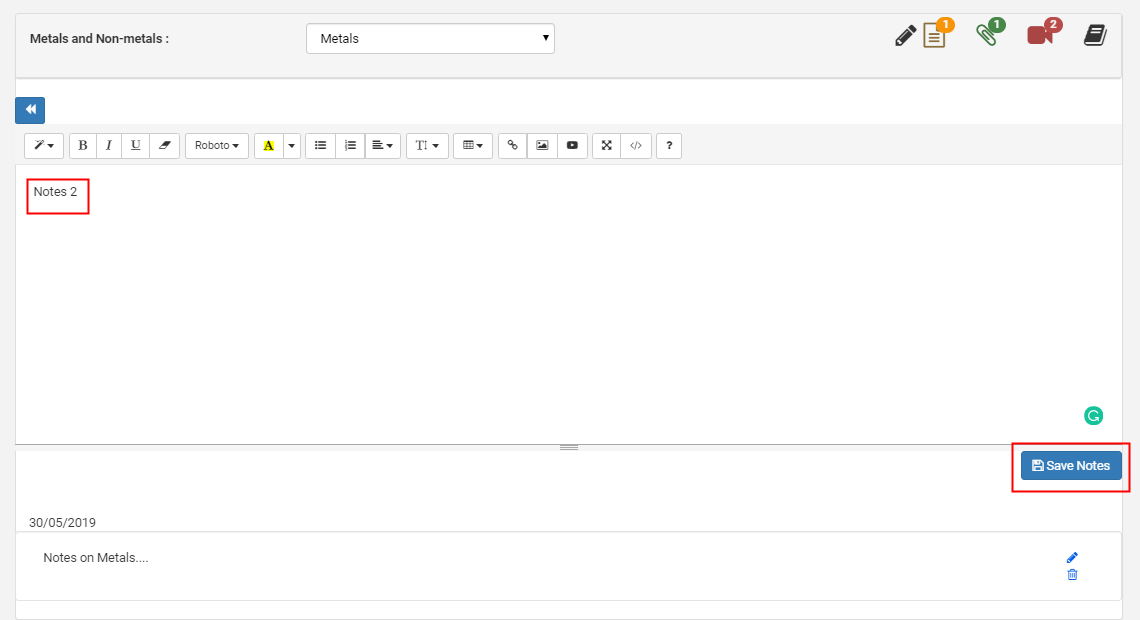
Step 5: To enter or view the Notes, Click on Notes Icon.

Step 6: Enter the notes and Click on Save notes.
Step 7: To edit the existing notes, click on the Edit icon.

Step 8: Do the necessary changes and click on the Update button to save the changes.
To cancel the changes, click on the Cancel button.

Step 9: To add another note, Enter the note and click on Save Notes.
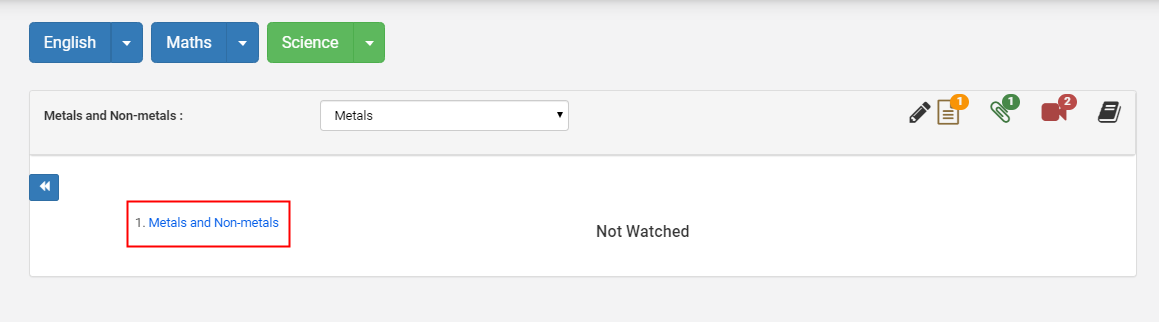
Step 10: To access files, Click on Files Icon.
Step 11: It will list the files available for the topic. Click on the file name to view the file. Not watched indicates that the file was not opened by you even once.
Step 12: As you open the file, it will display how many times you accessed the file.

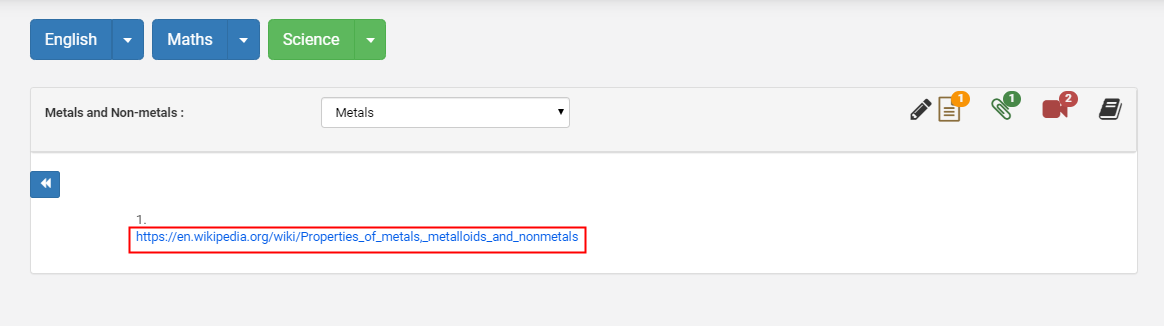
Step 13: To access Links, Click on Links Icon.
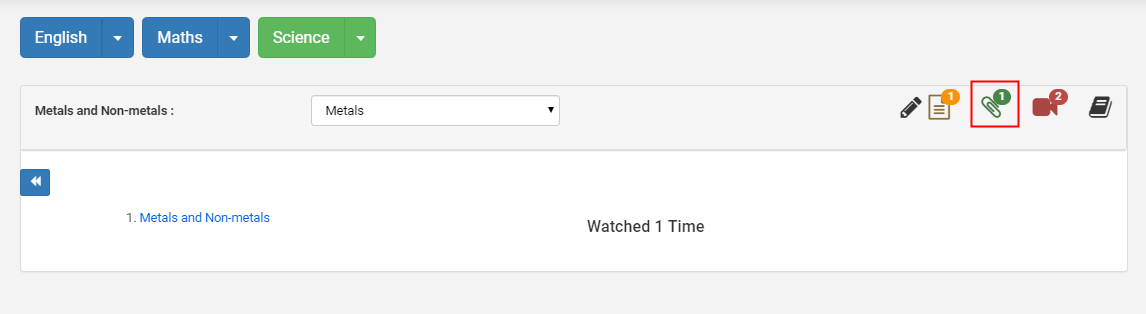
Step 14: It will list the links available for the topic. Click on the link to visit the web page.
Step 15: As you open the link, it will display how many times you visited the web page.

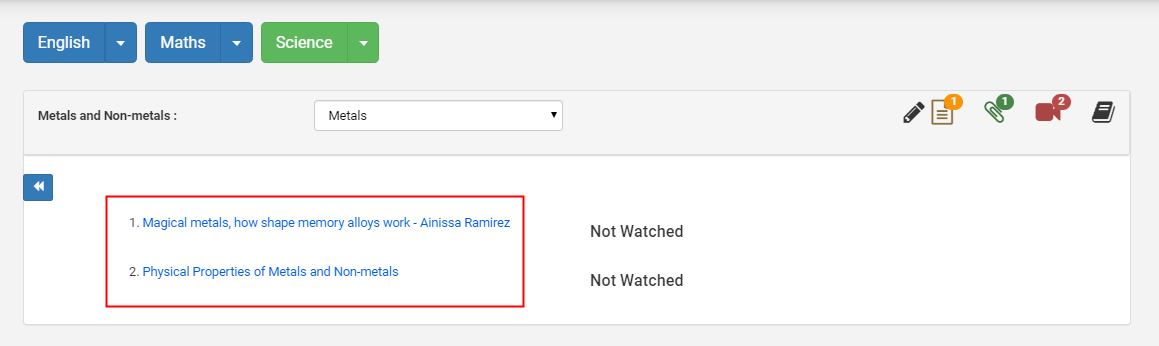
Step 16: To access videos, click on the Videos icon.
Step 17: It will list the videos available for the topic along with the watch history. Click on the link to watch the video.
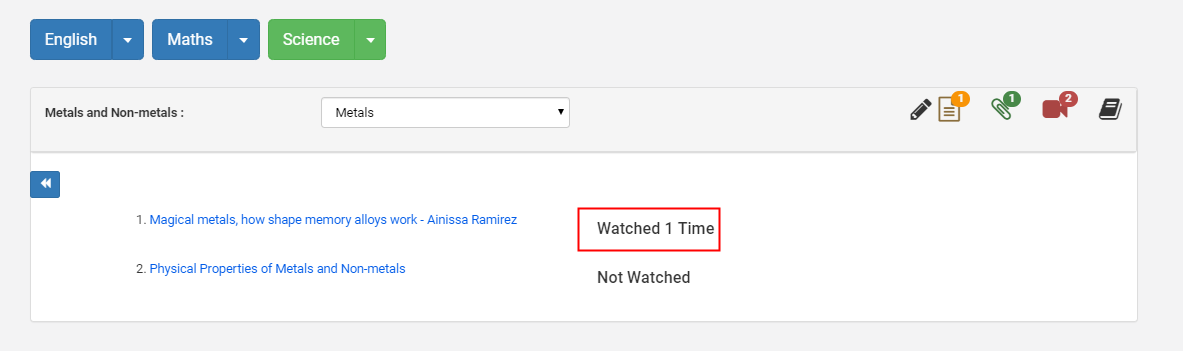
Step 18: As you open the link, it will display how many times you watched the video.
Step 19: To access the Exercise, Click on Exercise Icon.
Step 20: It will list the questions along with the options. Choose the right answer and click on Submit Answer.

Step 21: Once the test is submitted, it will show you the score, answers marked for each question along with the explanation. Same can be viewed when you click on the view results button.

Step 22: Once the topic is covered by accessing the resources, you may click on the Next button to go to the next topic. To access the previous topic, click on the Previous Button.
Note: As you click on Next button, MCB reads it as the completion of the topic and shows the percentage at the learning stage of the chapter. As you complete and click on next at each topic, the percentage is calculated accordingly.

Step 23: The 100 % indicates the completion of all topics learning in a chapter and the box color changes to Blue from Red.
The Red box indicates that the topics haven’t started.
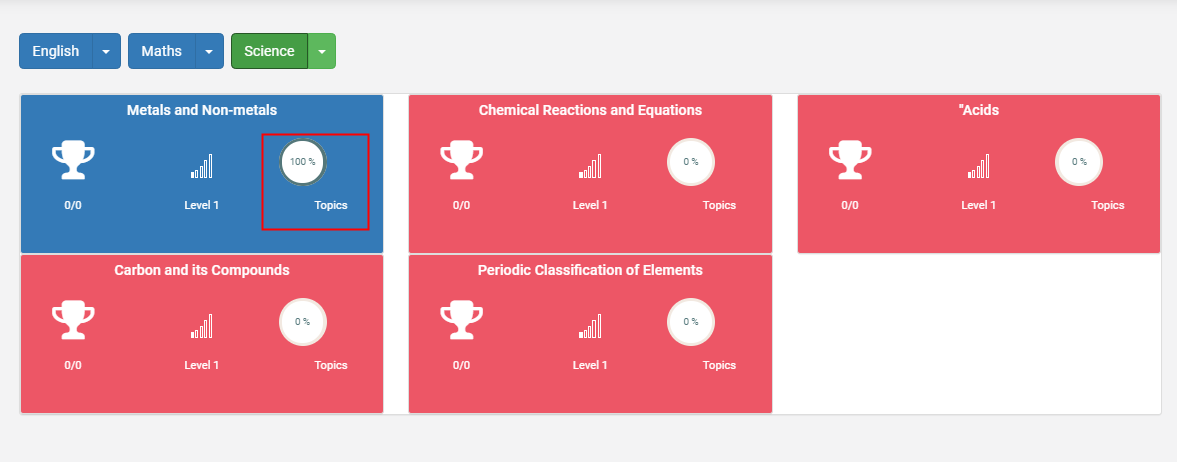
The yellow color indicates that the learning has started and in progress towards completion.

Online Exams
Step 24: To attempt Online Exam, Click on Start Exam. Please note the exam cannot be attempted when the Exam date is crossed. It shows as Due Date Expired against the Exam.

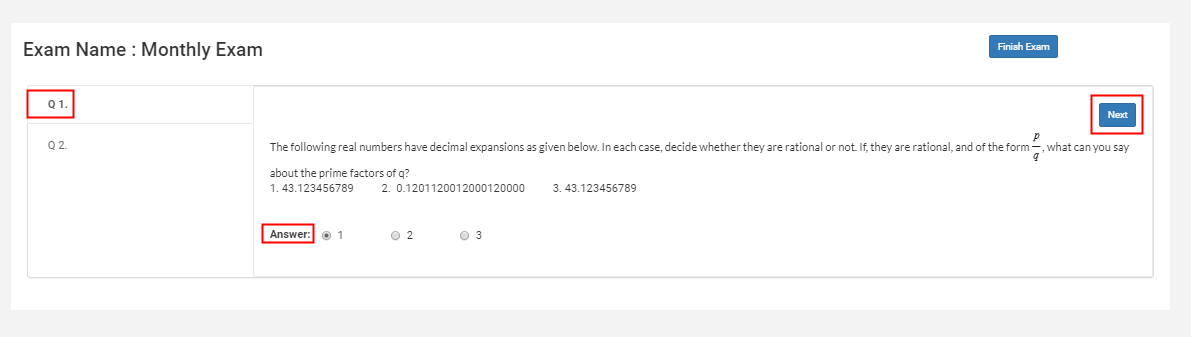
Step 25: Choose the question, right answer and click on next button to attend the next question. You may go to the desired question directly by clicking on the question number.
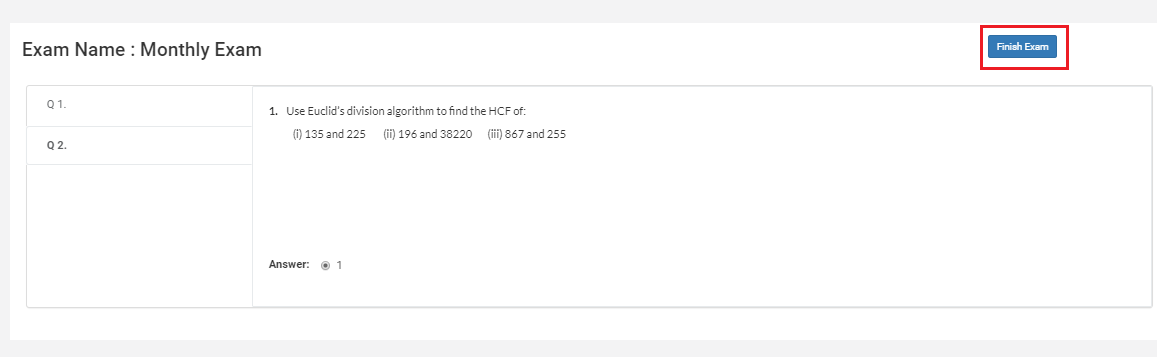
Step 26: As you answer all the questions, click on Finish Exam.
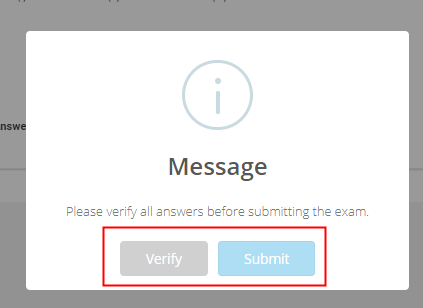
Step 27: Click on verify to check the given answers once again. Click on Submit to confirm the exam completion.
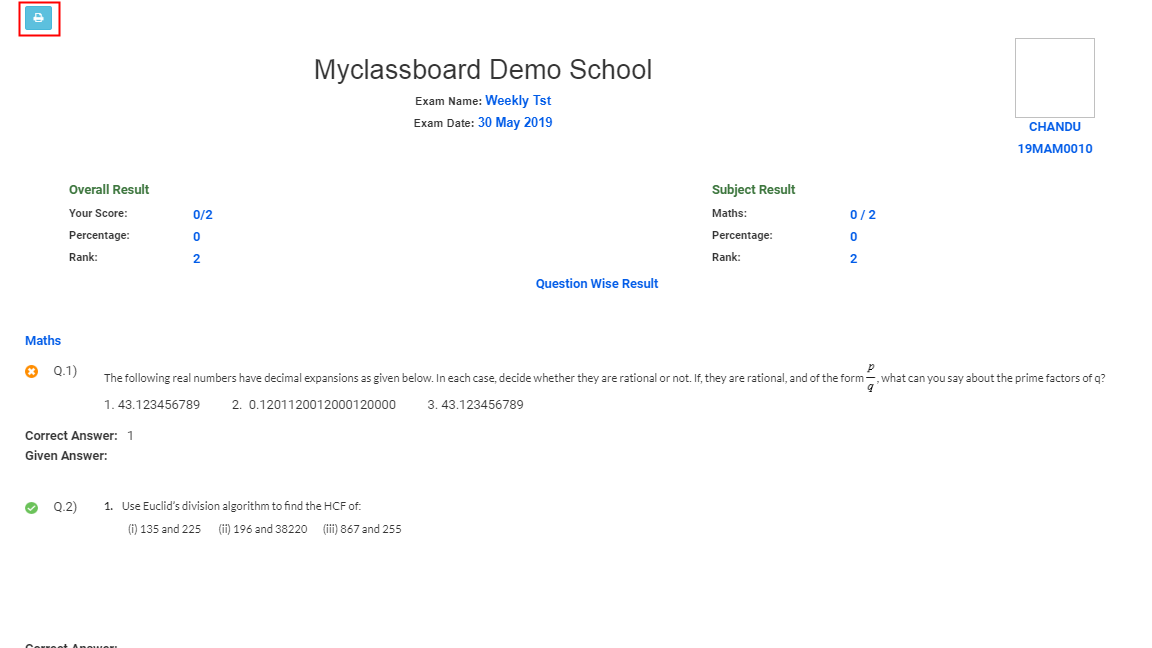
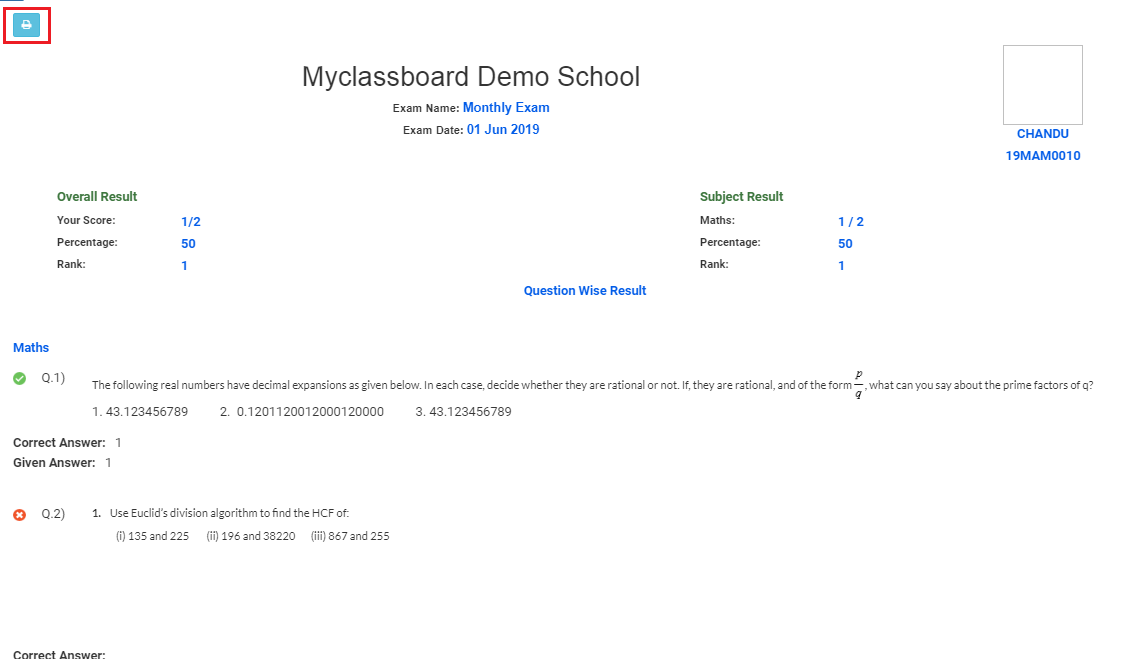
Step 28: If your school chooses to publish the result instantly, the result is displayed soon after you hit on Submit button. The result includes the overall score, subject wise score, marked answers, and the answer key. You may print the same by clicking on the print icon which is available on the top left corner.
Step 29: The online exam dashboard will show you View Results and Question paper options against the exams which are attempted.

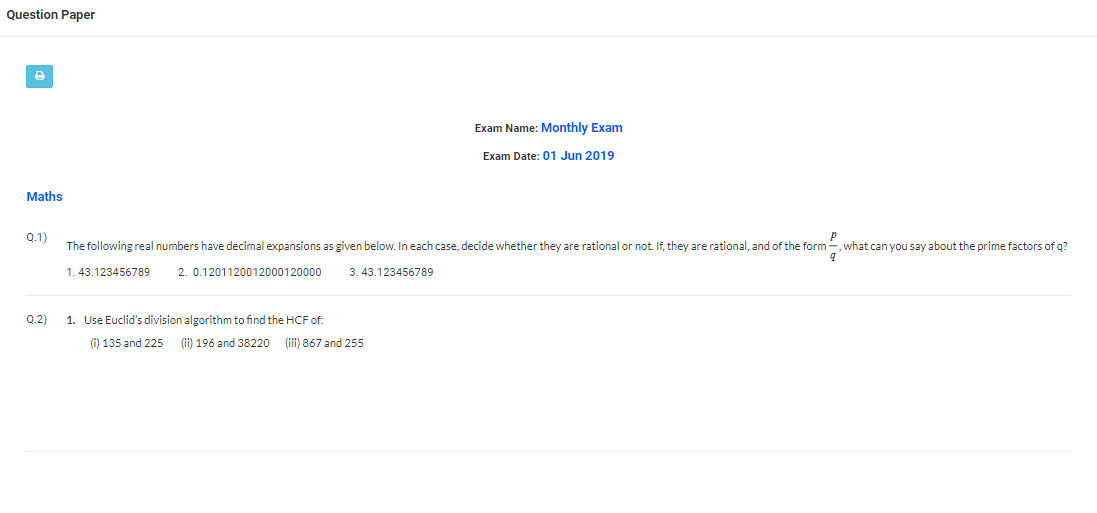
Step 30: To view the question paper, click on the Question paper. It will show the list of questions given for the exam. You may print the same for later use by clicking on the print icon.
Step 31: To view Results, click on View Results. It will display the result of the exam. You may print it by clicking on the print icon.