Step 1: Login to MCB with your Login Credentials
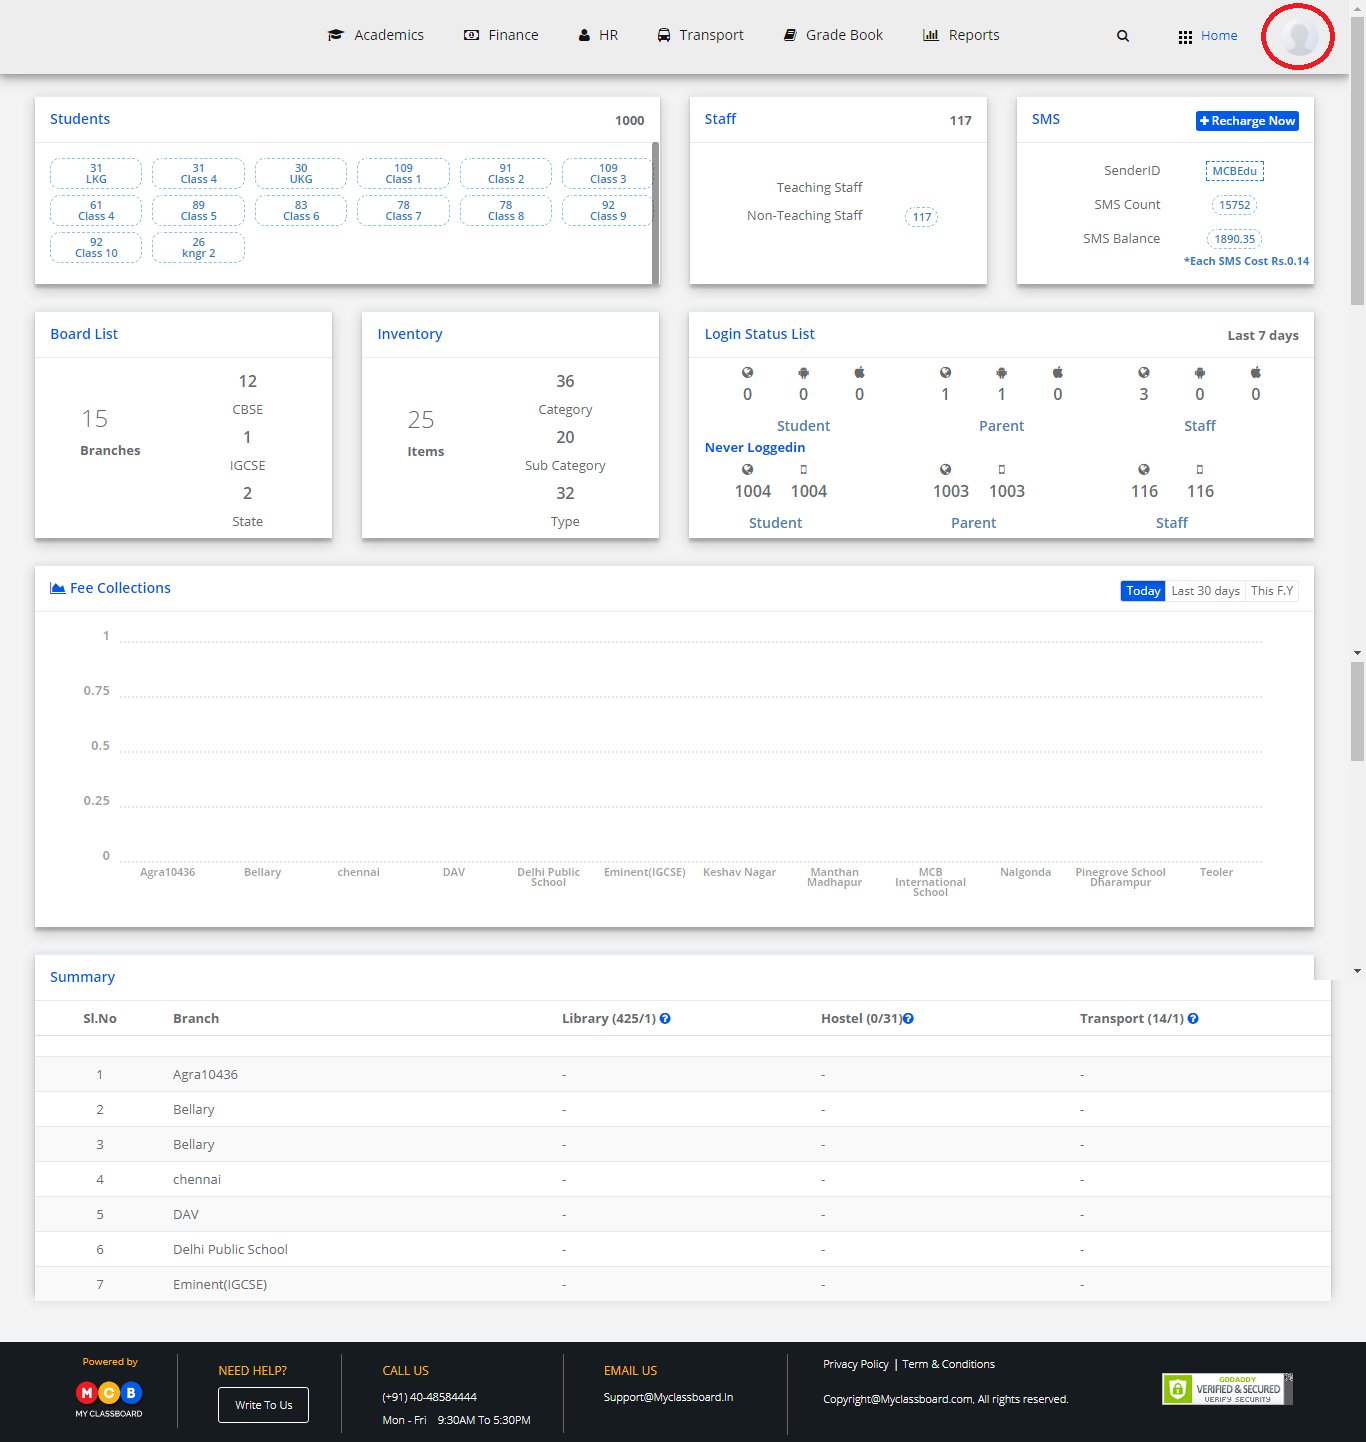
Step 2: Change Access Level – Click on the “User Profile” icon on the right-hand top corner.
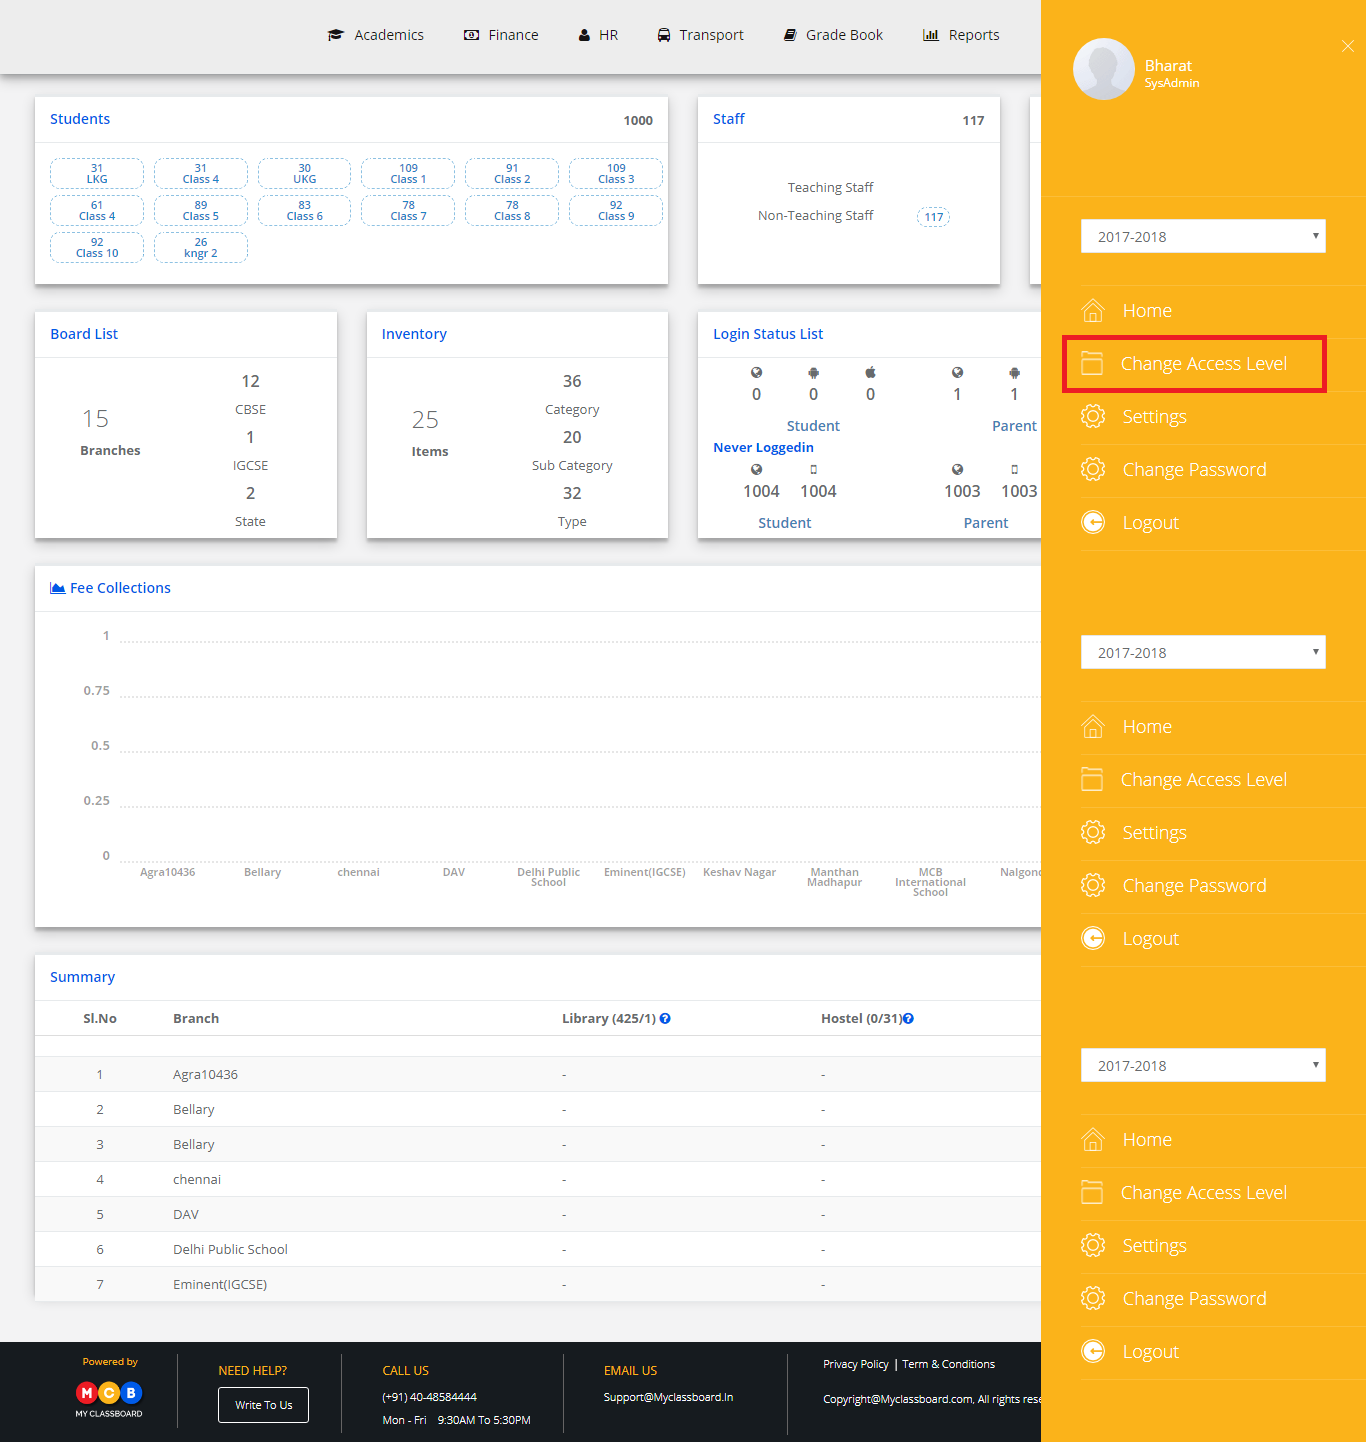
Step 3: Select “Change Access Level”.
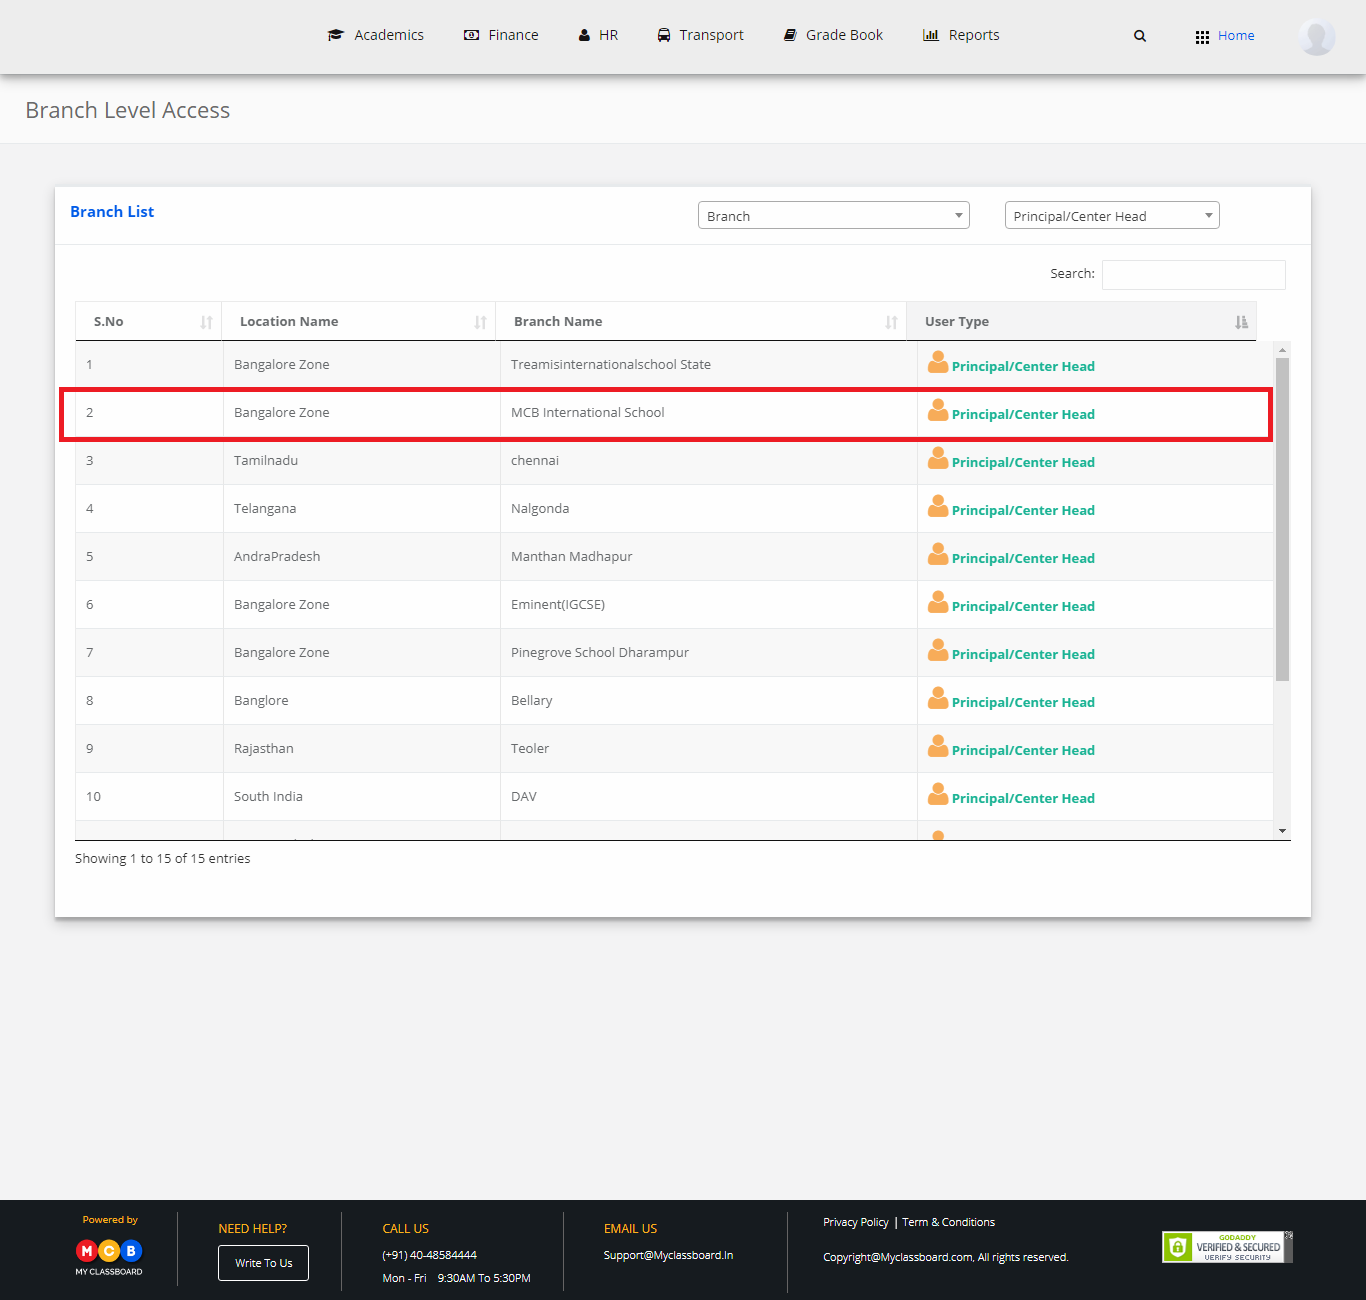
Step 4: Select the User Type as “Principal”.
Step 5: Select the principal against the respective branch.
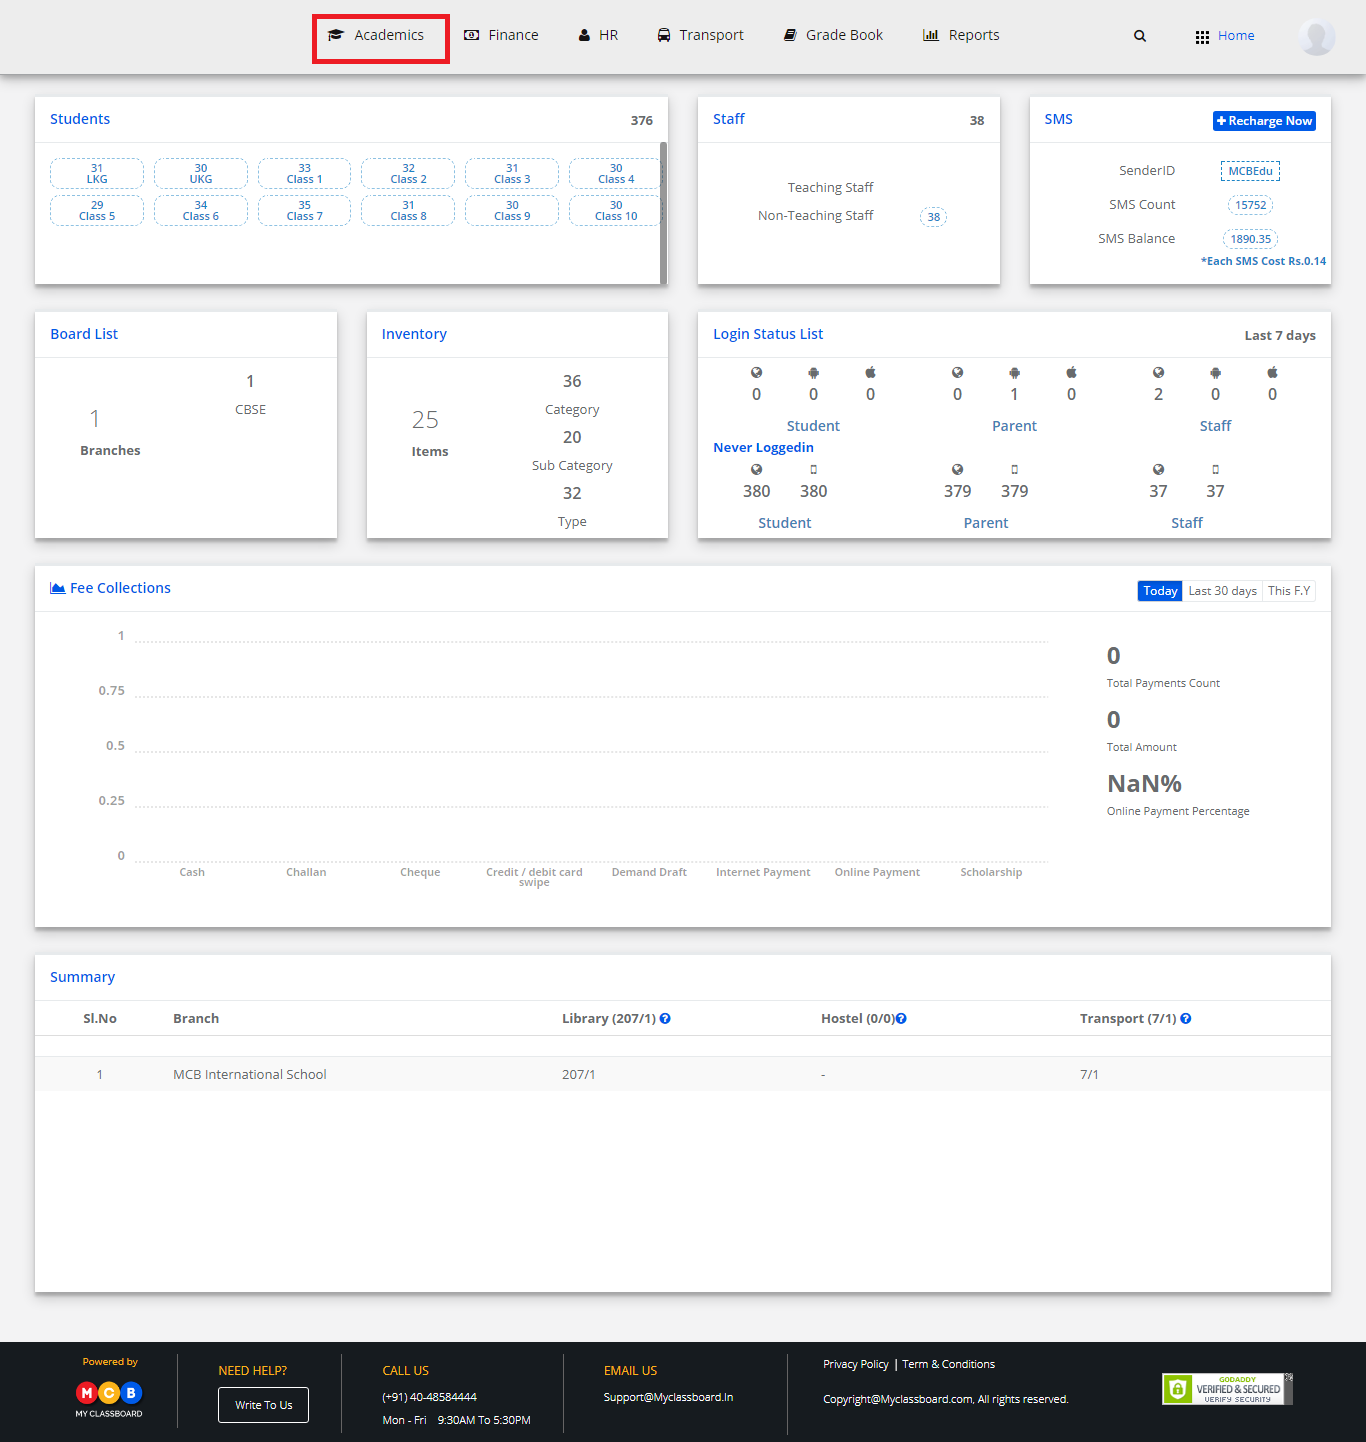
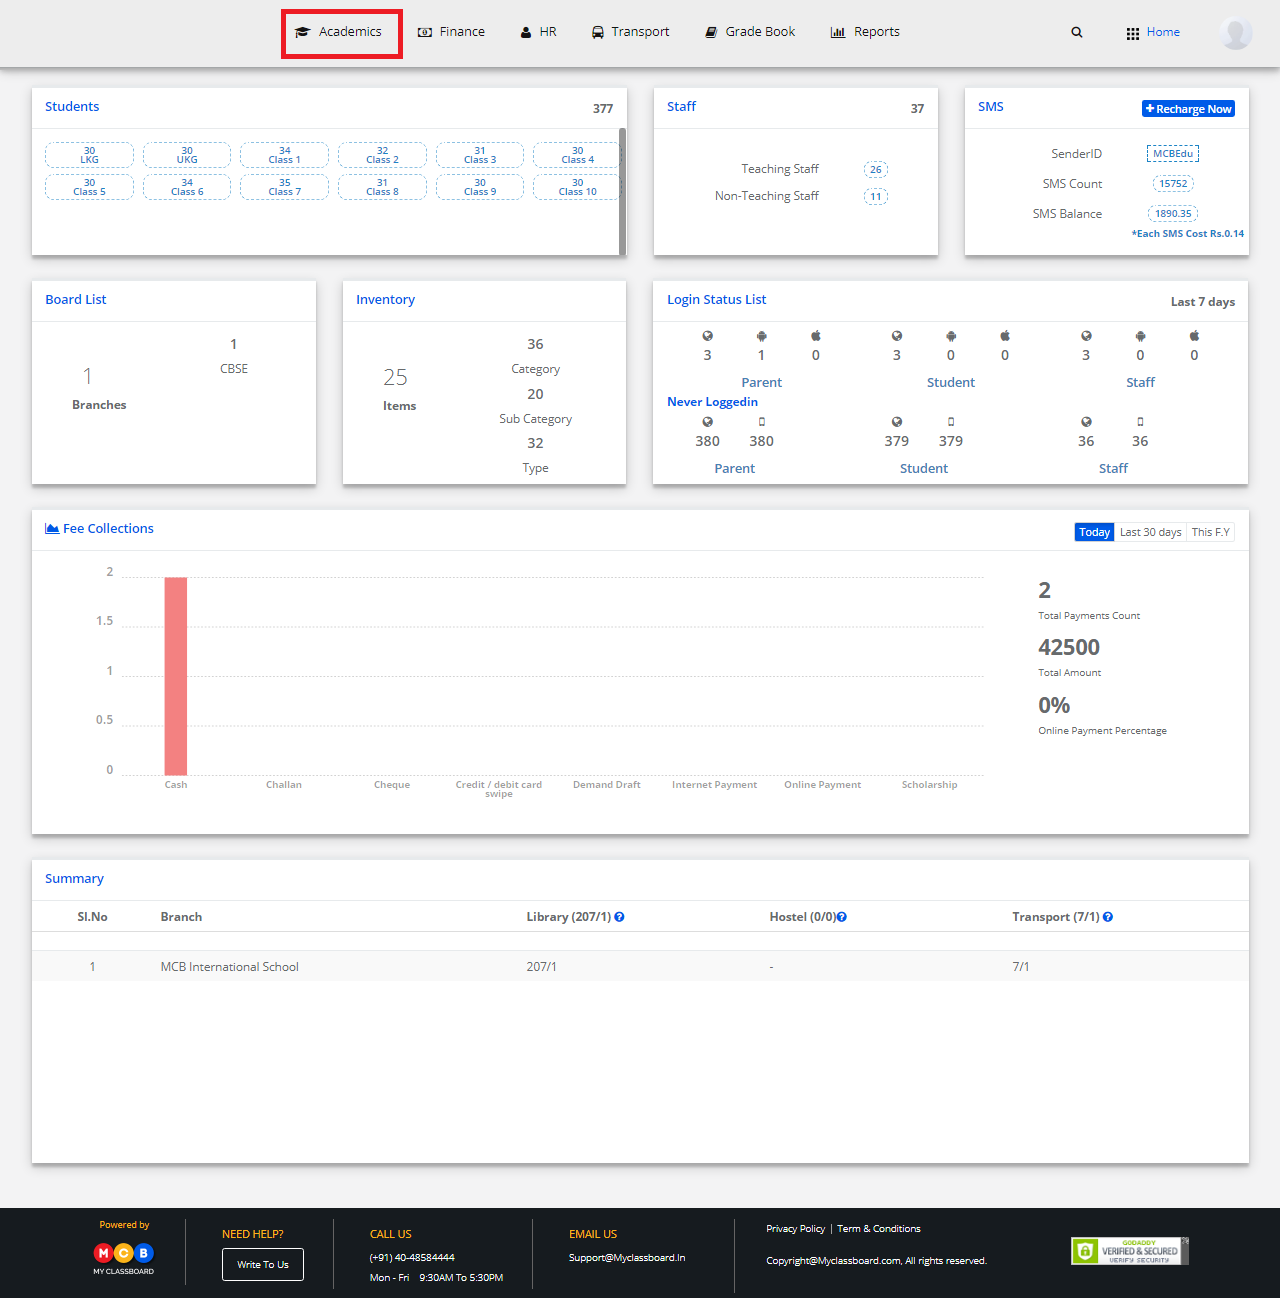
Step 6: Click on “Academics” on the top bar of the dashboard.
Step 7: Select the Enrollments tab and choose “Fast Enrollments” under it.
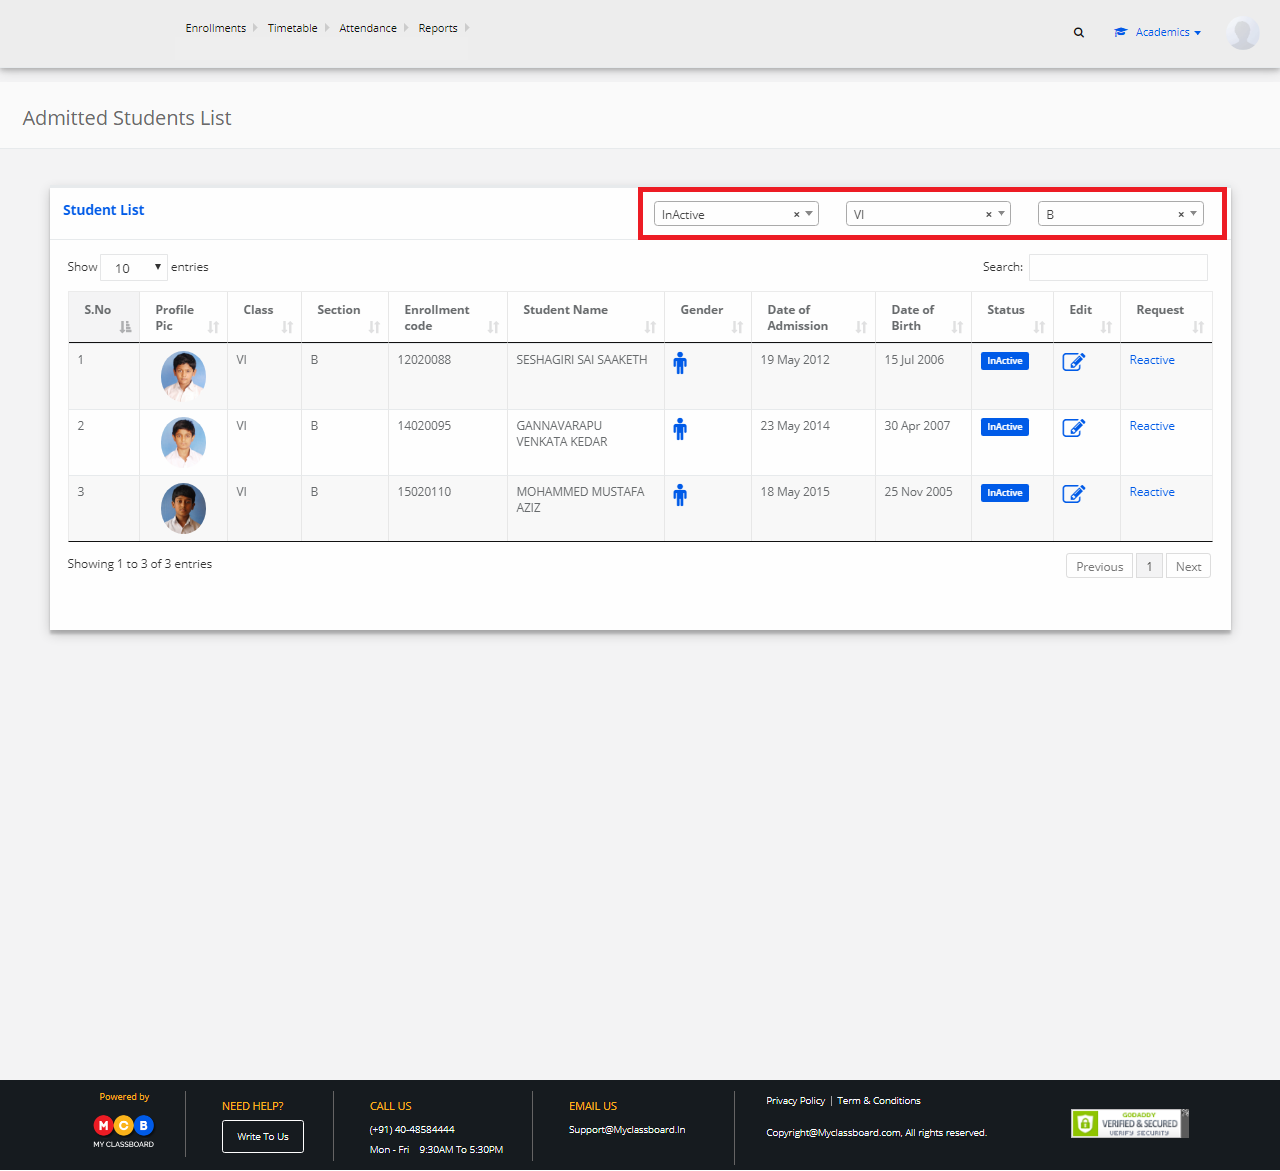
Step 8: Choose the Inactive, class, and selection.
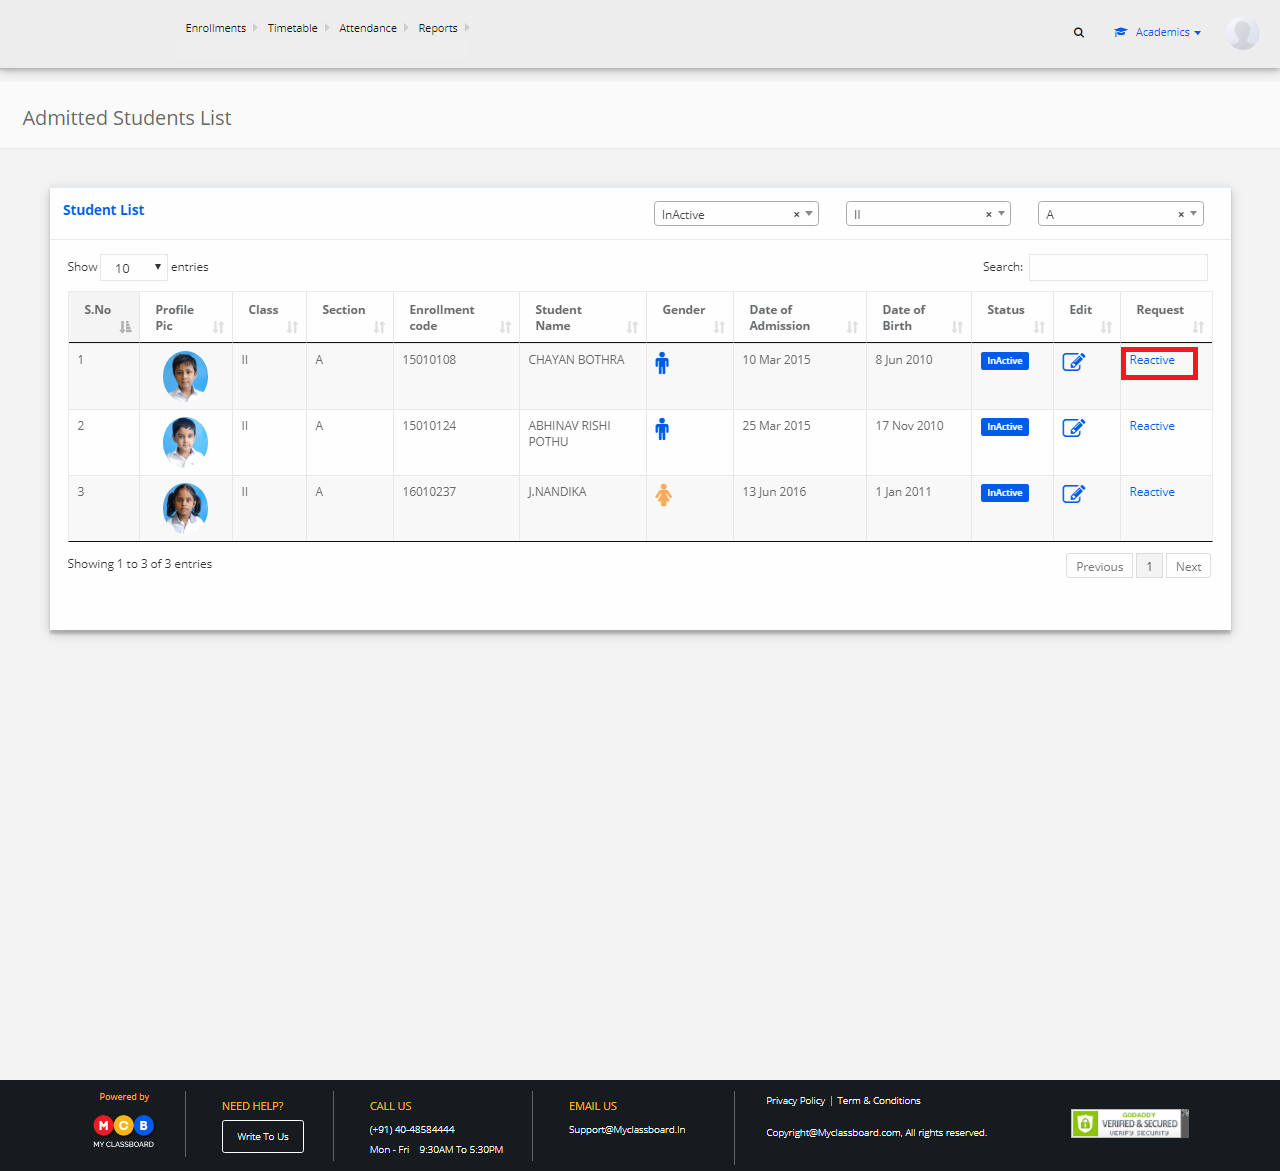
Step 9: Click on the reactive option against the student record.
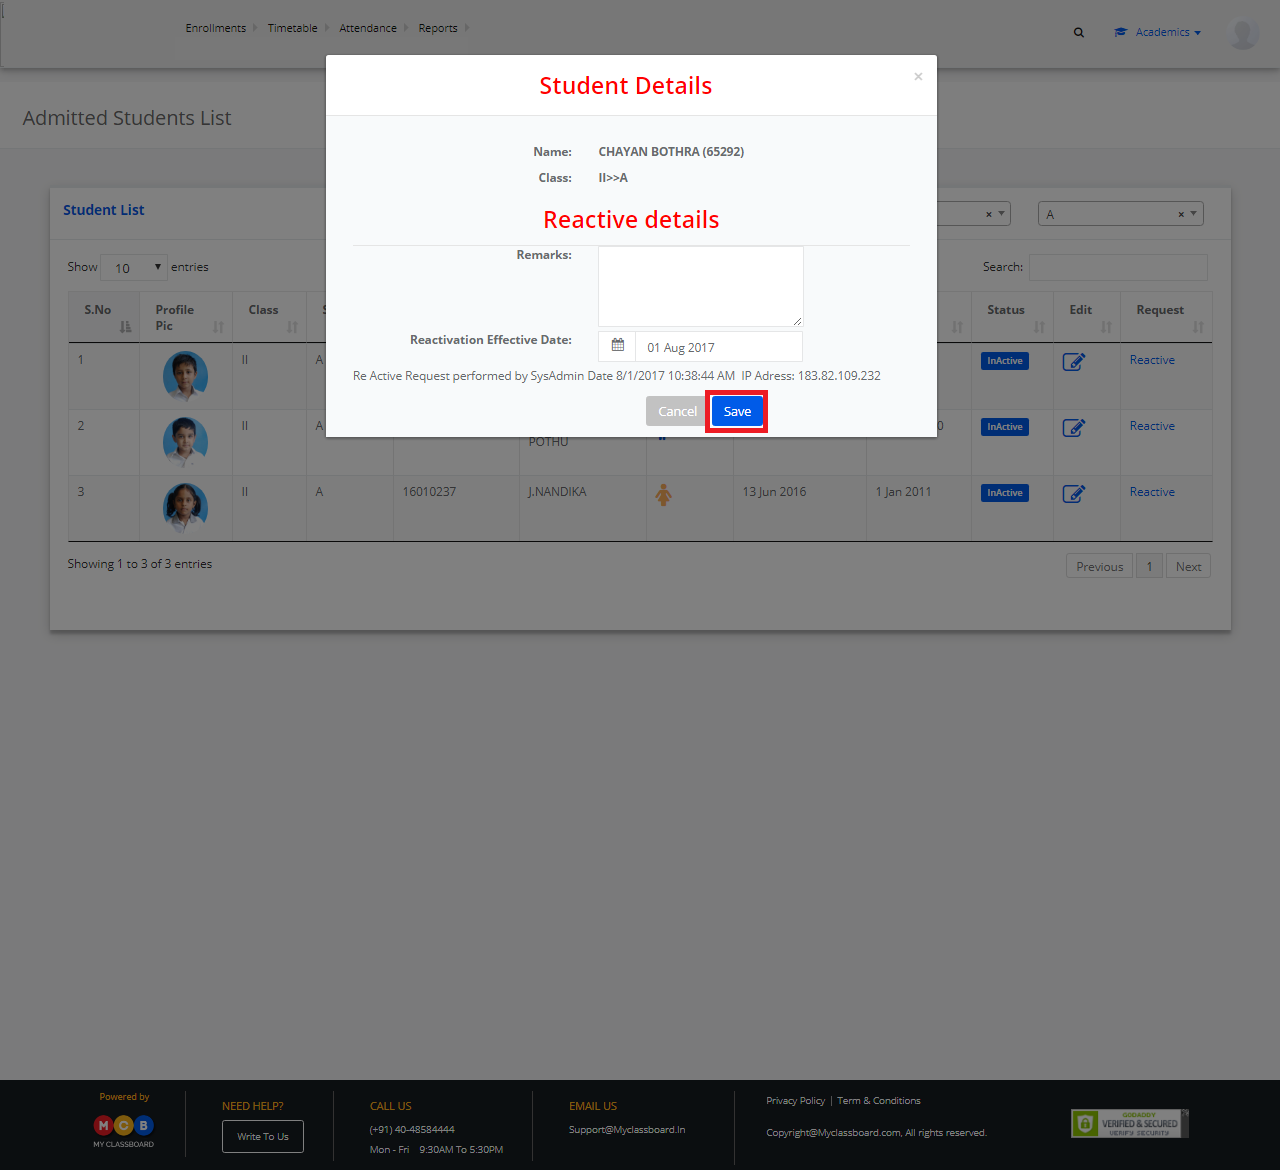
Step 10: Choose reason, write Remarks, In reactive effective date and click on Save.
Step 11: Change the access level to System Admin.
Step 12: Click on Academics at the top bar of the dashboard.
Step 13: On the dashboard, find the reactive request, you will be directed to Approve reactive students screen.
Step 14: Choose location and Branch to display the pending request for approval.
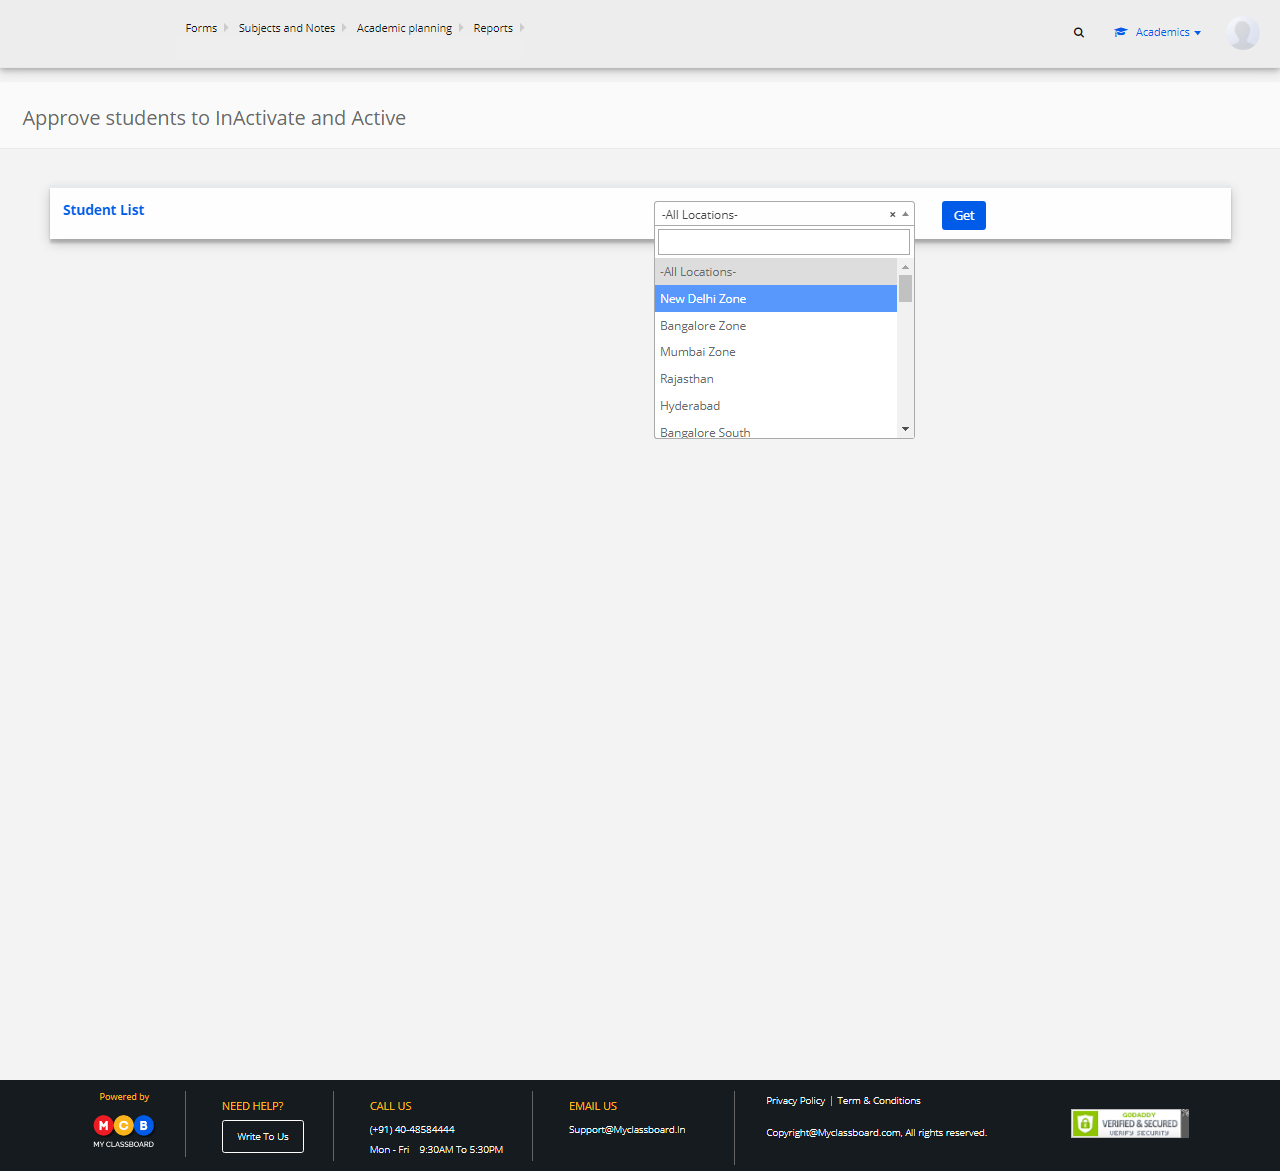
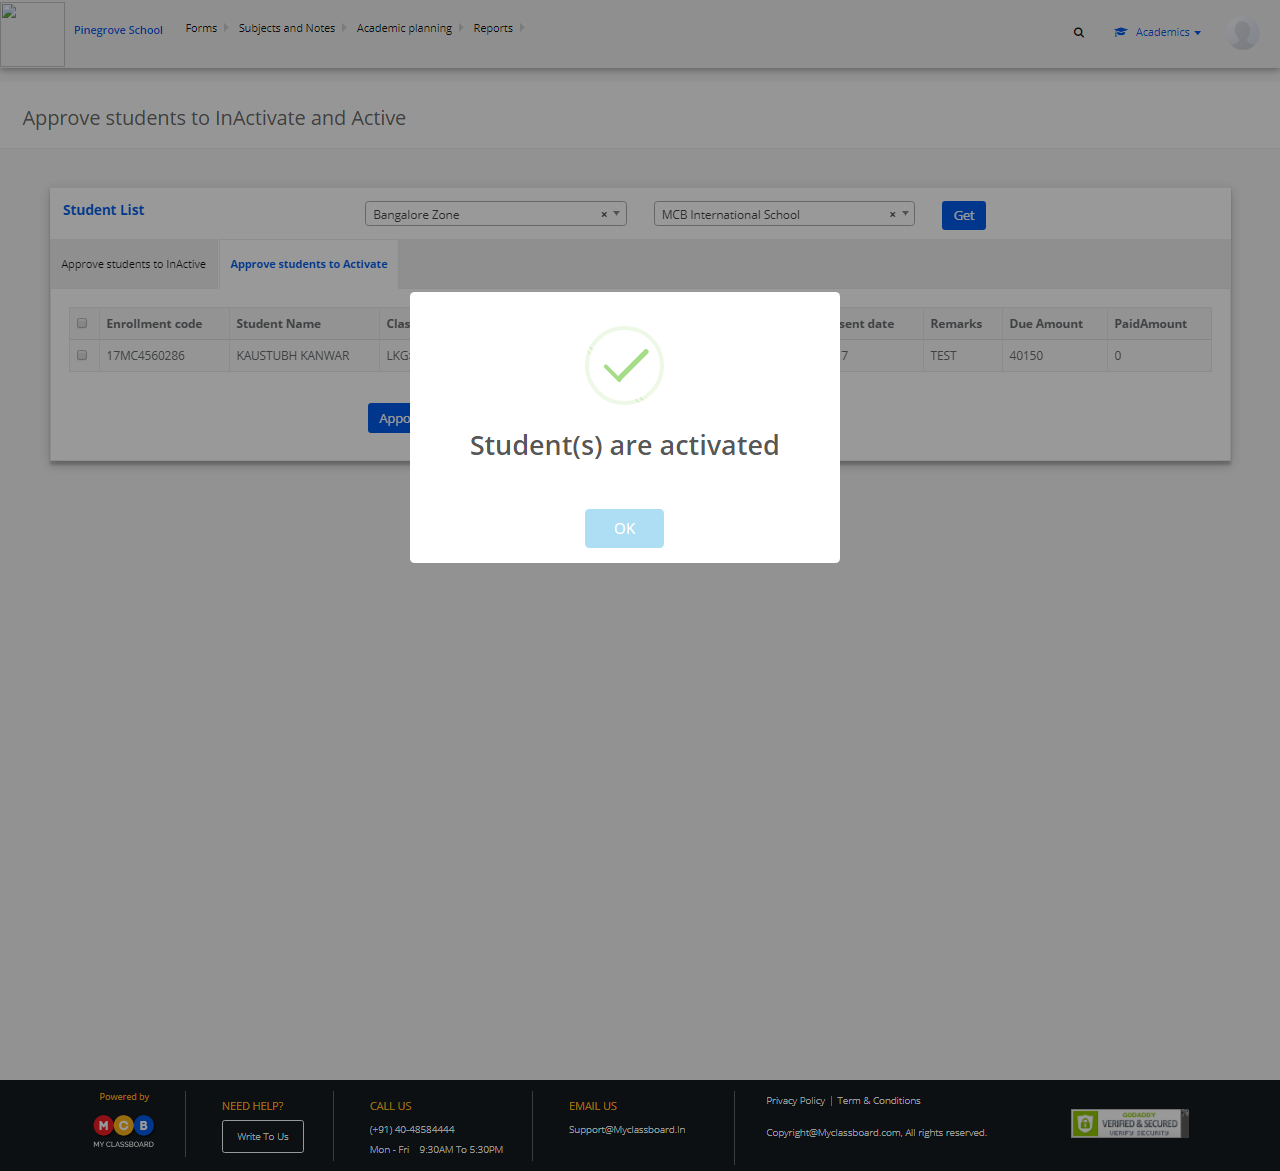
Step 15: Select student record, write Remarks and click on Approve.
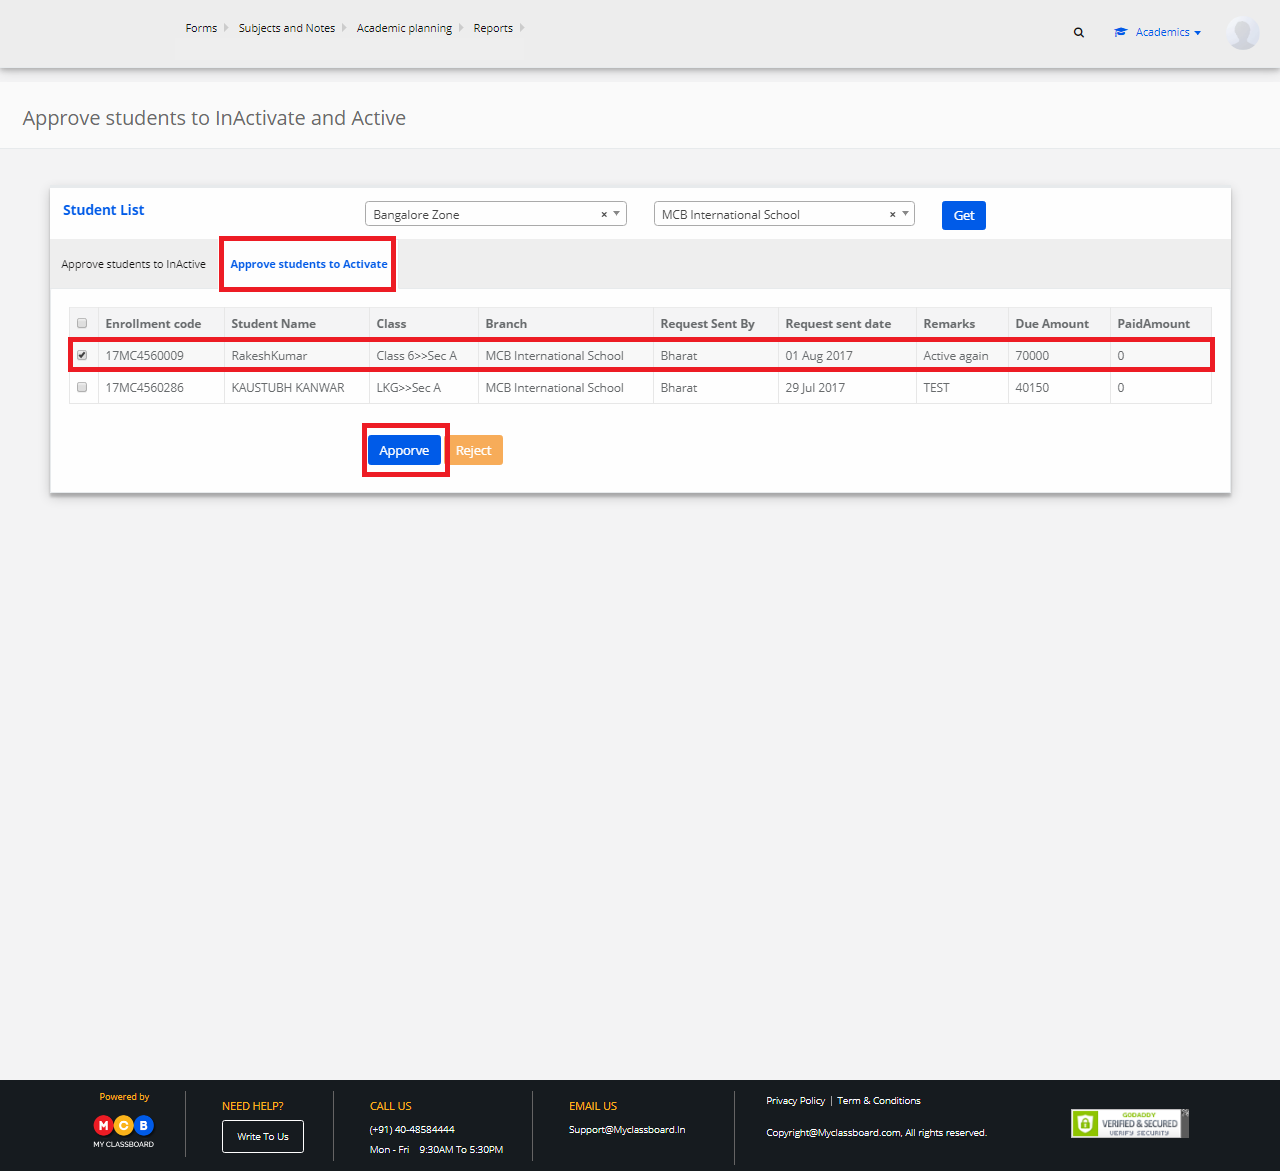
Step 16: The student is reactivated.