School Specific Achievements:
School Specific Achievements can be used to record school achievements, individual achievements, and team achievements in different categories like Sports, Co-Curricular, Fine Arts, Celebrity and Others along with the competition details, venue details and event photos.
Please follow the steps below to use School Specific Achievements.
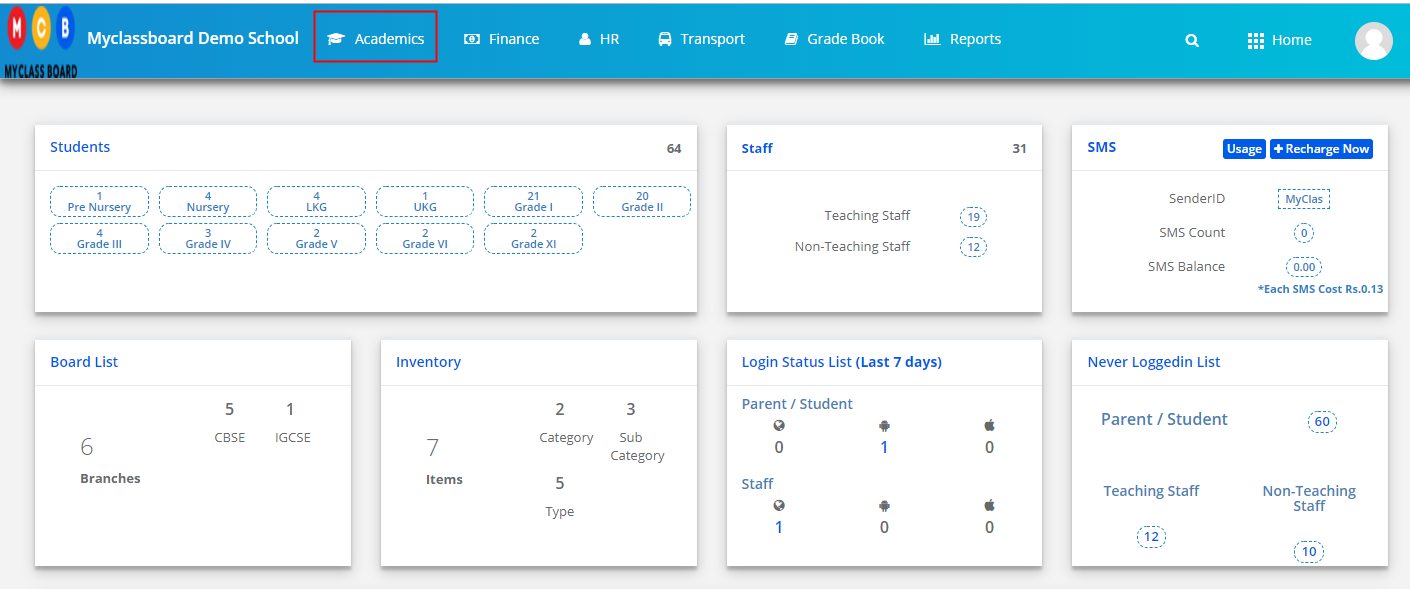
Step 1: Login to MCB with system admin Credentials.
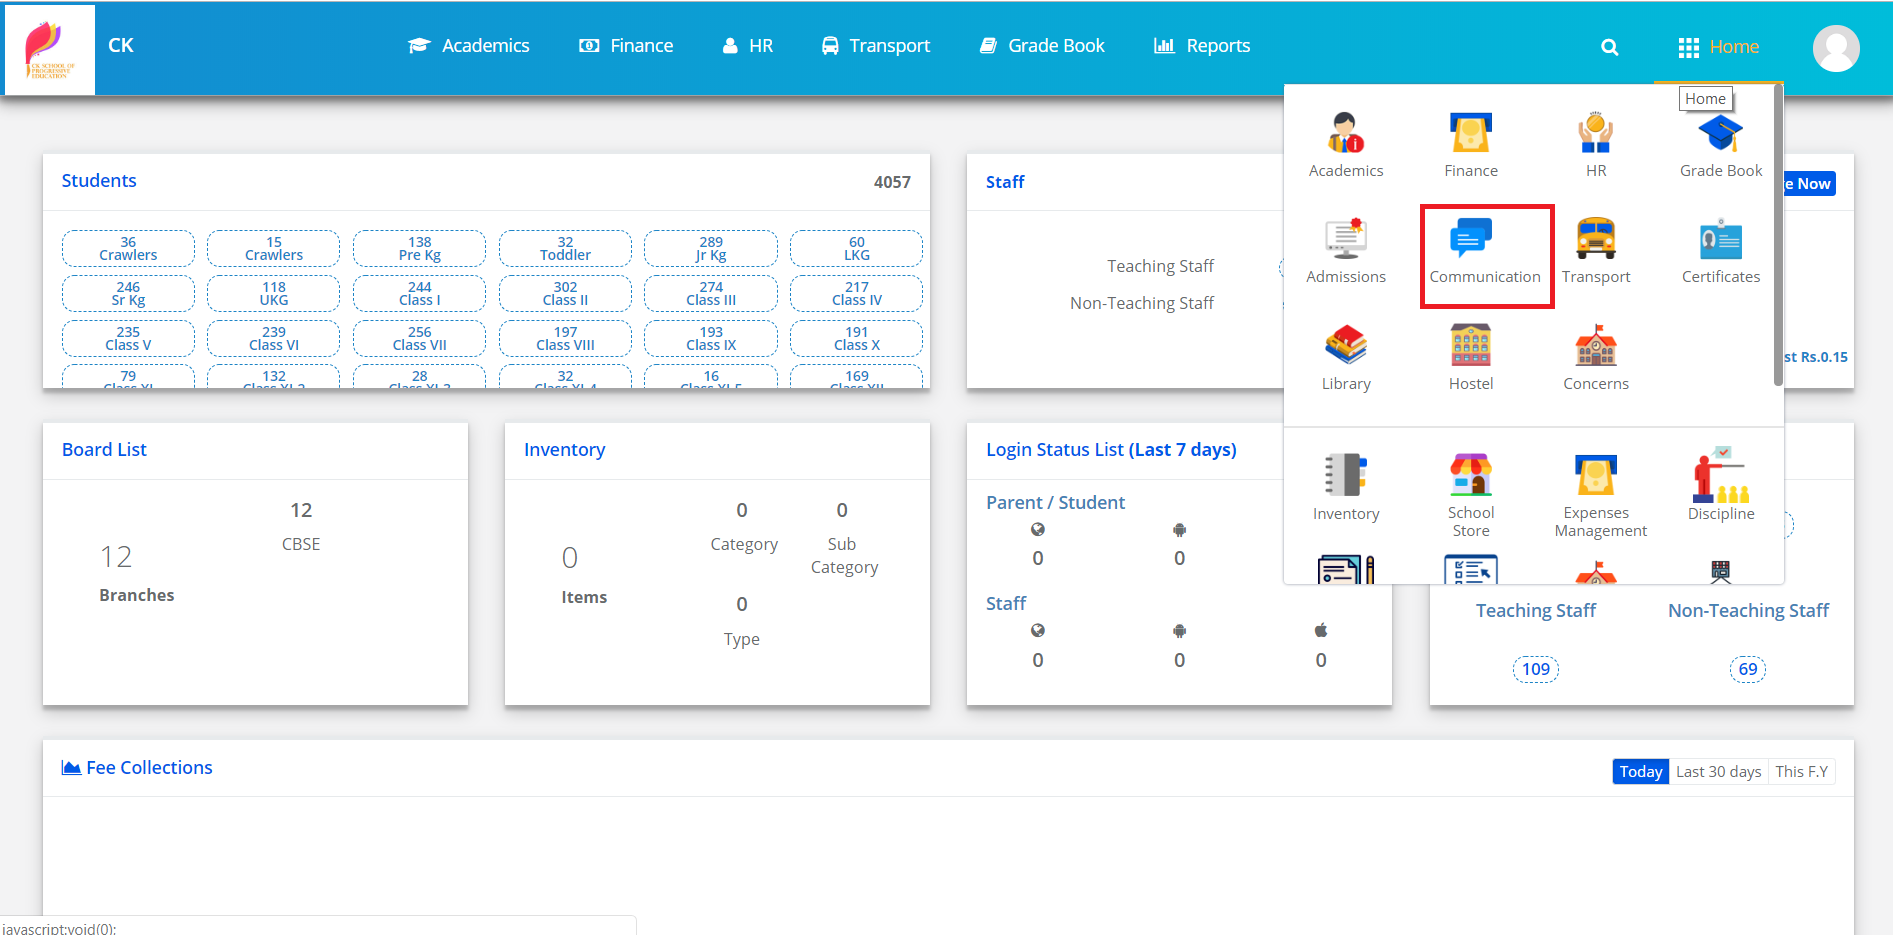
Step 2: Select Academics on the Menu and you will be directed to the Academics module.
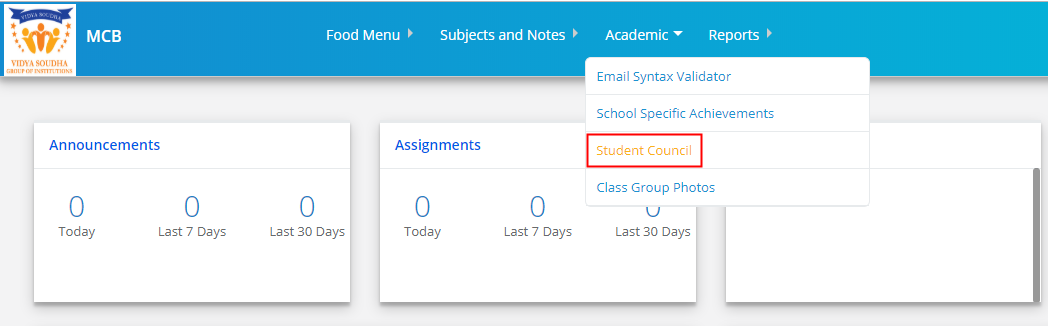
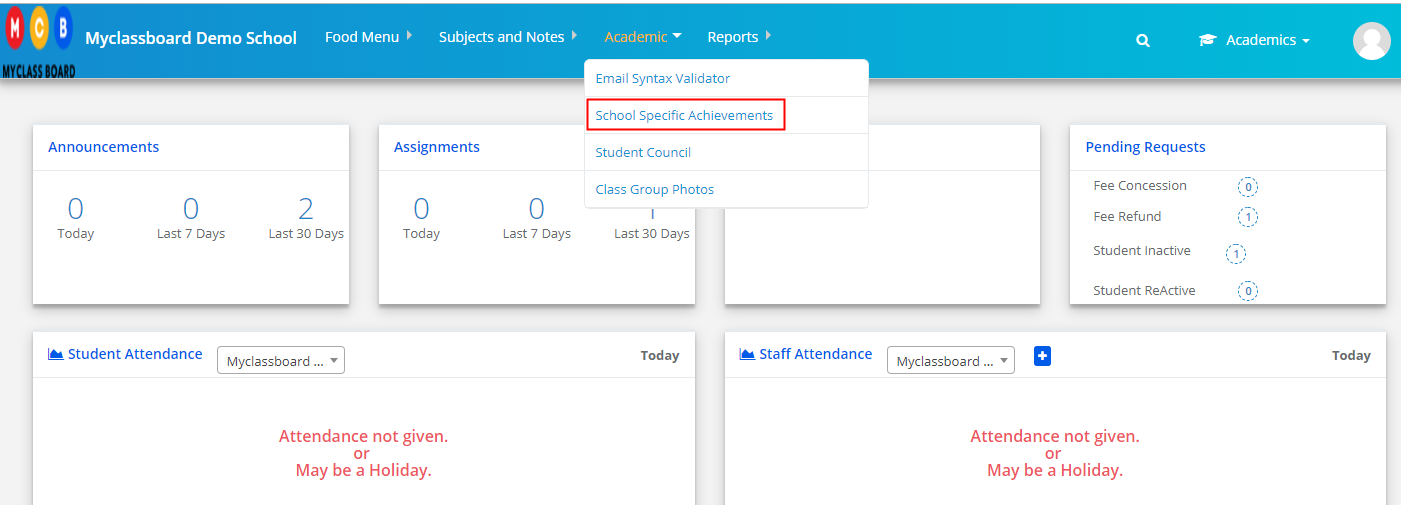
Step 3: Choose School Specific Achievements under the Academics menu.
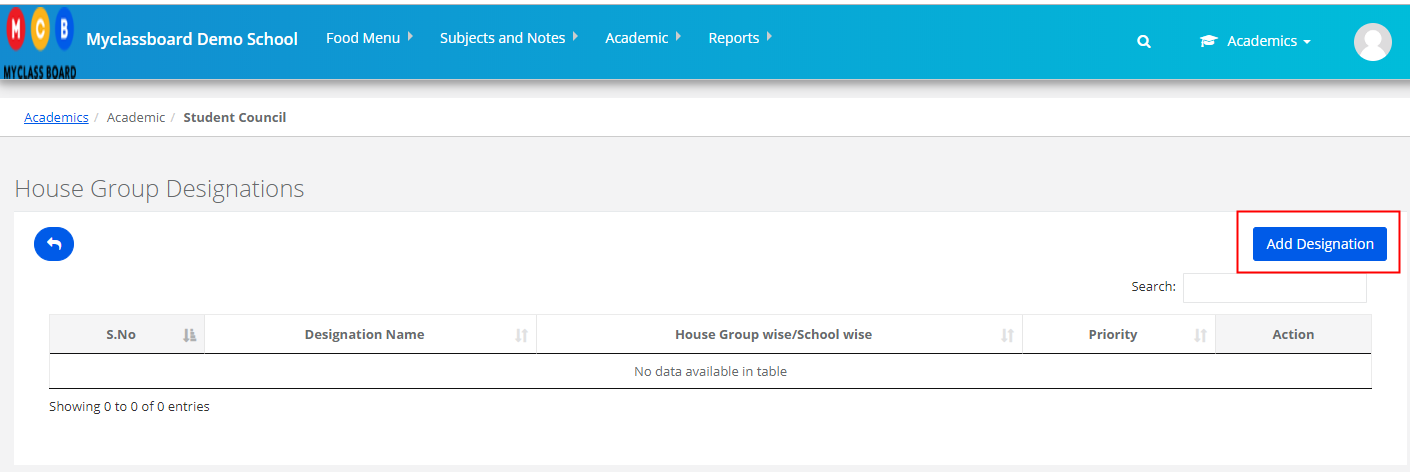
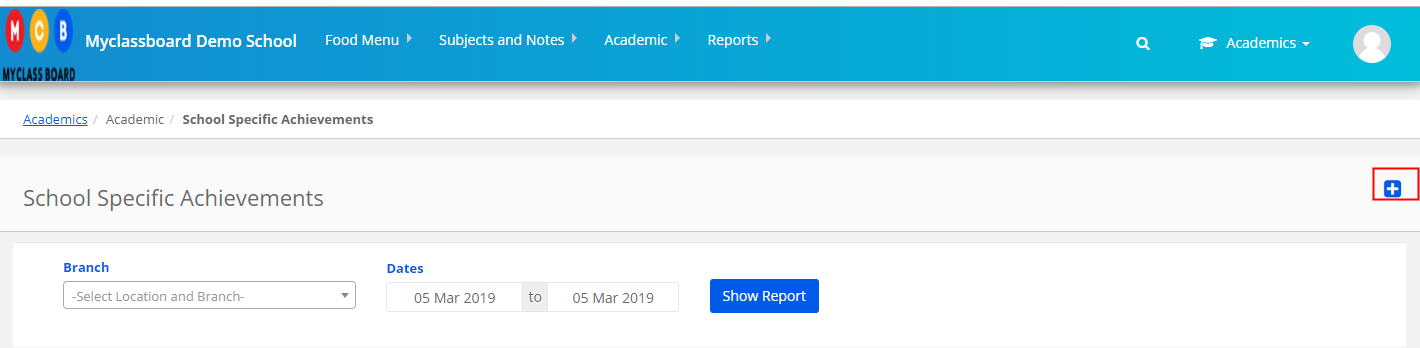
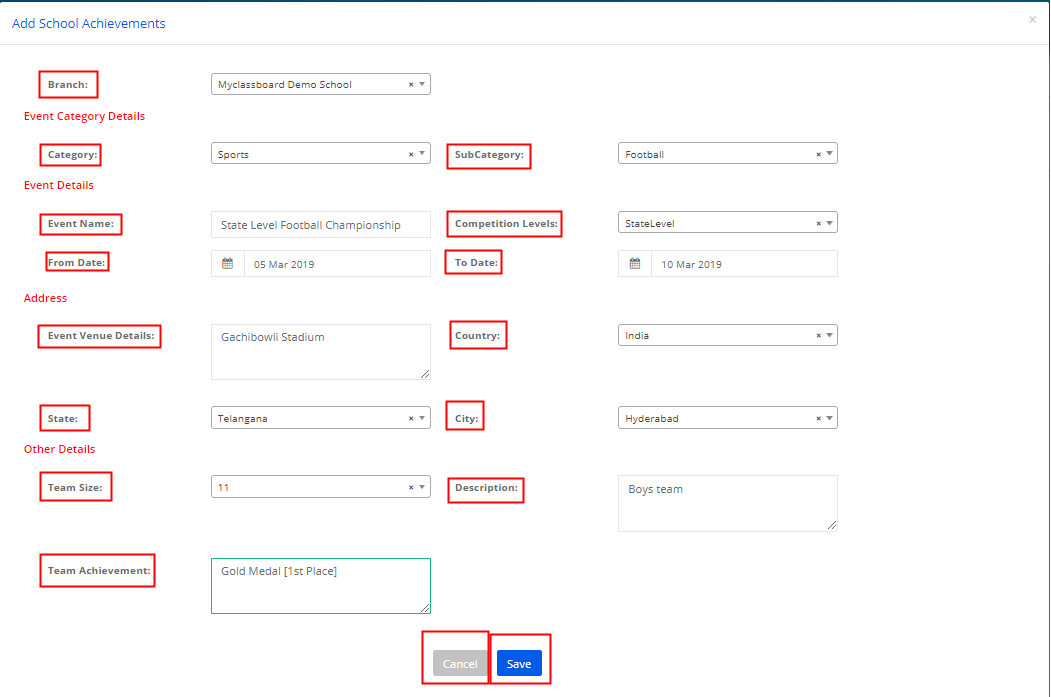
Step 4: To add the achievement, Please click on “+” Sign which is available on the top right corner [Highlighted below]
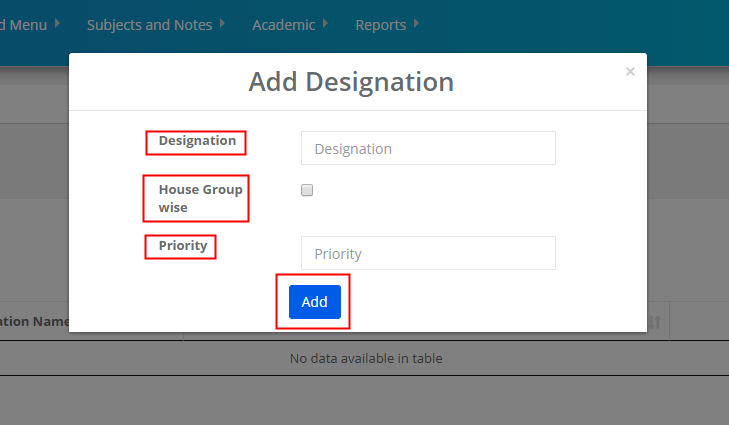
Step 5: Fill in the highlighted fields with the relevant details and click on Save to save the entry or cancel to cancel the entry.
To add the individual achievements and photos:
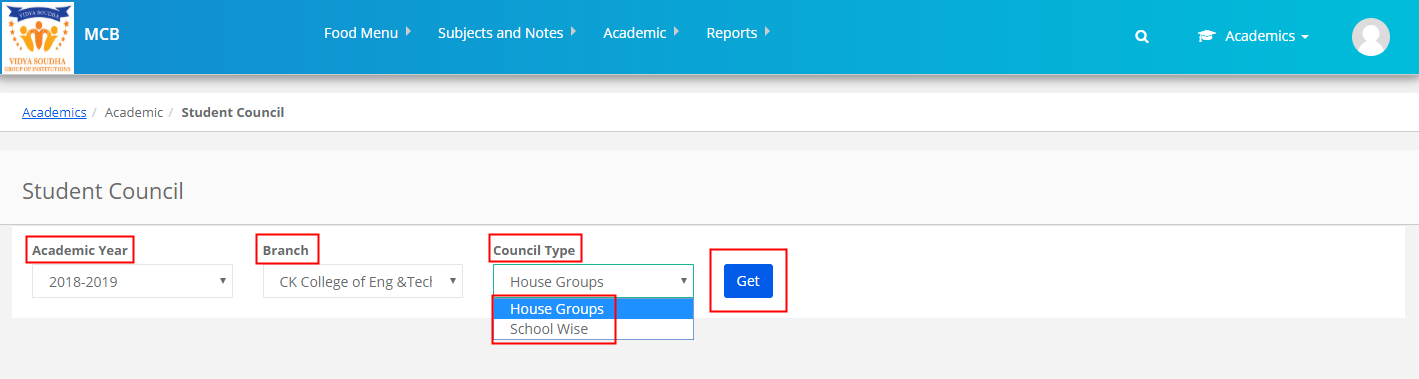
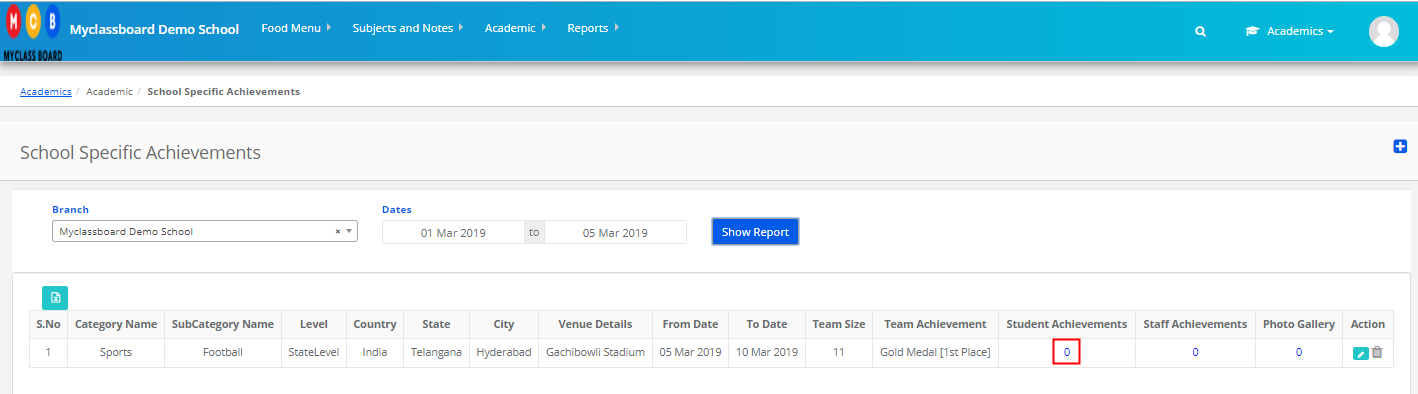
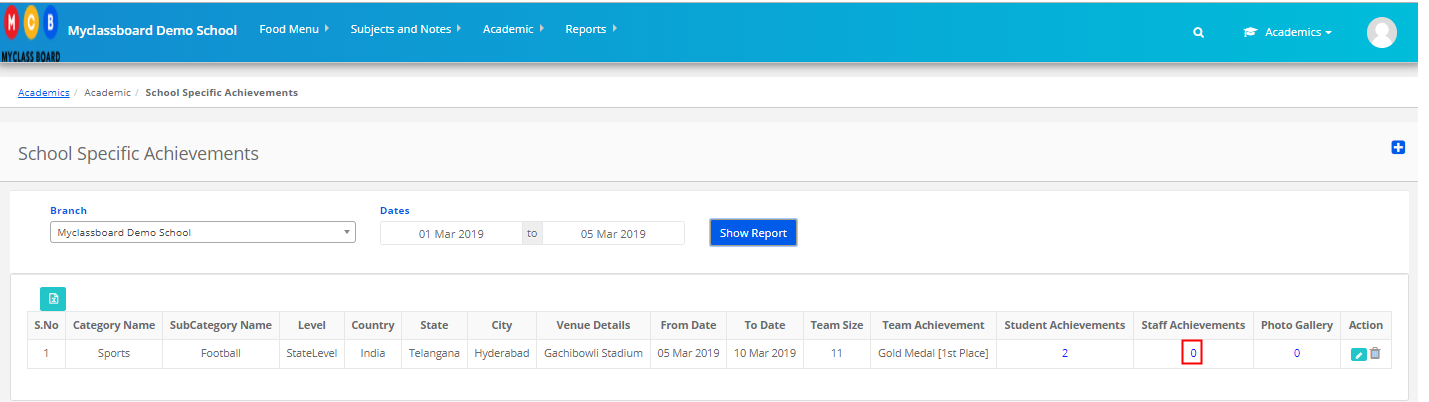
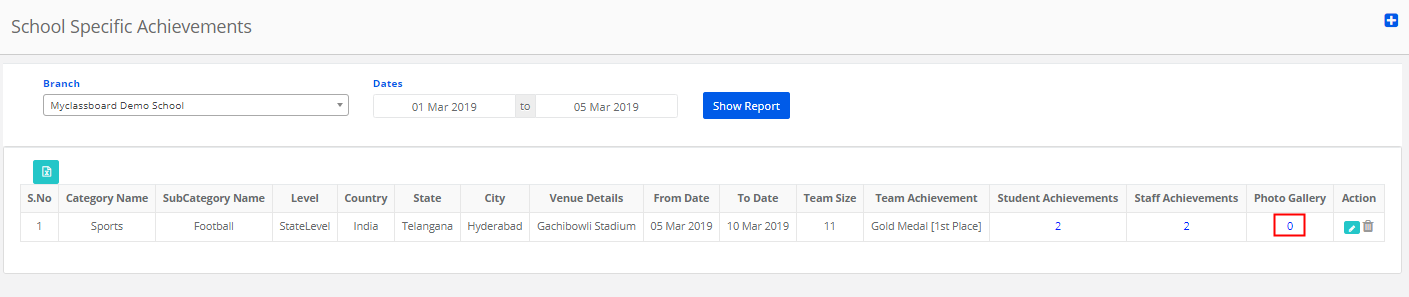
Step 6: Select branch, event date and click on Show Report

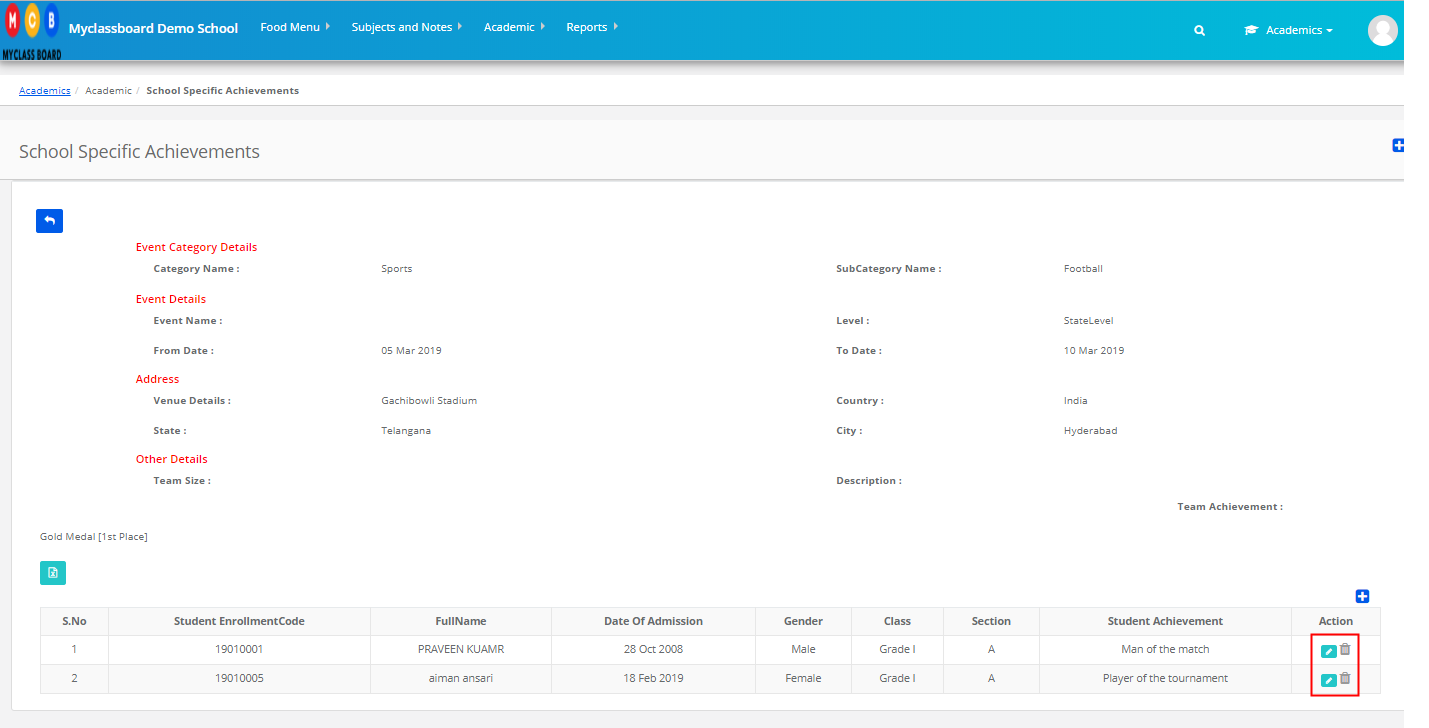
Step 7: To add student achievements, Click on the number under Student Achievements column.
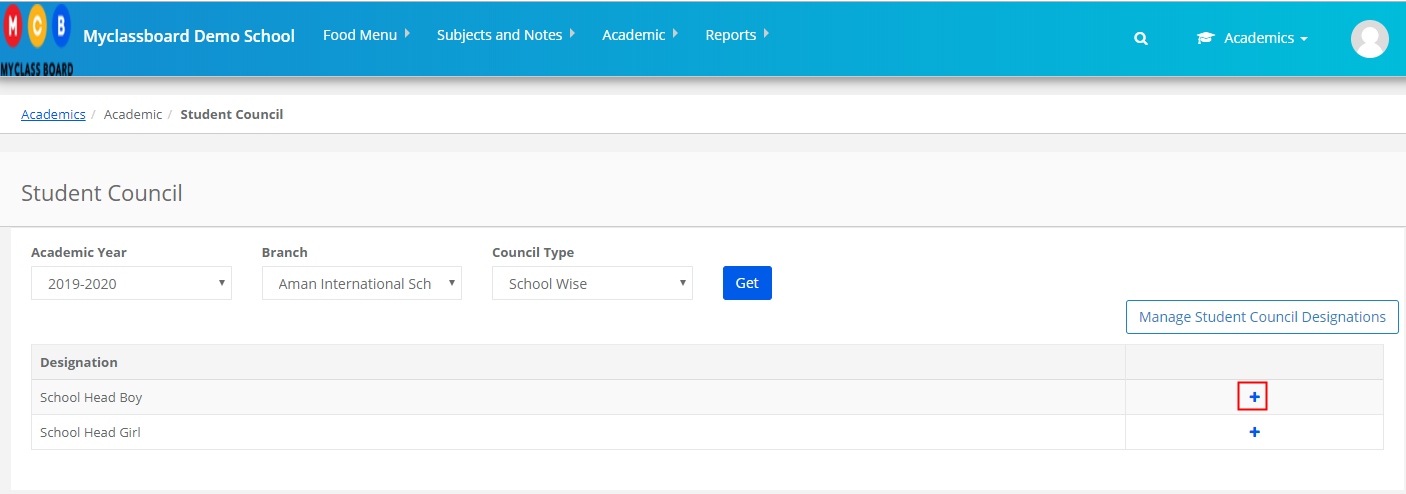
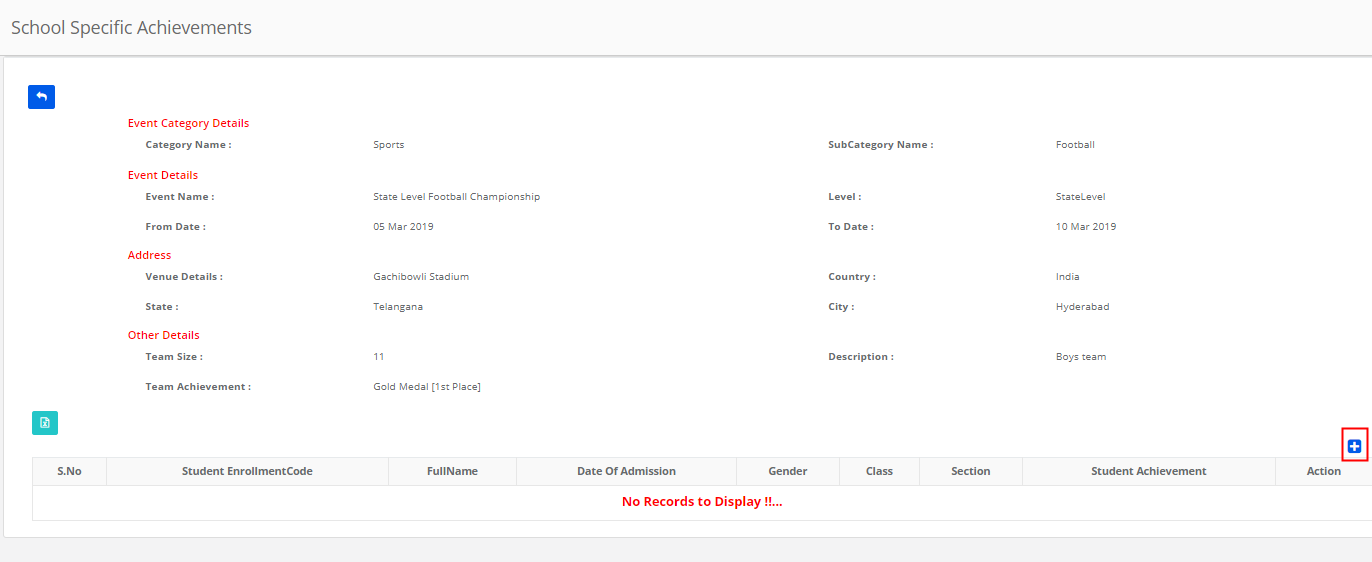
Step 8: Click “+” sign which is available on the top right corner as highlighted below
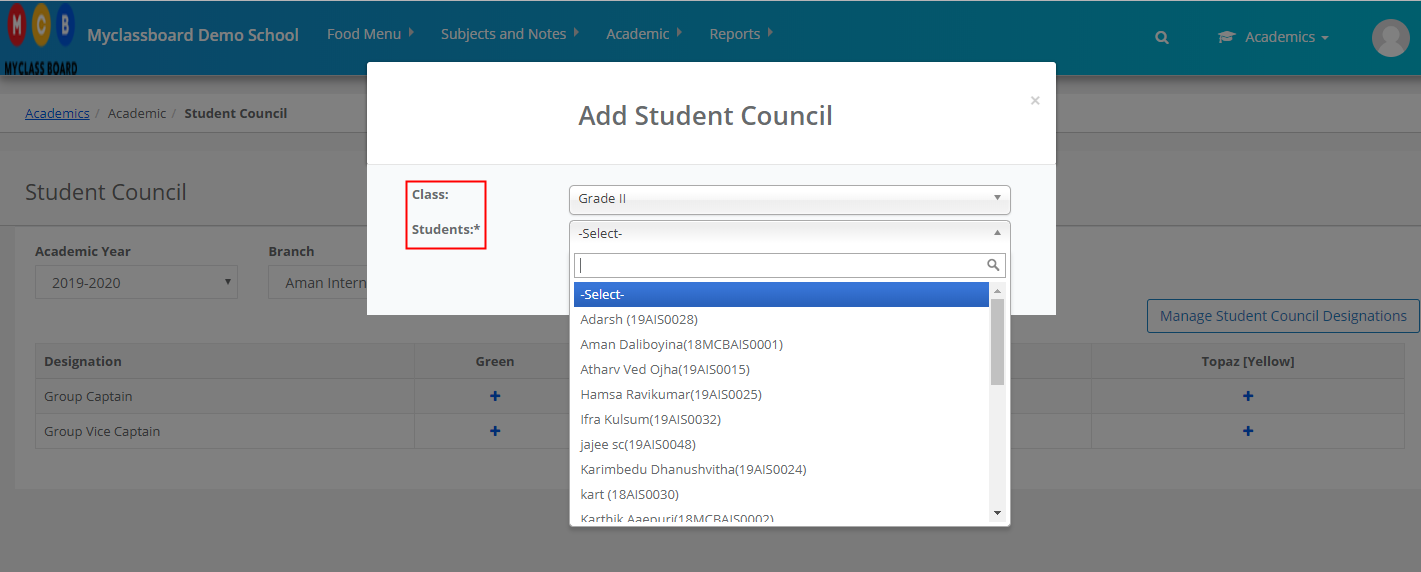
Step 9: Select Class, Students and add the achievements either from the suggestion available in a drop-down or enter directly and click on Add button.
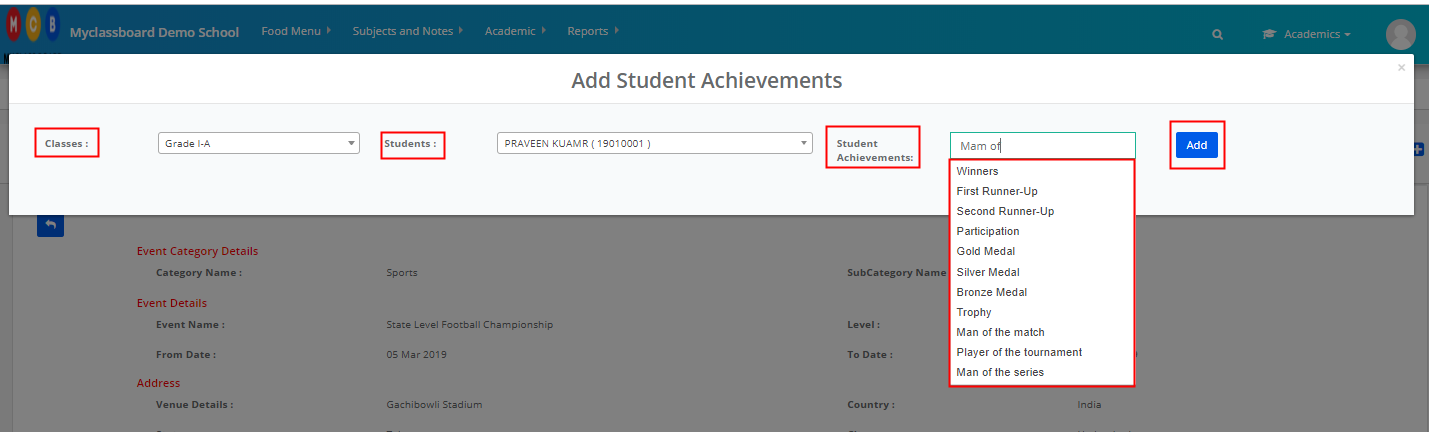
Step 10: Repeat step 9 to add all students pertaining to the event and click on Save to save the achievements of all students. Please use the delete button to delete the student details from the achievement record.
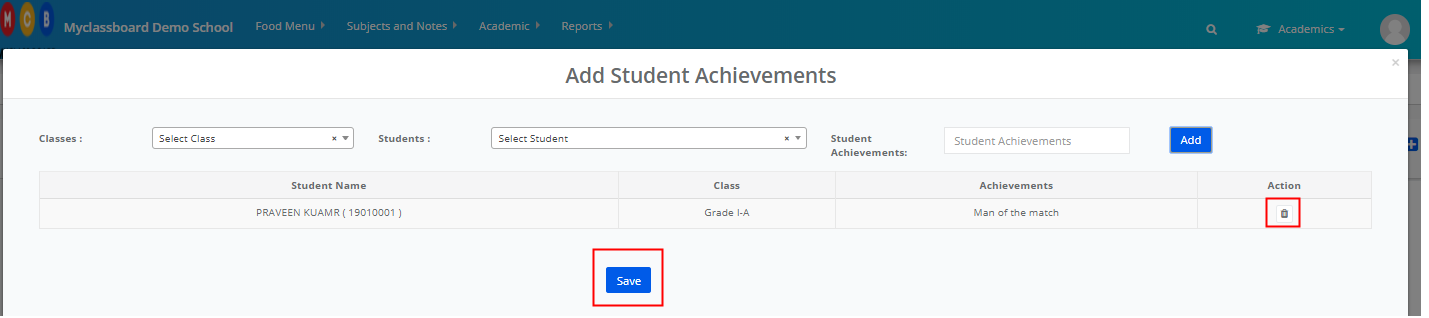
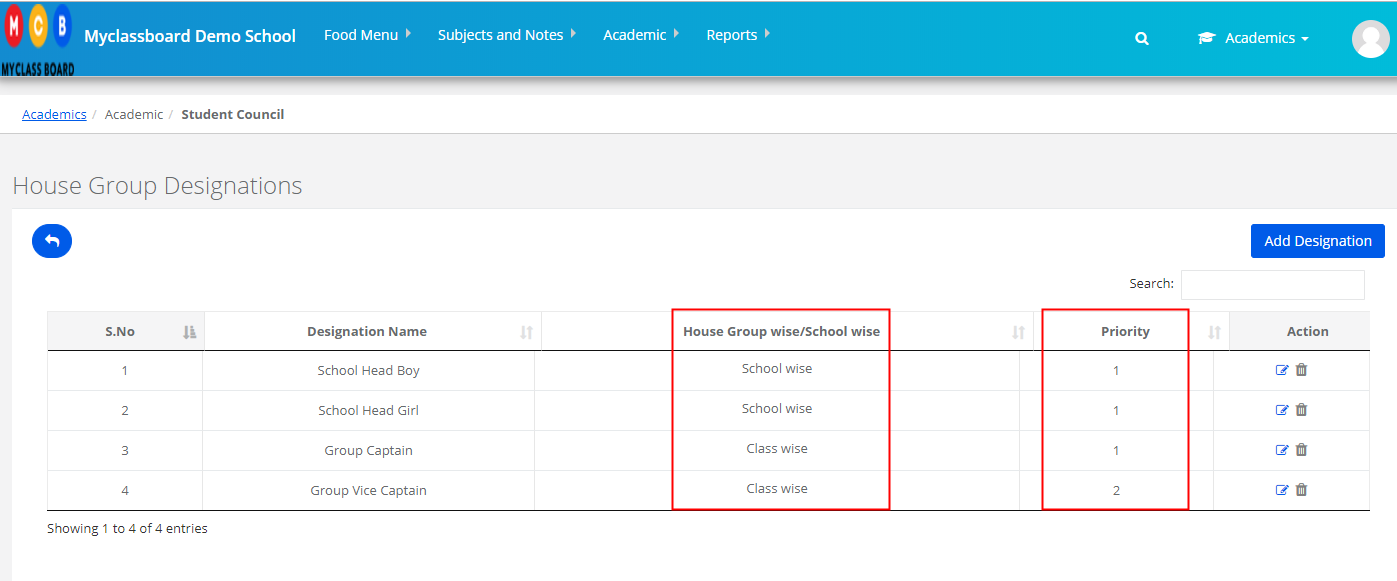
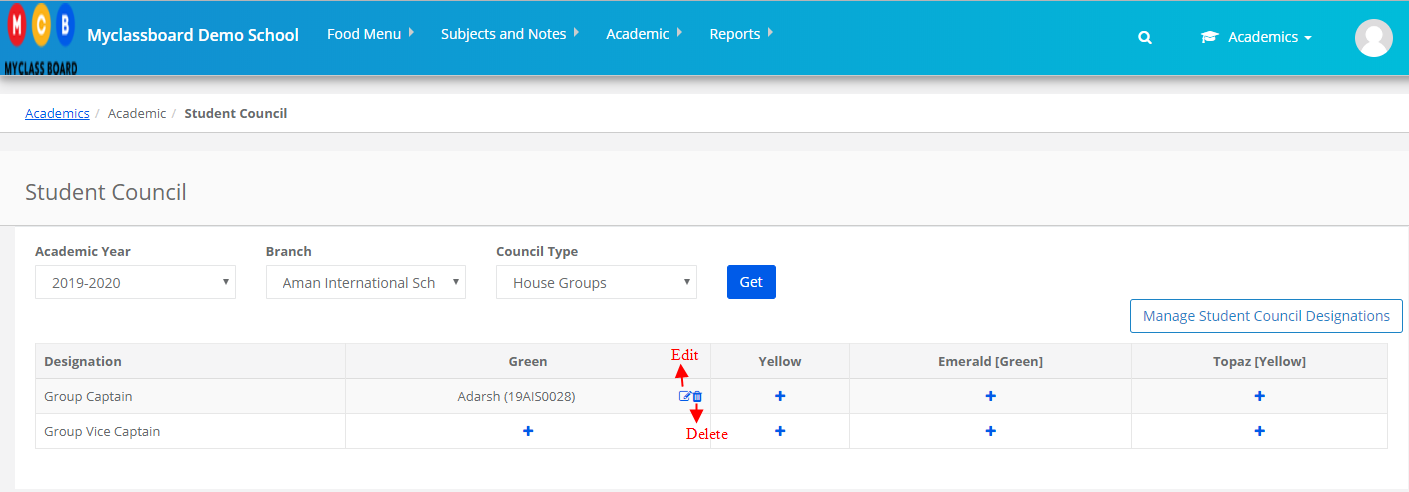
Step 11: To edit and delete the records, please use the respective icons to do the same.
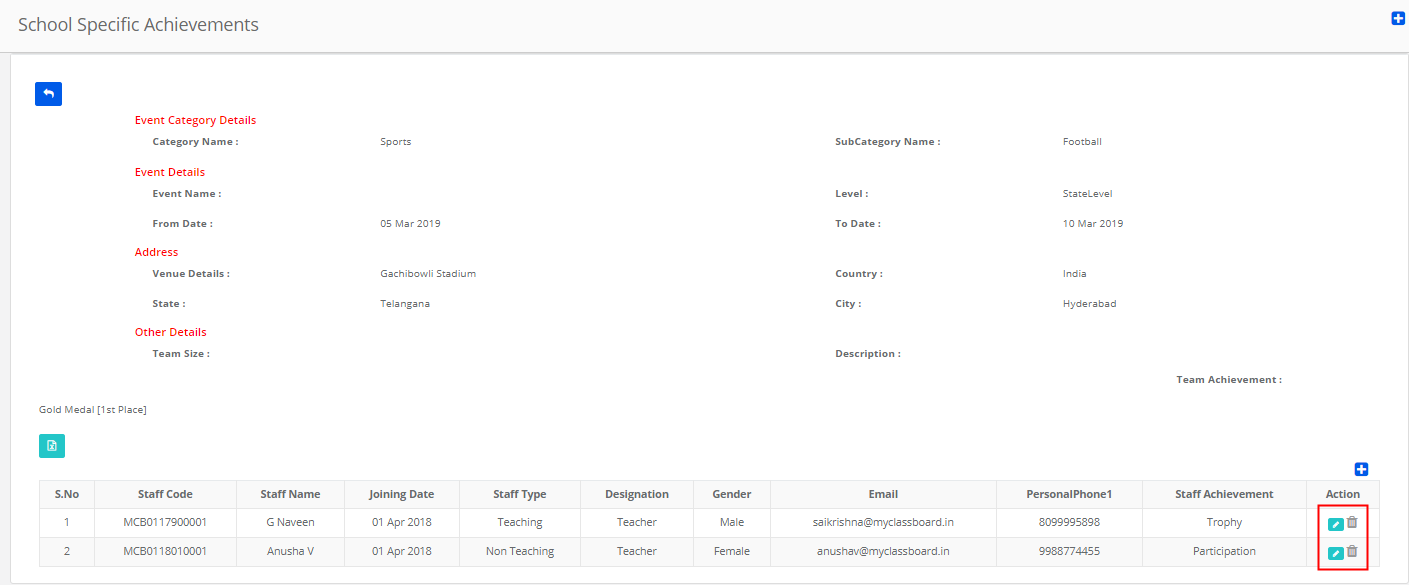
To add Staff Achievements:
Step 12: Click on the number under Staff Achievements column.
Step 13: Click “+” sign which is available on the top right corner as highlighted below
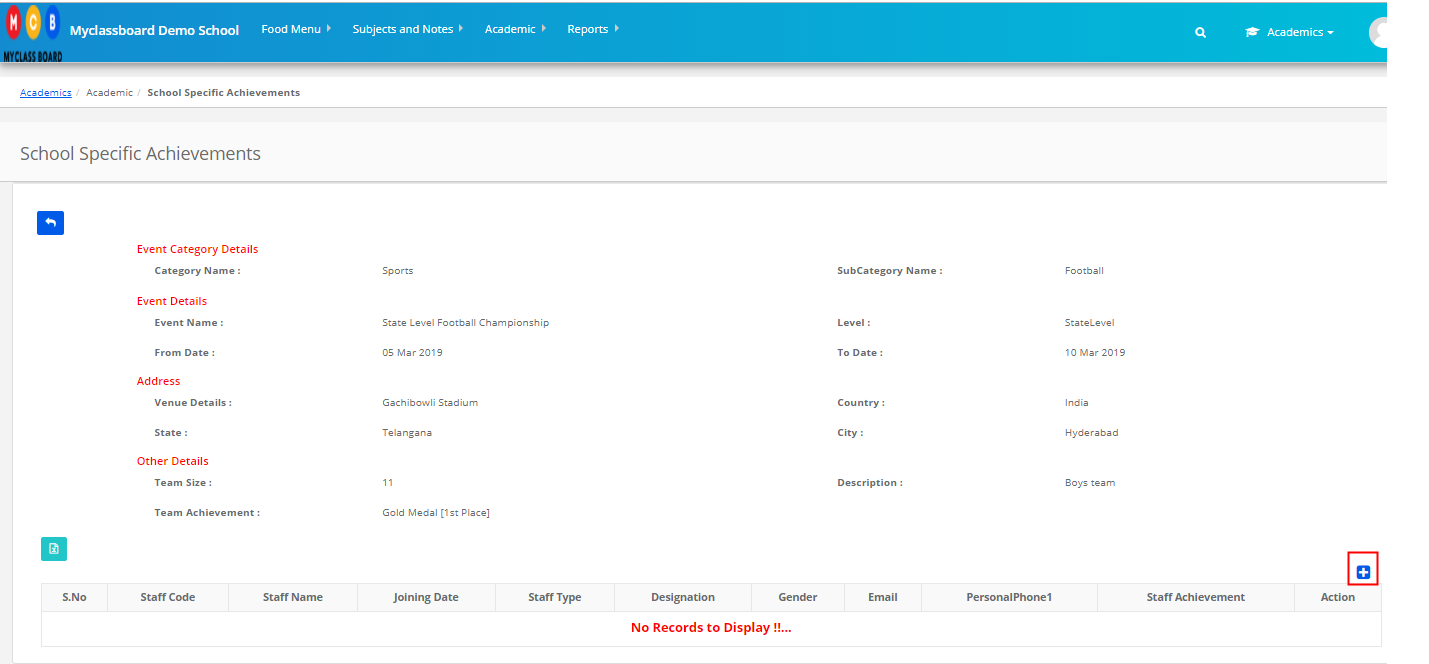
Step 14: Select Staff type, Staff Name, add the achievements either from the suggestion available in a drop-down or enter directly and click on Add button.

Step 15: Repeat step 14 to add all students pertaining to the event and click on Save to save the achievements of all students. Please use the delete button to delete the student details from the achievement record.

Step 16: To edit and delete the records, please use the respective icons to do the same.
To add Photos of the event:
Step 17: Click on the number under the Photo Gallery column.
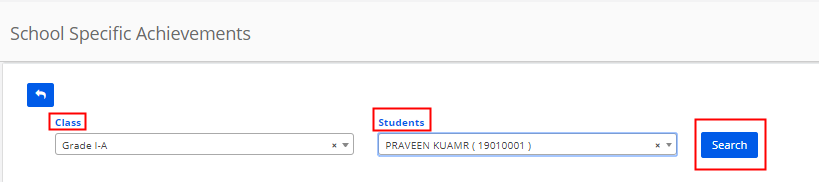
Step 18: Choose Class, Student name and Click on the Search button
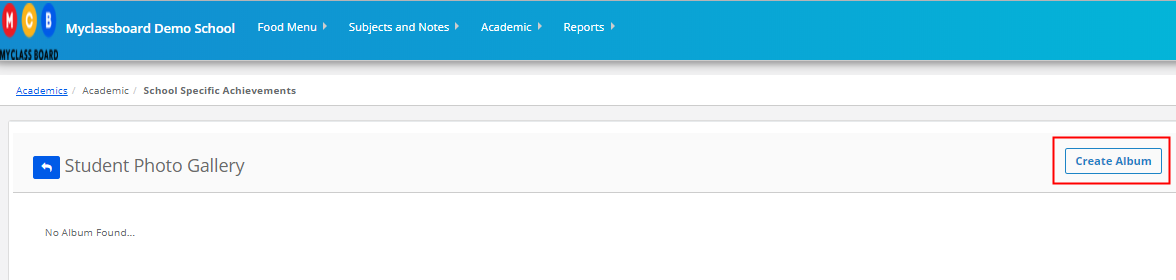
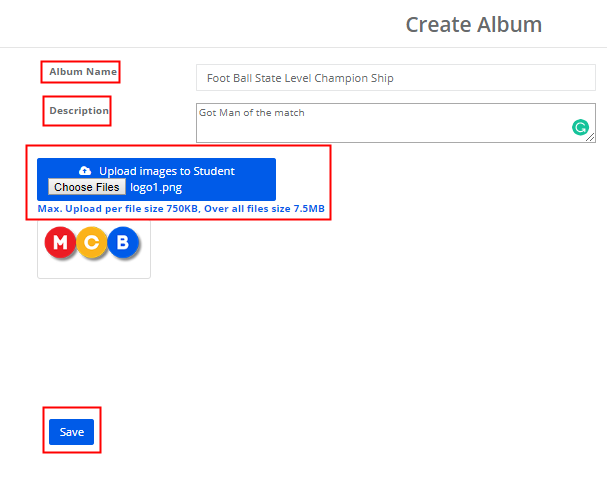
Step 19: Click on Create Album
Step 20: Add Album Name, Description, Choose the picture and Save
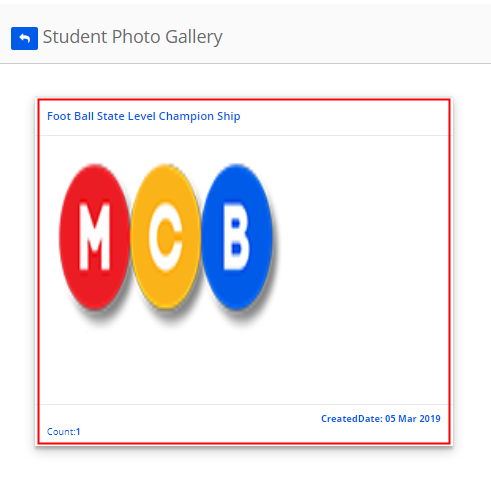
Step 21: To add more students and pictures to the album, Click on the album
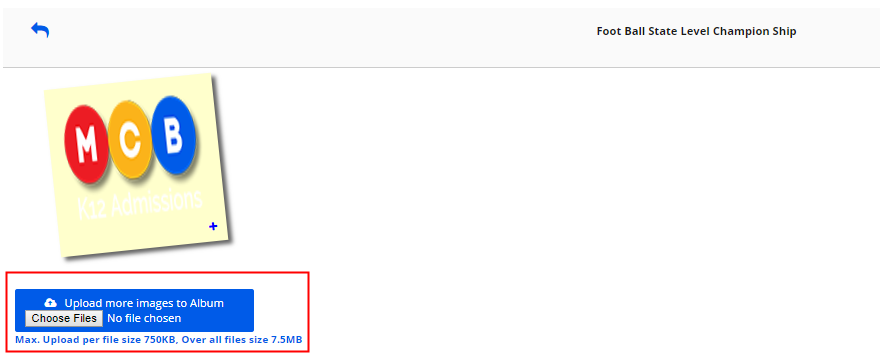
Step 22: To add more pictures to an album, Click on Browse, Choose pictures and Save.
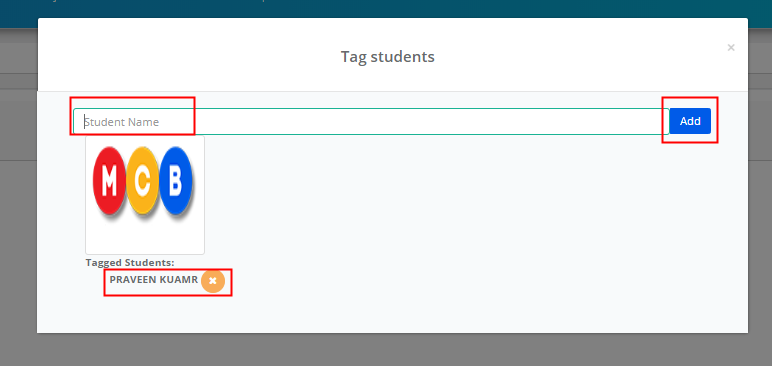
Step 23: To Tag more students to the picture, Click on the “+” sign which is available on the bottom right corner of the picture. [ Highlighted below]
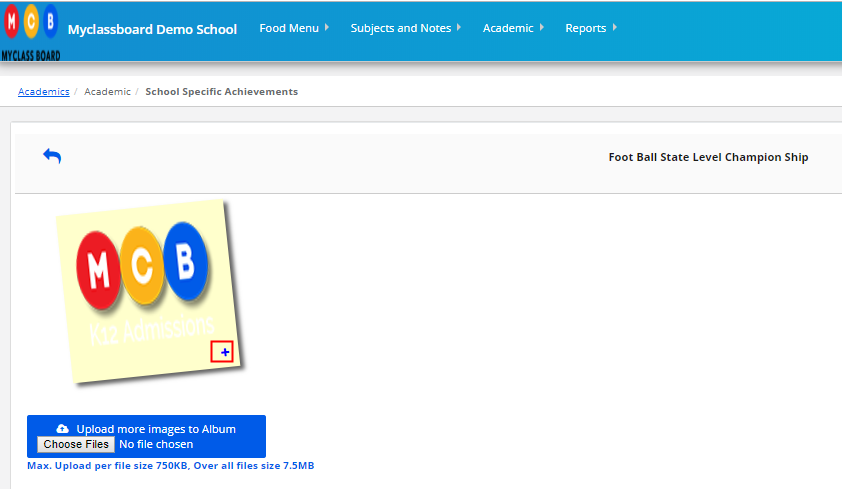
Step 24: Enter Student name and Click on the add button to tag students to the picture.
To untag the student from the picture, click on the cross symbol (x) against the student.
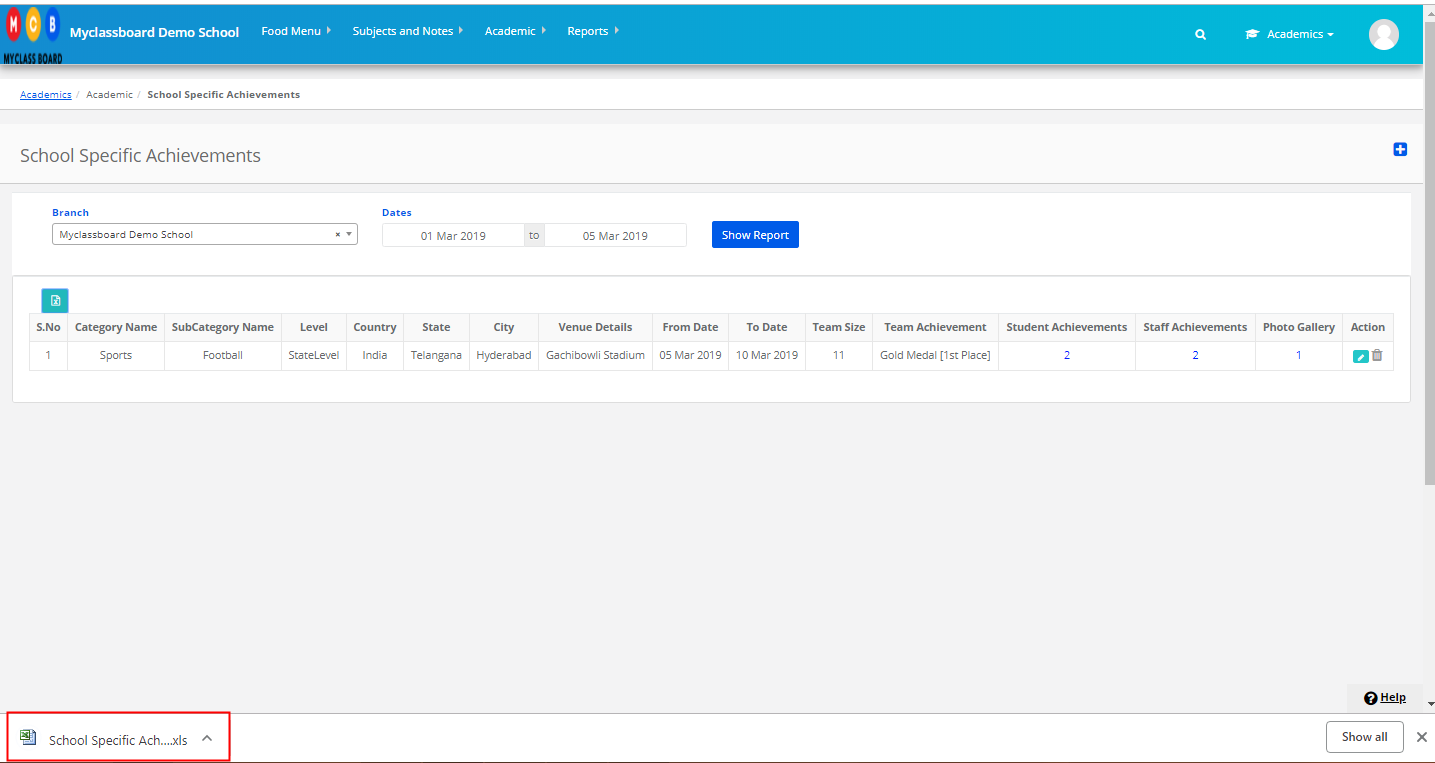
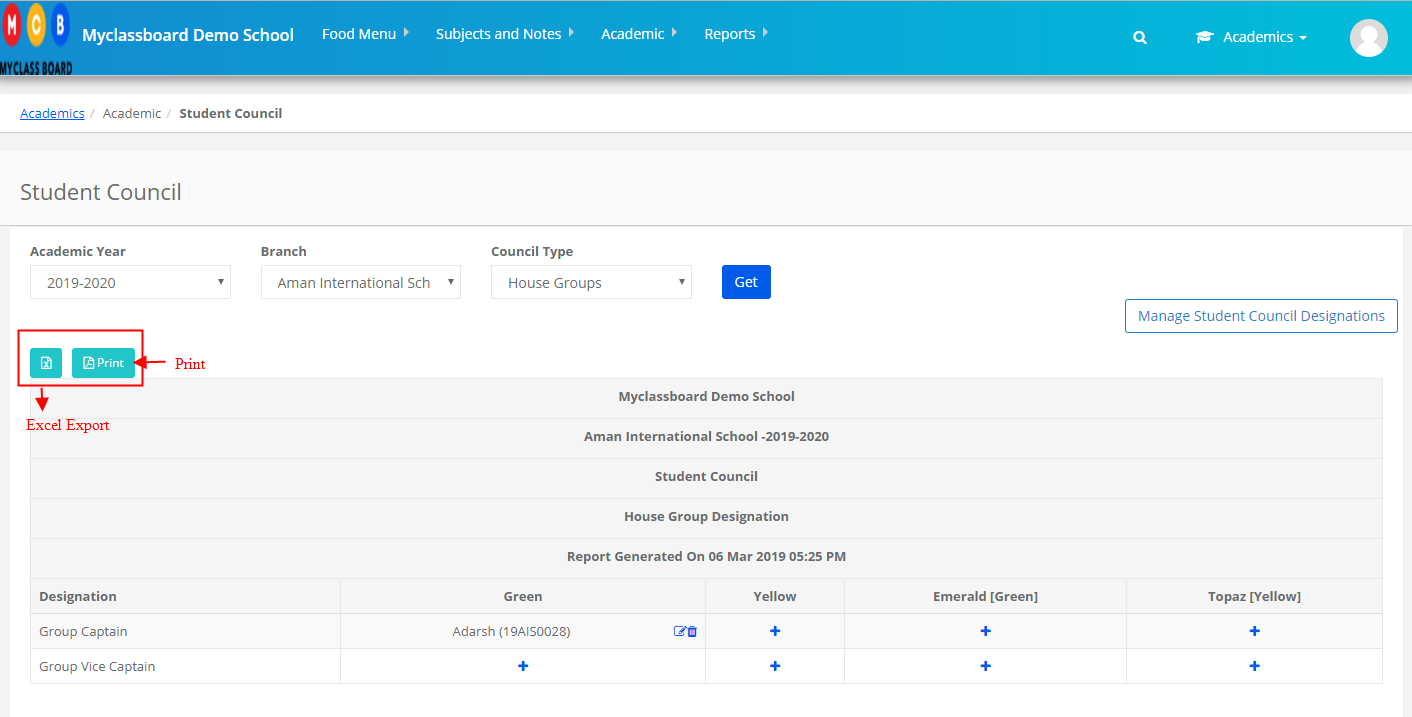
Step 25: To download the report of all achievements recorded between specific dates, Select branch, dates and click on Show Report.
To Export the report, click on excel icon which is available on the top left corner of the screen [Highlighted below].
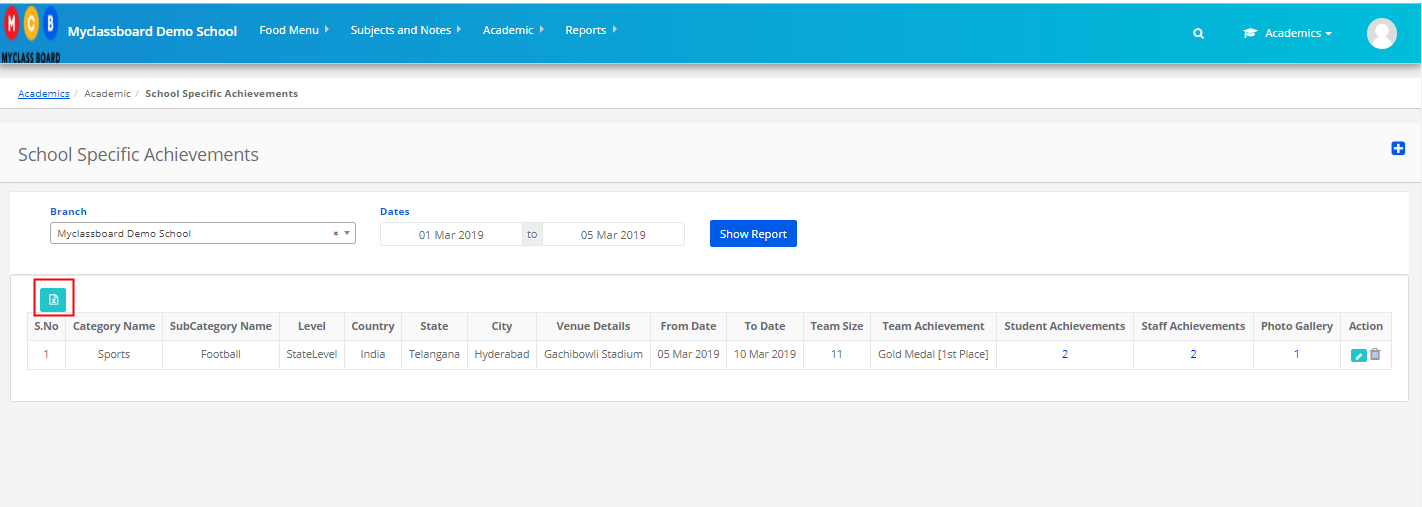
Step 26: An Excel file showing the report will be downloaded to your computer.