Email Syntax Validator:
Email Syntax validator will let the users know if properly formatted, verify that it’s mail box exists, and is able to receive the emails.
MCB Email Syntax validator helps the user identify valid and invalid email with clear colour coding.
Green colour indicates the valid email and Red colour indicates the invalid email stored against the student records.
Please note that this feature is included only in the system admin login.
How to use it?
Step 1: Login to MCB with system admin Credentials.
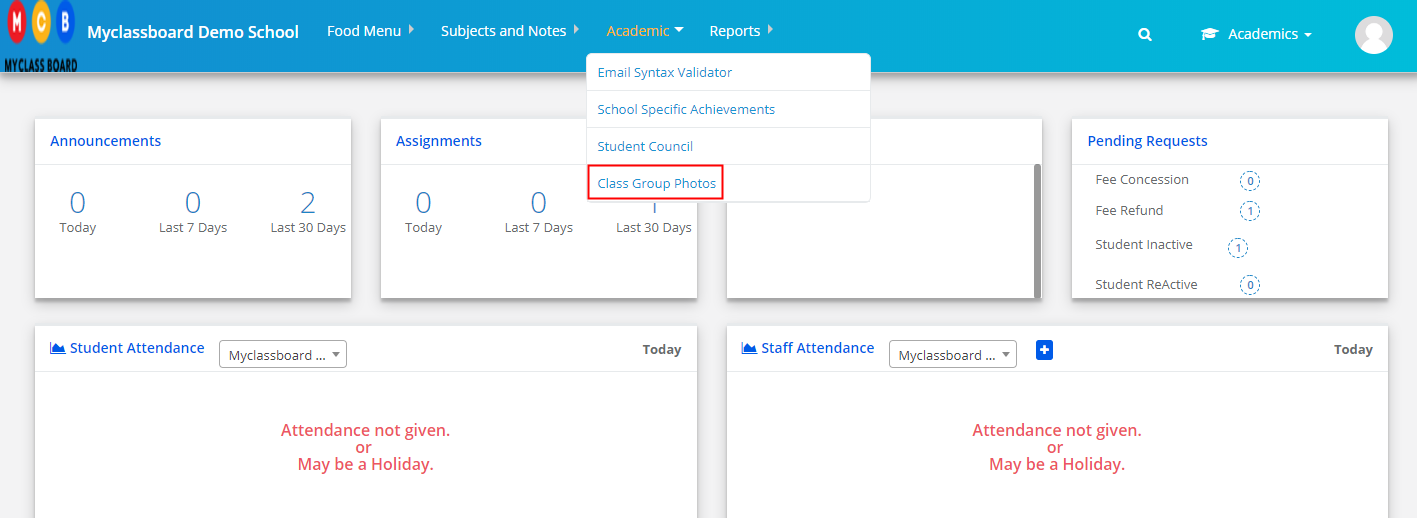
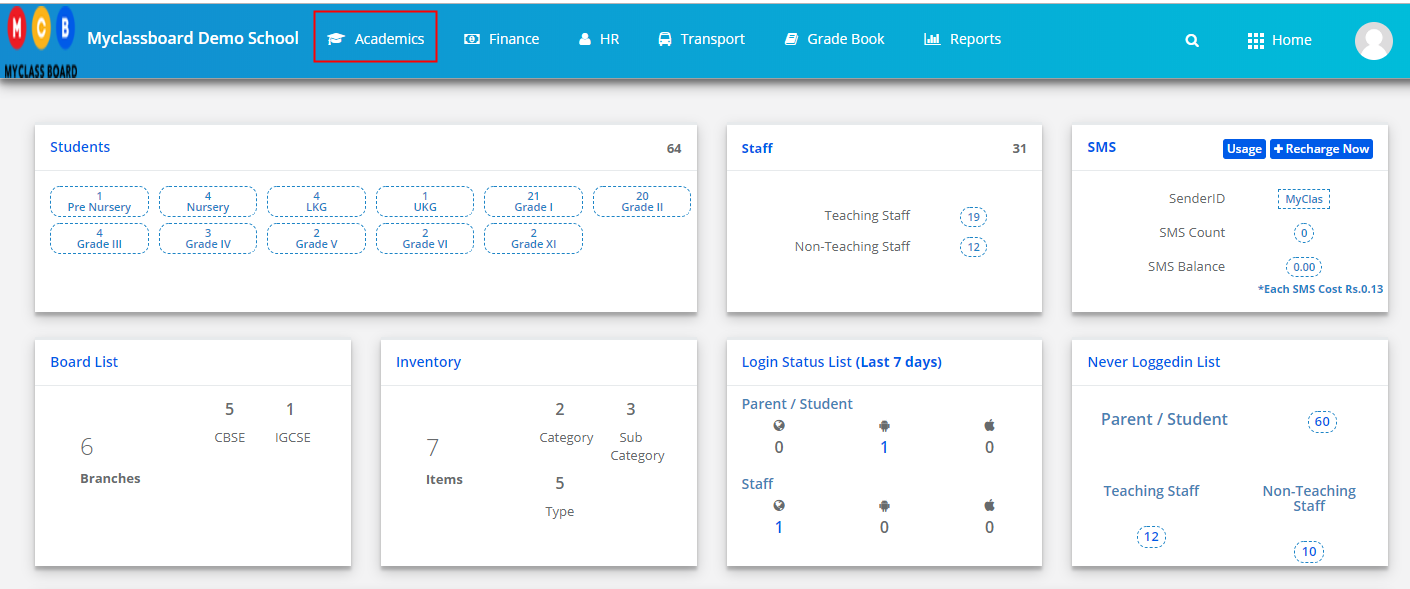
Step 2: Select Academics on the Menu and you will be directed to the Academics module.
Step 3: Choose Email Syntax Validator under Academics menu.

Step 4: This screen will help you to validate both Student and Staff email ids. By default it will open option to validate student parents email ids. As you click on staff Email Syntax Validation, it will open options for validating staff emails.
To validate Student emails, please select branch, classes and sections and click on Get.

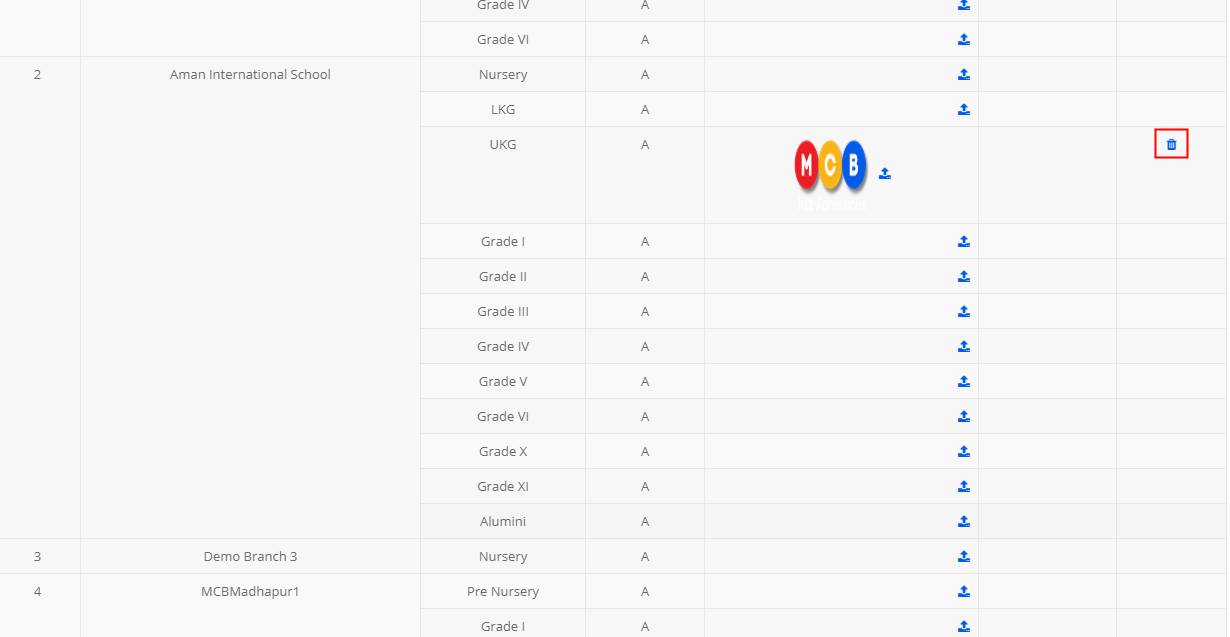
Step 5: it will list the emails available in the student records. As highlighted in the picture below, the valid emails are indicated in Green colour and invalid are indicated in Red colour. The report shows how many emails are invalid in the selected classes and an option to delete the invalid emails. So, that you can rest assure that the emails available are valid and the email communication you send will reach to the mailbox without any failures.