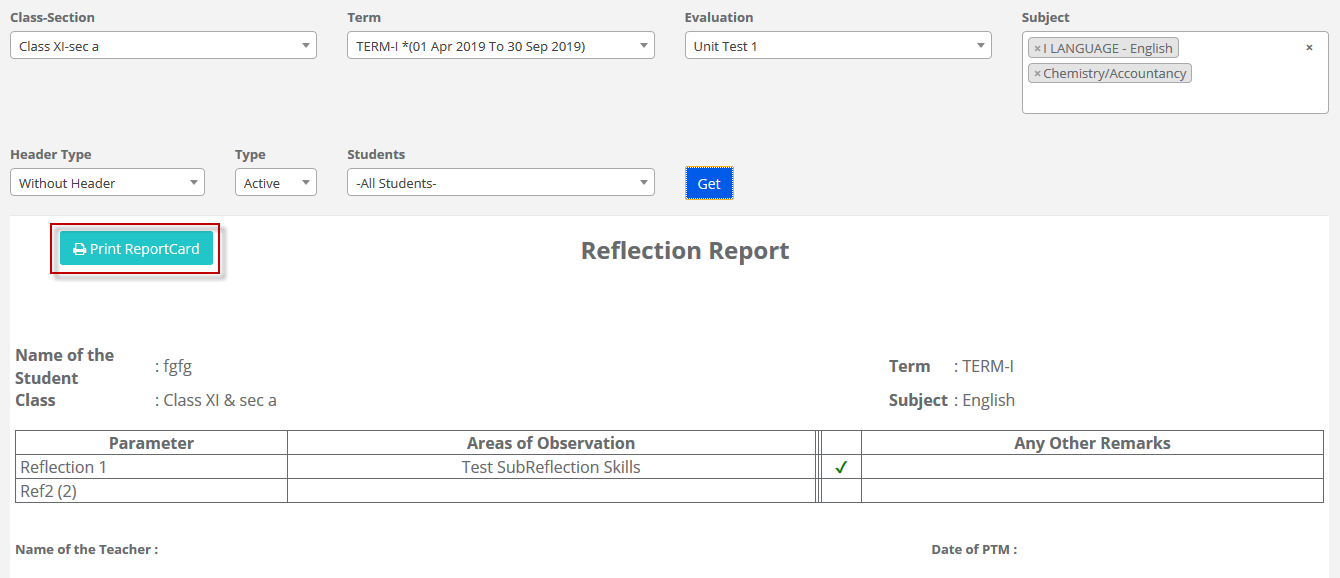
Schools can create Activities, Skills, Assign students, Record Grades Month-wise and Generate Activity Report Cards. Most suitable for the schools who have a curriculum for activities offered and are assessed every month on the skills acquired by the student.
To create Activity, Skills, and Schedules please follow the steps mentioned below.
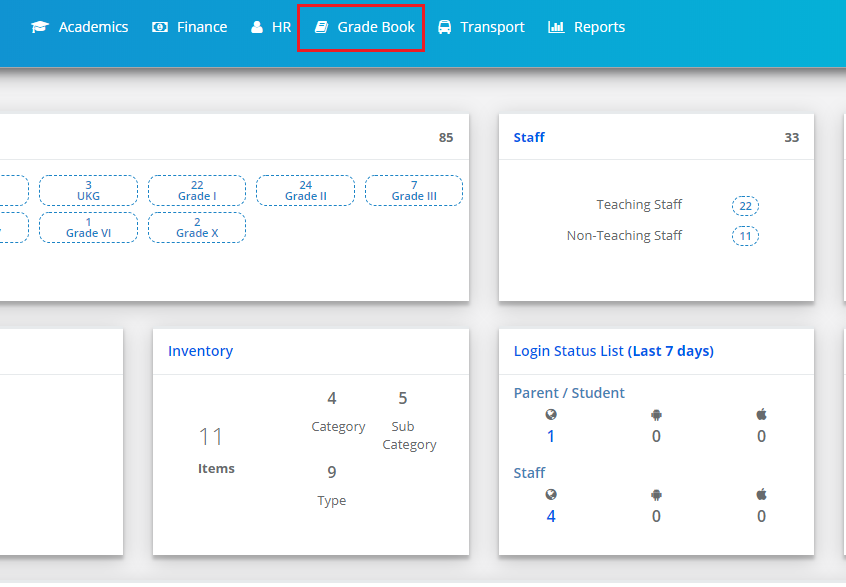
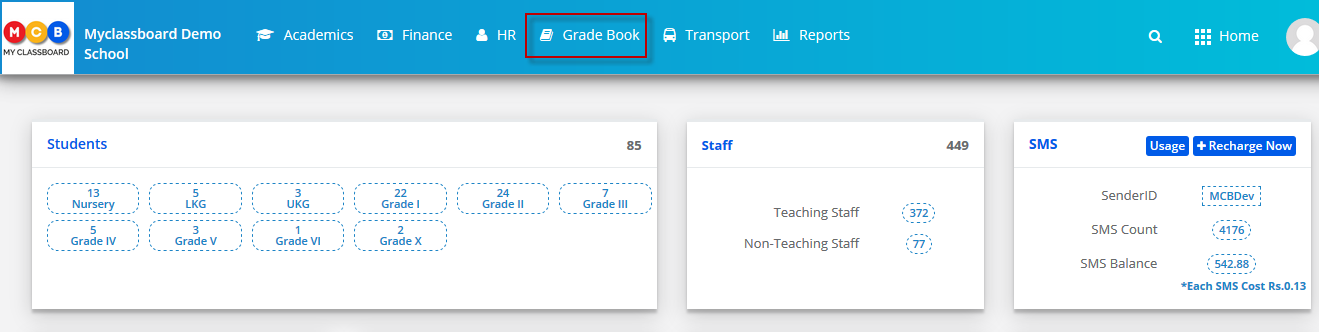
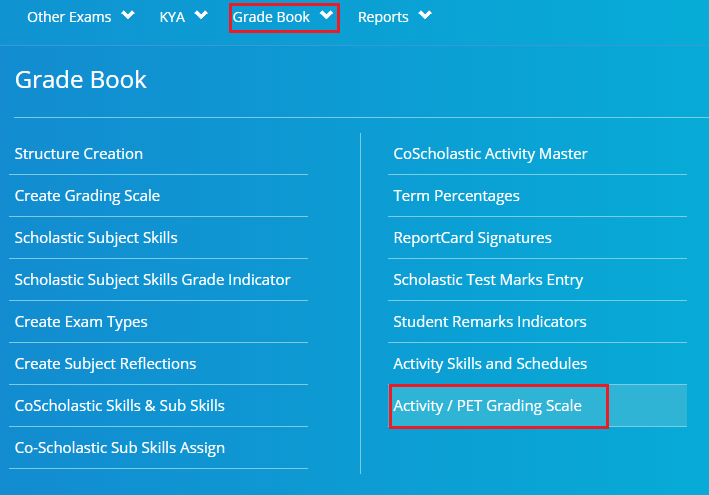
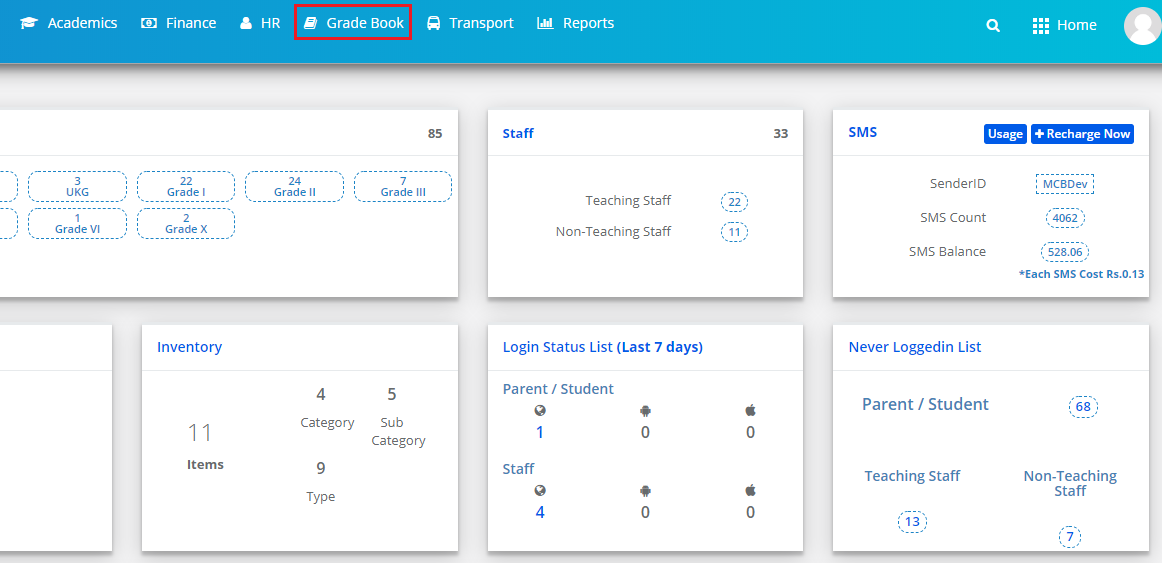
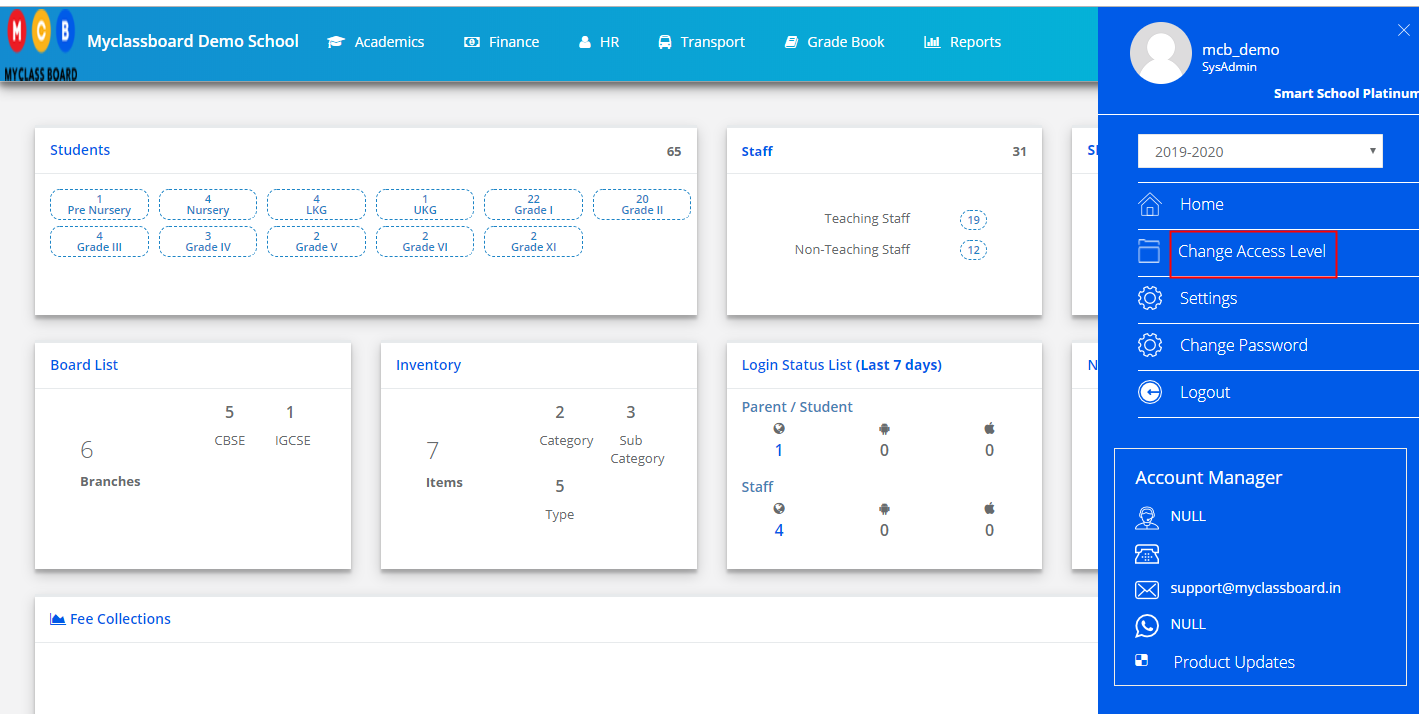
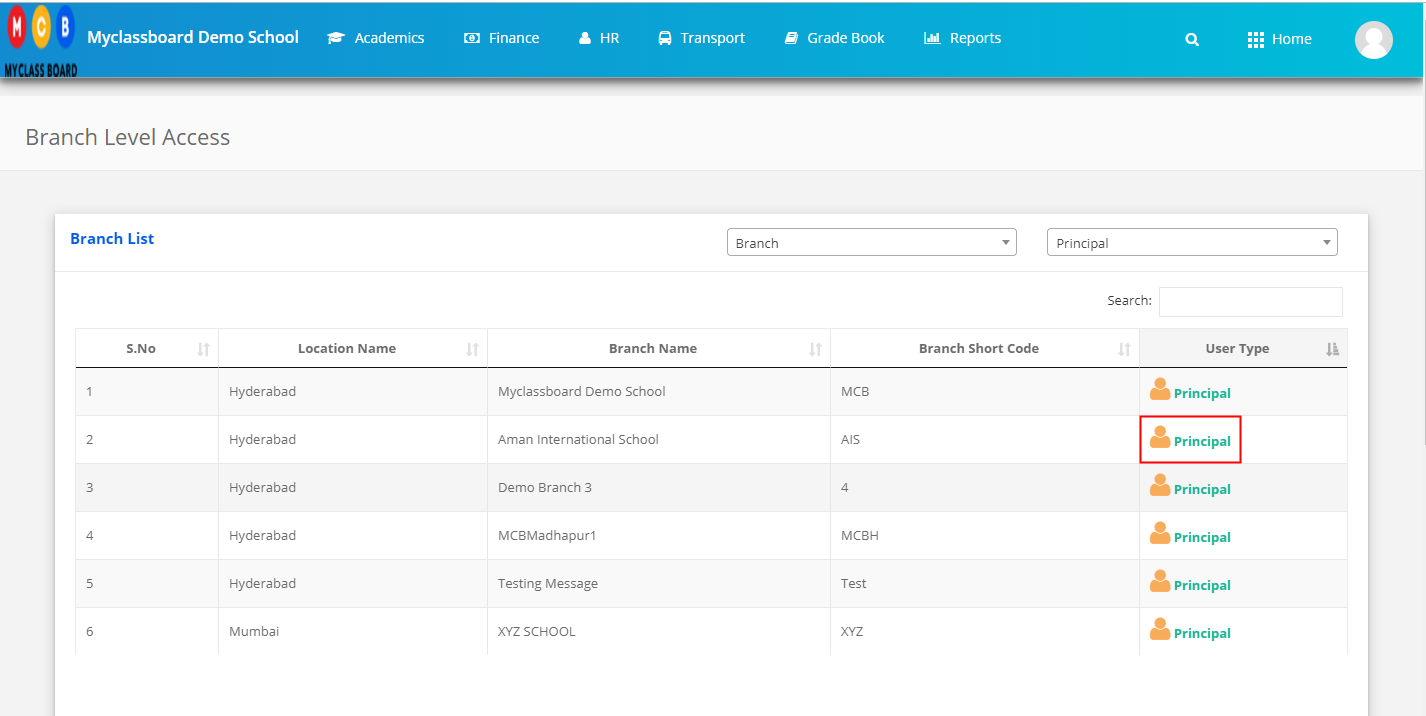
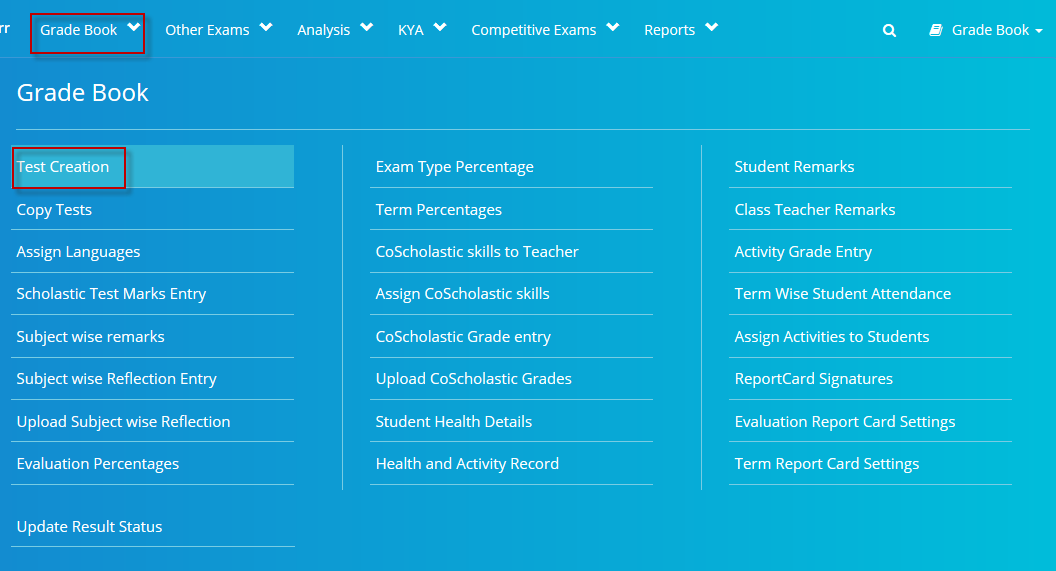
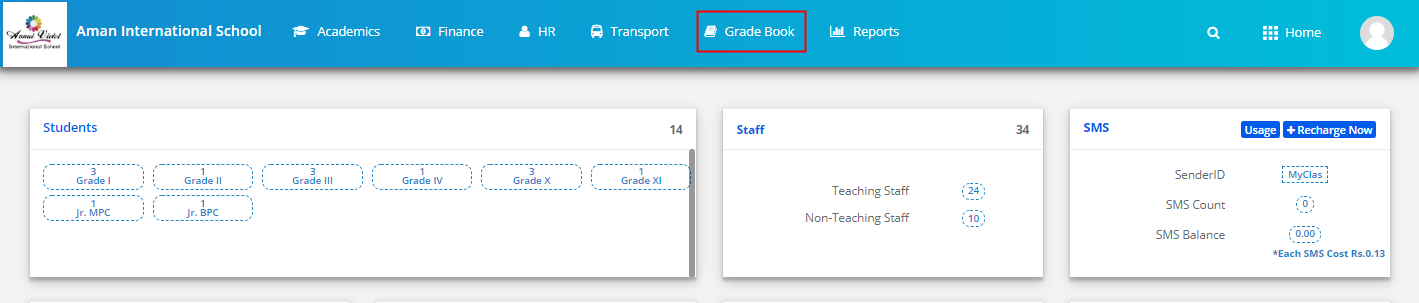
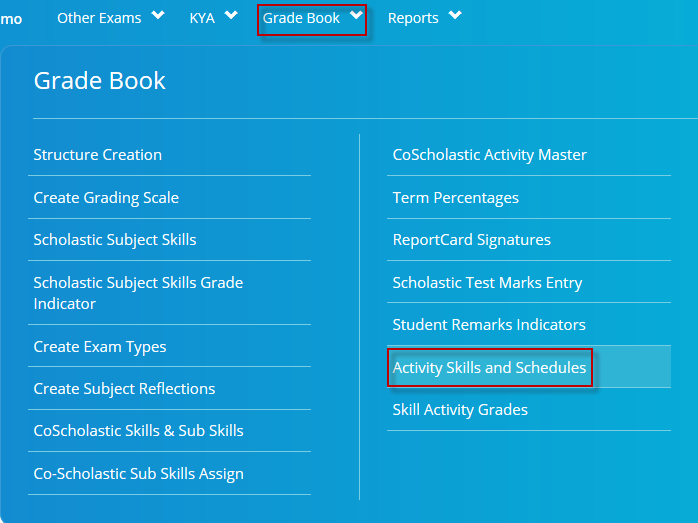
Step 1: Login with system admin login credentials and click on Grade Book option on the top menu bar.

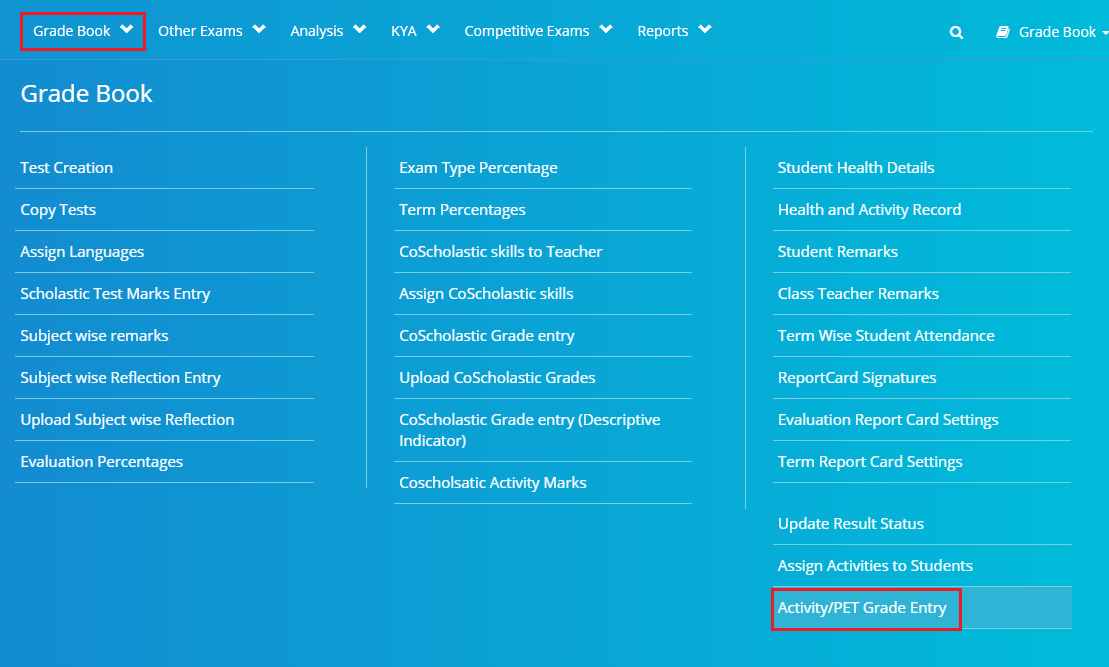
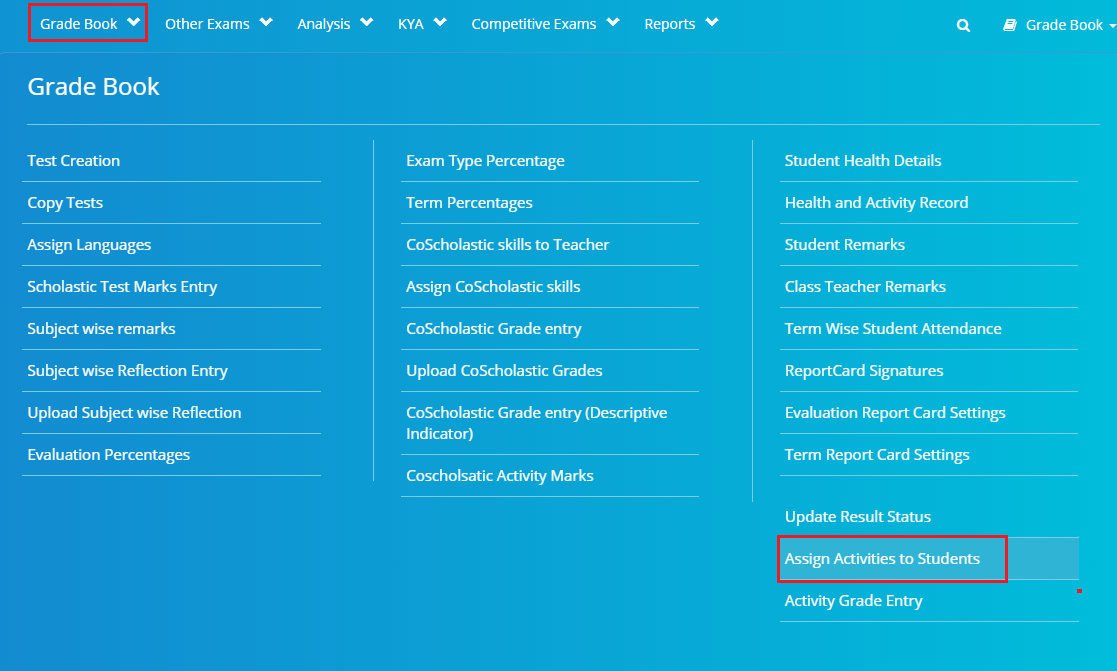
Step 2: Choose Activity Skills and Schedules option under Grade Book menu.
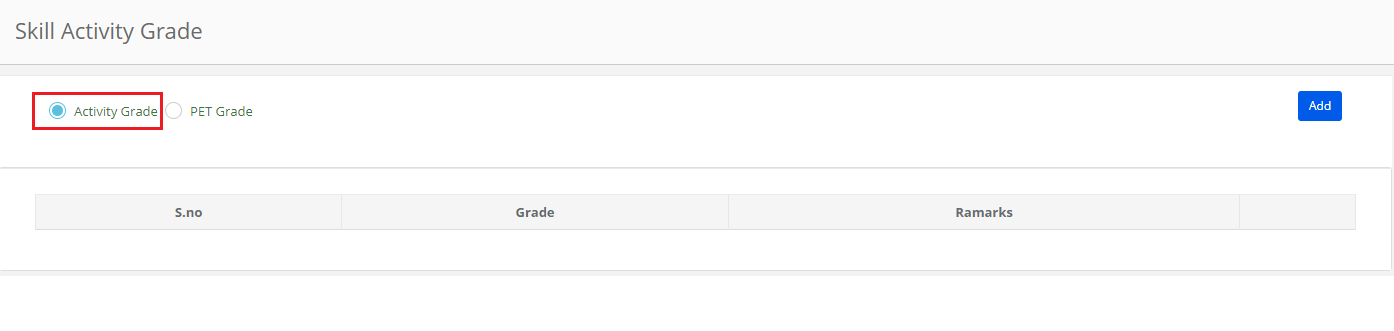
Step 3: Skills can be created for Activity and PET.
Activity Skills: Activity skills are created for Indoor, Outdoor and Activity types. For each type, the skills set can be created, classes can be assigned to each skill set and schedules can created for each skill set.
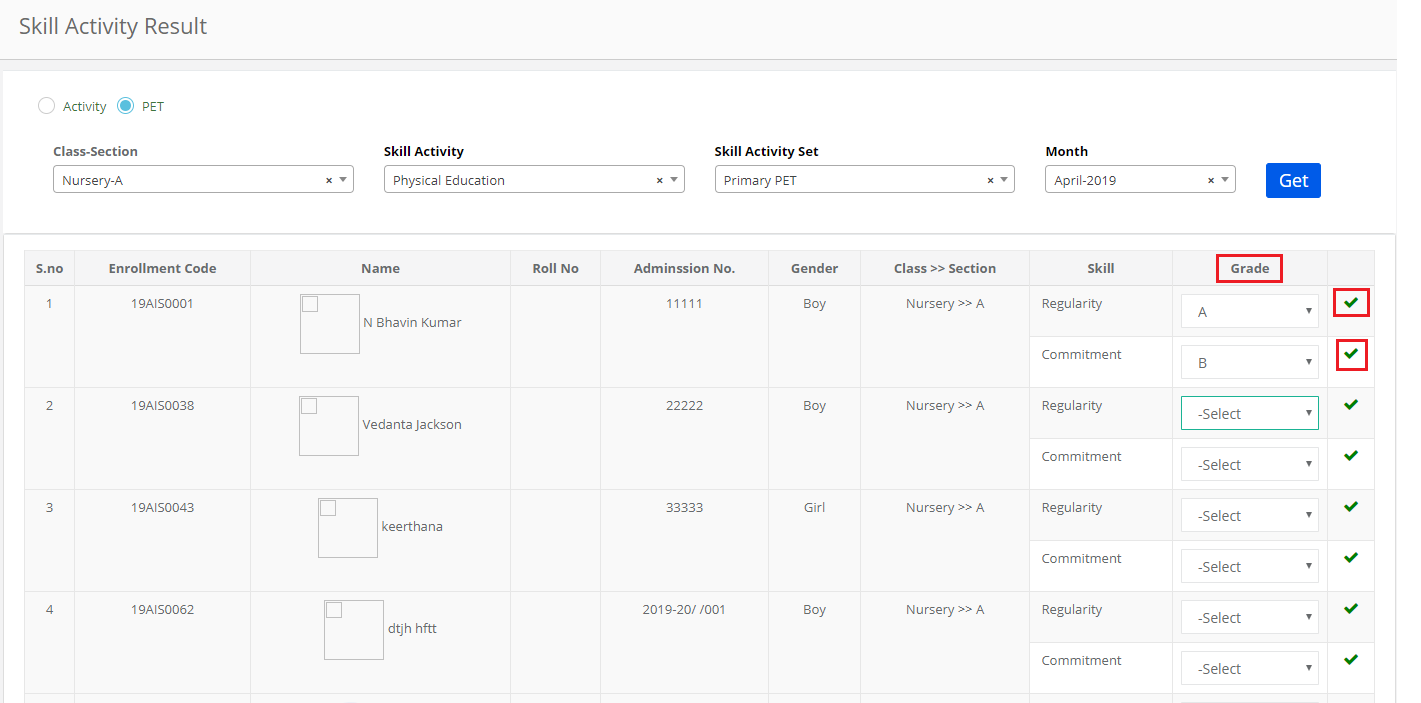
PET Skills: Pet Skills can be created and let the PET user enter grades for all students against the skills created with the grades.
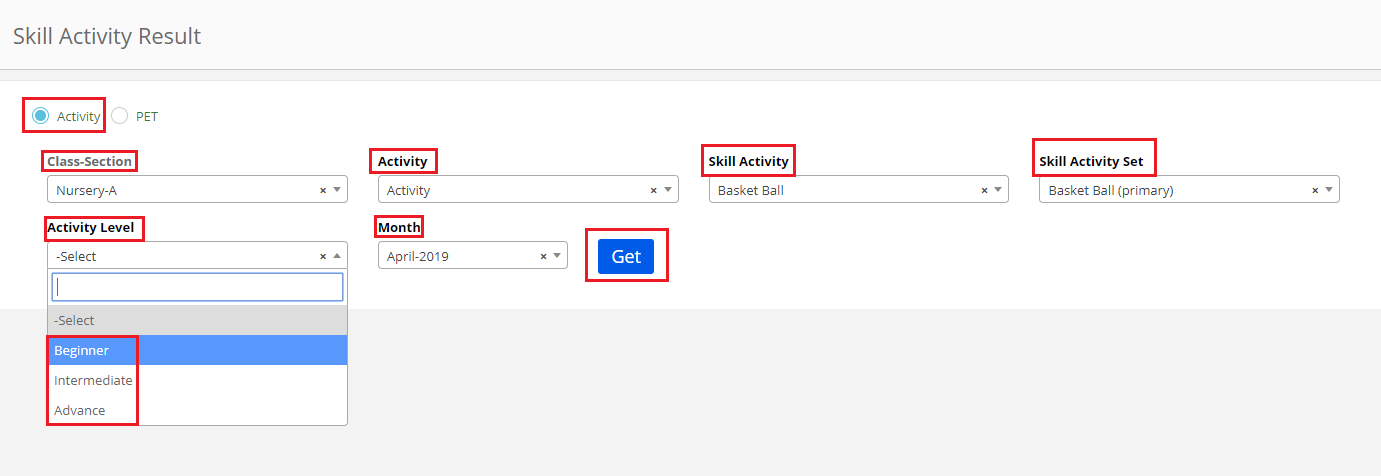
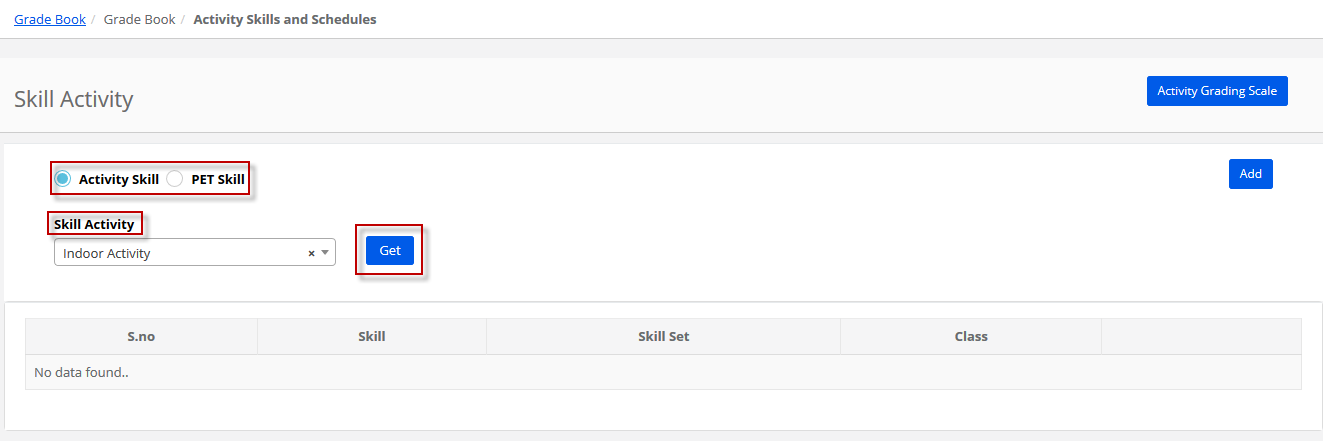
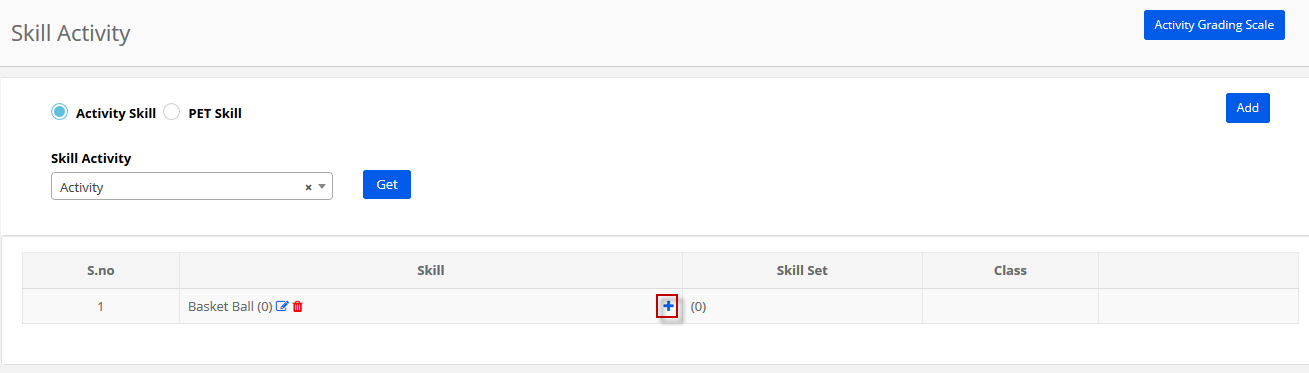
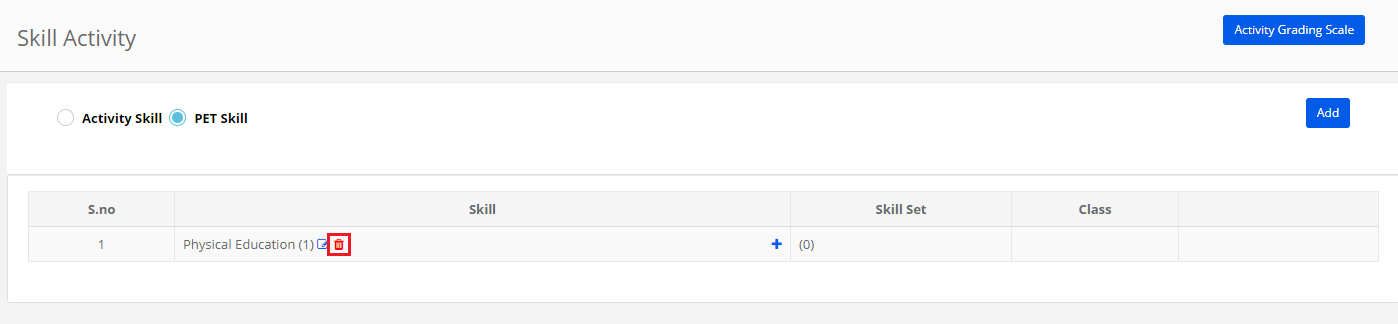
To view existing Activity Skill, choose Activity skill option, choose the activity type and click on Get.
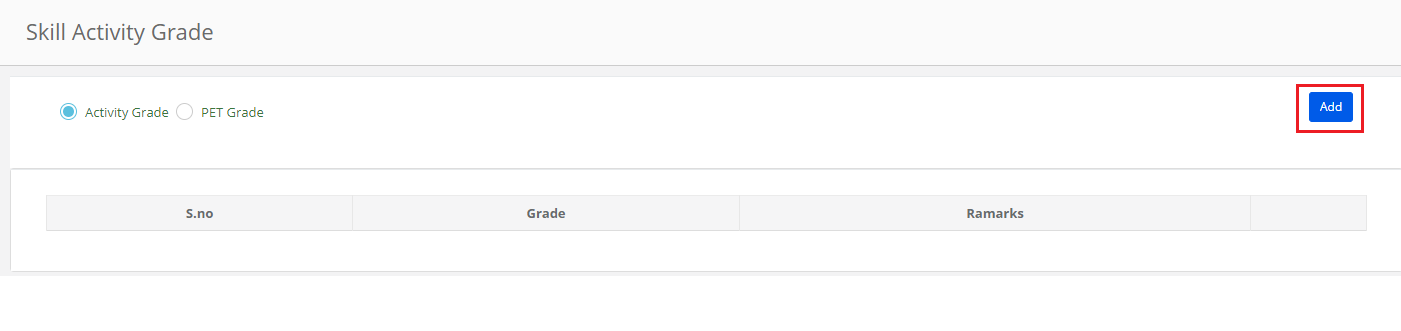
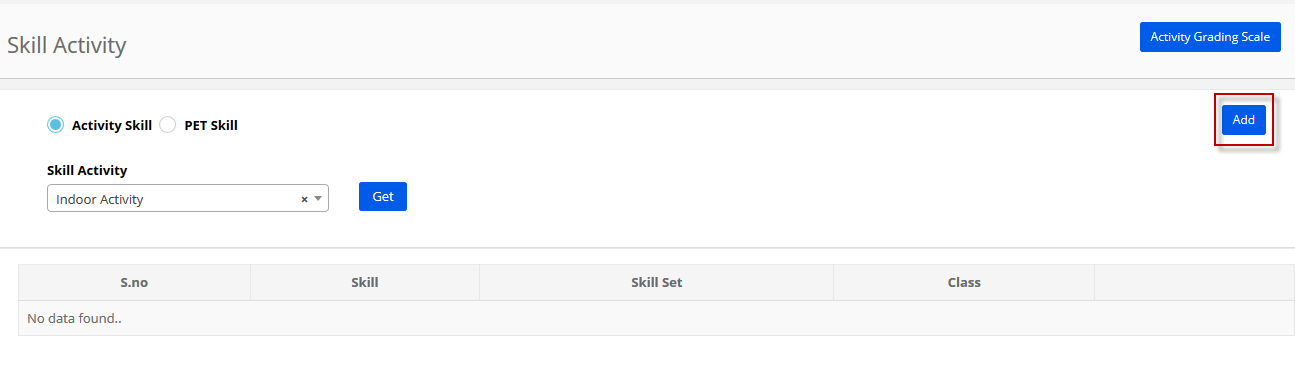
Step 4: To create new activity skill and skill set, Click on Add
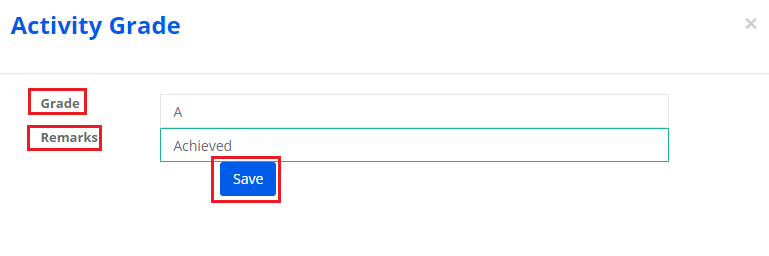
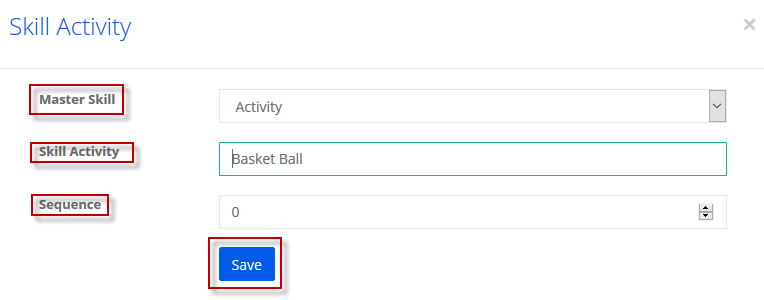
Step 5: Choose the Activity type as Activity, Enter Activity name in Skill Activity field and sequence number. Click on Save button.
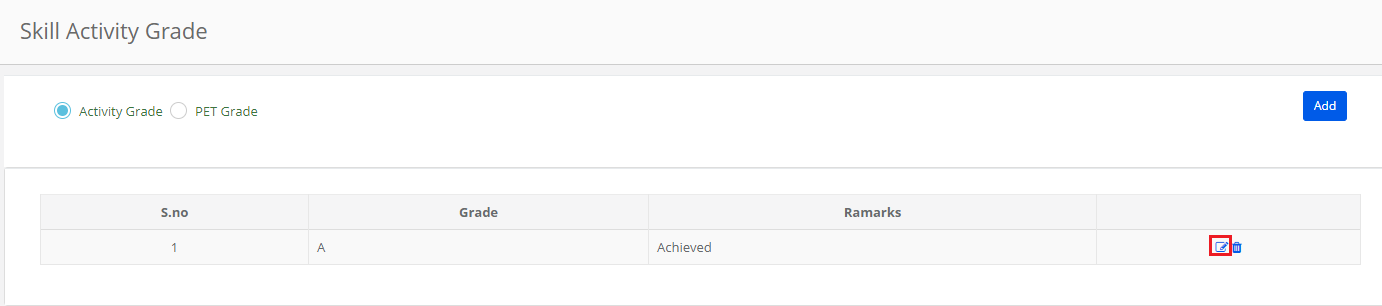
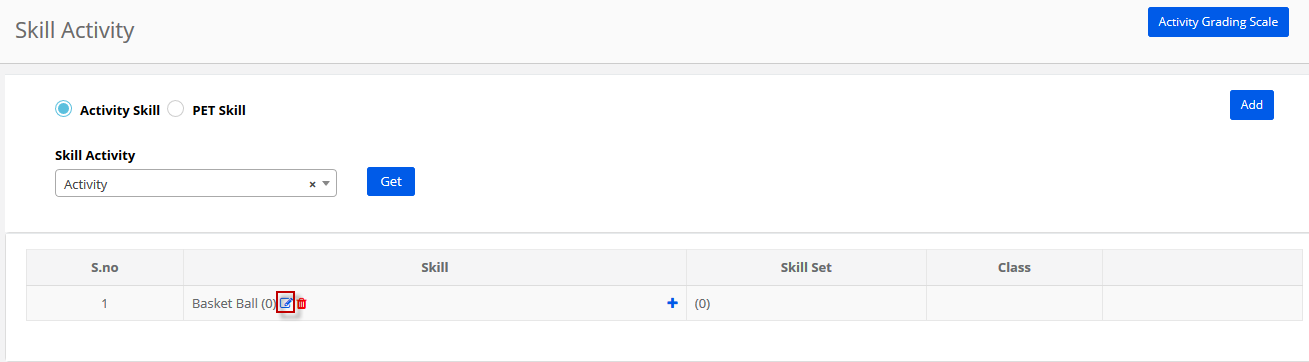
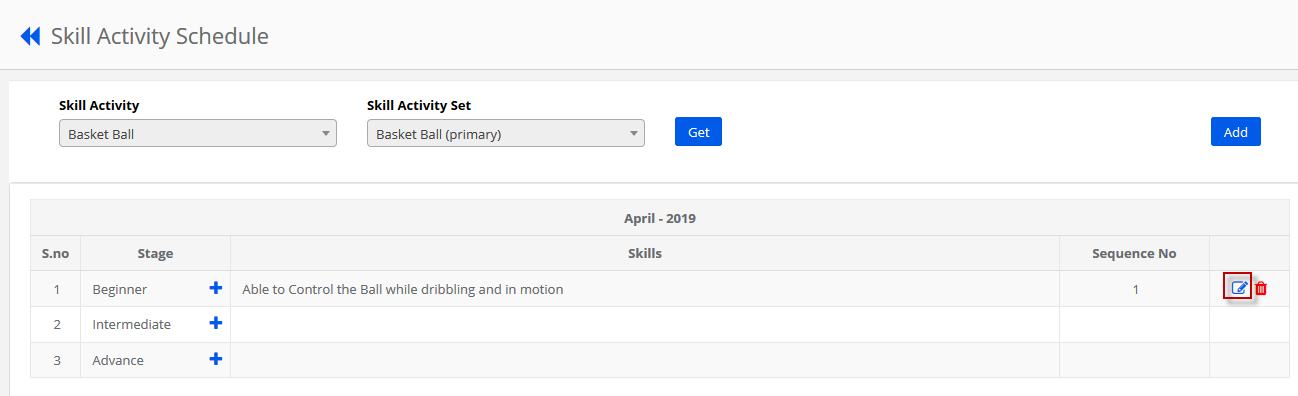
Step 6: To edit the activity name, click on Edit Icon.
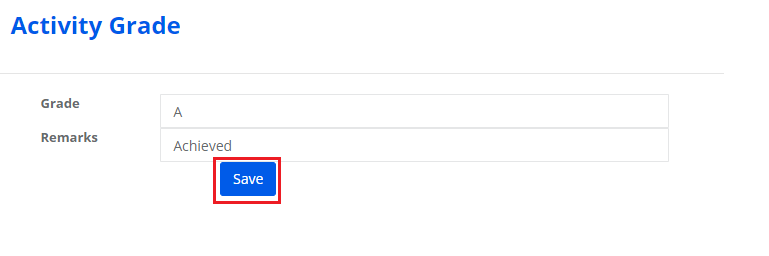
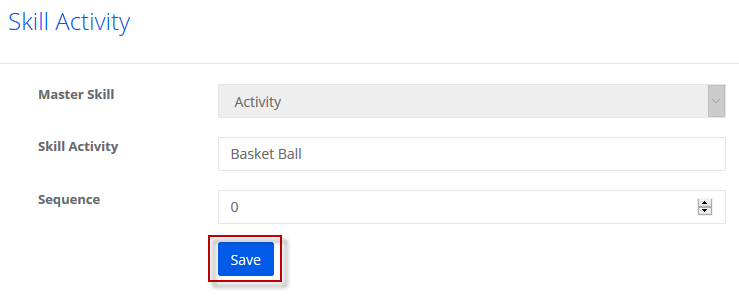
Step 7: Make the necessary changes and click on Save.
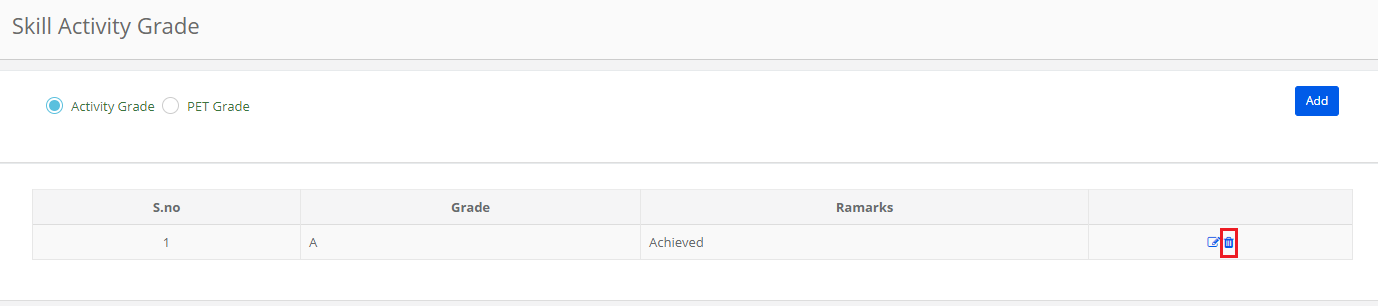
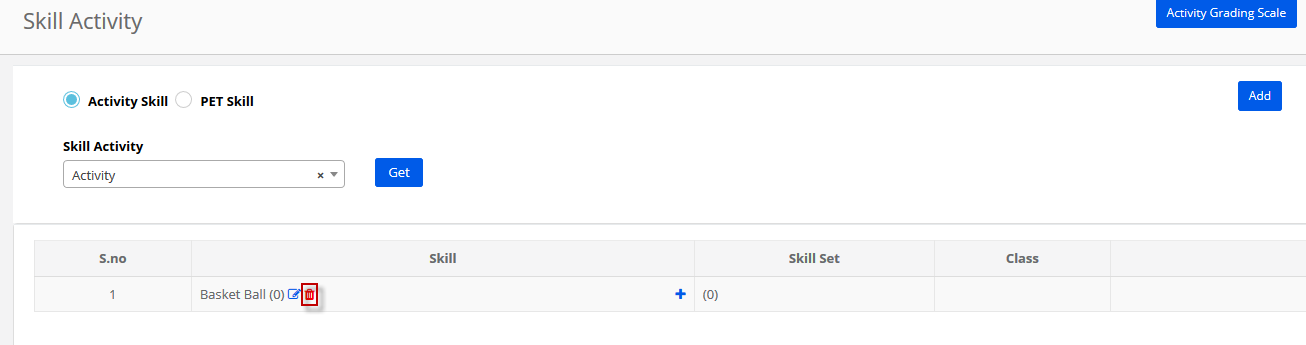
Step 8: To delete the activity, click on the delete icon.
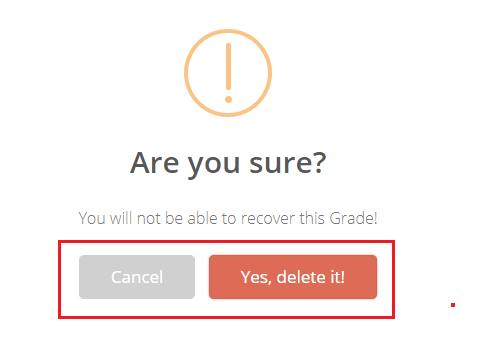
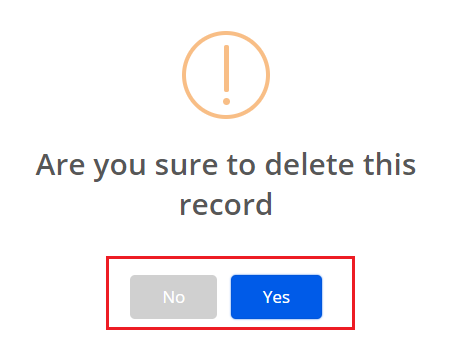
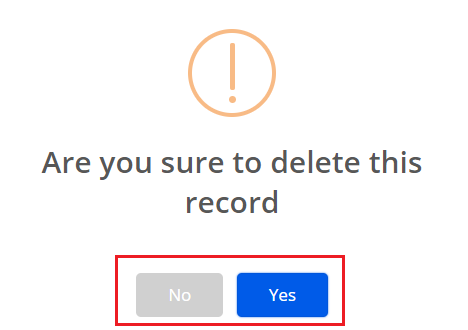
Step 9: Click on Yes to confirm the deletion or No to revert.
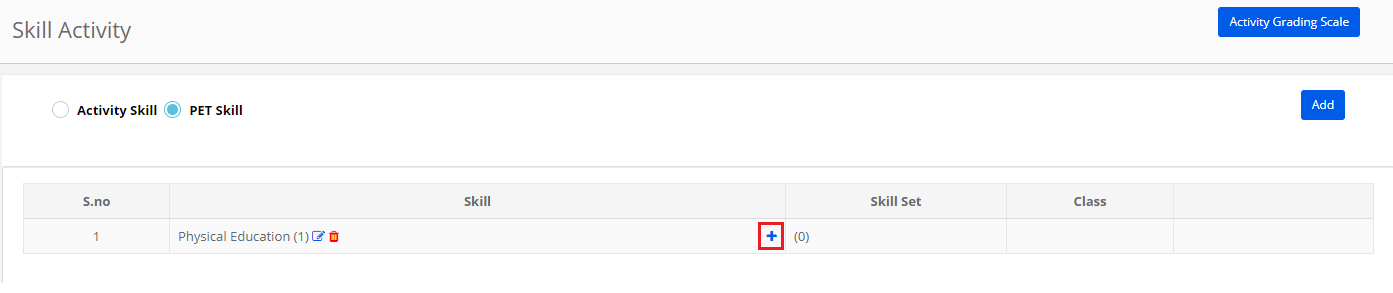
Step 10: To add Skillset for an activity, click on plus (+) sign against the activity.
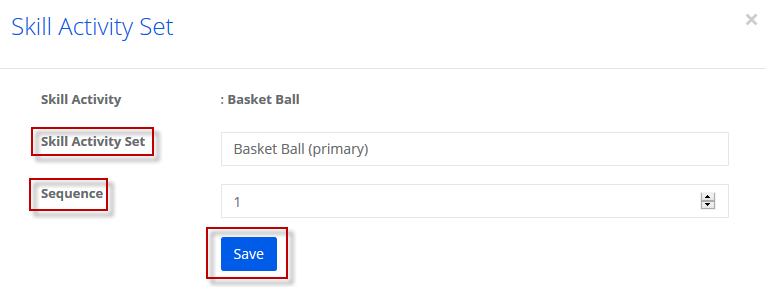
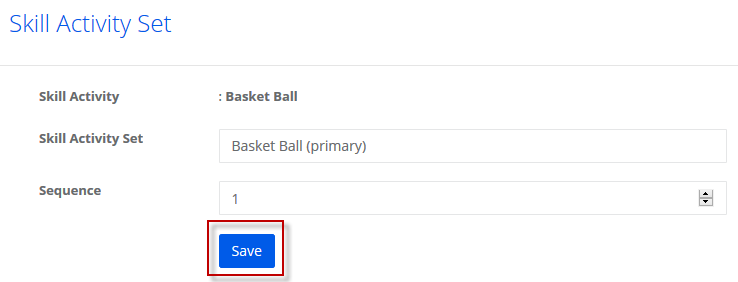
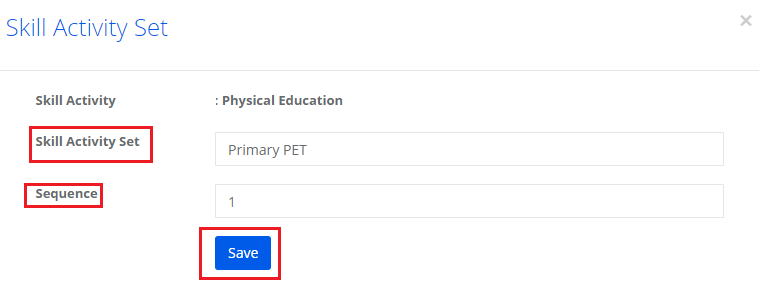
Step 11: Enter the Skill activity set and sequence number. Click on Save.
Step 12: To edit the skill set, click on Edit Icon.

Step 13: Make the necessary changes and click on Save button.
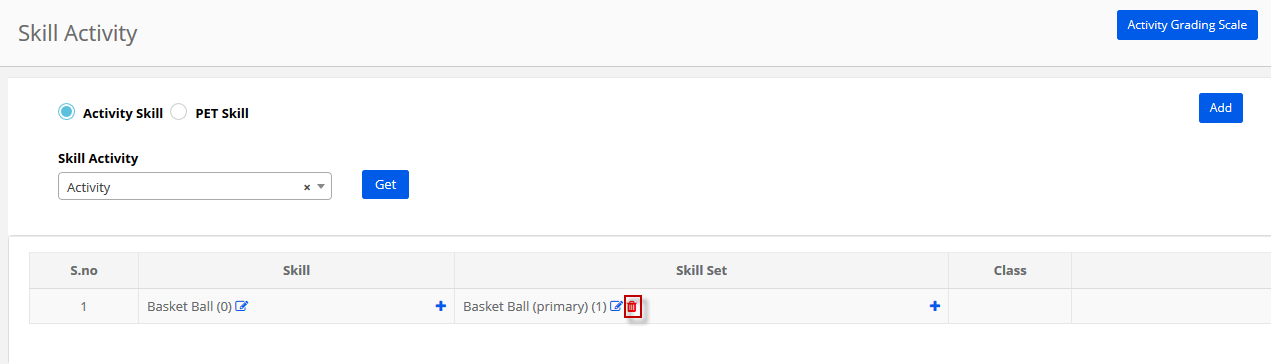
Step 14: To delete Skillset, click on the delete icon.
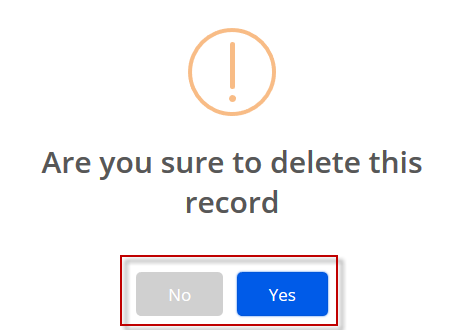
Step 15: Click on Yes to confirm the deletion or No to revert.
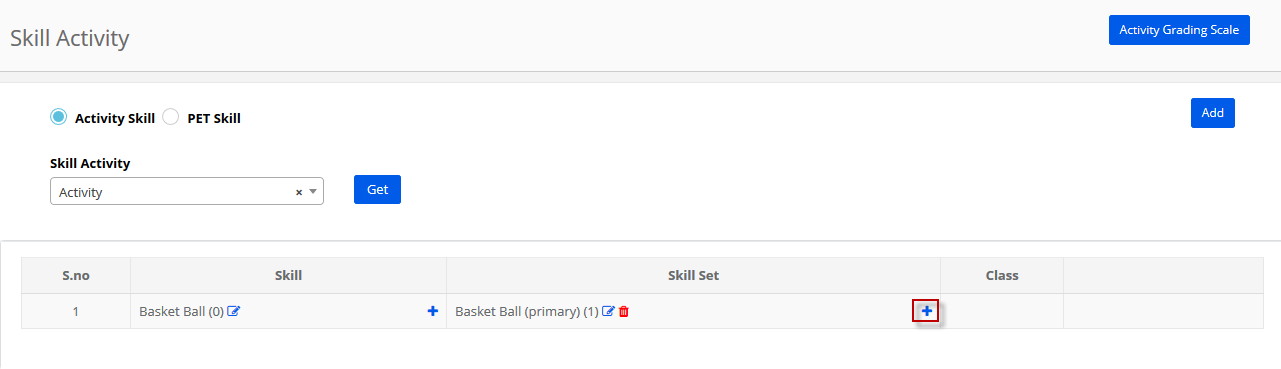
Step 16: To assign classes to the skill set, Click on Plus (+) sign.
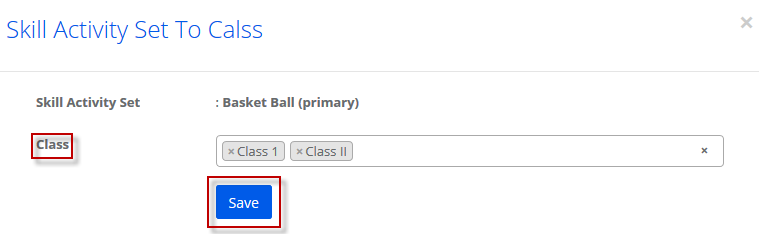
Step 17: Choose the classes which you would like to assign from the classes drop down and click on the Save button.
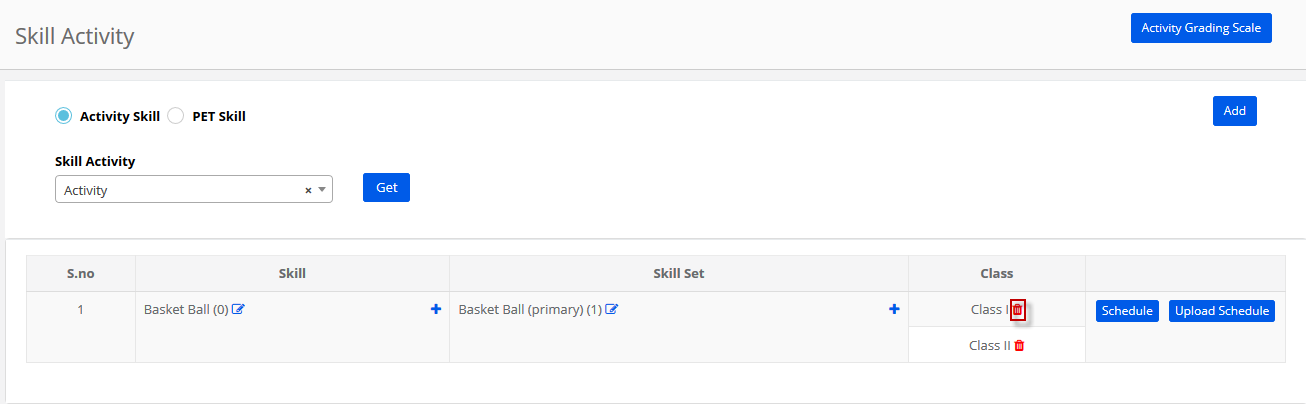
Step 18: To delete a class from assigned classes to a skill set, click on the delete icon.
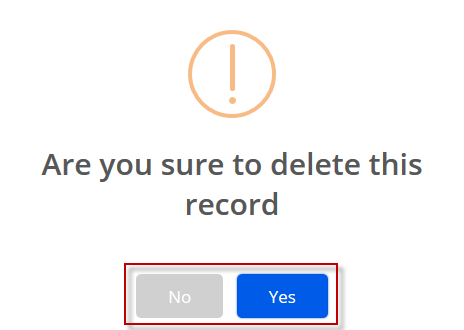
Step 19: Click Yes to confirm the deletion or No to revert.
Step 20: To add Schedules to the skill set, click on Schedules option.

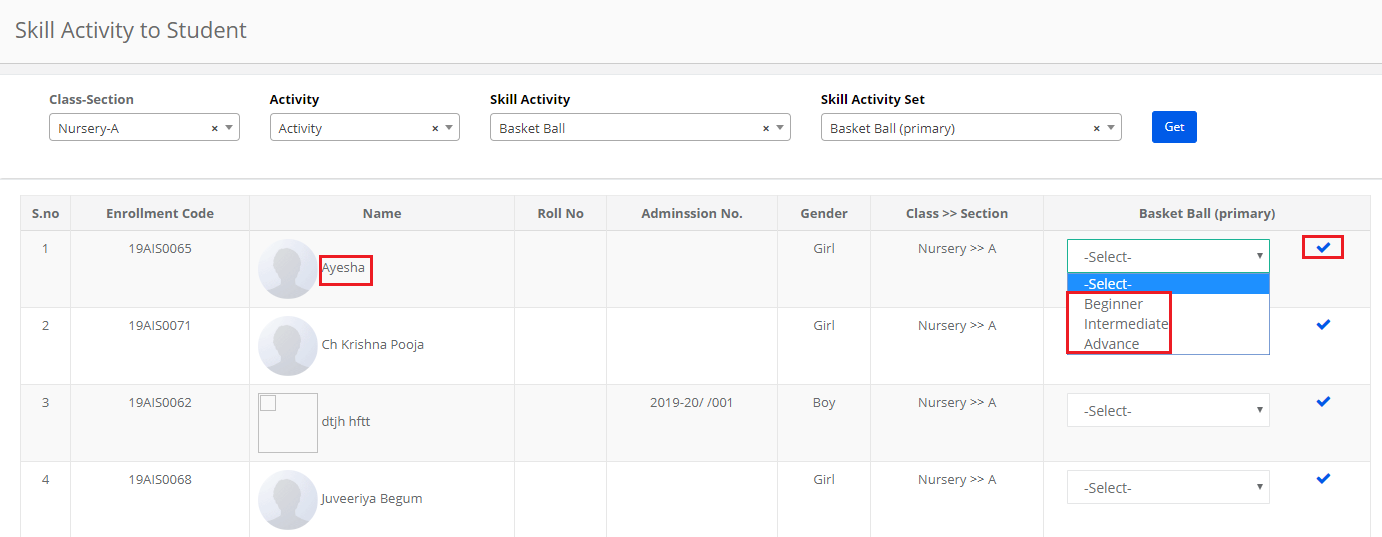
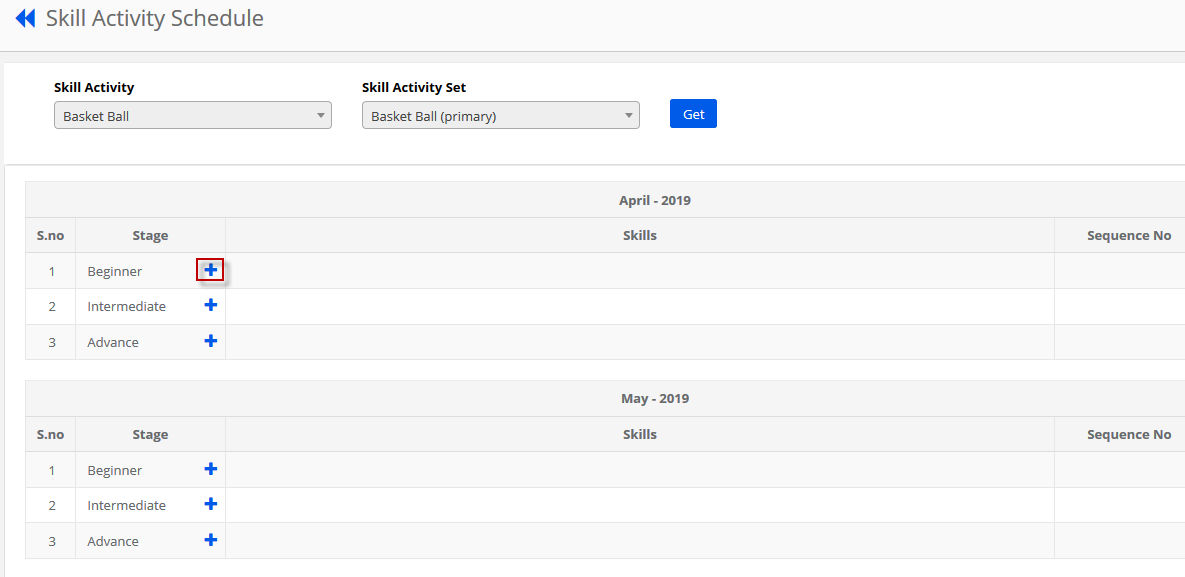
Step 21: There are three pre – defined stages as Beginner, Intermediate and Advanced for each skill set. To add an activity skill schedule for a month, click on the plus (+) sign against the stage under the required month.
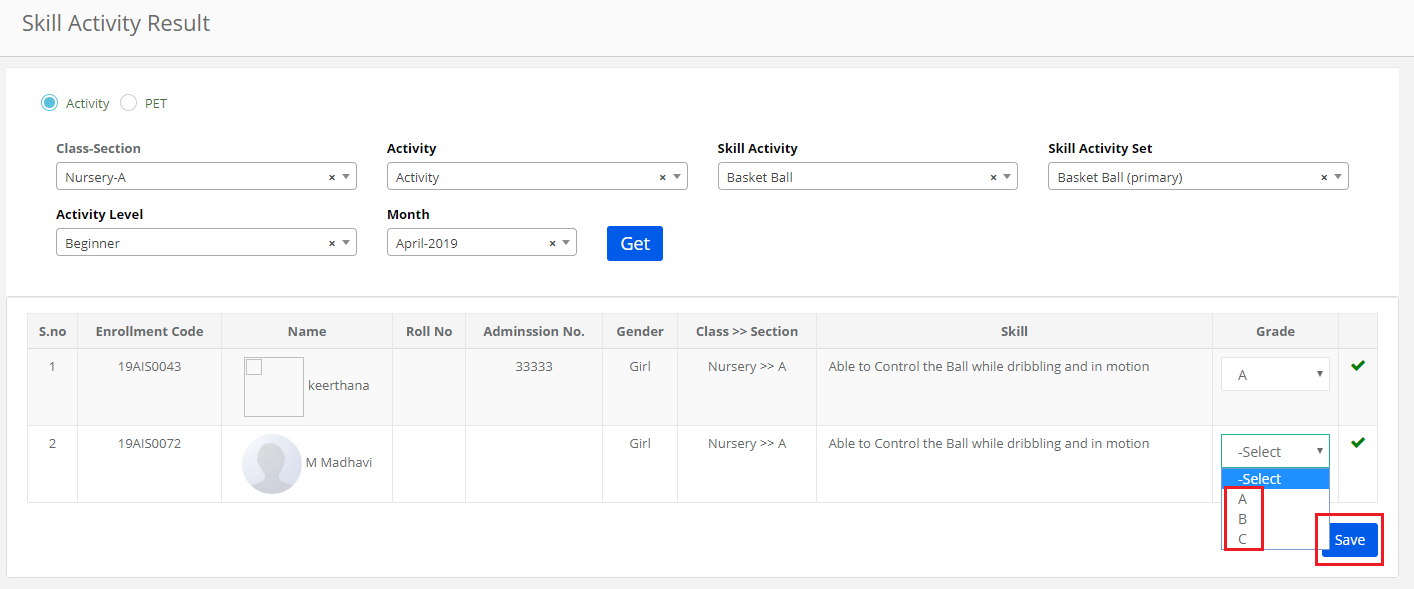
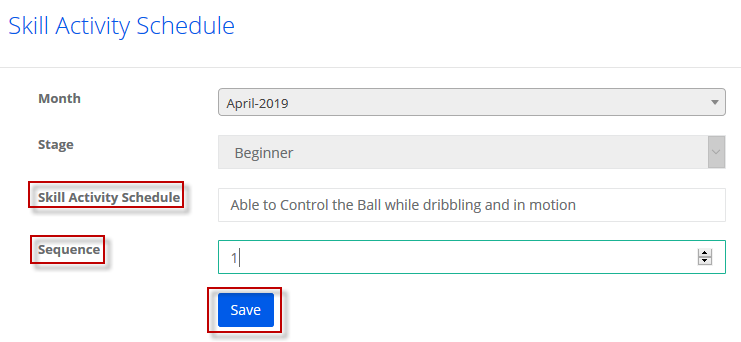
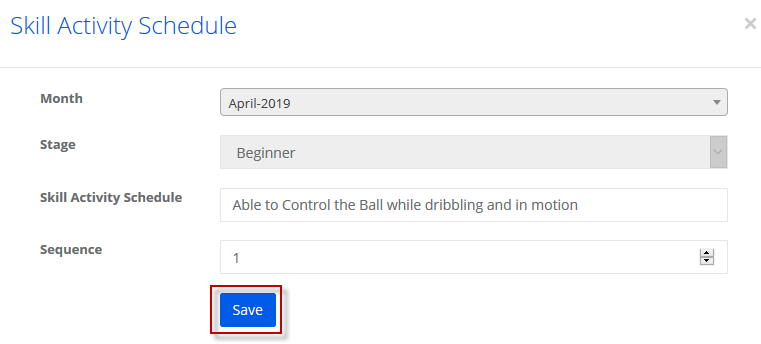
Step 22: Enter the schedule in Skill Activity Schedule and sequence number. Click on Save button.
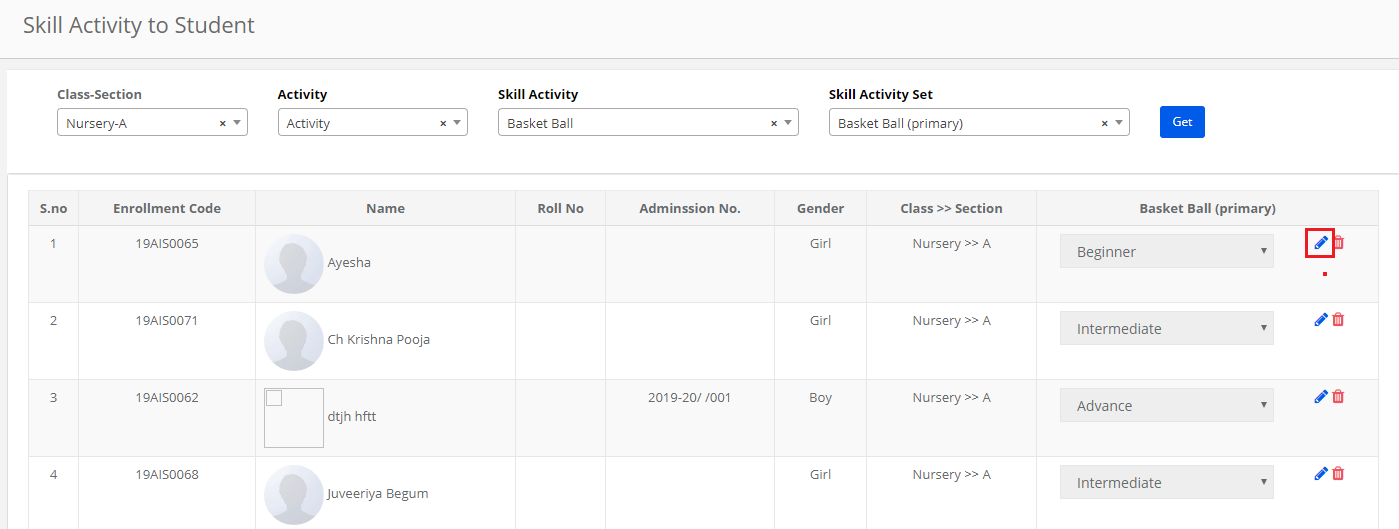
Step 23: To edit the schedule, click on the Edit icon.
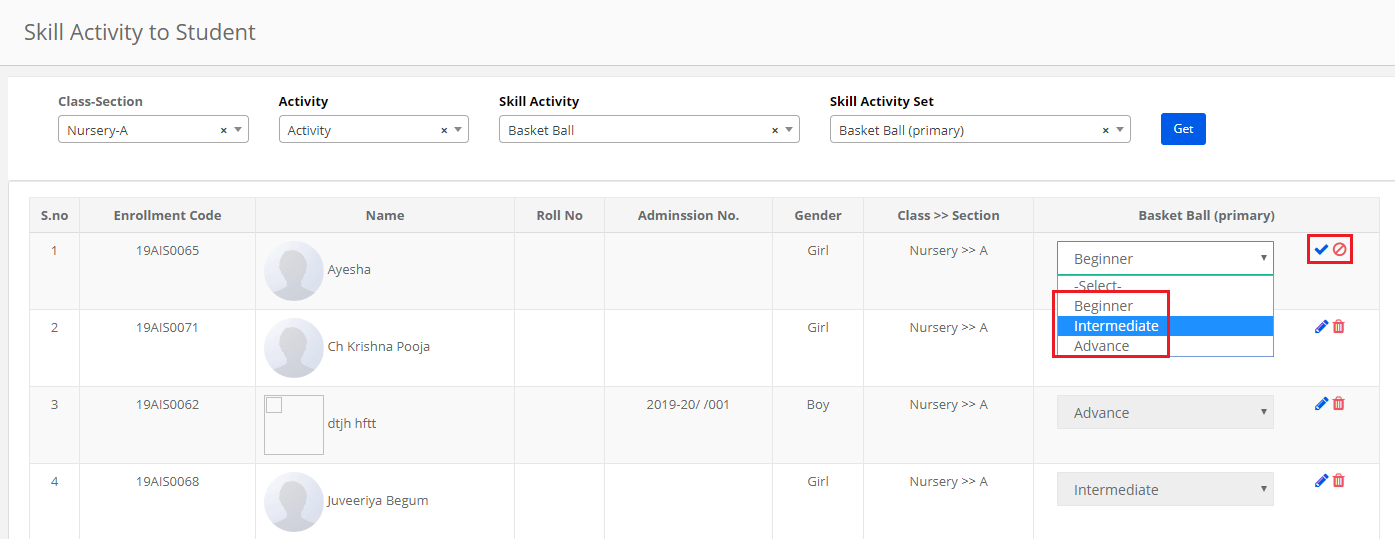
Step 24: Make the required changes and click on Save button. To cancel the changes, click anywhere on the screen.
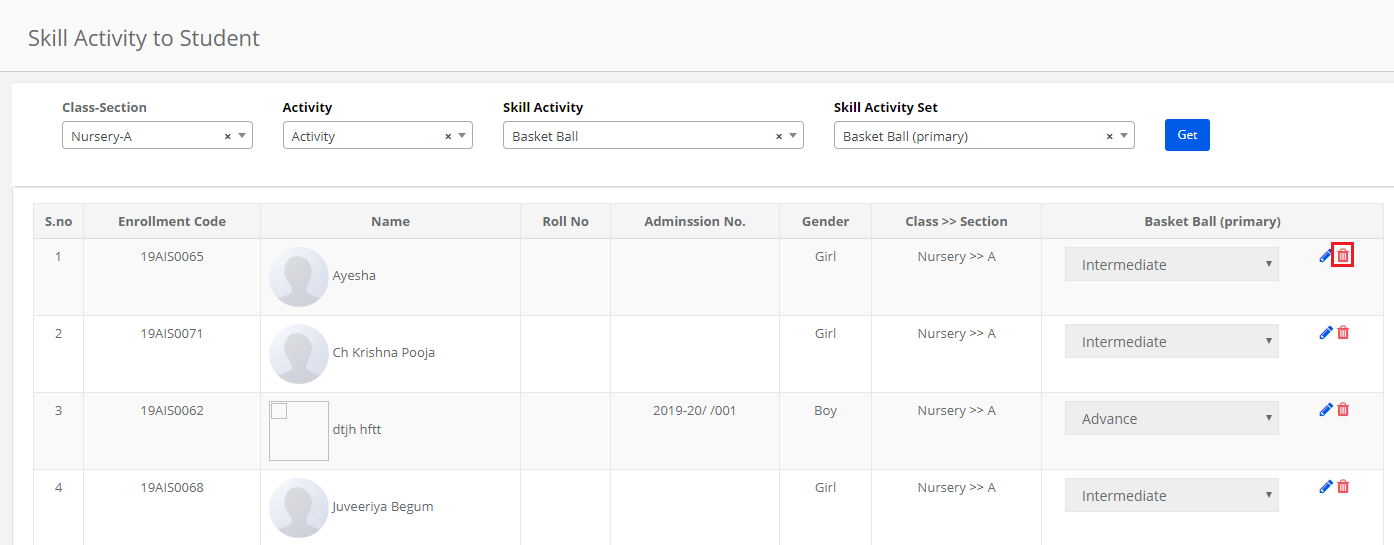
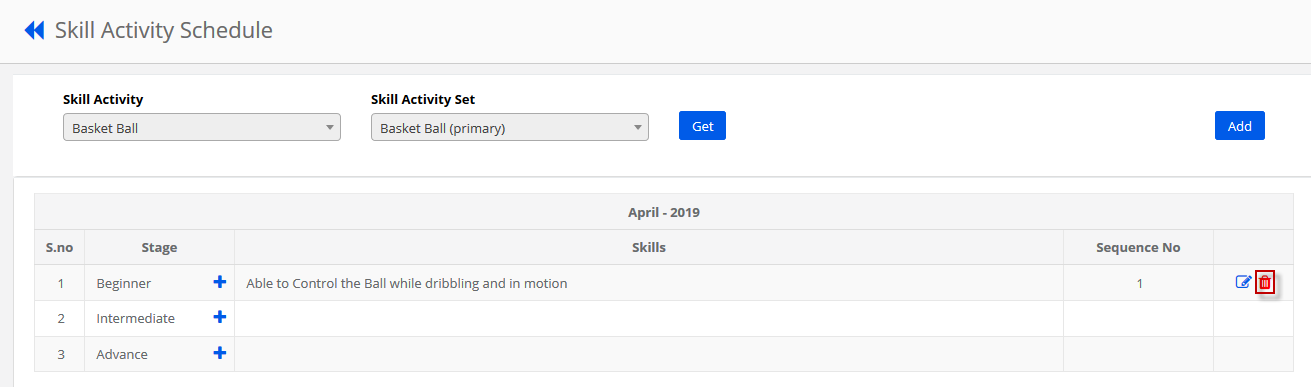
Step 25: To delete the schedule, click on the Delete icon.
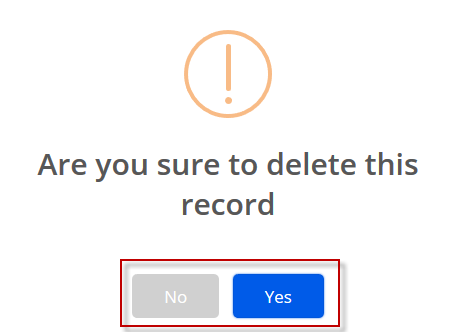
Step 26: Click on Yes to confirm the deletion or click on No to cancel the deletion.
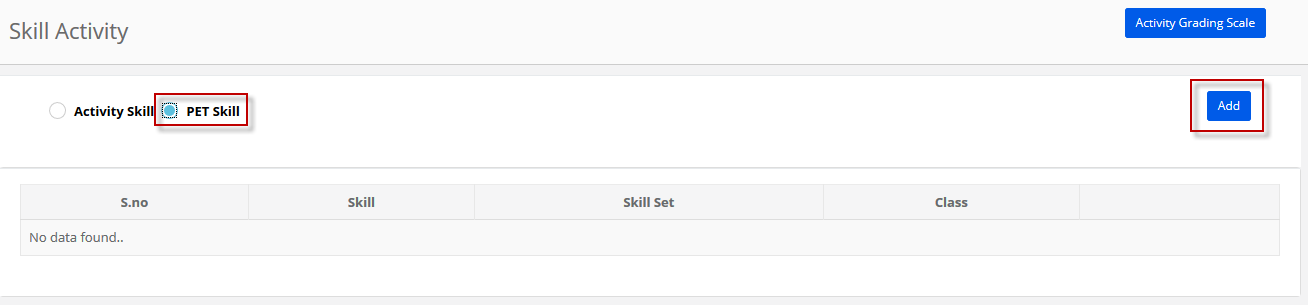
PET Skill Creation:
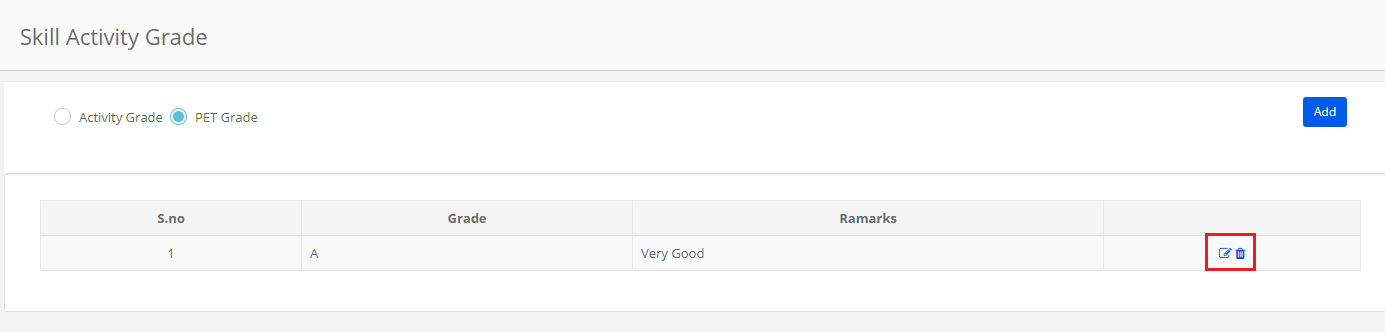
Step 27: Choose PET Skill and Click on Add button.
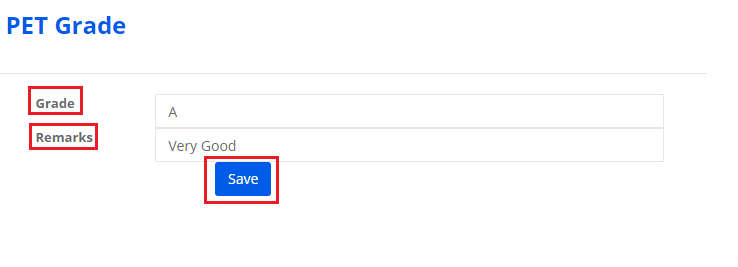
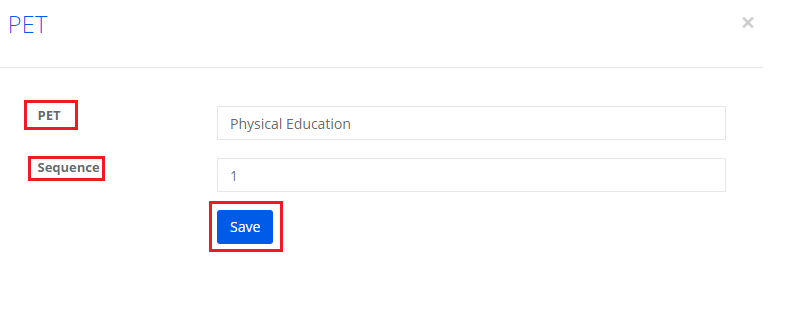
Step 28: Enter Name of the Skill, sequence number and click on save.
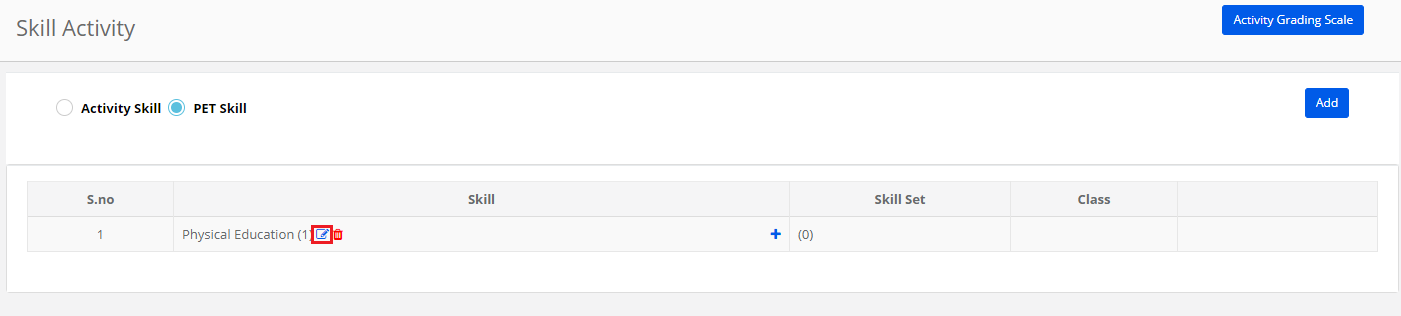
Step 29: To edit the skill name or change the sequence number, Click on the edit icon.
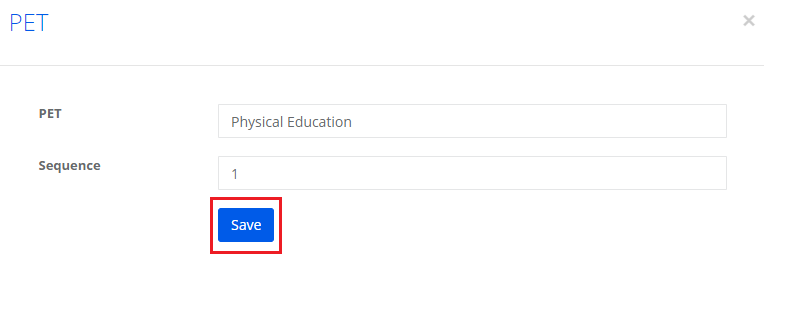
Step 30: Make the changes required and click on the Save option.
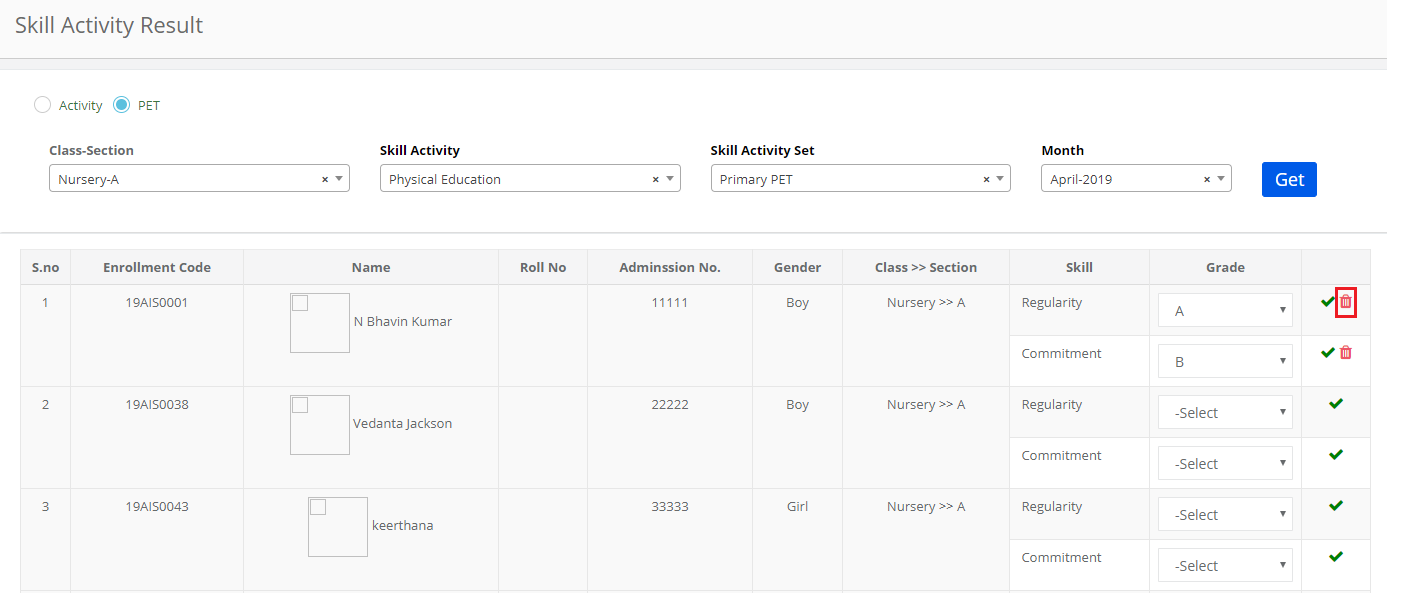
Step 31: To delete Skill, click on the delete icon.
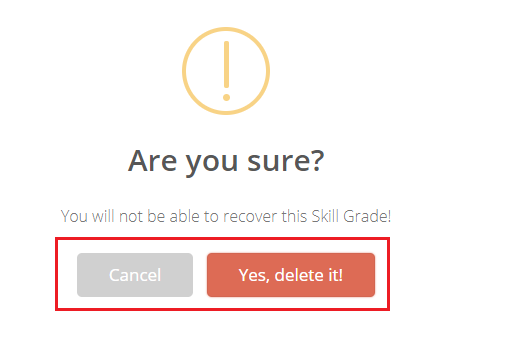
Step 32: Click on Yes to confirm the deletion or No to cancel the deletion.
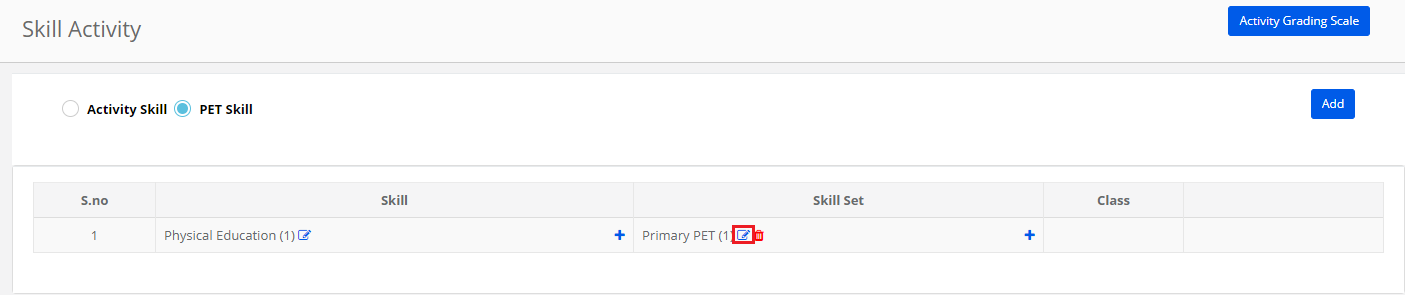
Step 33: To add a skill set against the skill, click on Plus (+) sign.
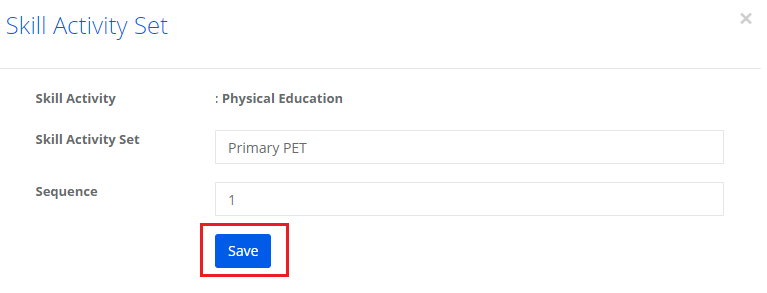
Step 34: Enter skillset name and sequence number. Click on Save button.
Step 35: To edit the skillset name, click on the Edit icon.
Step 36: Make the necessary changes and click on Save option.
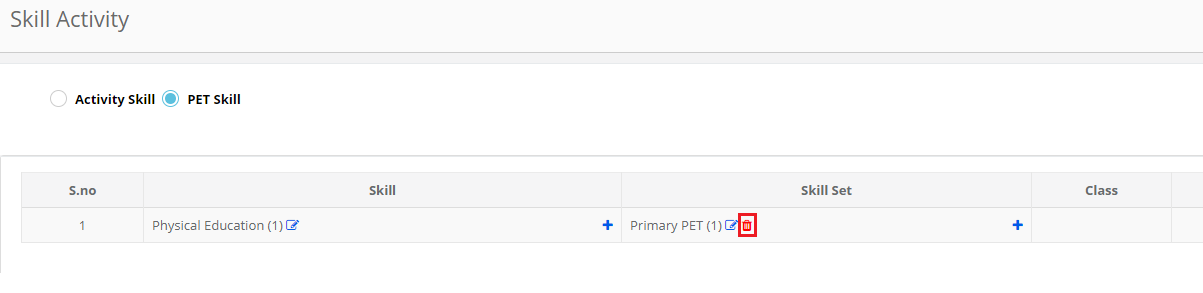
Step 37: To delete the skill set, click on the delete icon against the skill set.
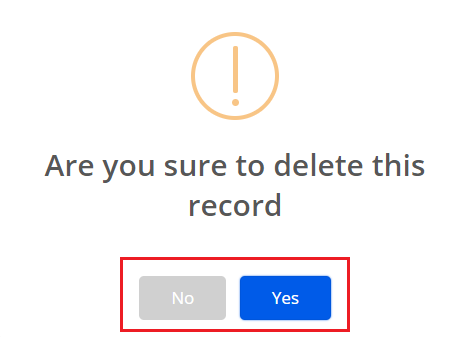
Step 38: Click Yes to confirm the deletion and No to cancel the deletion.
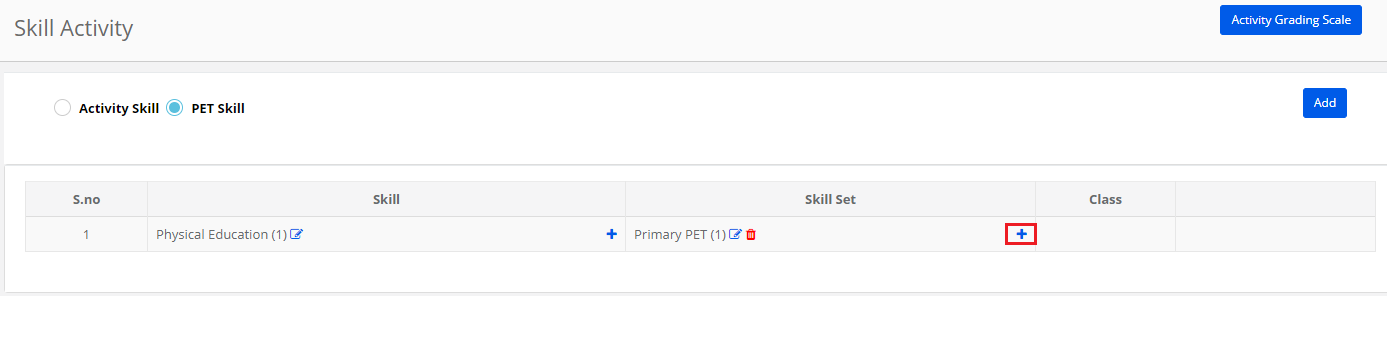
Step 39: To assign classes to the skill set, click on Plus (+) sign against the skill set.
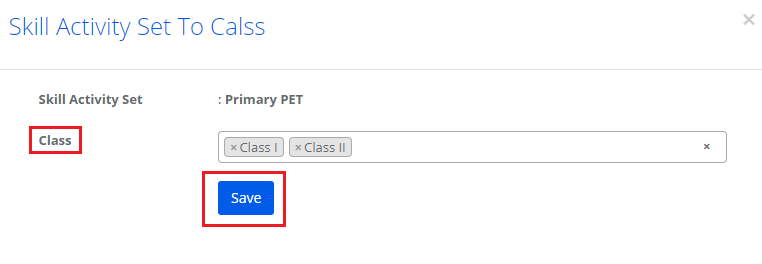
Step 40: Choose the classes that are applicable to the skill set and click on Save.
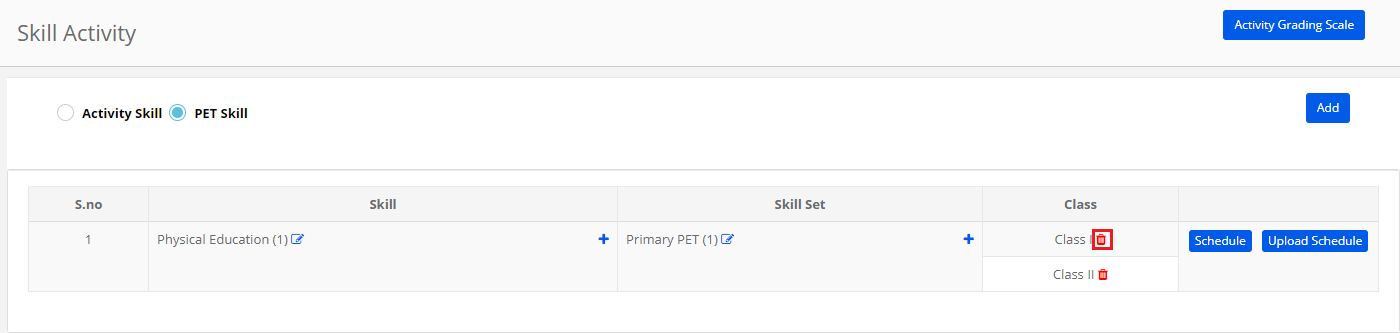
Step 41: To delete the class assigned, click on delete icon against the class.
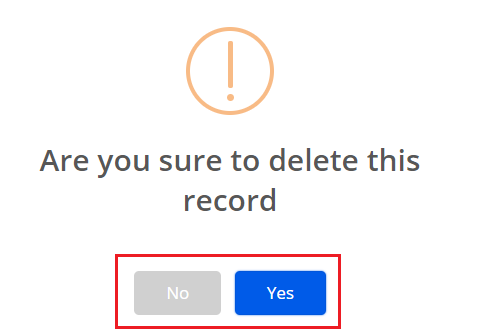
Step 42: Click Yes to confirm the deletion and No to cancel the deletion.
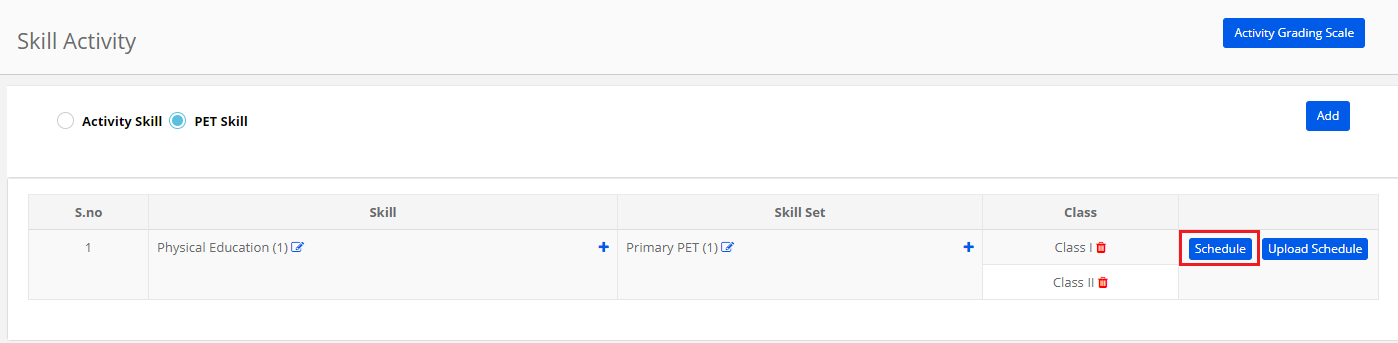
Step 43: To add a schedule for a skill set, click on Schedule option.
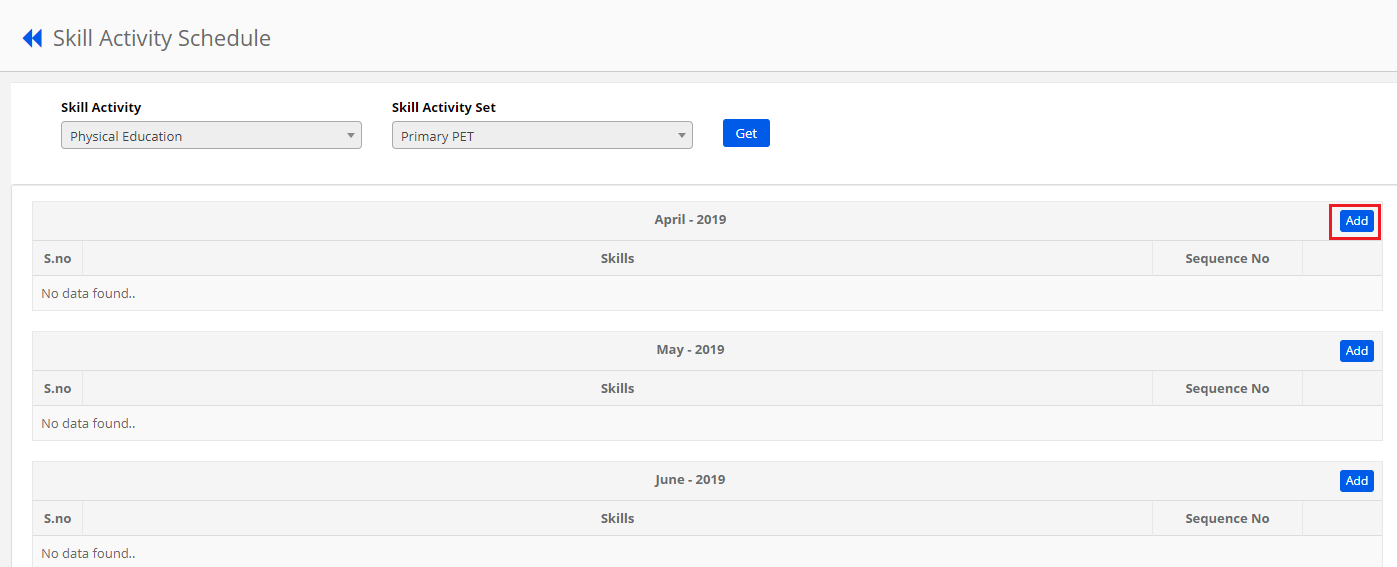
Step 44: Click on Add against the month for which you would like to add the schedule.
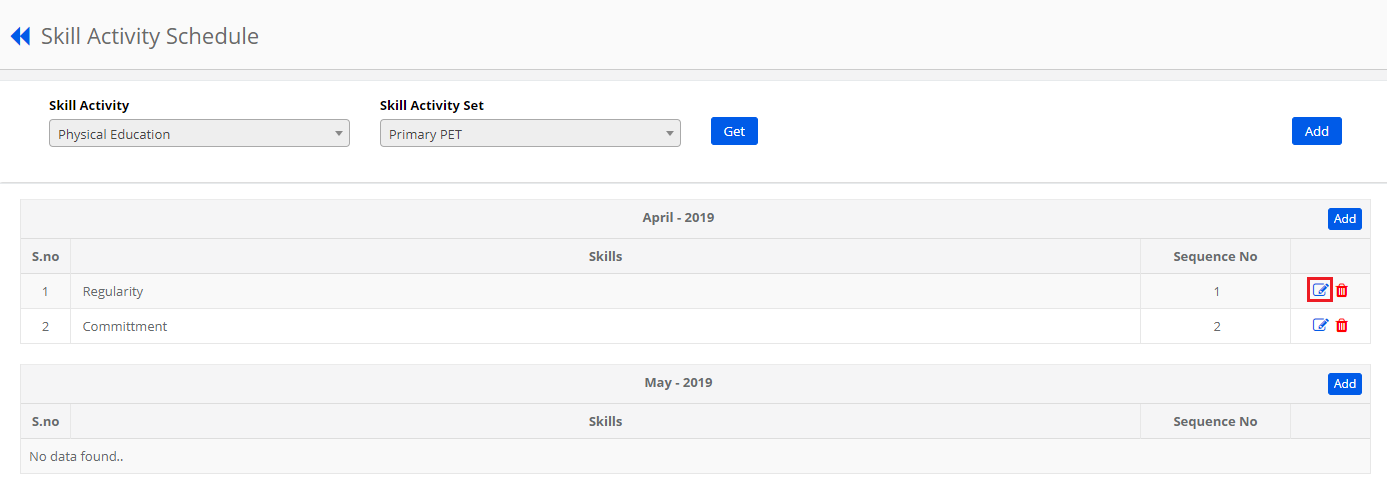
Step 45: Enter Schedule for the skill, sequence number and click on Save button.

Step 46: To edit the schedule, click on the Edit icon.
Step 47: To delete the schedule, click on delete icon against the schedule name.
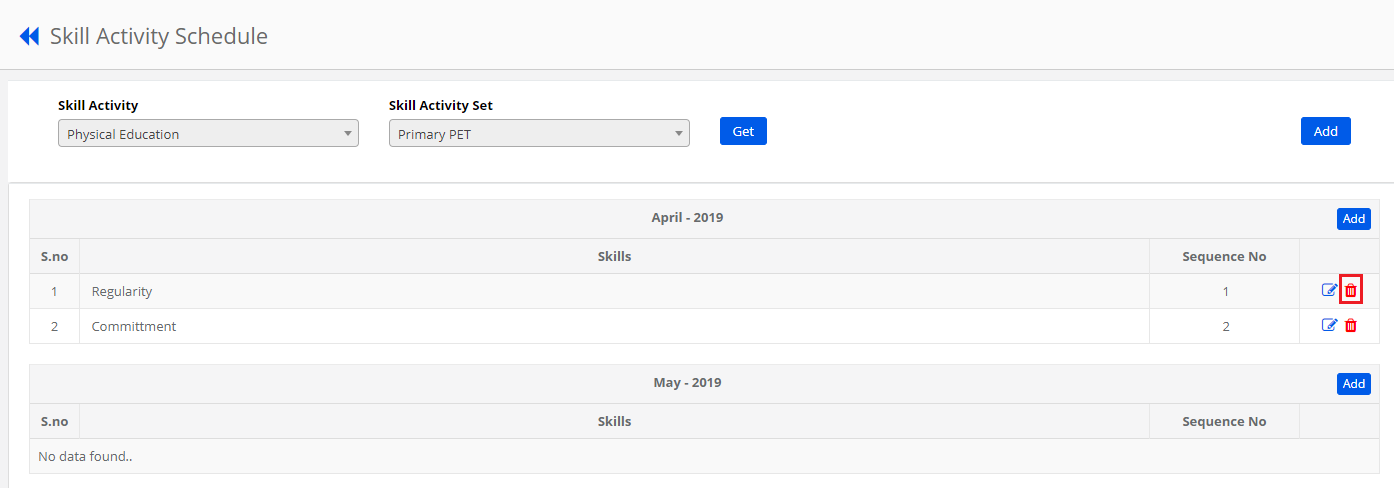
Step 48: Click Yes to confirm the deletion and No to cancel.
To upload schedules:
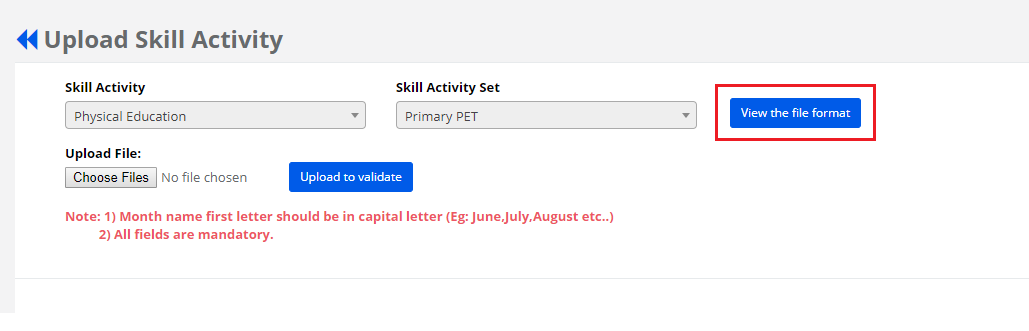
Step 49: To upload the schedule, Click on Upload Schedule button.

Step 50: Click on the view file format to download the excel file.
Enter the data in the excel and Save the file without changing the file format.
Follow the guidelines given at Note for error free upload.
Step 51: To upload the file, click on Choose Files option, Locate the file in which the data is saved. Choose the file and click on Validate to upload option.
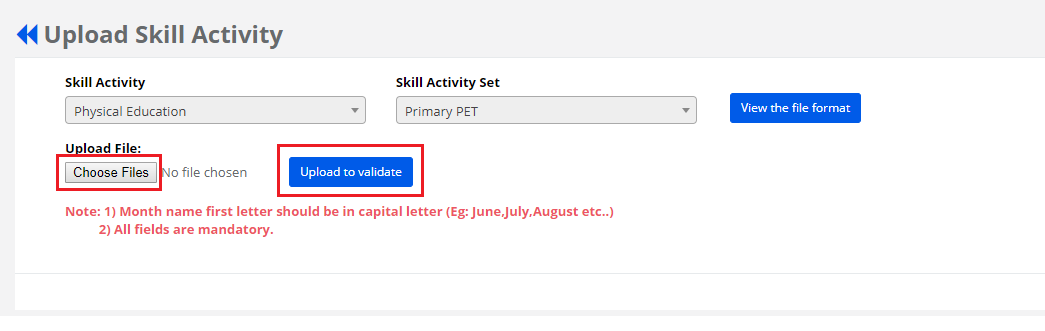
Step 52: Look for the validation message. Please note that only the correct data only gets uploaded when you click on Save. The count that is shown at the incorrect data will not be accepted by the application. Hence make sure the data is entered correctly till it shows zero at the incorrect count. To cancel the upload click on Cancel Option.