Step 1: Login to MCB with Principal or SysAdmin Login credentials.
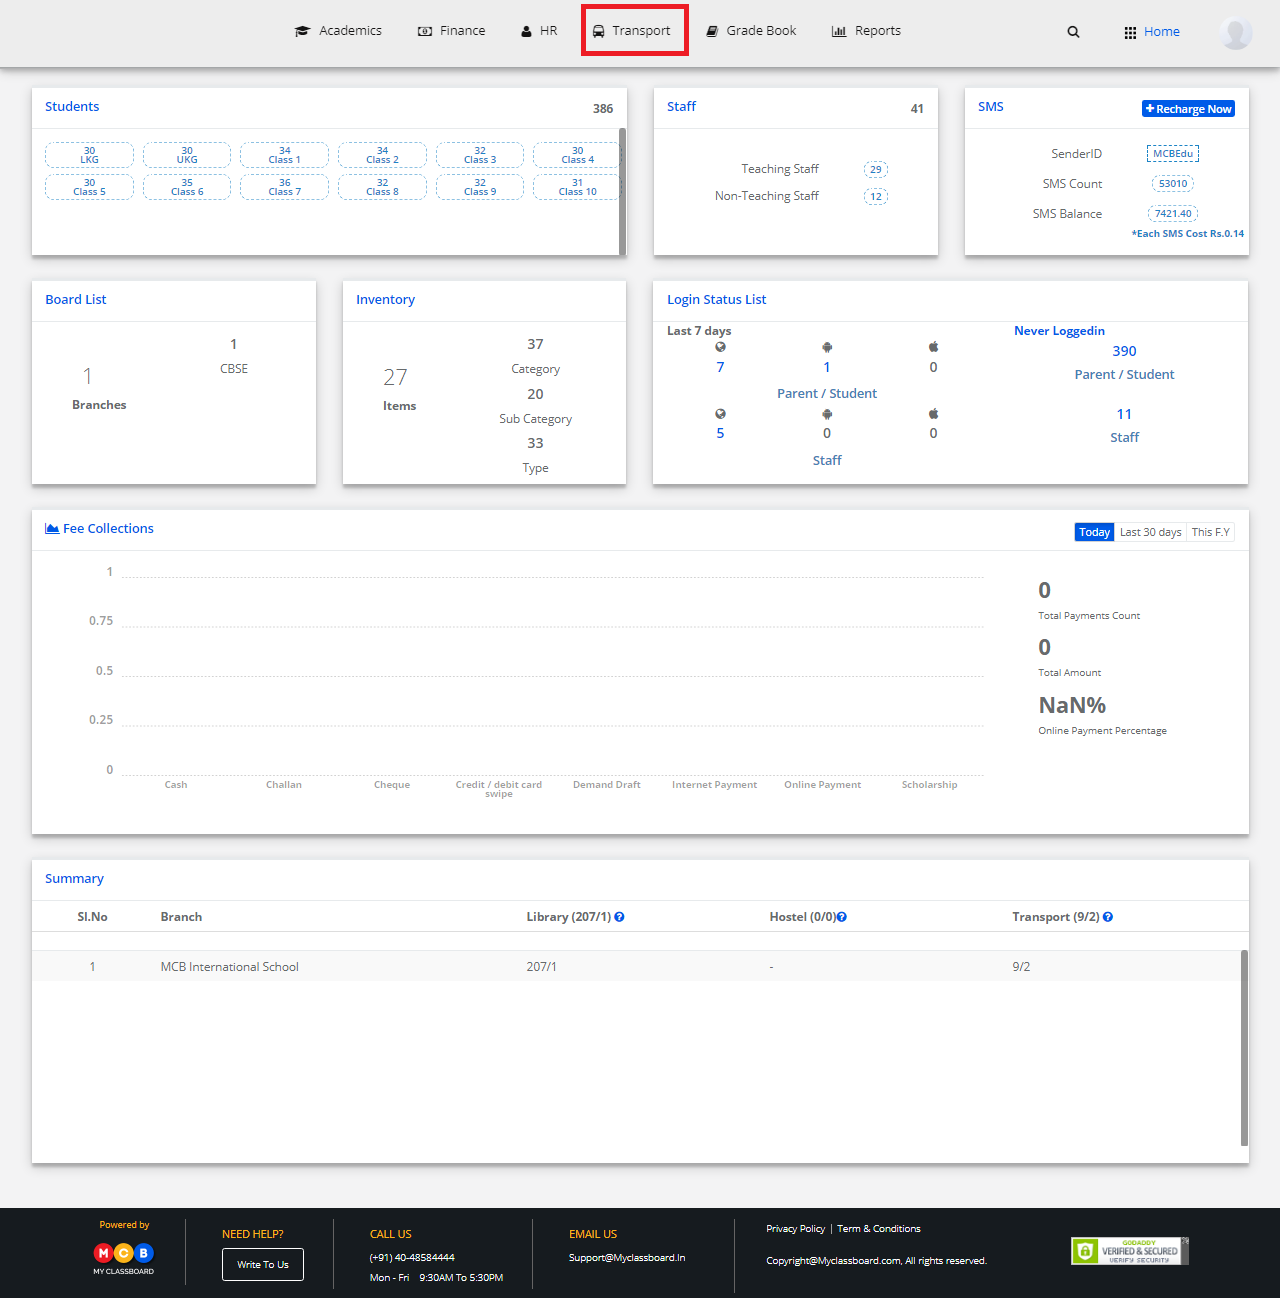
Step 2: Select “Transport” on the top bar of the dashboard. You will be directed to the Transport page.
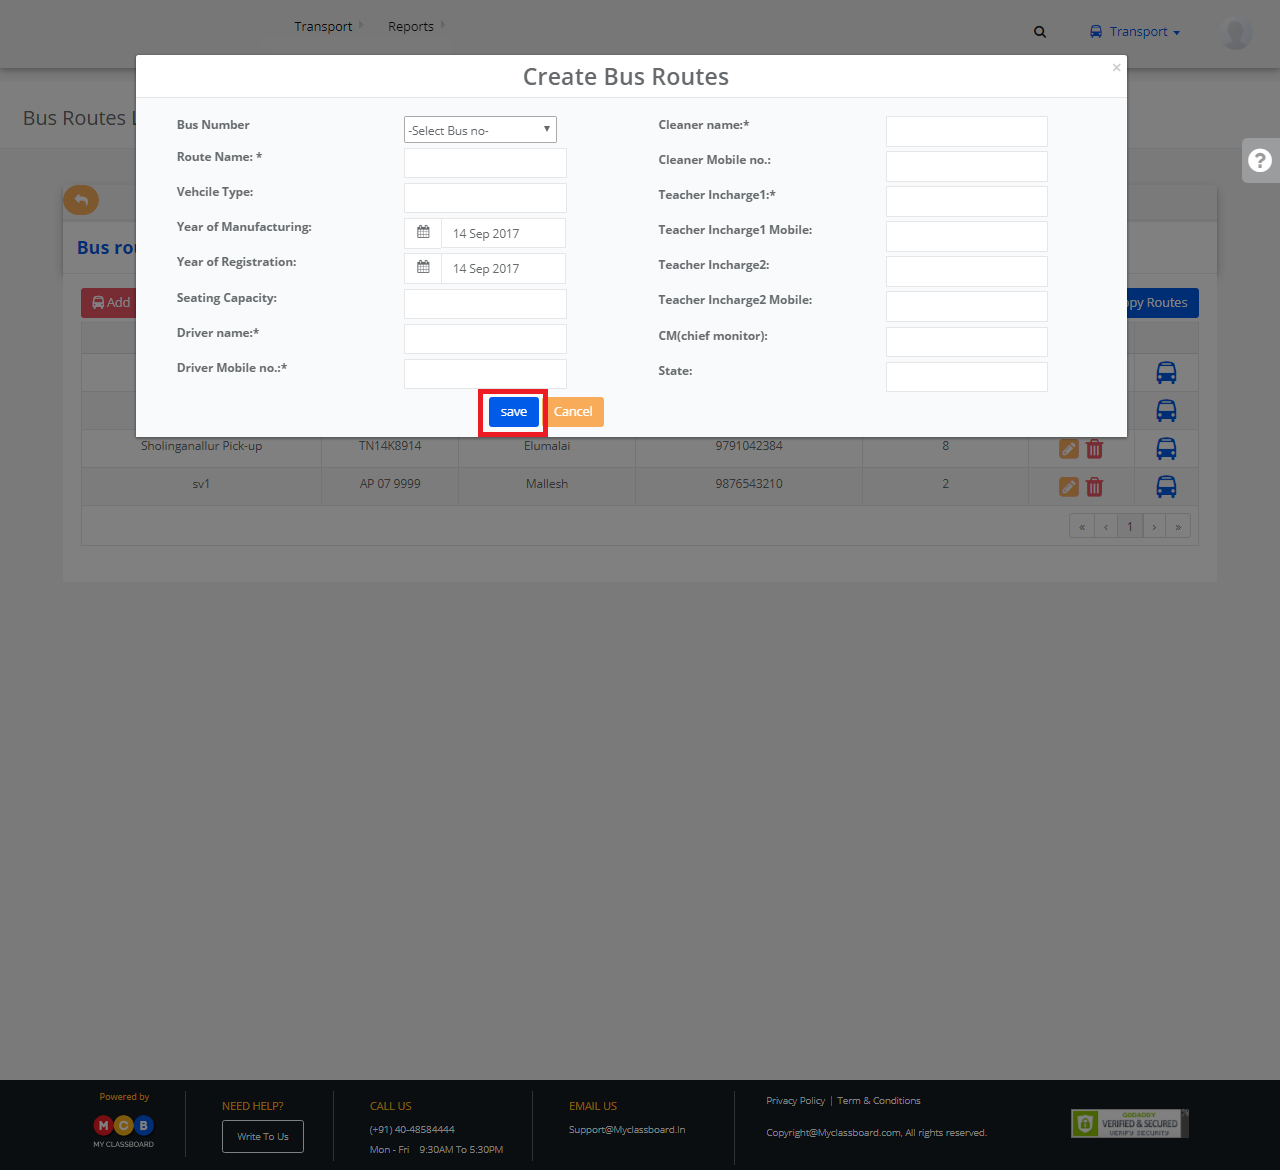
Create Bus Routes:
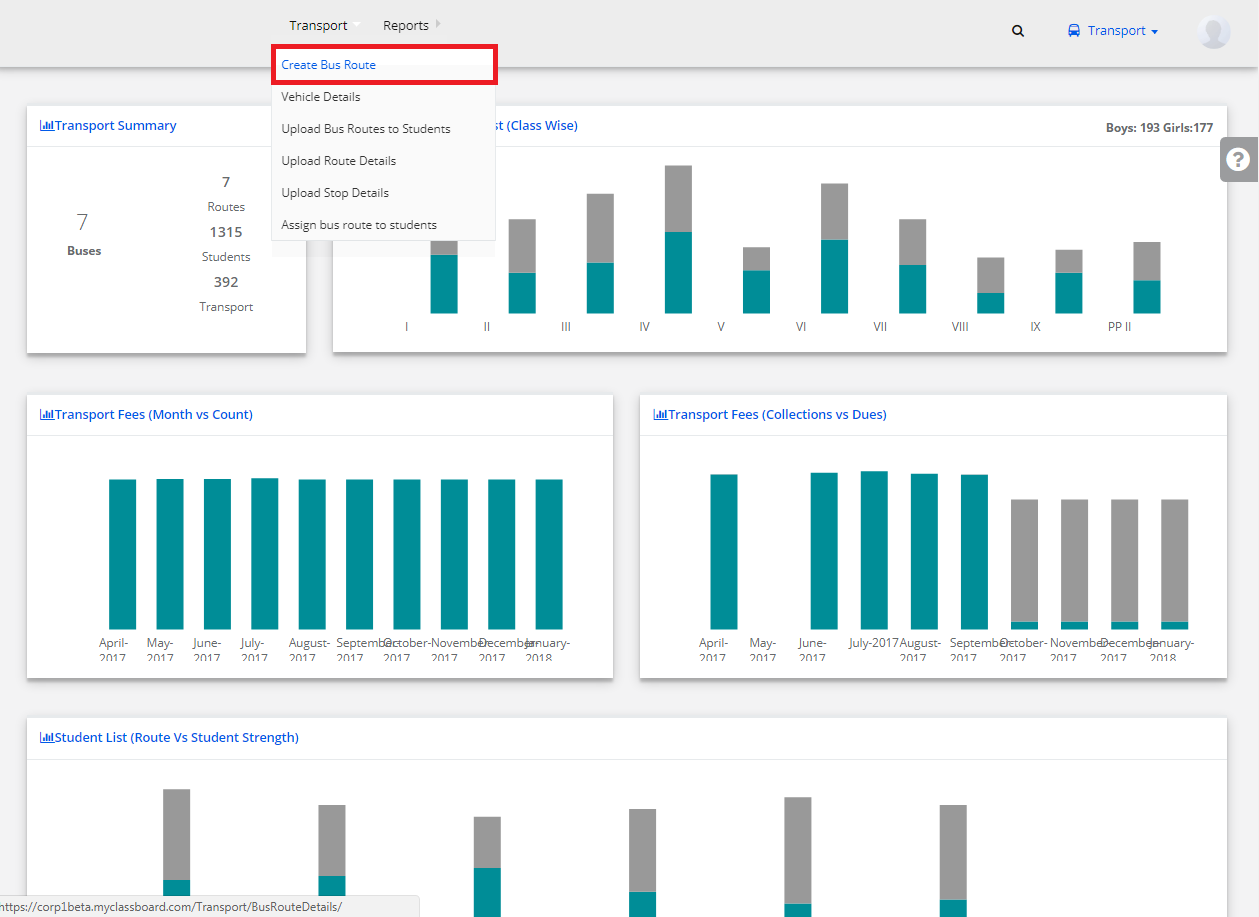
Step 3: Select “Transport” on the top bar and choose “Create Bus Route”.
Step 4: Enter the required details here like Route Name, Bus No, Driver Name, Driver Mobile Number etc.
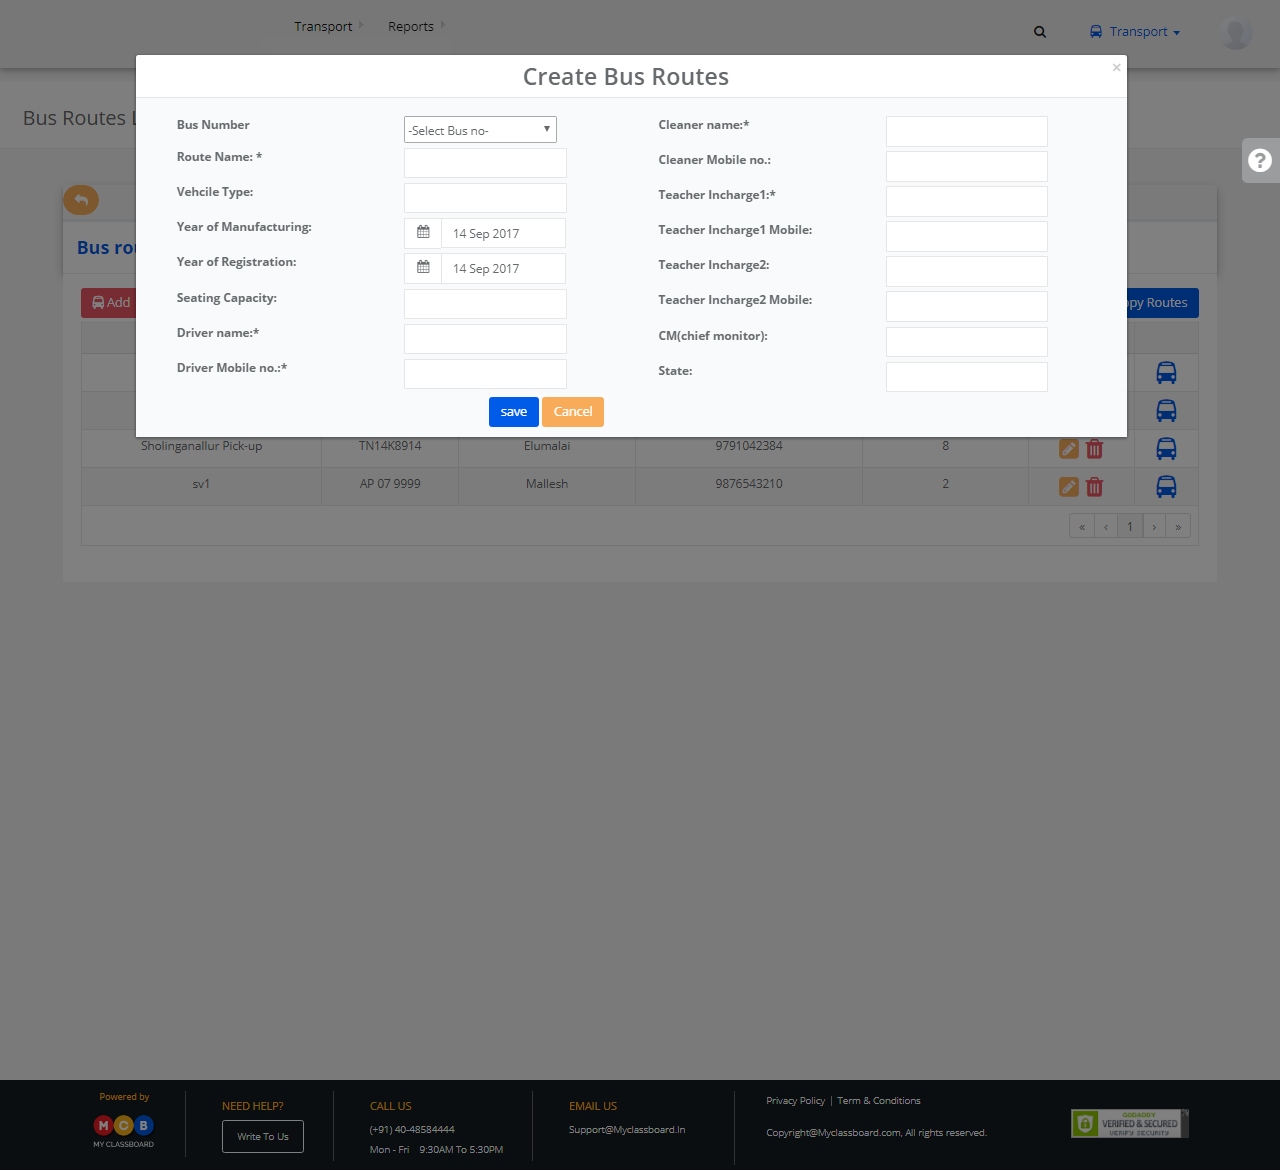
Step 5: After entering all the necessary information click on “Submit” button. The bus routes are created successfully.
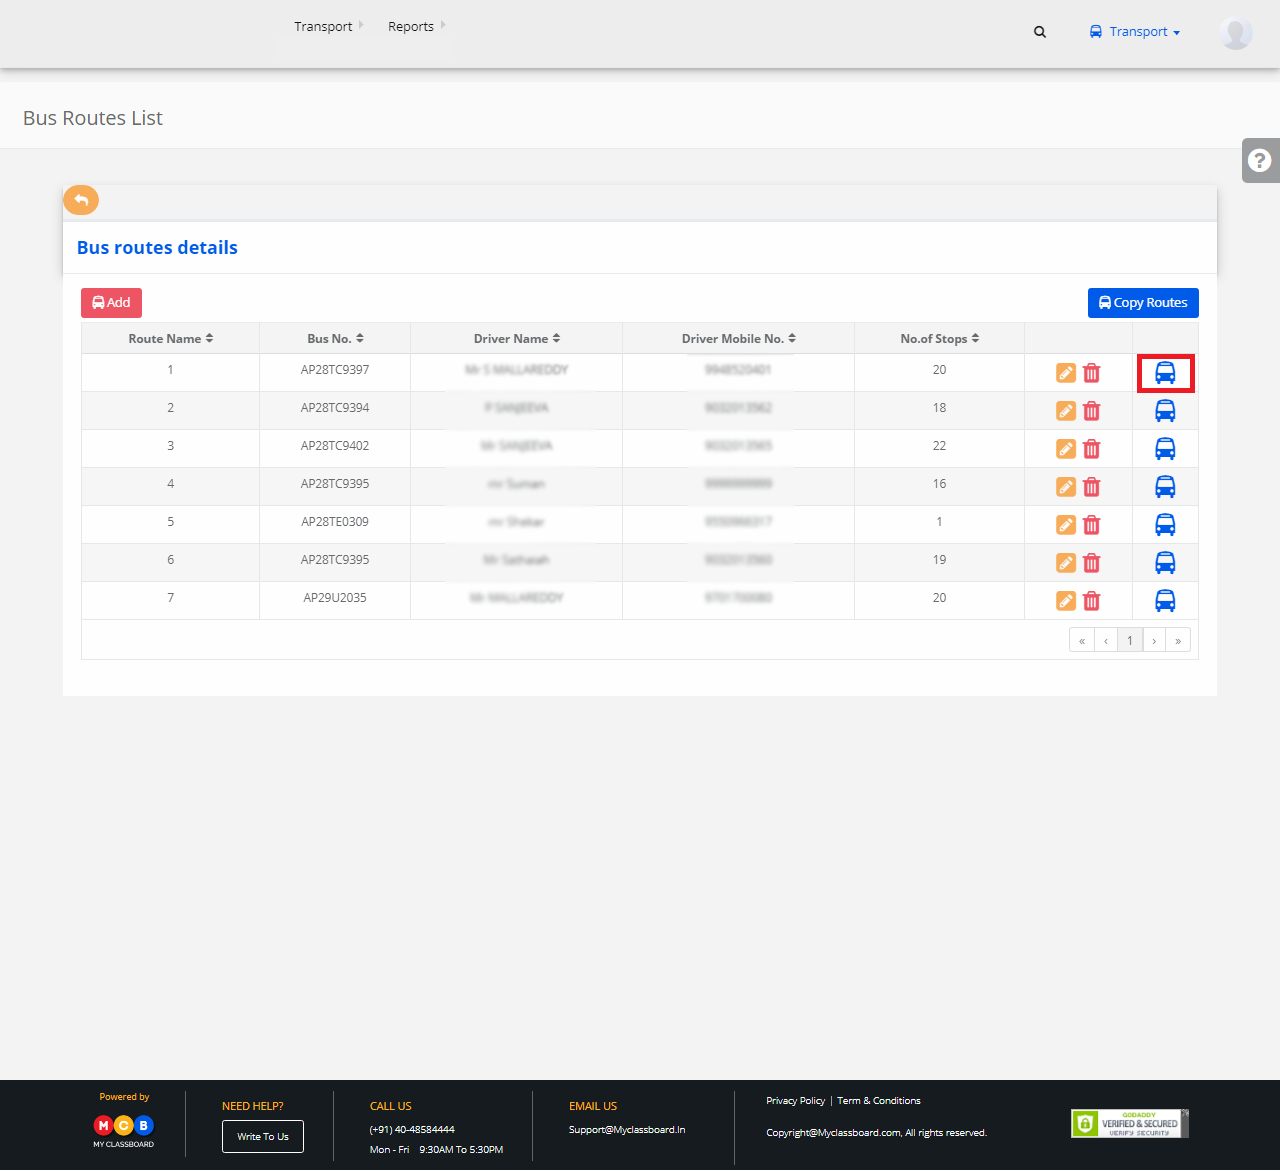
Create stops:
Step 6: After the bus route is created, click on the “Vehicle icon” to add stops for that respective route.
Step 7: Add the Stop No., Place, Nearest Landmark, Pickup and Drop time and click on save.
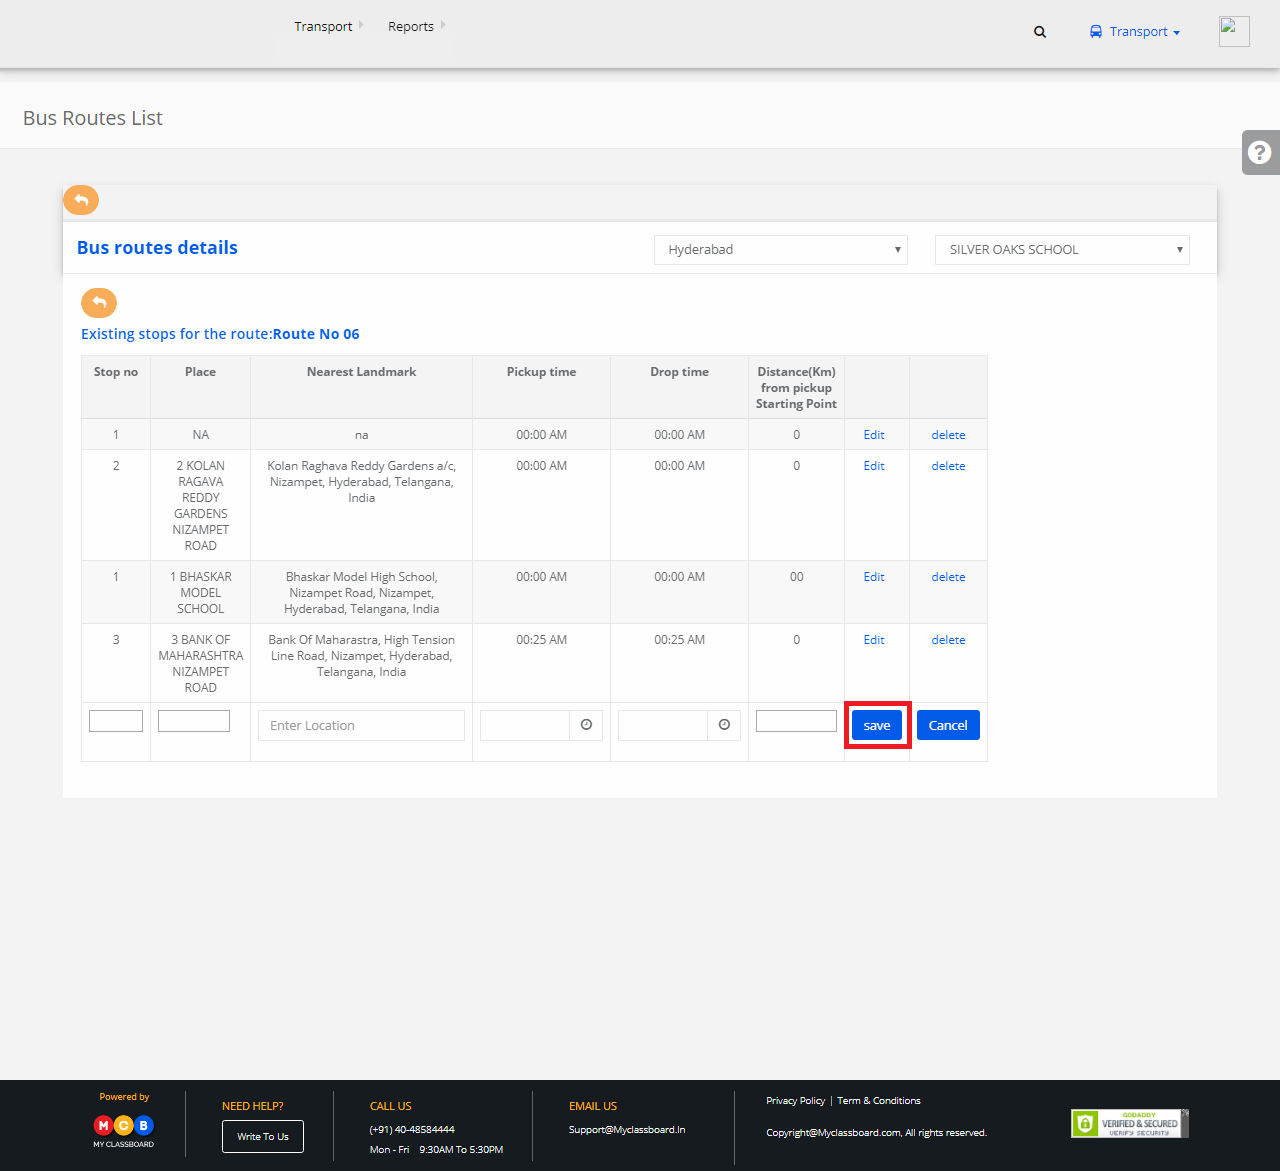
Step 8: You can add as many stops as required for that bus route.
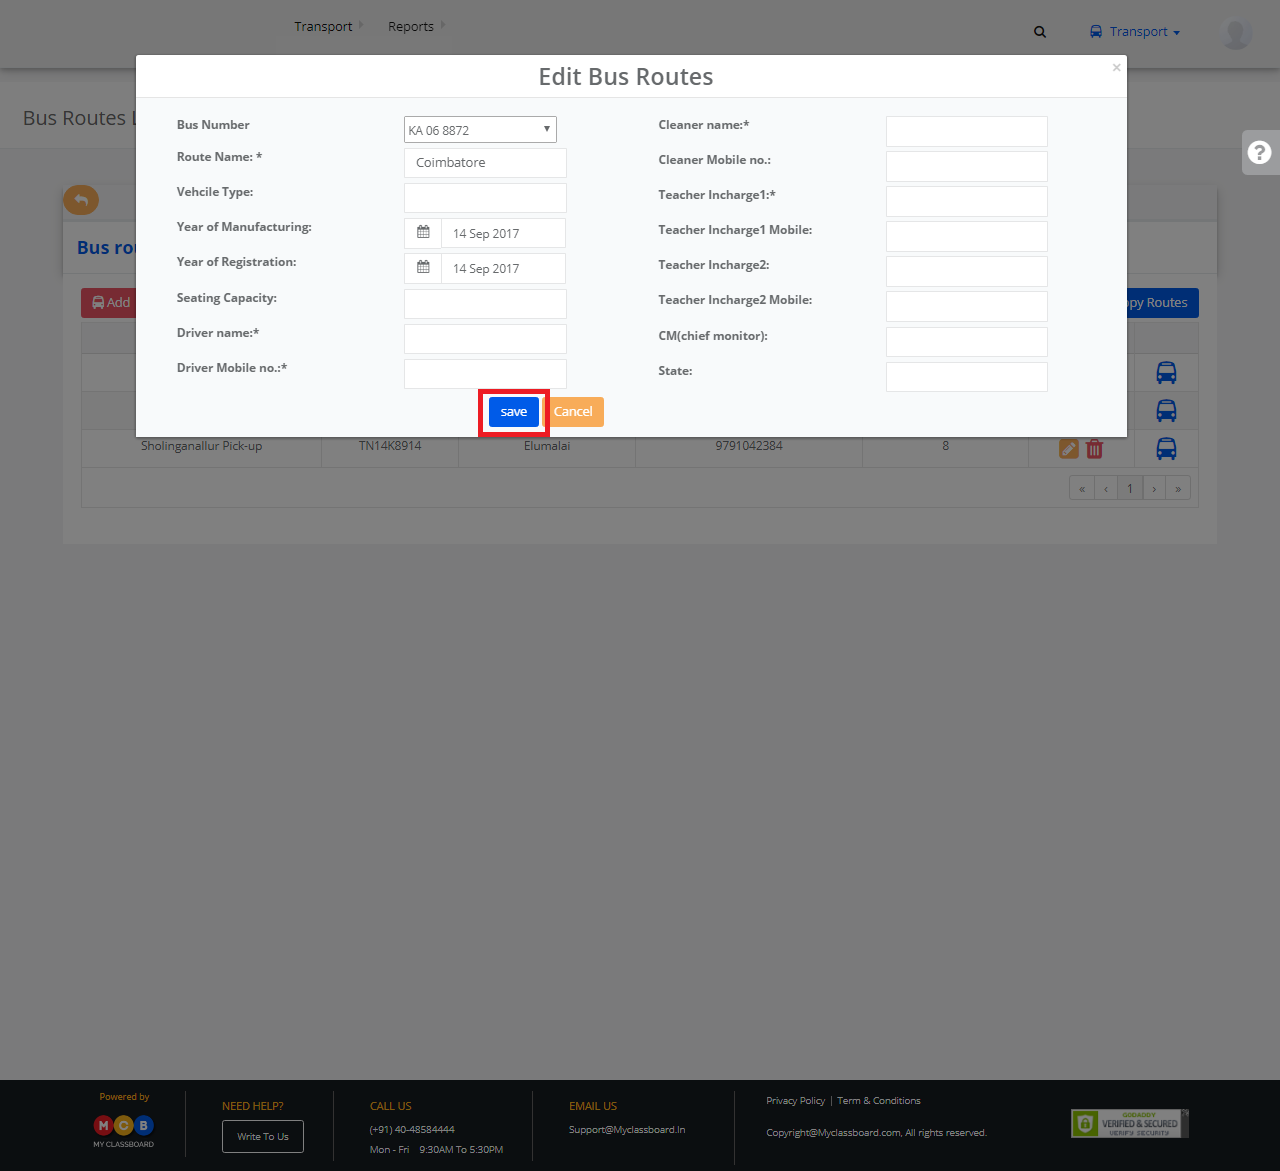
Edit bus routes:
Step 9: Click on the edit option available for every record of the bus route.
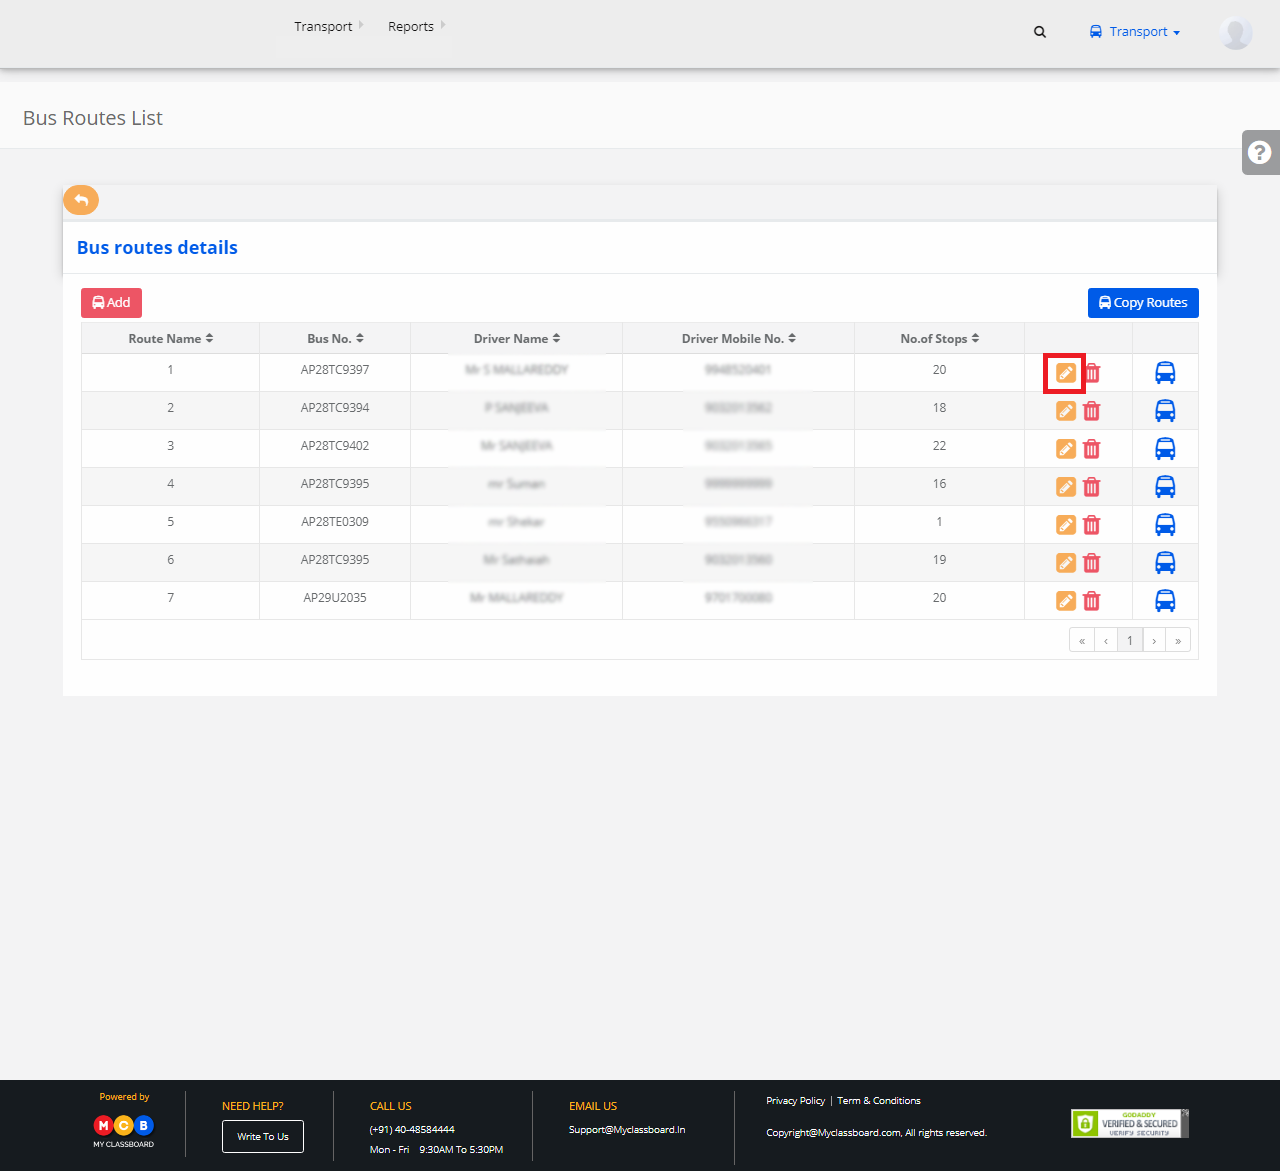
Step 10: Make the necessary changes and click on “Save” button. The changes are updated successfully.