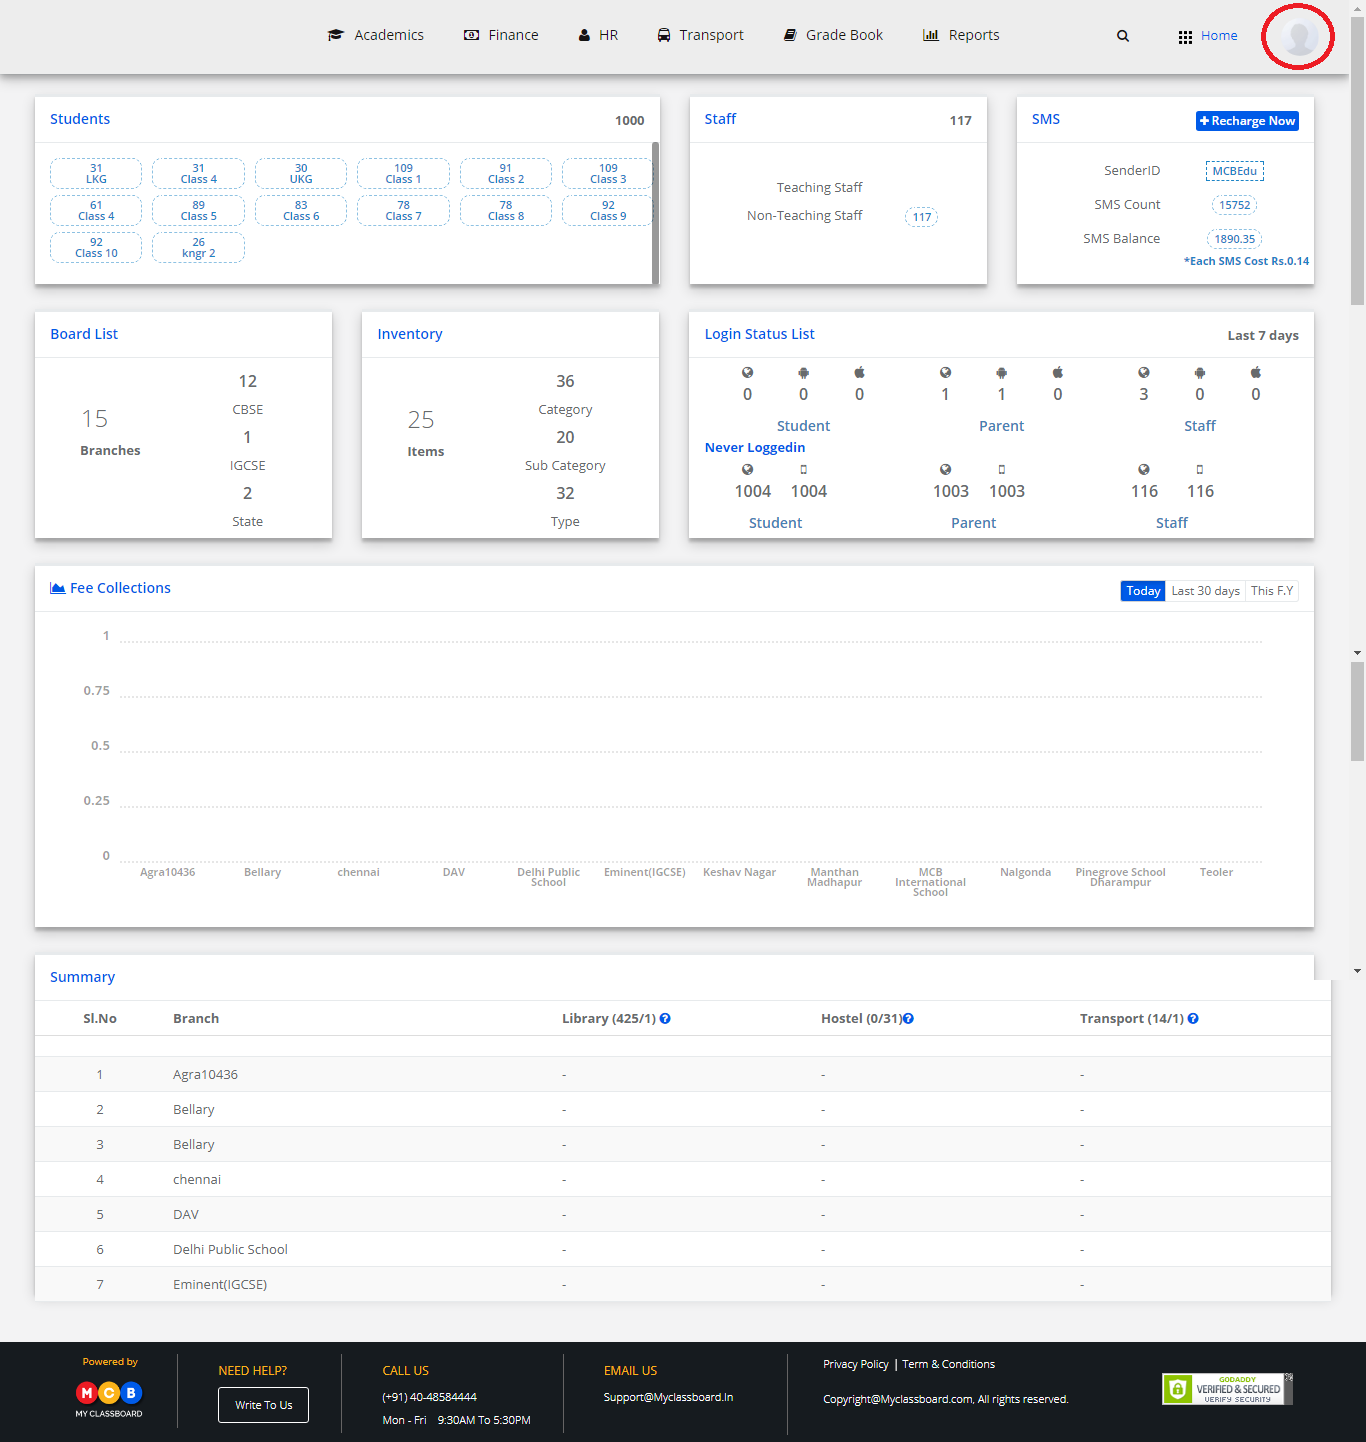
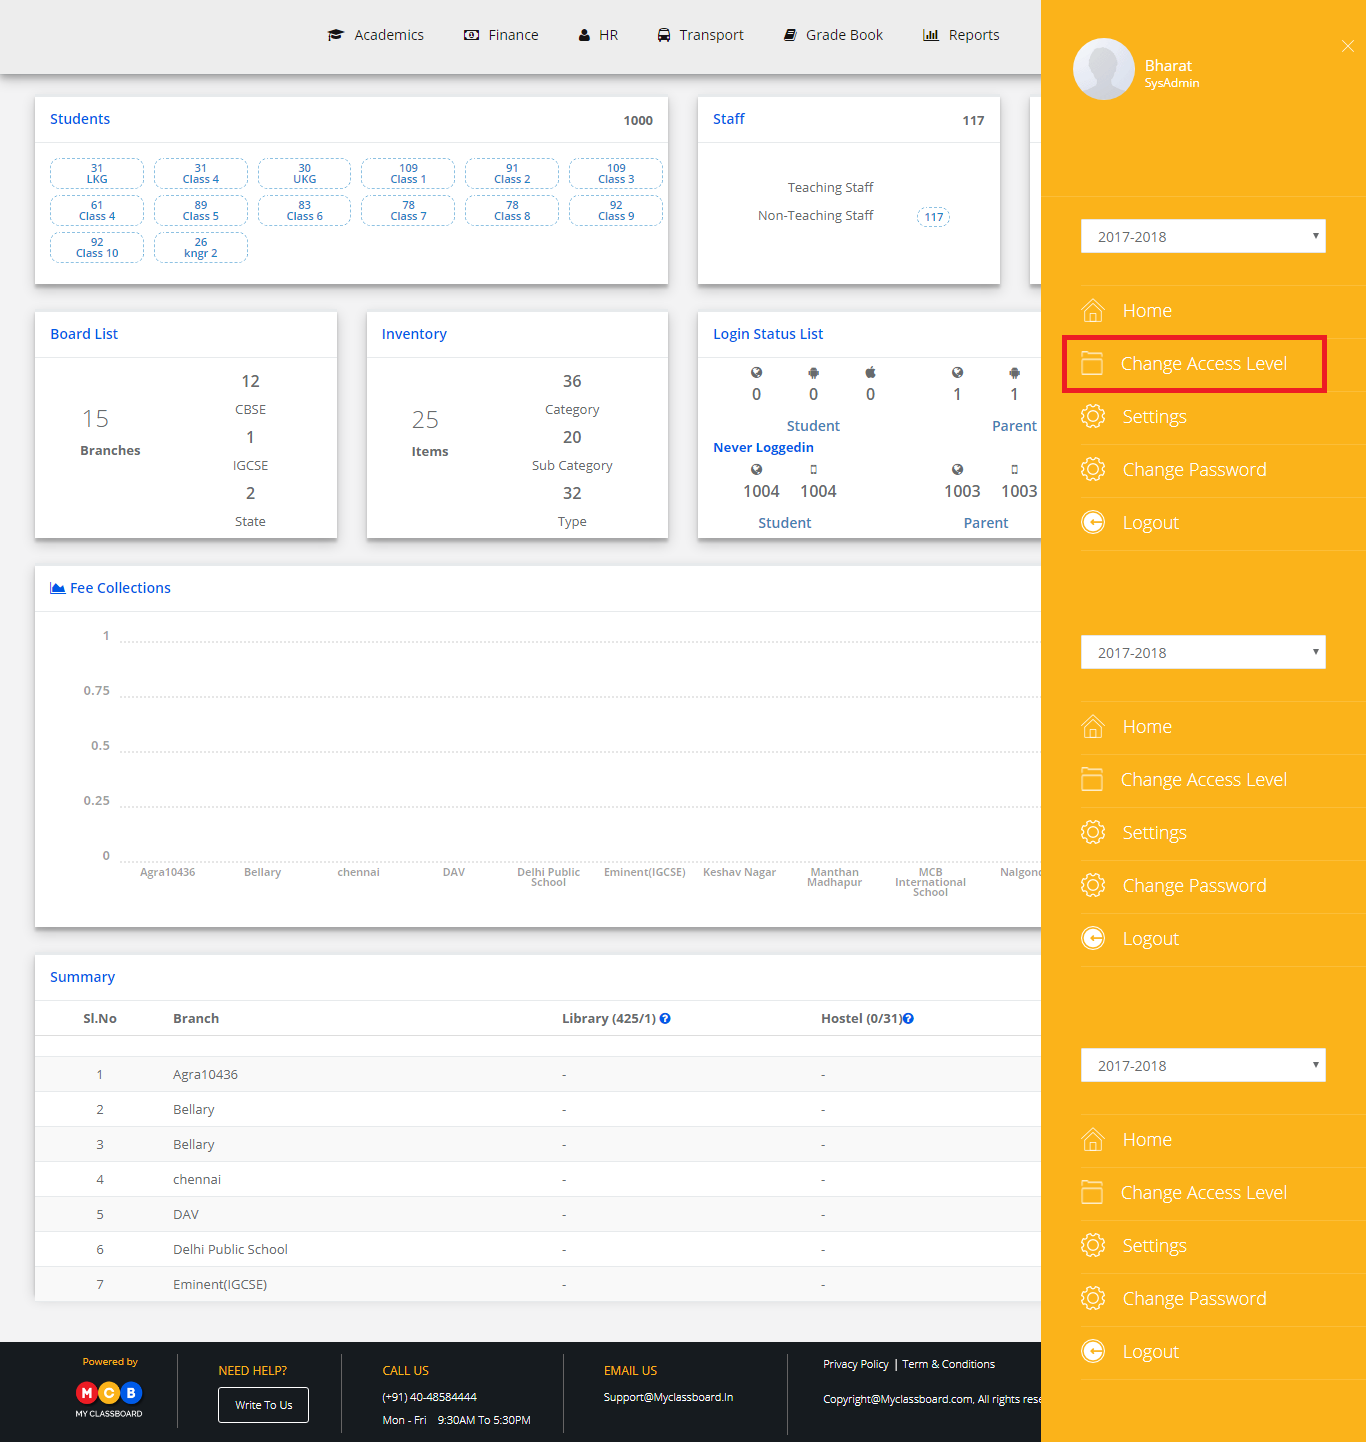
Step 1: Login to MCB with Login Credentials.
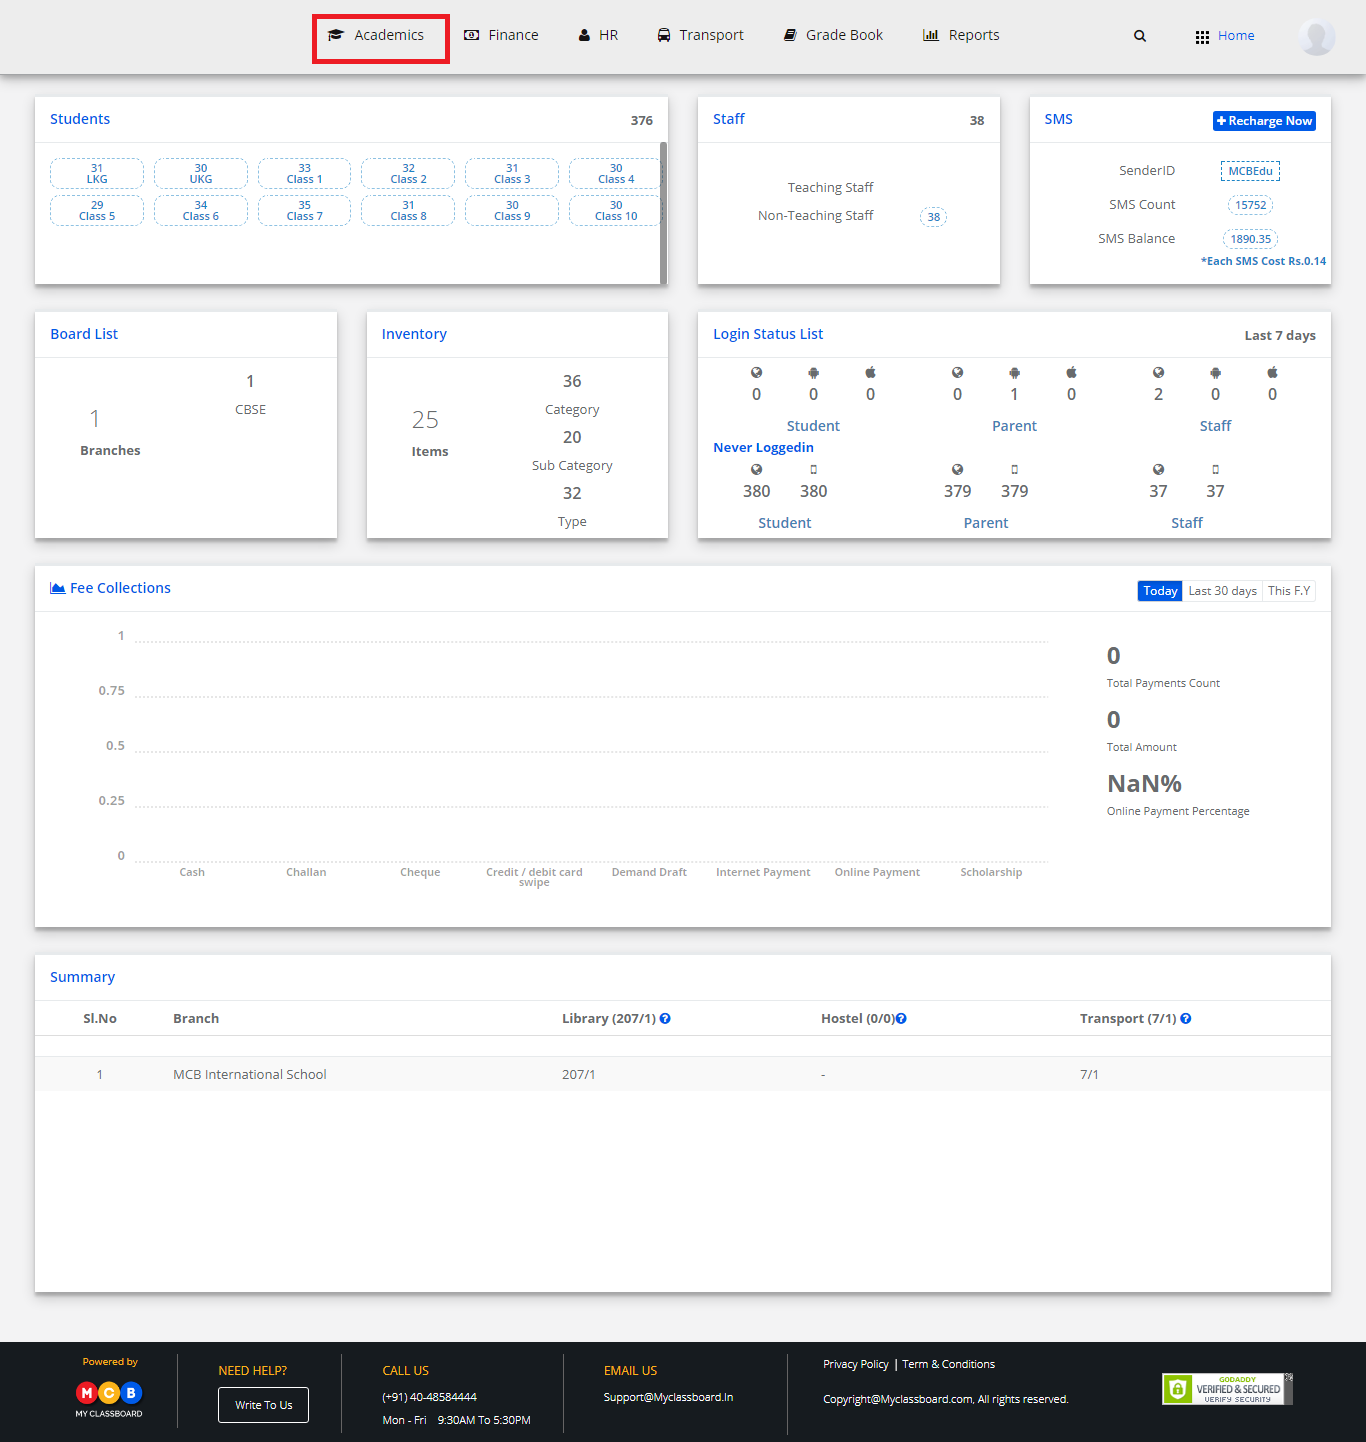
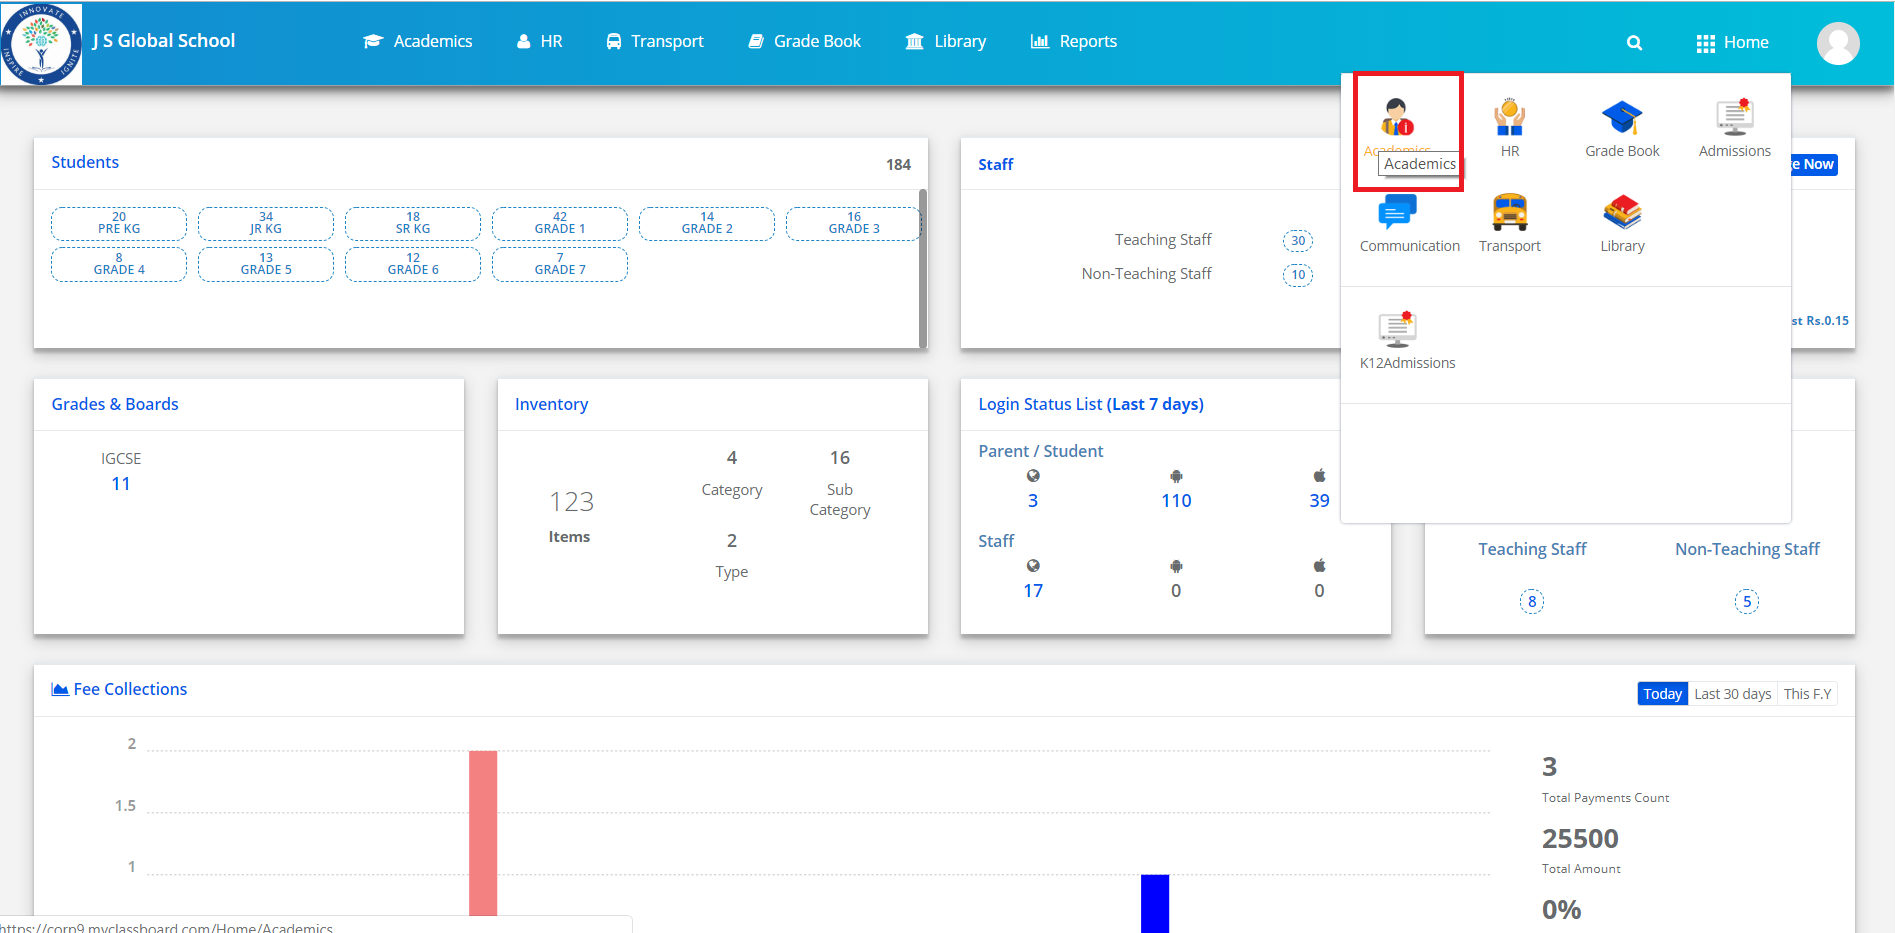
Step 2: Select Academics on the dashboard and you will be directed to the Academics page.
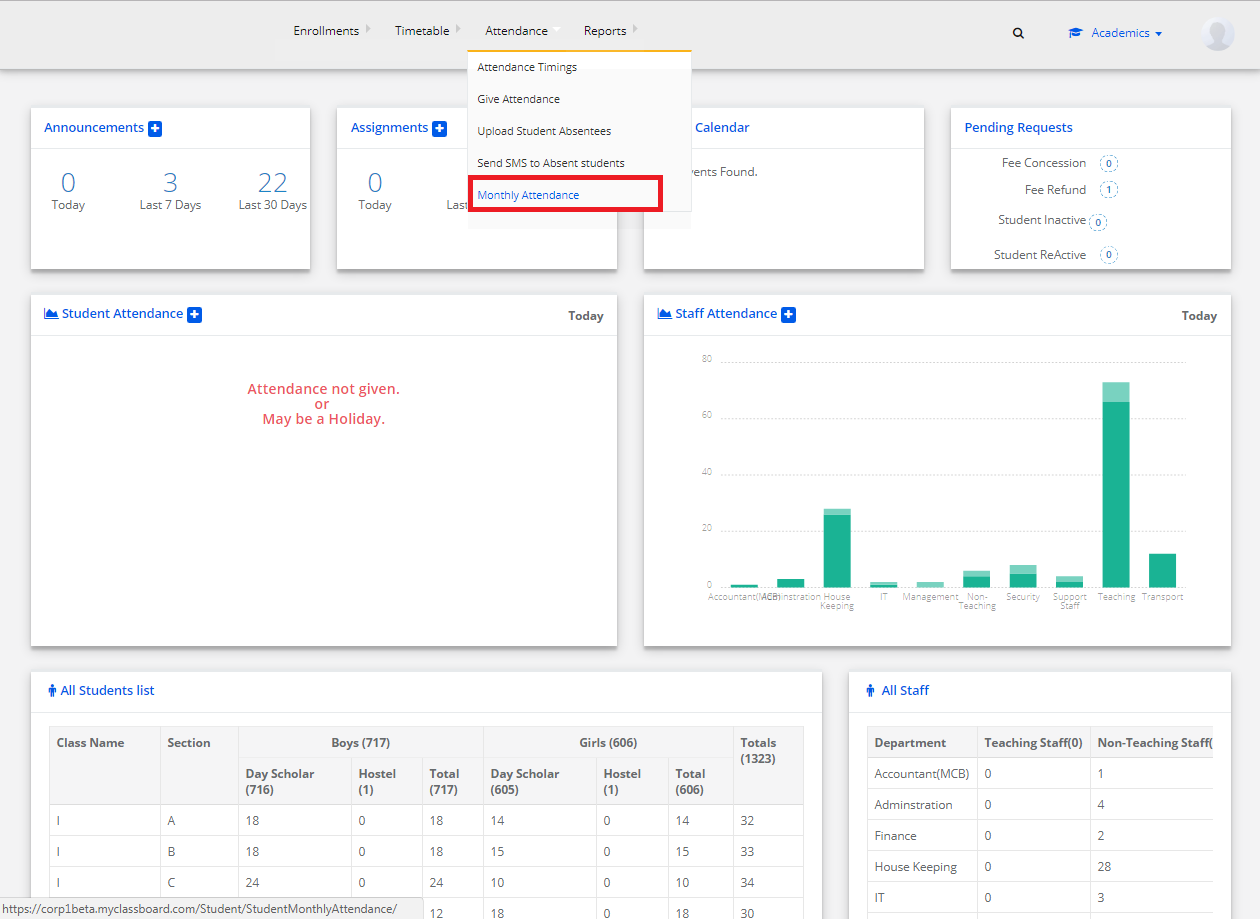
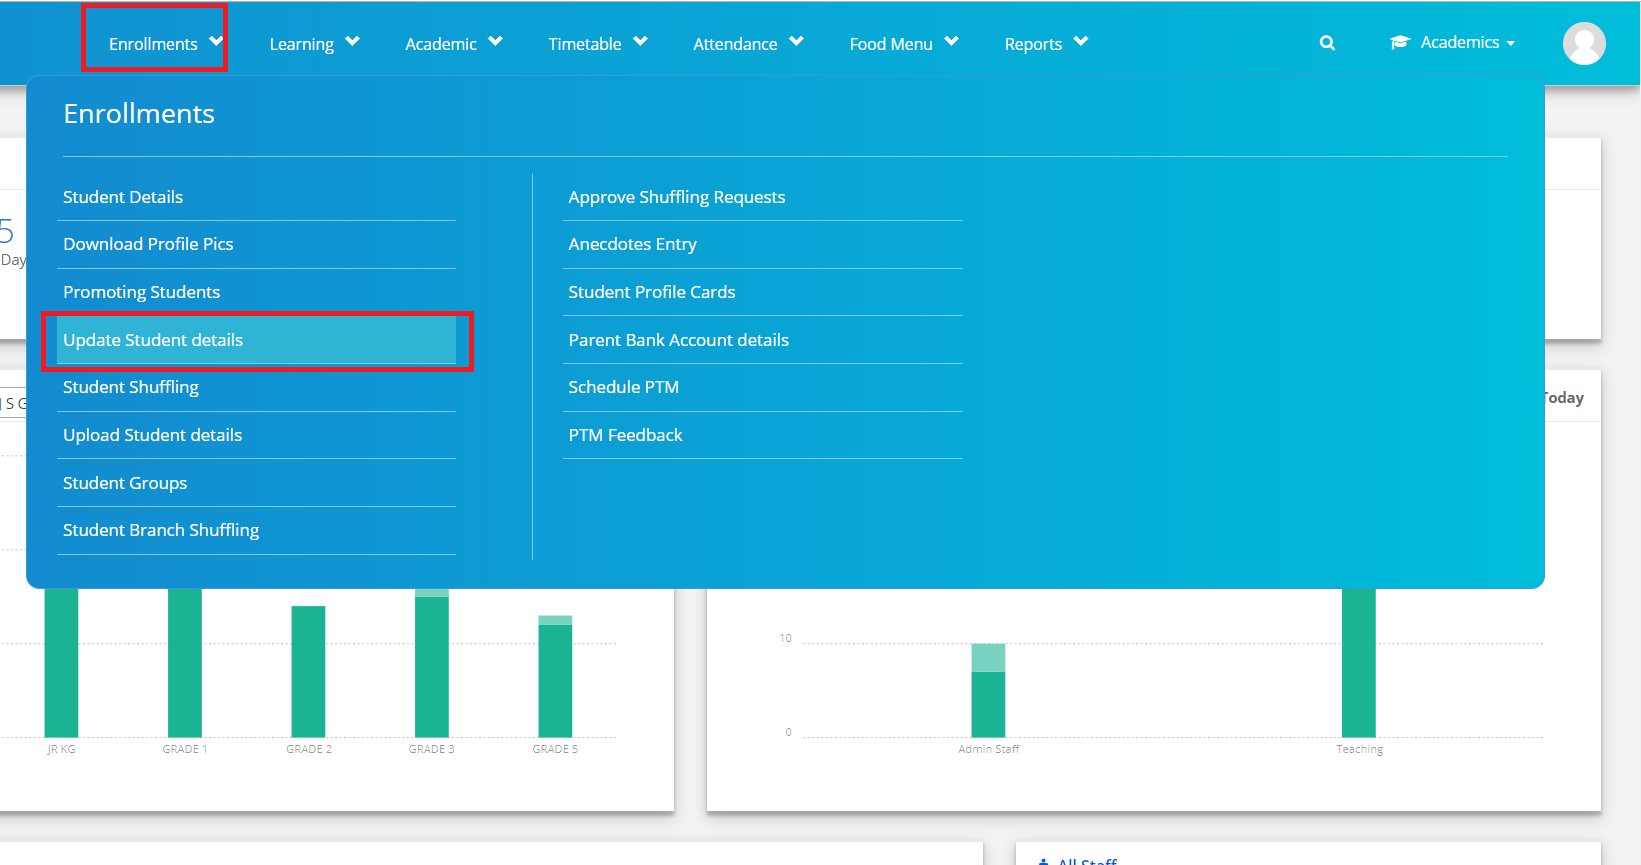
Step 3: Click on “Enrollment” on the top bar and select “Update Student Details”.
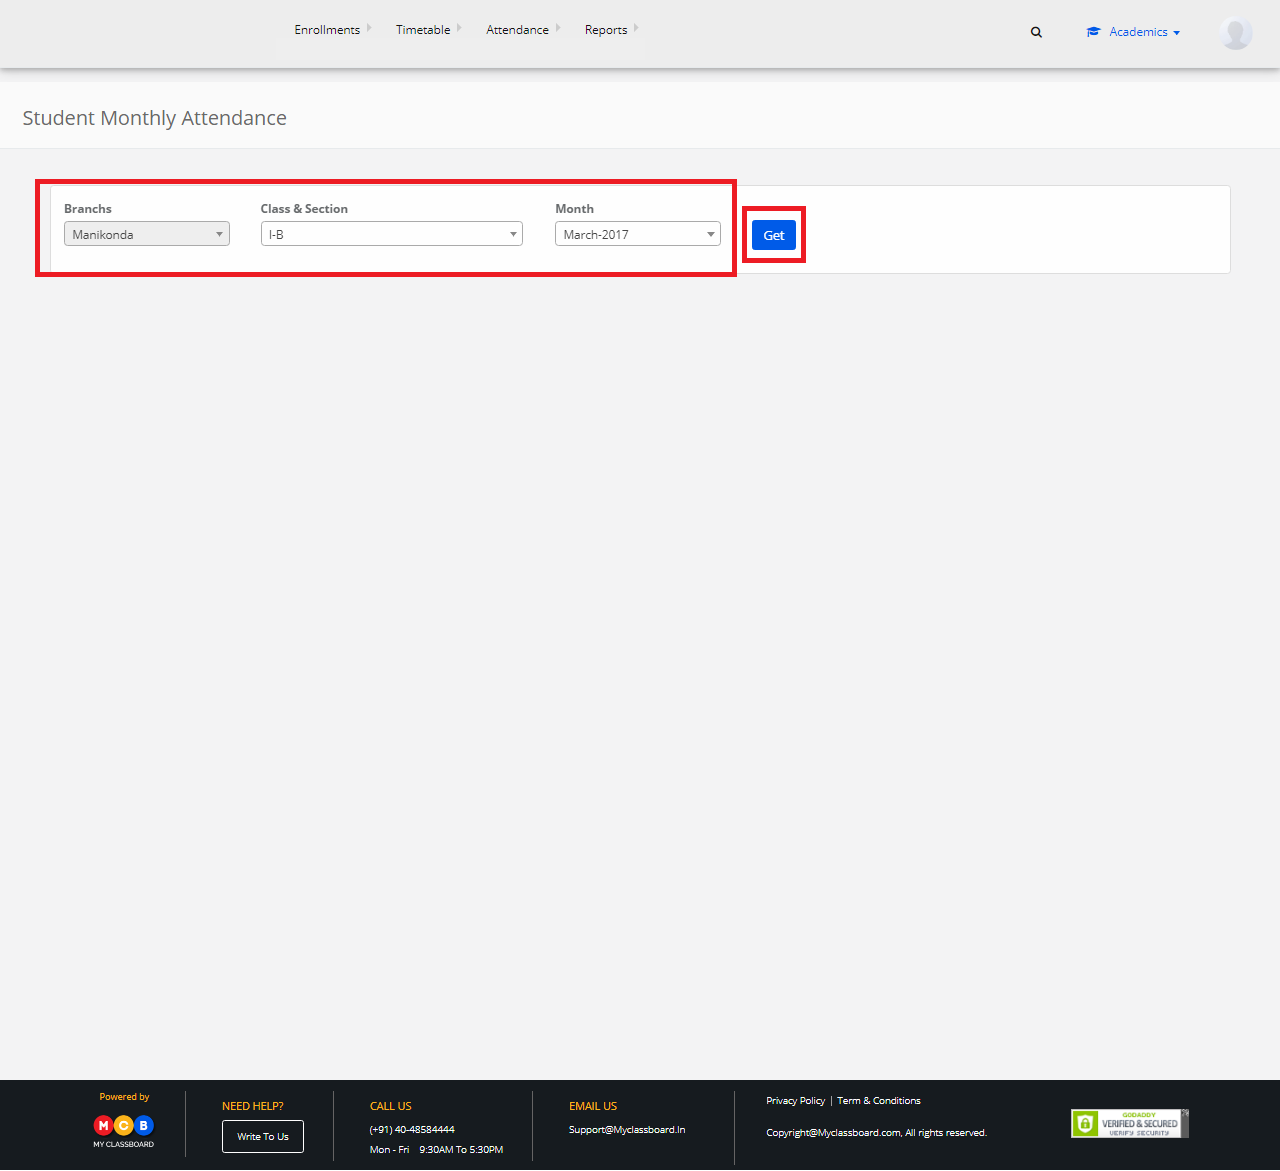
Step 4: Select the Class and click on “Get”.
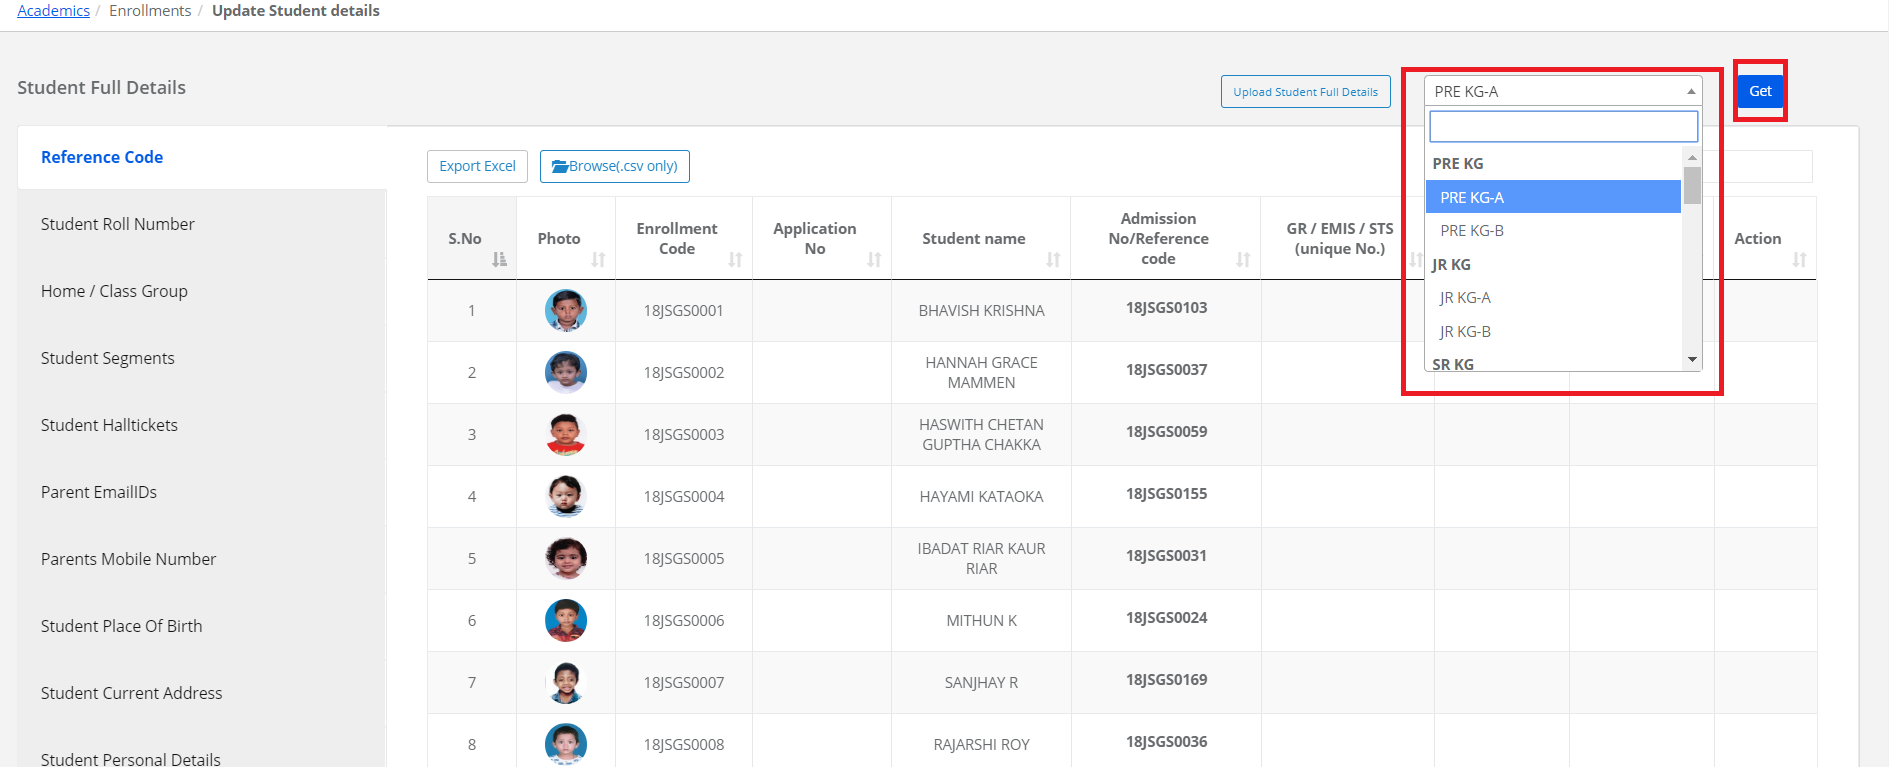
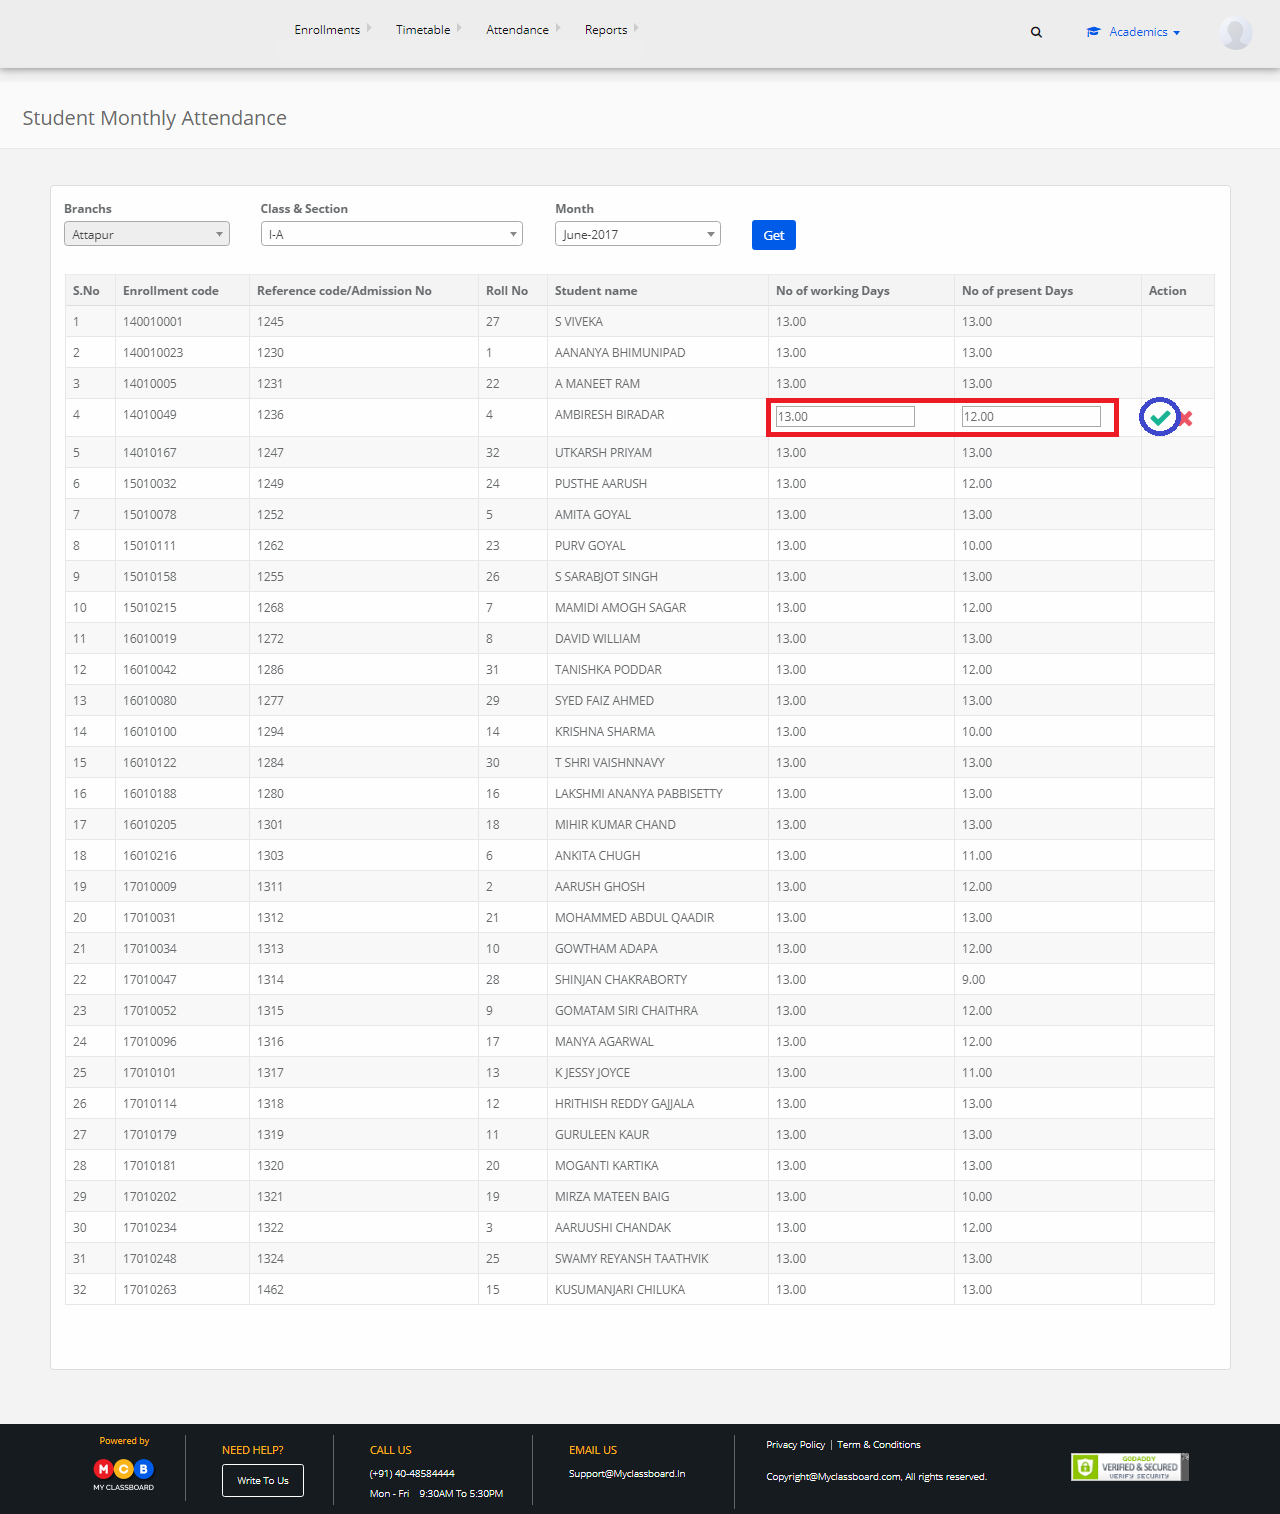
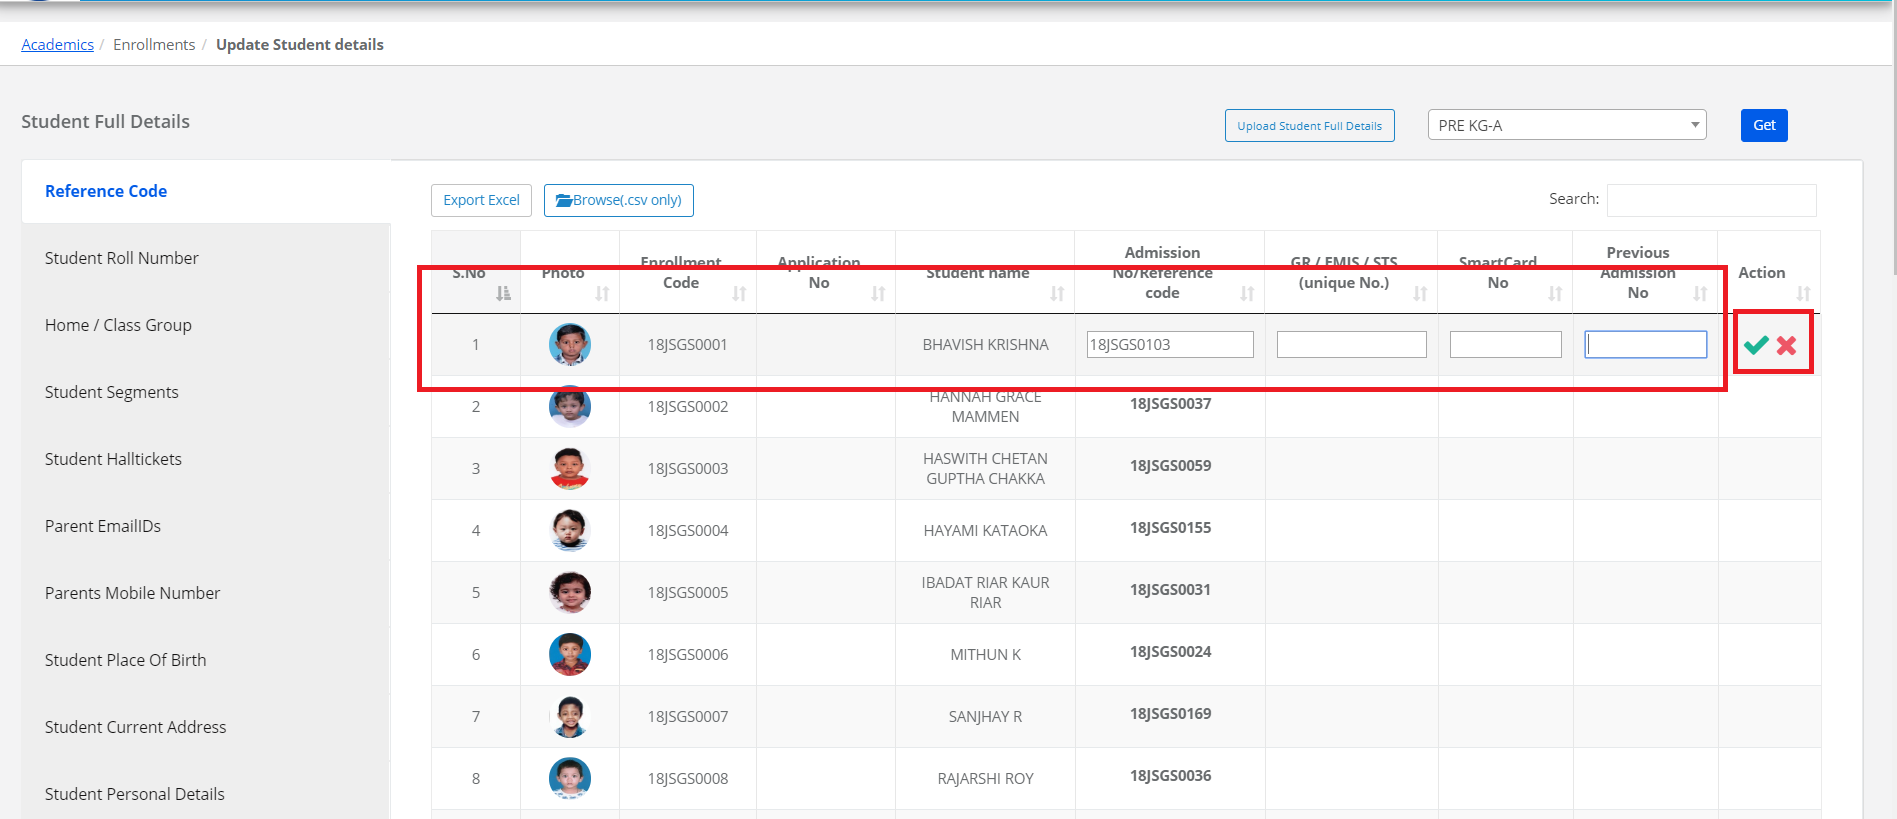
Step 5: To update the Reference Code,GR/ EMIS Number,Smartcard Number or pervious Admission number, select the Reference Code on the left pane, tap to enter or edit the details and click on “Save” option.
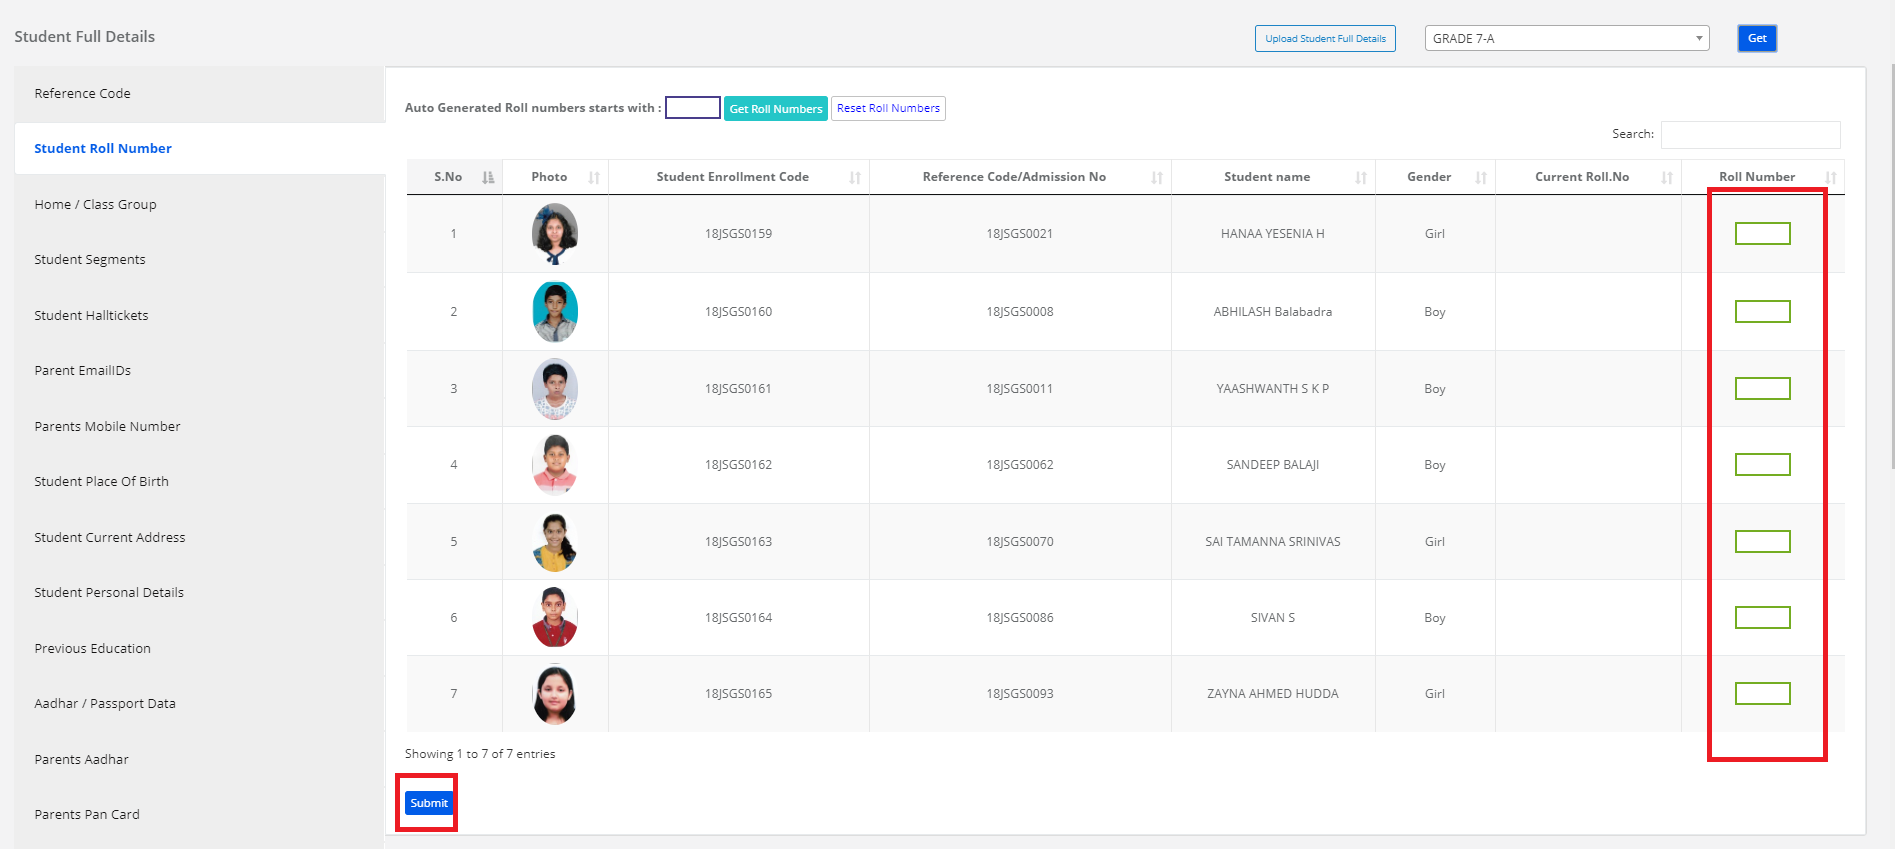
Step 6: To update Student Roll Number, select Student Roll Number on the left pane, edit the roll number and click on “Submit” option.
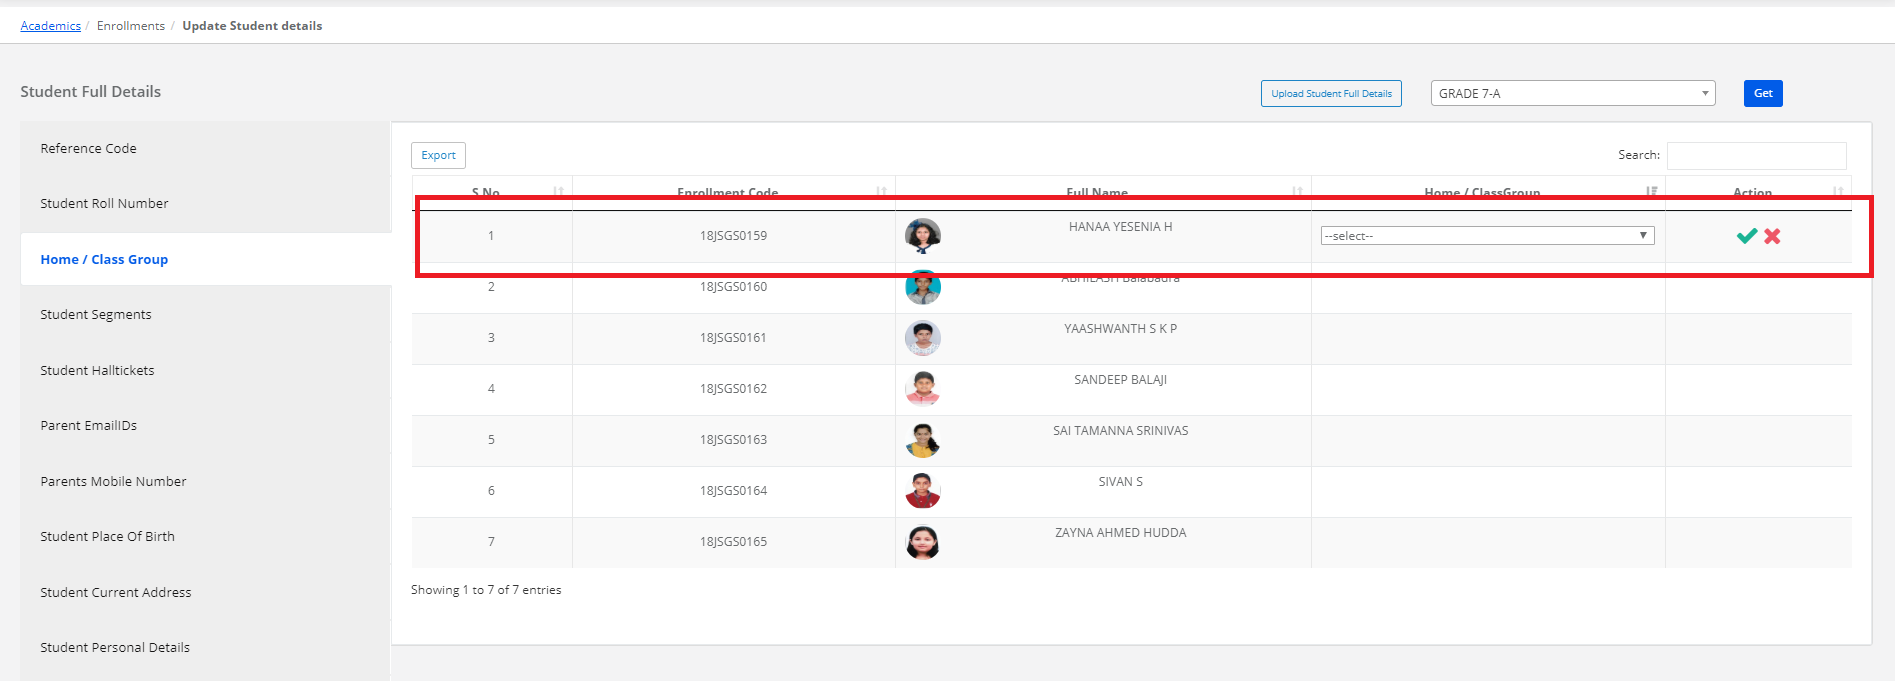
Step 7: To update the Home /class Group, select Home /class Group on the left pane, Select the group and click on “Save” option.
Step 8: To update Student Segment, select Student Segment on the left pane, Select the group and click on “Save” option.

Step 9: To update Student Hall Tickets, select Student Hall Tickets on the left pane, tap to enter or edit the hall ticket number and click on “Save” option.
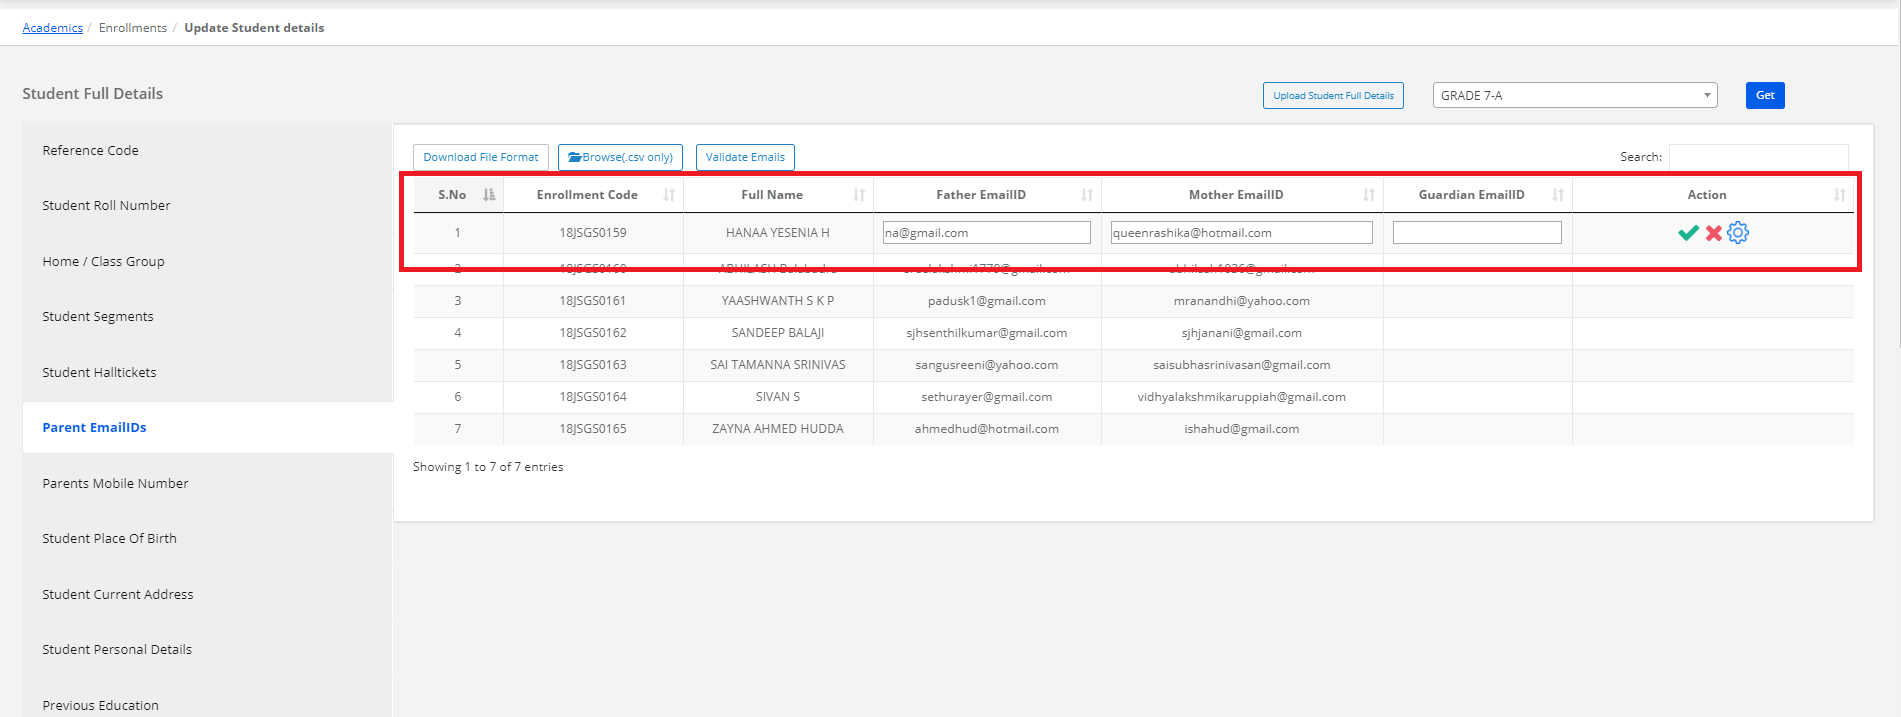
Step 10: To update Parent Email IDs, select Email IDs on the left pane, tap to enter or edit the Parent email id’s and click on “Save” option.
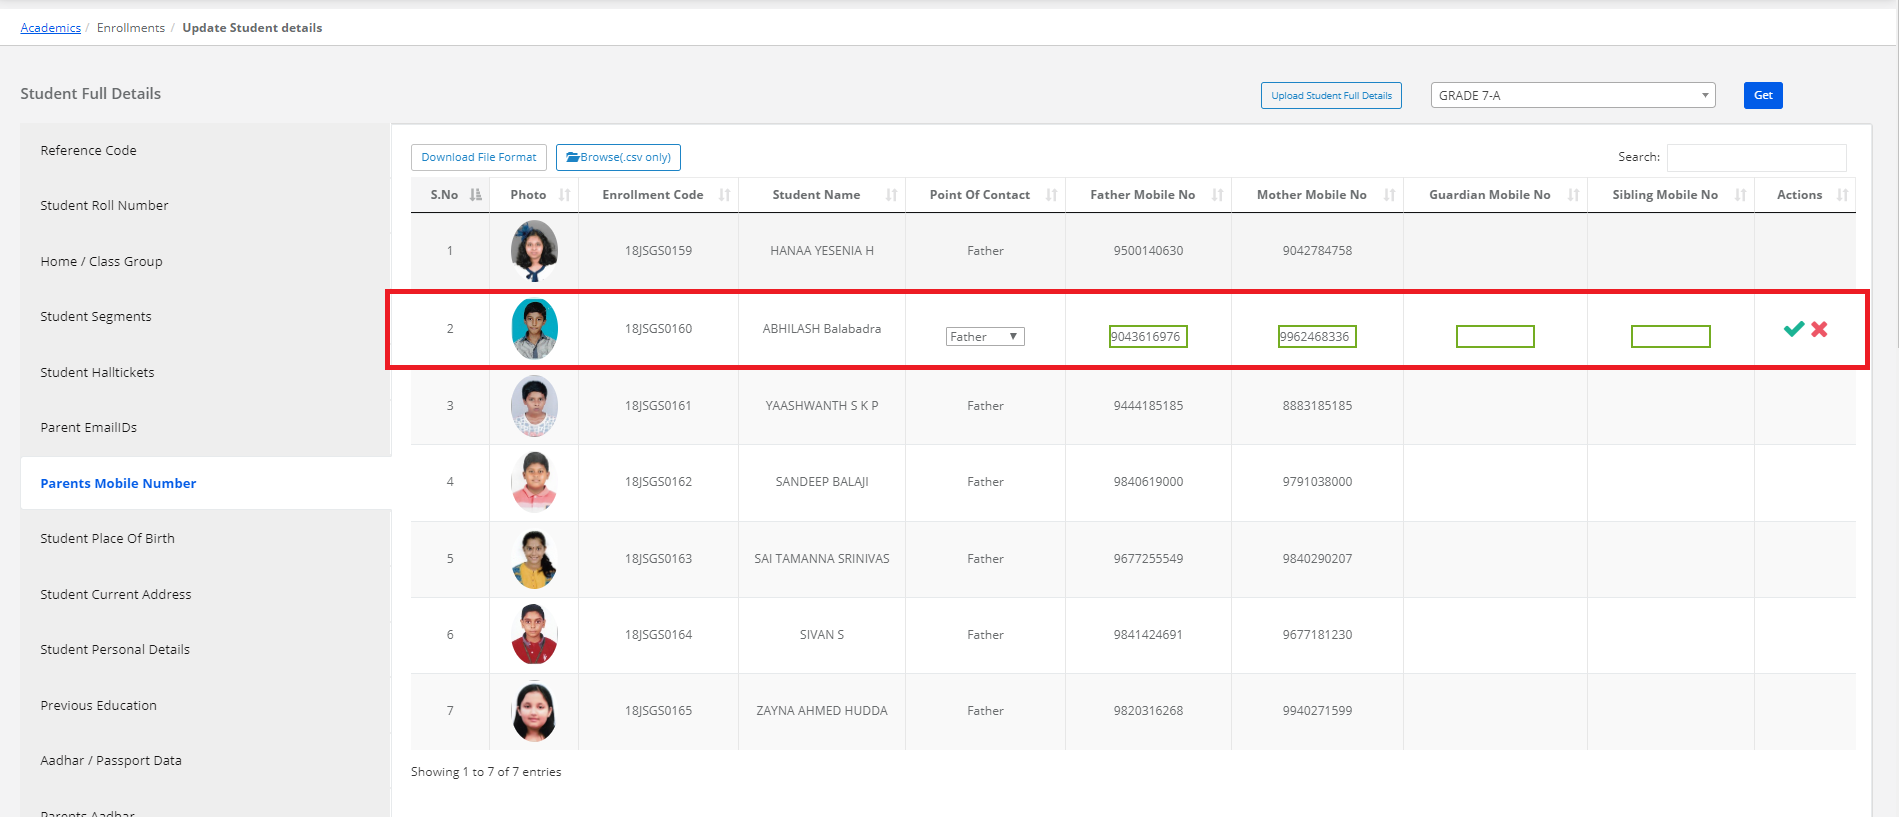
Step 11: To update Parent Mobile Numbers, select Parent Mobile Numbers on the left pane, tap to enter or edit the Parent Mobile Numbers and click on the “Save” option.
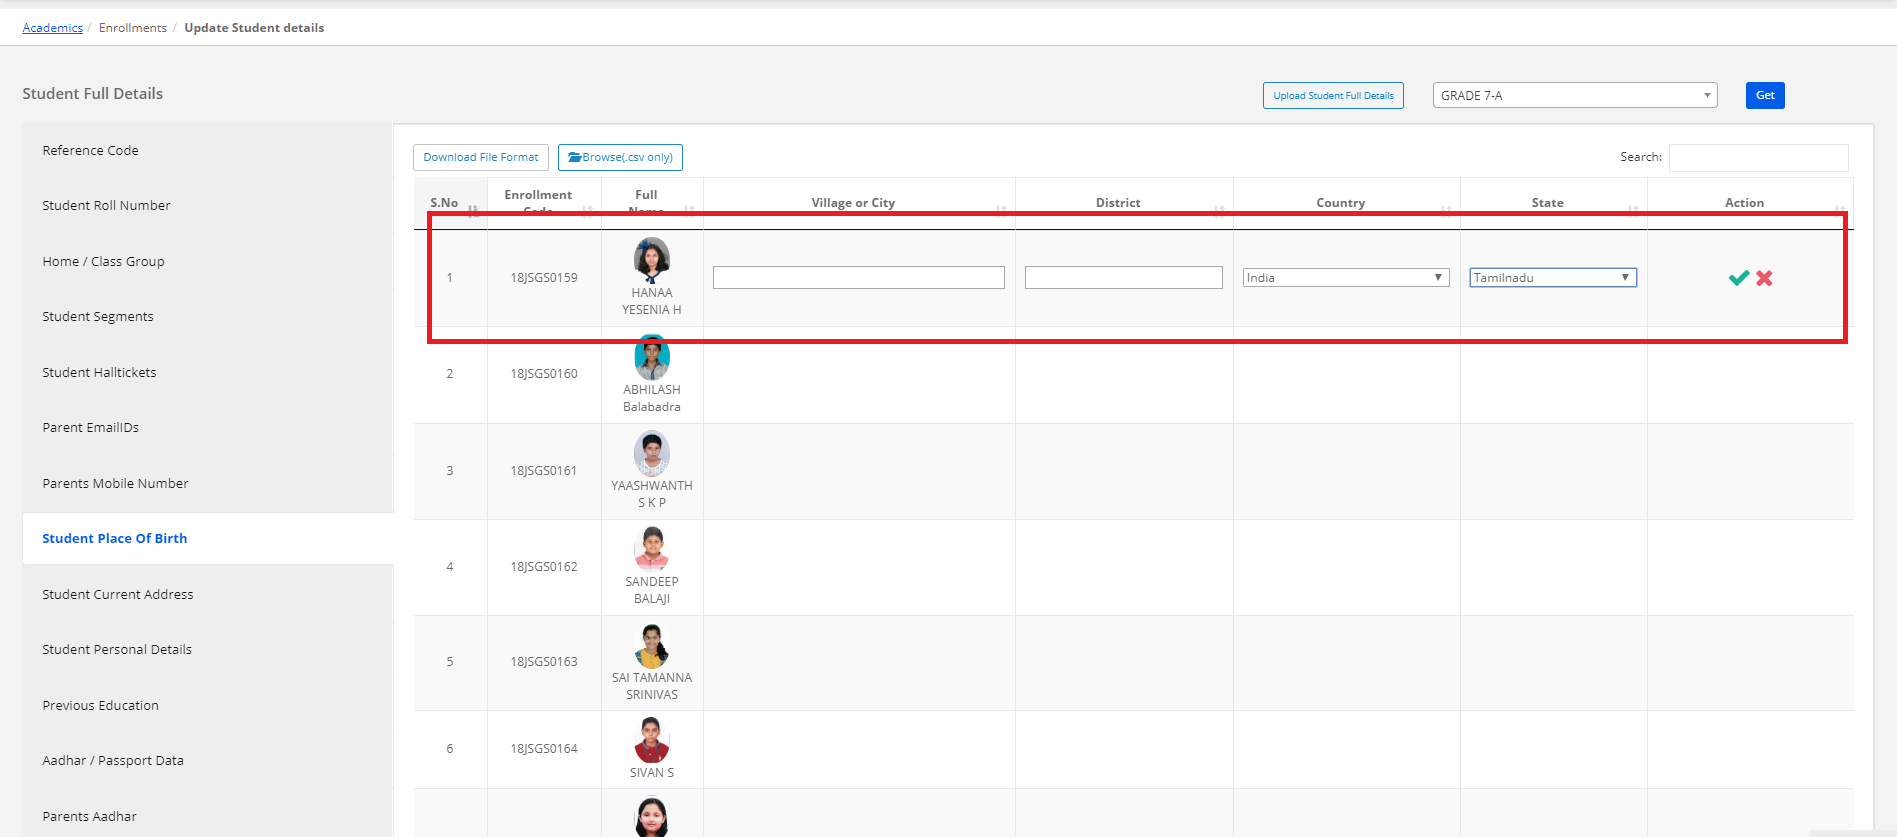
Step 12: To update City, District, State or Country, select Student Place of Birth on the left pane, tap to enter or edit the Student Place of Birth details and click on “Save” option.

Step 13: To update Student Current Address, select Student Address on the left pane, tap to enter or edit the Address and click on “Save” option.
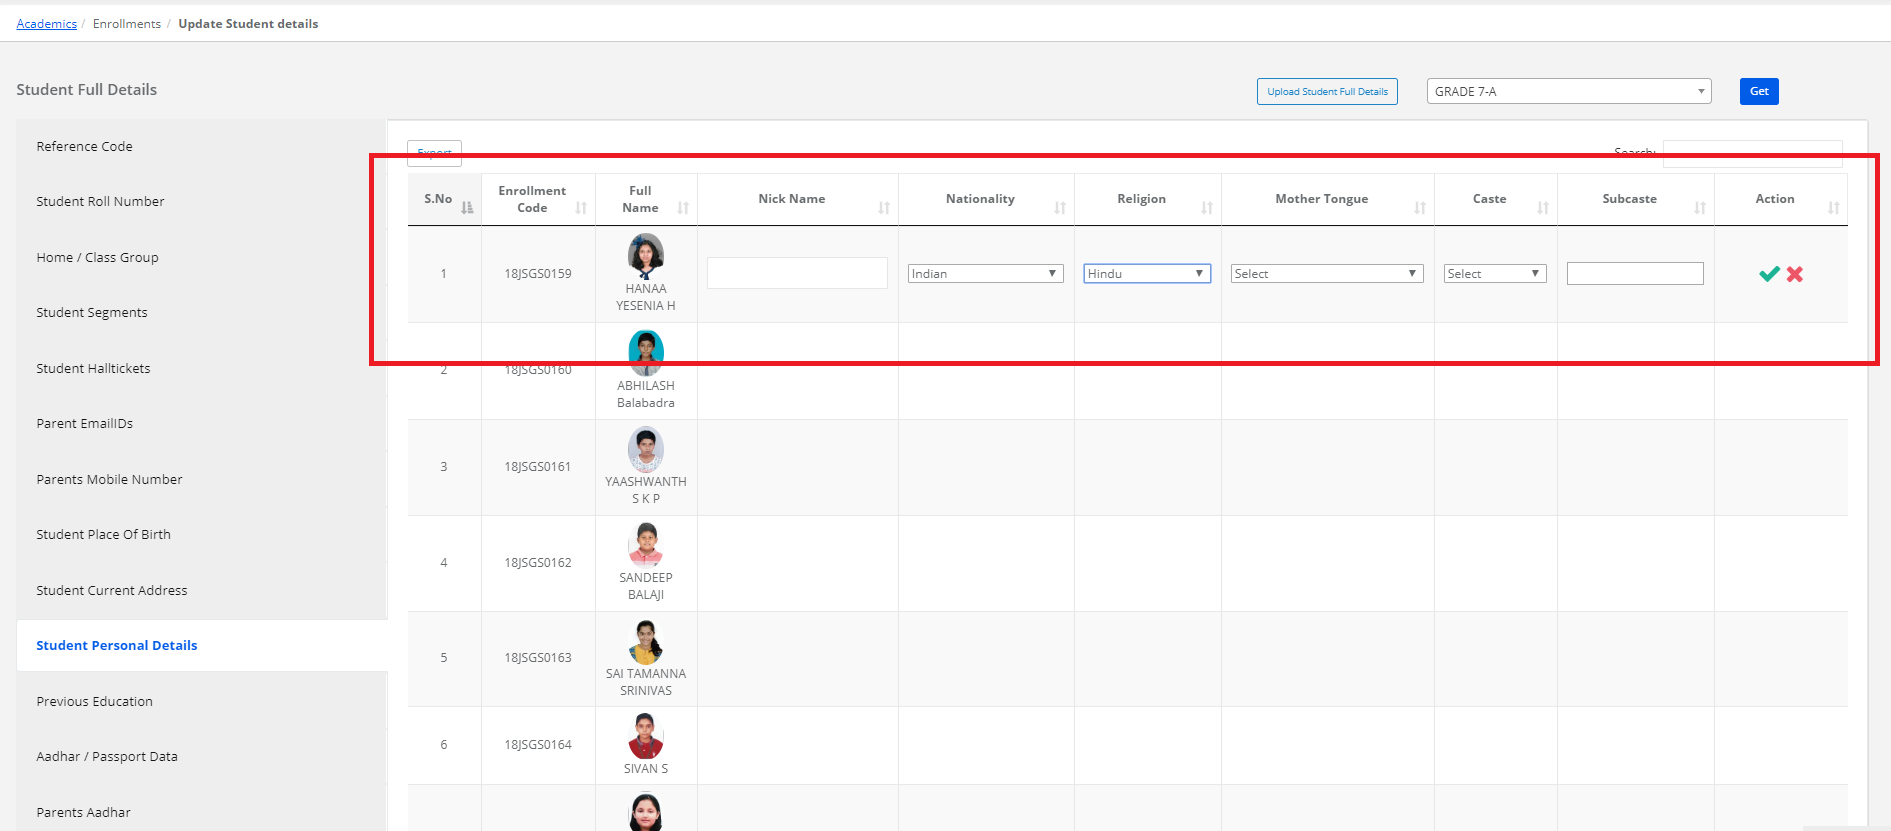
Step 14: To update Student Nickname, Nationality, Religion, Mother Tongue, Caste & Sub caste, select Student Personal Details on the left pane, tap to enter or edit the details and click on “Save” option.
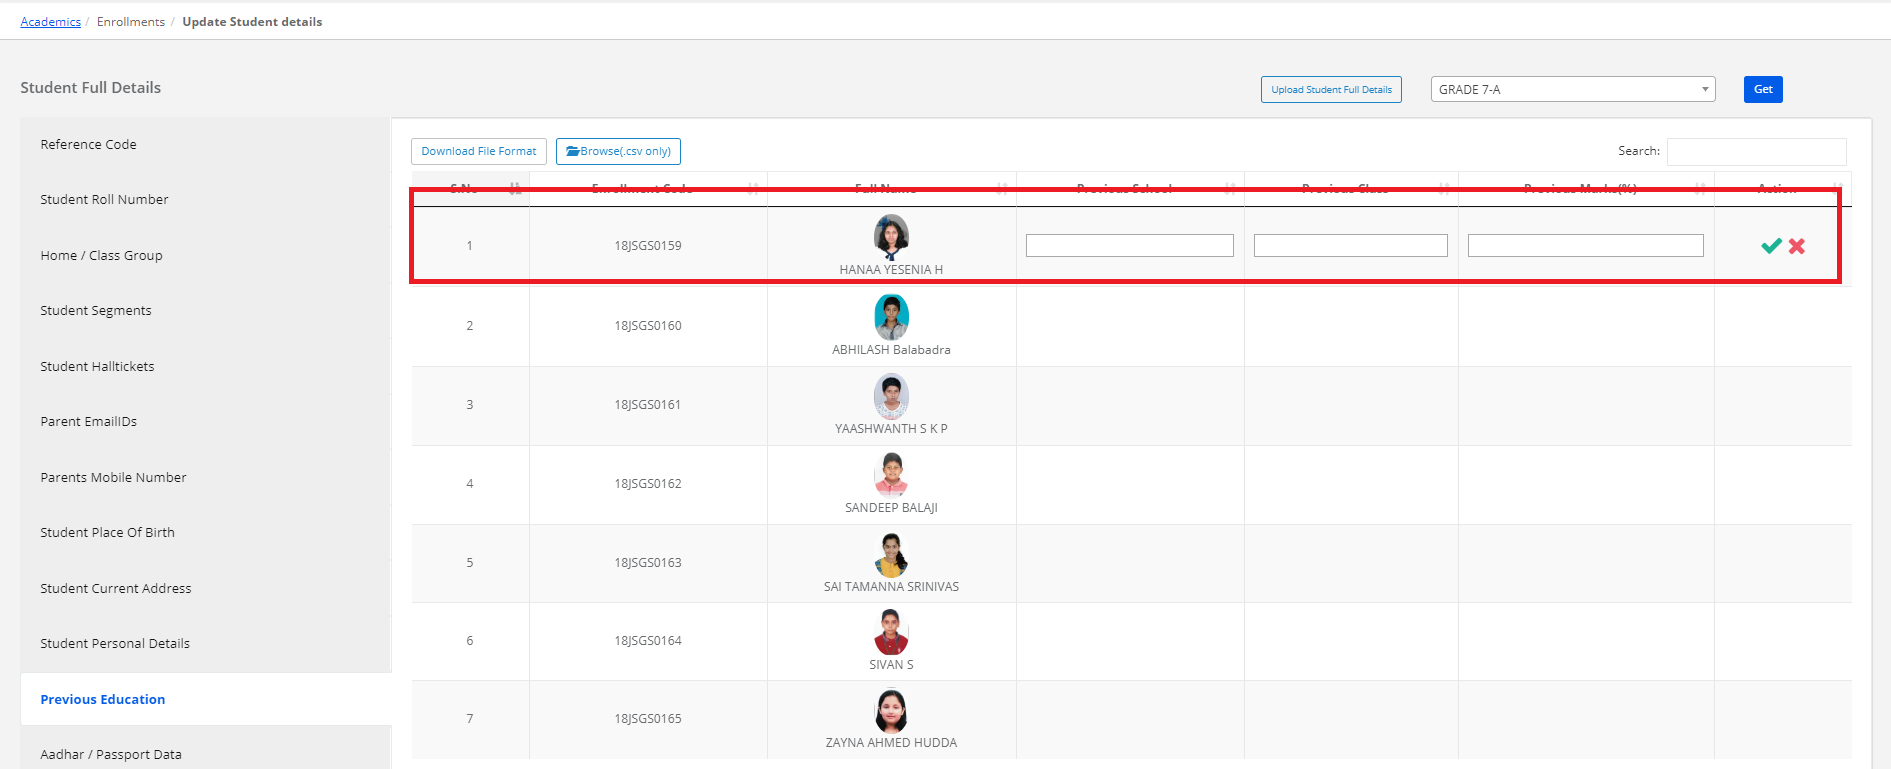
Step 15: To update Previous Class, School & marks, select Previous Education on the left pane, tap to enter or edit the details and click on the “Save” option.
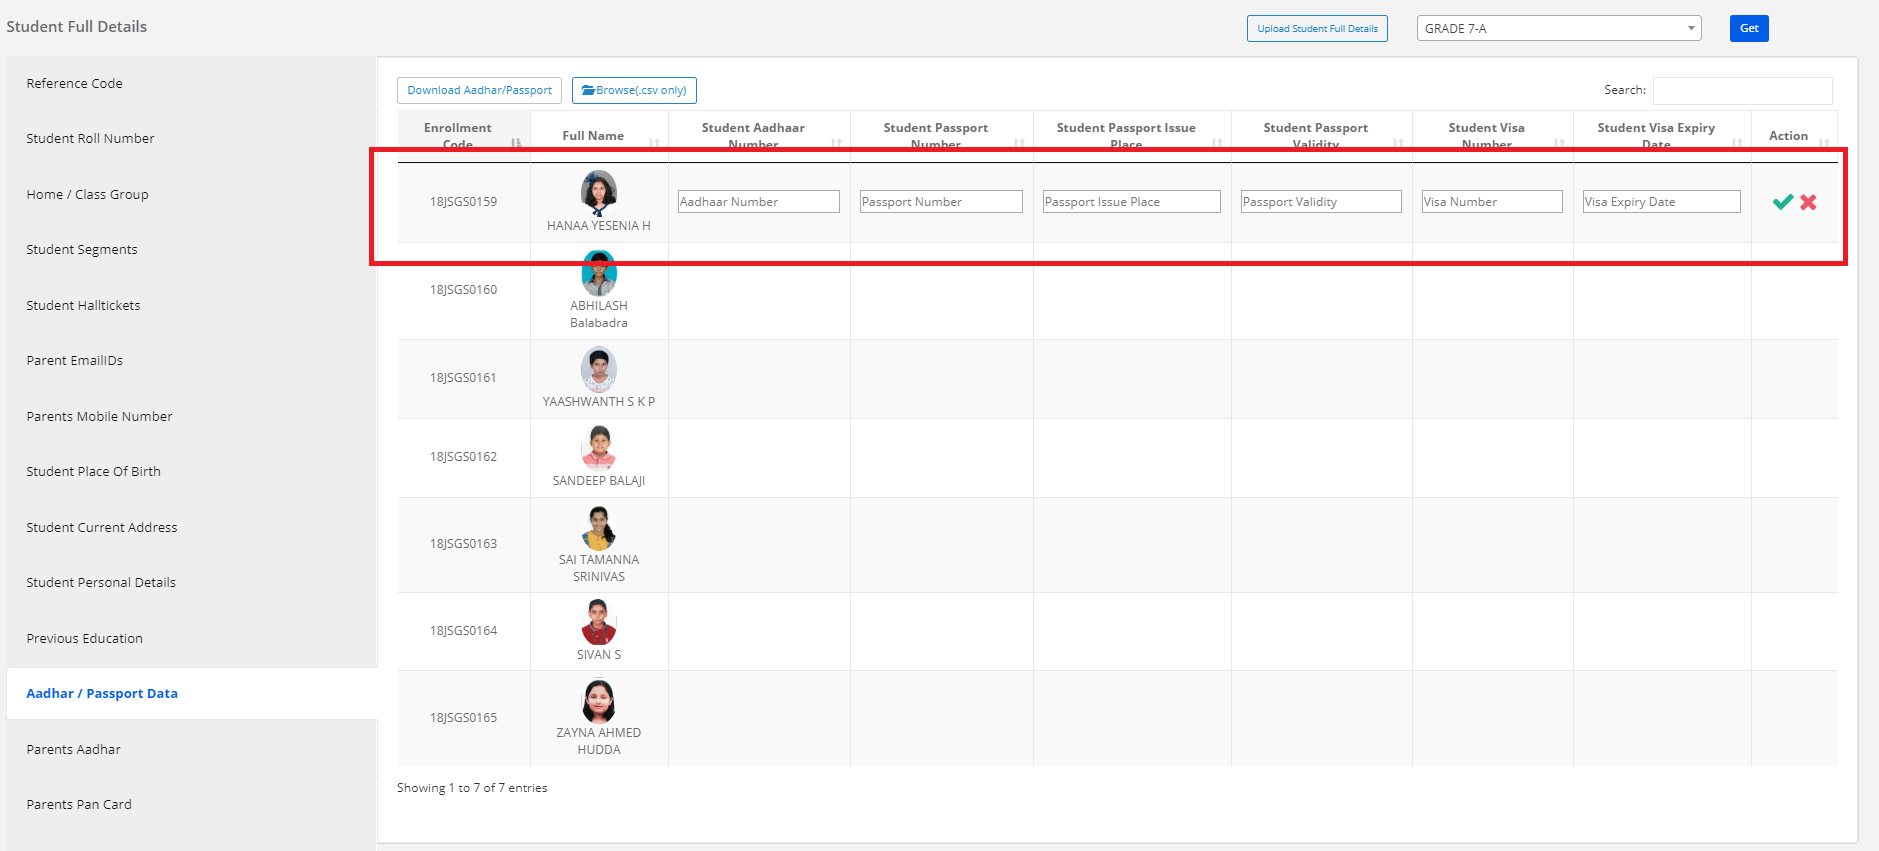
Step 16: To update Aadhar or passport details, select Aadhar/passport data on the left pane, tap to enter or edit the details and click on the “Save” option.
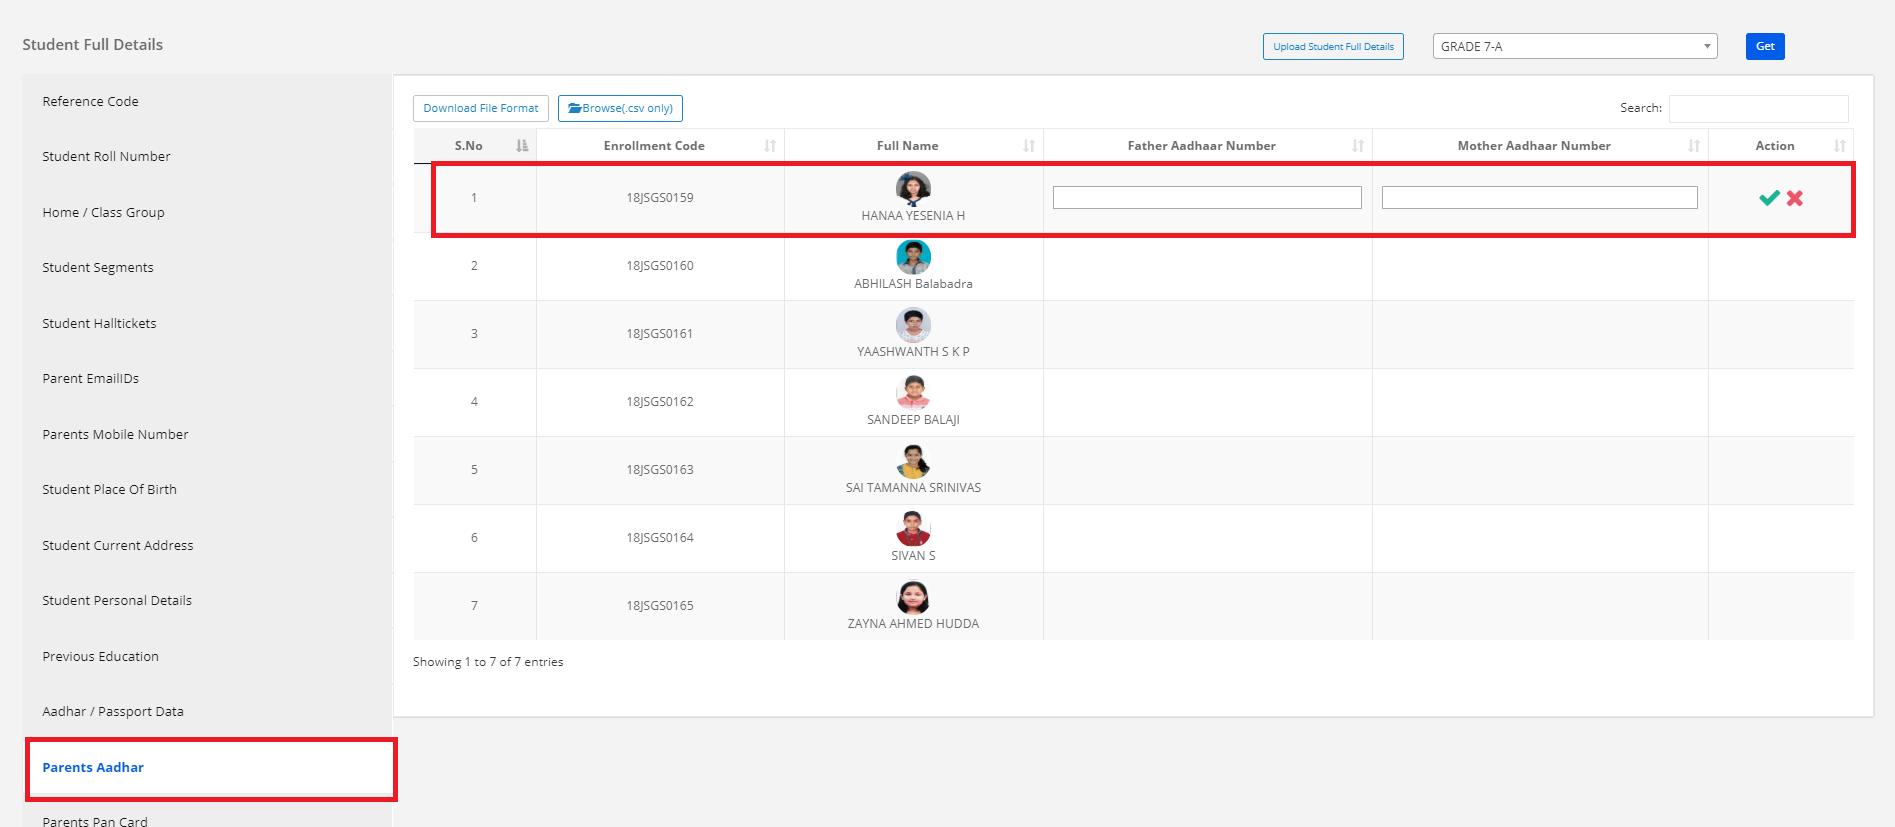
Step 17: To update Parent Aadhar details, select parent Aadhar on the left pane, tap to enter or edit the details and click on the “Save” option.
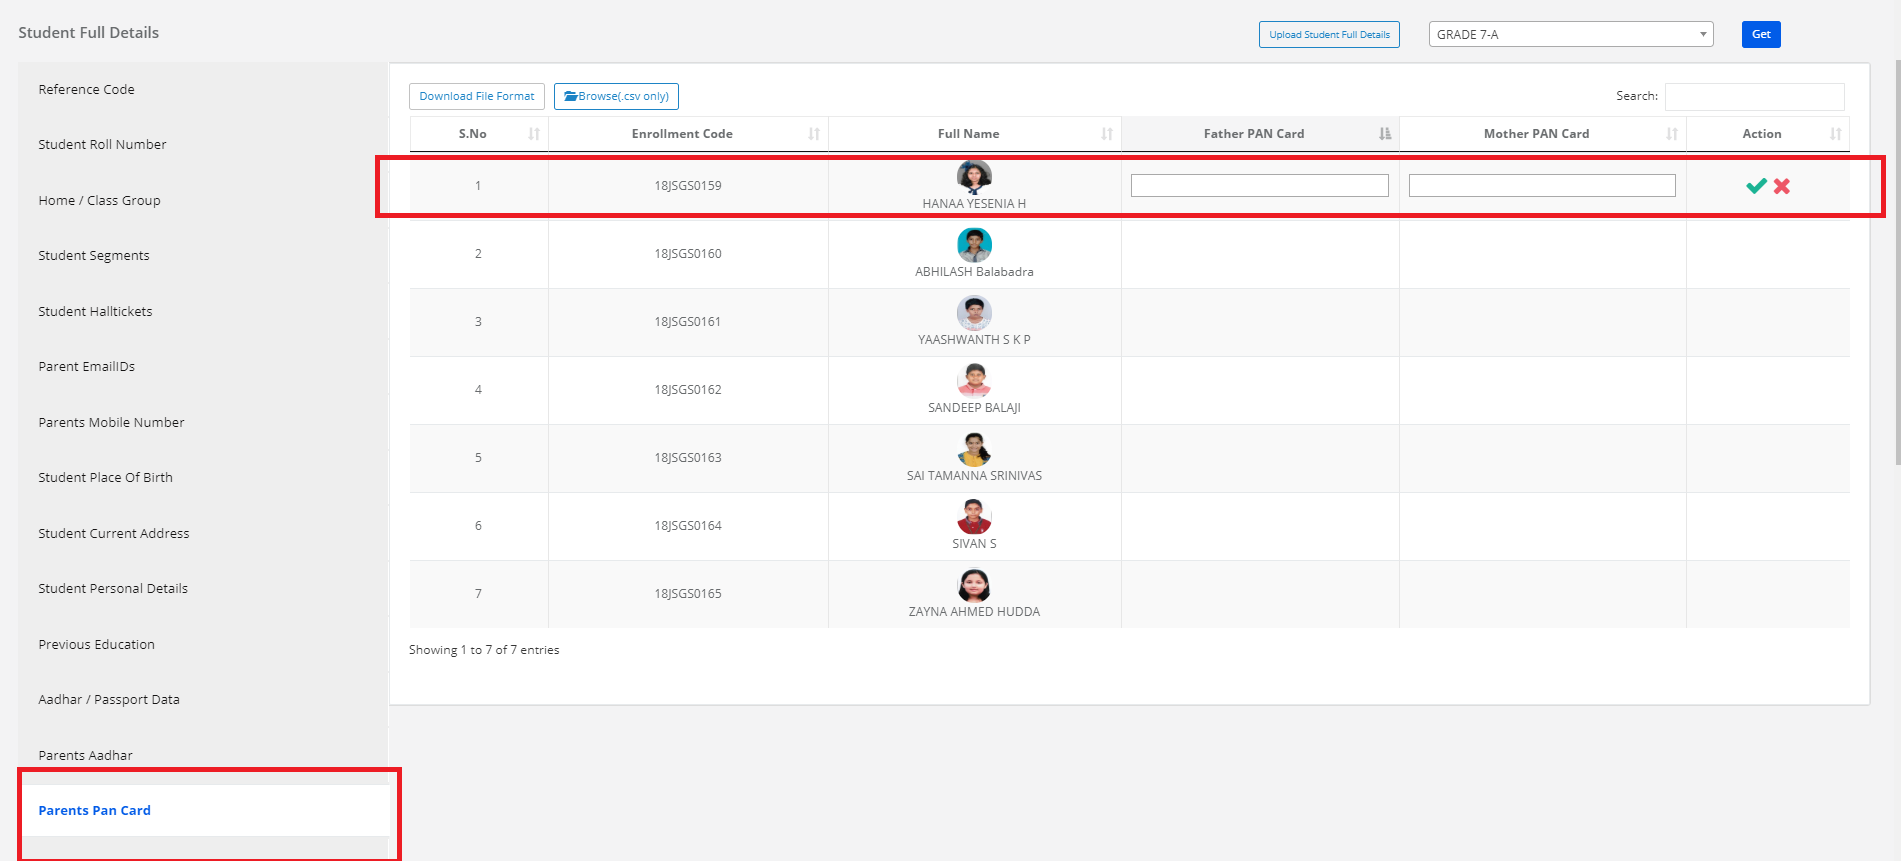
Step 18: To update Parent pan card details, select parent pan card on the left pane, tap to enter or edit the details and click on the “Save” option.
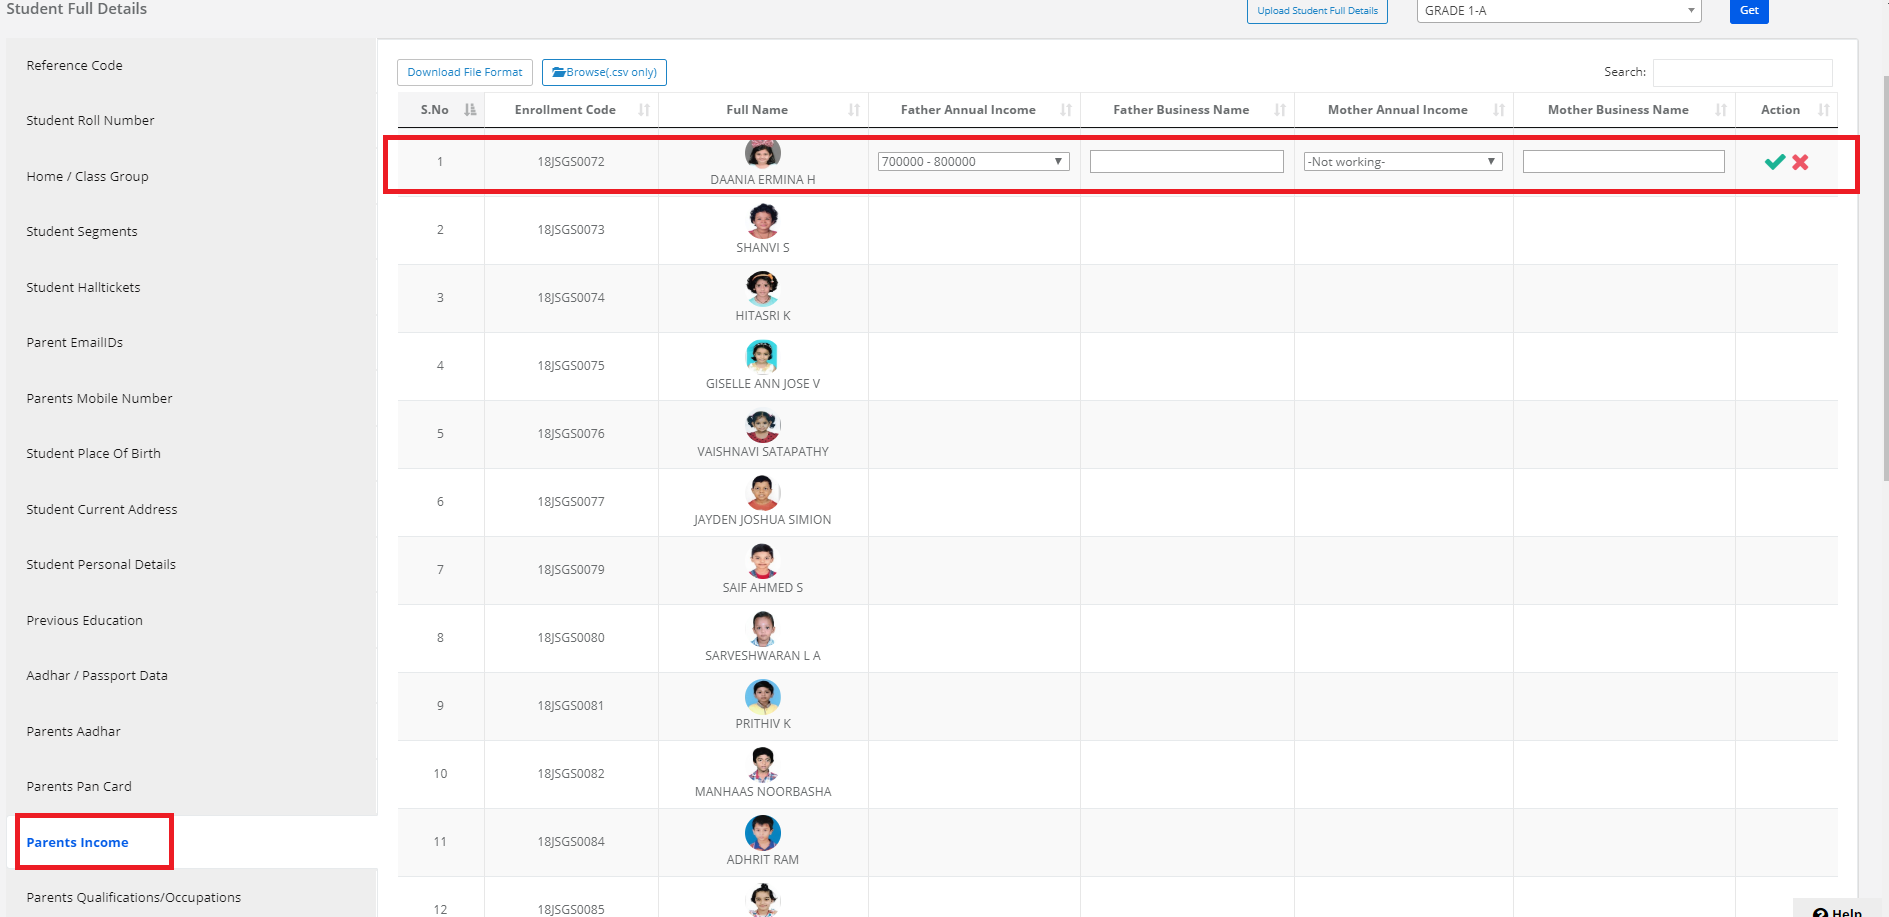
Step 19: To update Parent Income details, select Parent Income on the left pane, tap to enter or edit the details and click on the “Save” option.
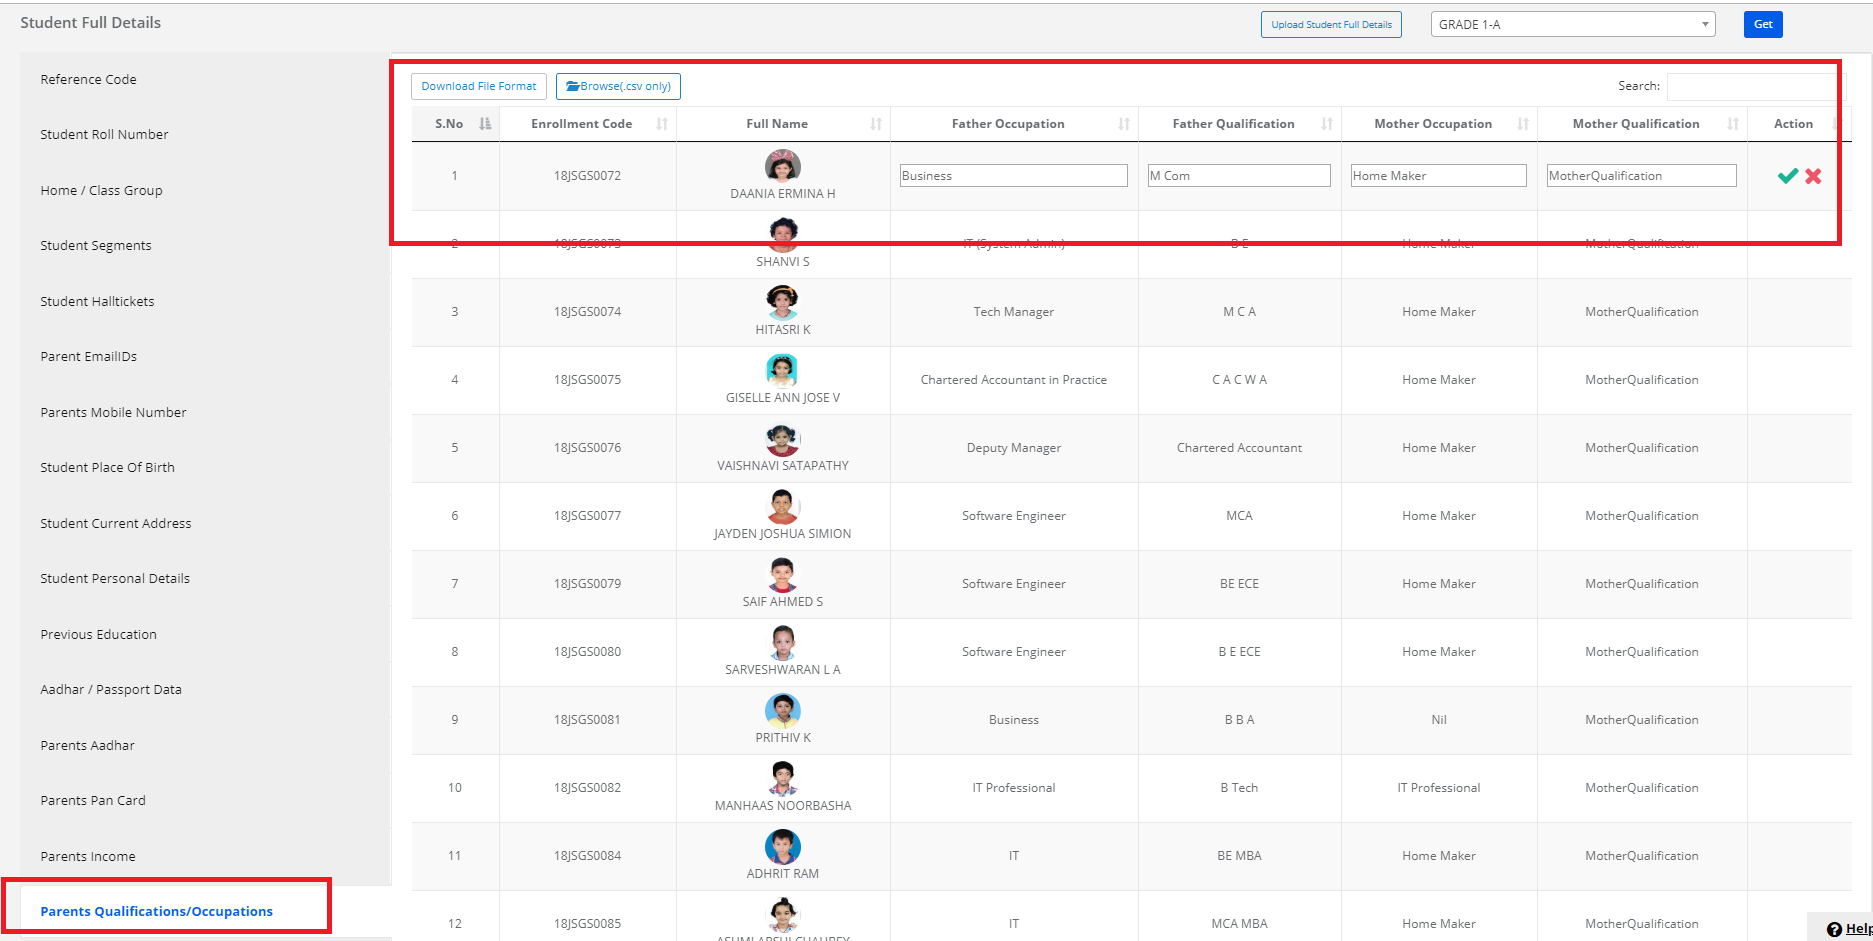
Step 20: To update Parent Qualifications and Occupation details, select parent Qualifications/ Occupation on the left pane, tap to enter or edit the details and click on the “Save” option.
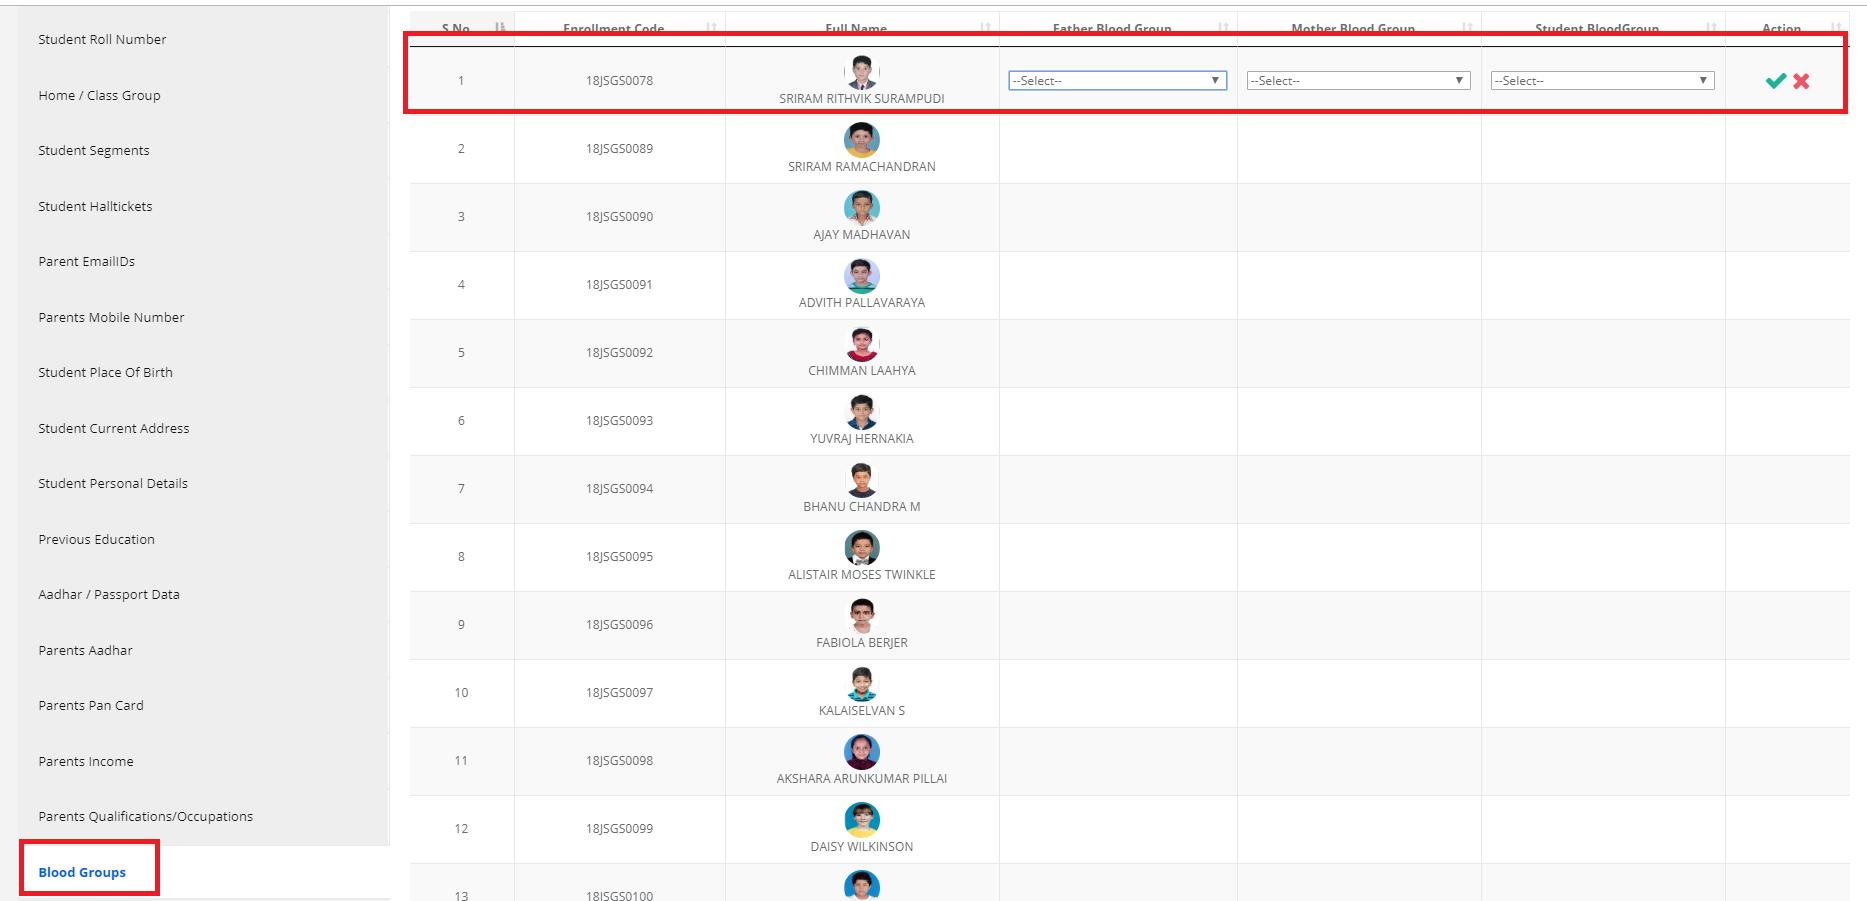
Step 21: To update Blood group details, select Blood groups on the left pane, Select the blood group details and click on the “Save” option.
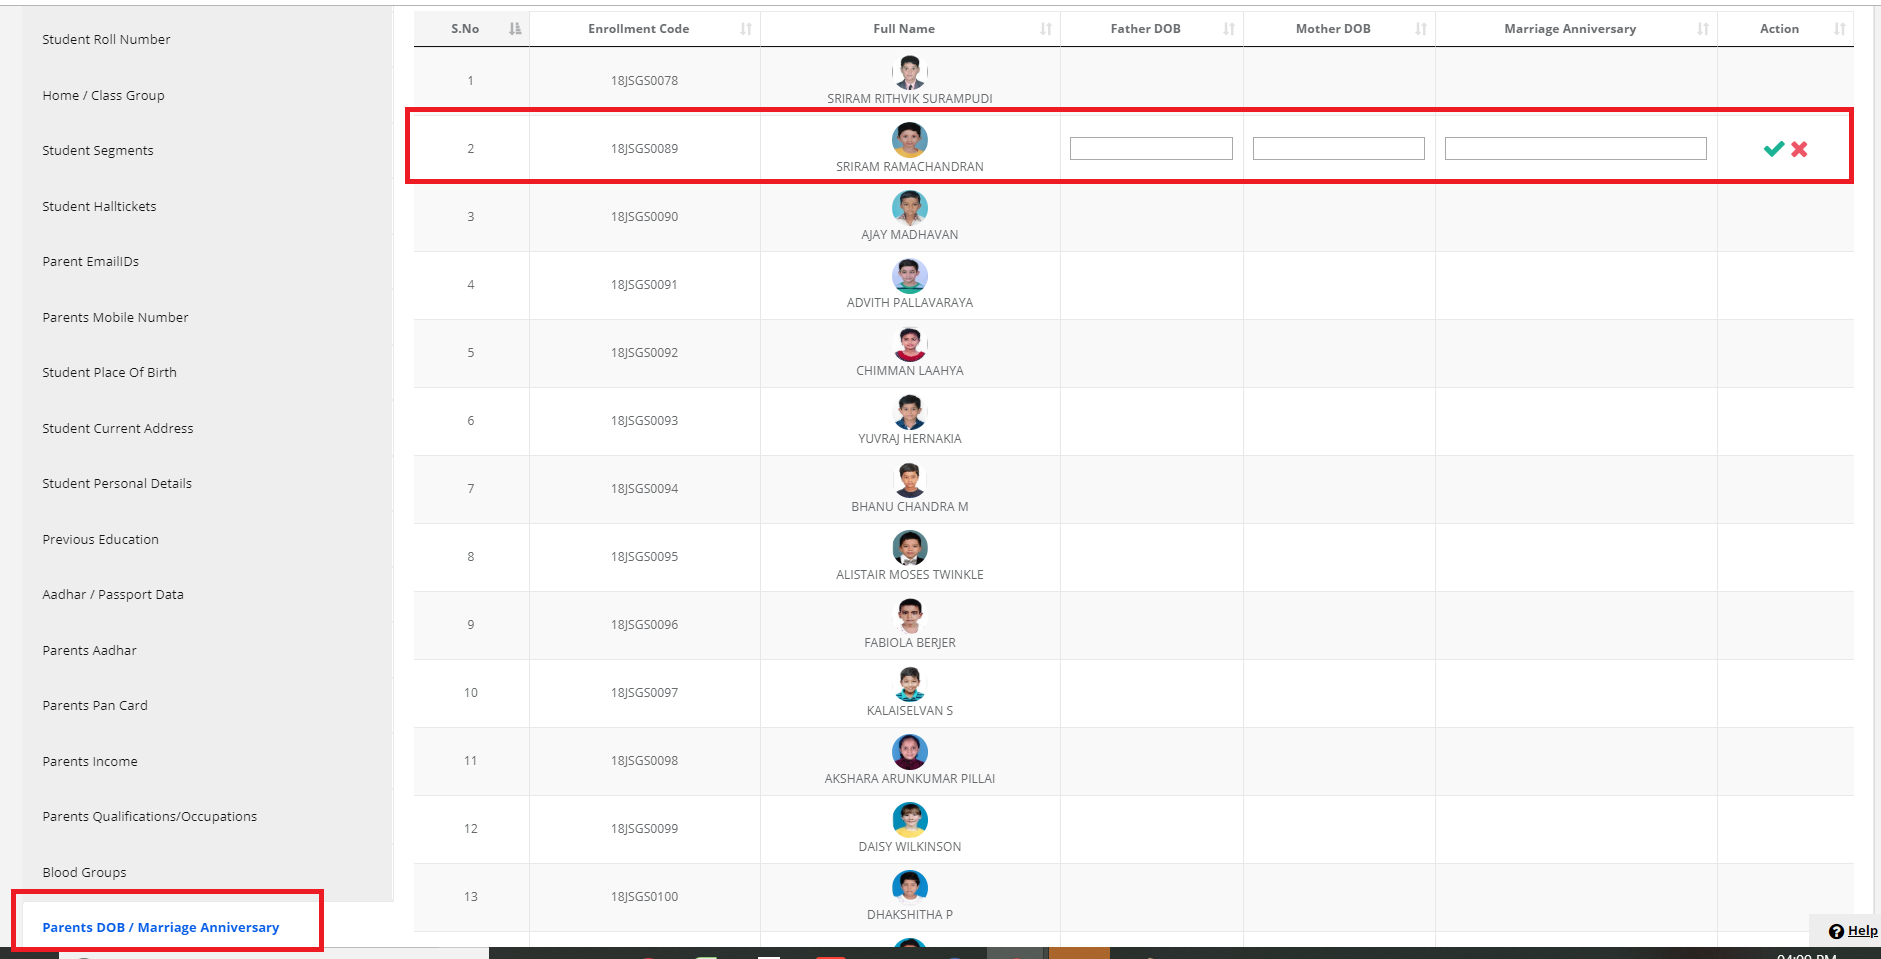
Step 22: To update Parent DOB or Marriage Anniversary details, select Parent DOB/Marriage Anniversary on the left pane, tap to enter or edit the details and click on the “Save” option.
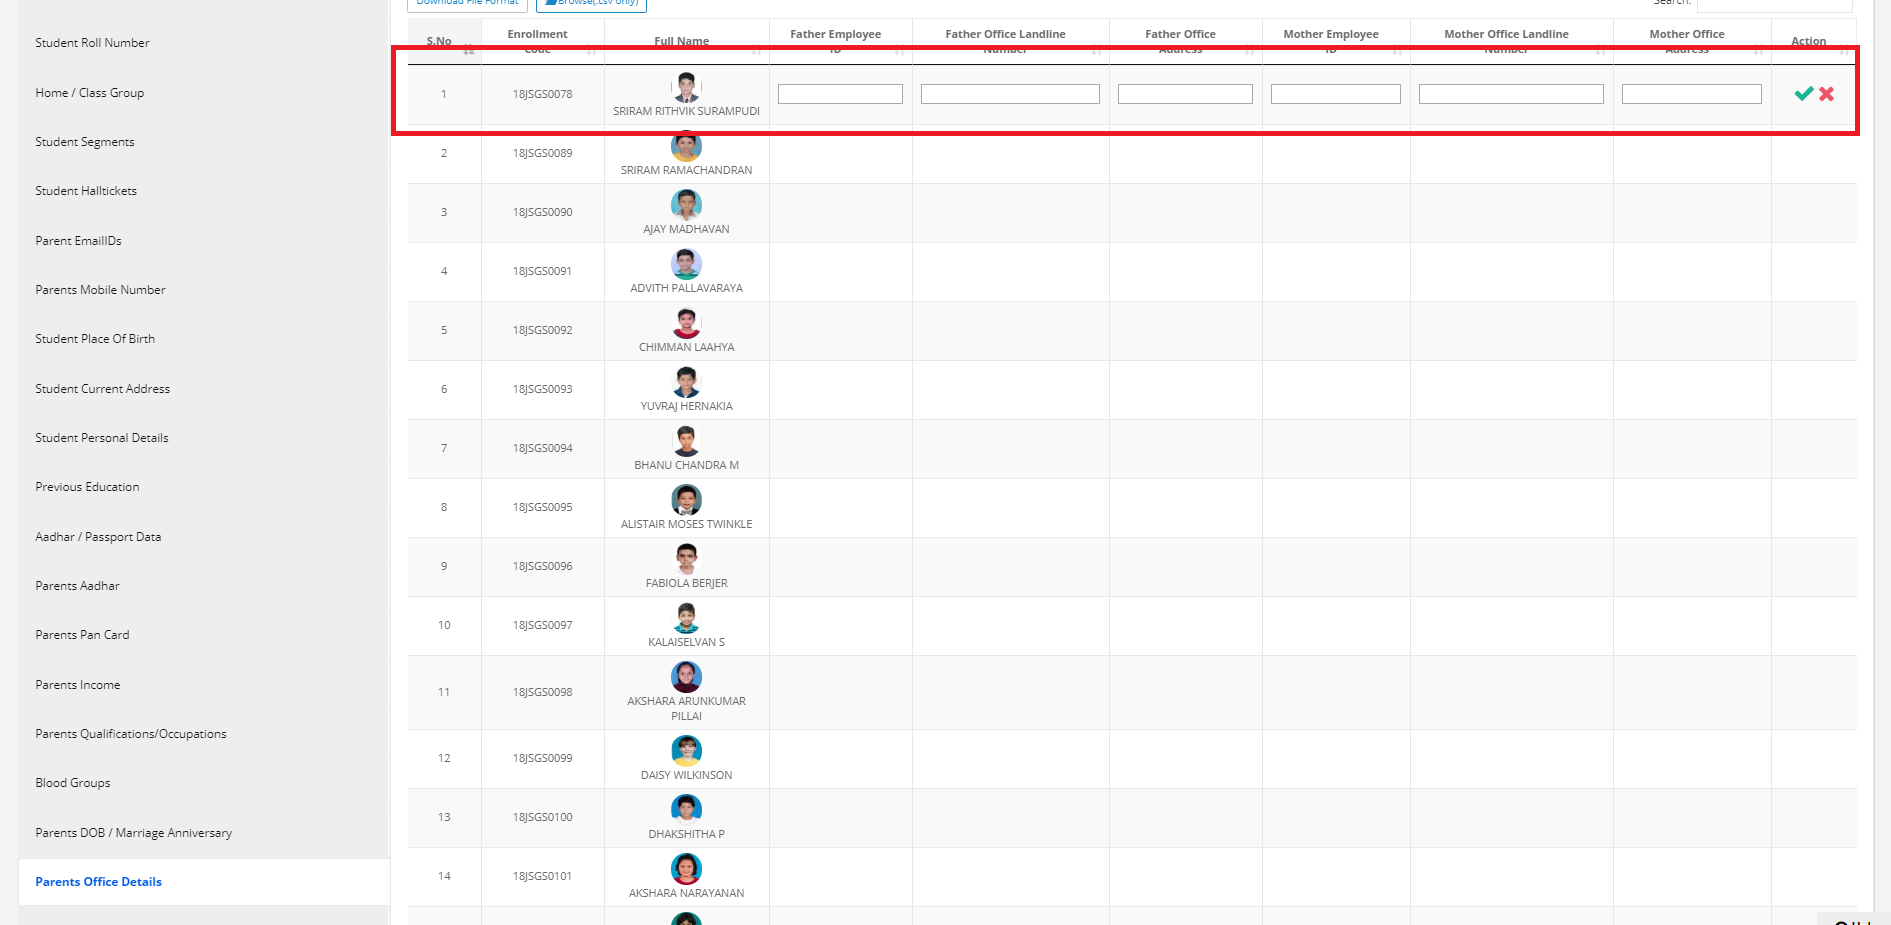
Step 23: To update Parent Office details, select Parent Office details on the left pane, tap to enter or edit the details and click on the “Save” option.
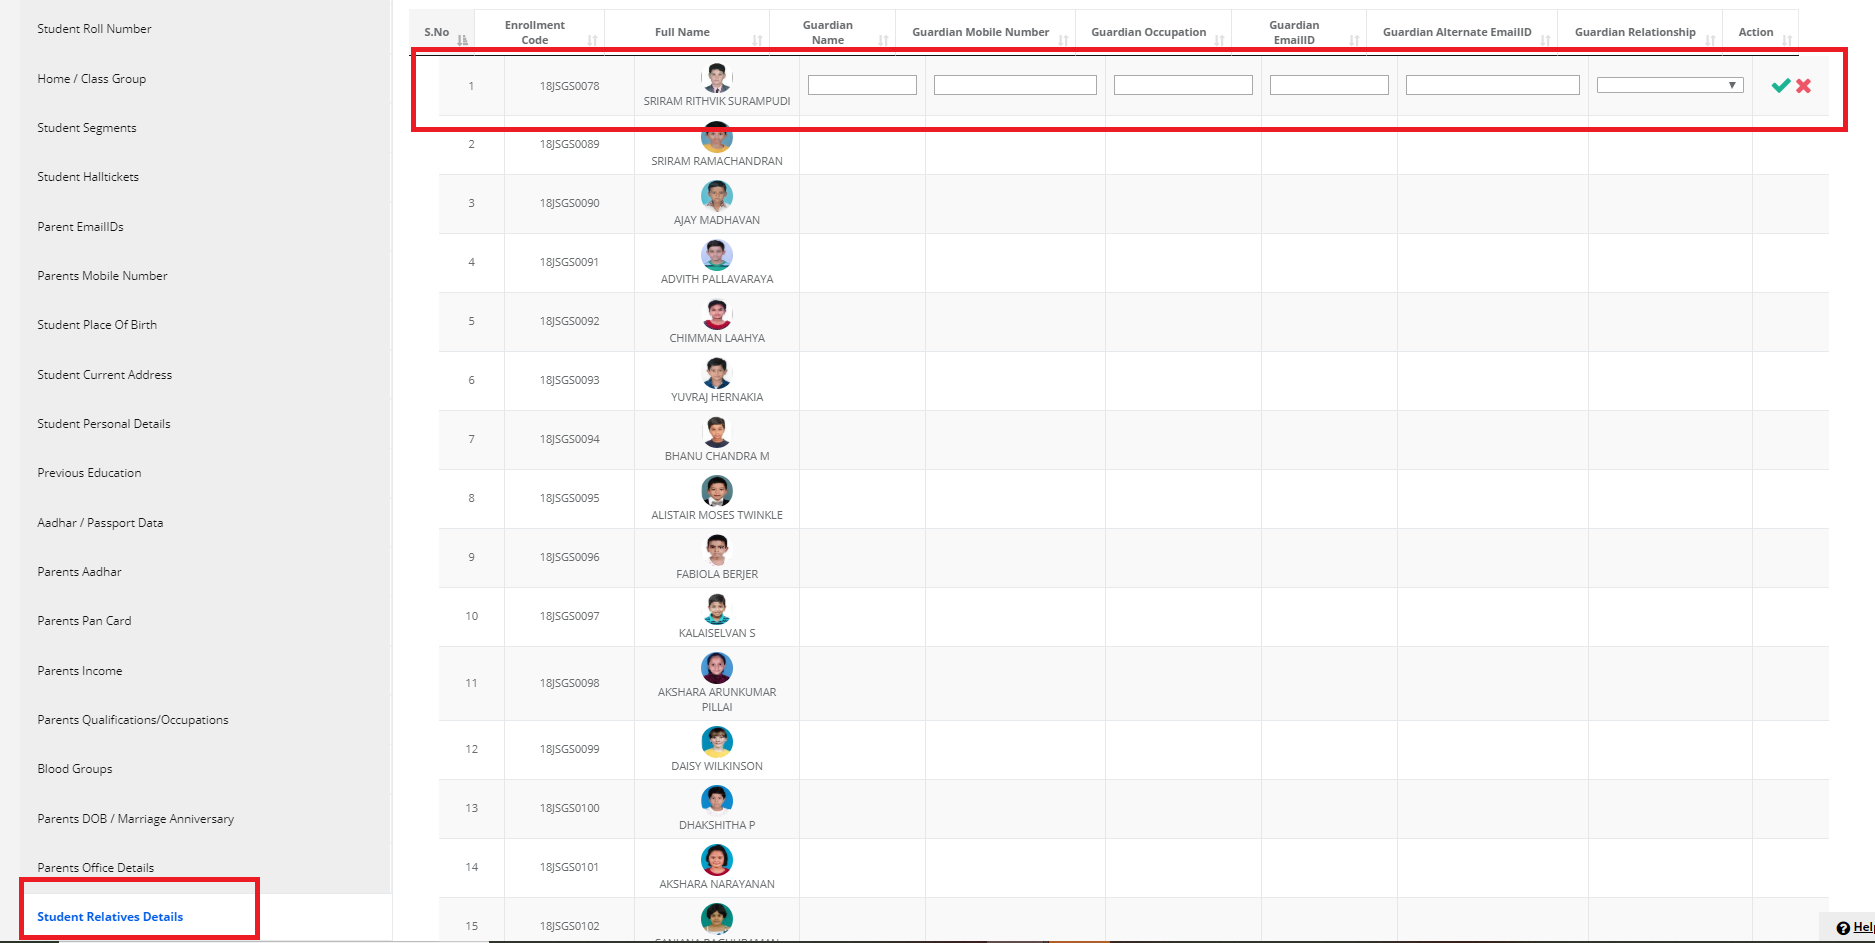
Step 24: To update Guardian name, mobile number and email id ’s, select Student Relative details on the left pane, tap to enter or edit the details and click on “Save” option.
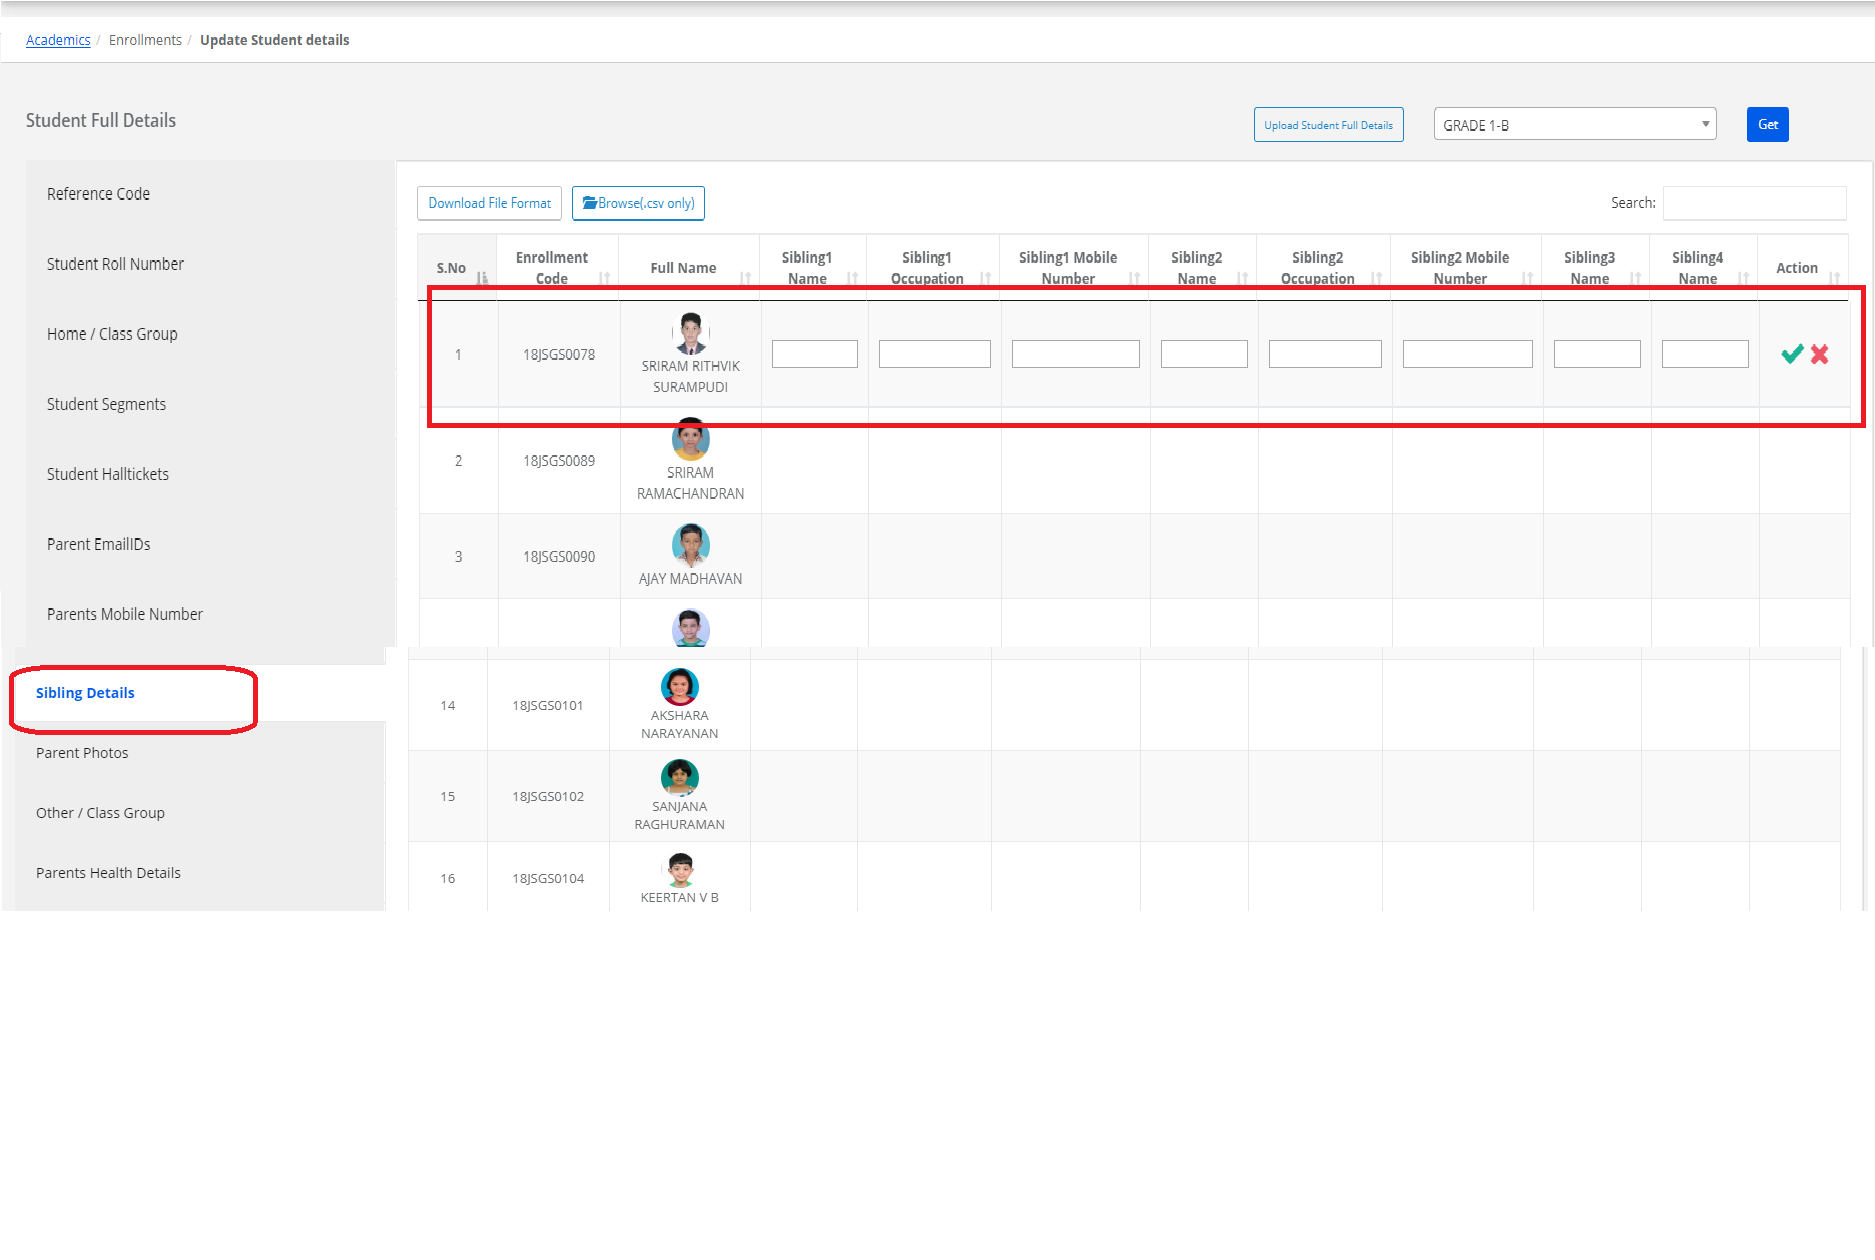
Step 25: To update Siblings Name, Mobile numbers and Occupation details, select Sibling details on the left pane, tap to enter or edit the details and click on the “Save” option.
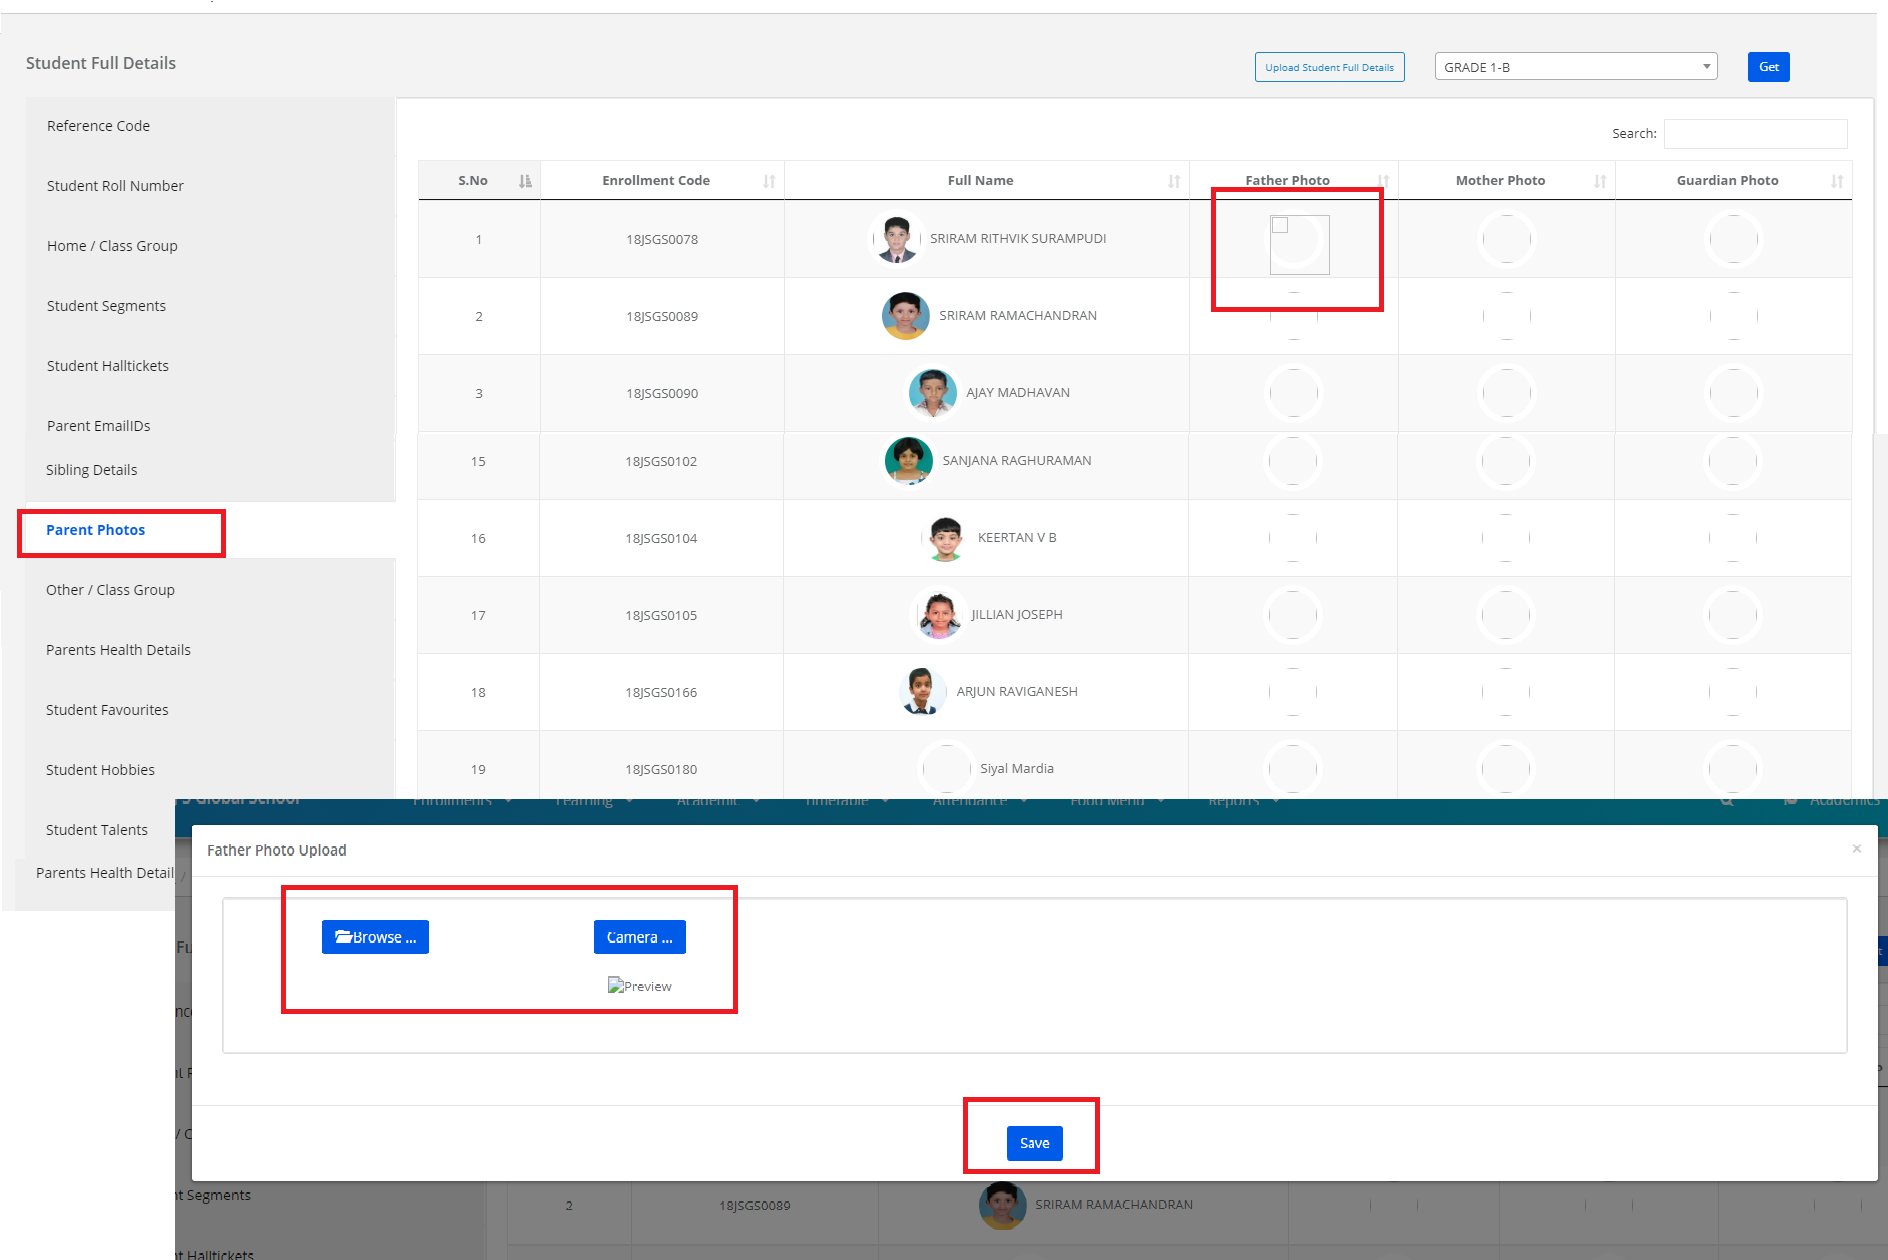
Step 26: To update Parents photos, select Parents photos on the left pane, tap to upload the photo and click on the “Save” option.
Step 27: To update Parents photos, select Parents photos on the left pane, tap to upload the photo and click on the “Save” option.
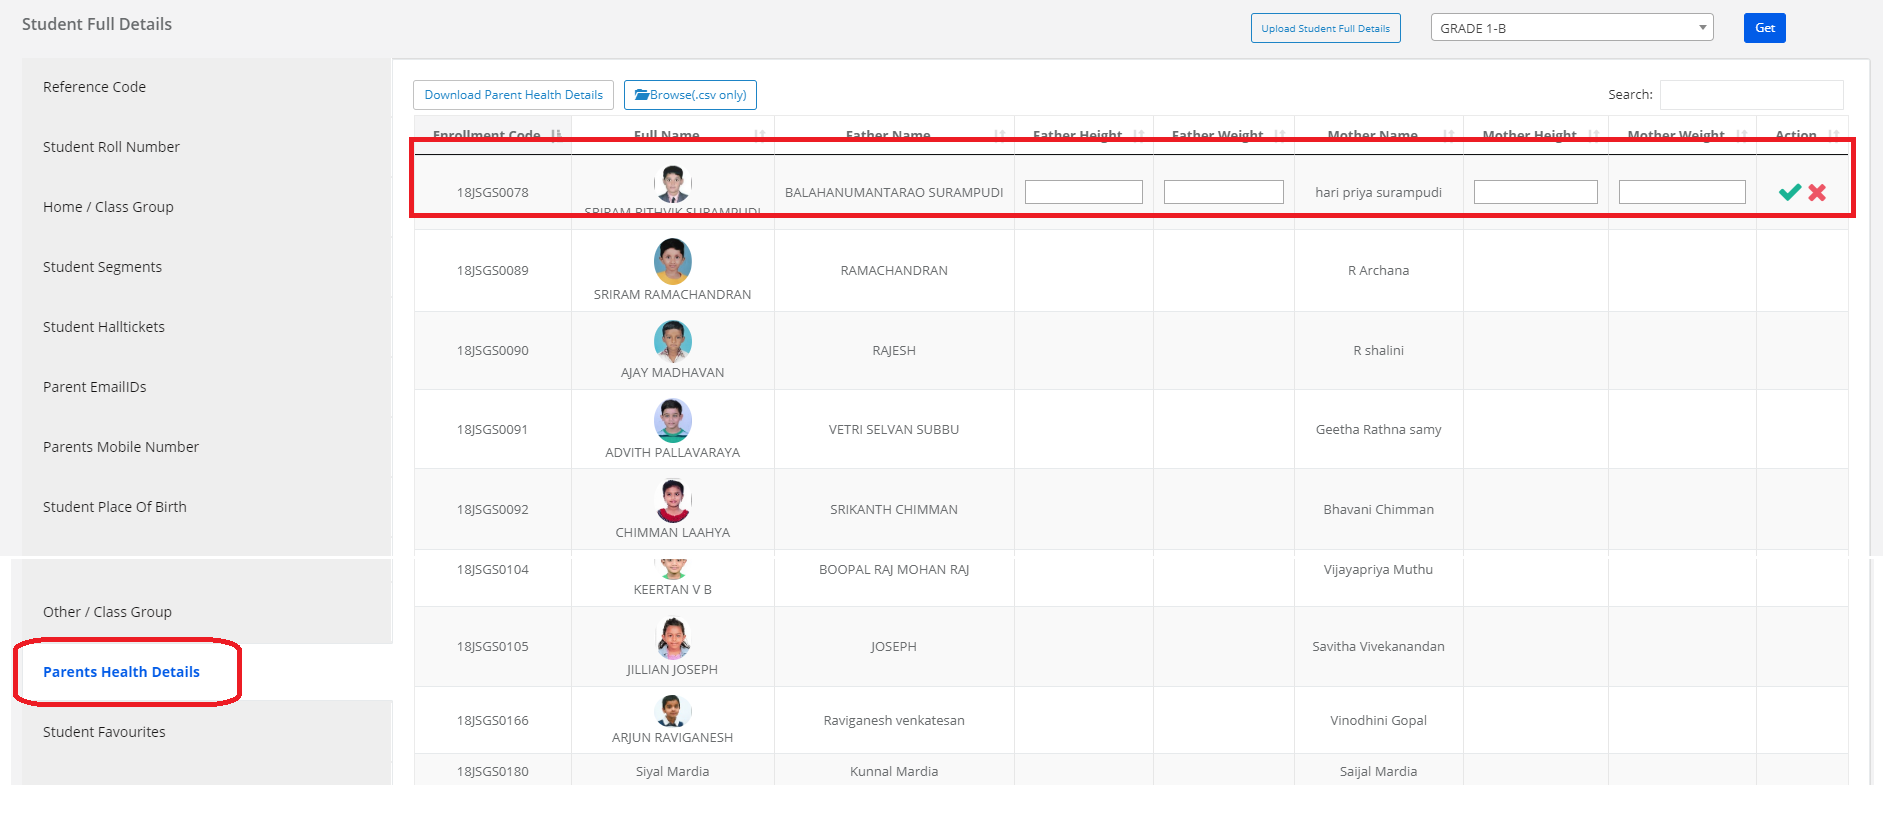
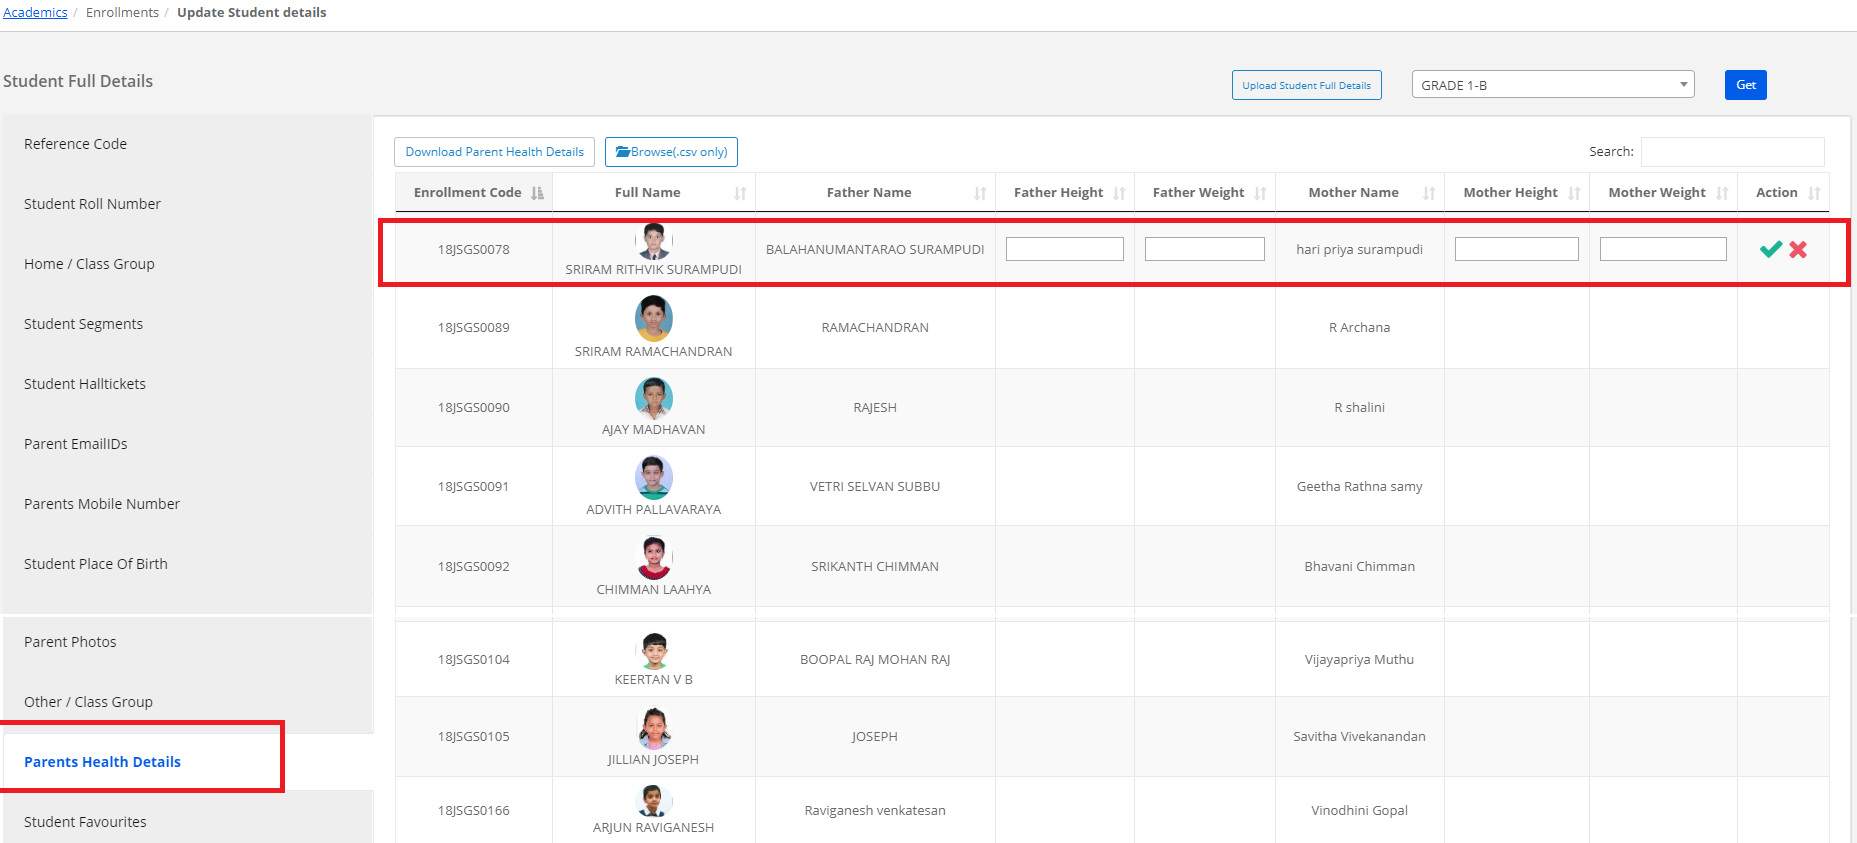
Step 28: To update Parents Height & weight Details, select Parents Health details on the left pane, tap to enter or edit the details and click on the “Save” option.
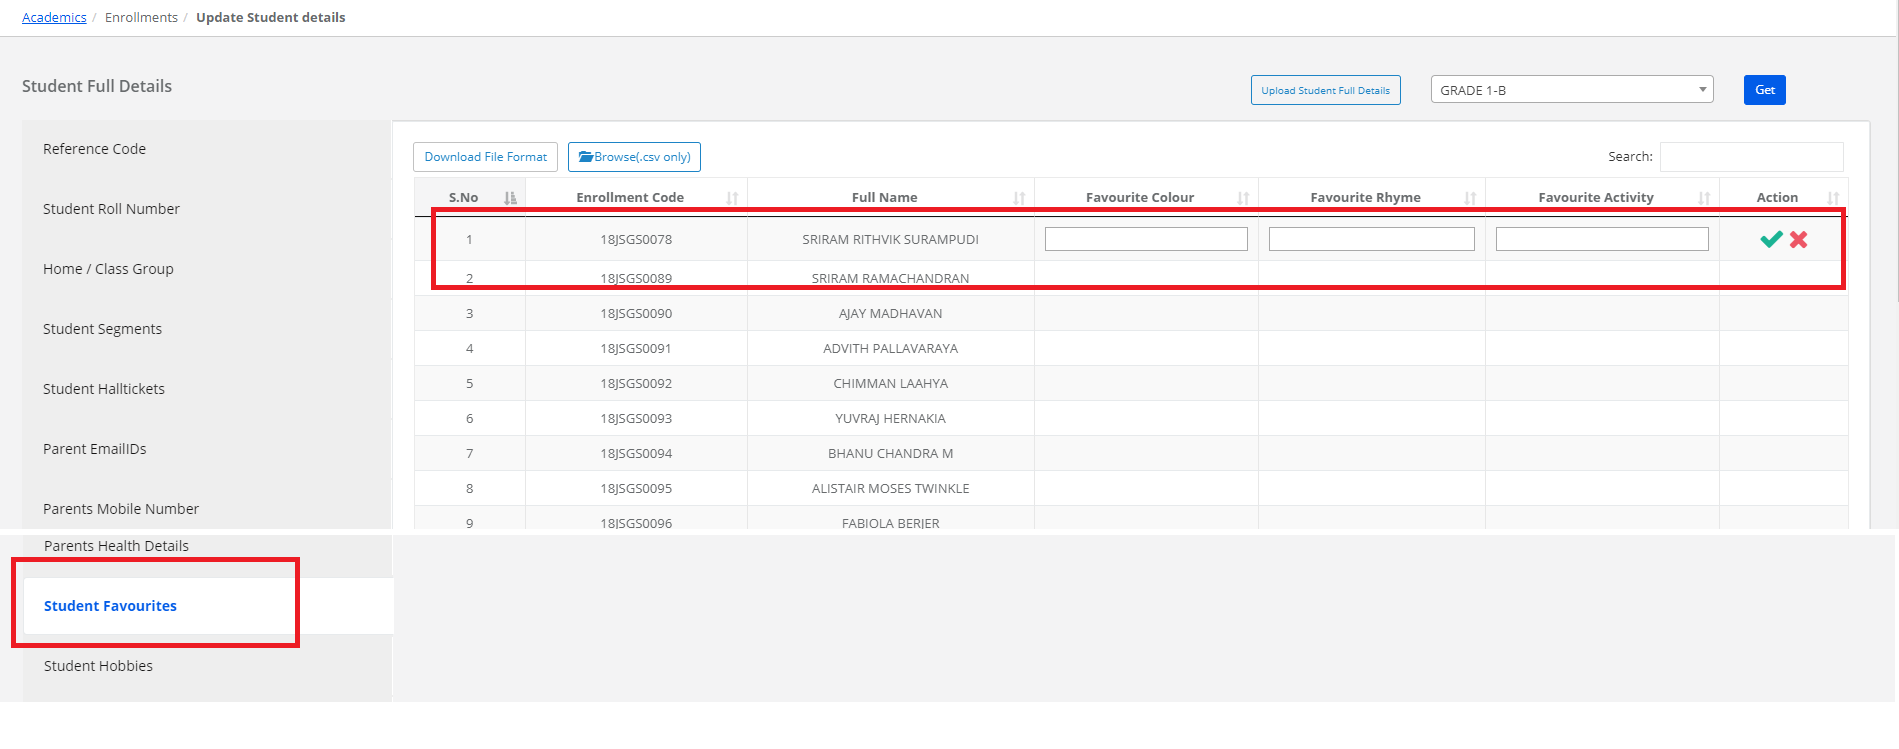
Step 29: To update Student Favourite Colour, Rhyme and Activities Details, select Student Favourites on the left pane, tap to enter or edit the details and click on “Save” option.
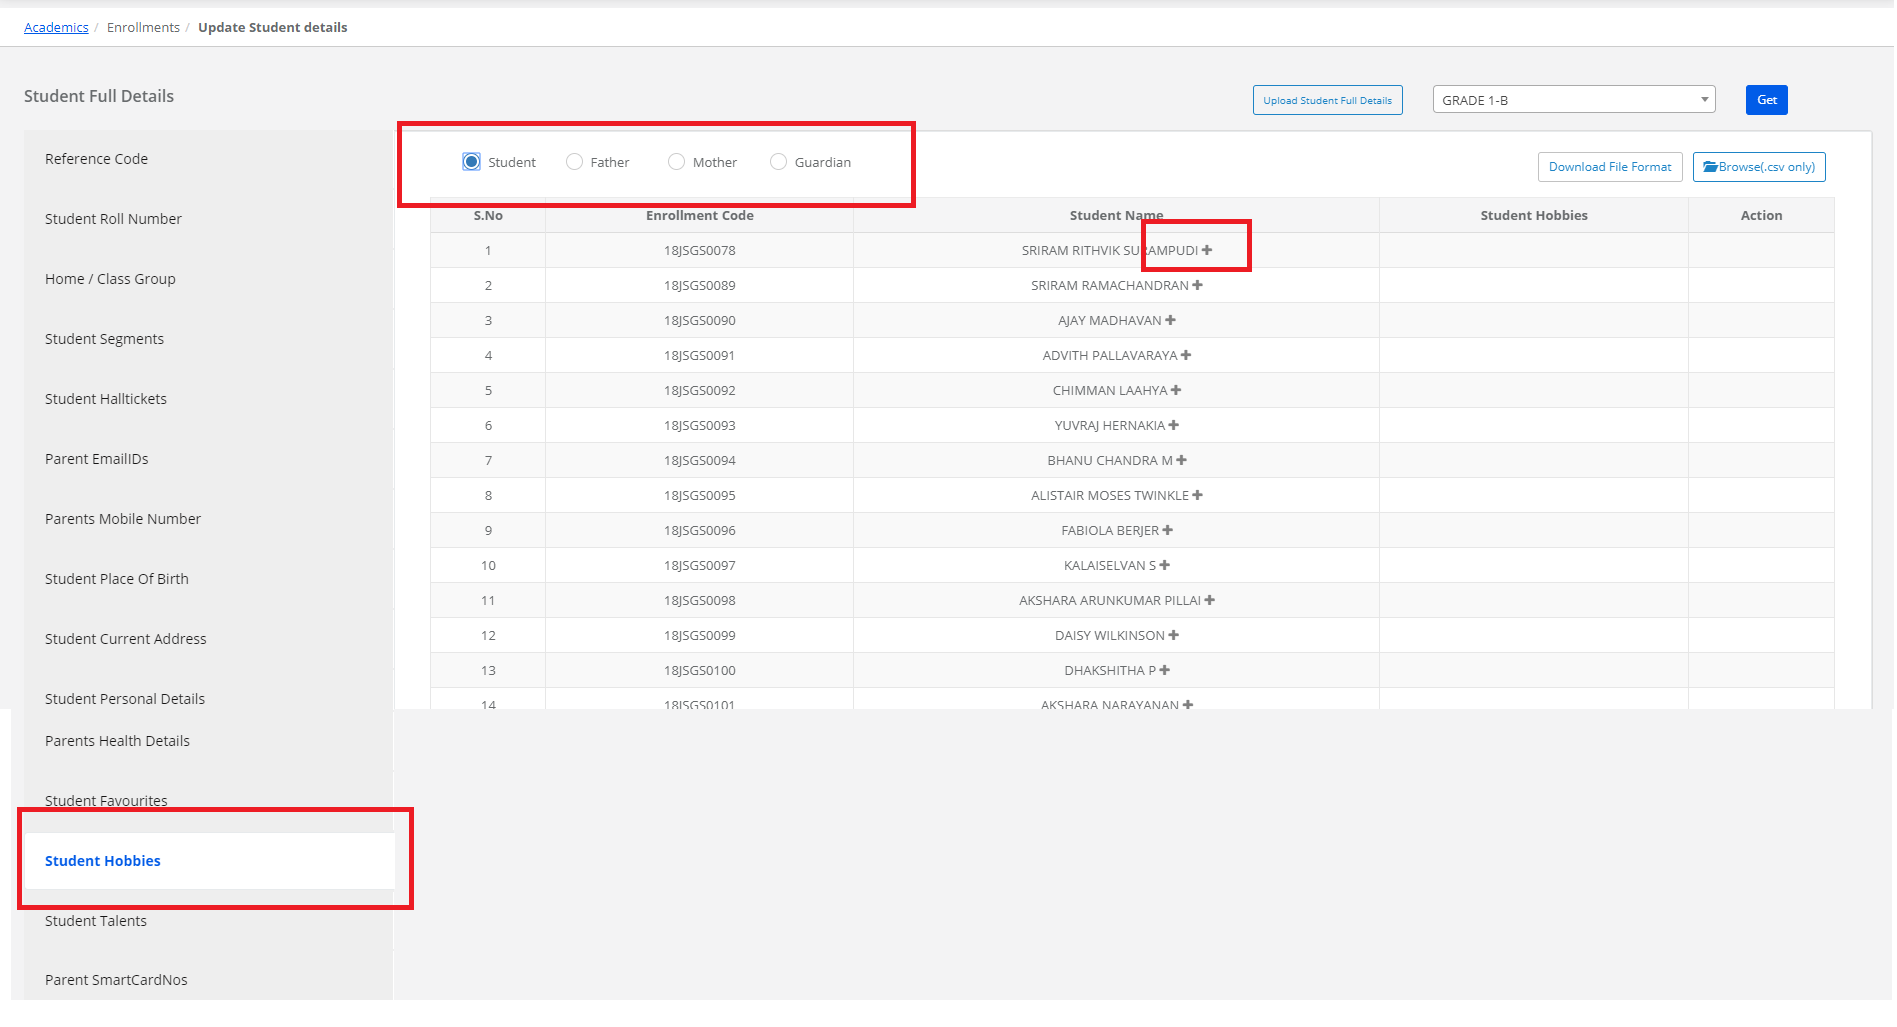
Step 30: To update Student Hobbies Details, select Student Hobbies on the left pane, Click on a + symbol to add the hobbies and click on “Save” option.
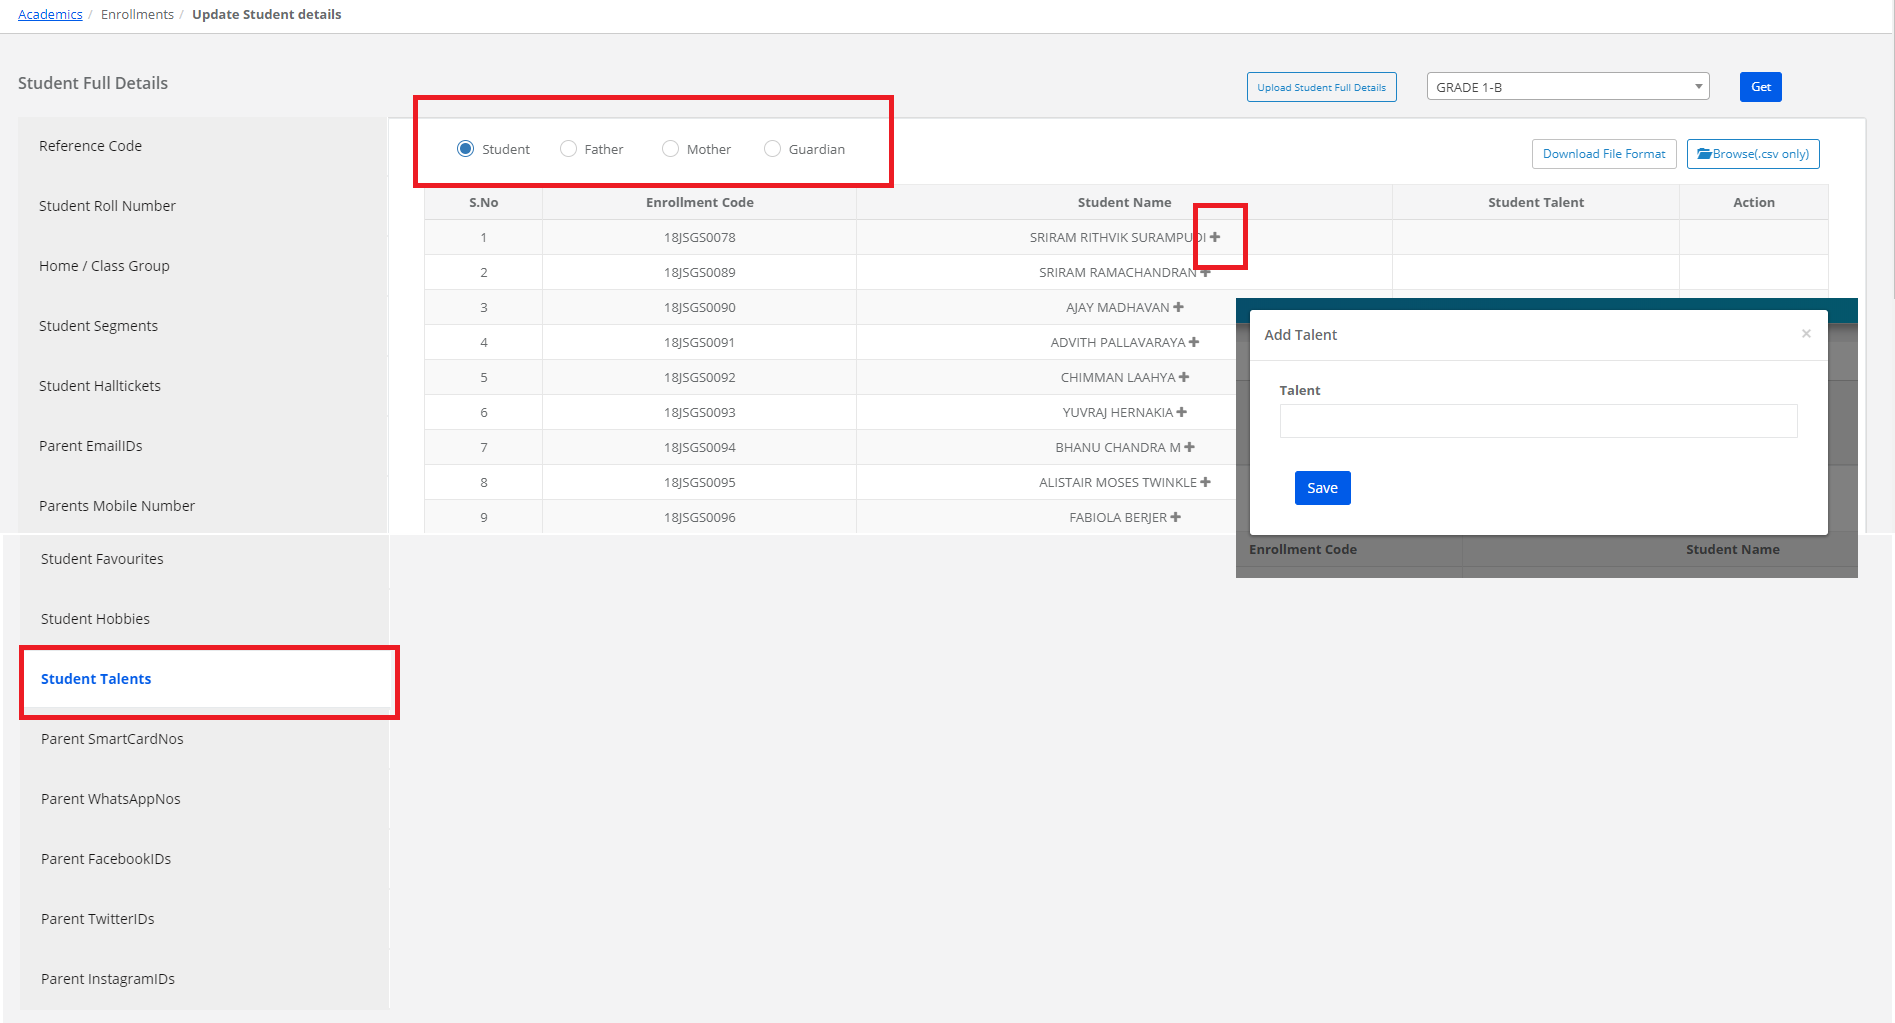
Step 31: To update Student Talent Details, select Student Talent on the left pane, Click on a + symbol to add the Talents and click on “Save” option.
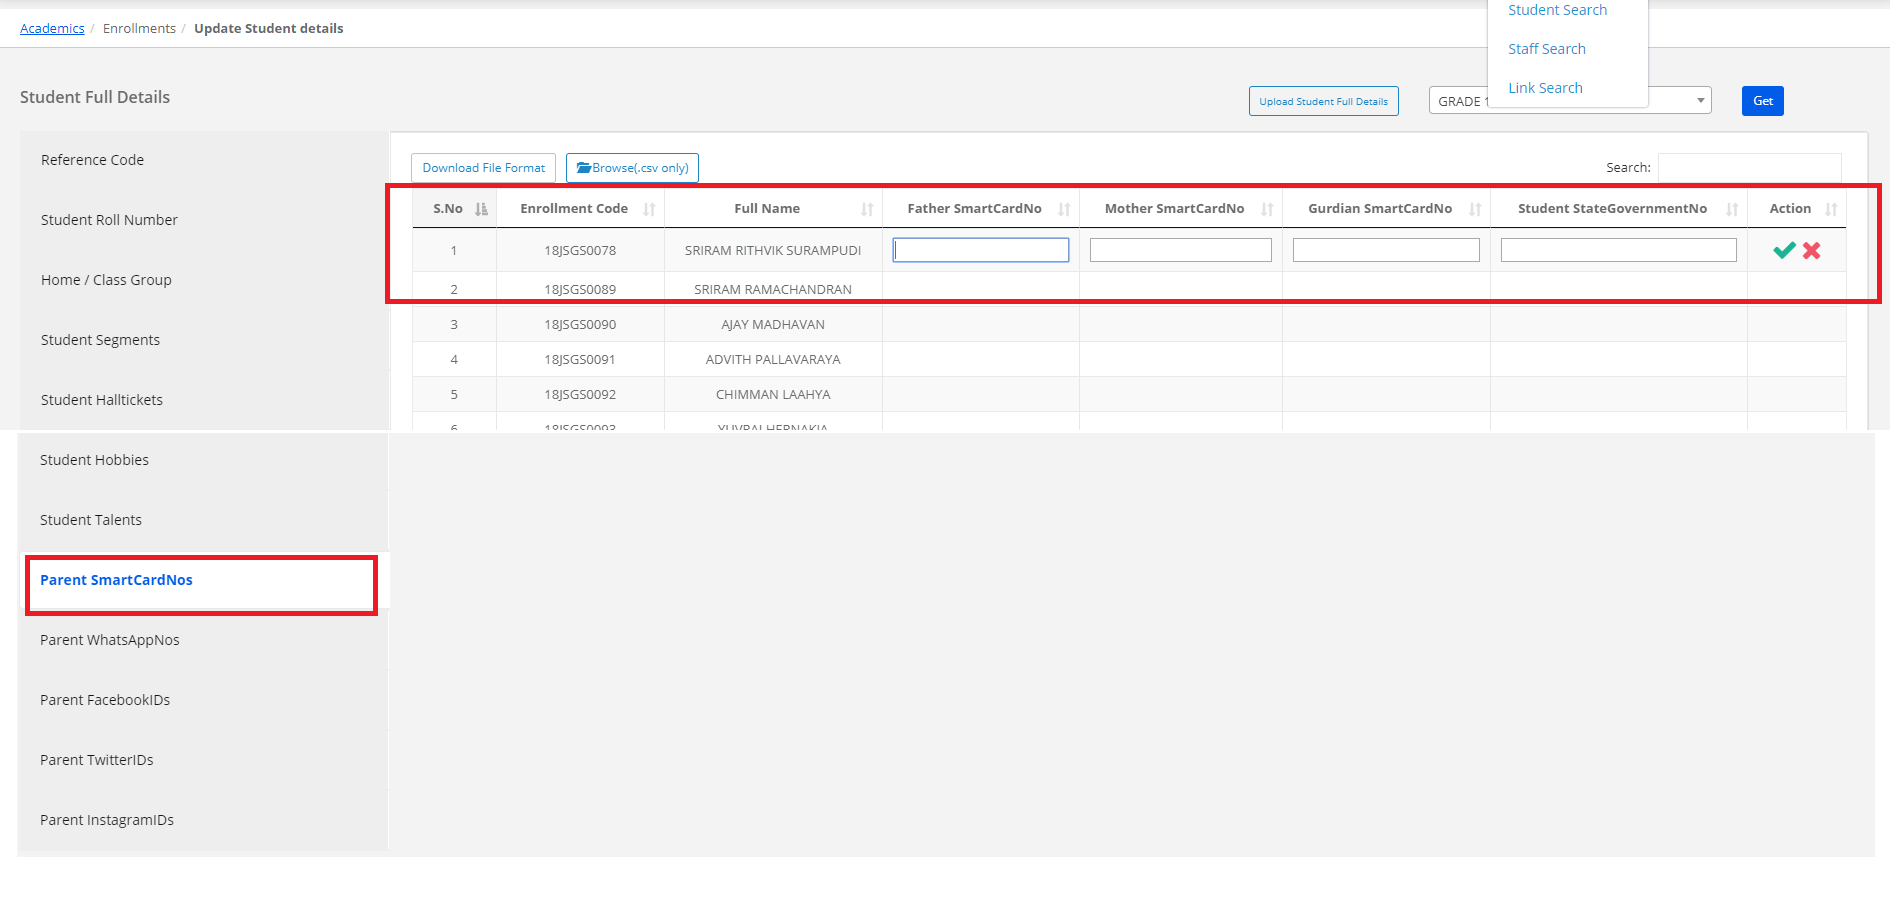
Step 32: To update Parents Smart card numbers Details, select Parents Smart card nos on the left pane, tap to enter or edit the details and click on “Save” option.
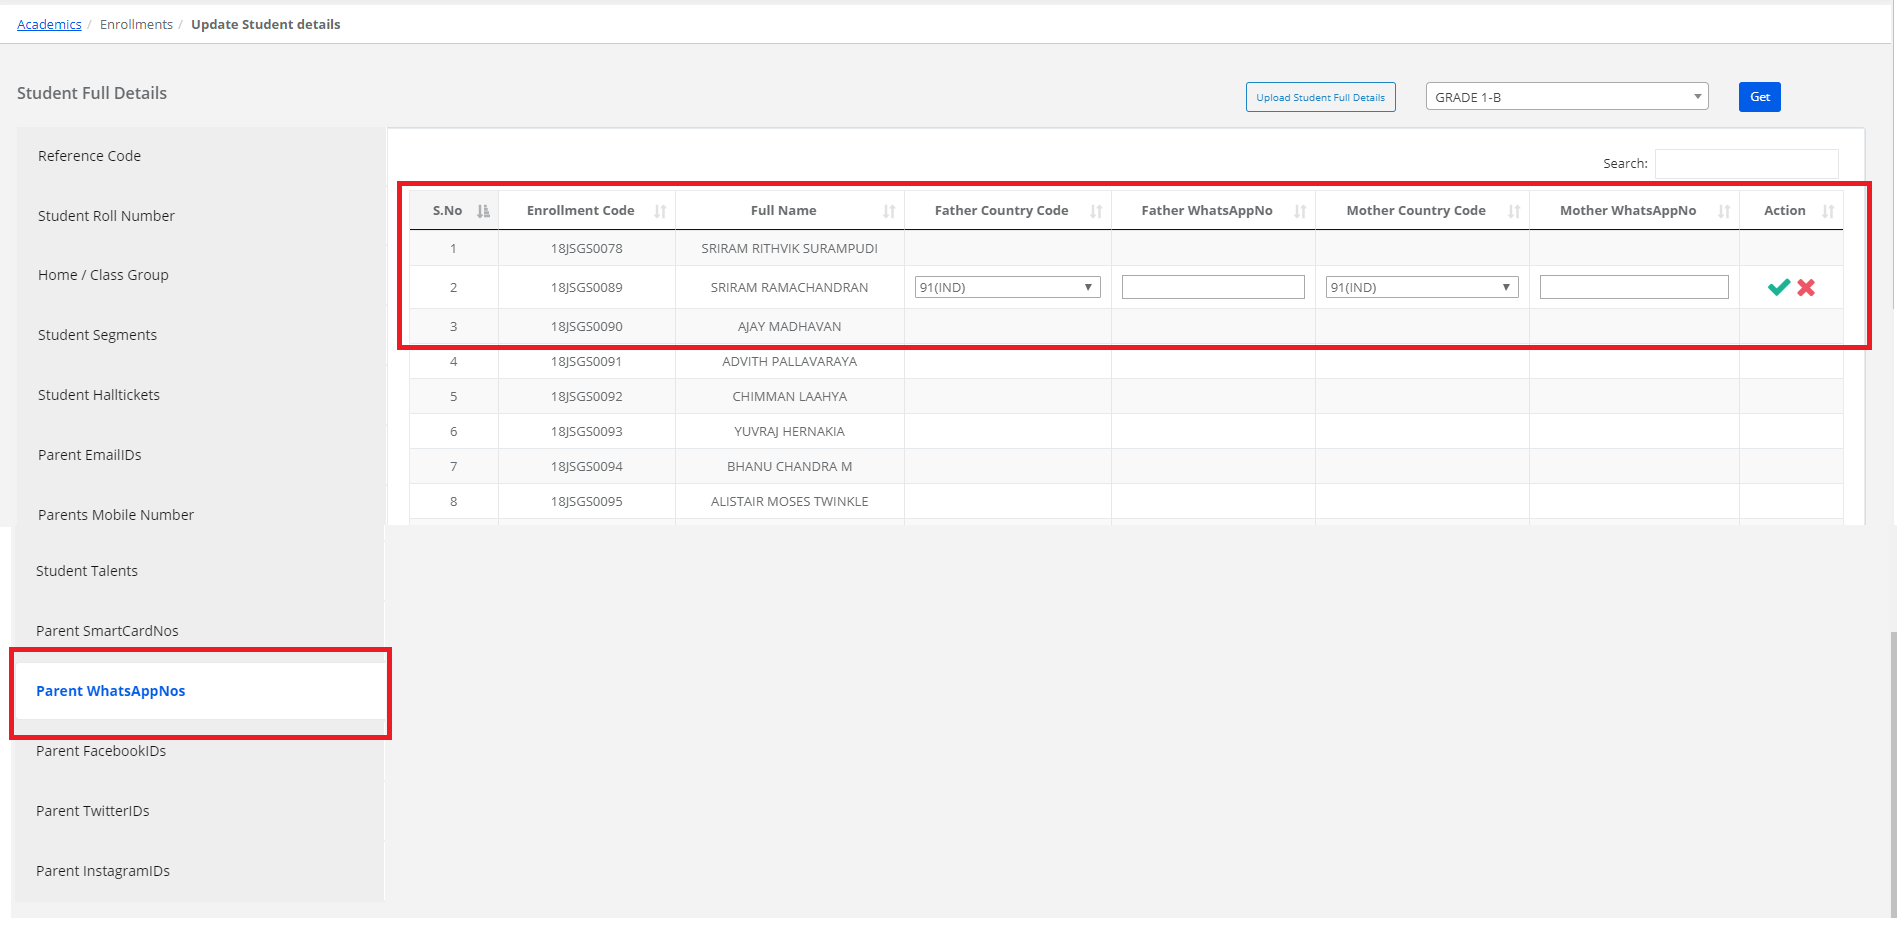
Step 33: To update Parents Whatsapp numbers Details, select Parents Whatsapp nos on the left pane, tap to enter or edit the details and click on “Save” option.
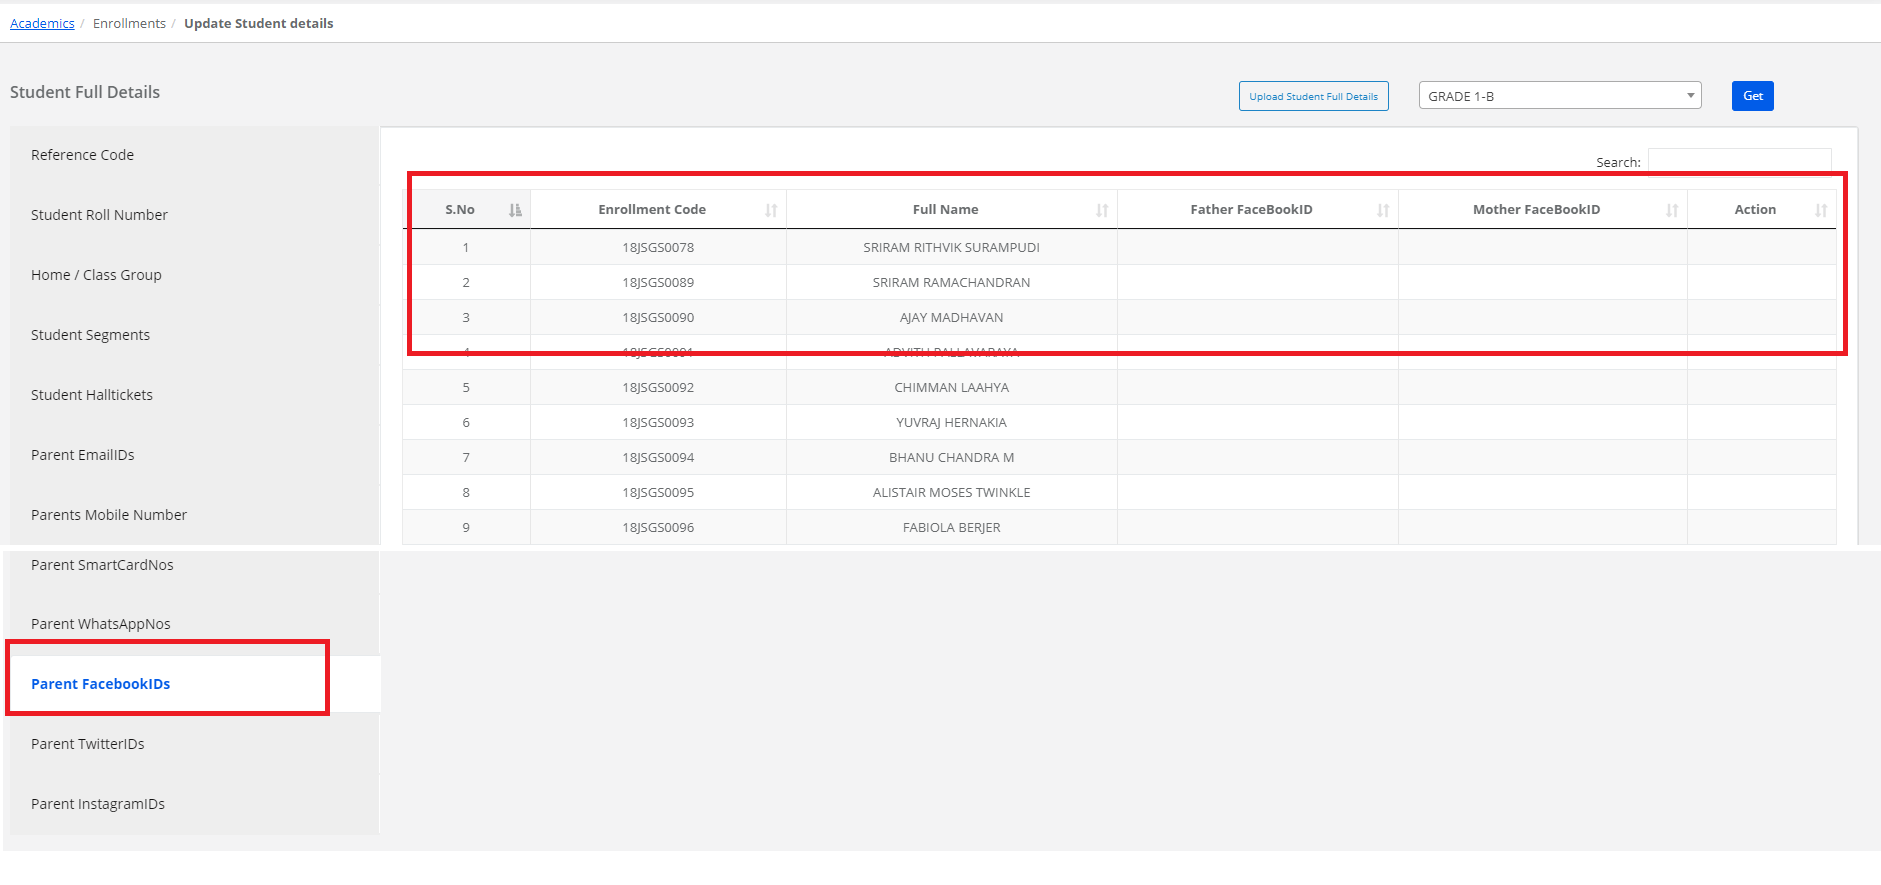
Step 34: To update Parents Facebook ID’s Details, select Parents Facebook ID’s on the left pane, tap to enter or edit the details and click on the “Save” option.
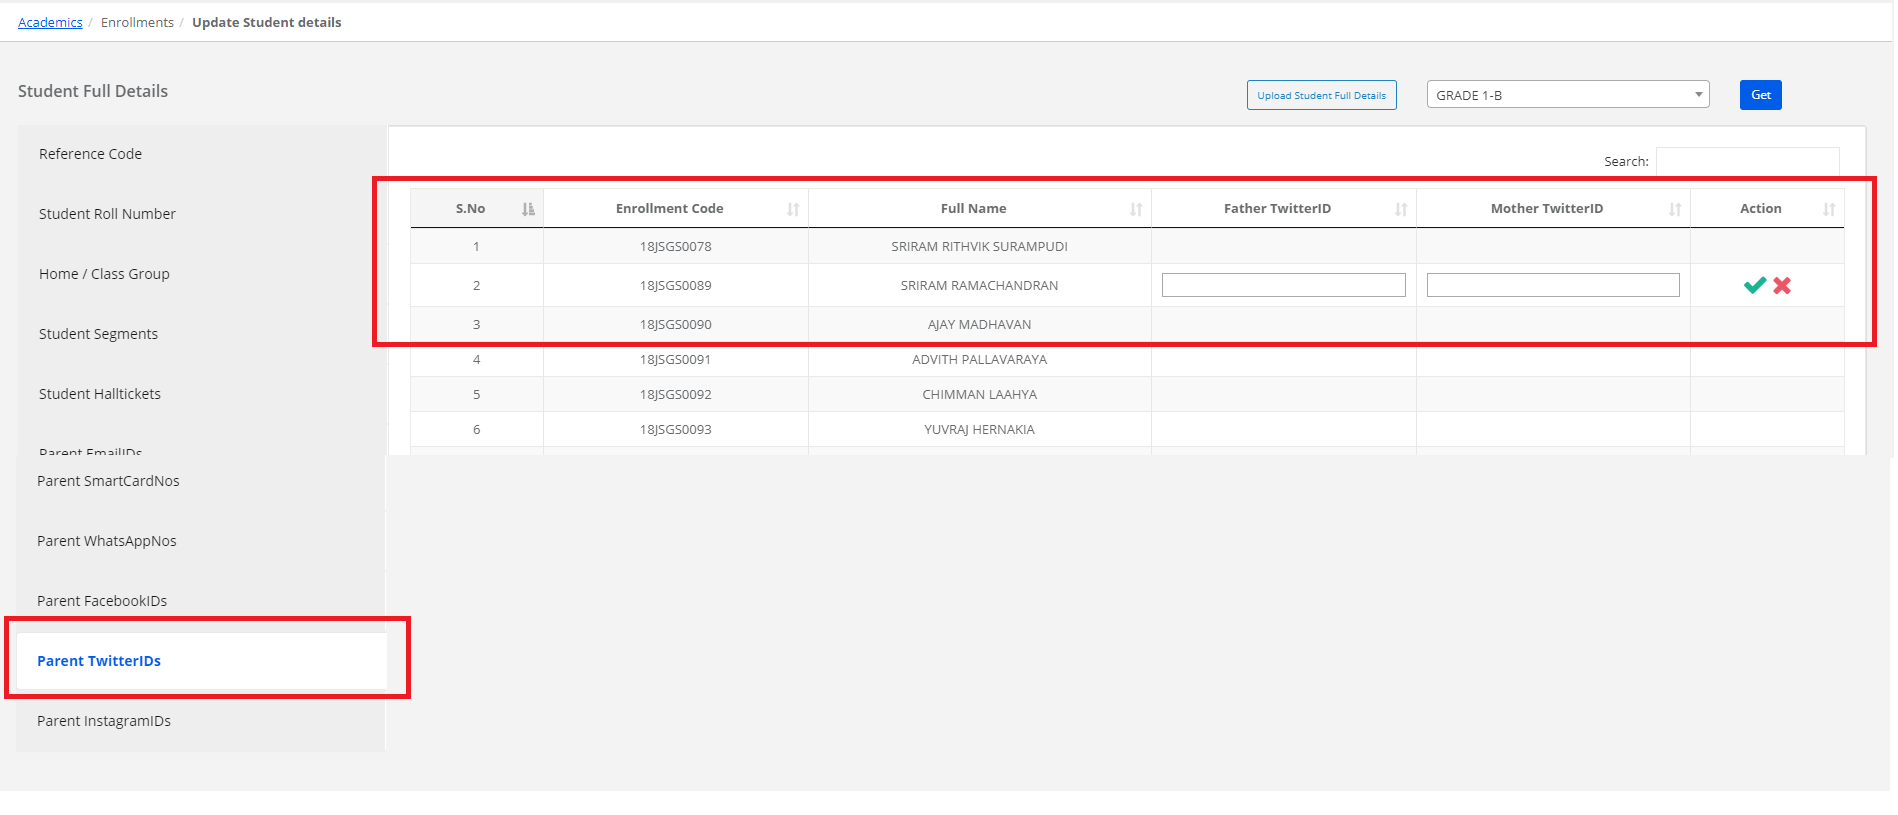
Step 35: To update Parents Twitter ID’s Details, select Parents Twitter ID’s on the left pane, tap to enter or edit the details and click on the “Save” option.
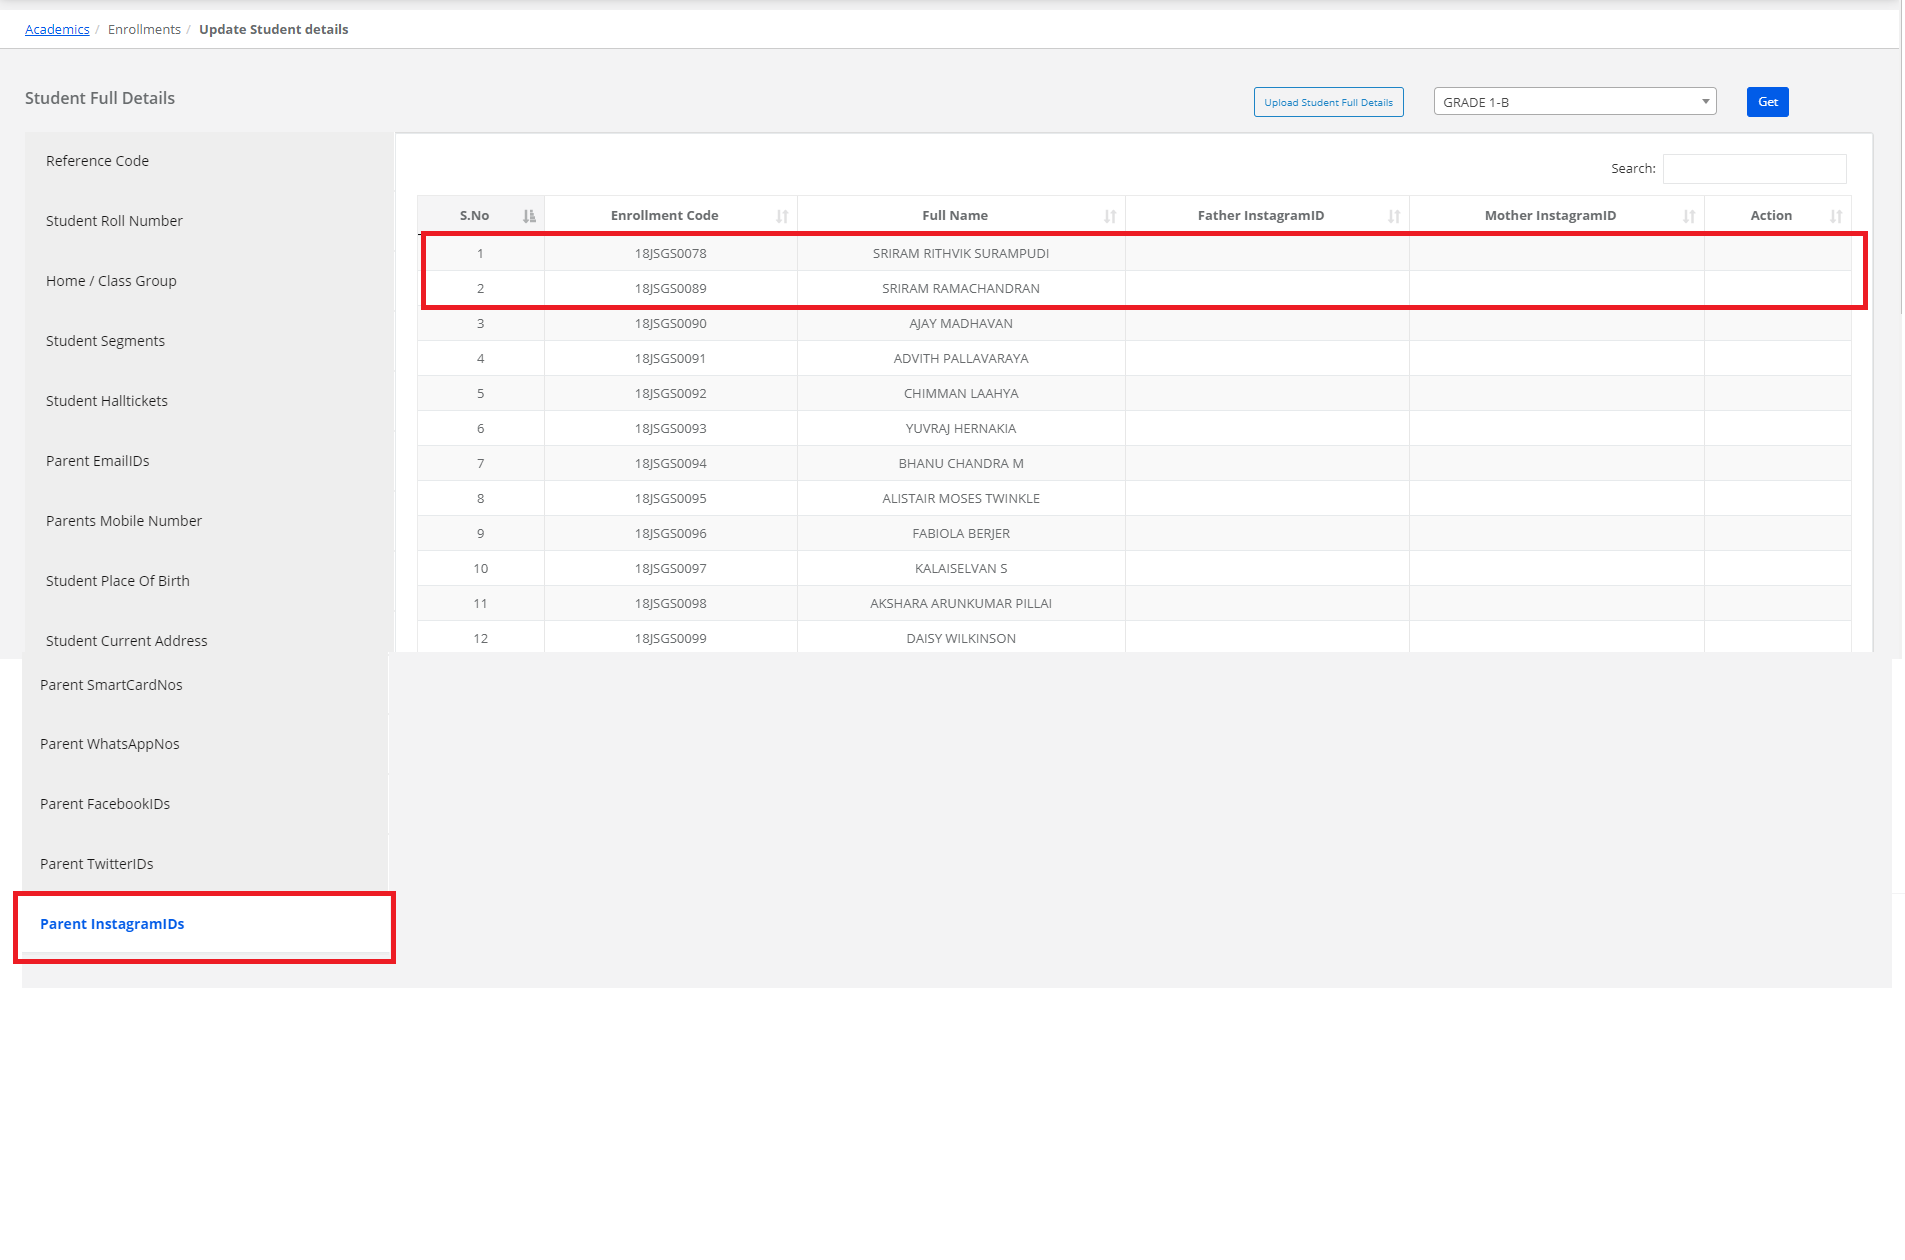
Step 36: To update Parents Instagram ID’s Details, select Instagram ID’s on the left pane, tap to enter or edit the details and click on the “Save” option.
![]()