Step 1: Login to MCB with Principal or SysAdmin Login credentials.
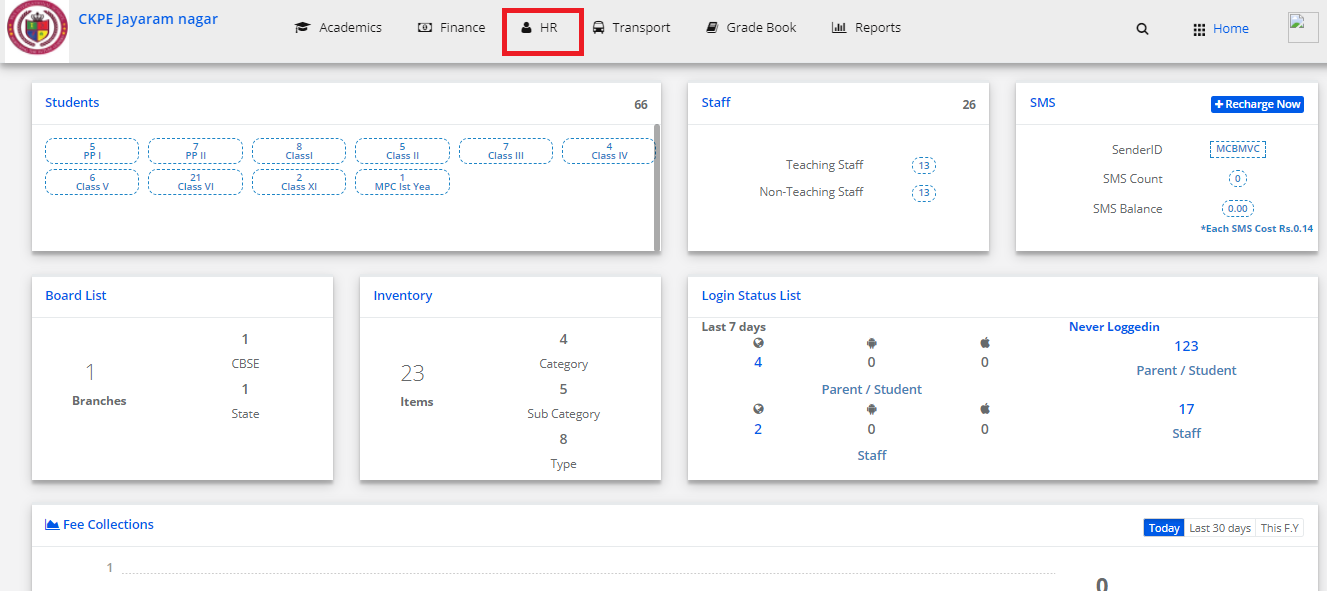
Step 2: Select “HR” on the top bar of the dashboard. You will be directed to the HR page.
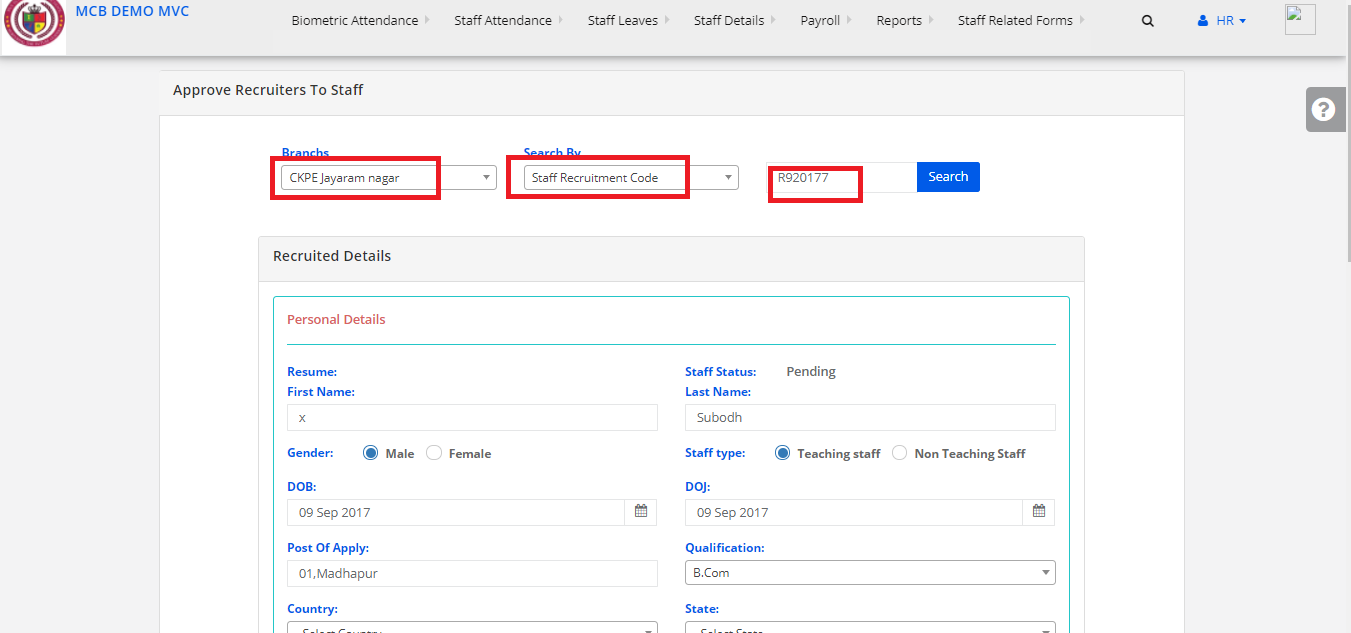
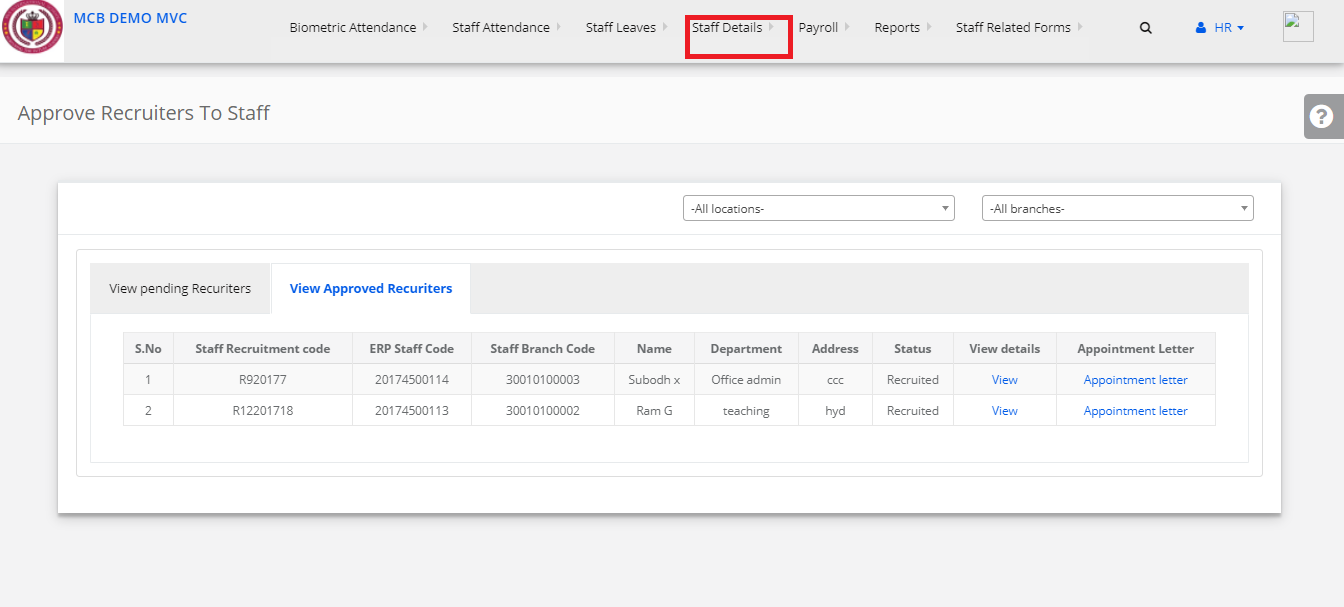
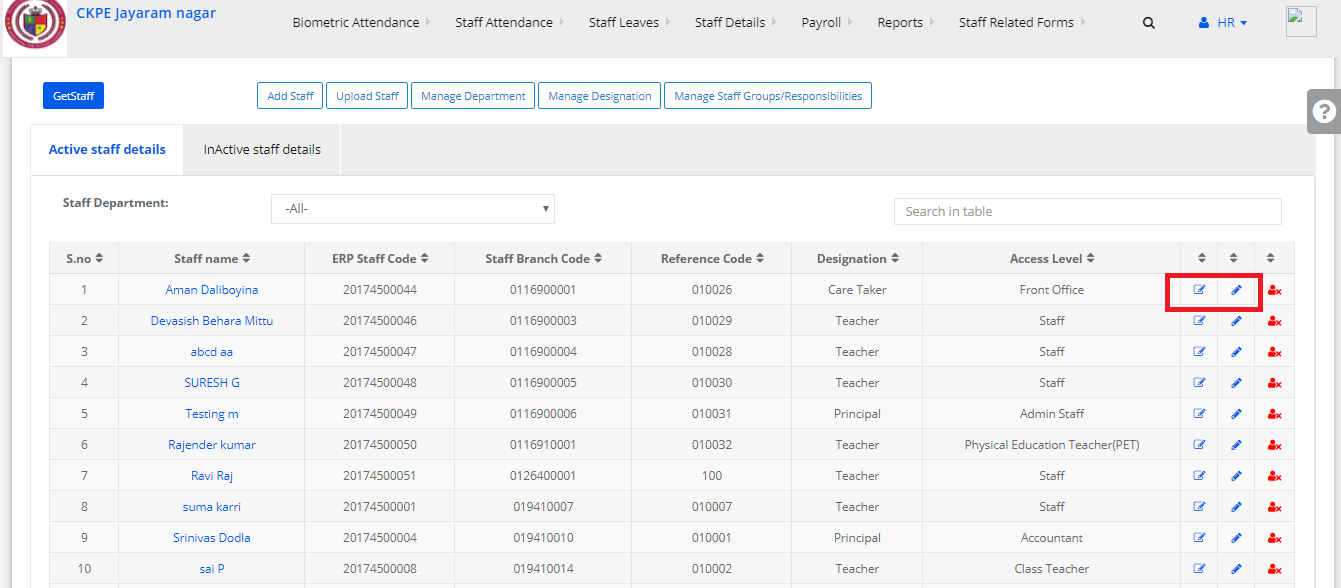
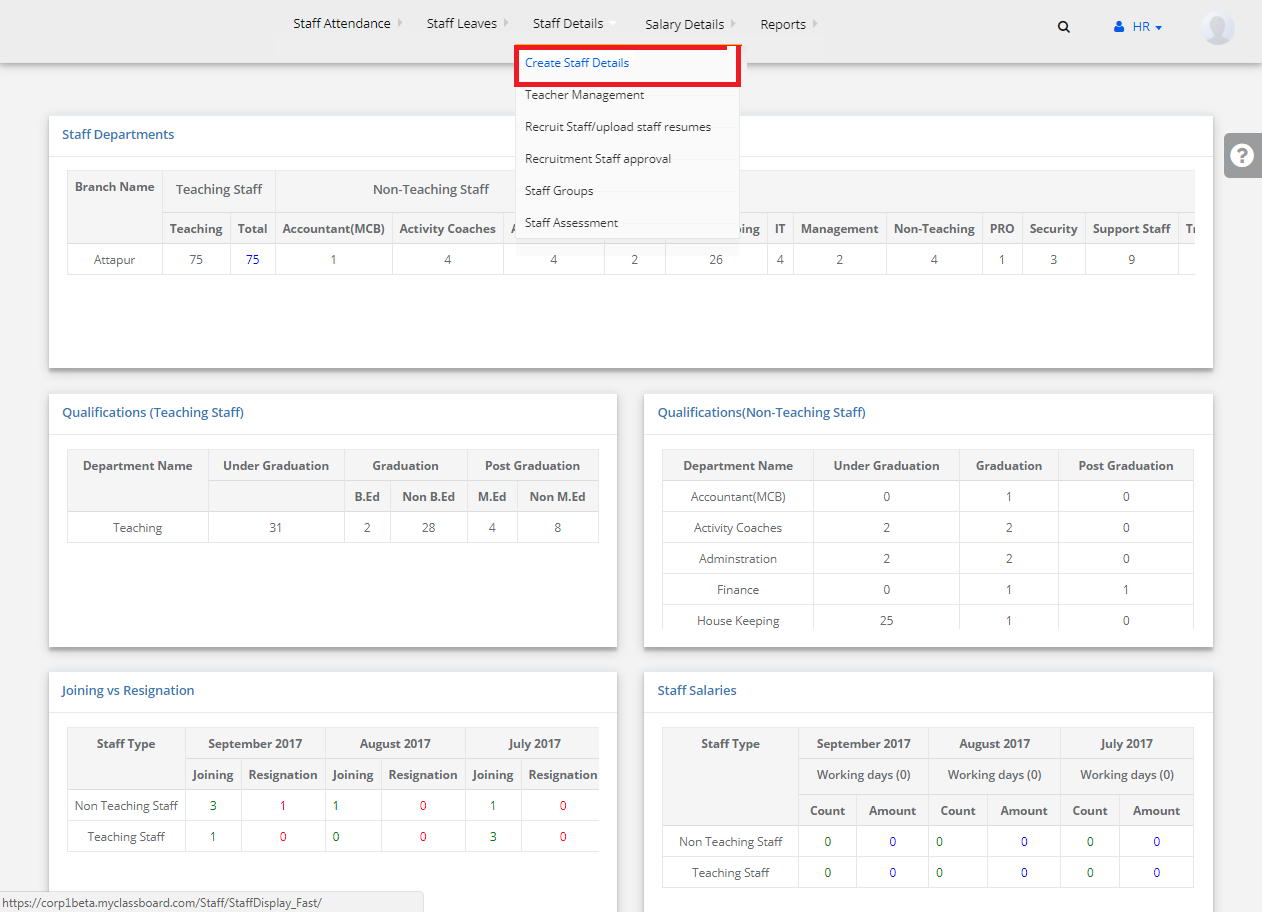
Step 3: Select “Staff Details” on the top bar and choose “Create Staff Details”.
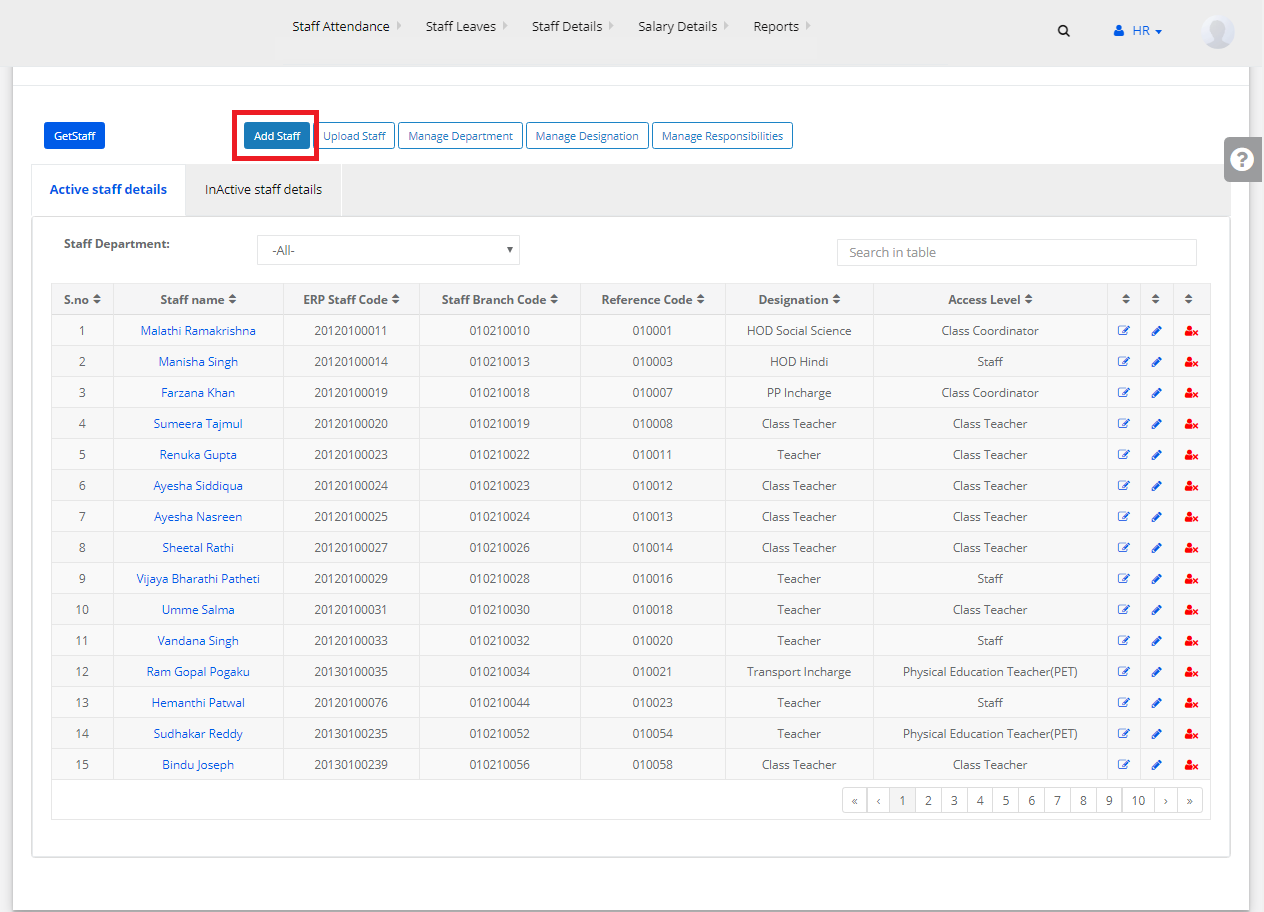
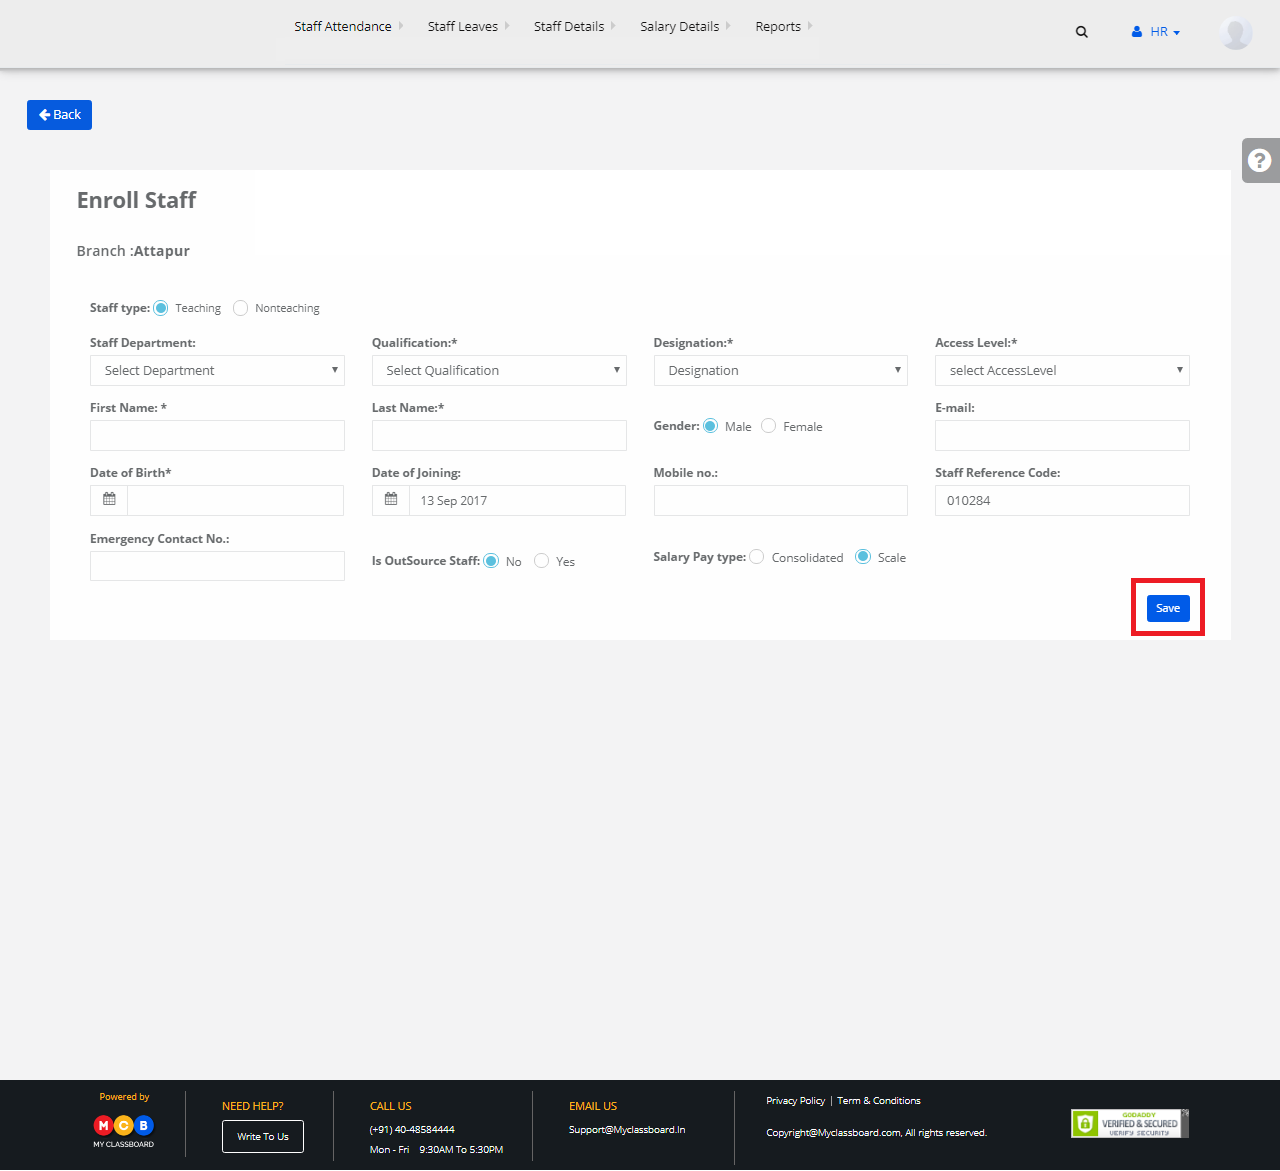
Step 4: Select “Add Staff”.
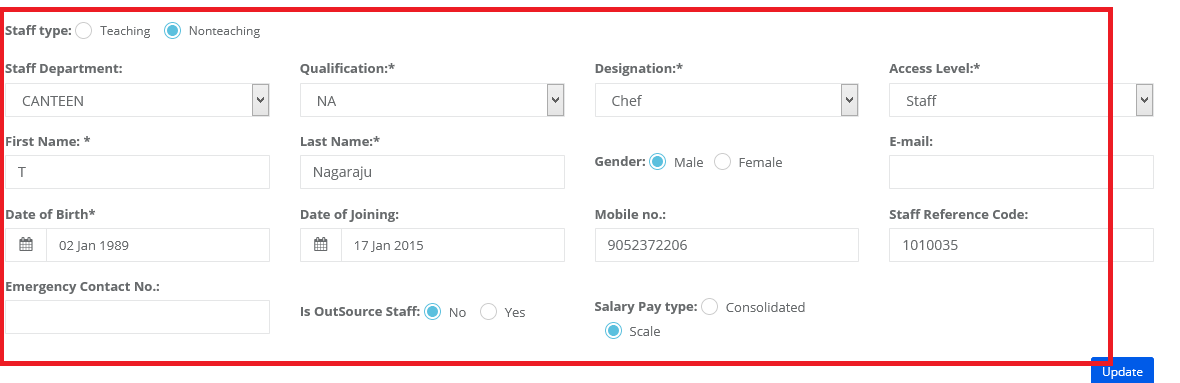
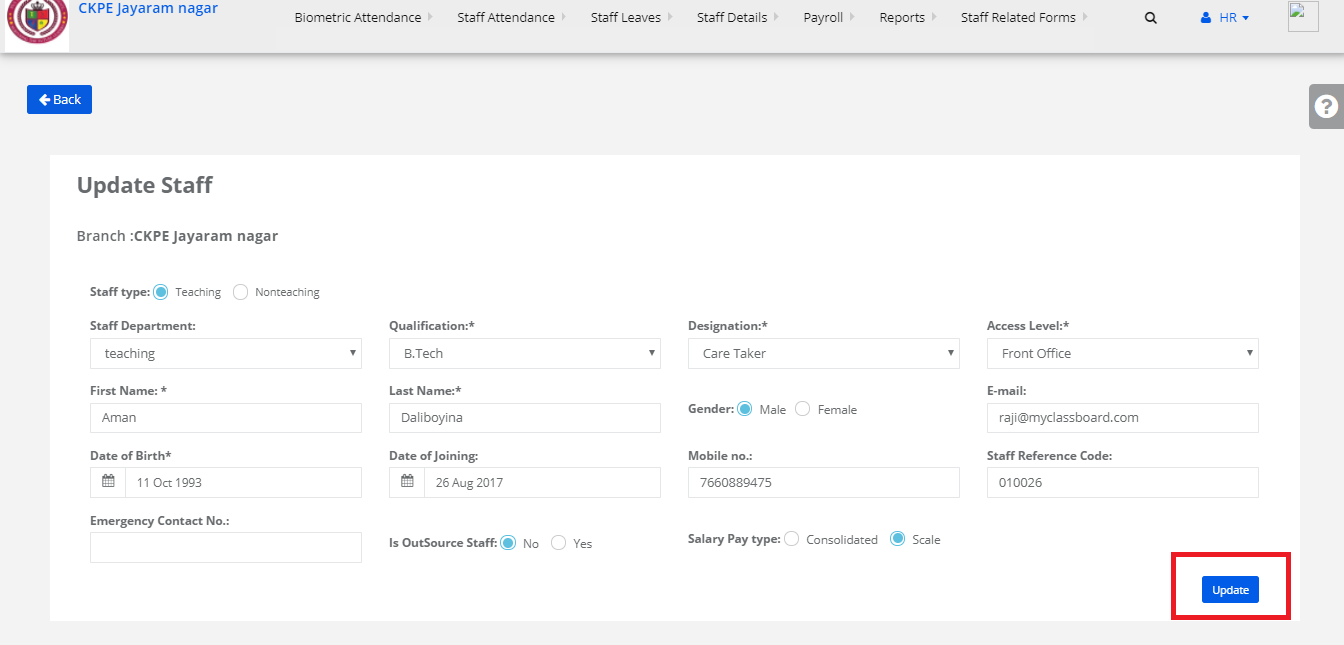
Step 5: Enter all the adequate details of the staff here and click on “Save” button.
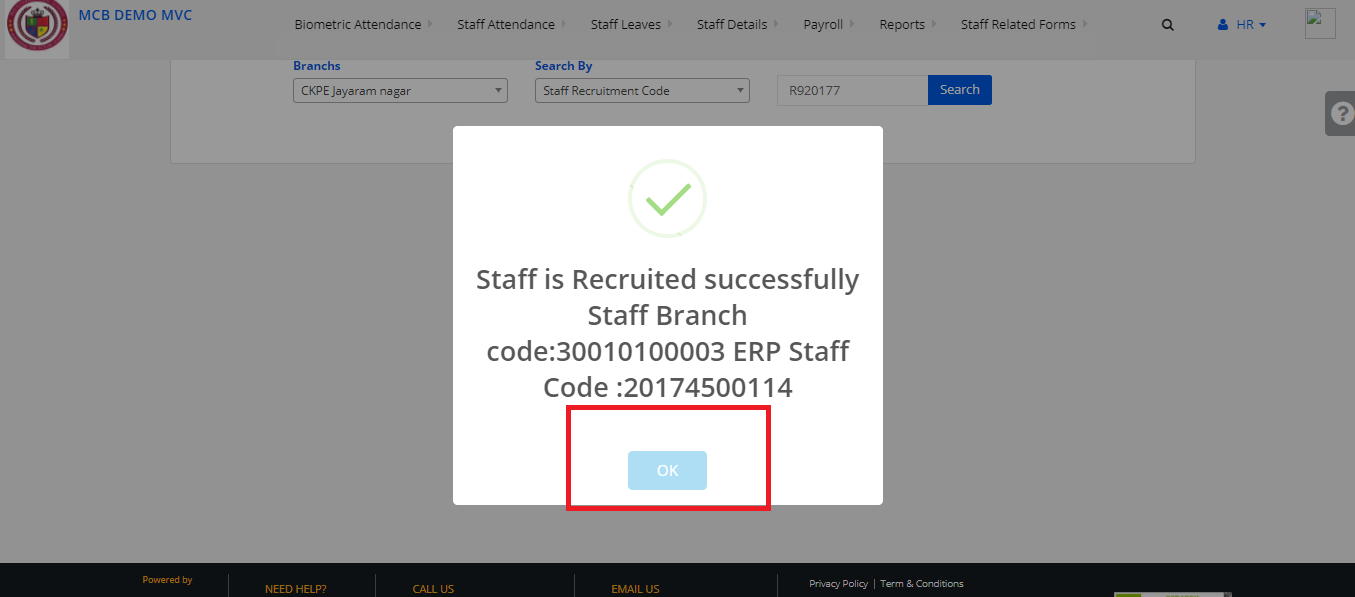
The Staff information is successfully added.
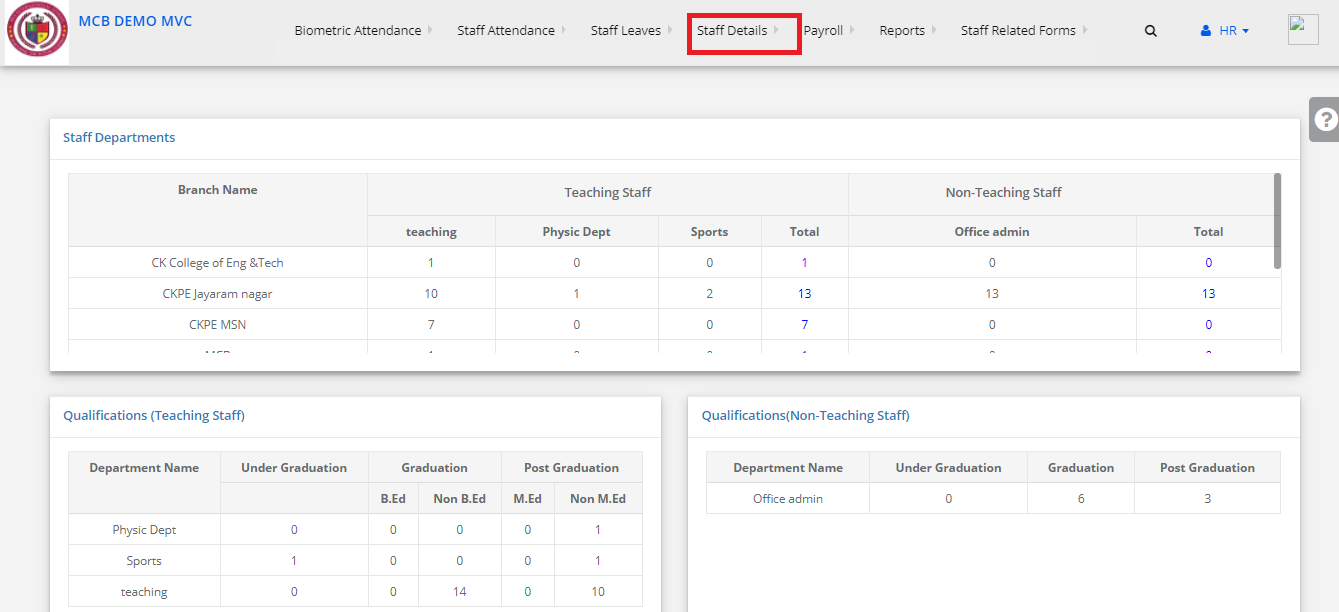
Upload Staff Details
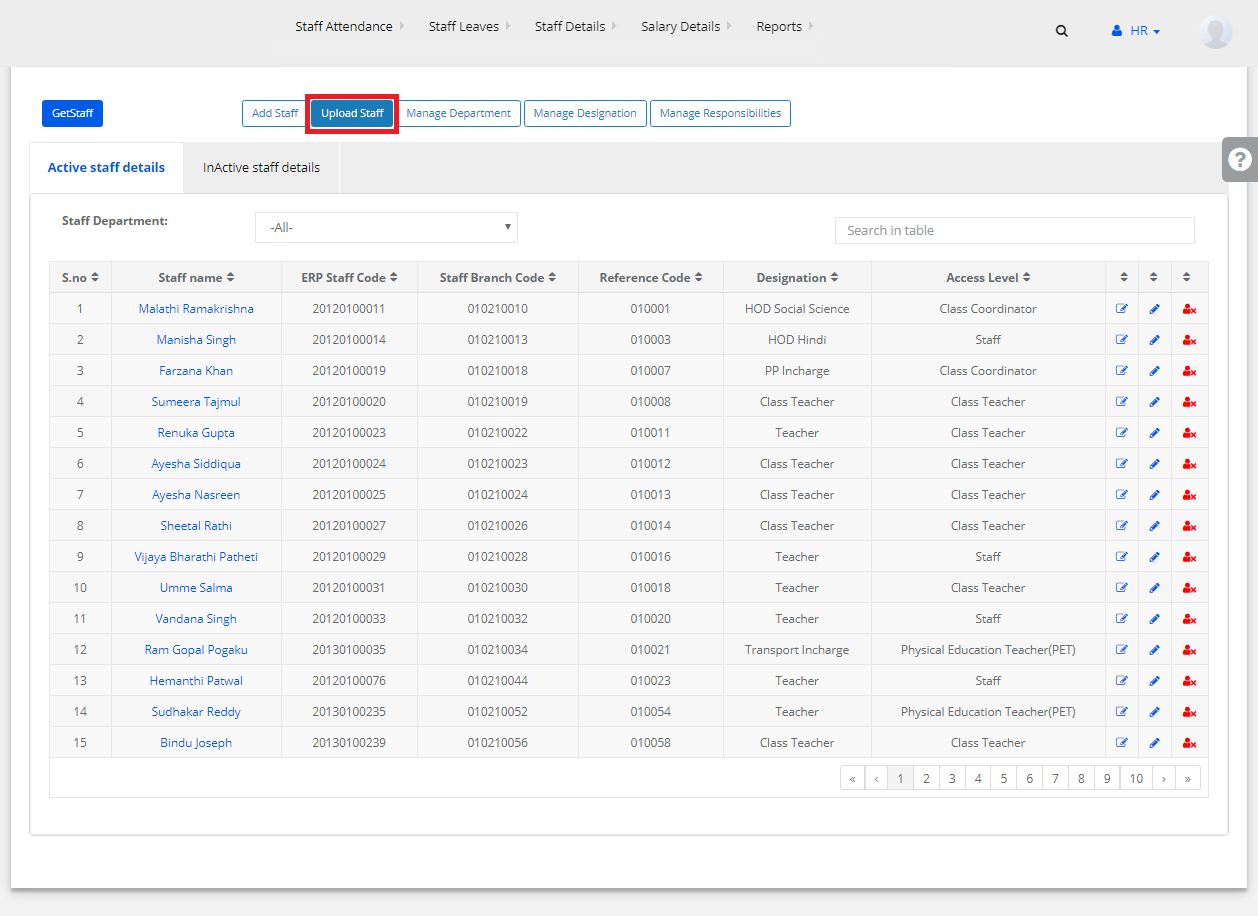
Step 1: Go back to the “Create Staff Details” page. Select “Upload Staff”.
Step 2: Select Staff Type, Department and click on “Choose File” to upload a CSV File Format. Upon choosing, click on Validate to Upload.
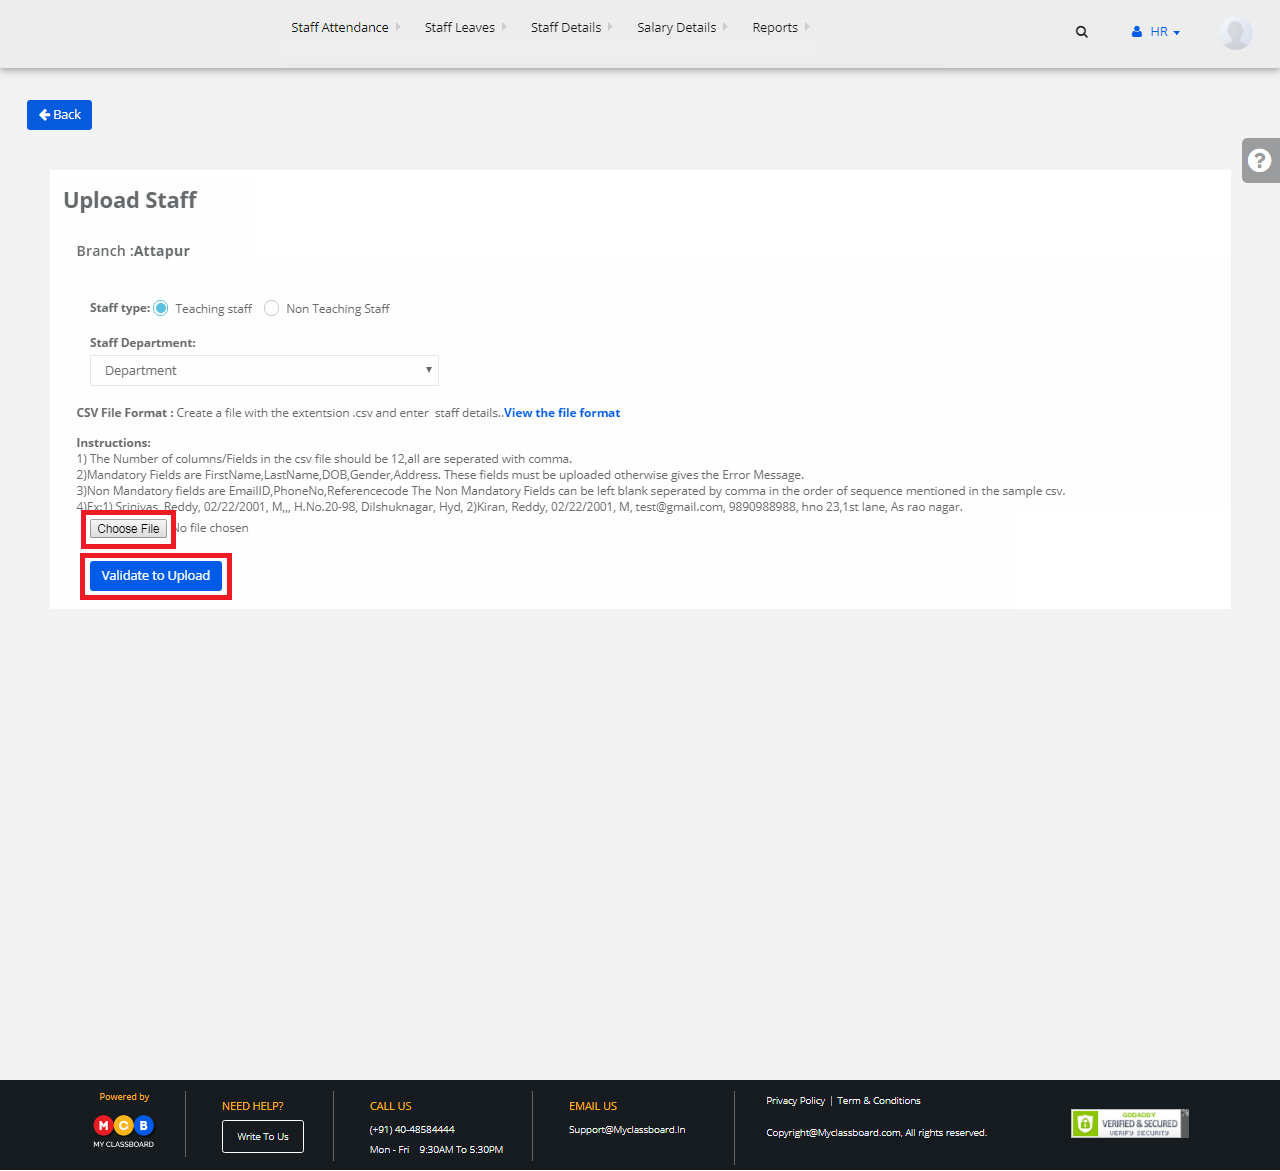
The staff details are uploaded.
To Add/Create a New Staff Department
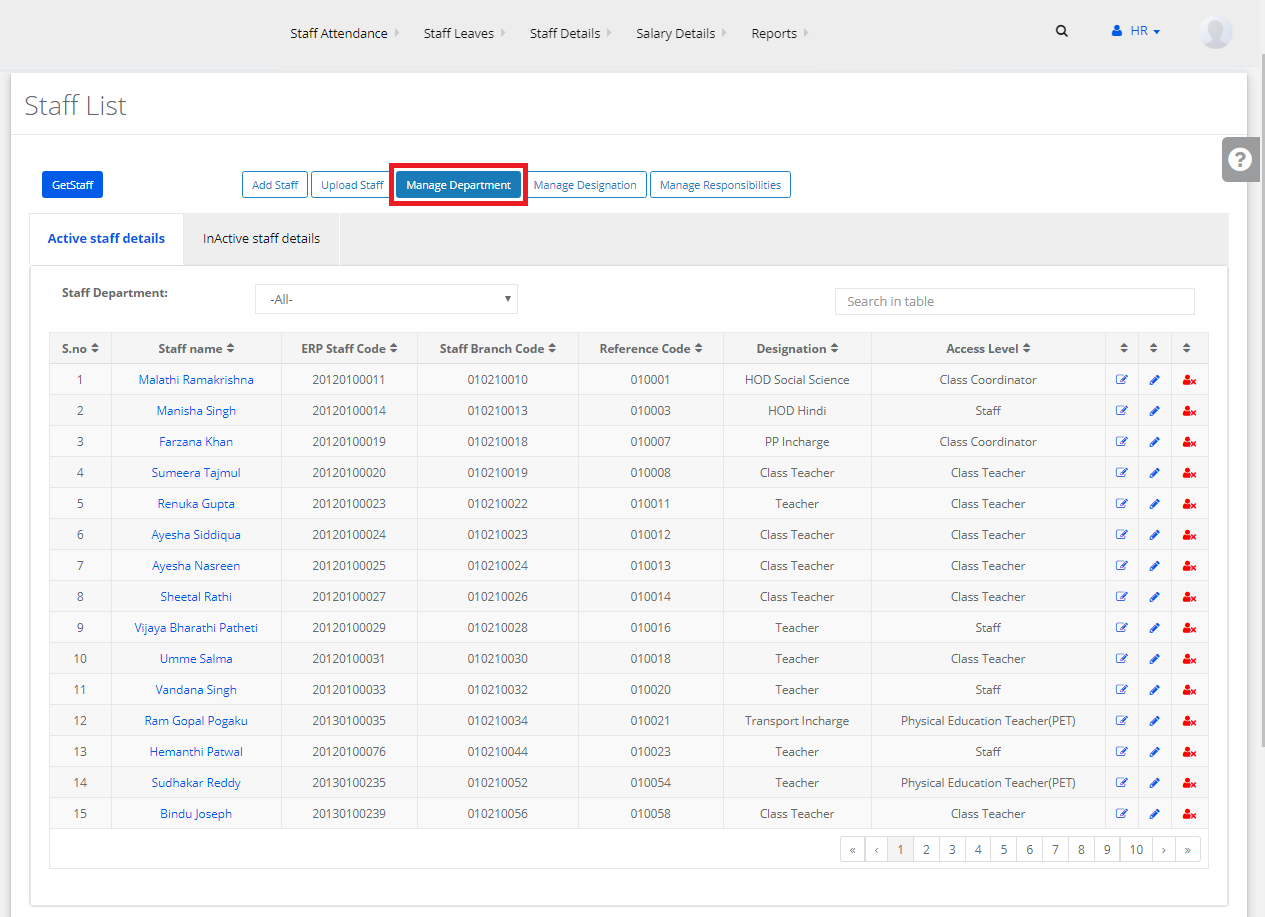
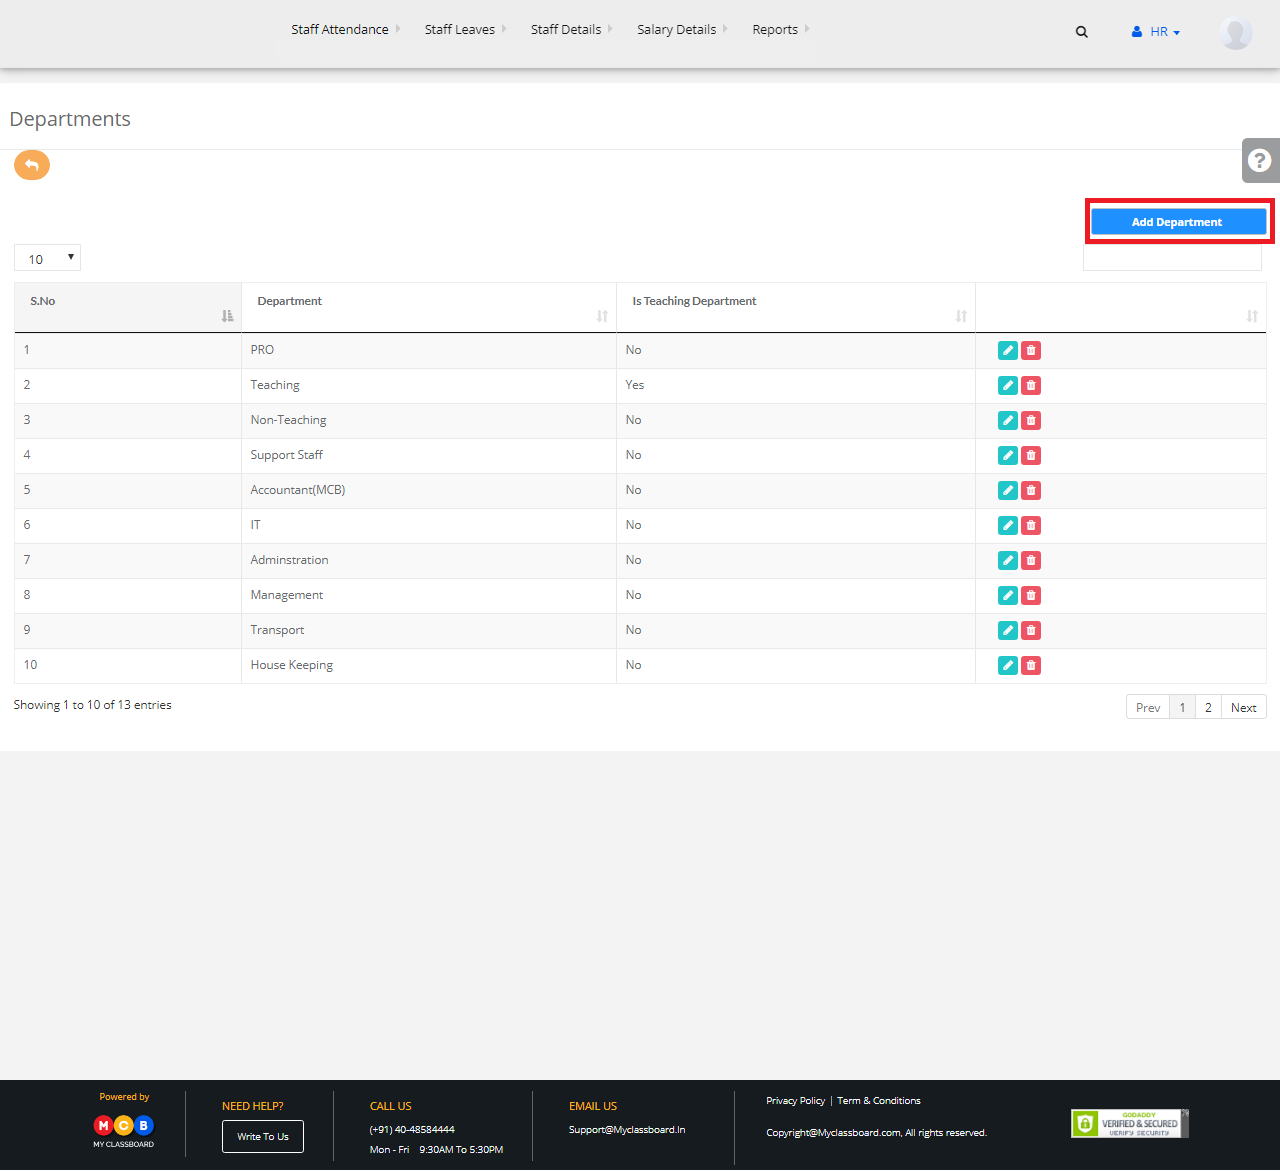
Step 1: Go back to the “Create Staff Details” page. Select “Manage Department”.
Step 2: Click on “Add Department” to create a new staff department.
Step 3: Enter the required details here and click on “Save” button.

Step 4: The new staff department is added successfully.
To Add/Create a New Designation
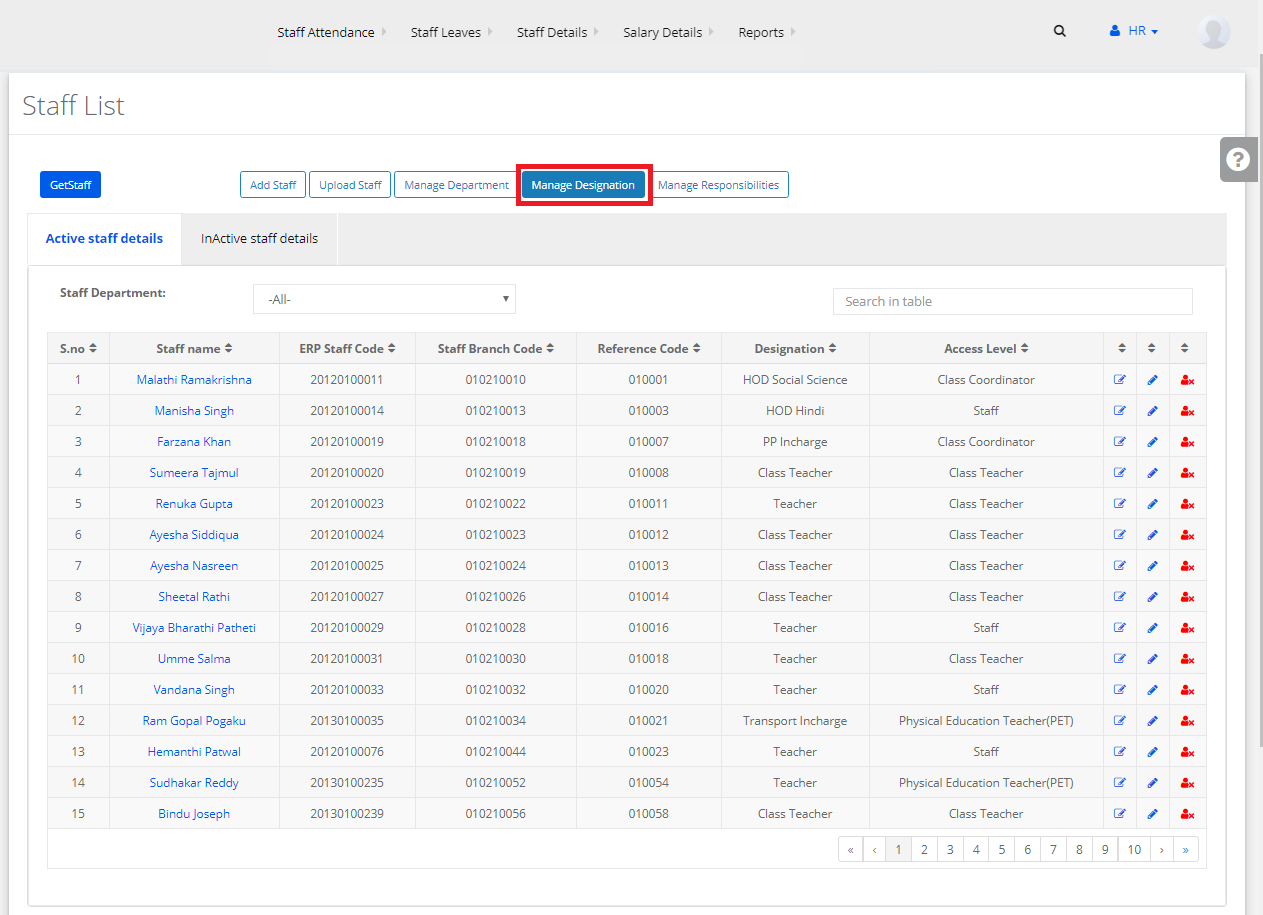
Step 1: Go back to the “Create Staff Details” page. Select “Manage Designation”.
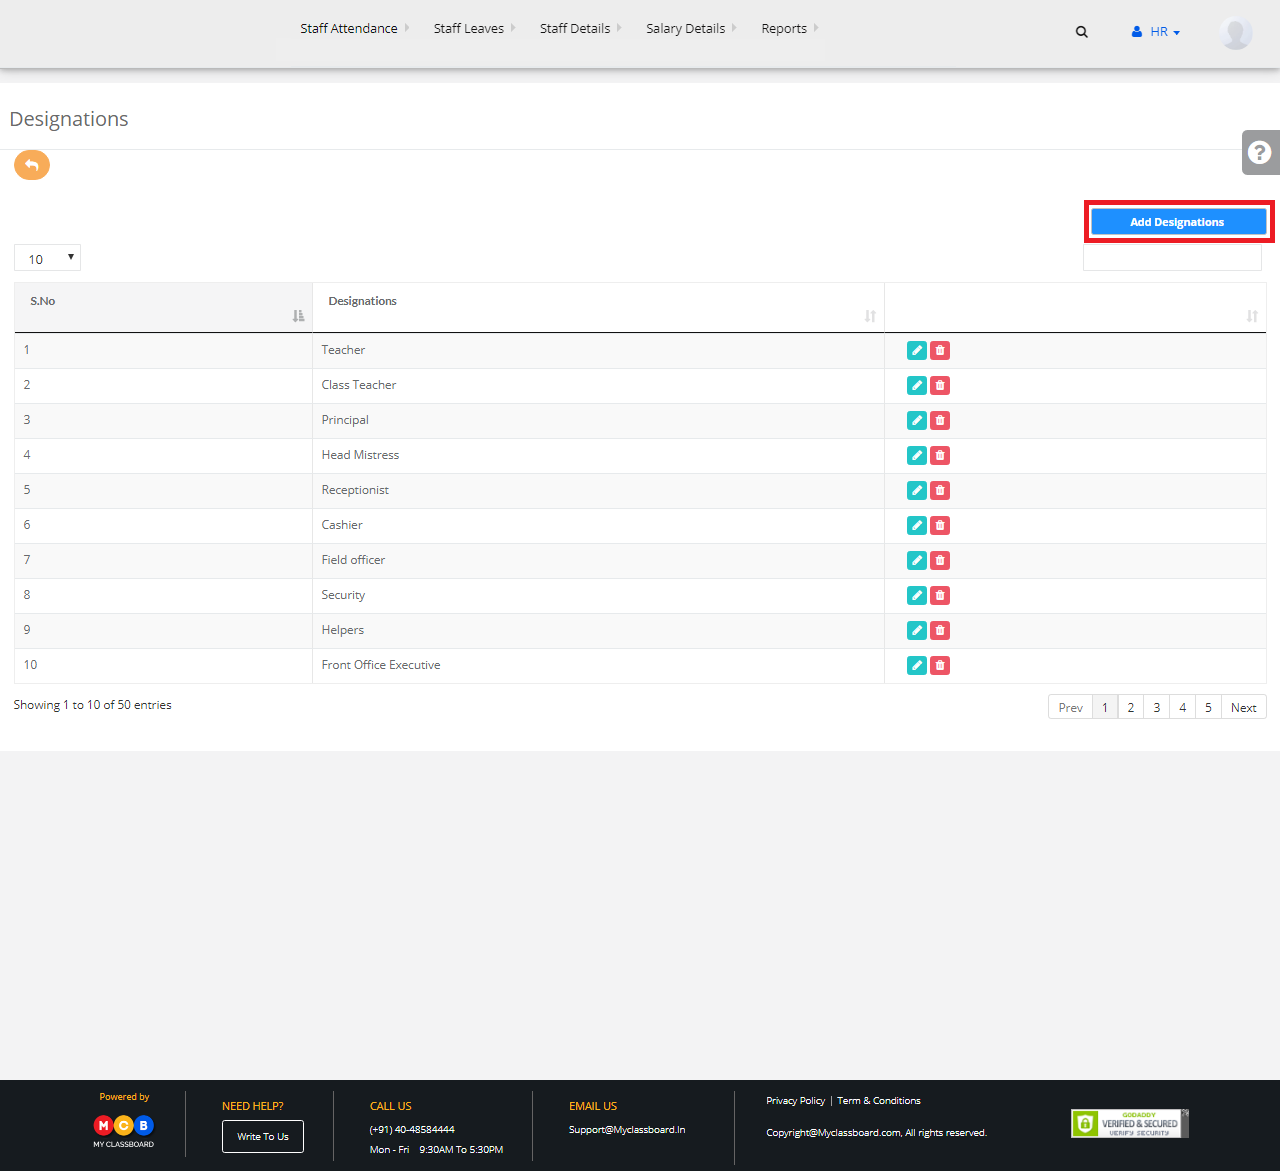
Step 2: Click on “Add Designation” to create a new designation to the staff.
Step 3: Enter the required details here and click on “Save” button.
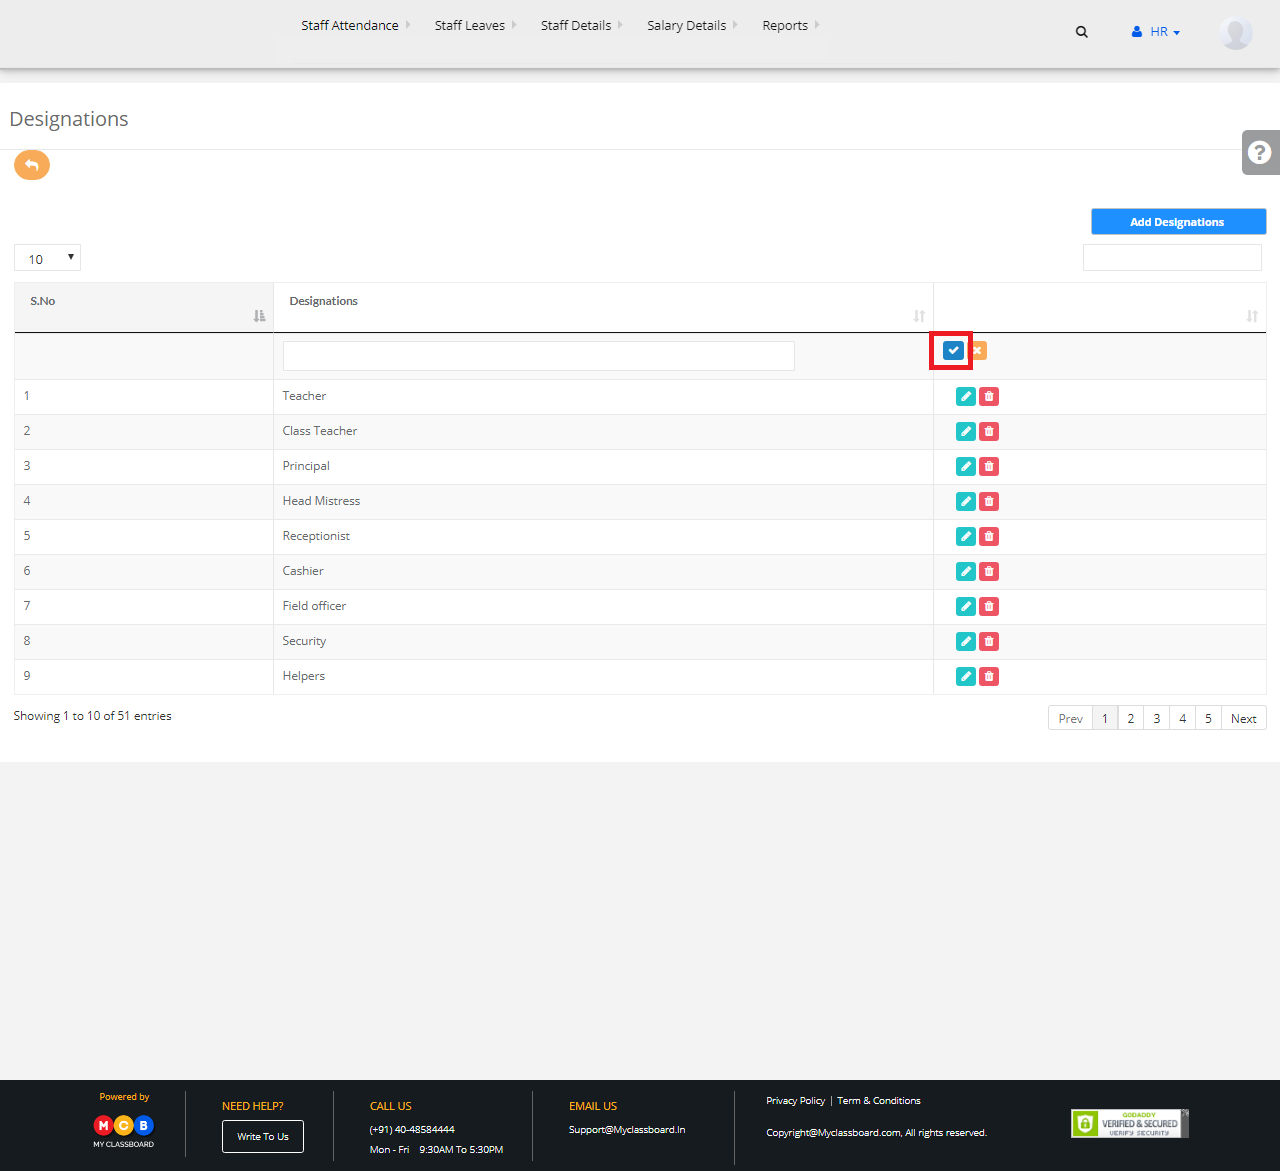
Step 4: The new designation is added successfully.
To Add/Create New Responsibilities
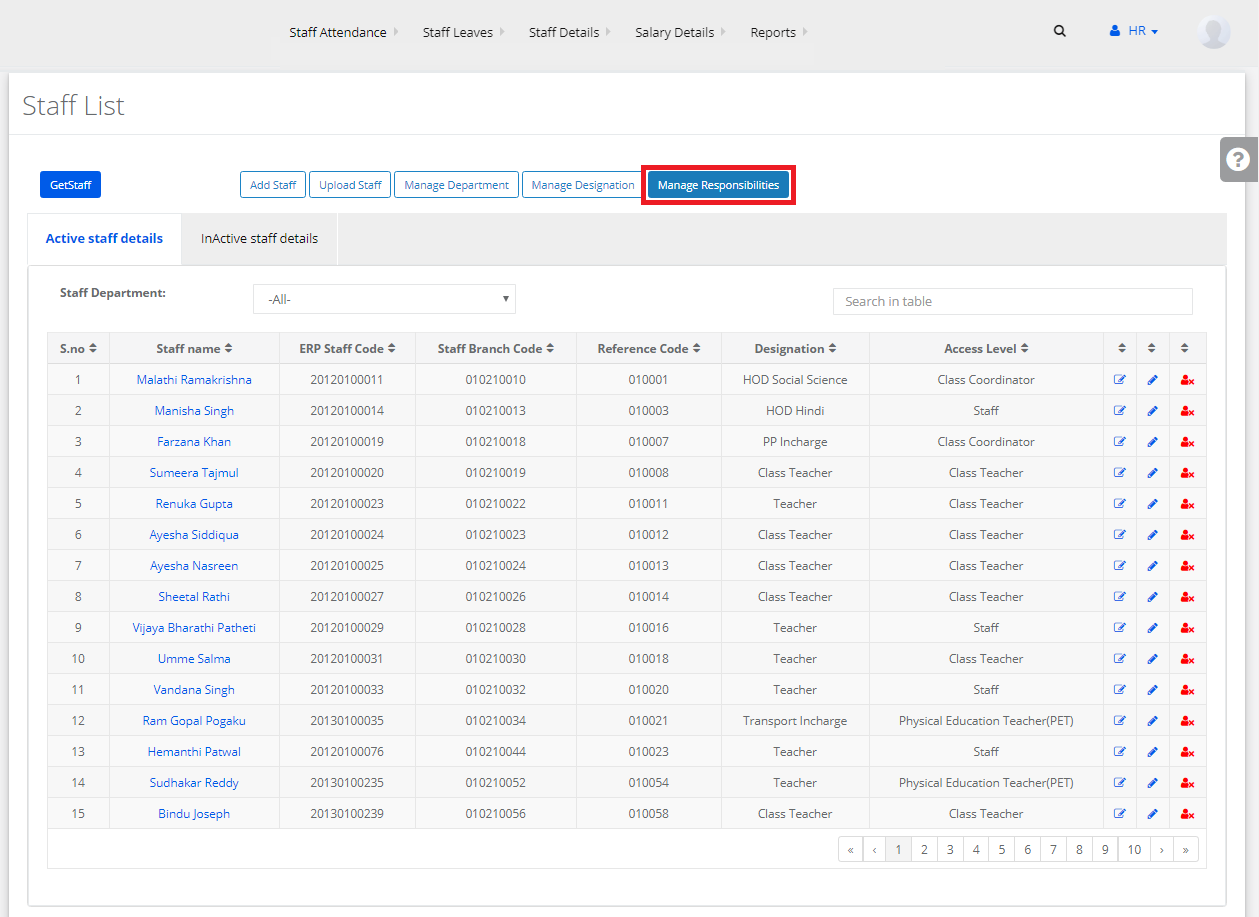
Step 1: Go back to the “Create Staff Details” page. Select Branch and click on “Manage Responsibilities”.
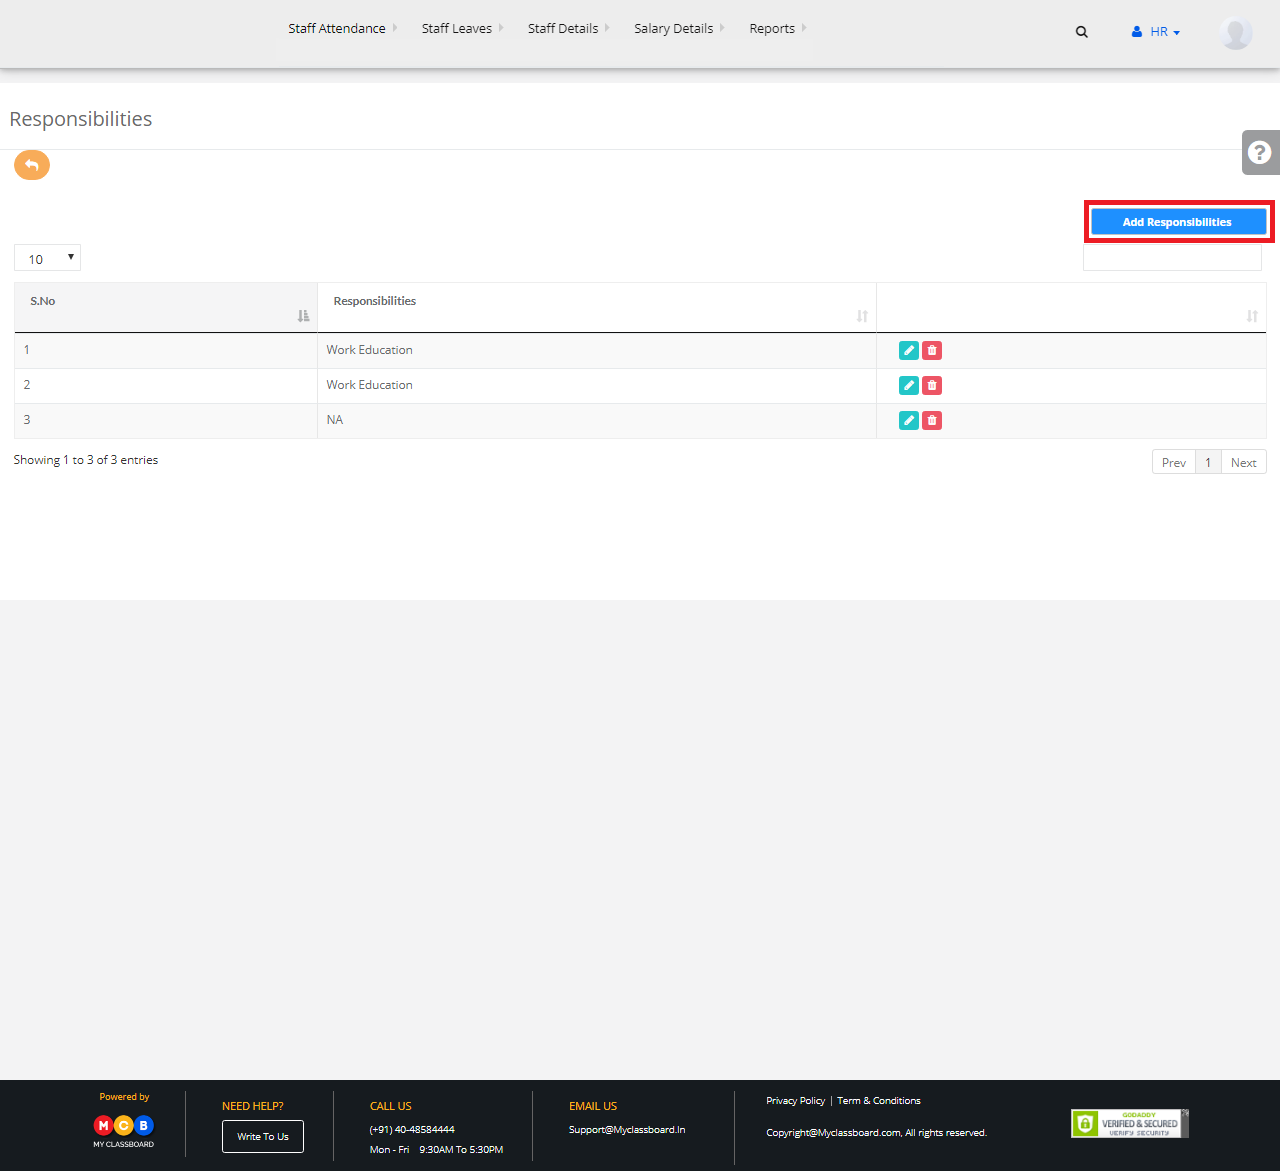
Step 2: Click on “Add Responsibilities” to create new responsibilities.
Step 3: Enter the required details here and click on “Save” button.
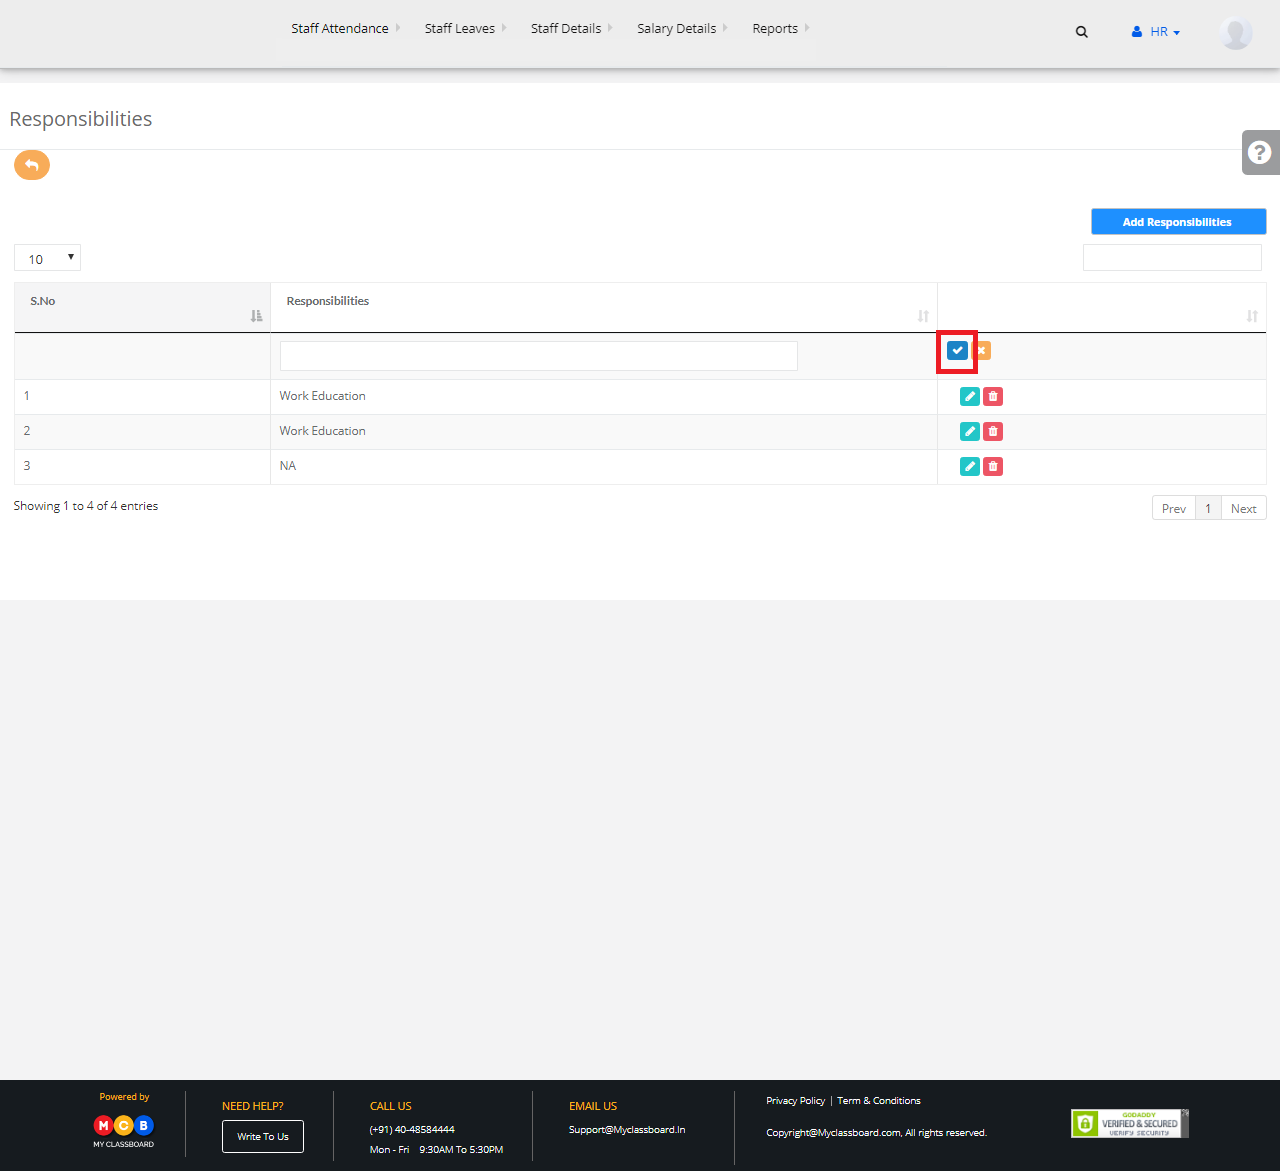
Step 4: The new responsibilities are added successfully.