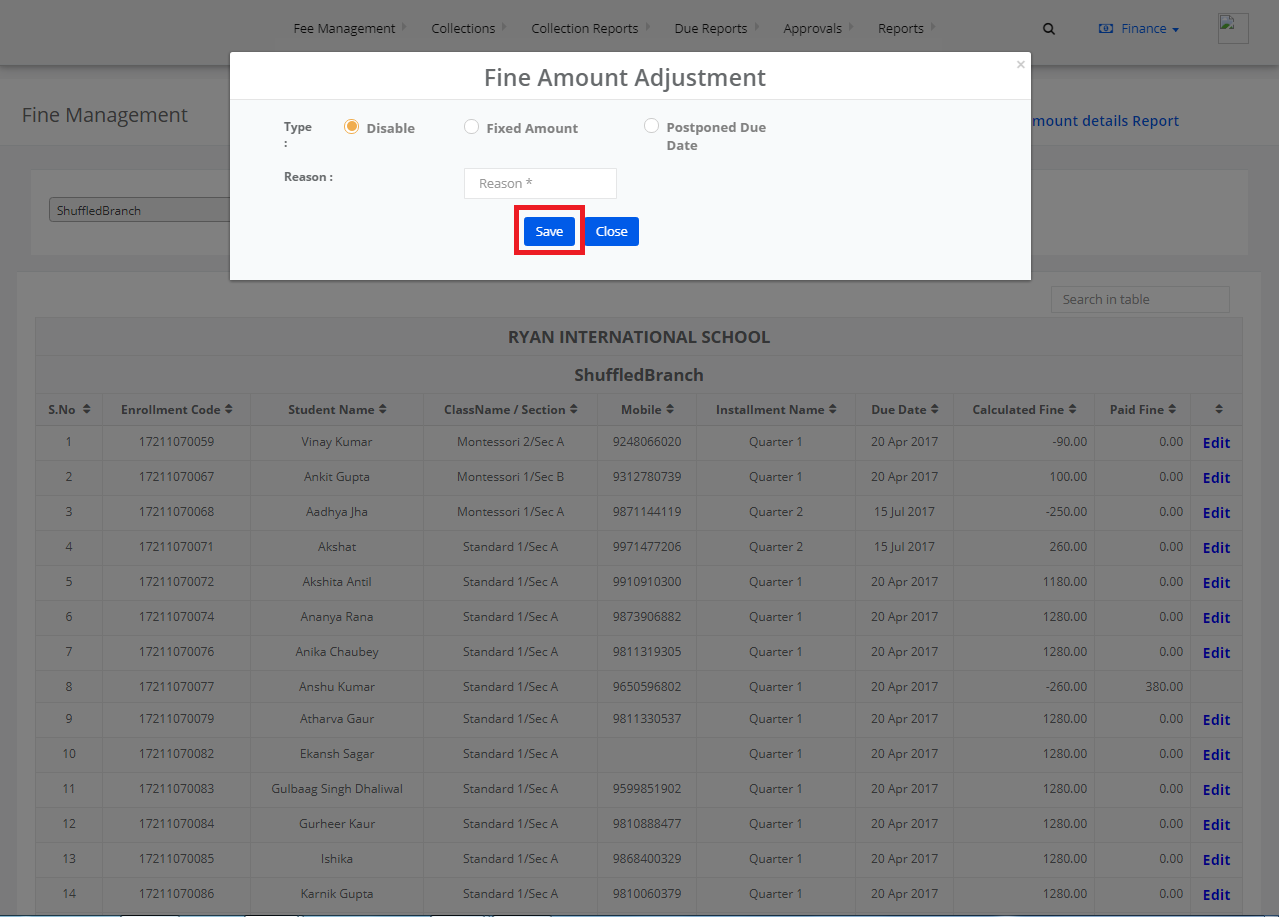
Step 1: Login to MCB with Accountant login credentials.
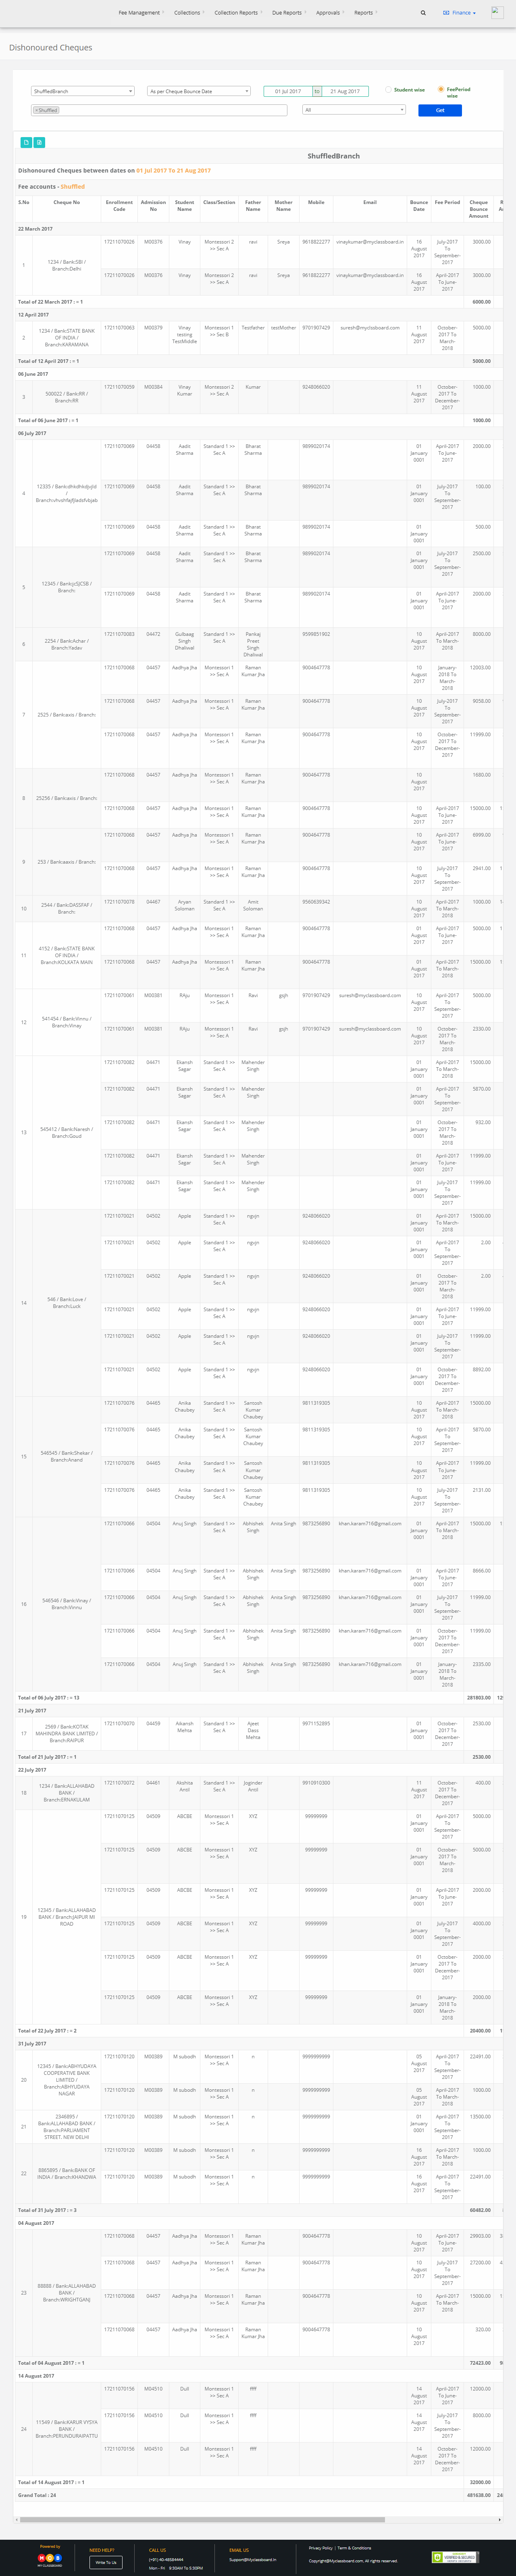
Step 2: Select “Collection Reports” on the top bar and choose “Dishonoured Cheques”.

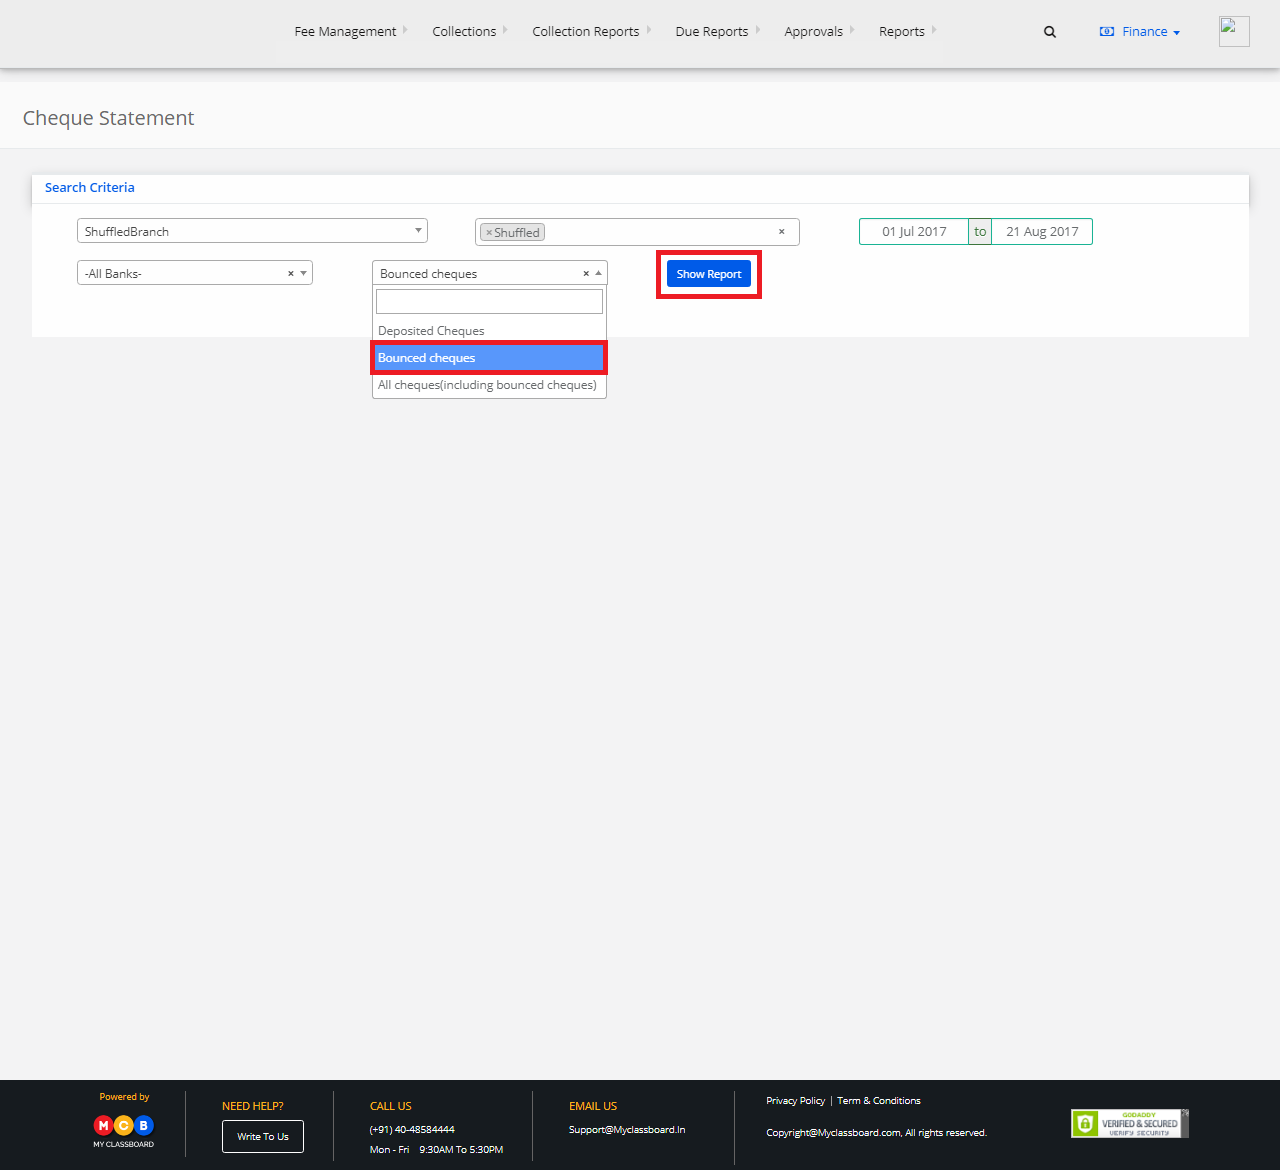
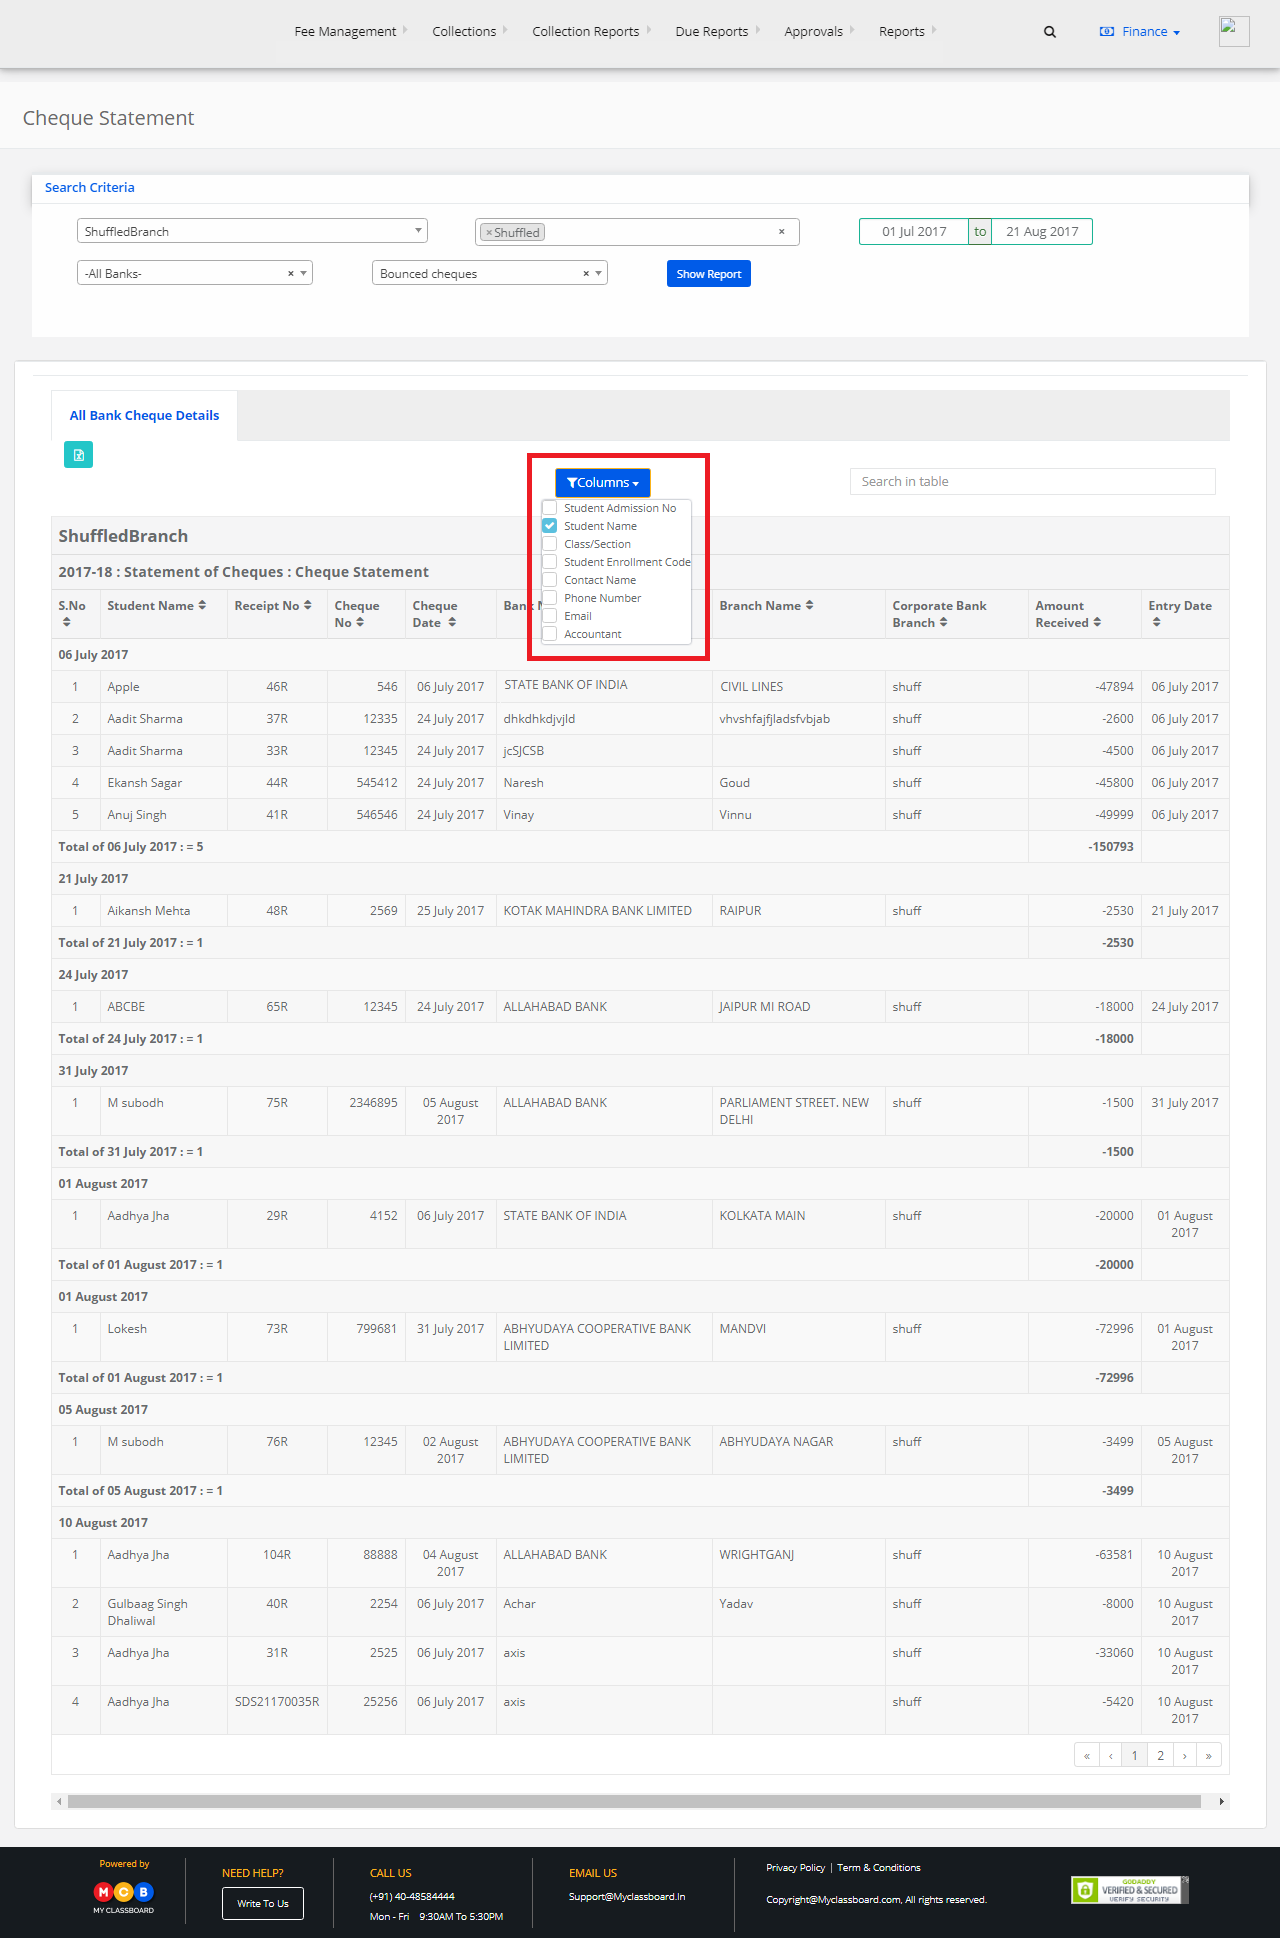
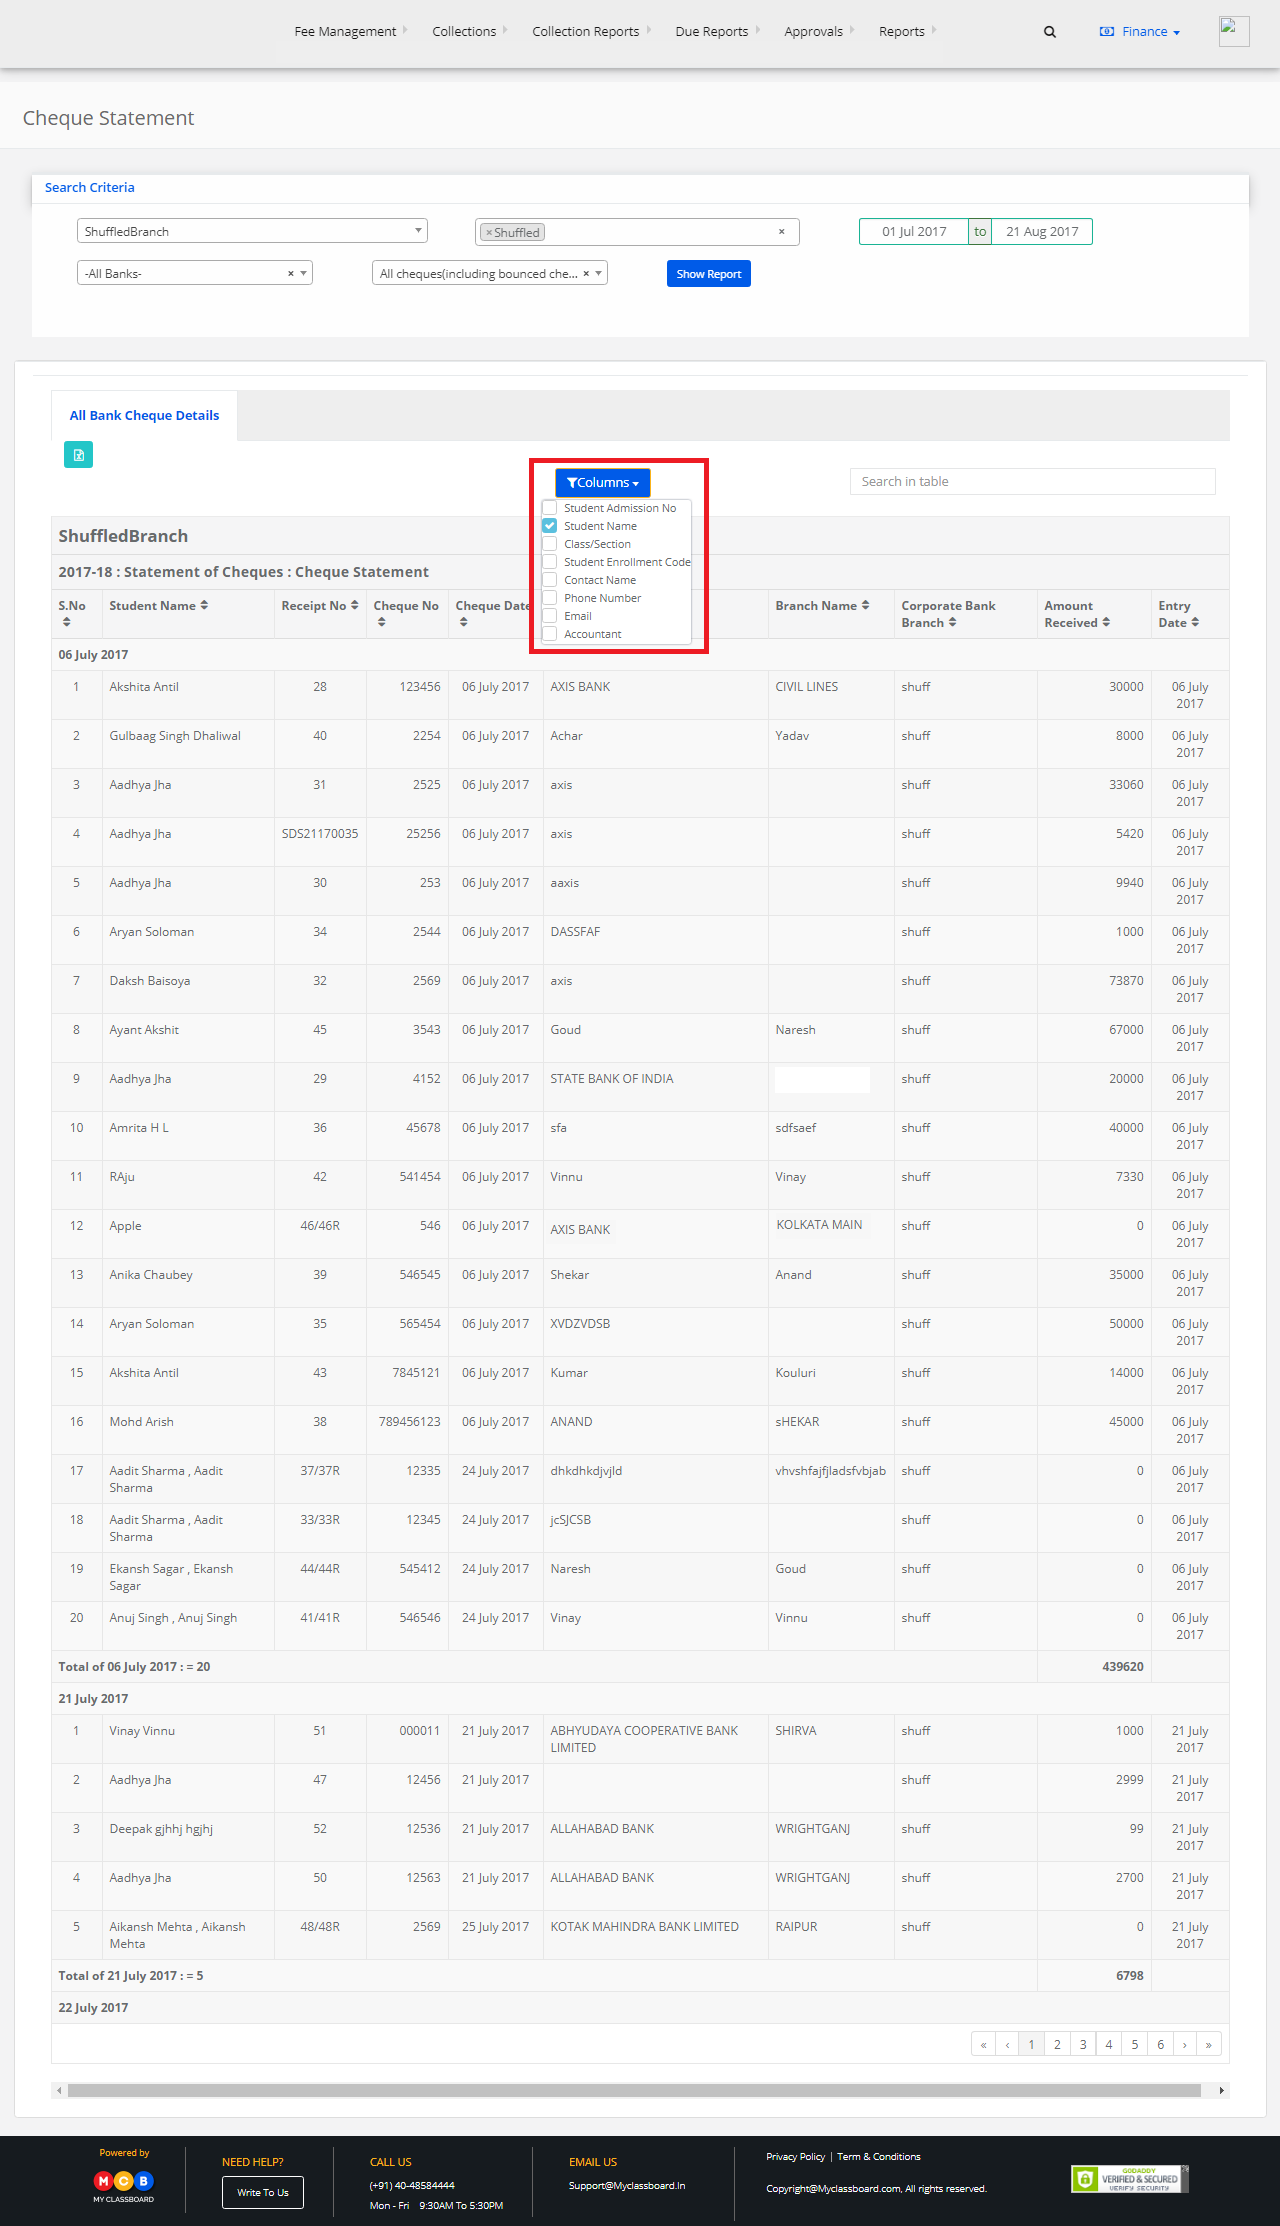
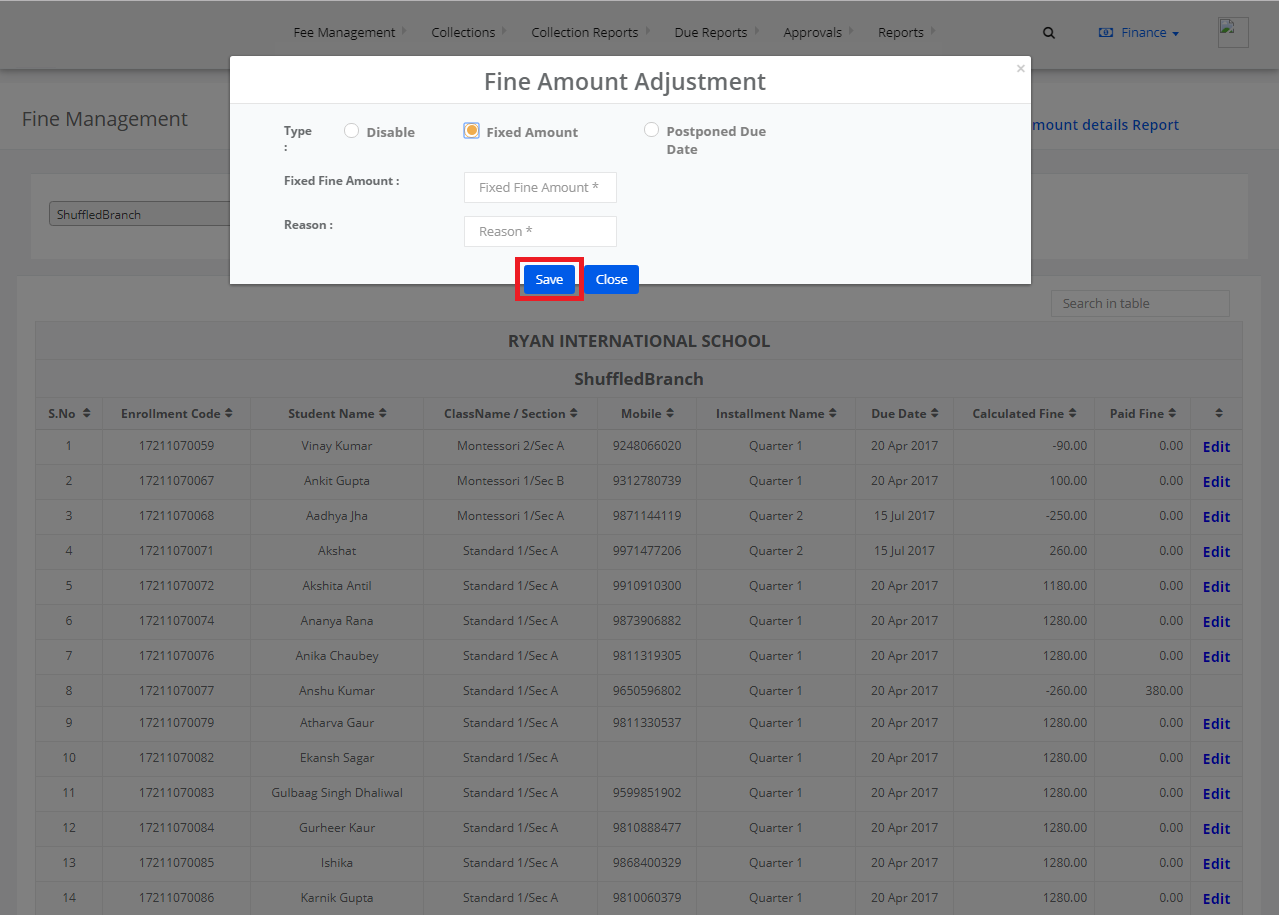
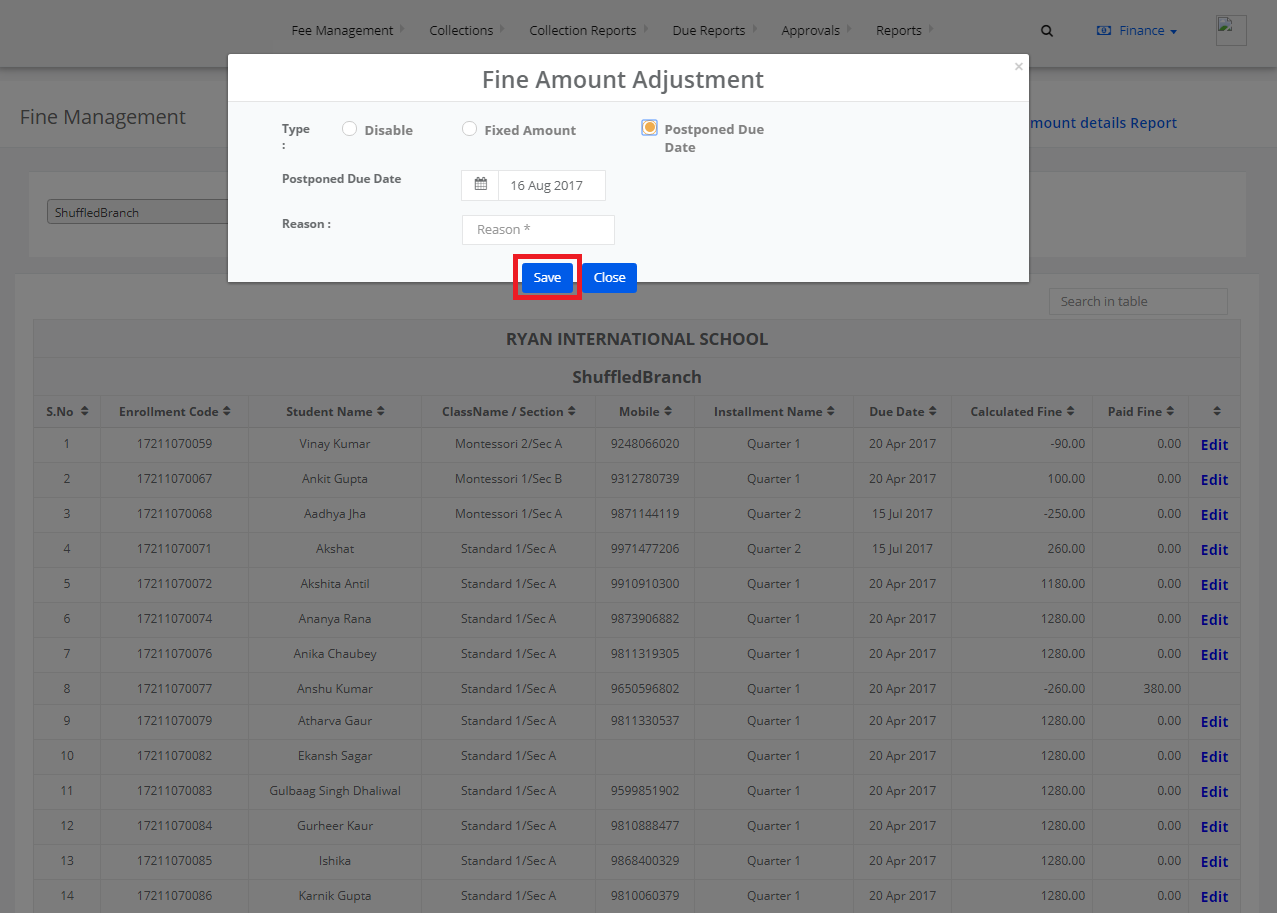
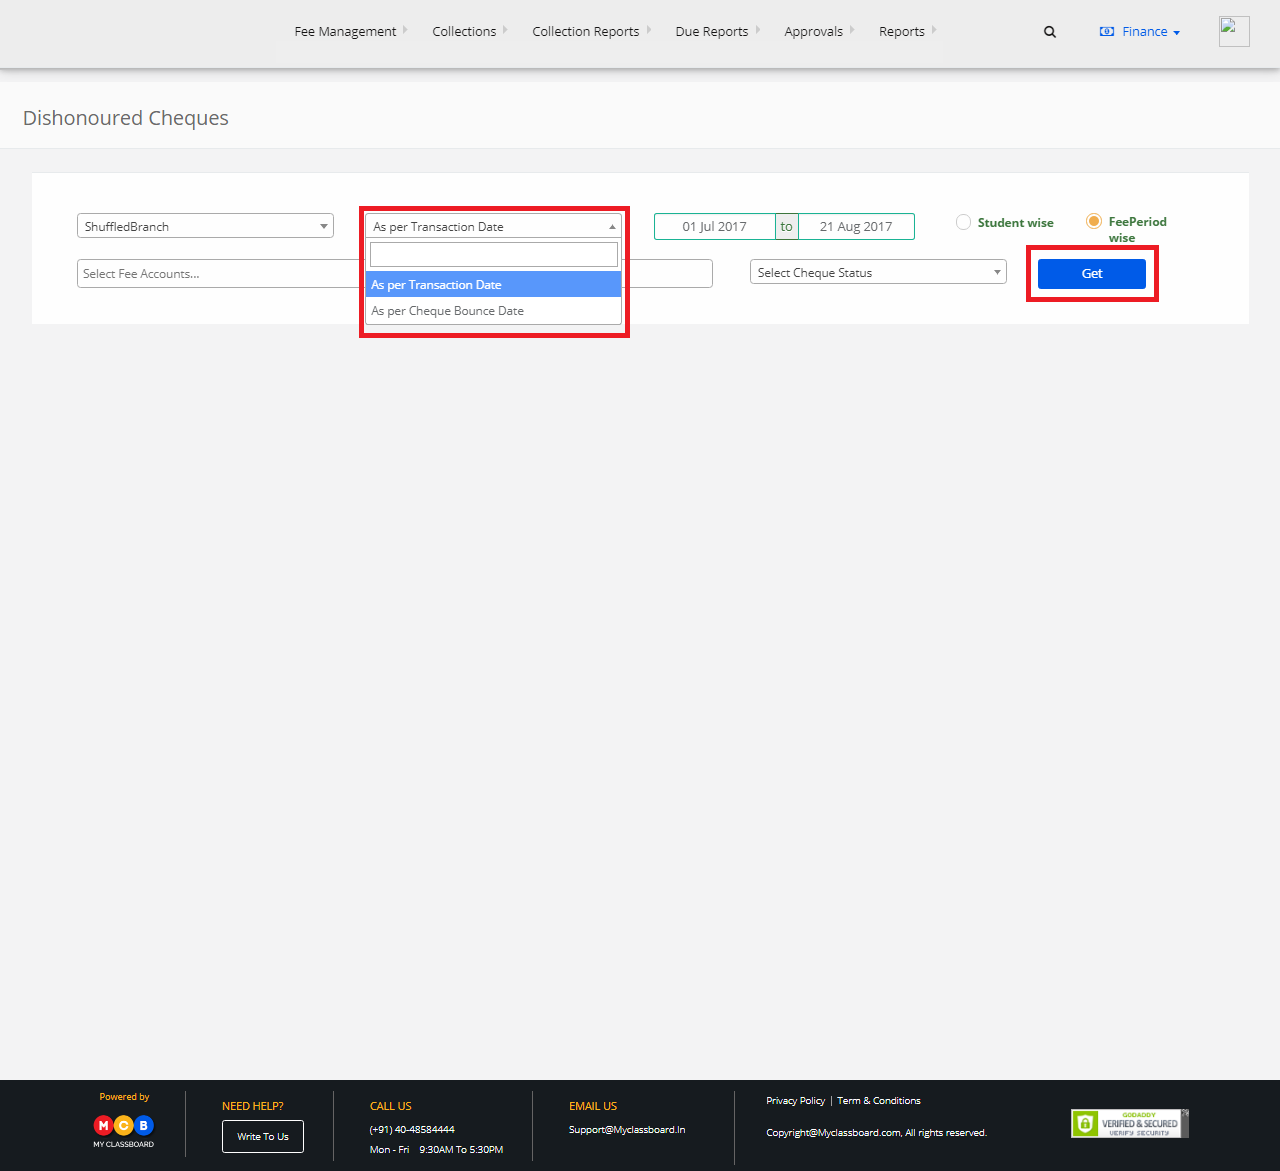
Step 3: Choose the required options here like Branch, Date, Fee Accounts, Cheque Status (All, Repaid, Unpaid) and click on “Get”.

Step 4: If you want to generate a Dishonored Cheque Report as per the transaction date, select the option as “As per Transaction Date”.
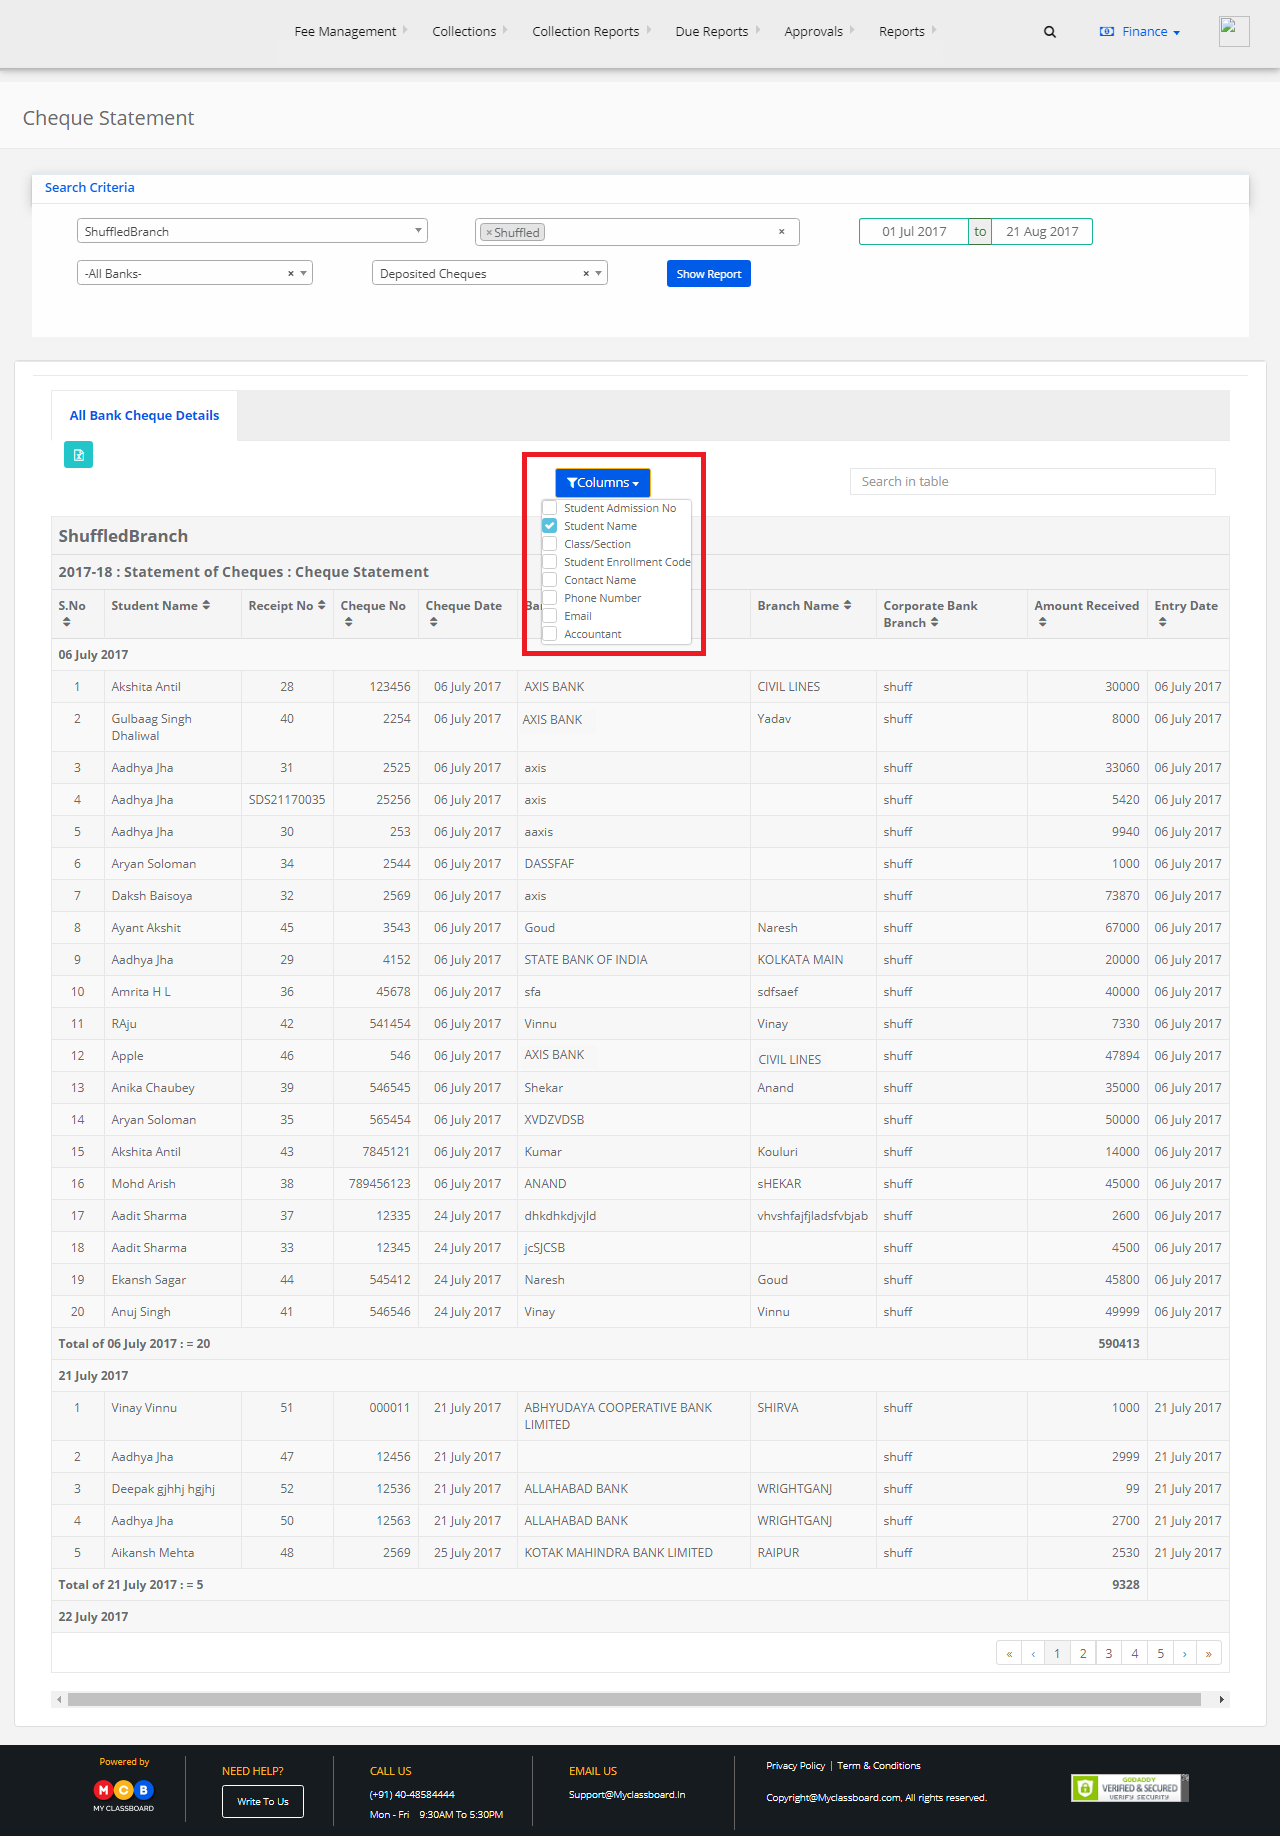
Step 5: You may print the report directly or export into Excel, by clicking on the options.

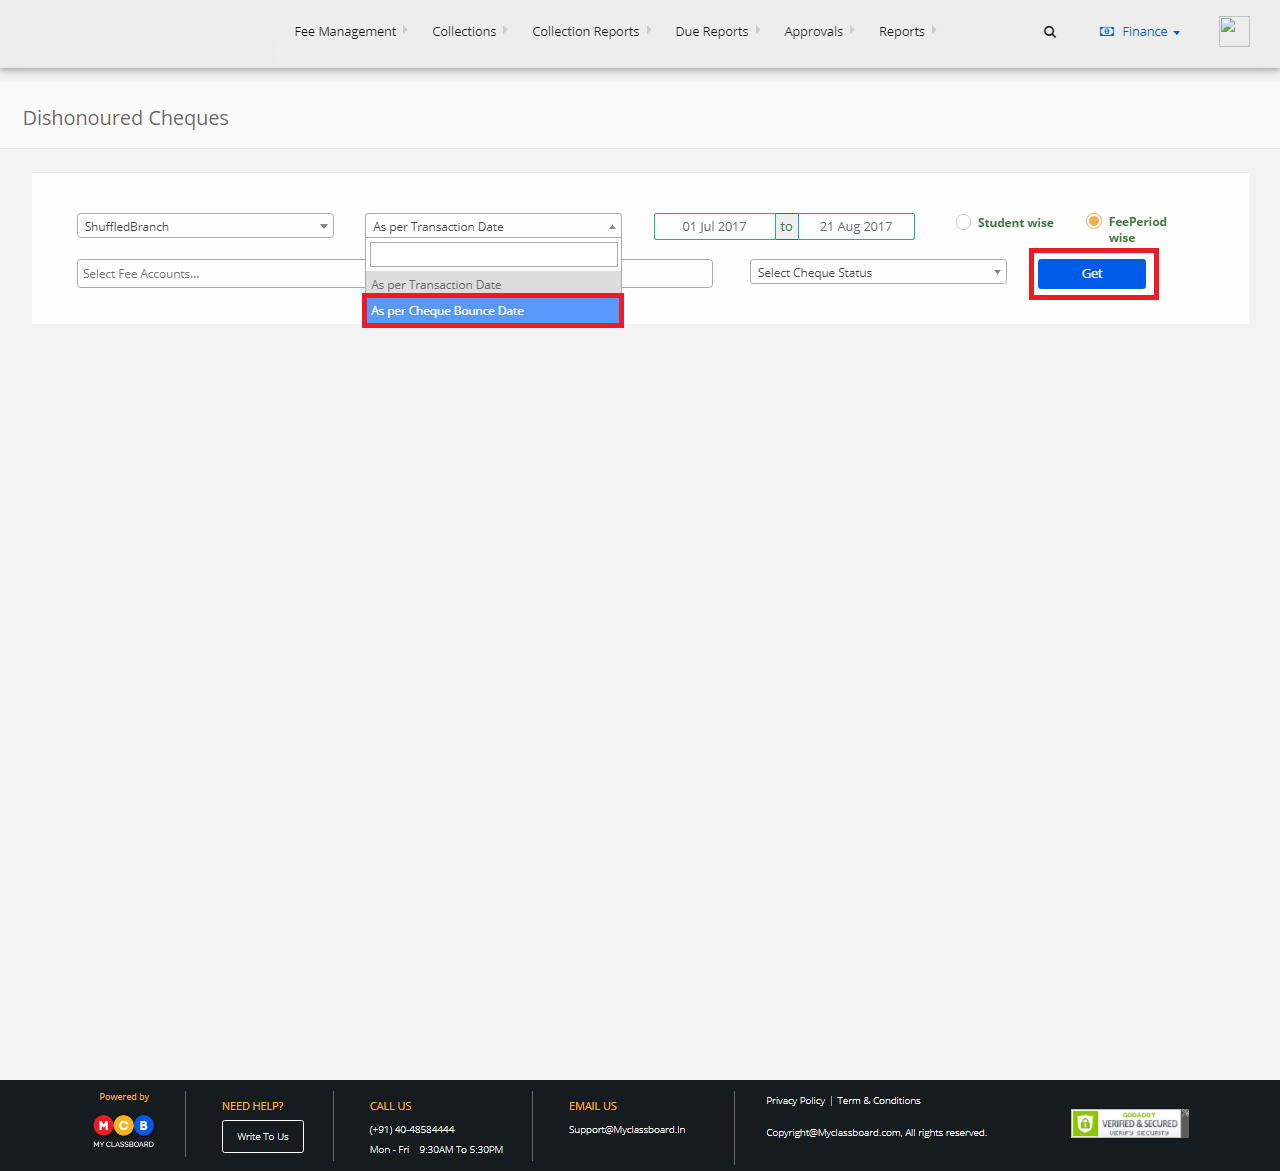
Step 6: If you want to generate a Dishonored Cheque Report as per the Cheque bounce date, select the option as “As per Cheque Bounce Date”.
Step 7: You may print the report directly or export into Excel, by clicking on the options