Subject wise Reflections can be entered from Principal, Class teacher and Subject teacher login.
Users can enter grades and remarks reflection type or reflection sub type wise.
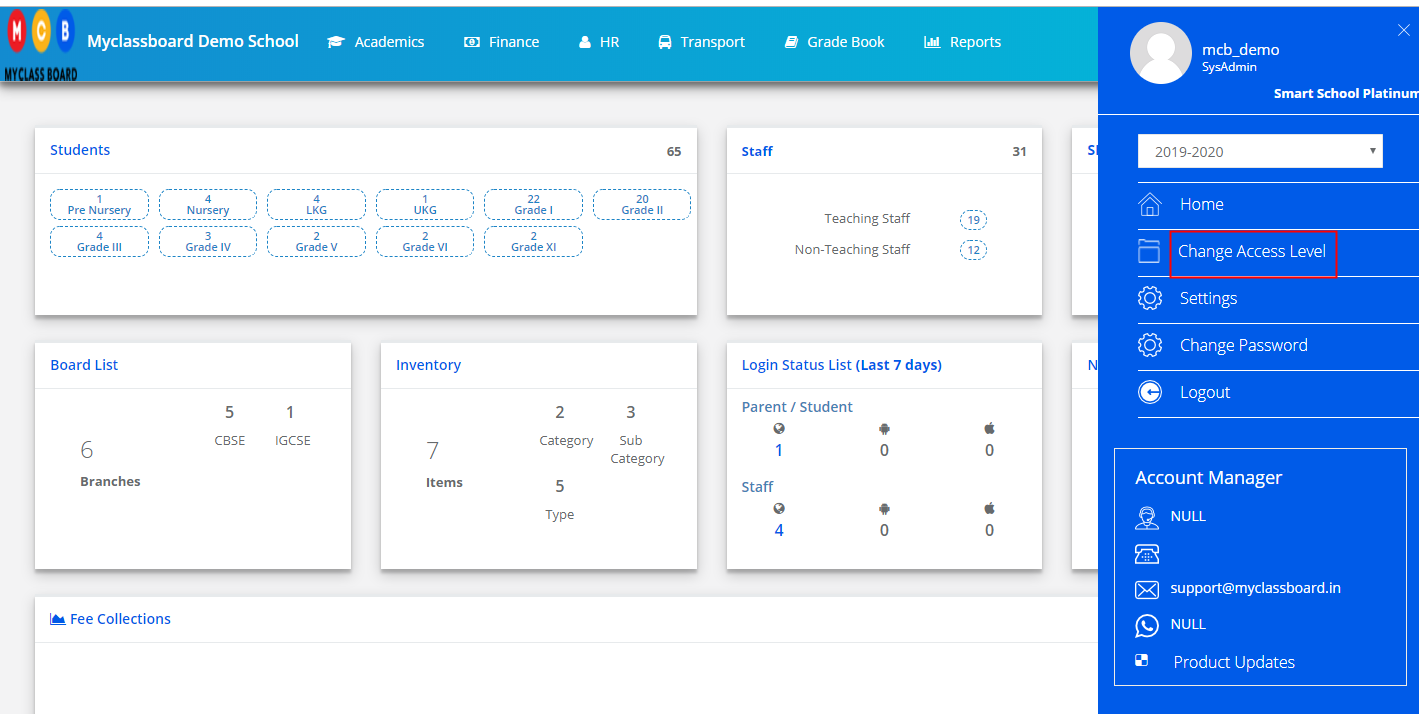
Step 1: Login to MCB and Switch to branch level by clicking on Change access level on the right panel as you click on the user profile picture.
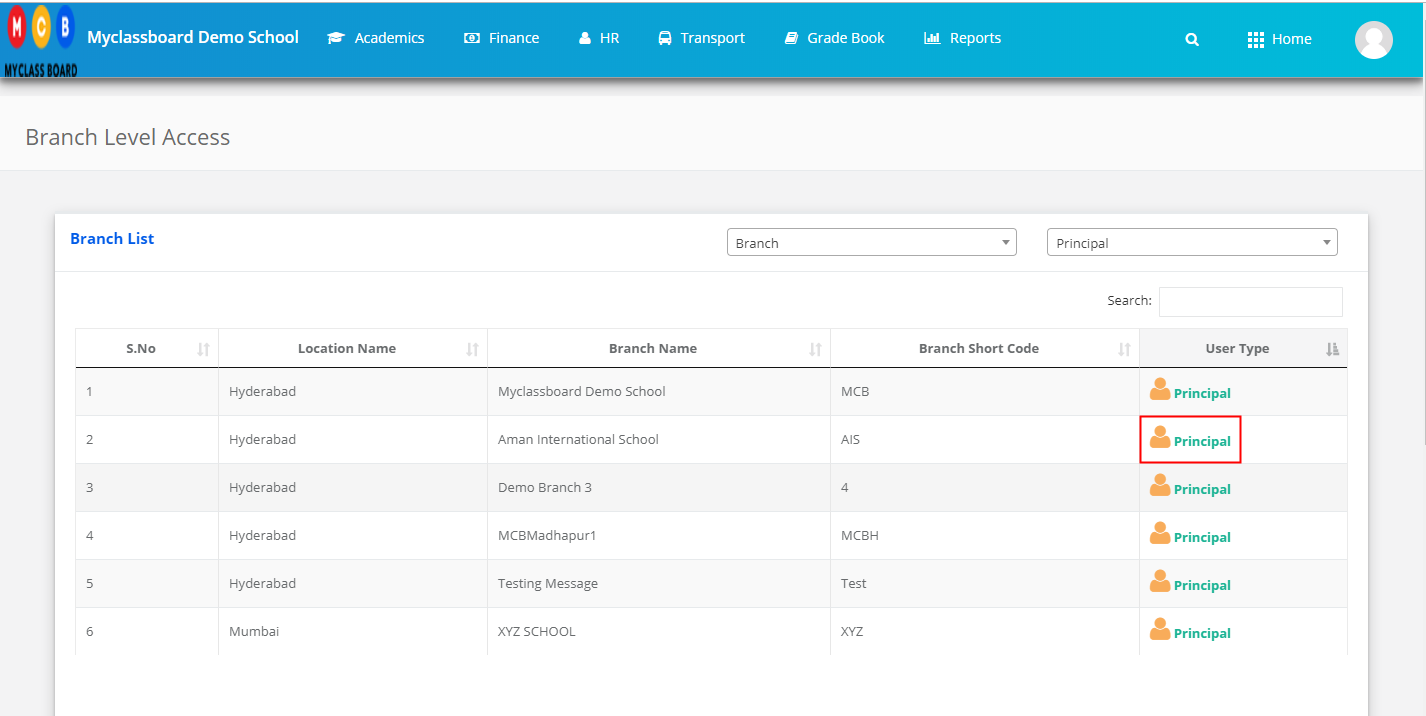
Step 2: Click on the user type against the branch name.
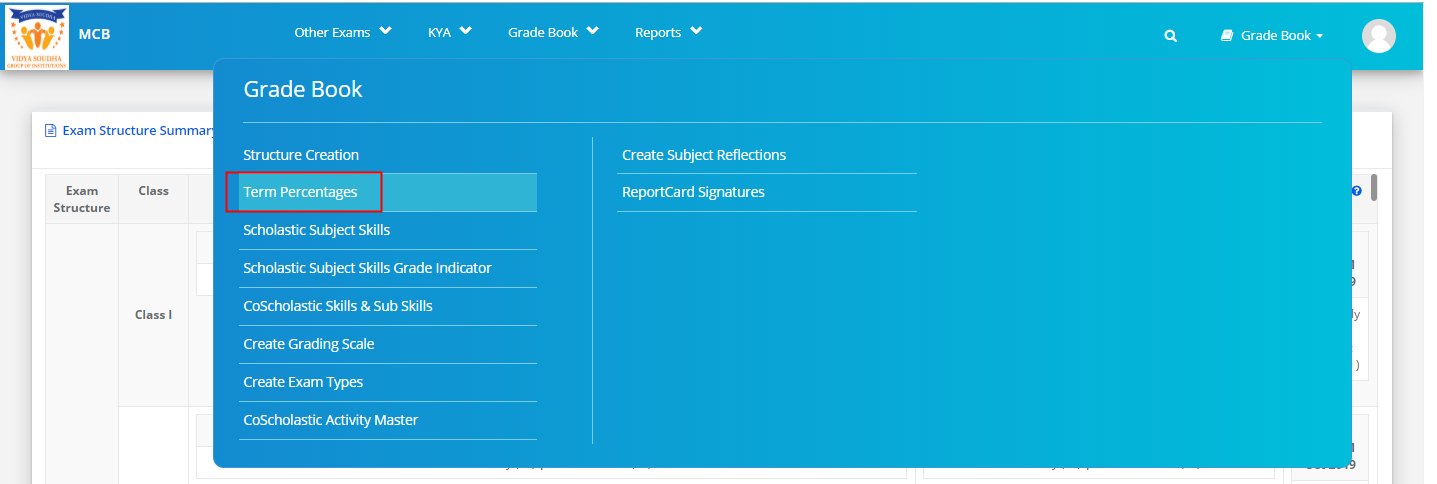
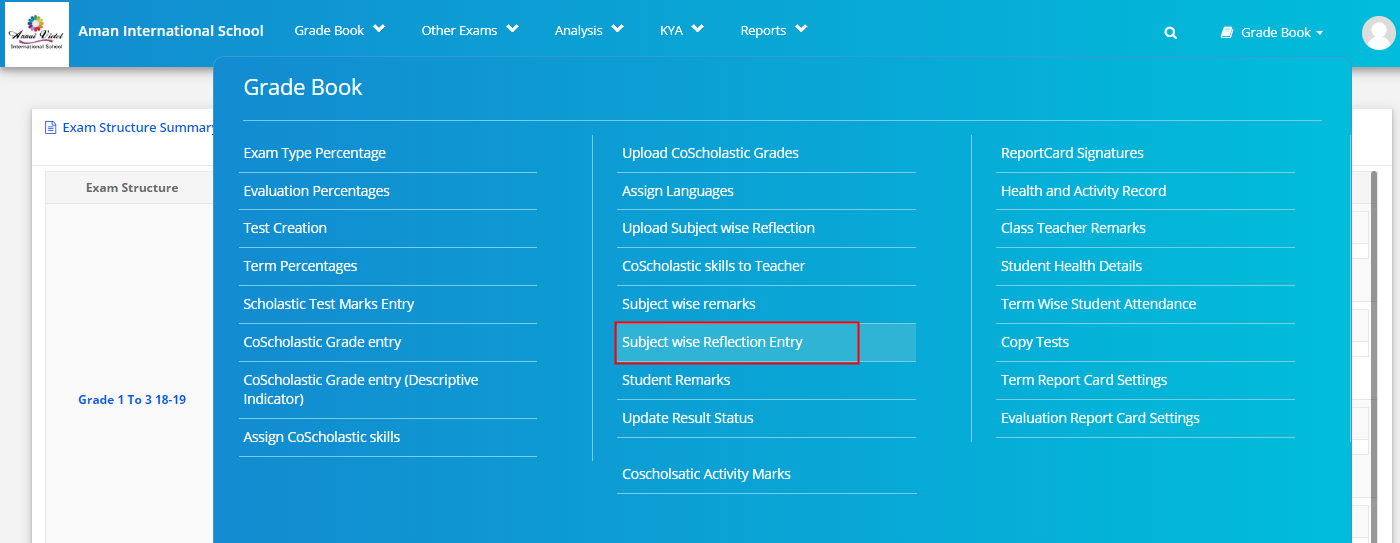
Step 3: Click on the Gradebook on the top menu bar.
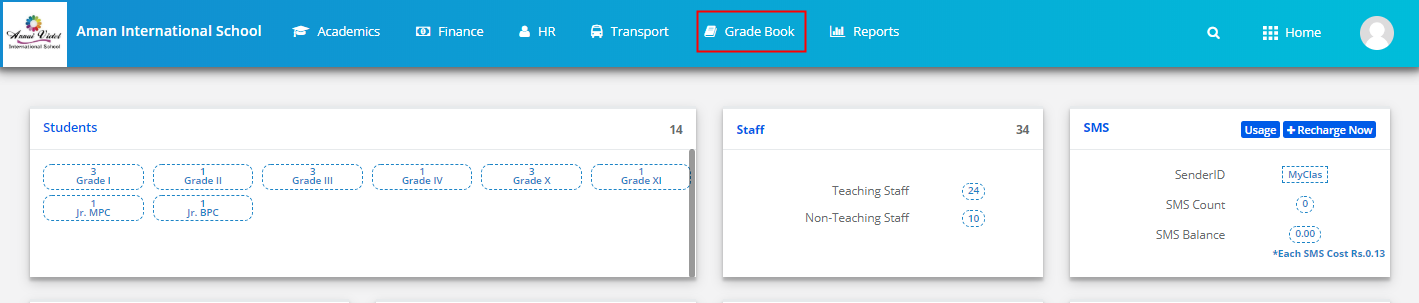
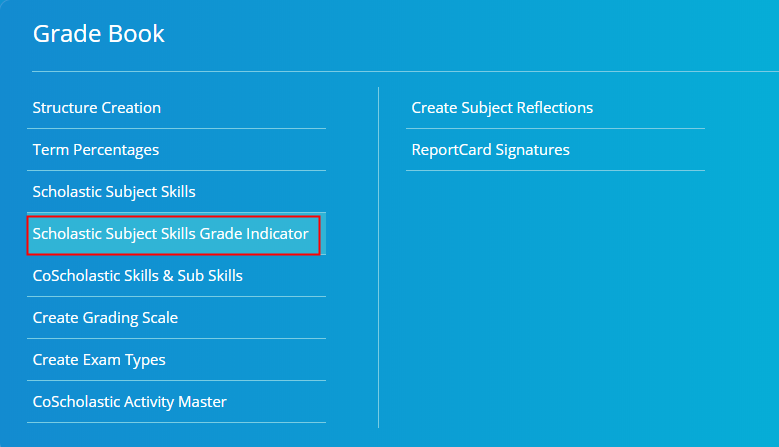
Step 4: Choose Subject wise Reflection Entry option under Grade Book.
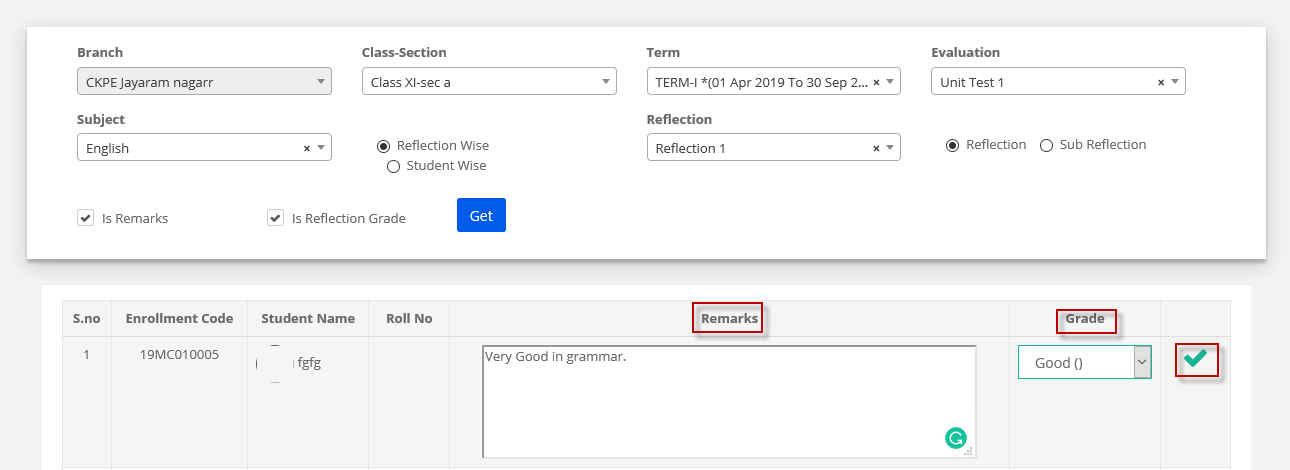
Step 5: Reflections can be entered in two ways, I.e. Reflection wise or Student wise and Reflection or Sub Reflection wise with grade and remarks entry.
Users can choose to enter only grade or only remarks based on their requirement.
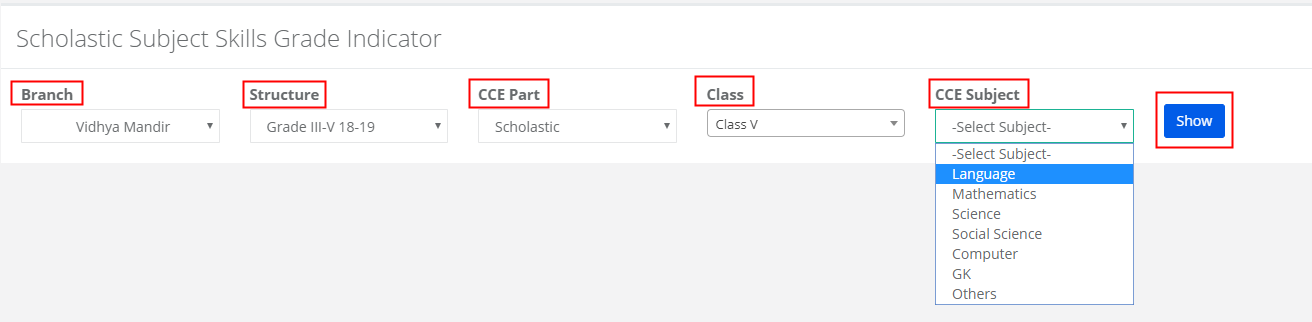
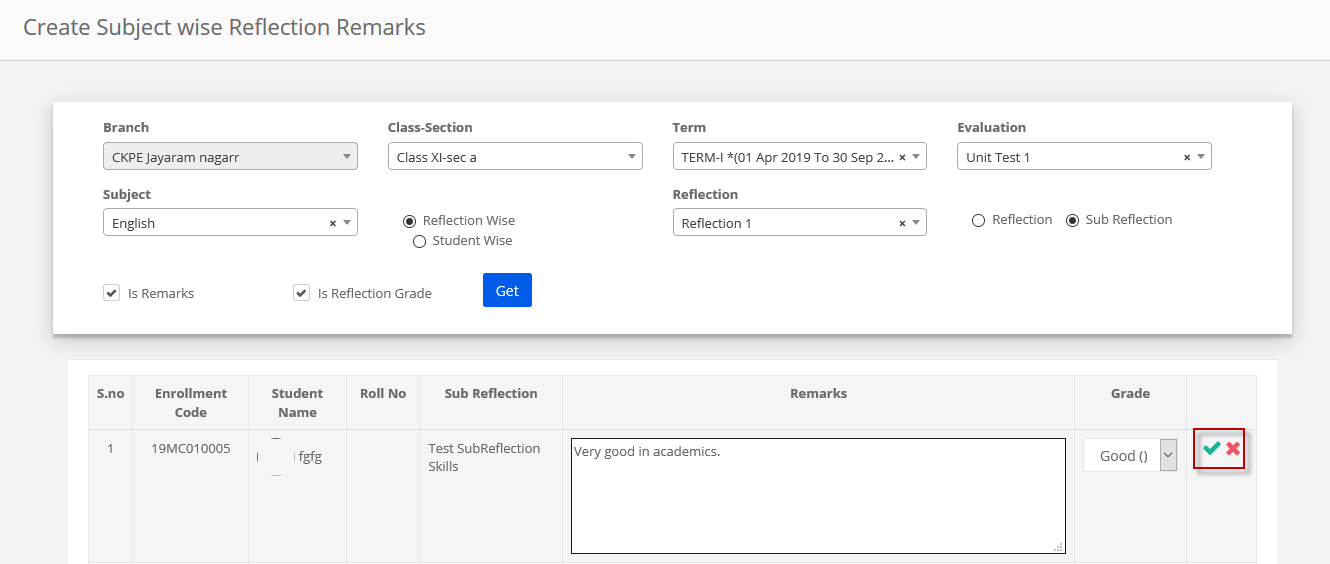
To enter reflection wise with Grade and Remarks, Choose Reflection type option, Reflection type from the drop-down, mode of entry as Reflection type, select remarks and grade options and click on Get button to get the list of students.

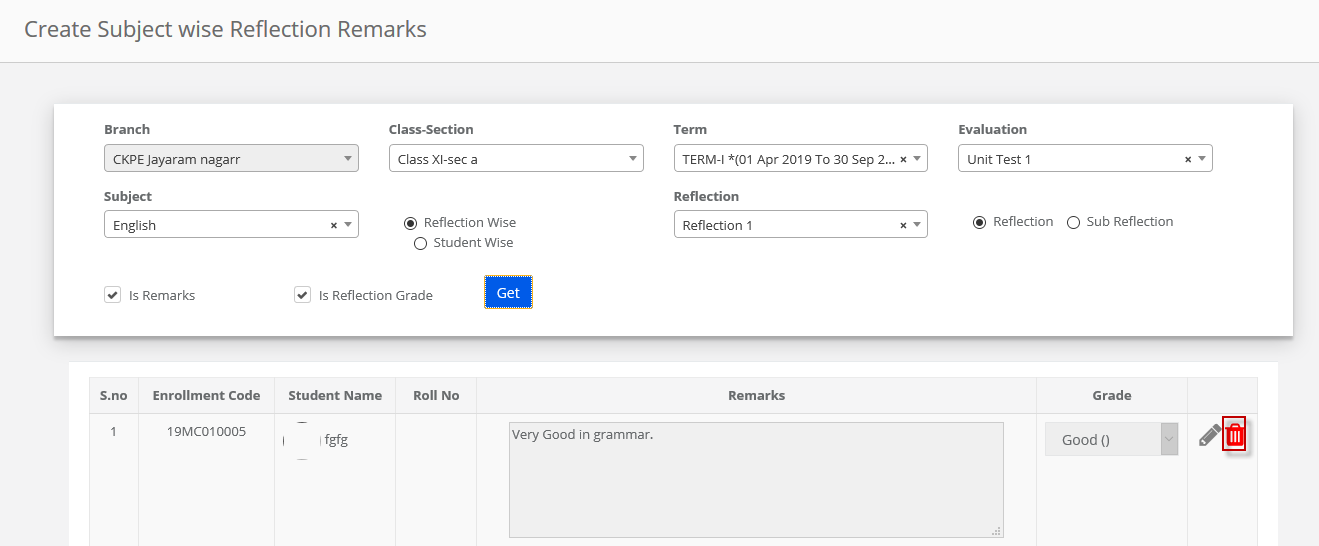
Step 6: Enter Reflection Remarks against the student name, choose grade and click on tick mark to save.
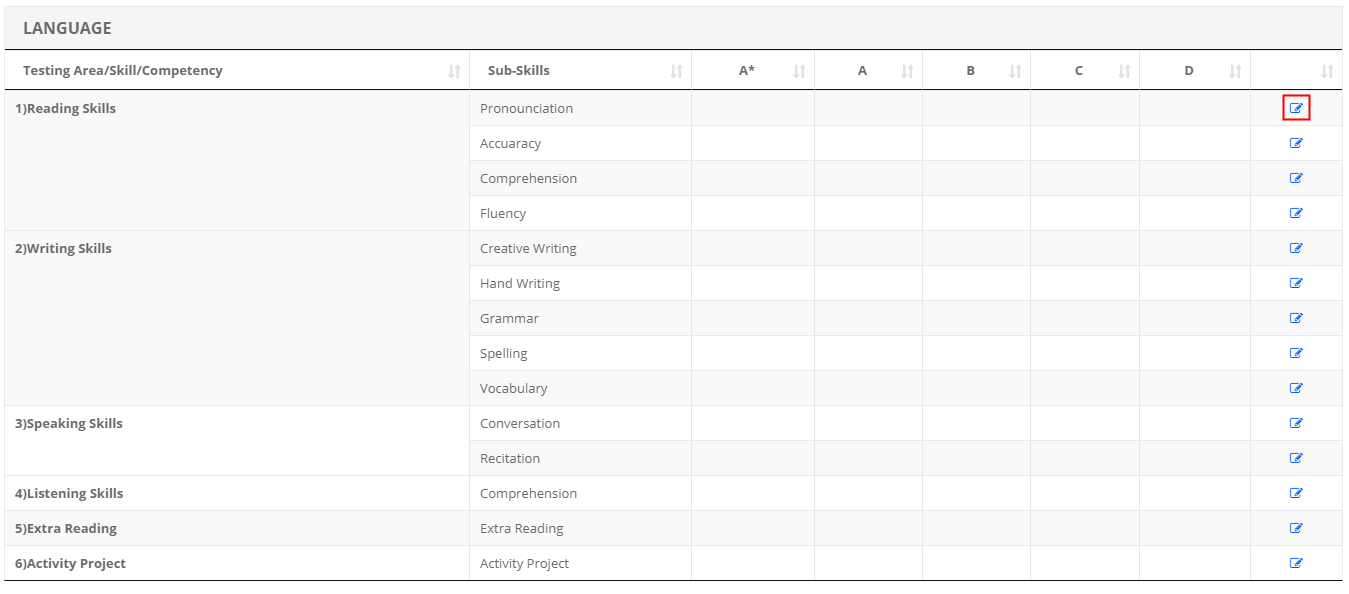
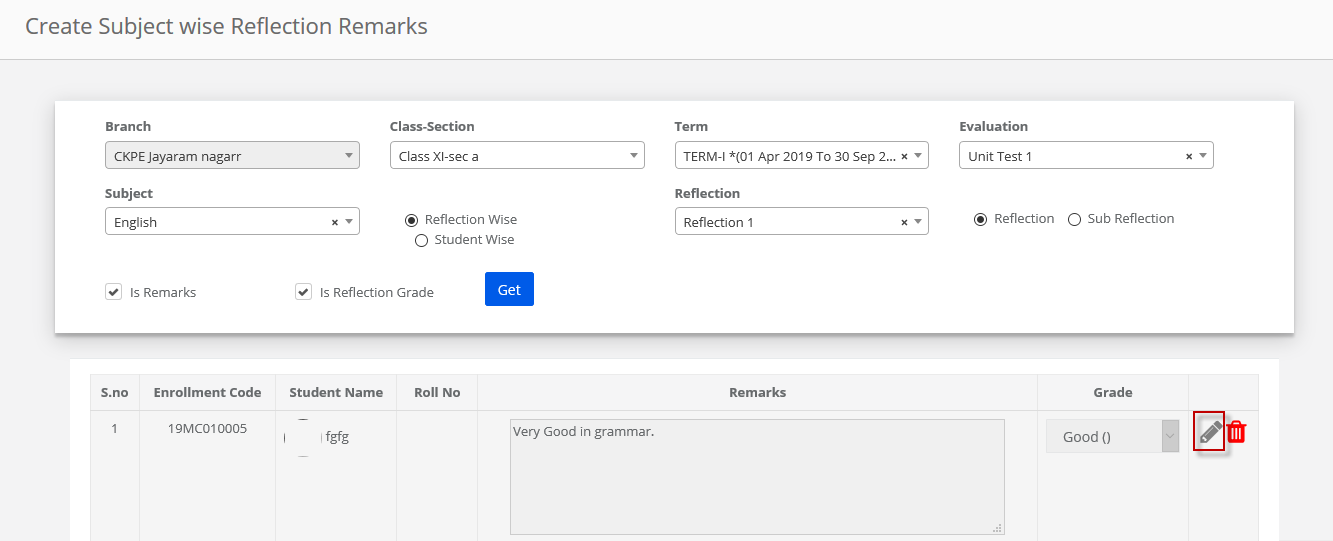
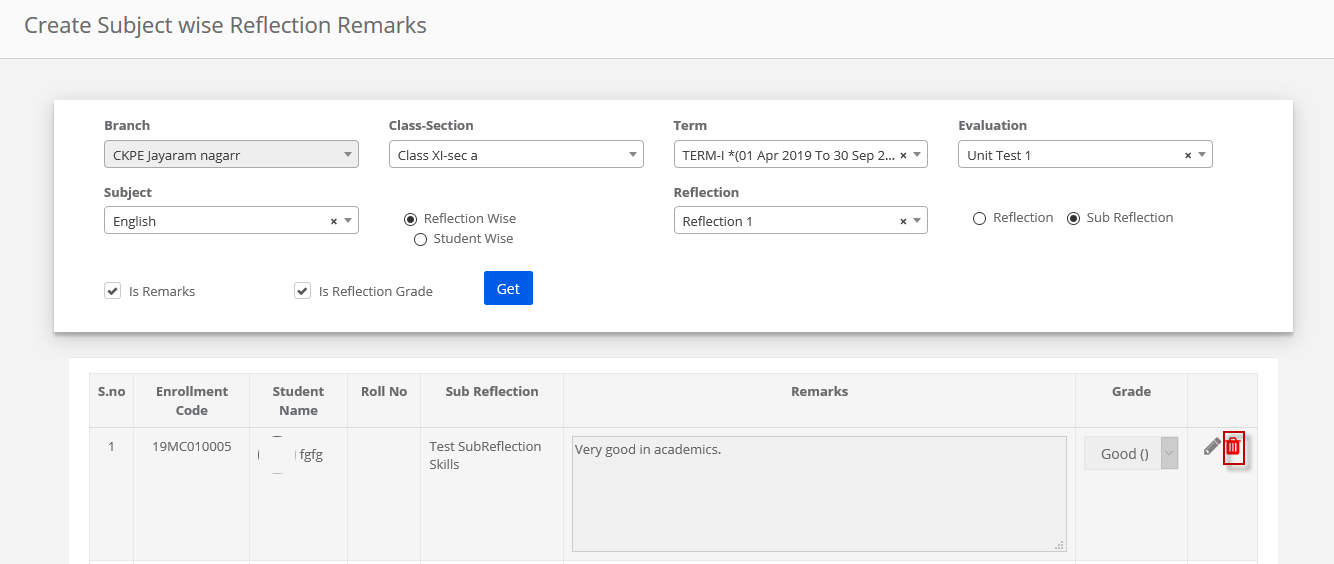
Step 7: To Edit the reflection remarks and Grade, Click on Edit icon.
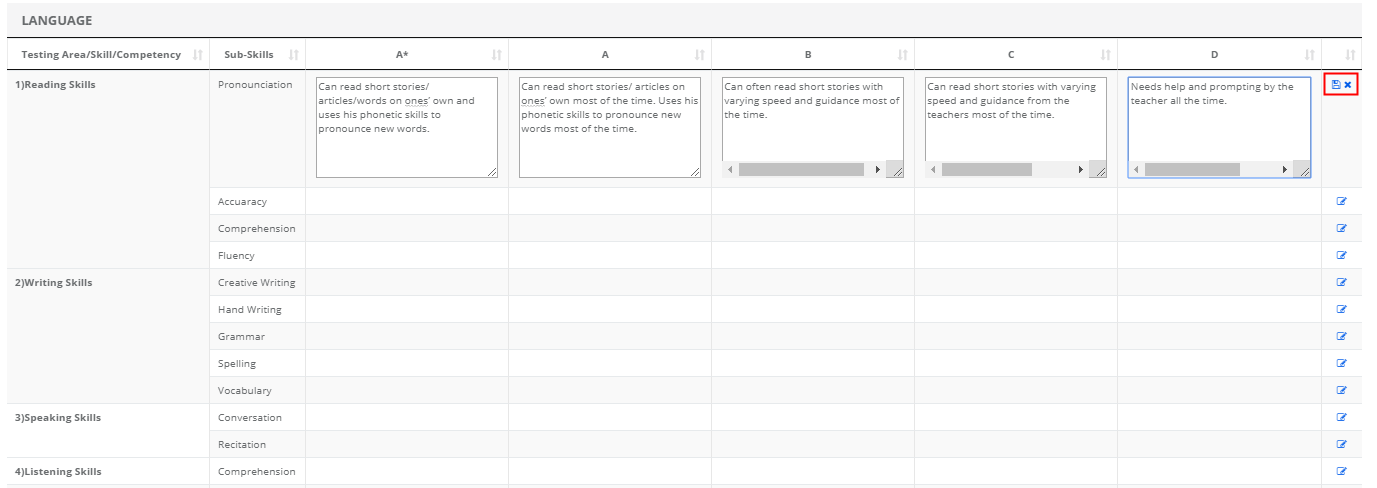
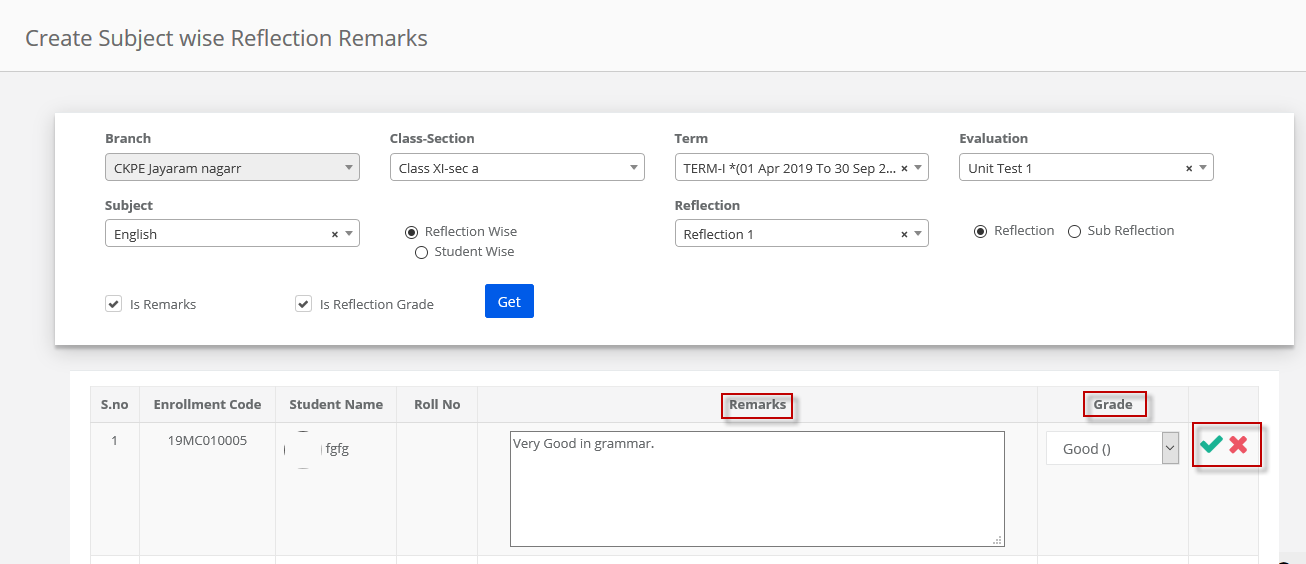
Step 8: Make the necessary changes in the remarks and Grade and click on tick mark to save or cross marks to cancel the changes.
Step 9: To delete remarks and grade of a reflection, click on the delete icon.
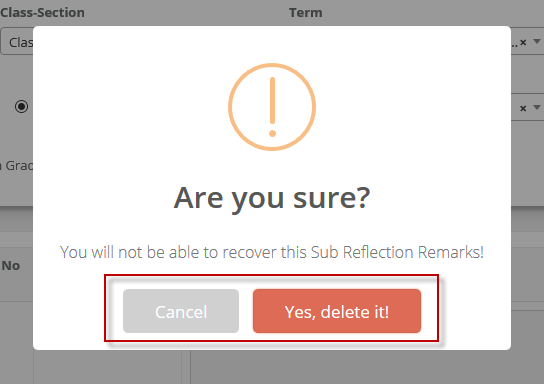
Step 10: Click on Yes, Delete it! Option to proceed with the deletion and Cancel to revert.

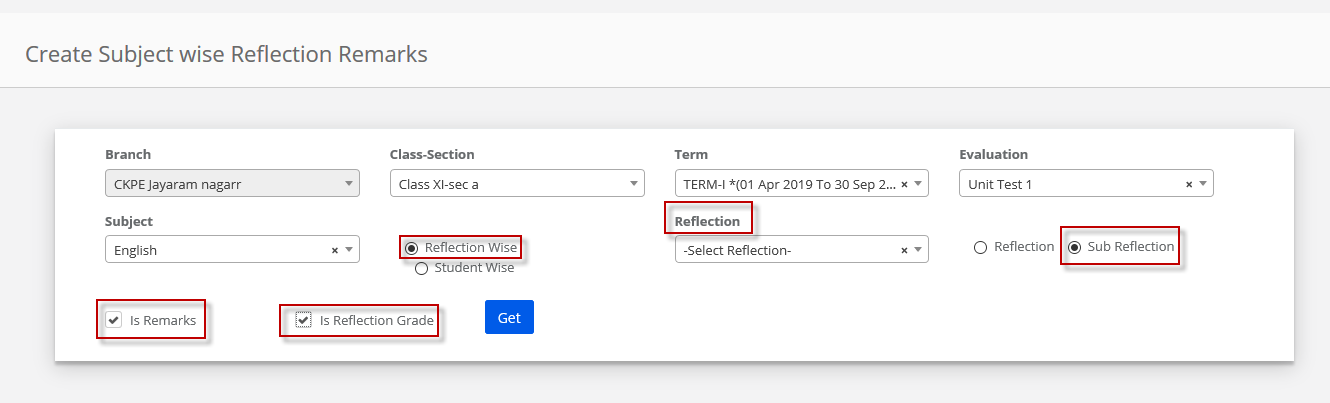
Step 11: To enter Sub reflection wise with Grade and Remarks, Choose Reflection type option, Reflection type from the drop-down, mode of entry as Sub Reflection type, select remarks and grade options and click on Get button to get the list of students.
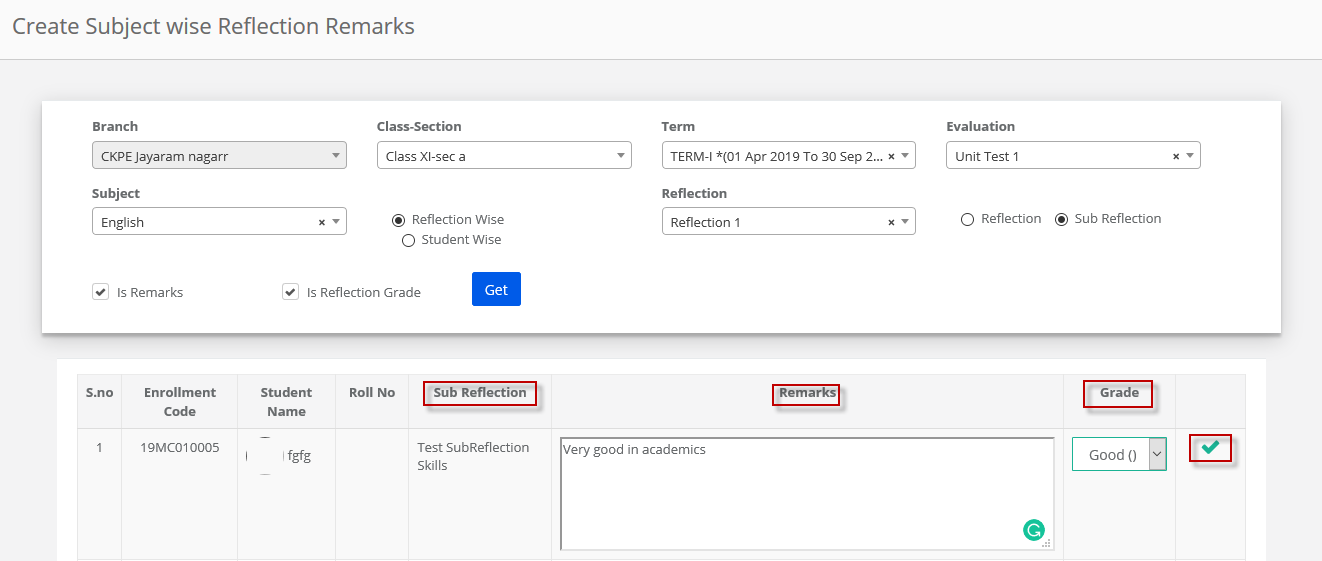
Step 12: Enter Remarks and grade against the sub reflection. Click on tick mark to save.
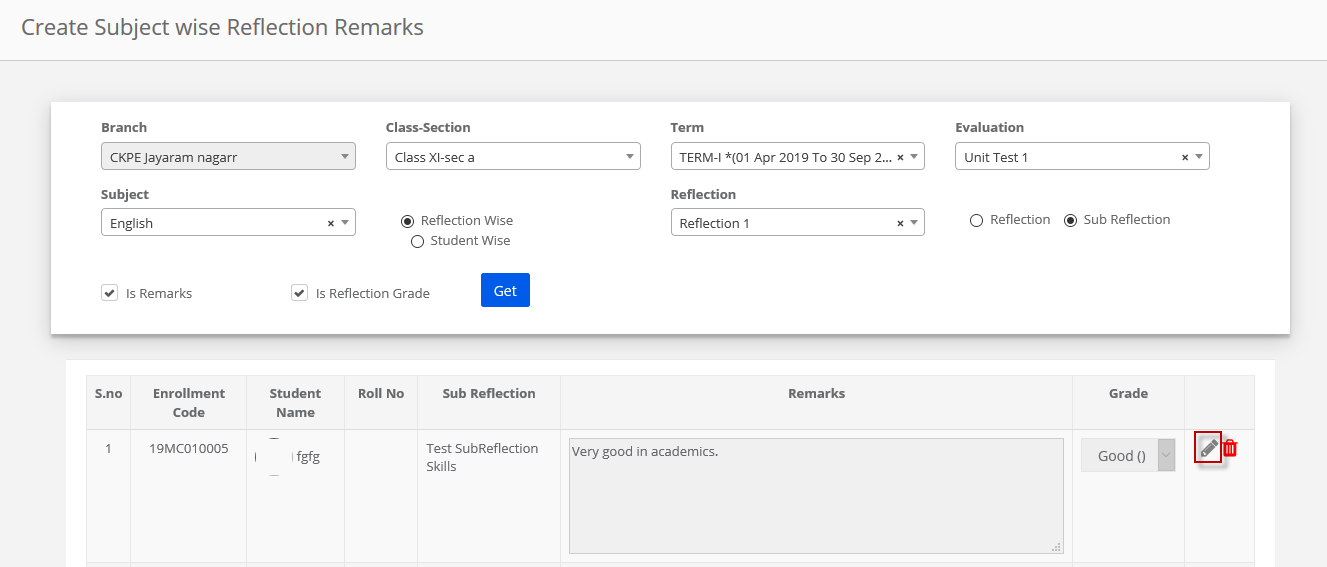
Step 13: To Edit the Sub reflection remarks and Grade, Click on Edit icon.
Step 14: Make the required changes in Remarks and grade. Click on tick mark to save the changes or cross marks to revert.
Step 15: To delete remarks and grade of a sub reflection, click on the delete icon.
Step 16: Click on Yes, Delete it! Option to proceed with the deletion and Cancel to revert.
Student wise Reflection entry:
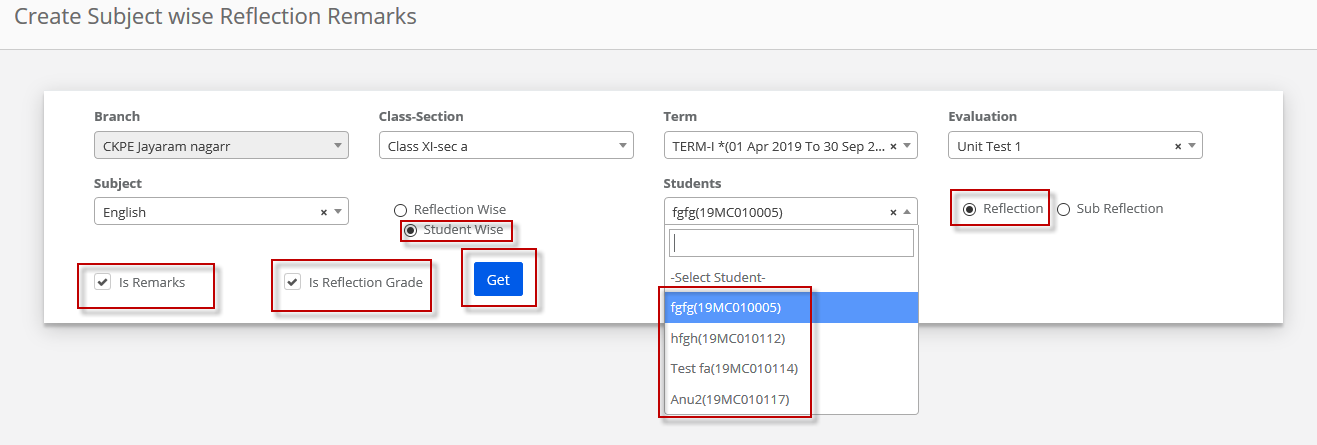
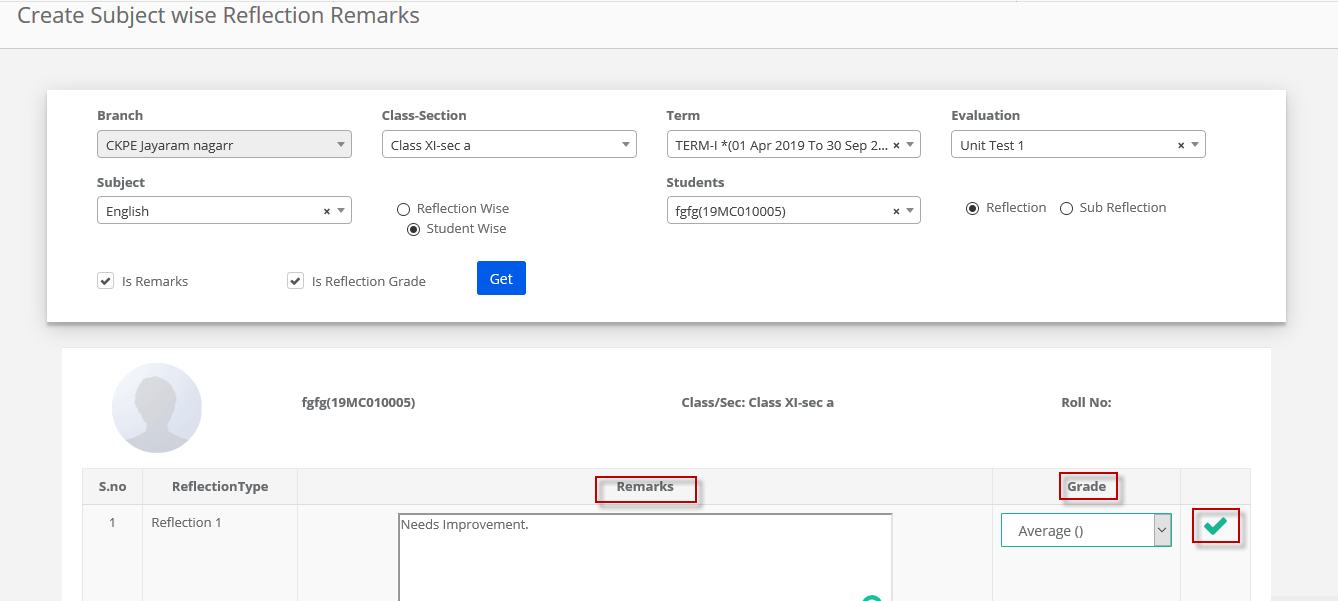
Step 17: To enter Reflection for a Student with remarks and grade, choose Student wise option, a student from the drop-down, mode of entry as Reflection type, select remarks and grade options and click on Get button to get the list of students.
Step 18: Enter the remarks, grade and click on tick mark to save the remarks and grade for the reflection type.
Step 19: To edit the remarks and grade of a reflection type repeat steps 7 & 8.
To delete the remarks and grade of a reflection type repeat the steps 9 & 10.
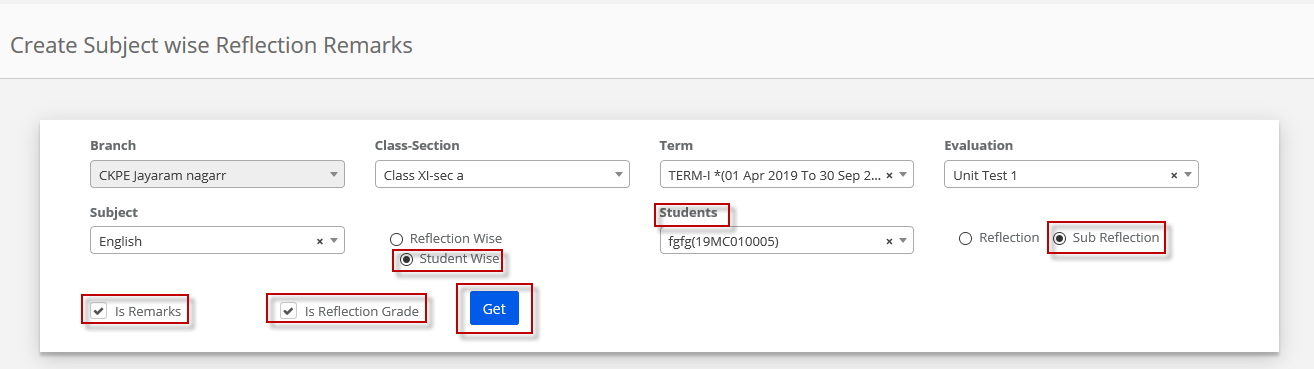
Step 20: To enter Sub Reflection for a Student with remarks and grade, choose Student wise option, a student from the drop-down, mode of entry as Reflection type, select remarks and grade options and click on Get button to get the list of students.
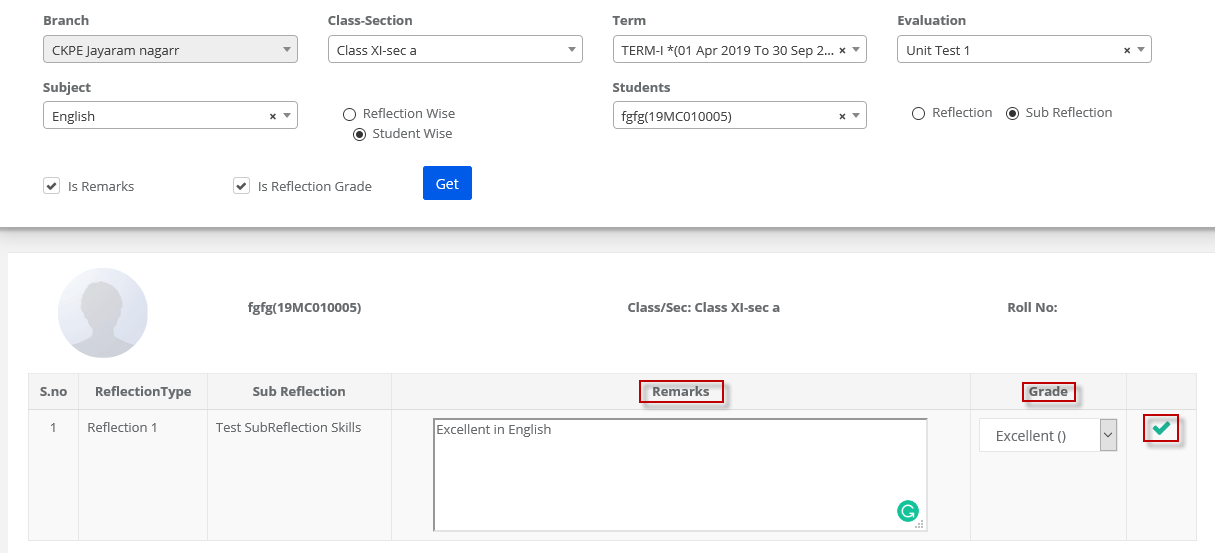
Step 21: Enter the remarks, grade and click on tick mark to save the remarks and grade for the sub reflection type.
Step 22: To edit the remarks and grade of a reflection type repeat steps 13 & 14.
To delete the remarks and grade of a reflection type repeat the steps 15 & 16.