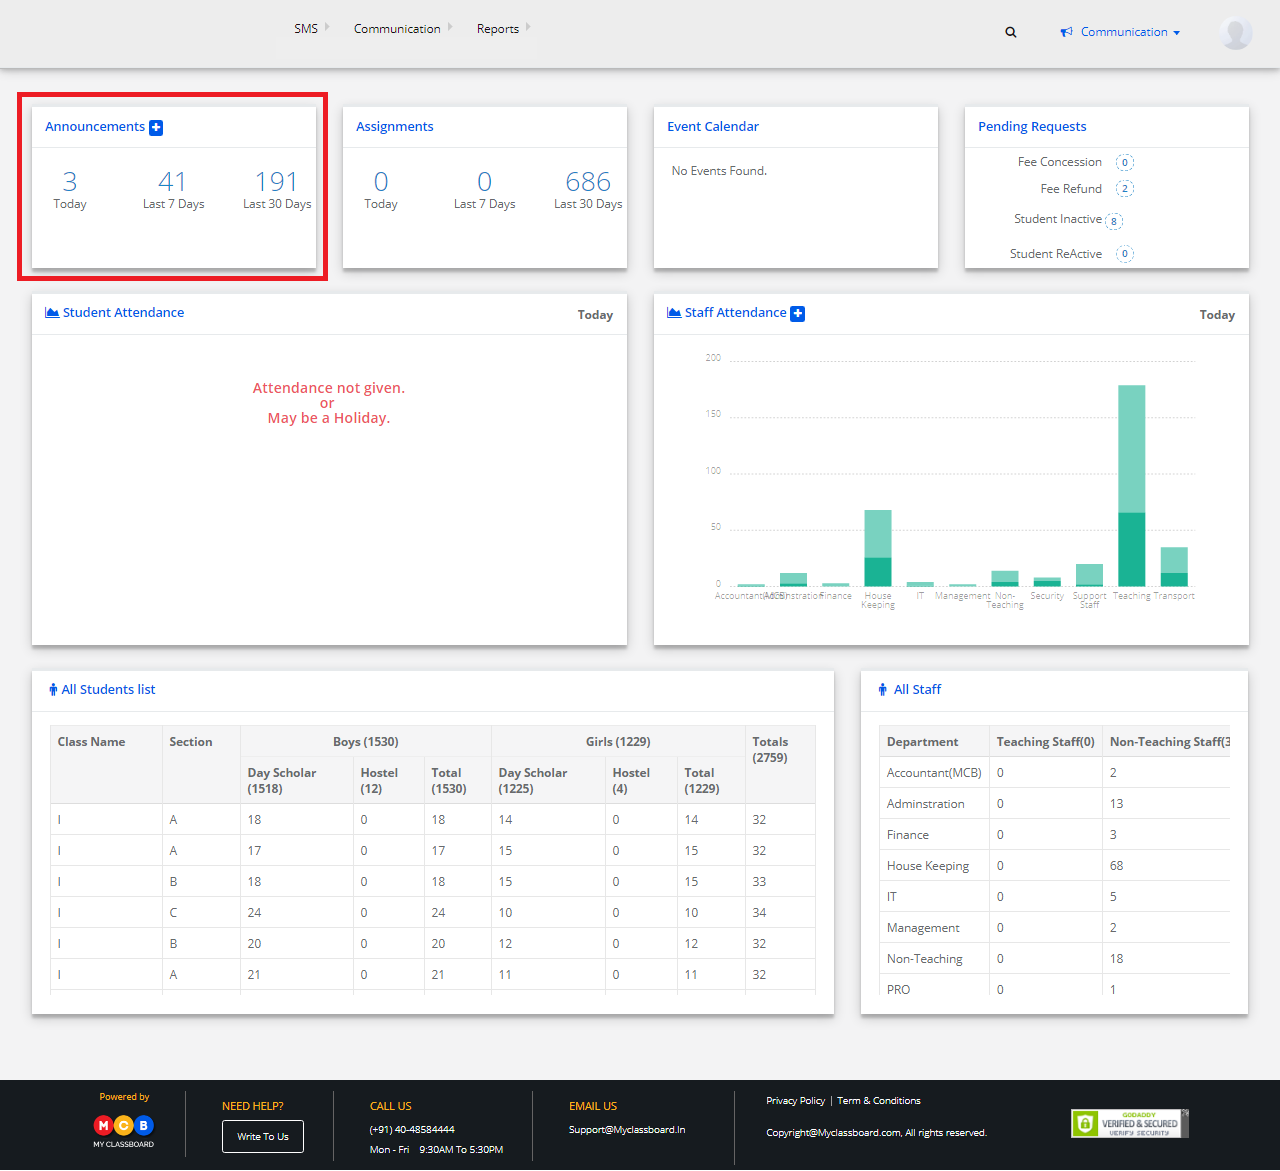
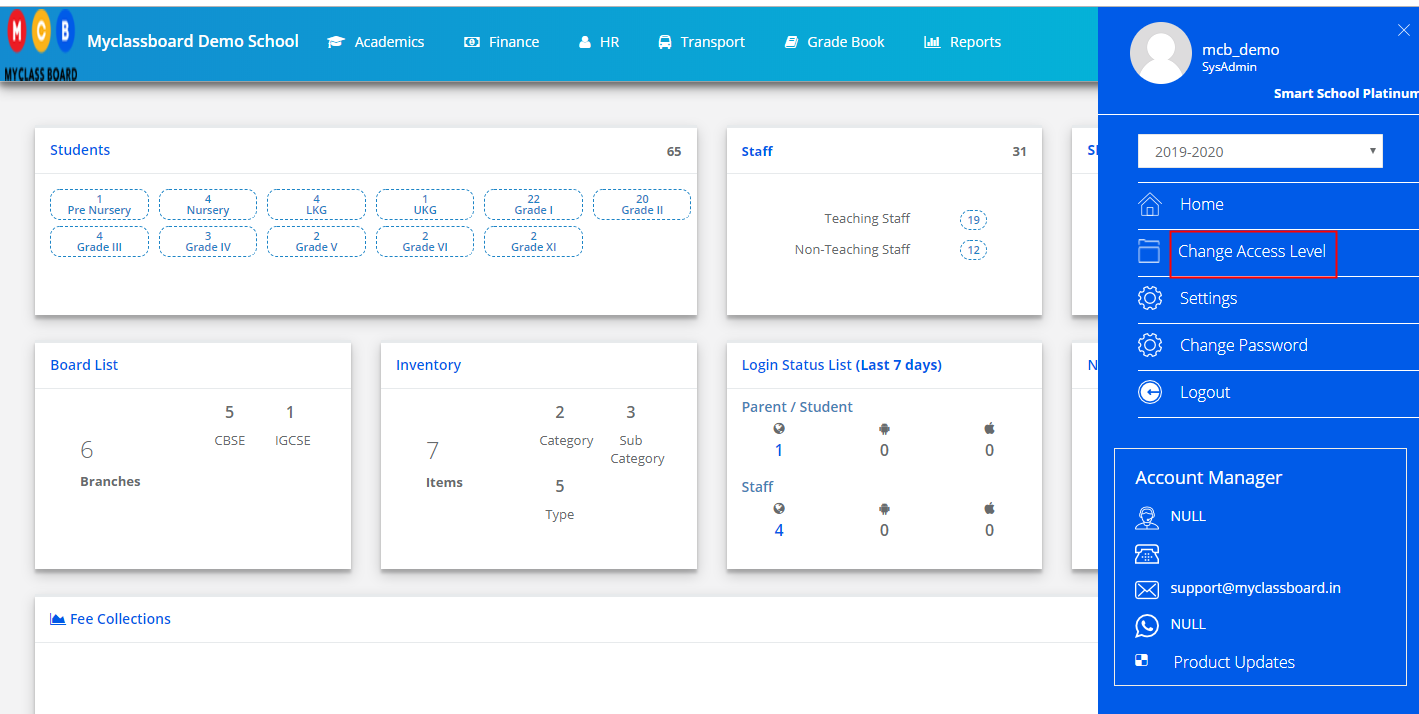
Step 1: Login to MCB with system admin Credentials.
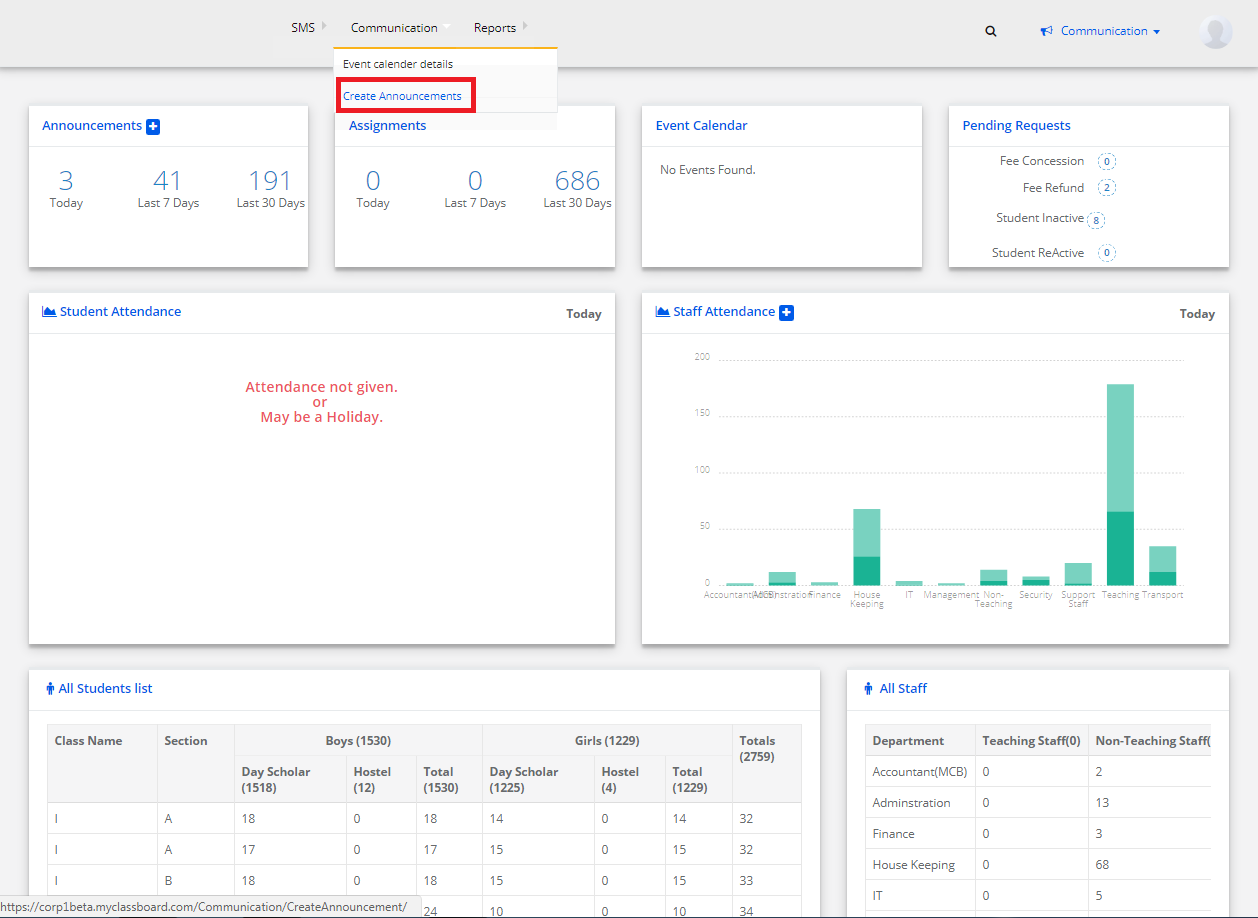
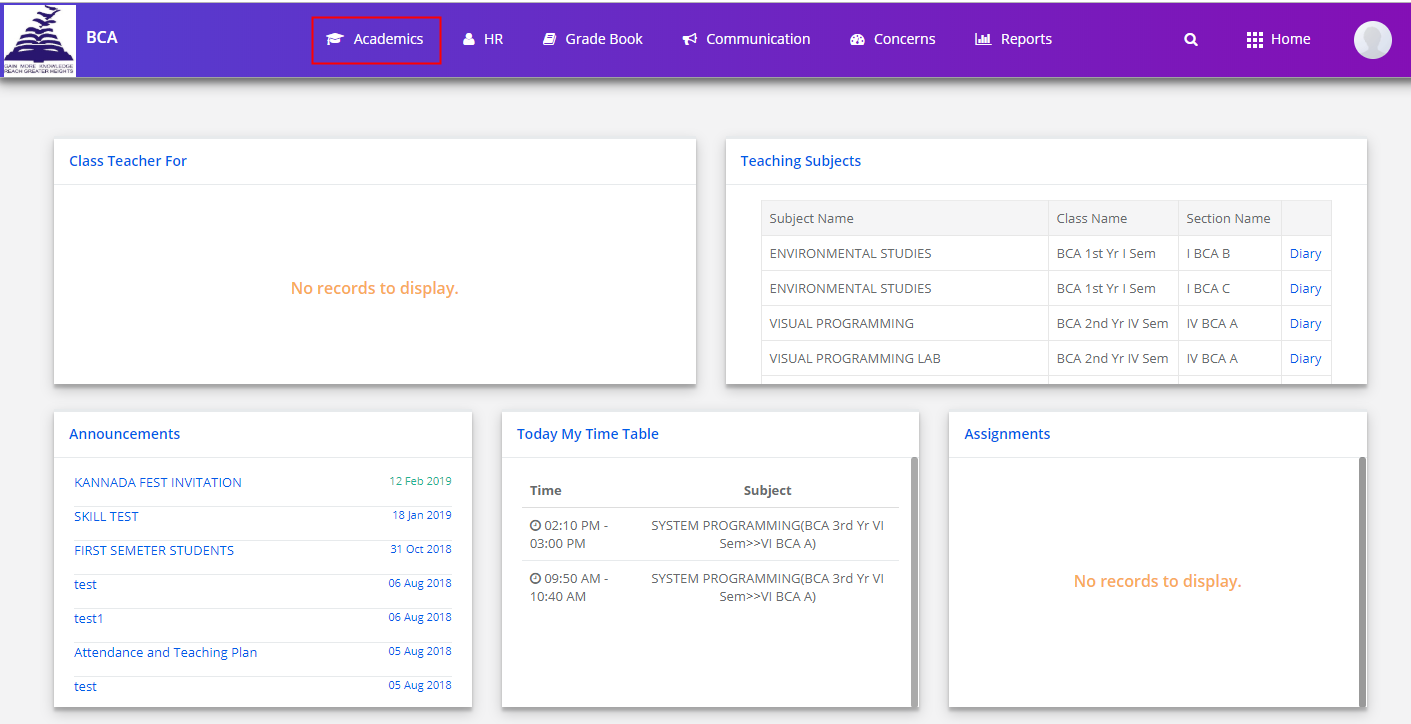
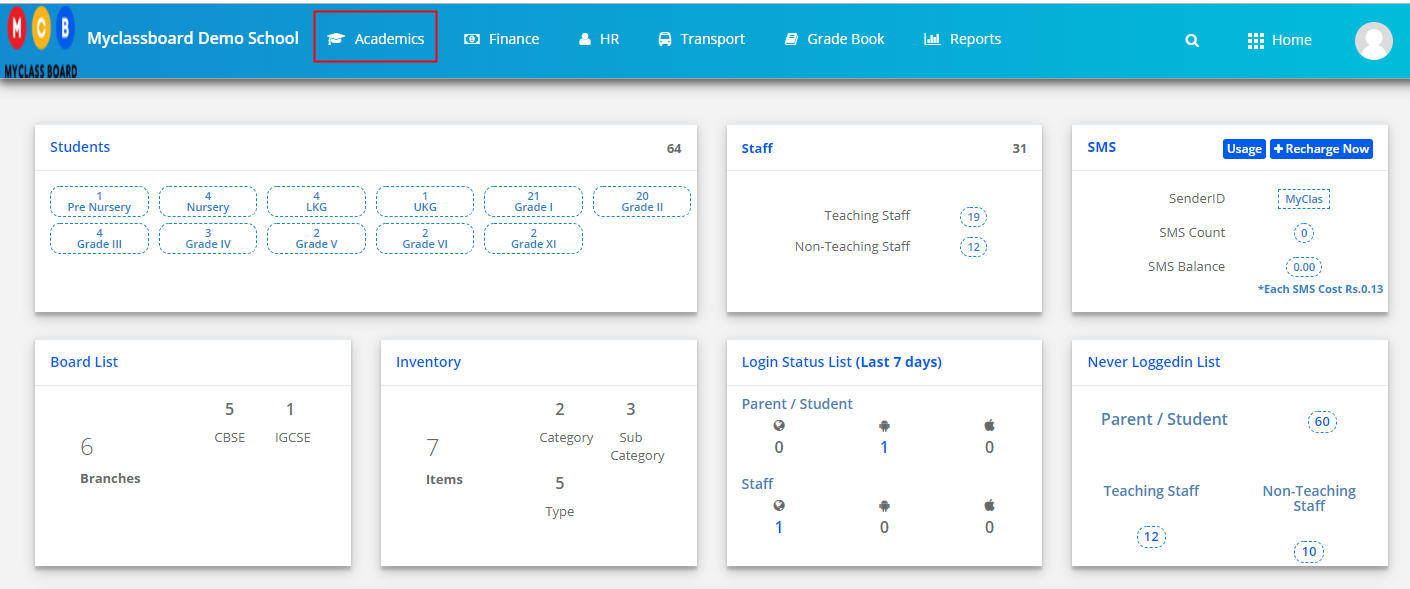
Step 2: Select Academics on the Menu and you will be directed to the Academics module.
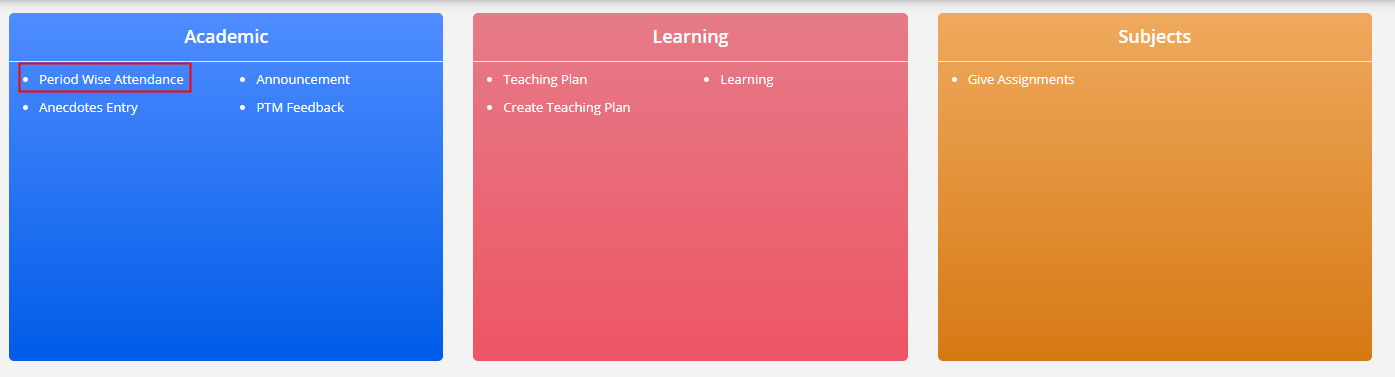
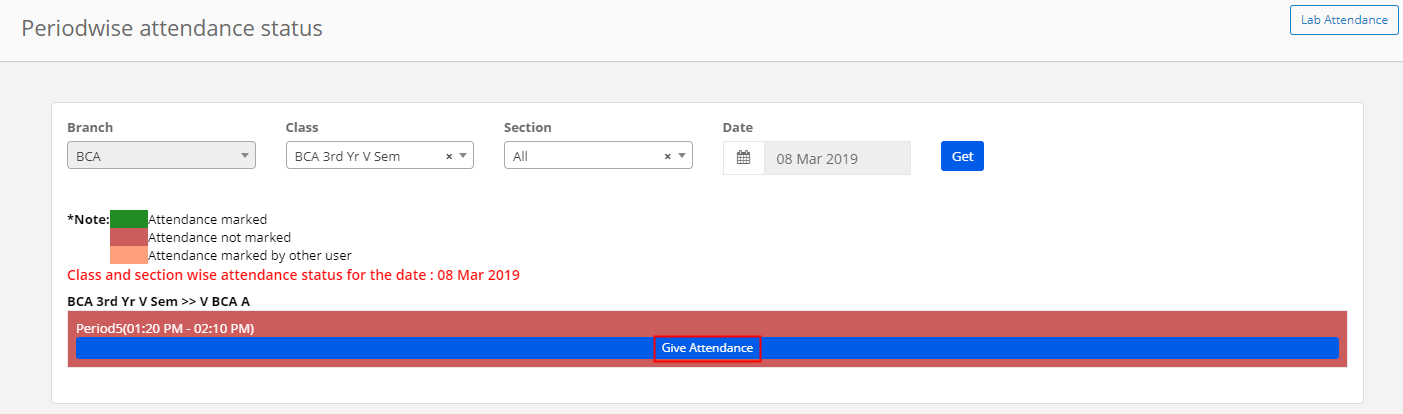
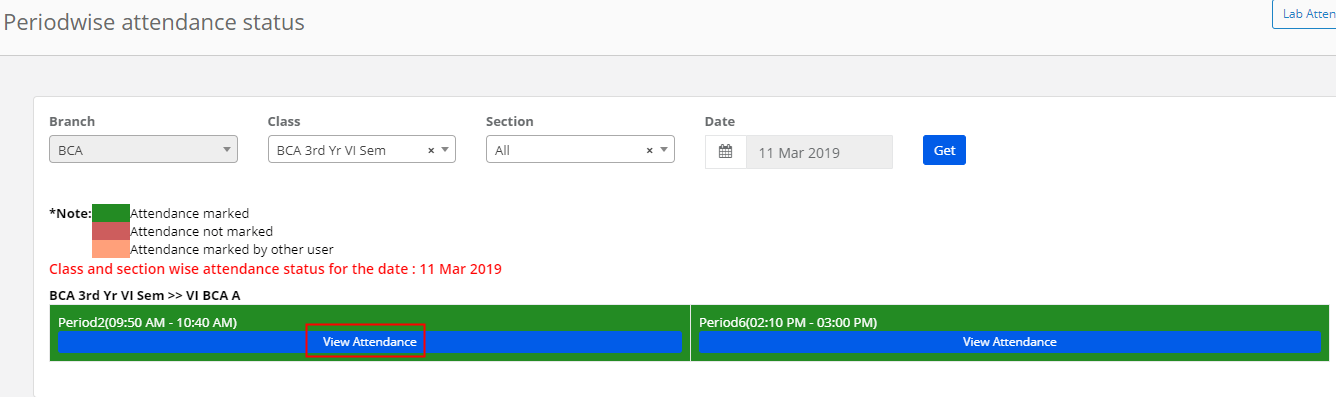
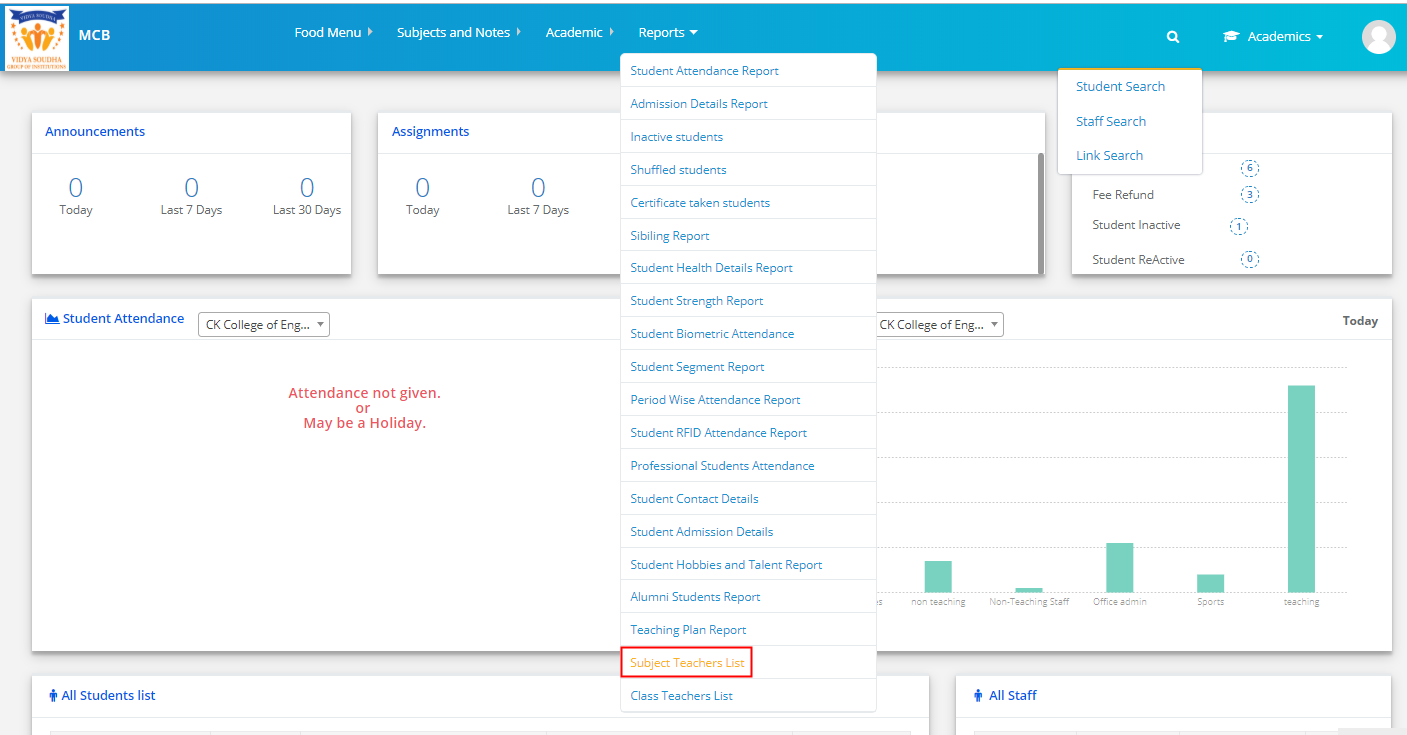
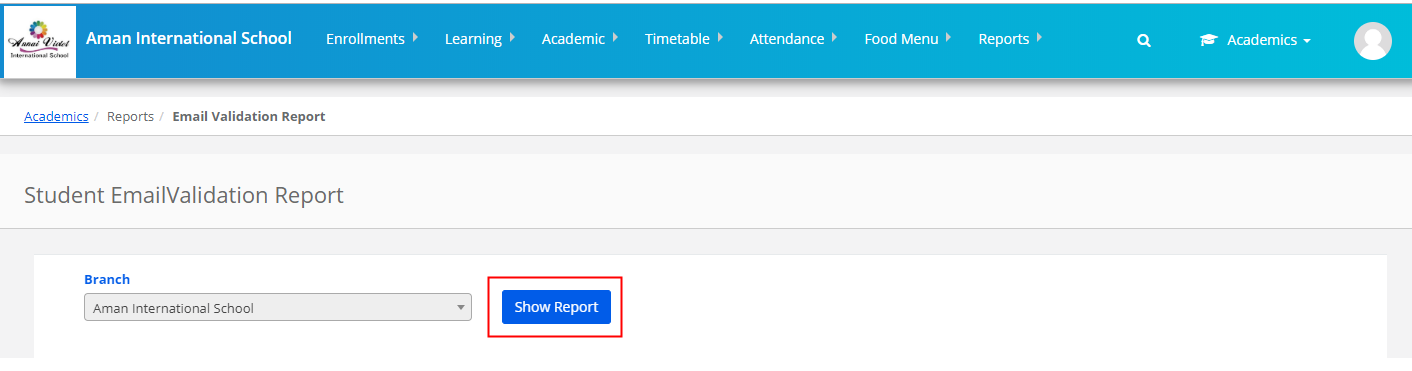
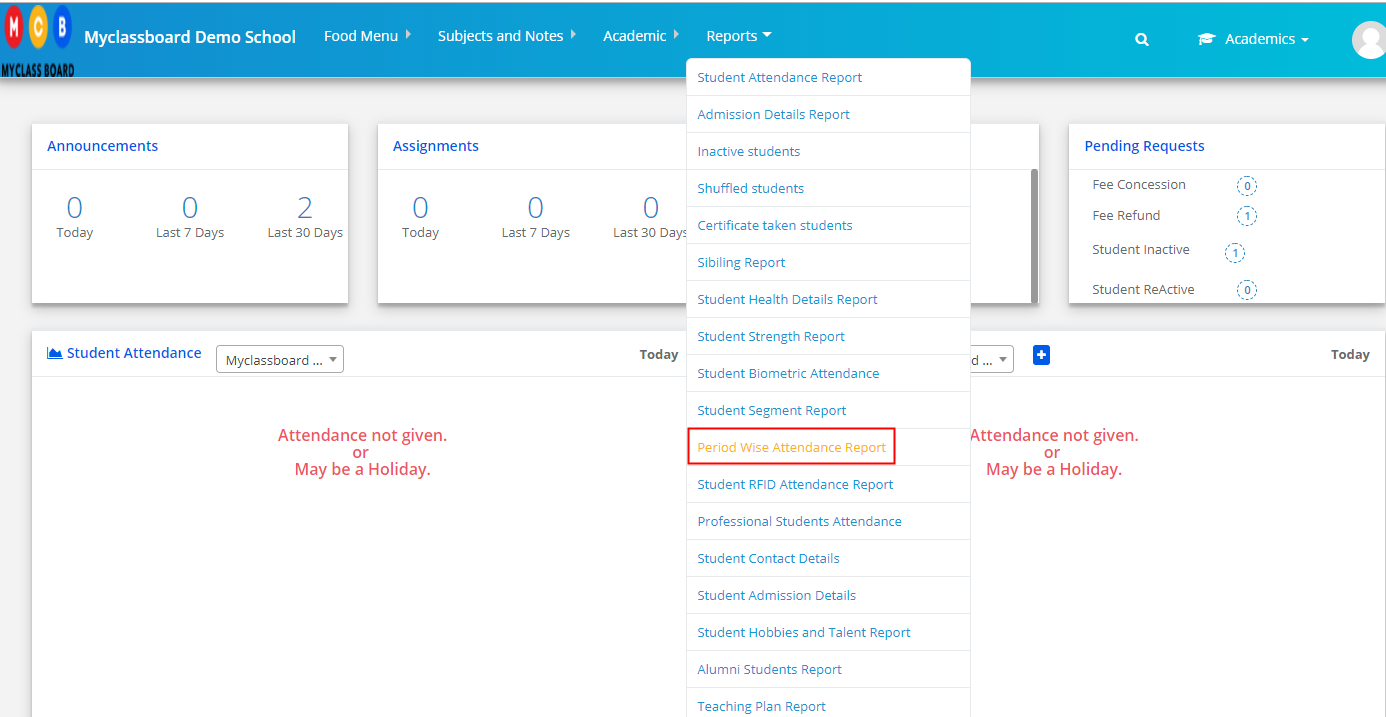
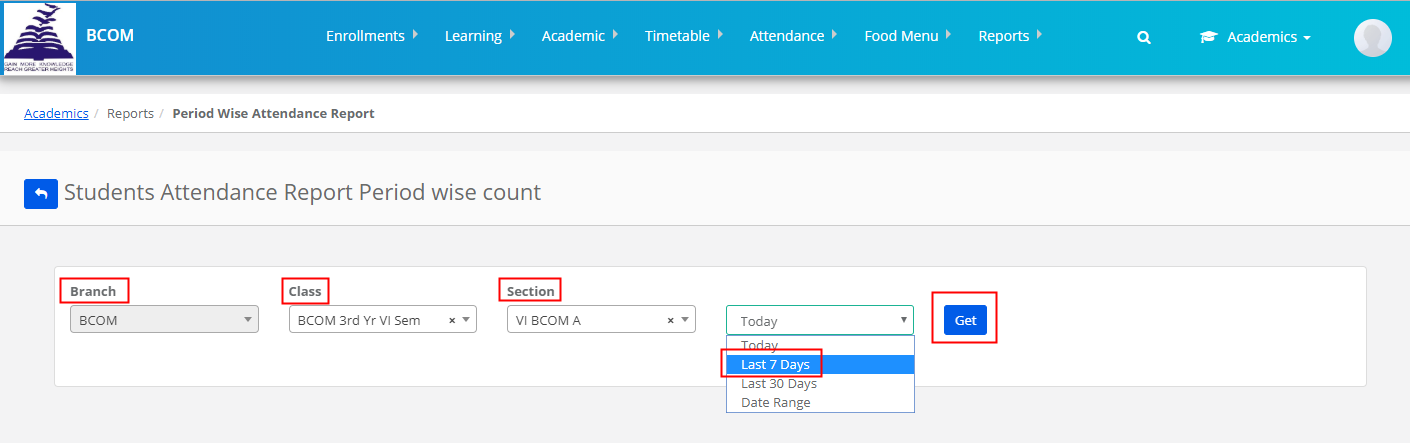
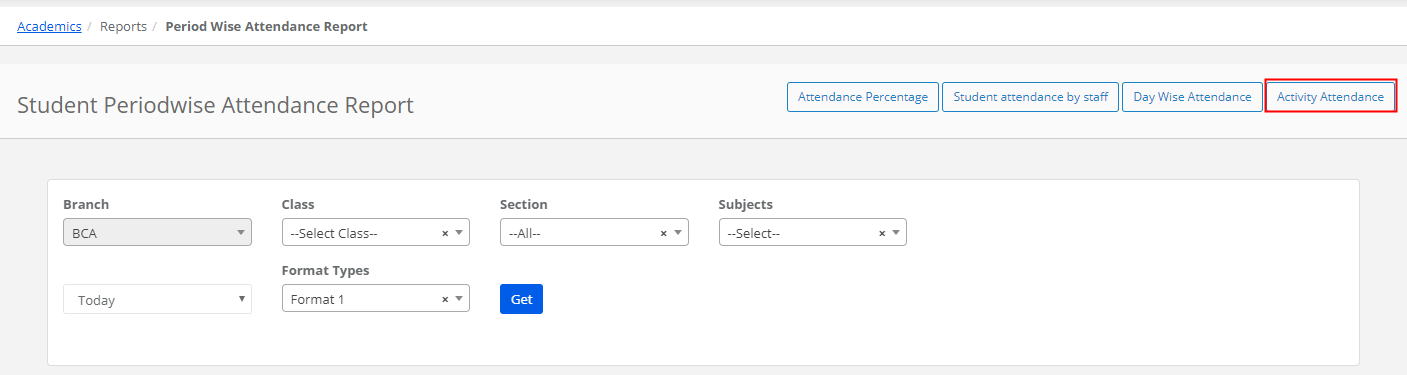
Step 3: Choose Period wise Attendance Report from Reports menu.
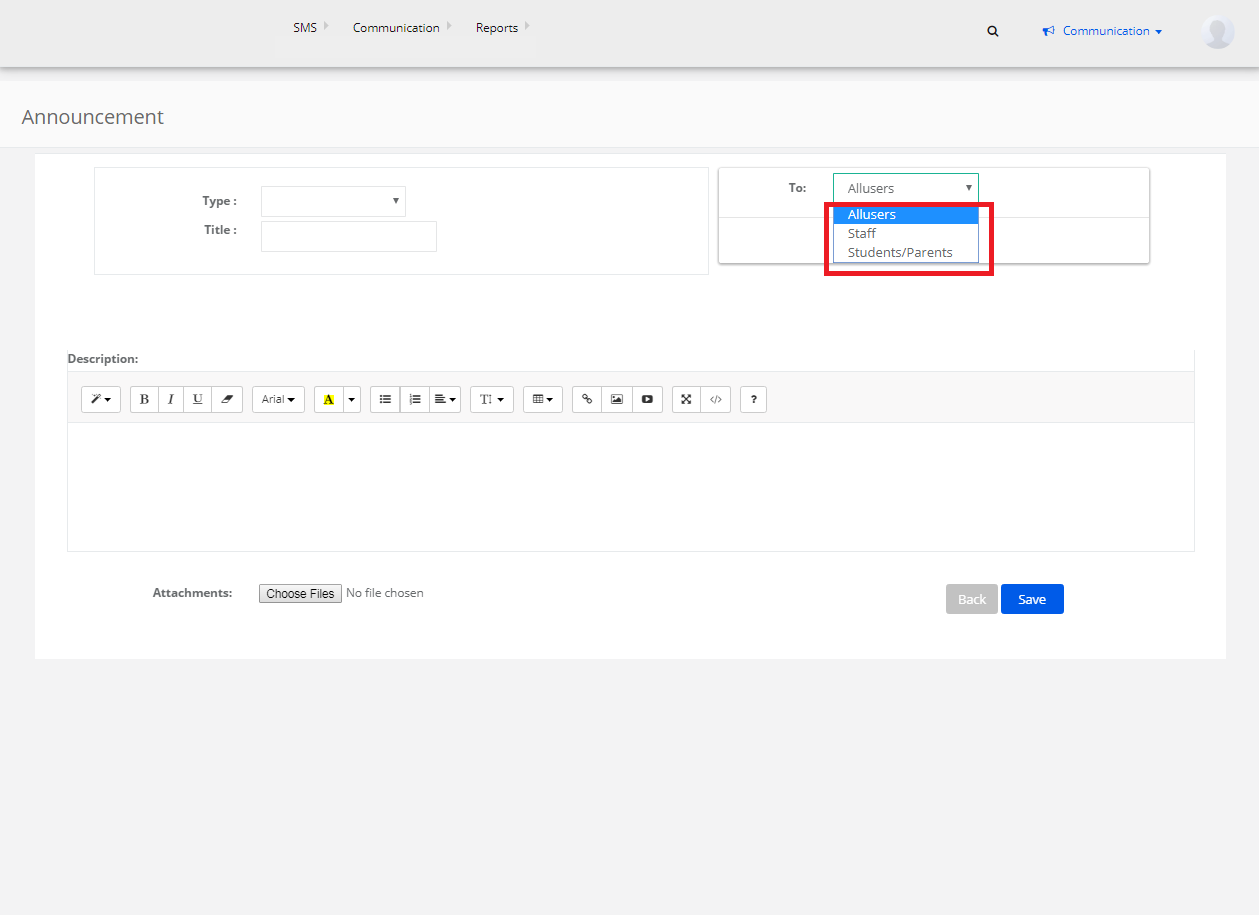
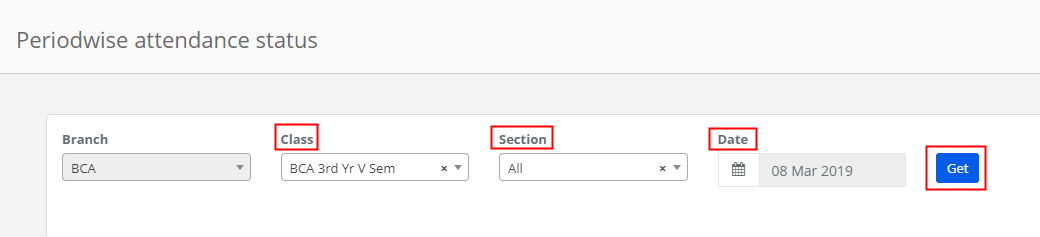
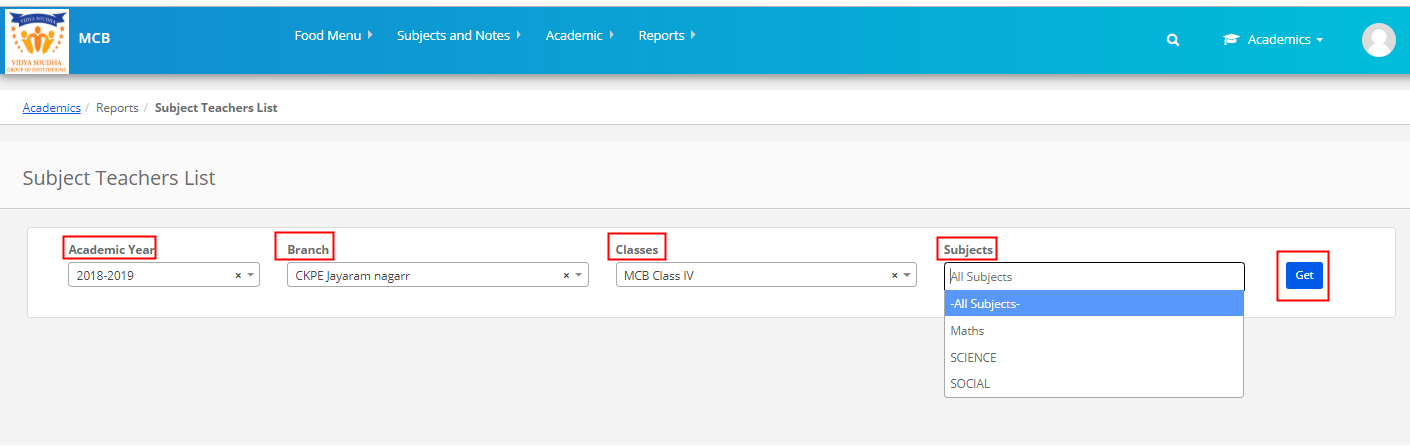
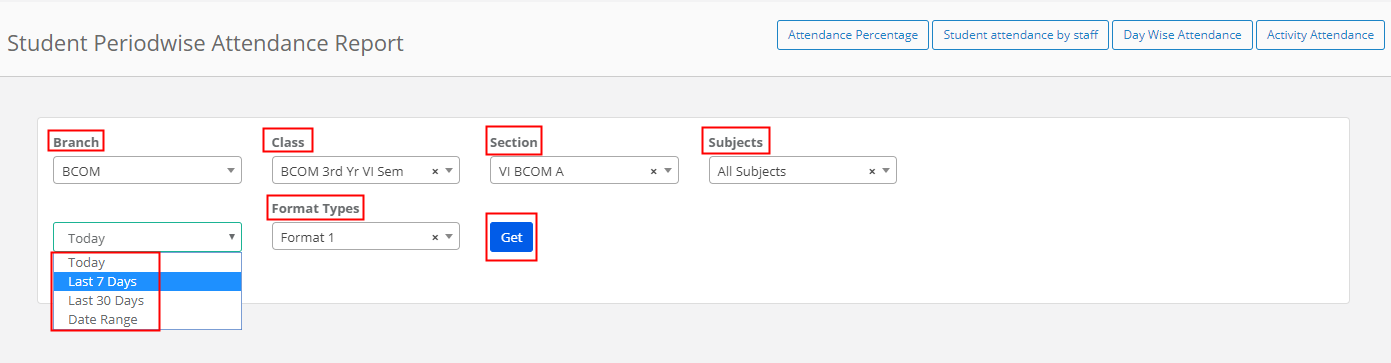
Step 4: Select Branch, Class, All Sections or Specific section, All subjects or a specific subject, period as today or last 7 days, last 30 days, date range, format 1 and click on Get to generate the report.
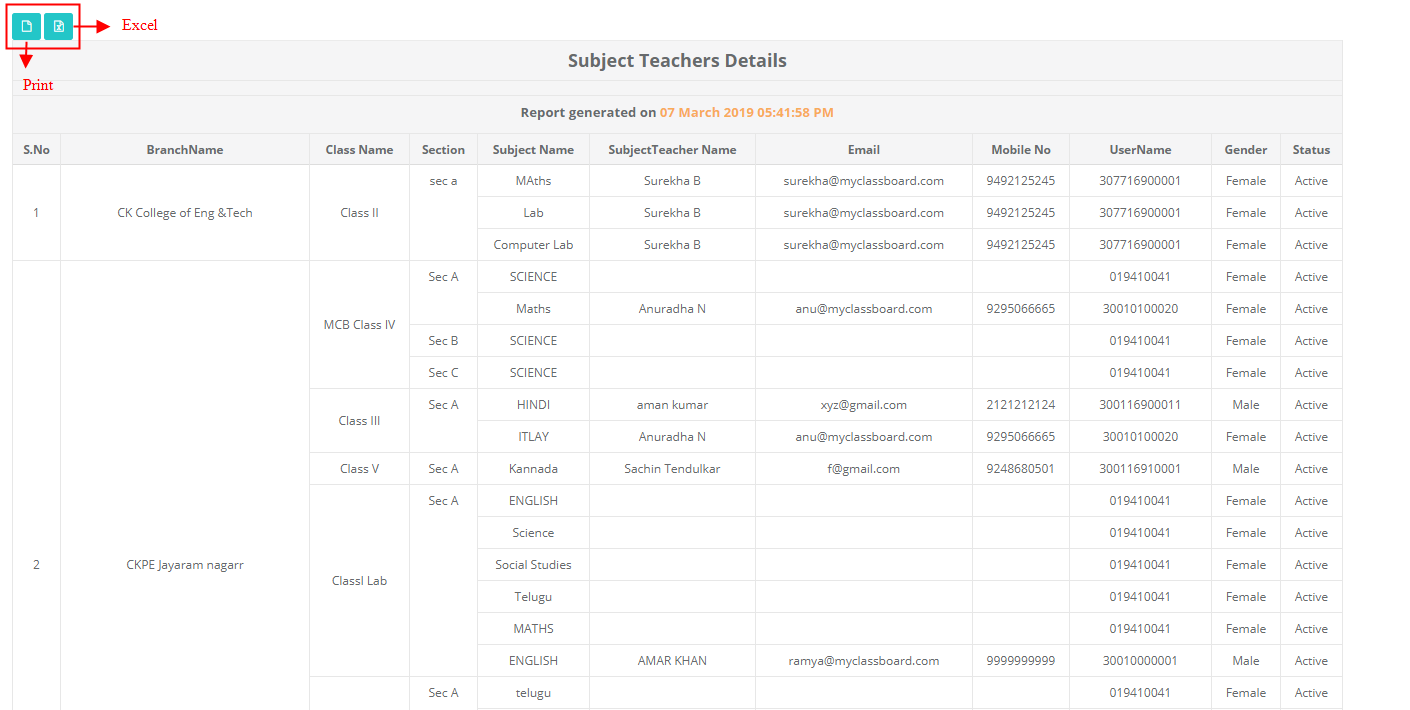
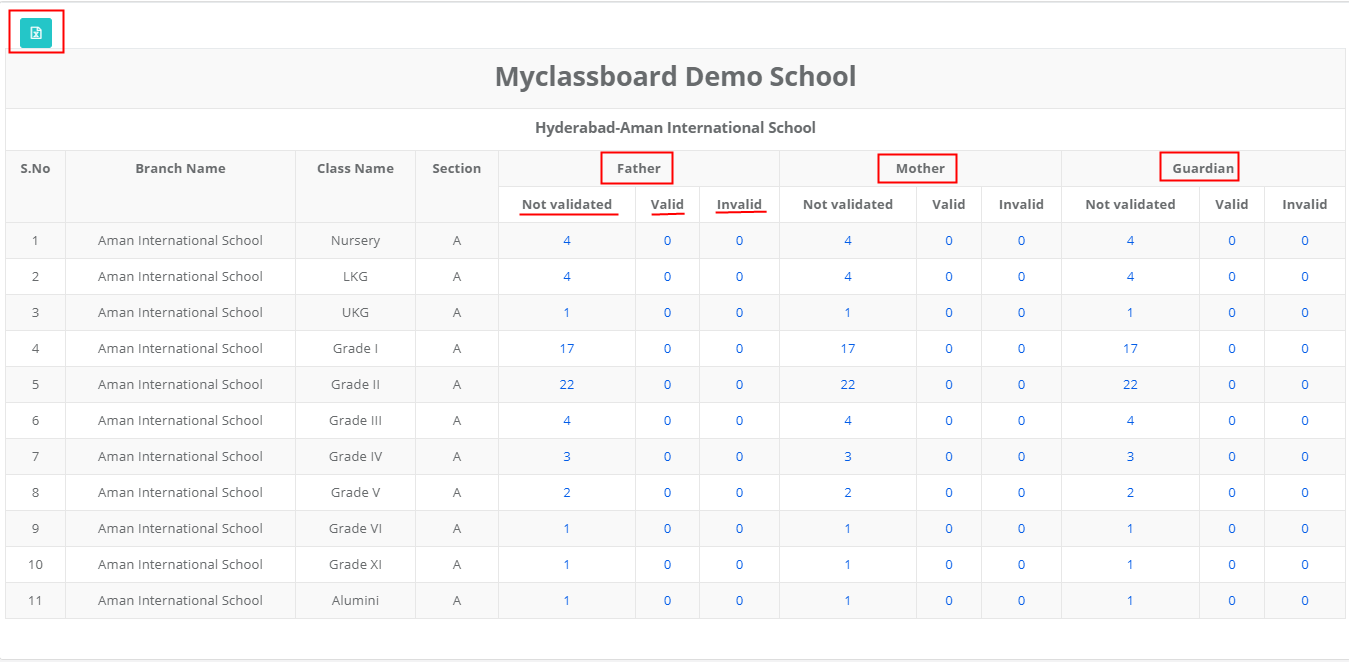
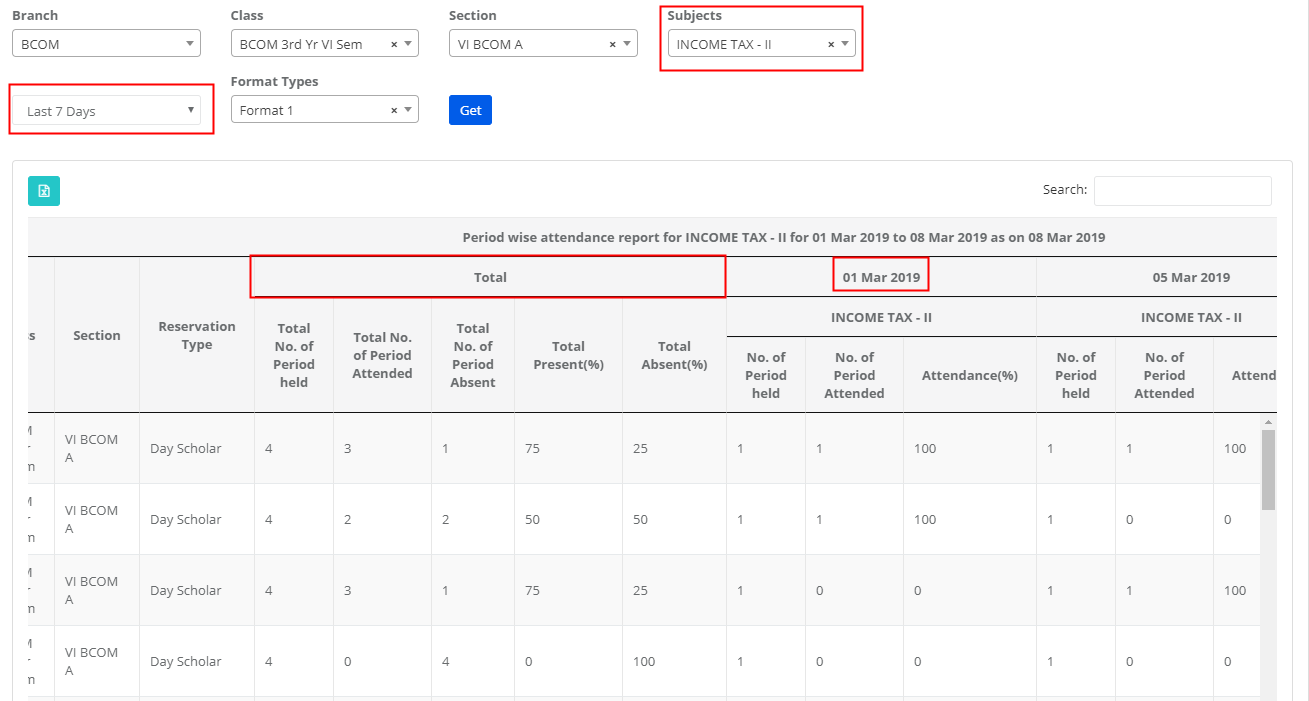
Step 5: The report will show the total no of periods held, present count and absent count for the days selected days. And it will also show date wise status of each subject with a number of periods held and attended. You can export the report by clicking on the Excel icon which is placed on the top left corner of the report.
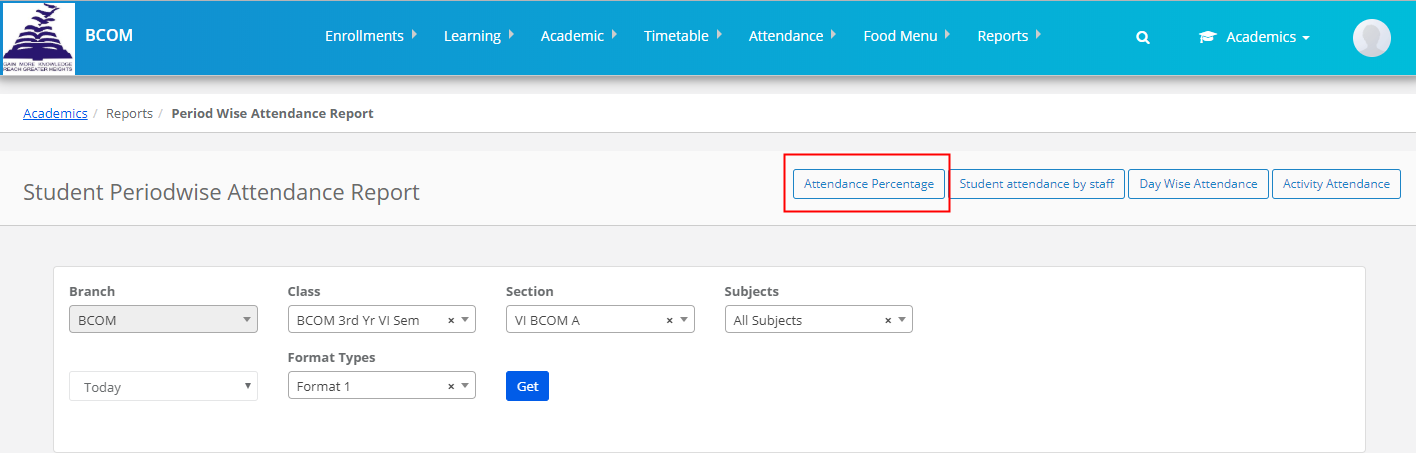
Attendance Percentage: This report gives you no. of student’s count on the attendance percentage breakup.
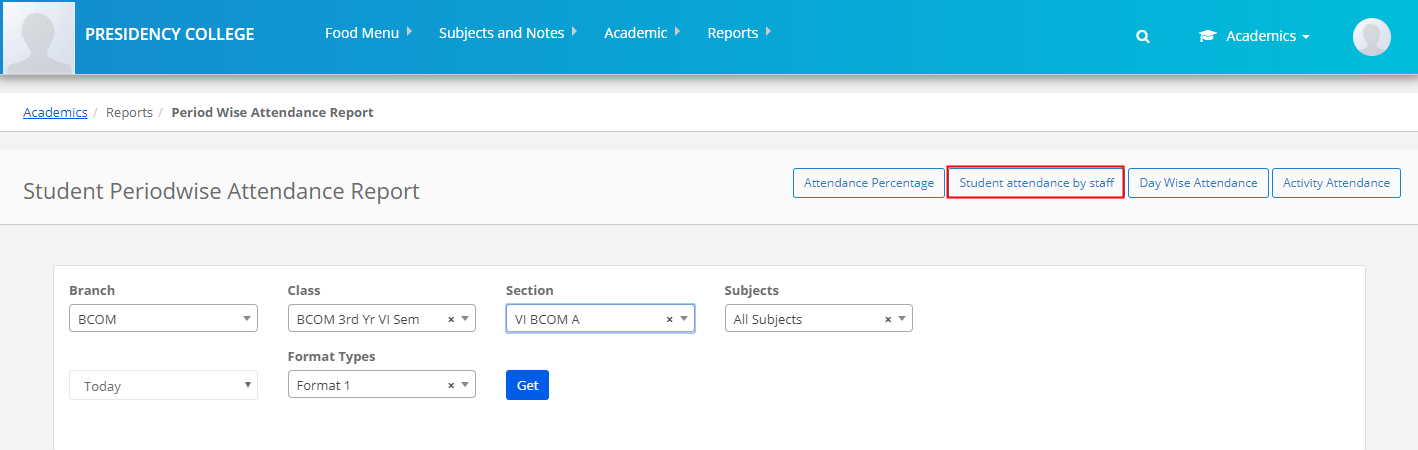
Step 6: To generate attendance percentage report, click on the attendance percentage tab [as highlighted]
Step 7: Select Branch, Class, Section, Period and click on Get to generate the report.
Step 8: As you click on the number, it will show you the list of students falling under the percentage category.

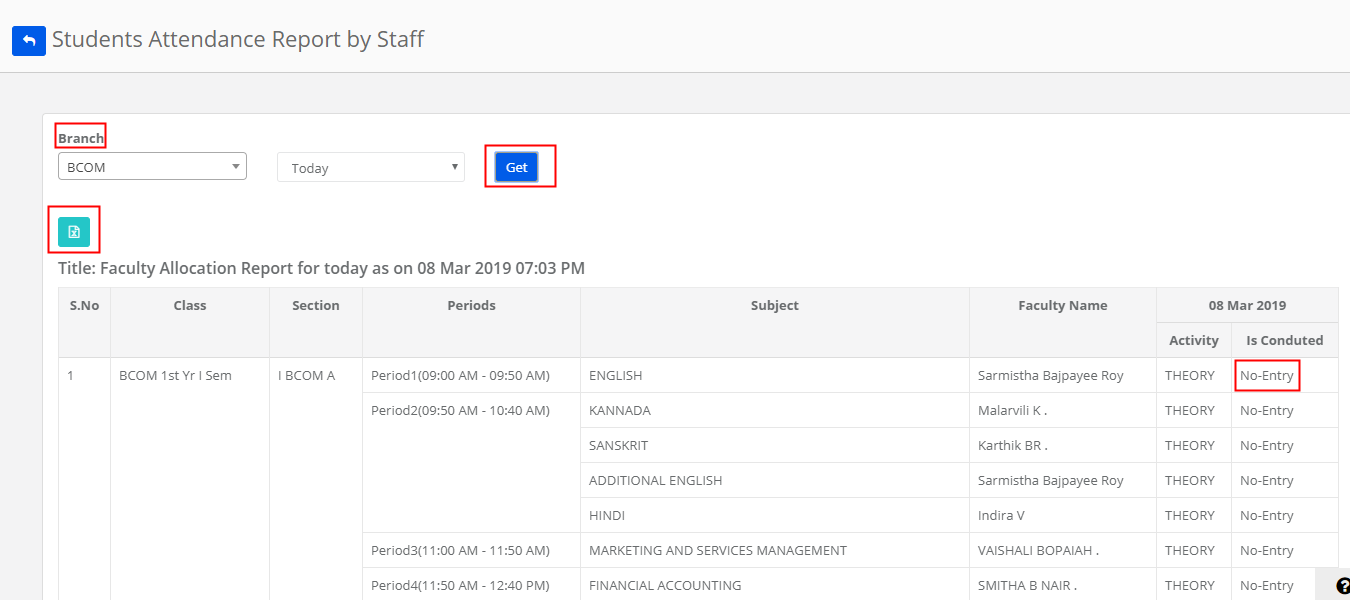
Attendance by Staff: This report gives you the status of attendance updation by faculty.
Step 9: To generate the report, choose the option Student Attendance by Staff [Highlighted]
Step 10: Select the branch and time period and click on Get to generate the report. Locate the status under the column Is Conducted as Entered, Not Entered against each faculty name. To export the report, click on the Excel icon located on the top right corner of the report.
Day wise Attendance: This Report gives you the day wise attendance of all branches.
Step 11: To generate the report, please click on the Day Wise Attendance tab.
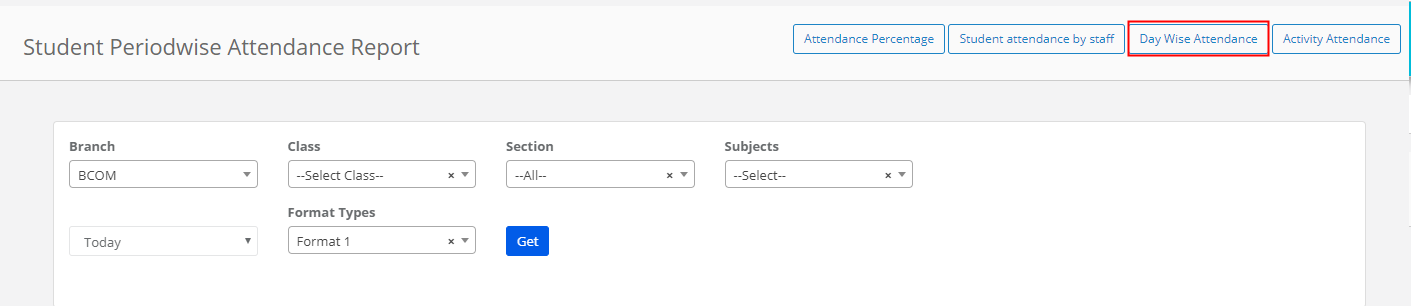
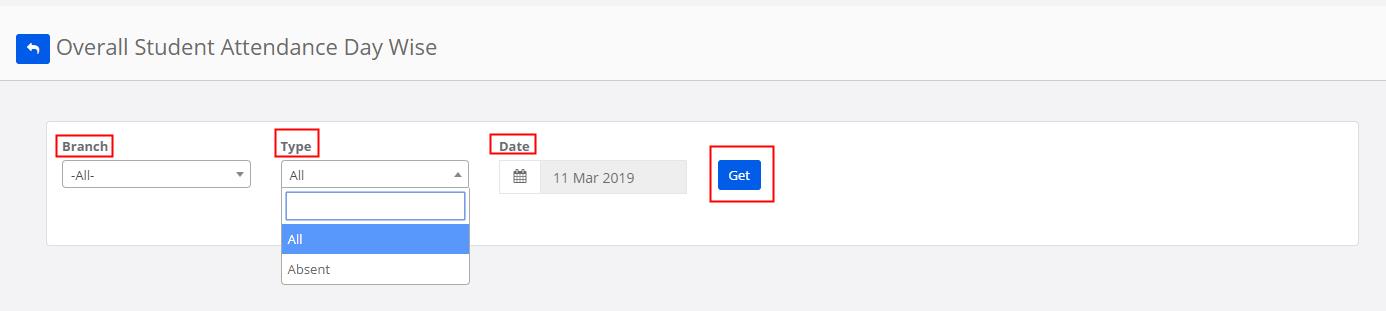
Step 12: Select All Branches or a specific branch, Type as All and Absent, Date and Click on Get.
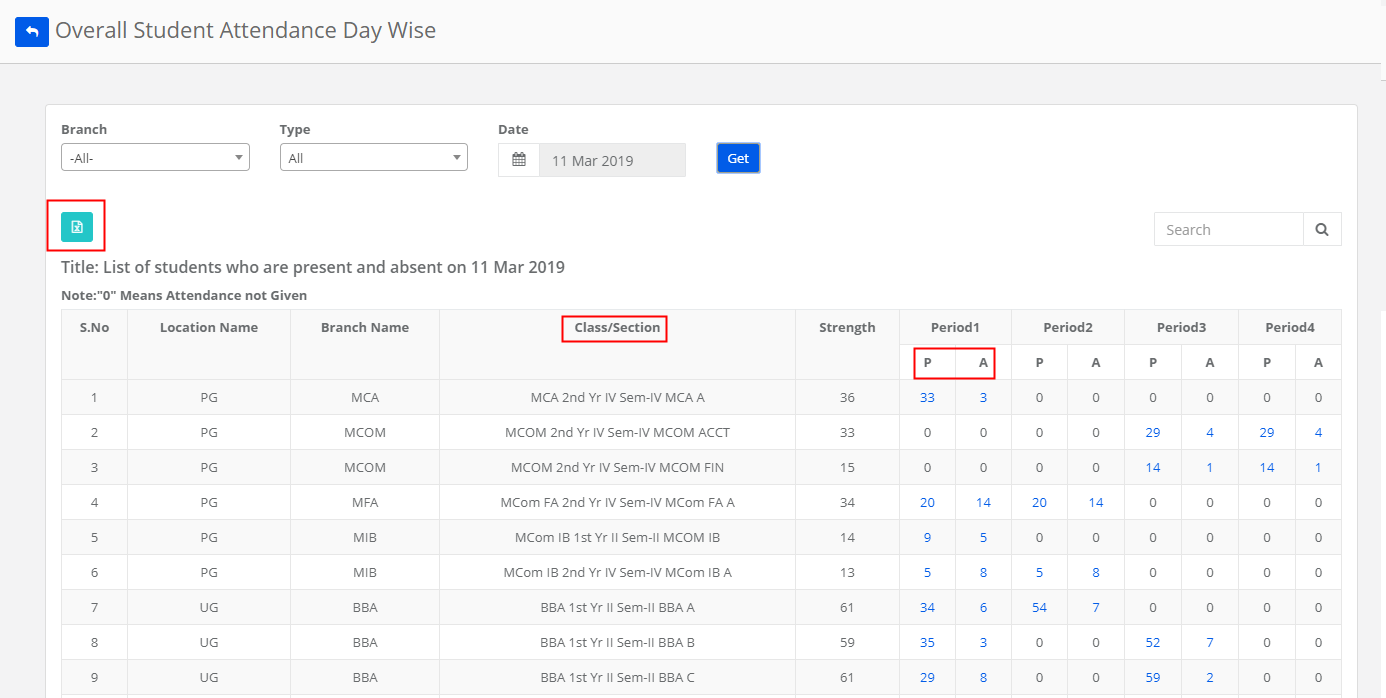
Step 13: When you select ALL option under type, the list gives you count of Present and Absent in each period against the class.
As you click on the number, it will show the list of students.
Click on Excel icon which is placed on the top left corner of the report to export the file in excel format.
How to mark Activity Attendance?
Activity attendance is used for updating the attendance who have attended the activity without attending the regular classes. Inactivity attendance, you will get the list of students who are absent in period wise attendance.
Step 14: To mark the Activity attendance, click on Activity Attendance Tab.
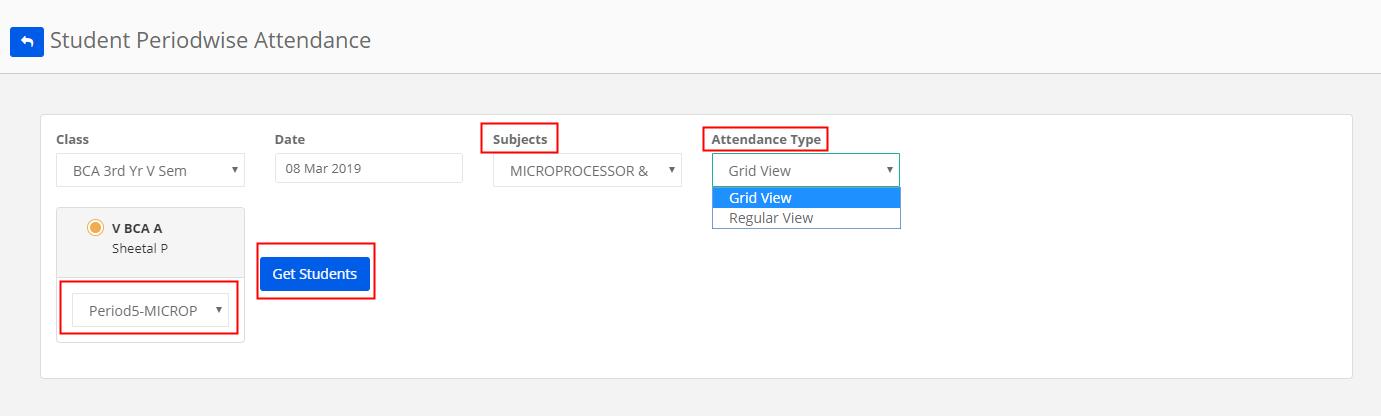
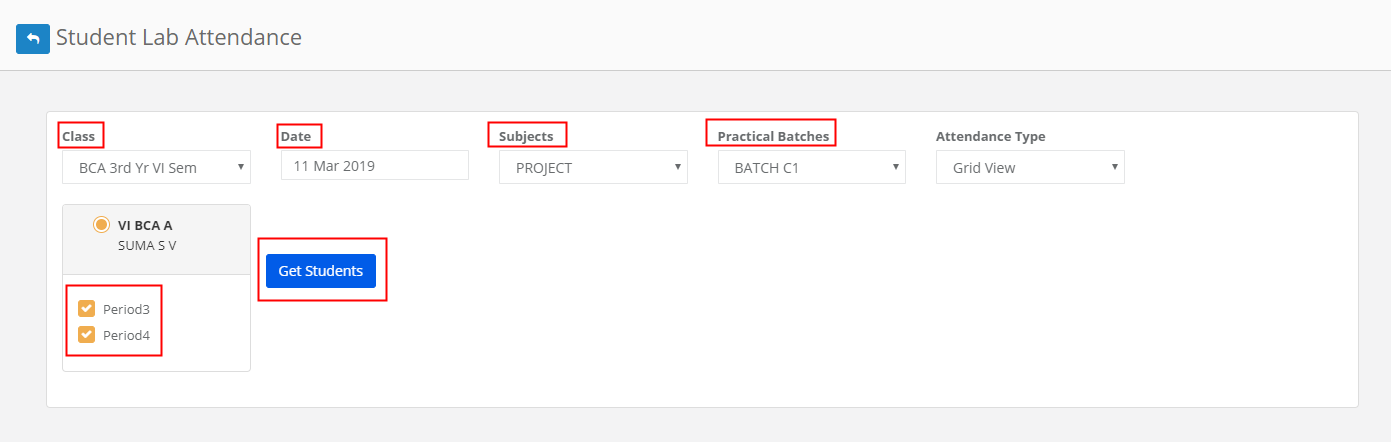
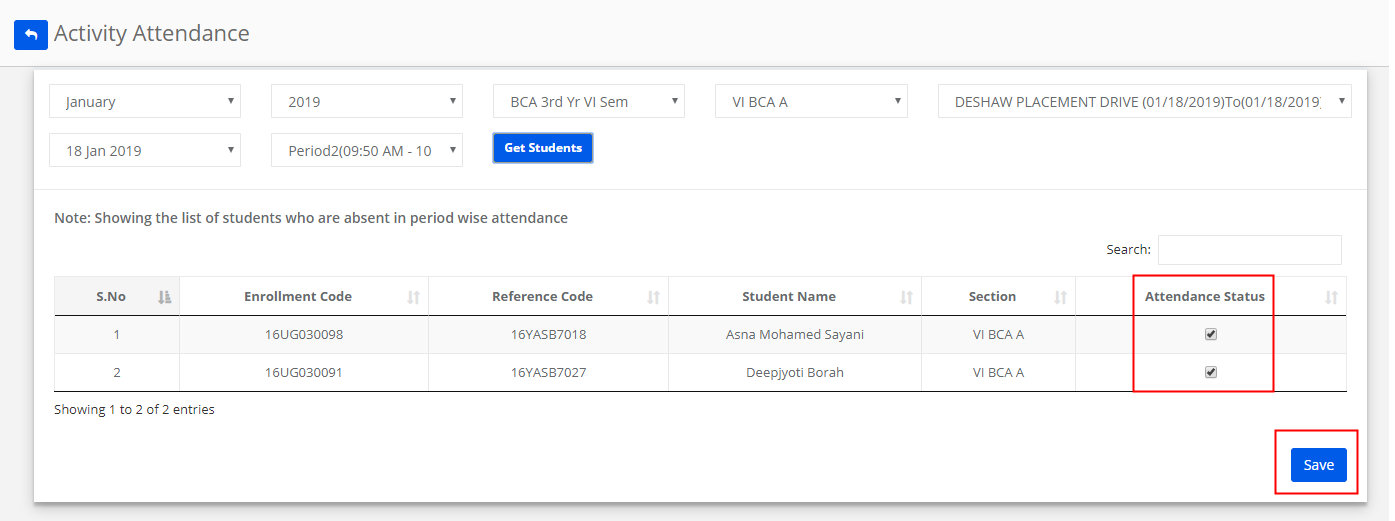
Step 15: Choose the month, year, class, section, activity name, date, period and click on Get students.
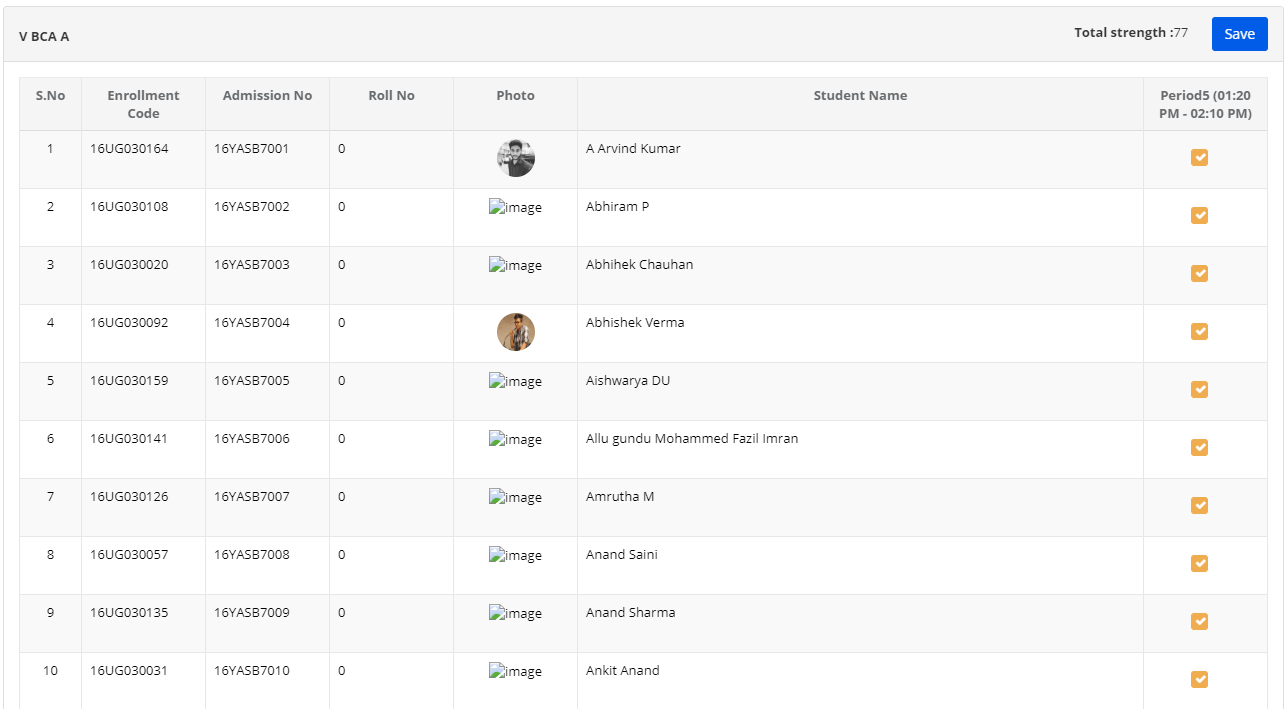
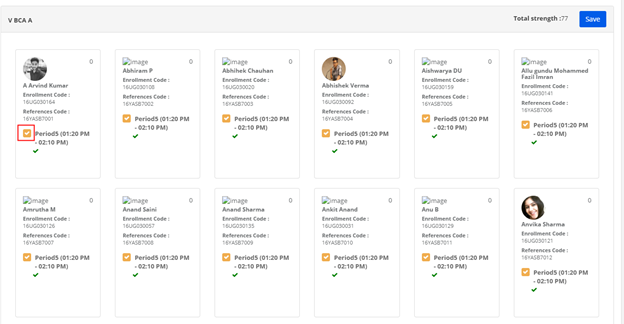
It will list the students for whom period wise attendance is marked as absent in the period selected.

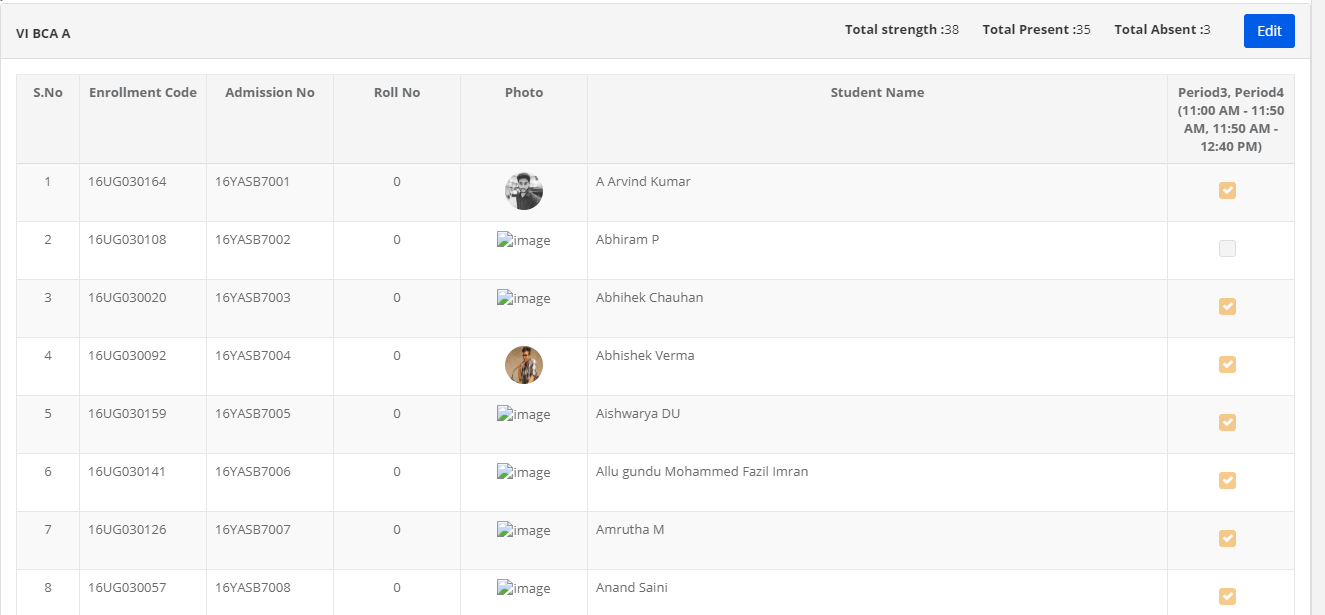
Step 16: Change the attendance status as the present by checking the tick mark and unselect the tick mark if the student is absent for the activity. Click on SAVE.
NOTE:
1. You can mark the activity attendance only when the activity is created for the class on the specific date and the days wise time table is created for the class. In the absence of either the day wise timetable or activity creation, activity attendance will not let you update the attendance for activities.
2. The student who is absent in period wise attendance and activity attendance will be treated as Absent for the period.