Student Search
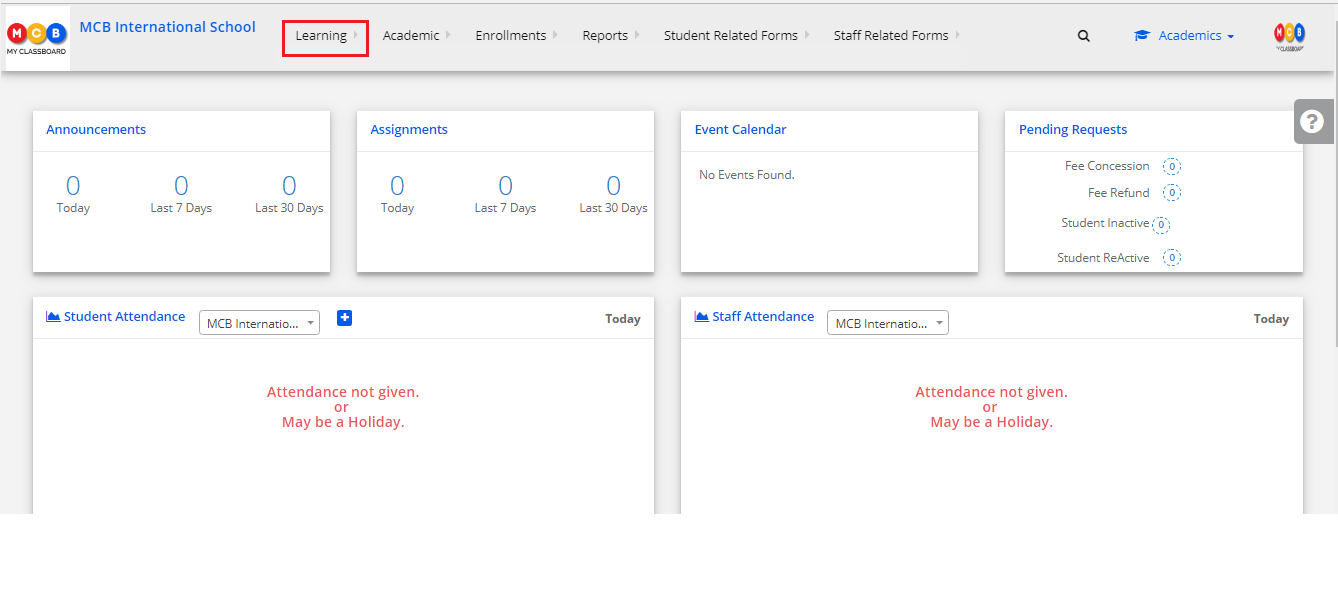
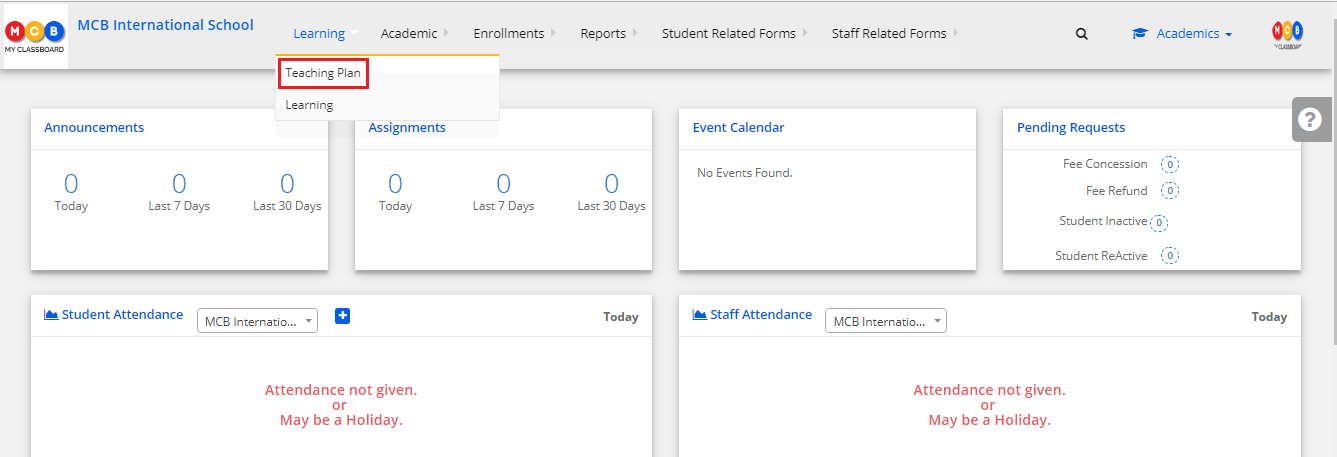
Step 1: Login to MCB.
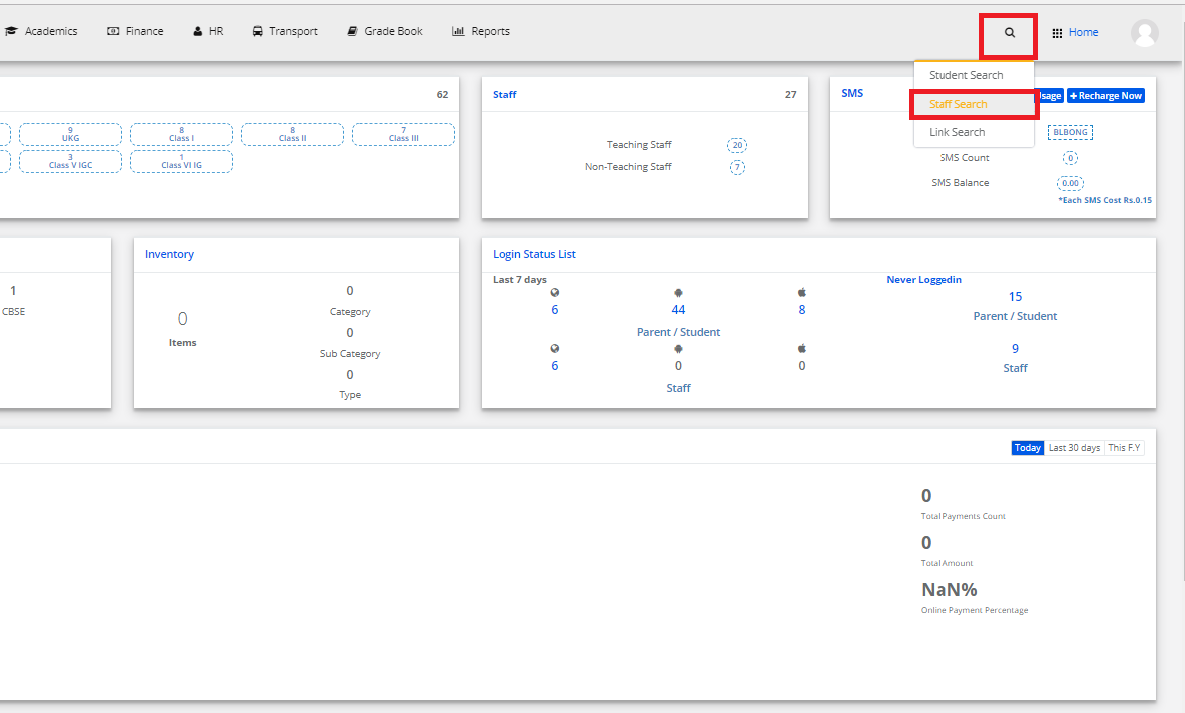
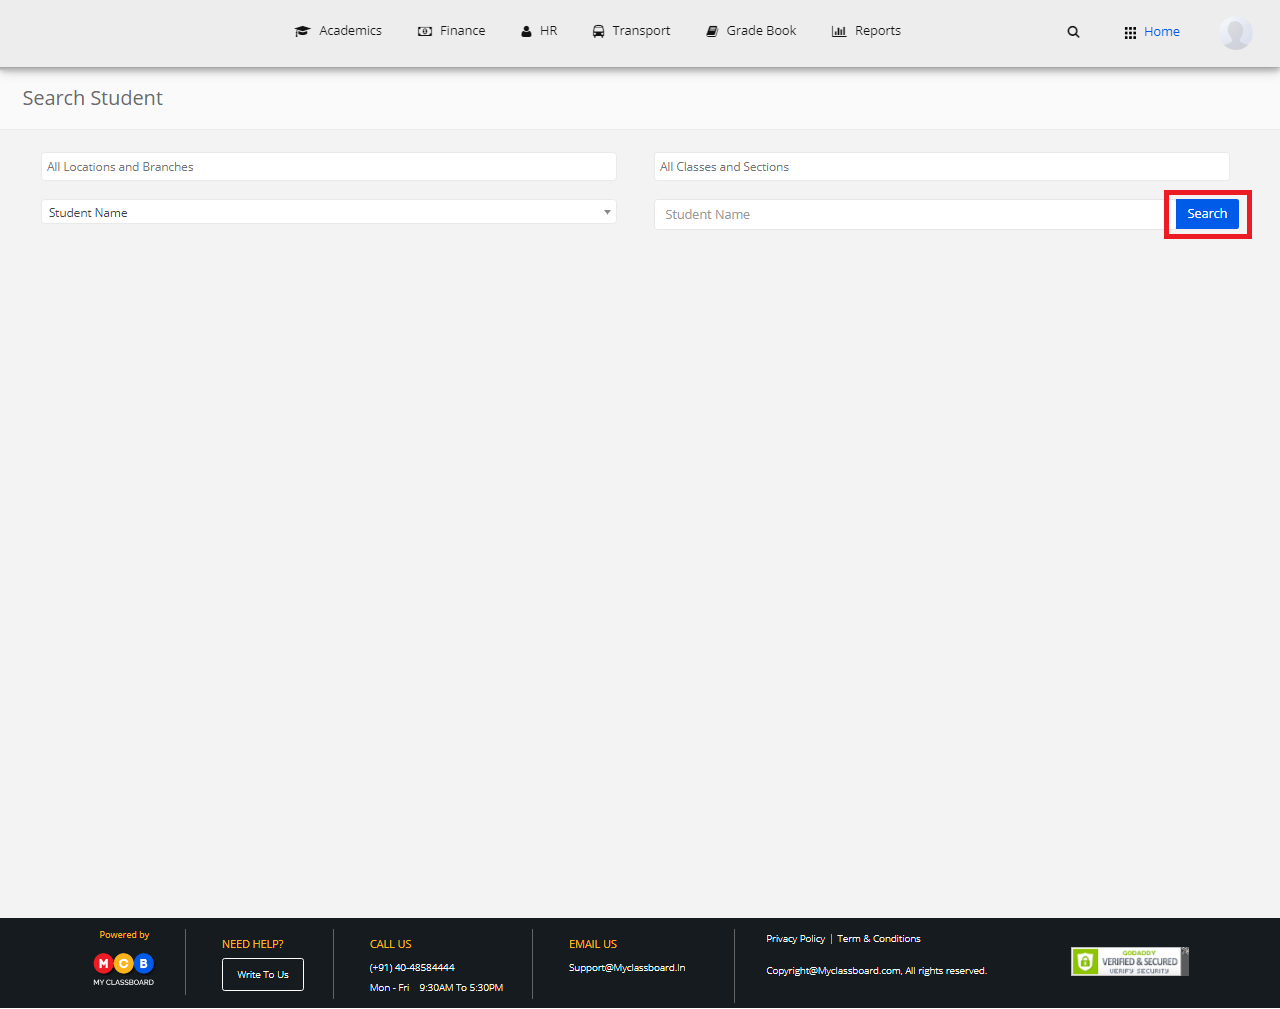
Step 2: Click on the “Search” button on the top bar of the dashboard to search for the student.
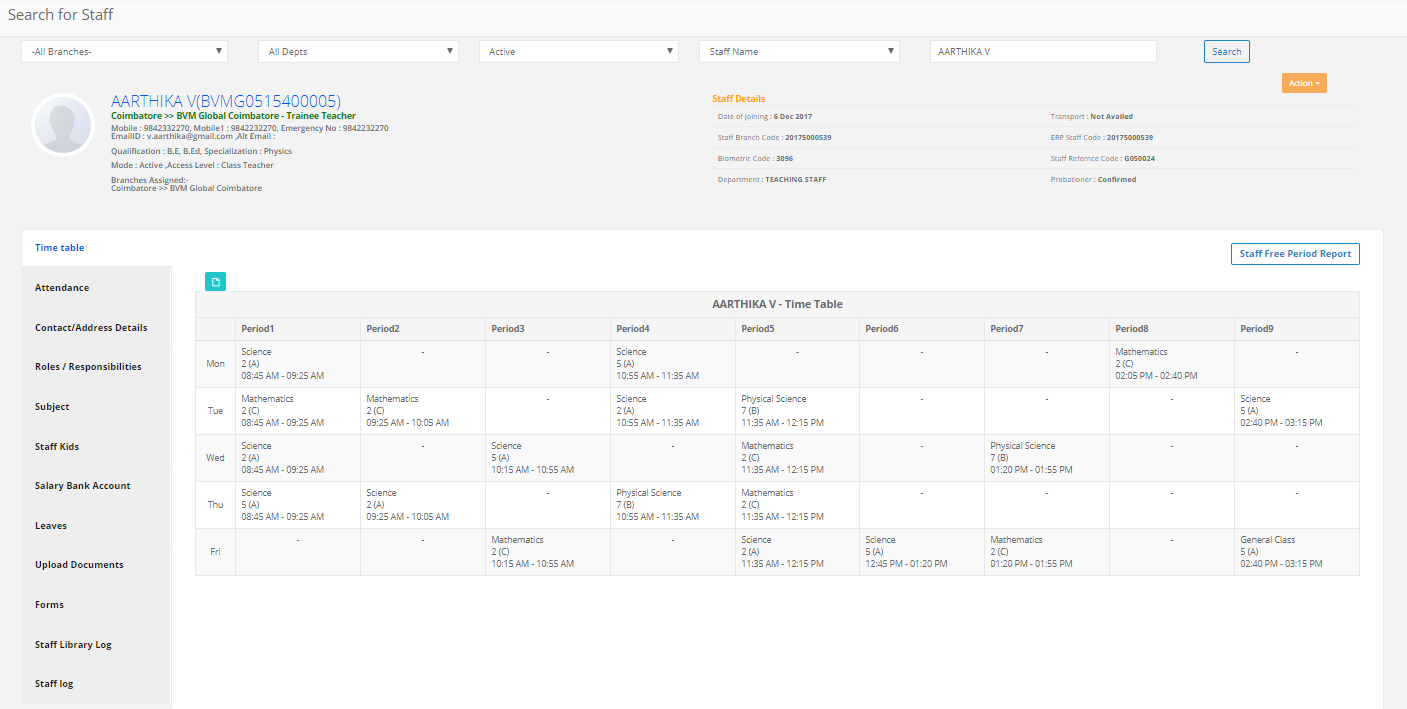
Step 3: Enter the required criteria here and click on “Search”.
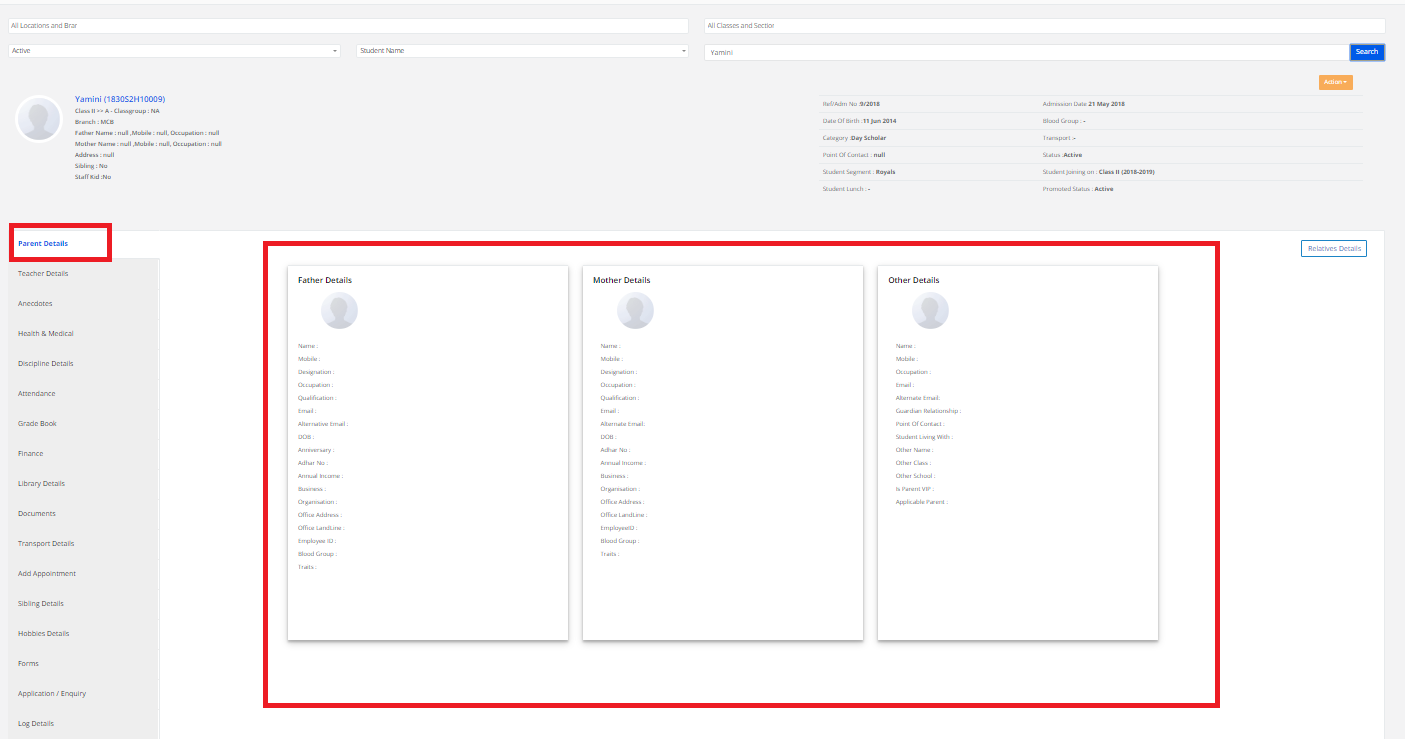
Step 4: The Search Result page is displayed with several options on the left pane.
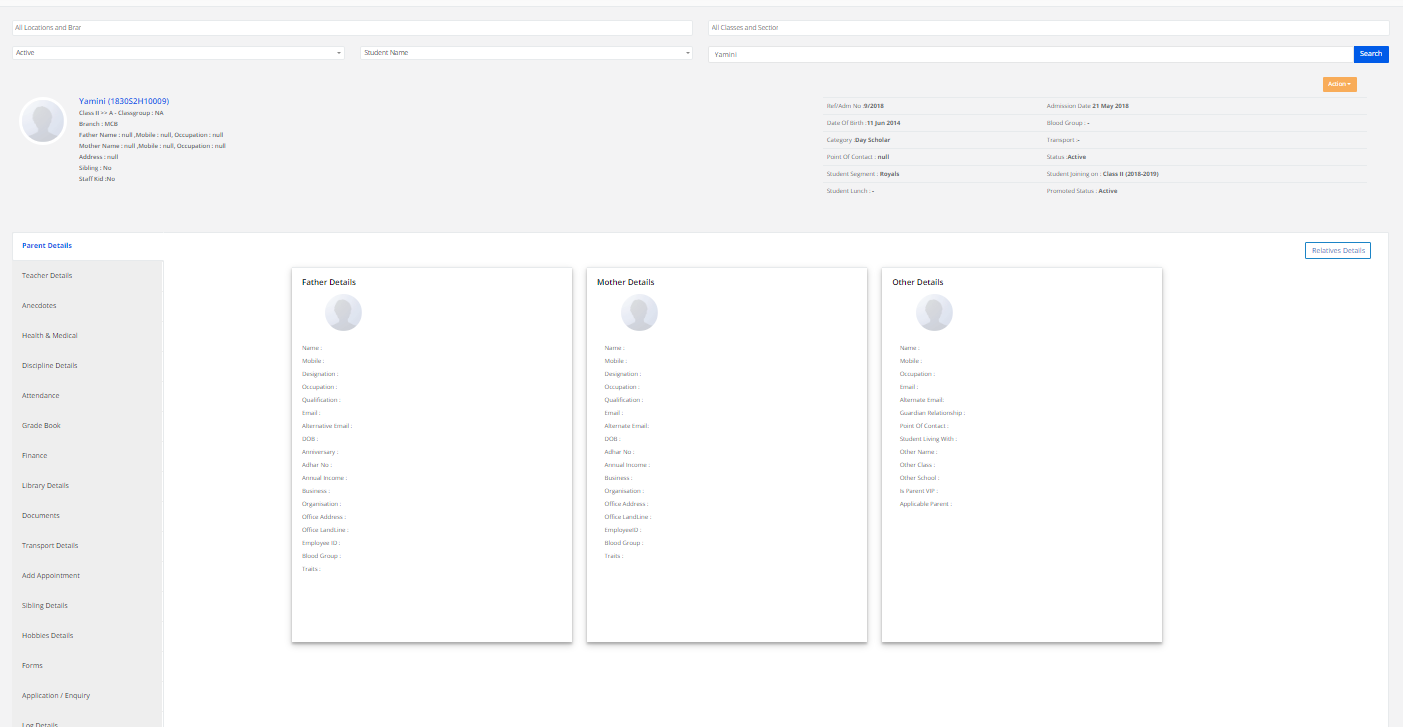
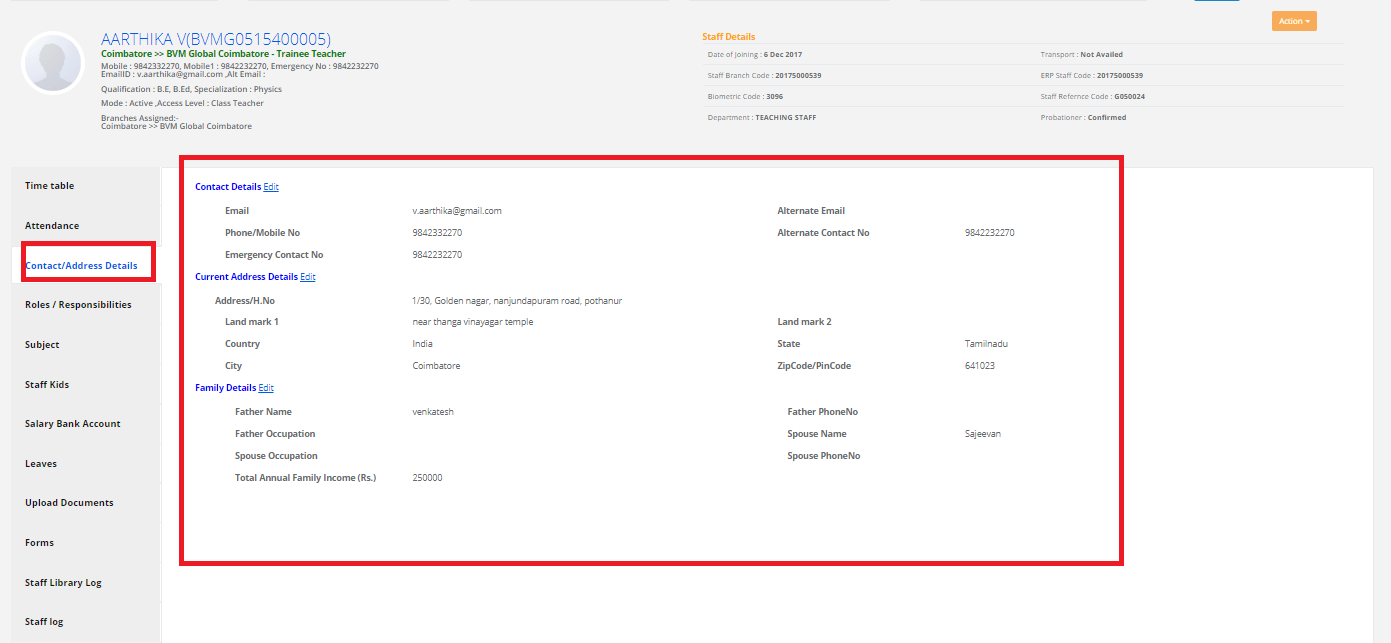
Step 5: To view parent details, select “Parent Details” on the left pane.
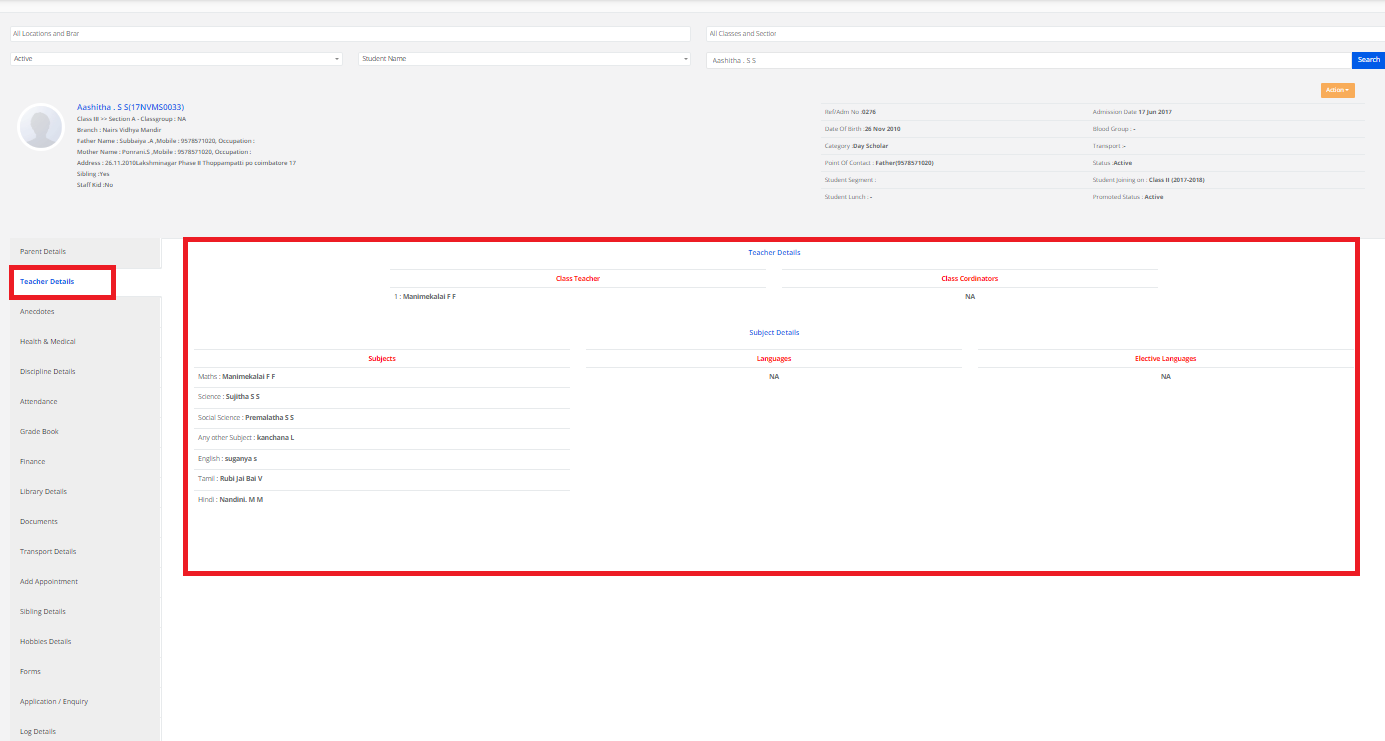
Step 6: To view teacher details, click on “Teacher Details”.
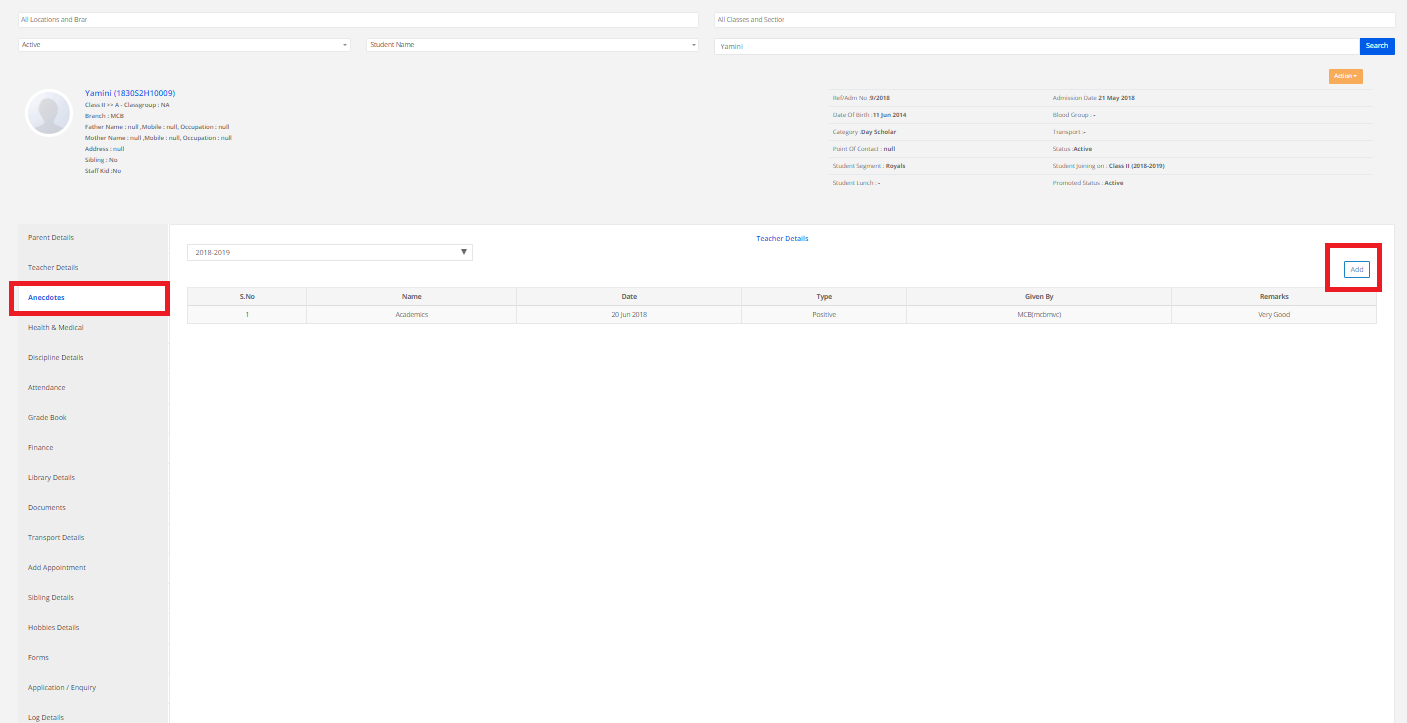
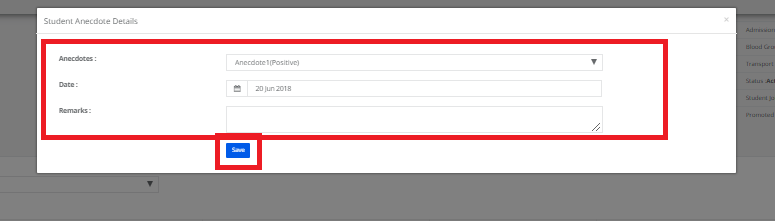
Step 7: To view Anecdotes details, click on “Anecdotes ”.To add the Details, Click on ADD.
Enter all the details and click on “Save”.
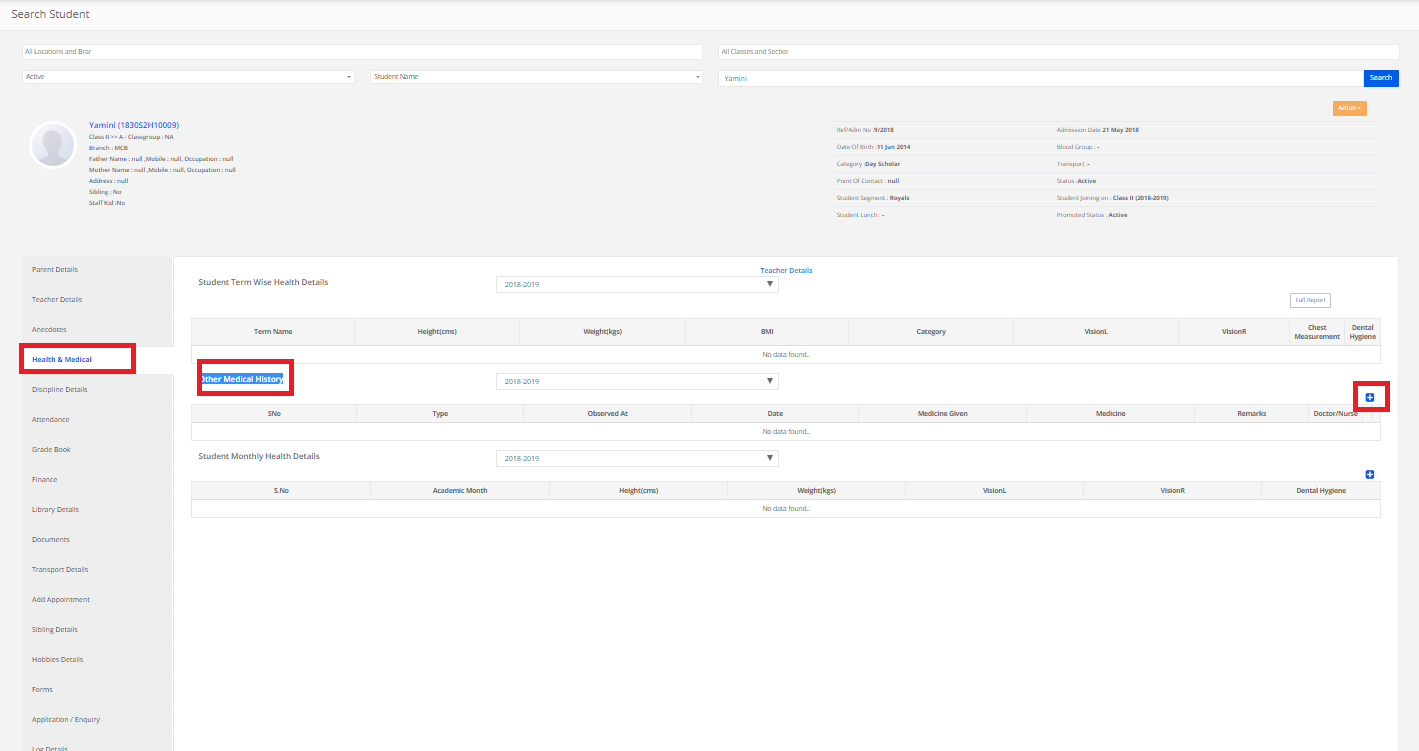
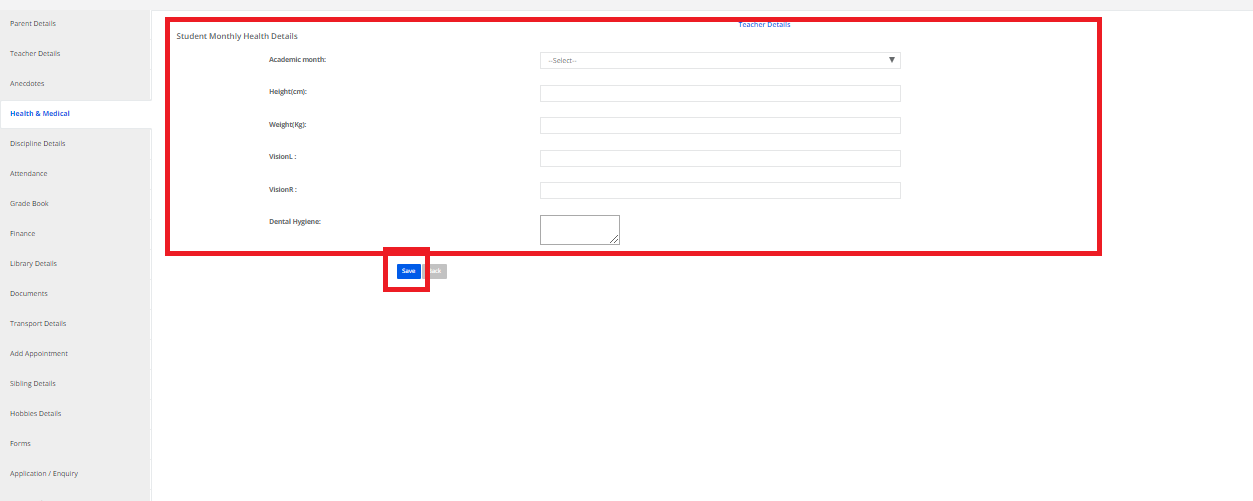
Step 8: To view health and medical information of the student, click on “Health & Medical Information”.
To add Daily Health & Medical Information details, In other Medical History, click on “+” symbol.
Select options, add details and click on “Save”.

To add the Monthly Health & Medical Information details. In other Medical History, click on “+” symbol.
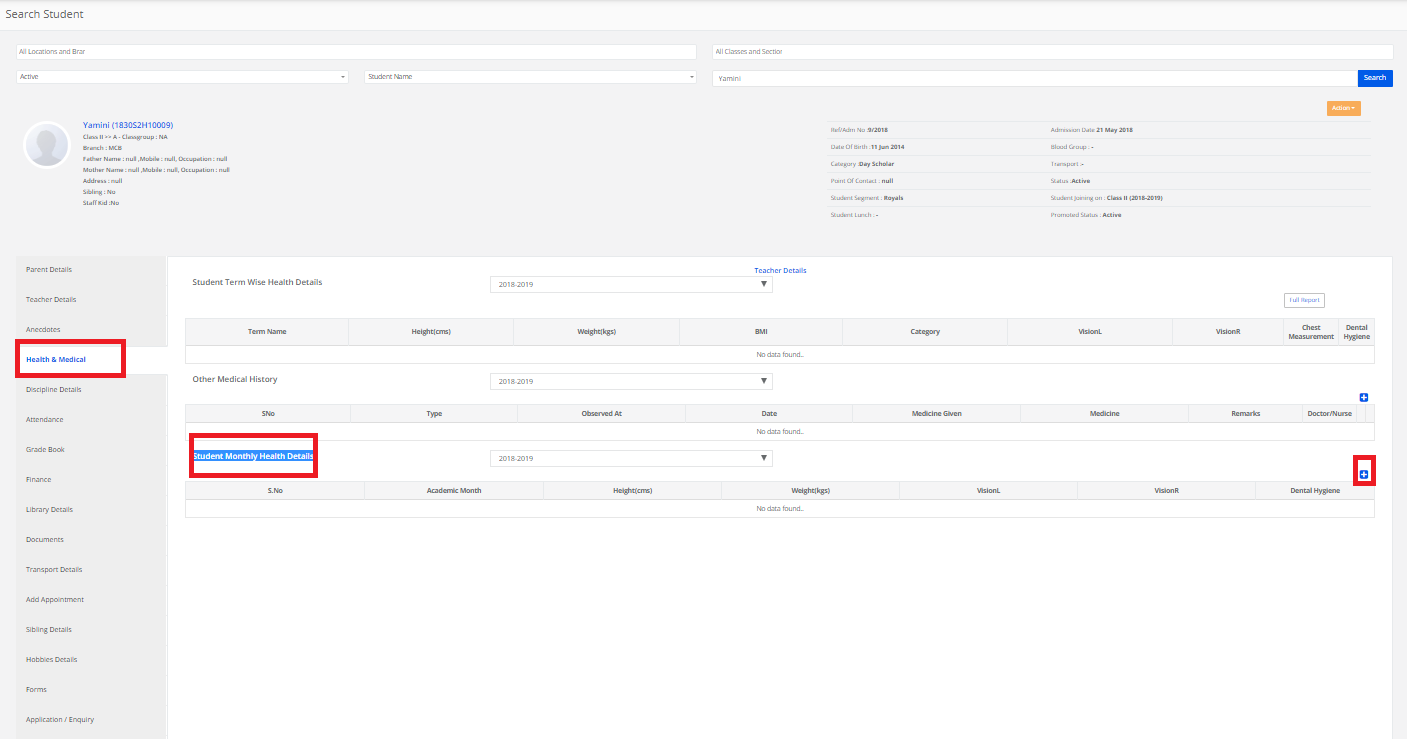
Select options, add details and click on “Save”.
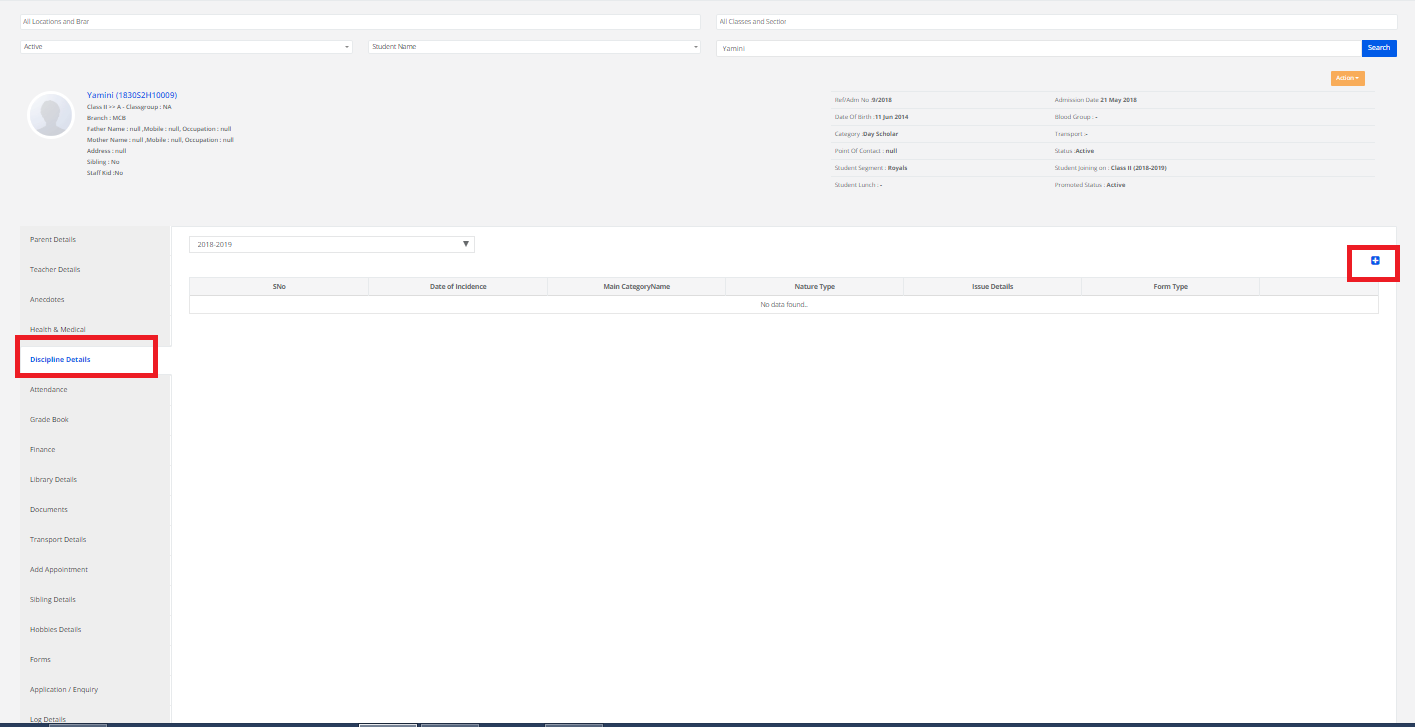
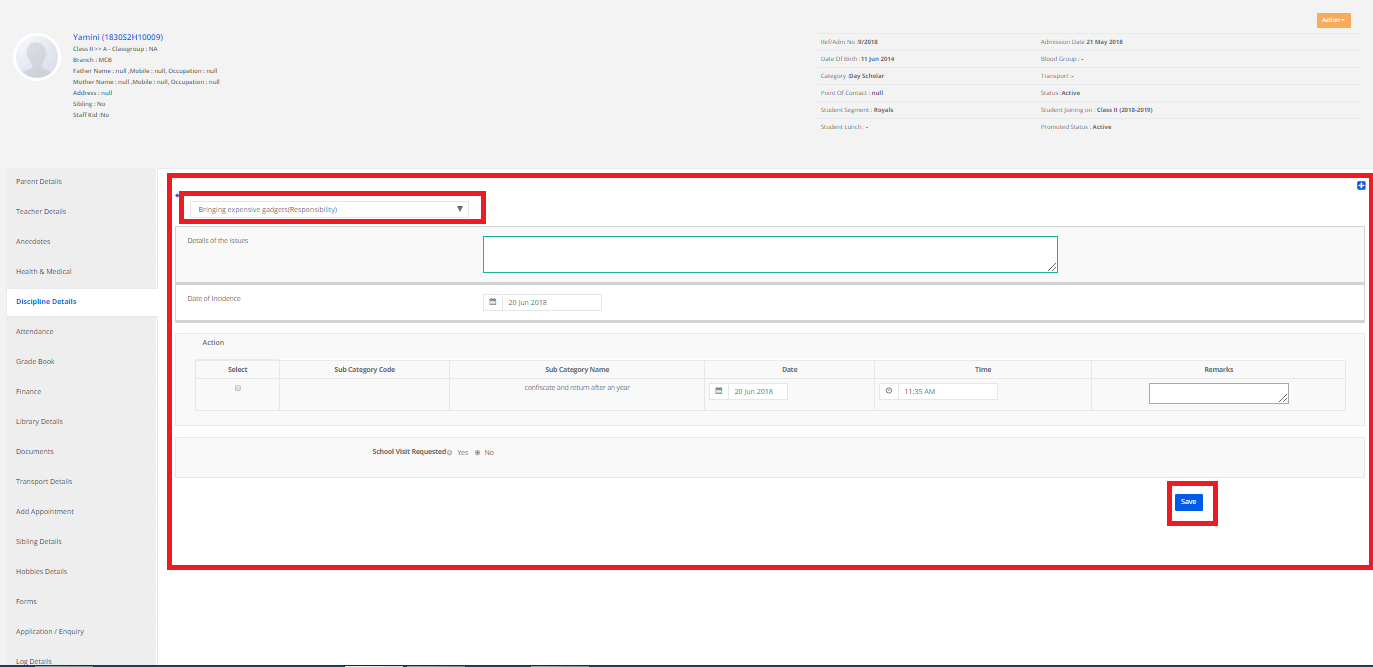
Step 9: To view disciple details, click on “Discipline Details”. To Add the details, click on “+” symbol.
Select the code of Conduct, add details and click on “Save”.
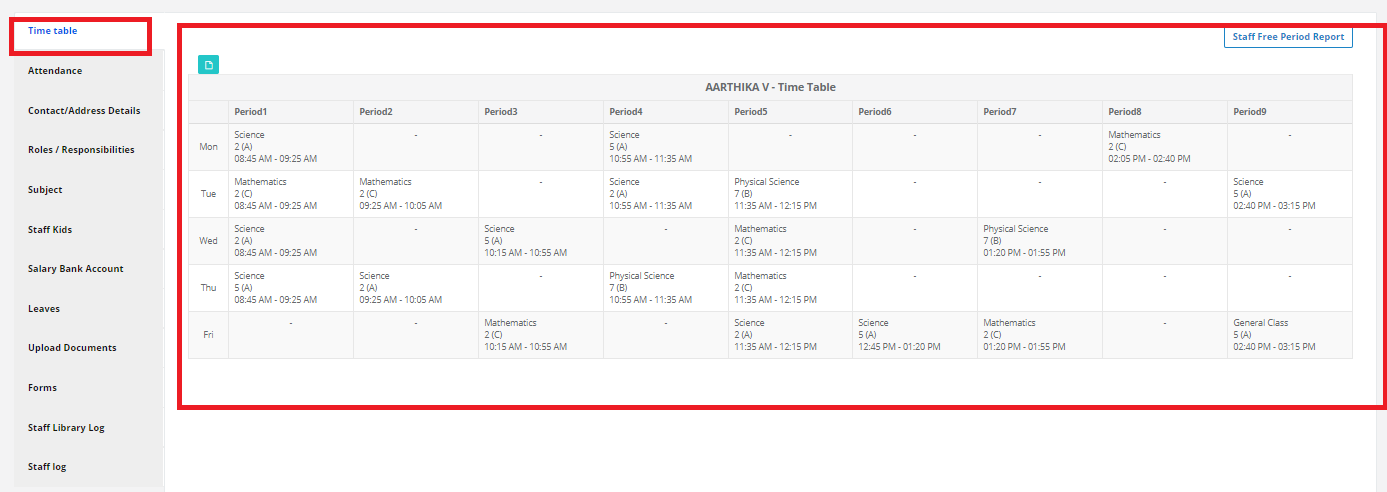
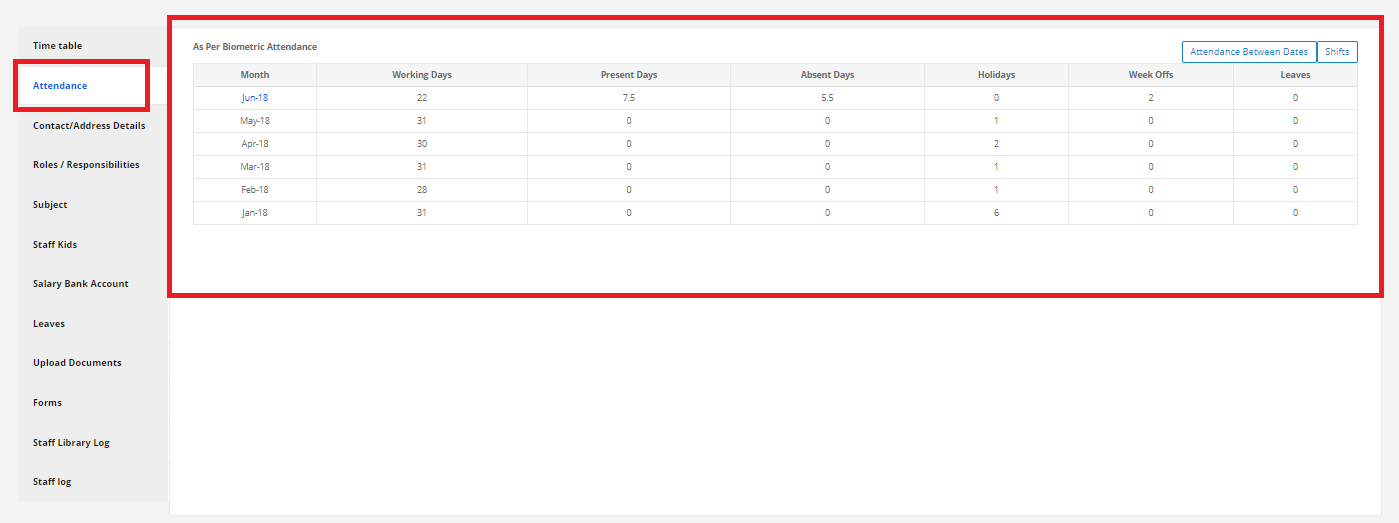
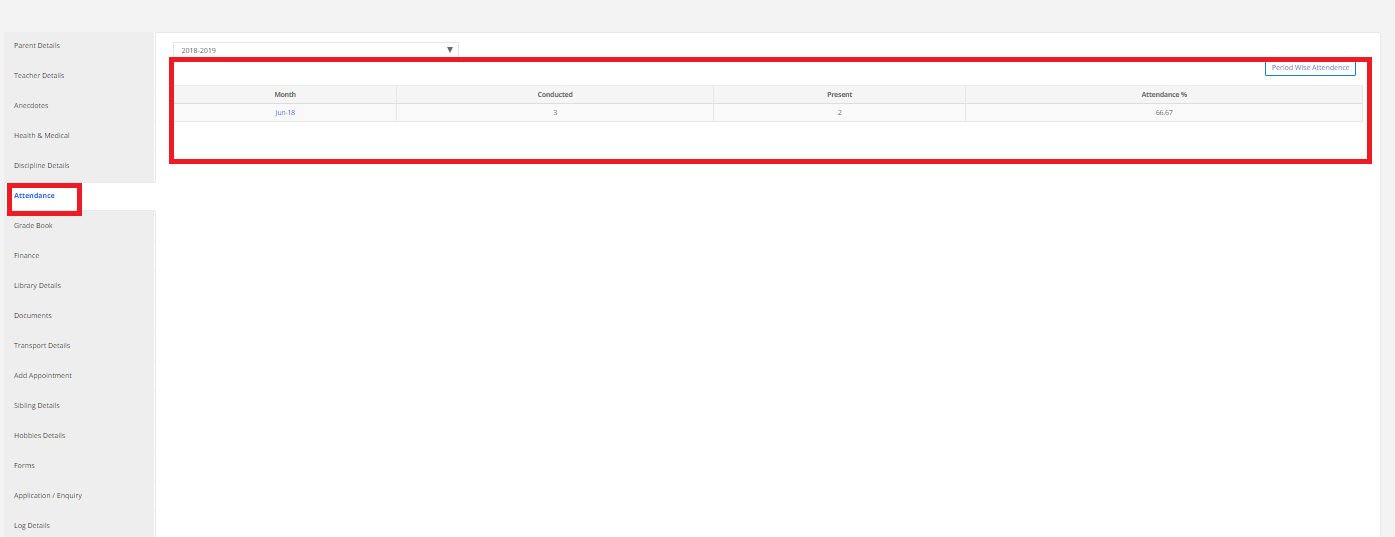
Step 10: To view attendance, click on “Attendance”.
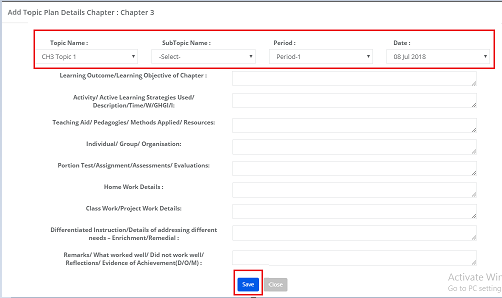
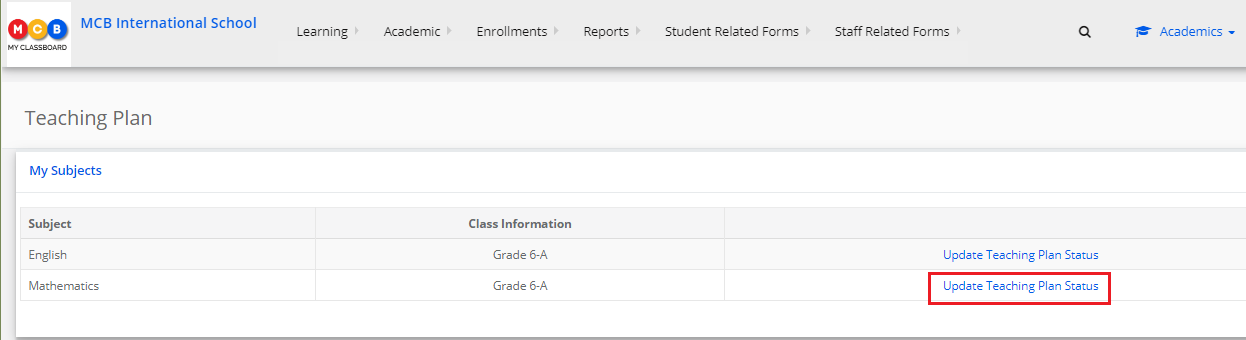
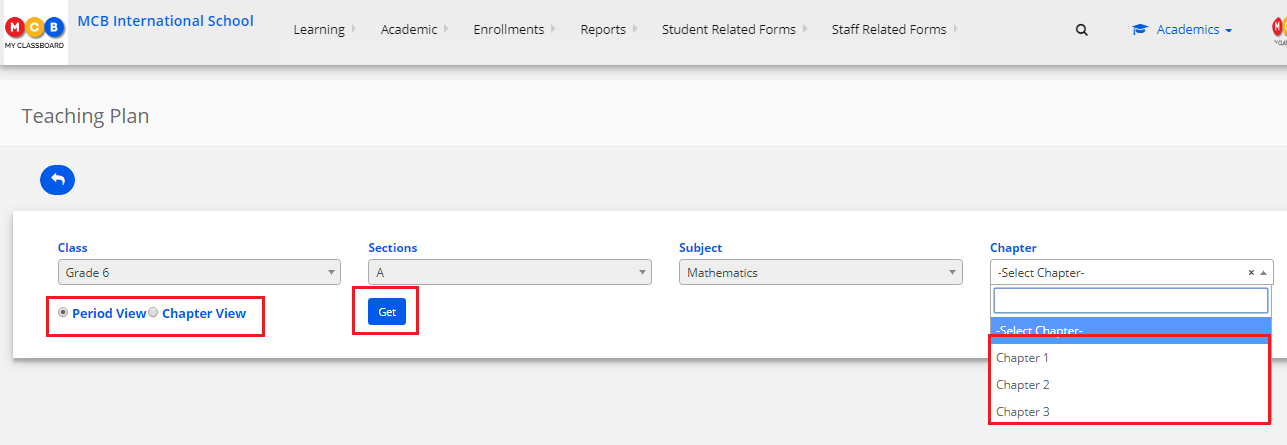
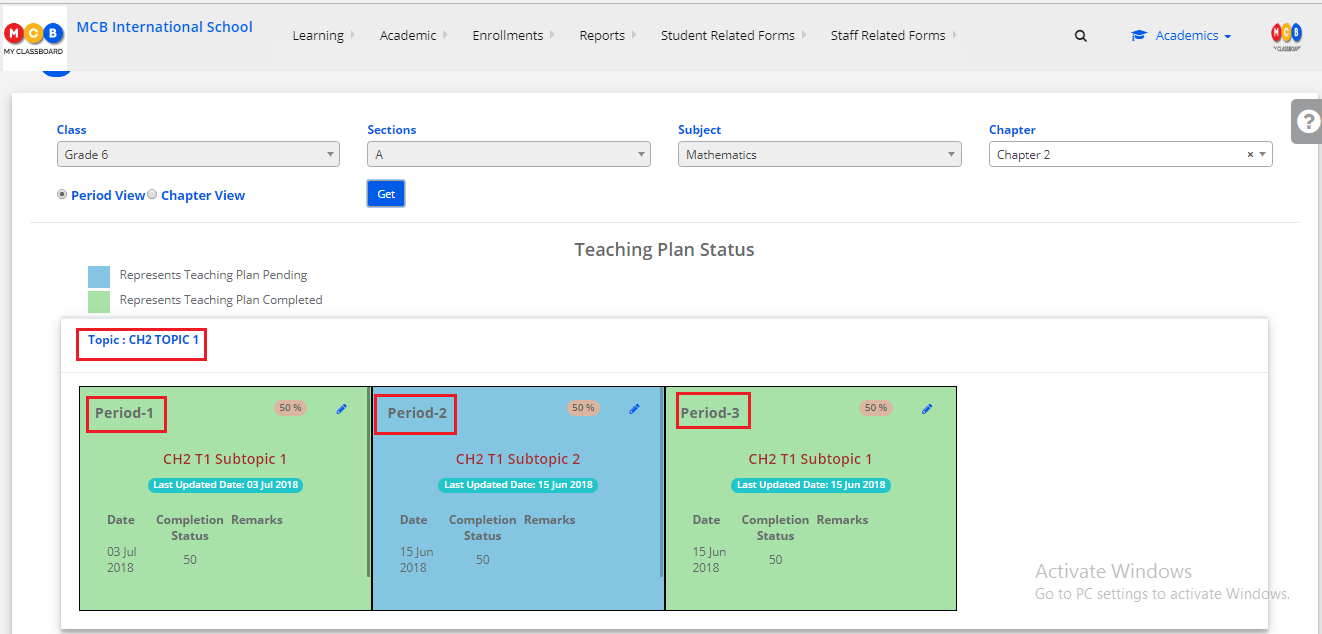
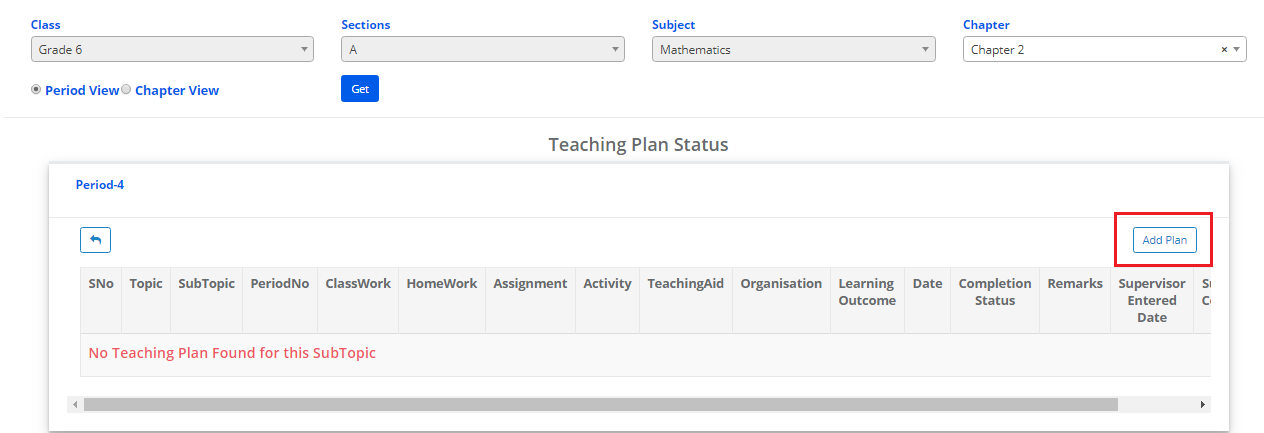
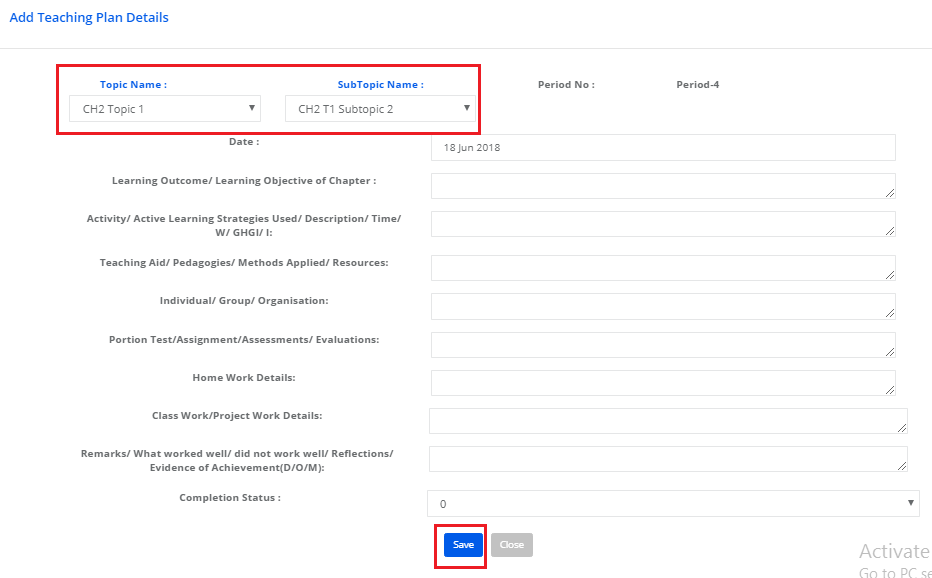
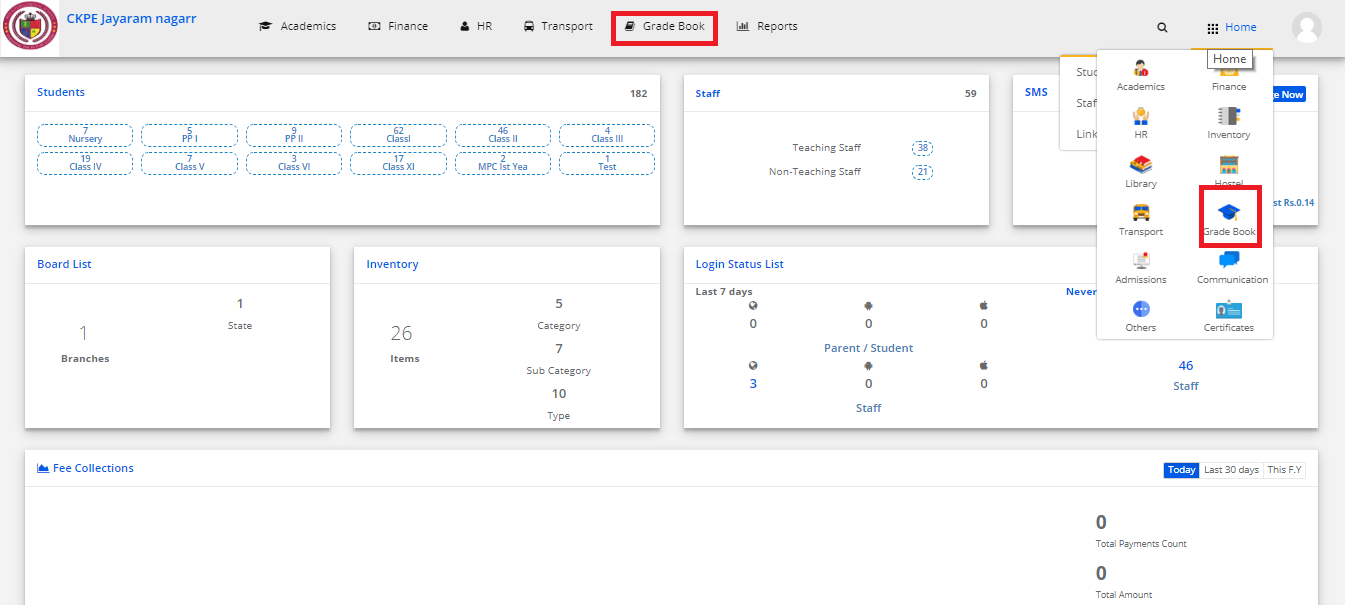
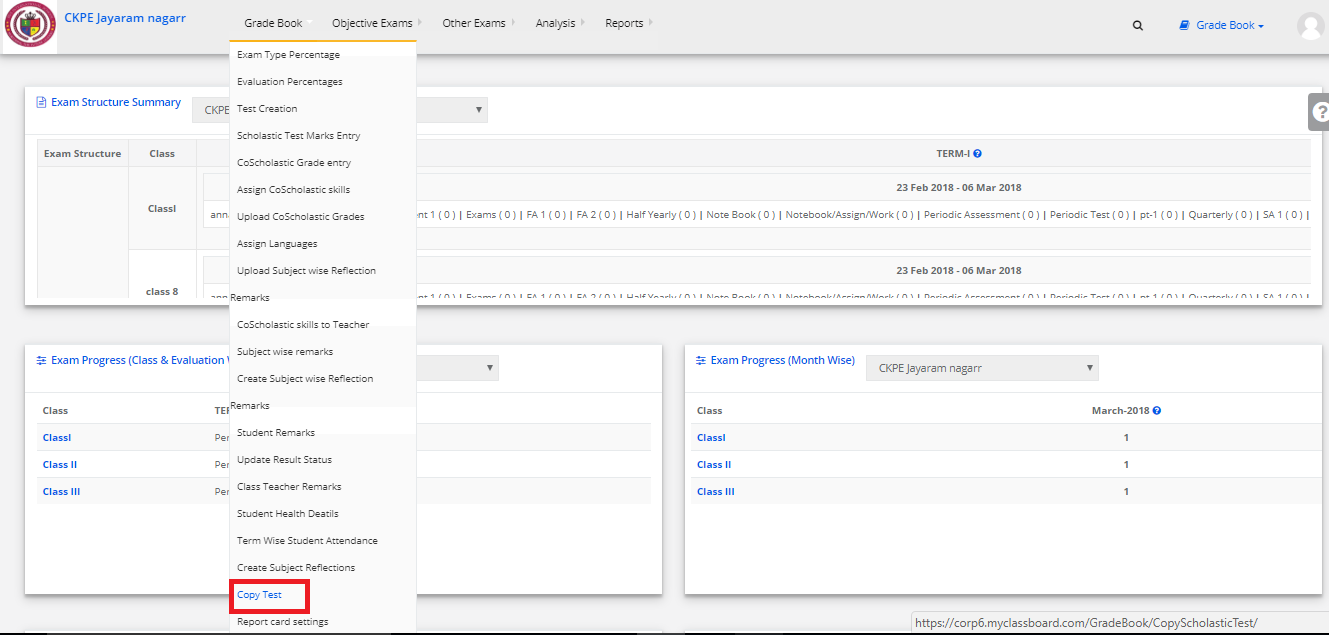
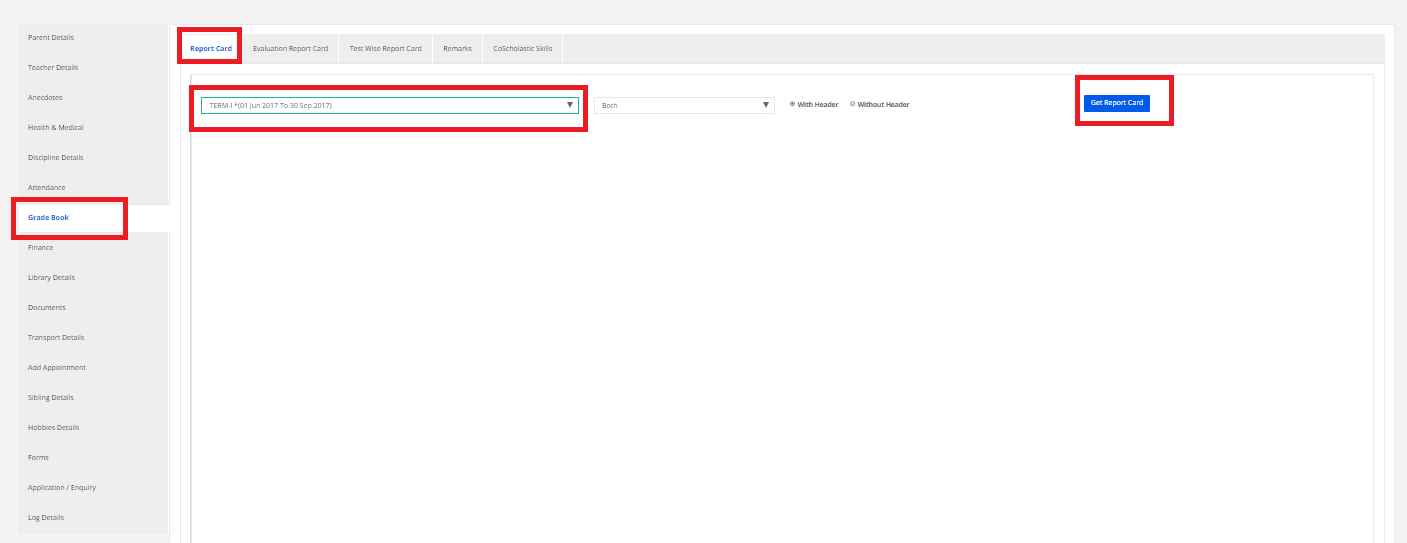
Step 11: GRADE BOOK
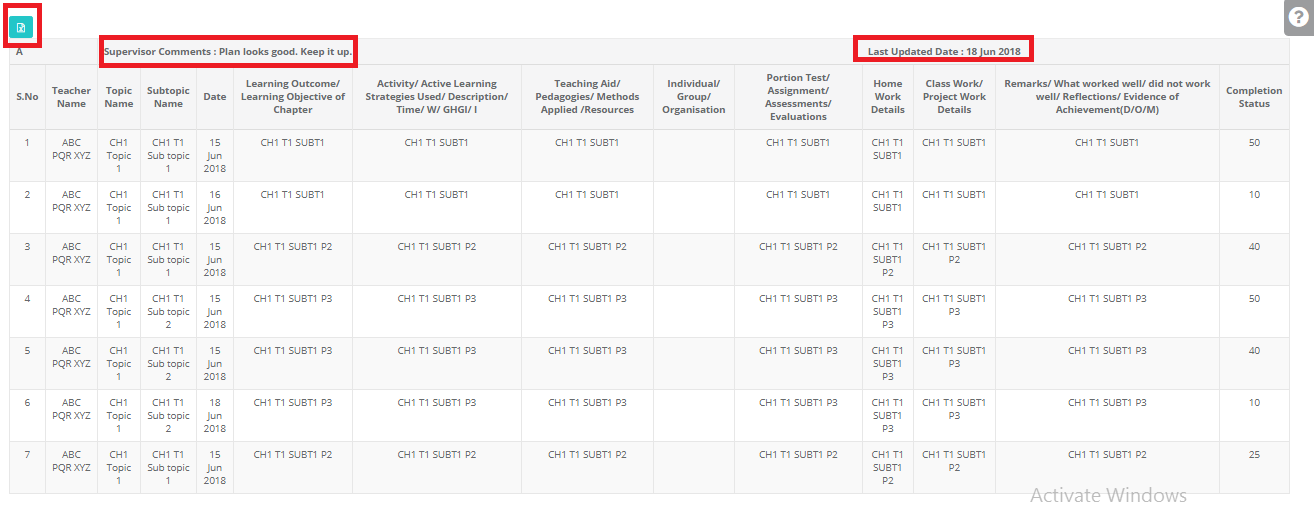
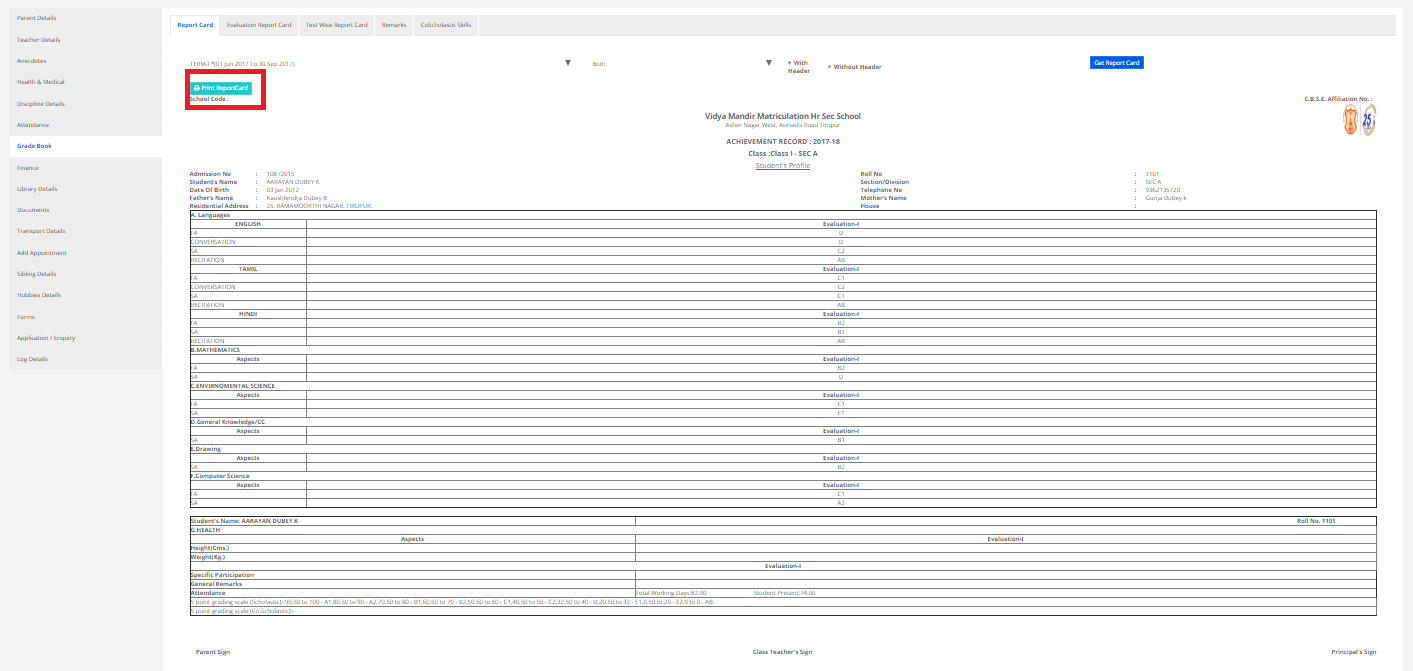
To view Grade Book, click on “Grade Book”. Click on Report Card, Select the term and click on “Get Report Card”.
You can print the same by choosing the “Print Report Card” option.
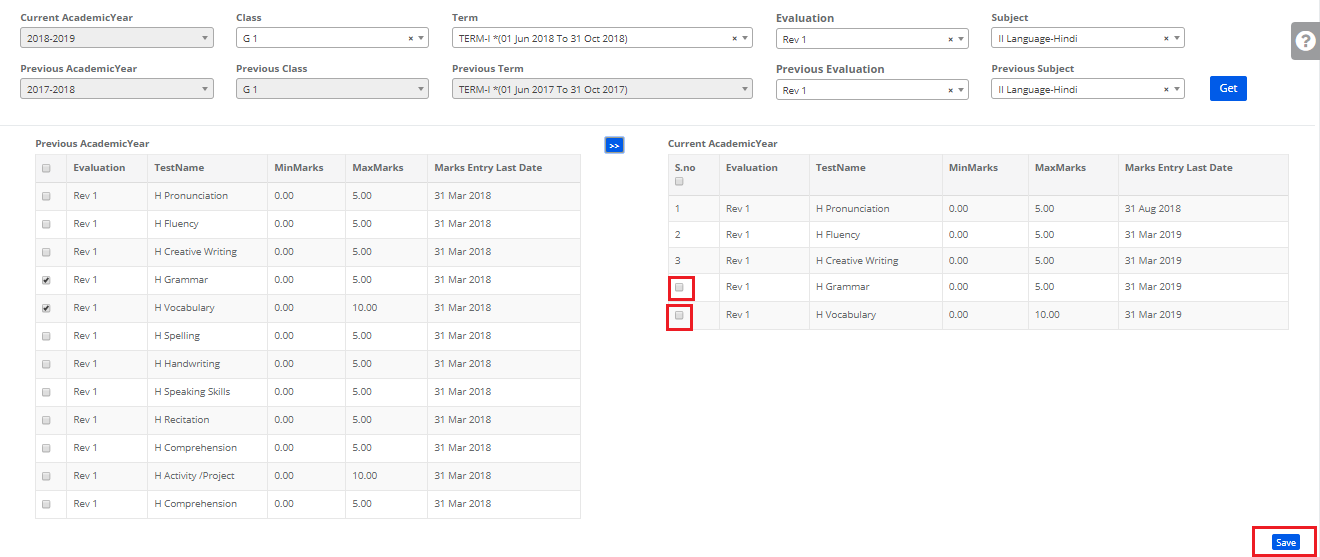
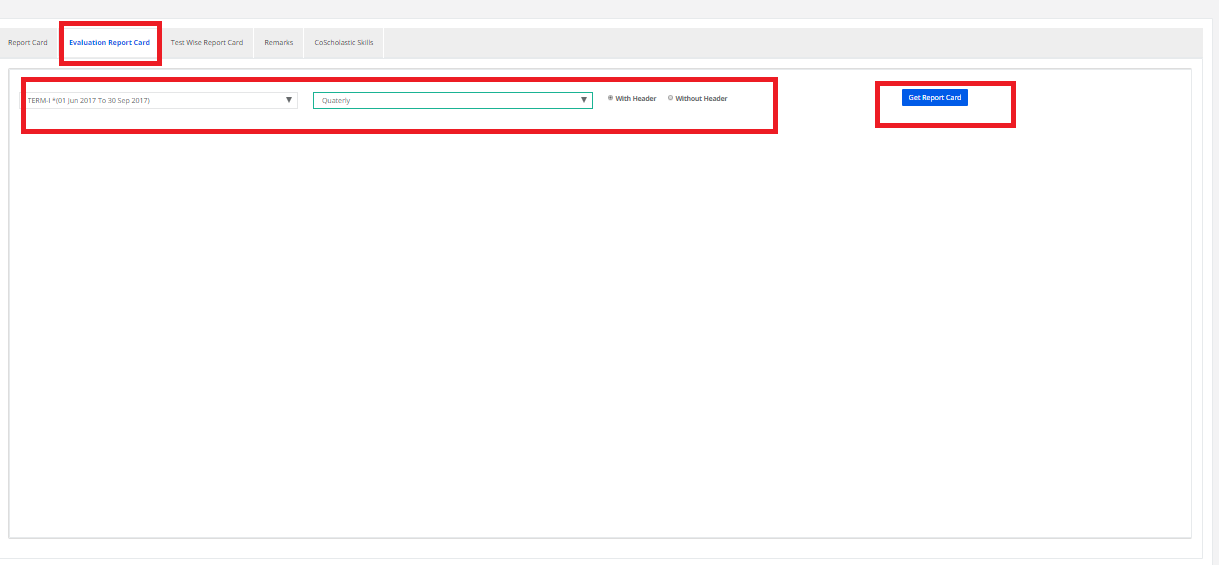
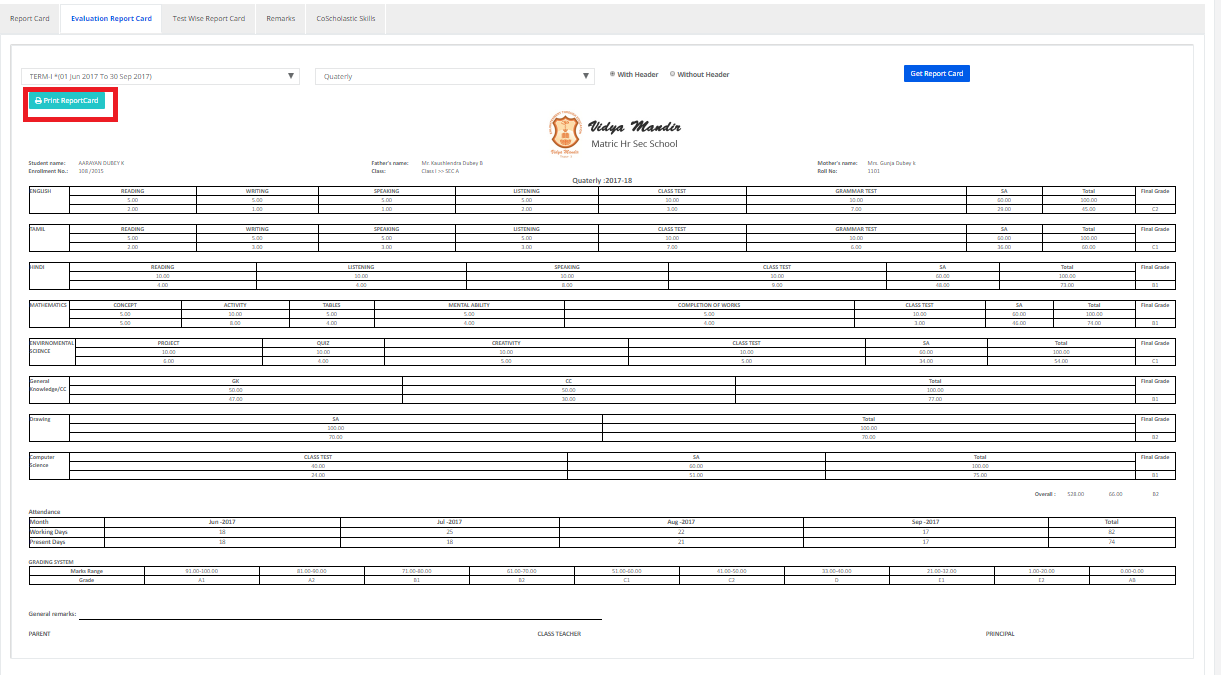
To view Evaluation Report Card, click on “Evaluation Report Card”. Select Term, evaluation and click on “Get Report Card”.
You can print the same by choosing the “Print Report Card” option.
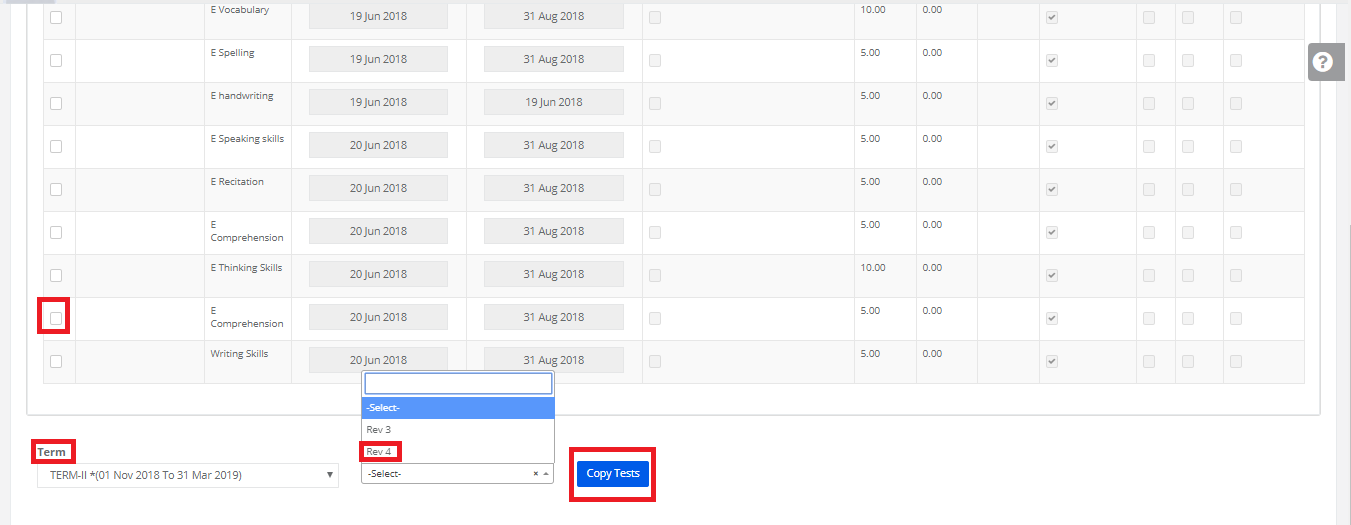
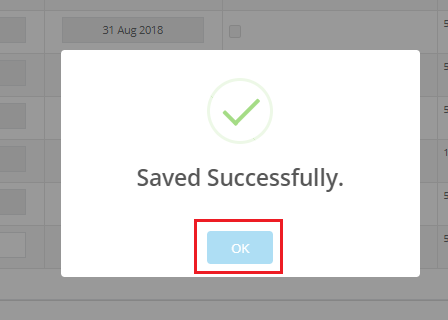
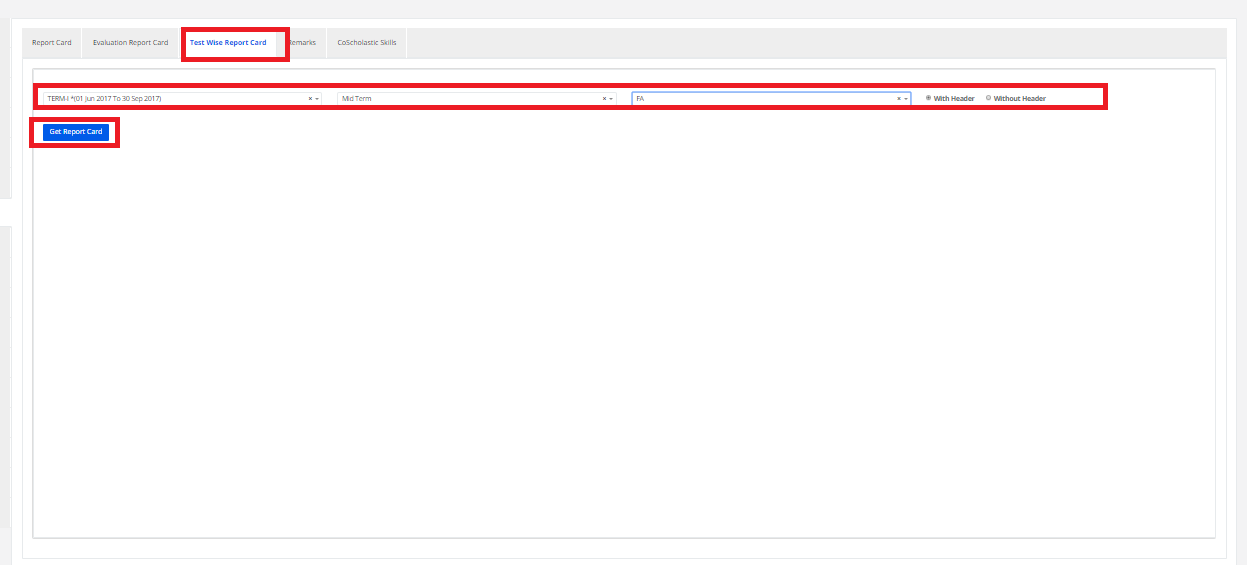
To view Test wise Report Card, click on “Test wise Report Card”. Select Term, evaluation, Subject Skills and click on “Get Report Card”.
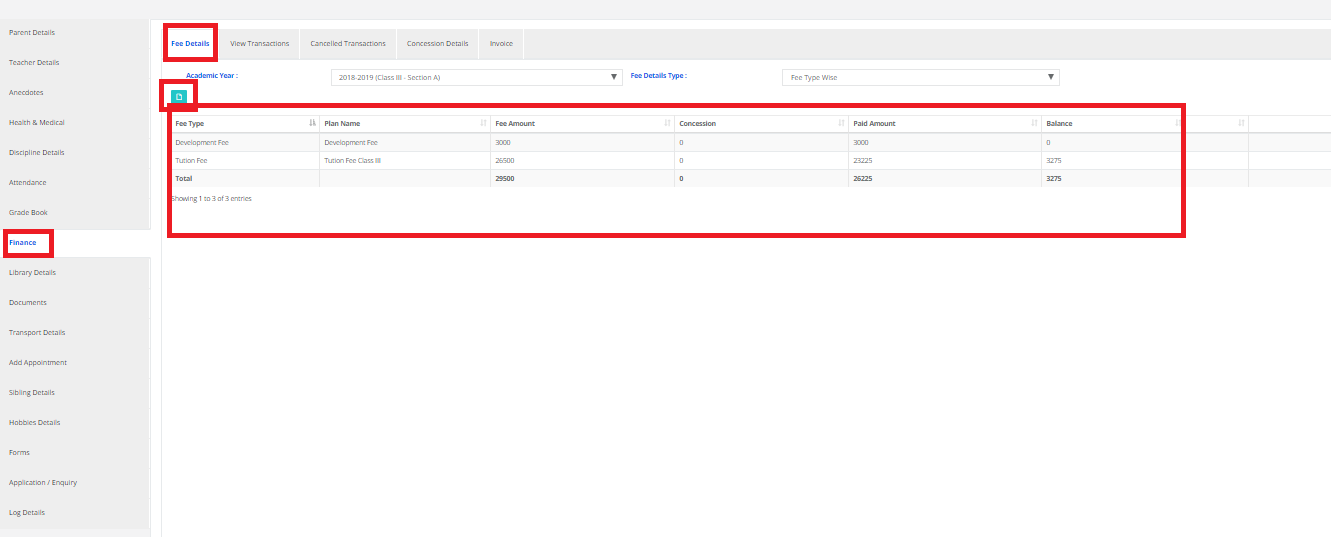
Step 12: Finance
Click on Finance, To view Fee Details, click on “Fee Details”.You may export the same to excel by clicking on the “Export Excel” option.
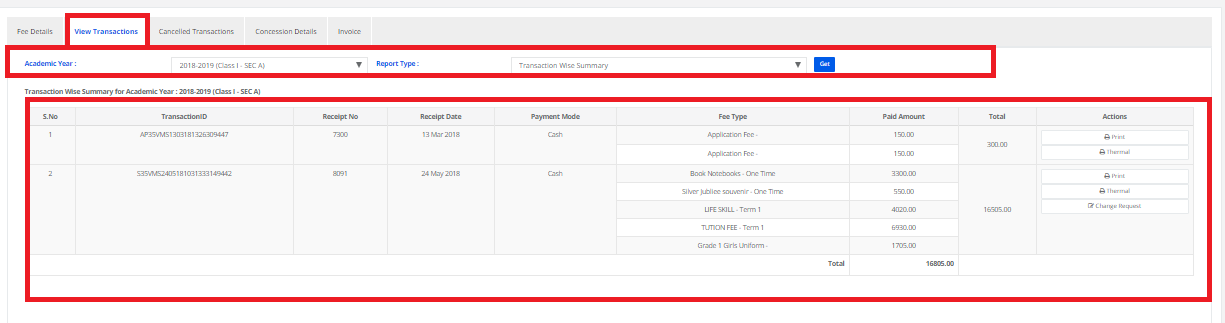
To view Transactions, click on “View Transactions”.Select the Academic Year & Report type then click on Get.
To view Cancelled Transactions, click on “Cancelled Transactions”.Select the Academic Year & Report type then click on Get. You may export the same to excel by clicking on the “Export Excel” option.

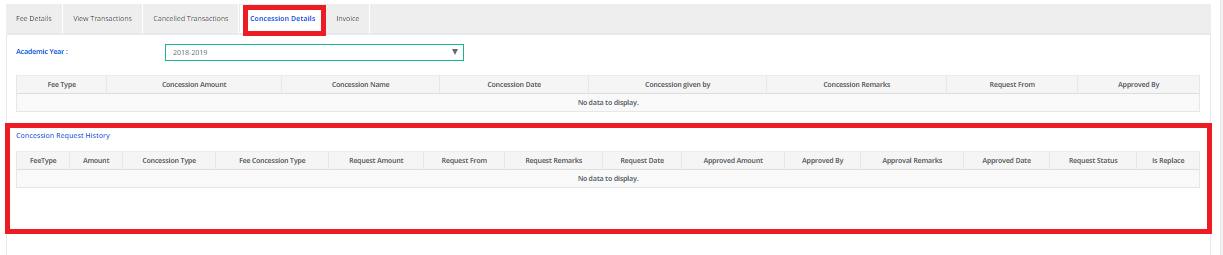
To view concession Details, click on “Concession Details”.
To view Invoice Details, click on “Invoice Details”.Select the Academic Year Terms & Fee type then click on Get Invoice.

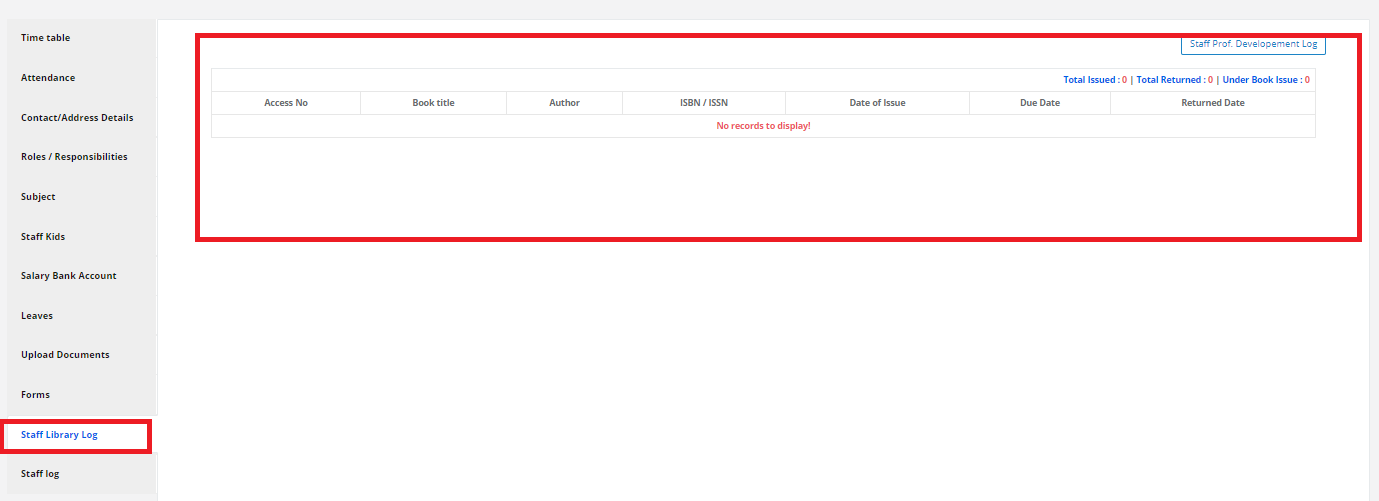
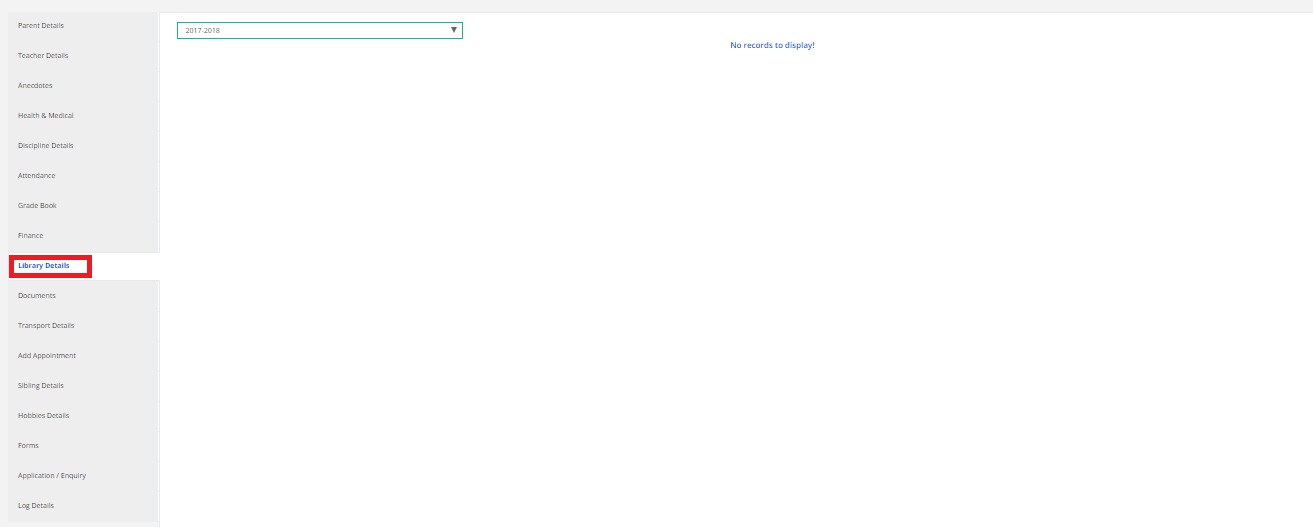
Step 13: To view Library Details, click on “Library Details”.
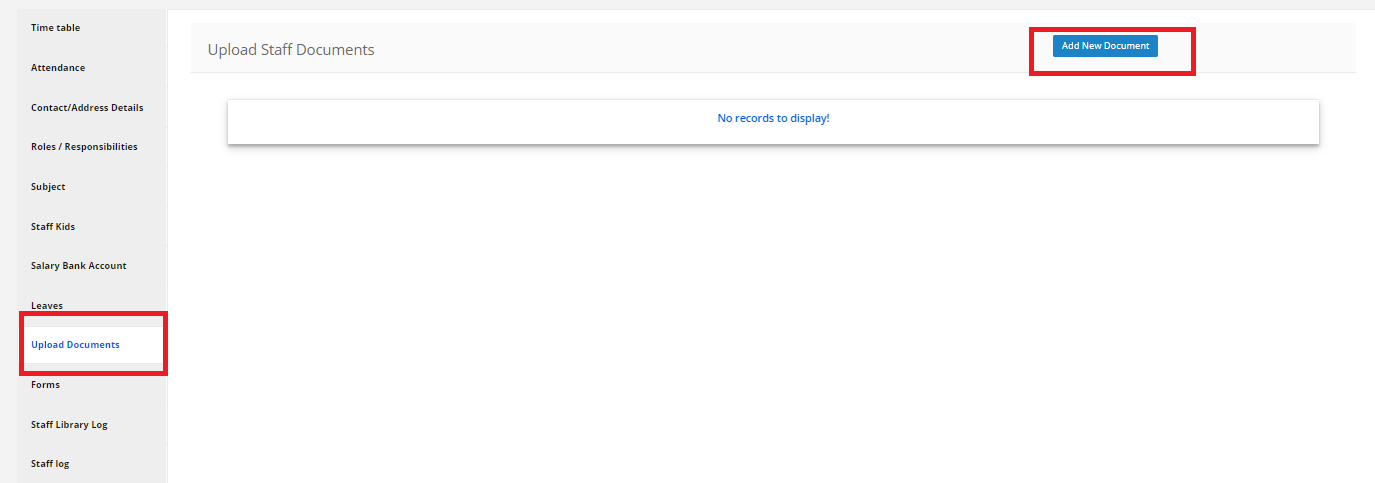
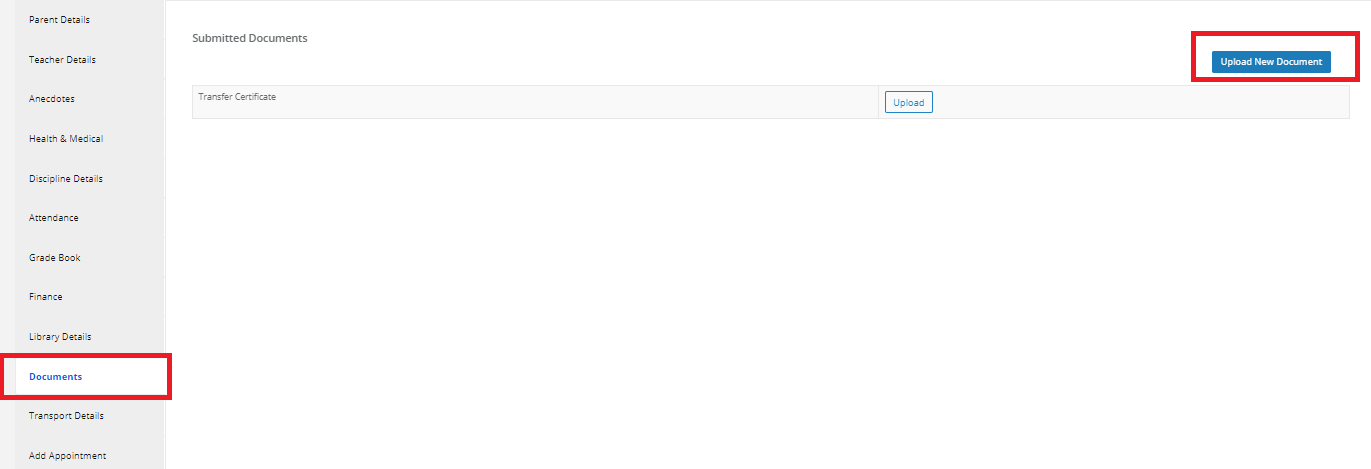
Step 14: To Upload Documents, click on “ Documents”.and click on “Upload New Document”.
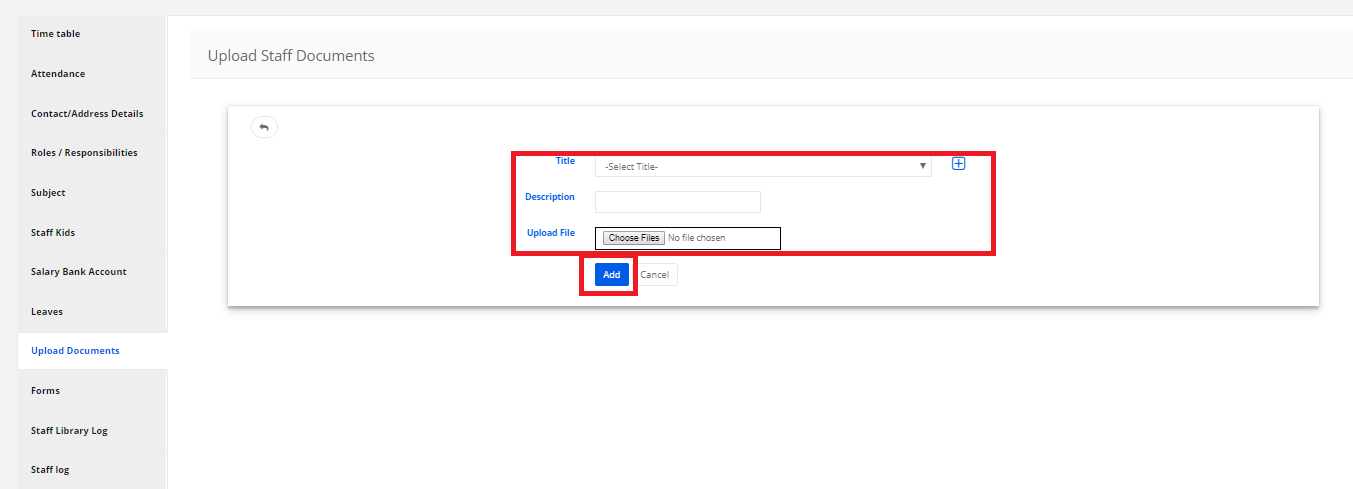
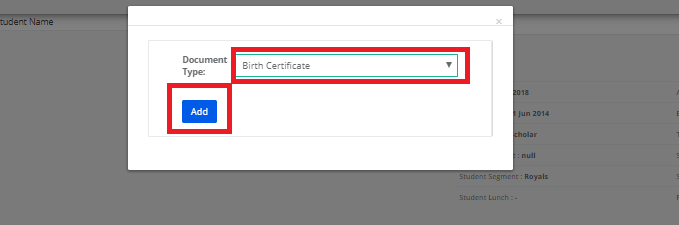
Select the Document type & then click on ADD.
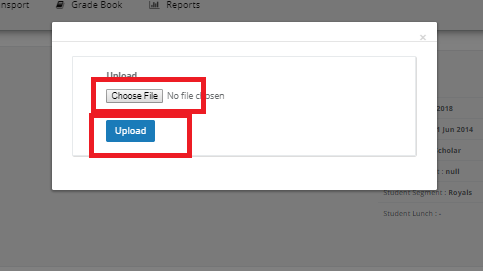
Click on Upload, Upload file documents and click on Upload.
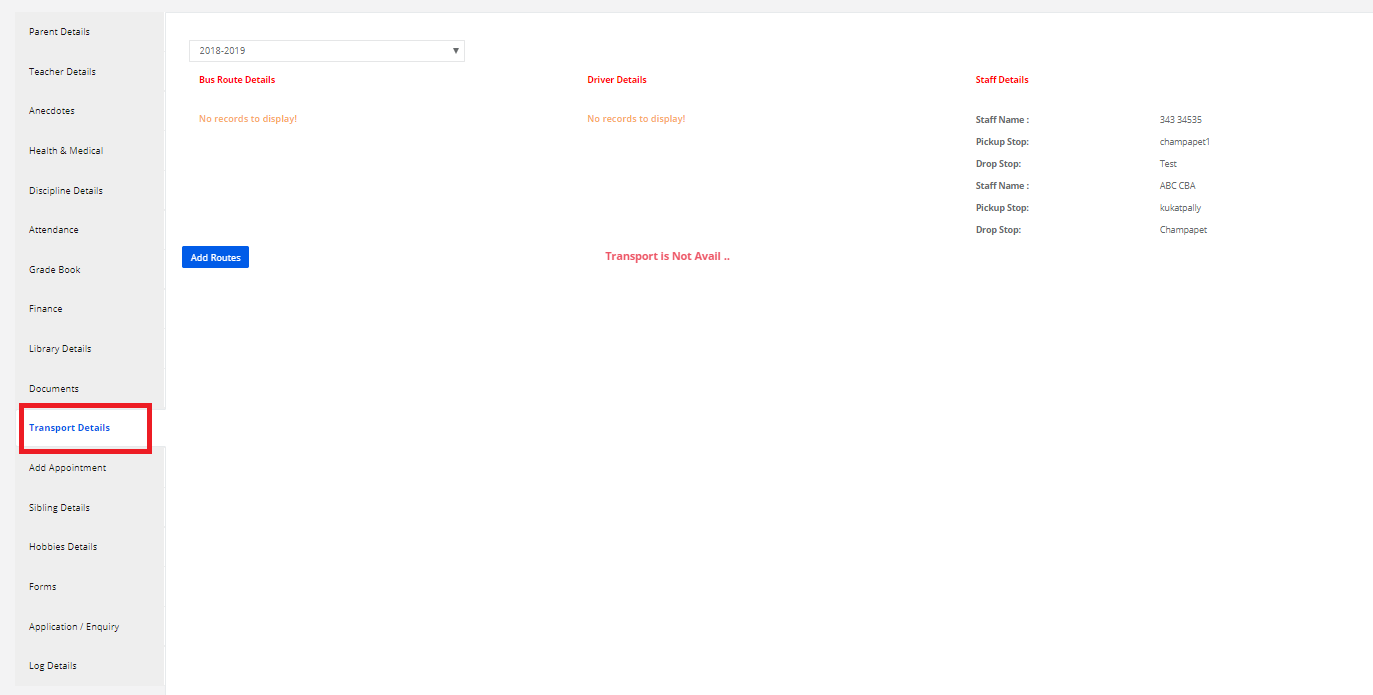
Step 15: To view Transport Details, click on “Transport Details”
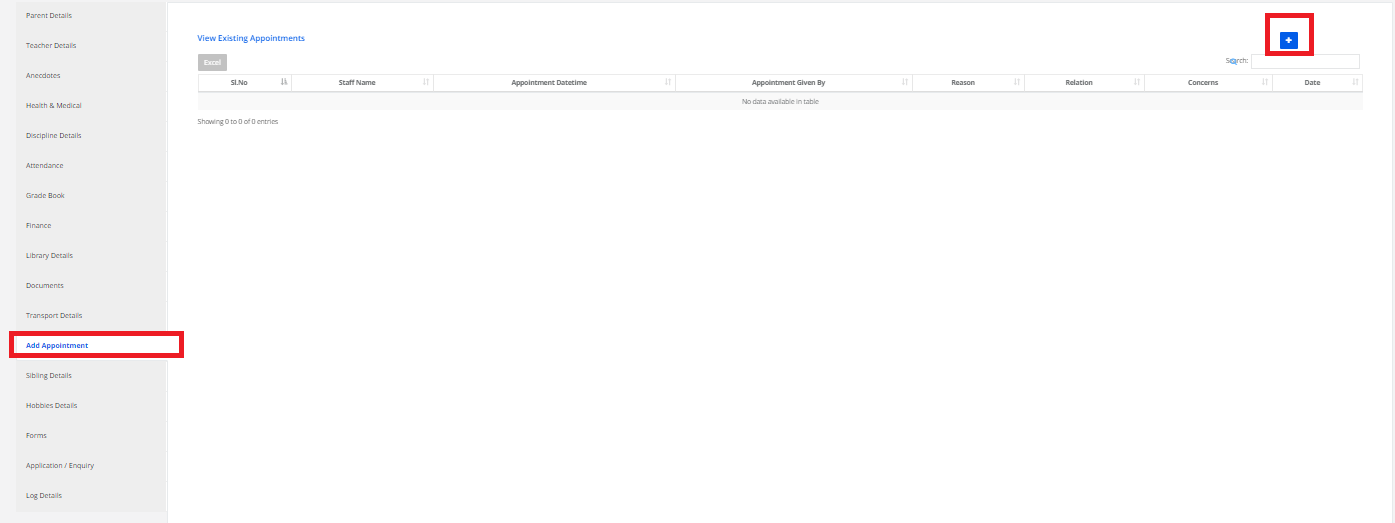
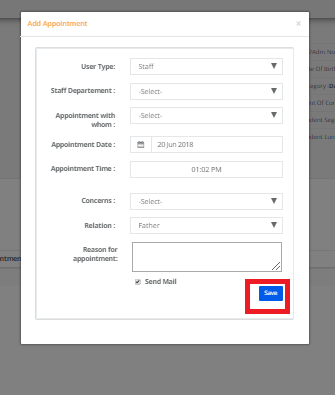
Step 16: To add an appointment, select “Add Appointment” and click on “+” symbol.
Enter the required details and click on “Save”.
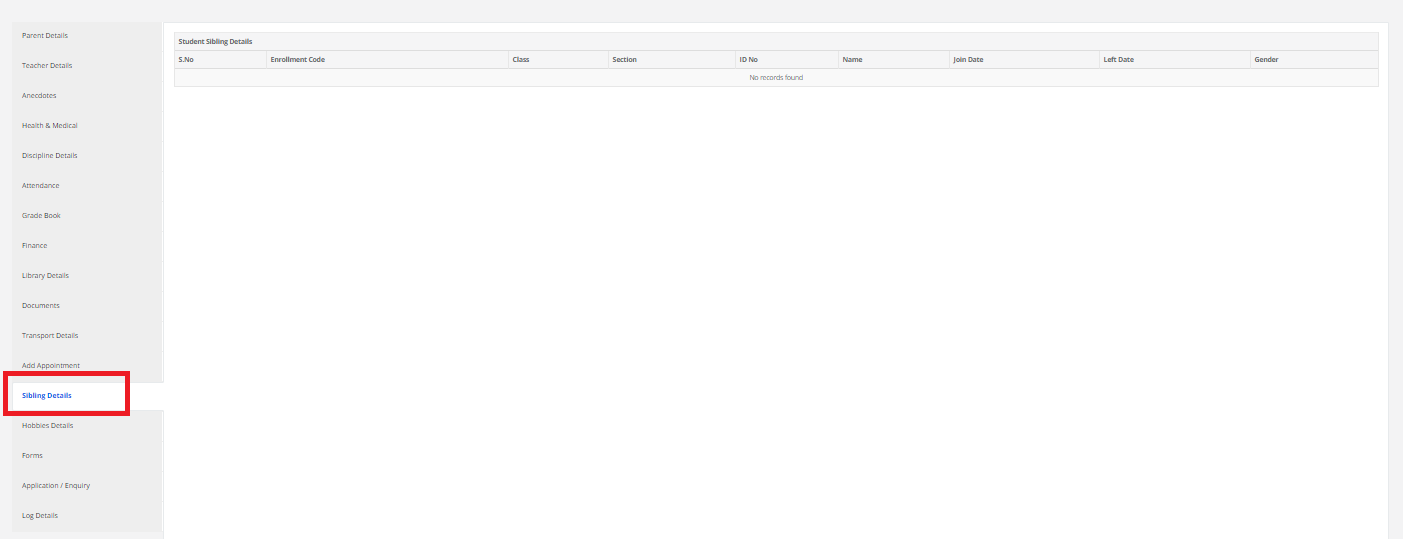
Step 17: To view Sibling Details, click on “Sibling Details”.
Step 18: To view Hobbies & talent, click on “Hobbies & talent ”.
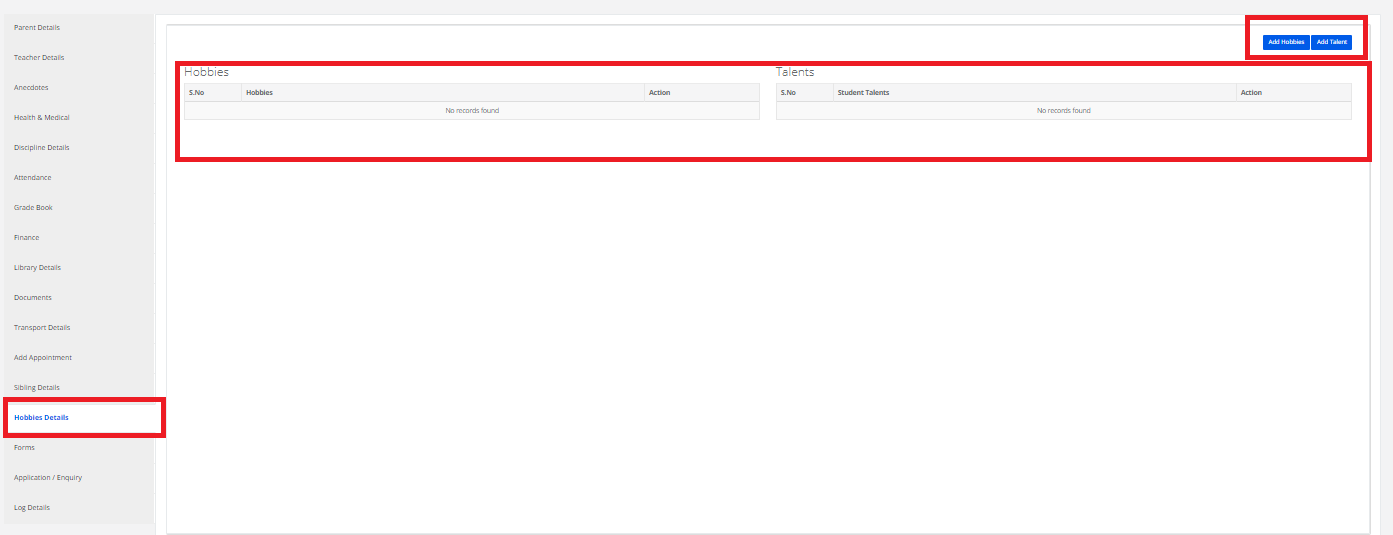
To Add Hobbies & Talent, Click on Add Hobbies & Add Talent then save.

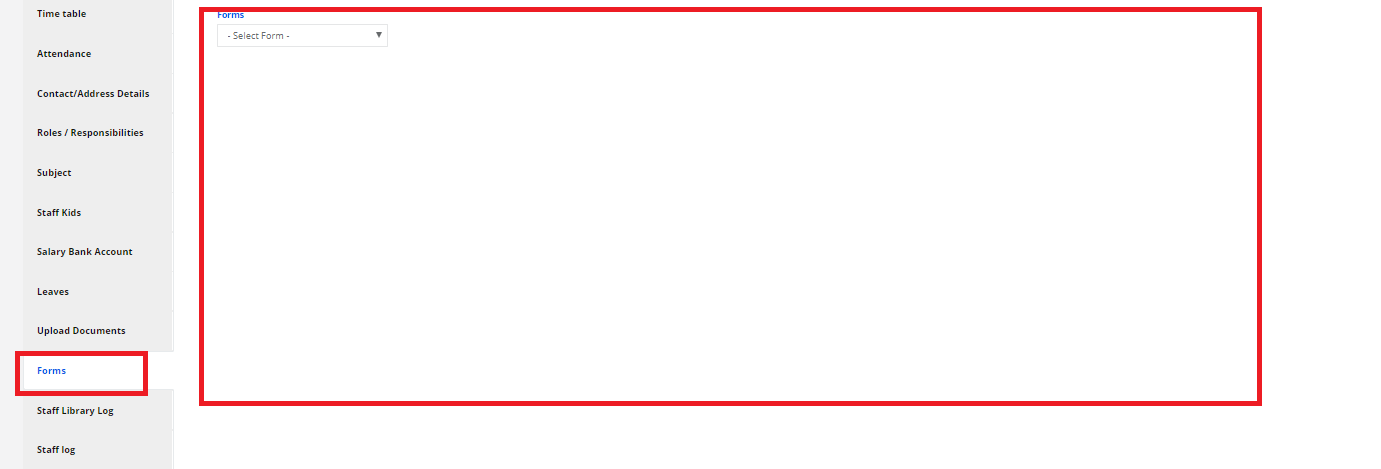
Step 19: To view Forms, click on “Forms ”.

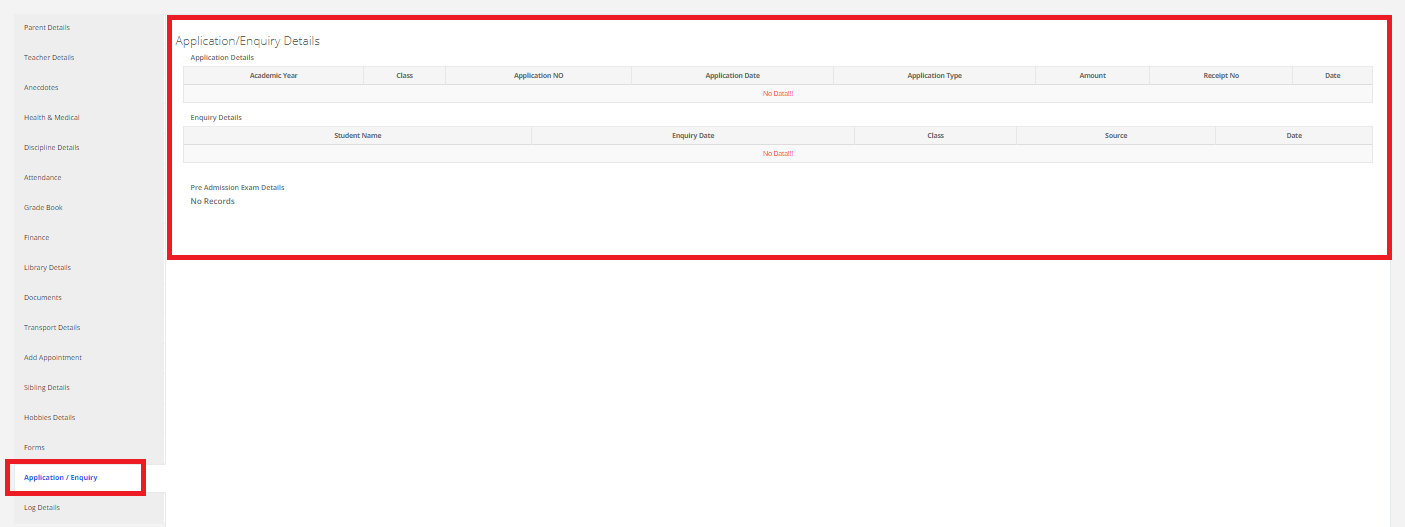
Step 20: To view Enquiry / Application details, click on “Enquiry / Application ”.
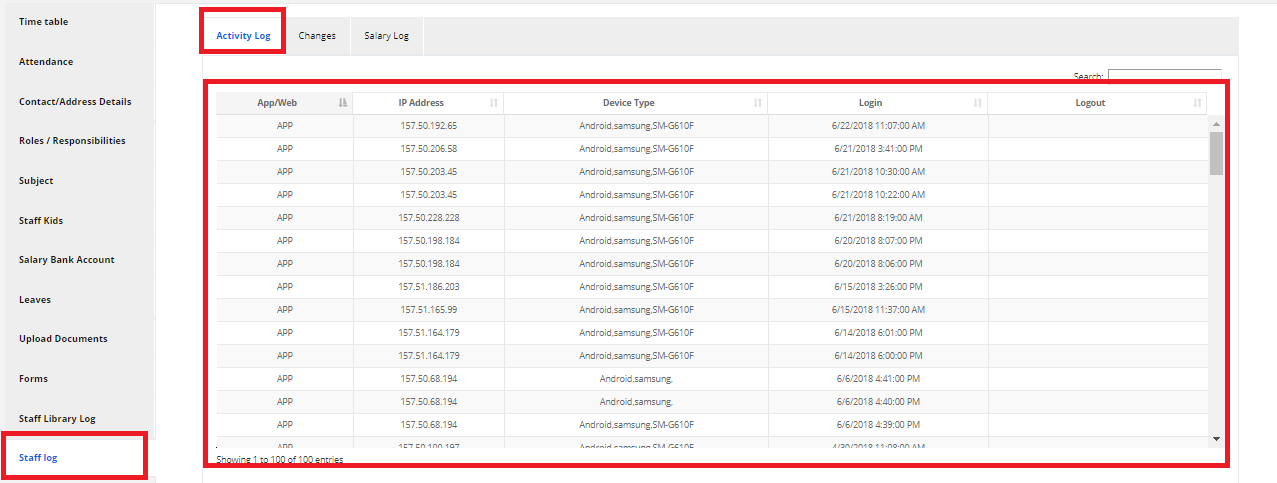
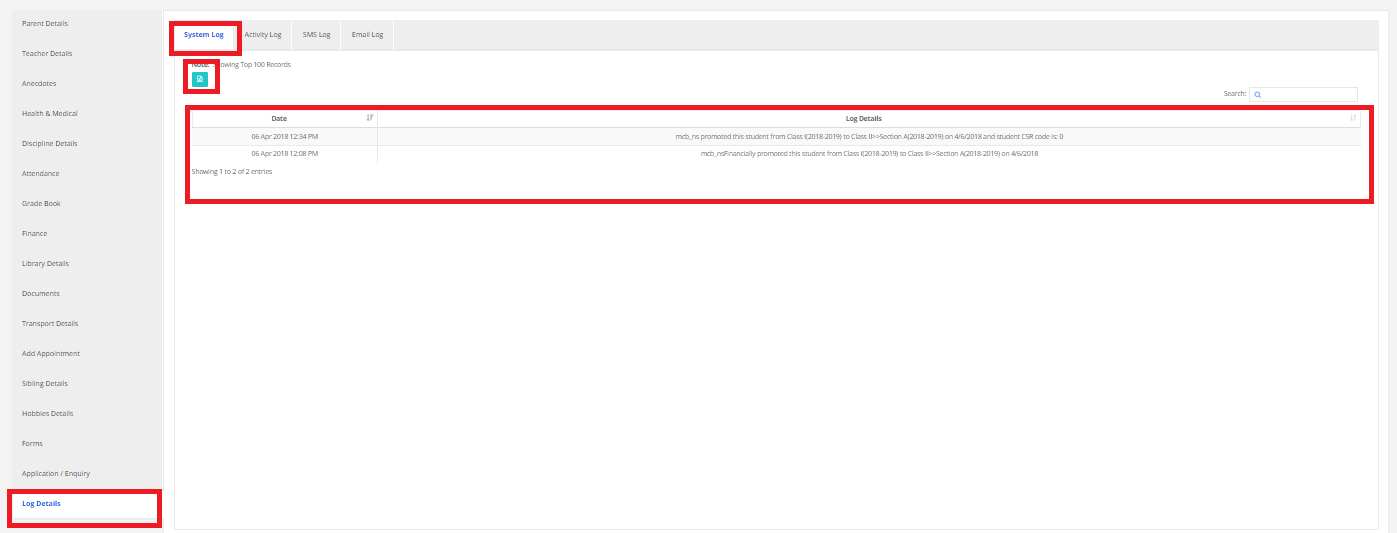
Step 21: To view the Log details, Click on System Log. You may export the same to excel by clicking on the “Export Excel” option.
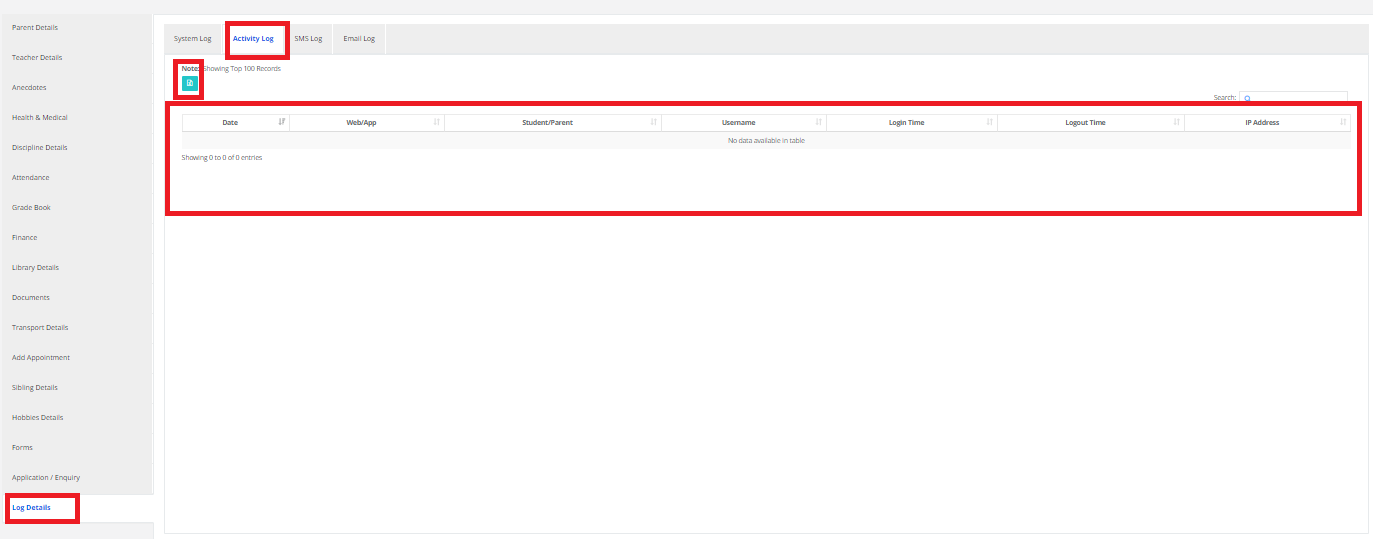
To view the Activity Log details, Click on Activity Log. You may export the same to excel by clicking on the “Export Excel” option.
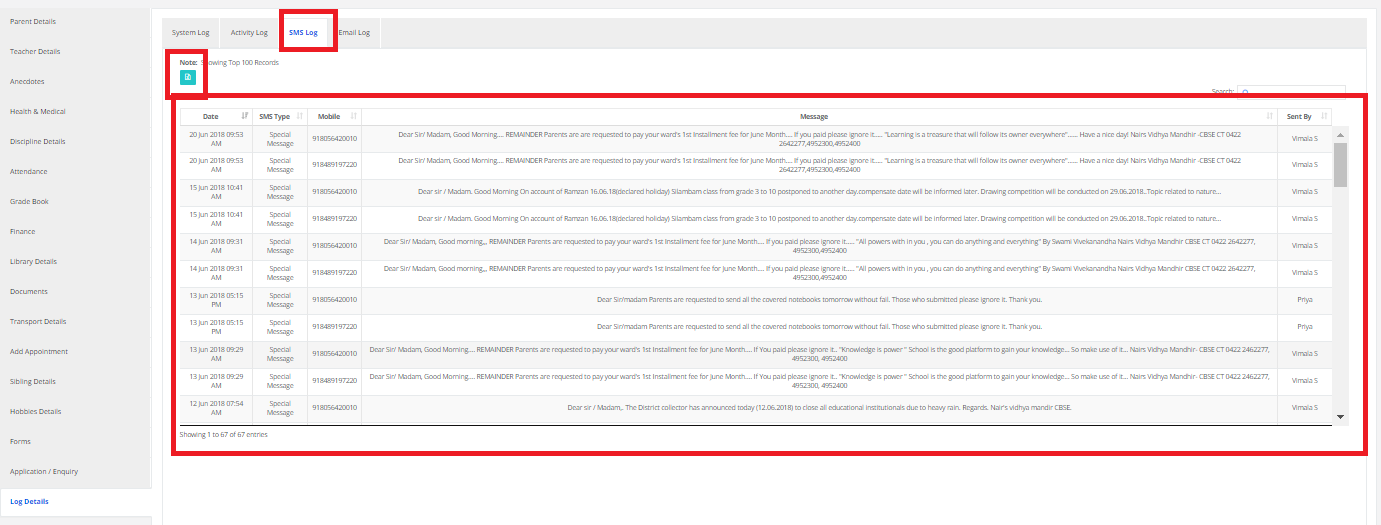
View SMS Log details, Click on SMS Log. You may export the same to excel by clicking on the “Export Excel” option.
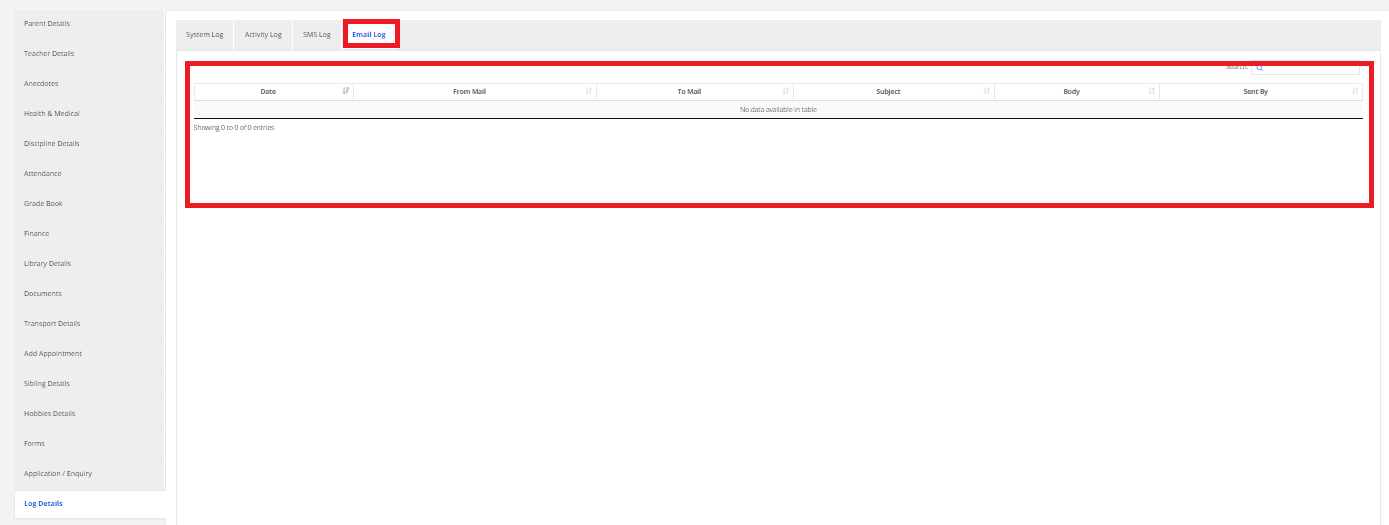
View Email Log details, Click on Email Log. You may export the same to excel by clicking on the “Export Excel” option.
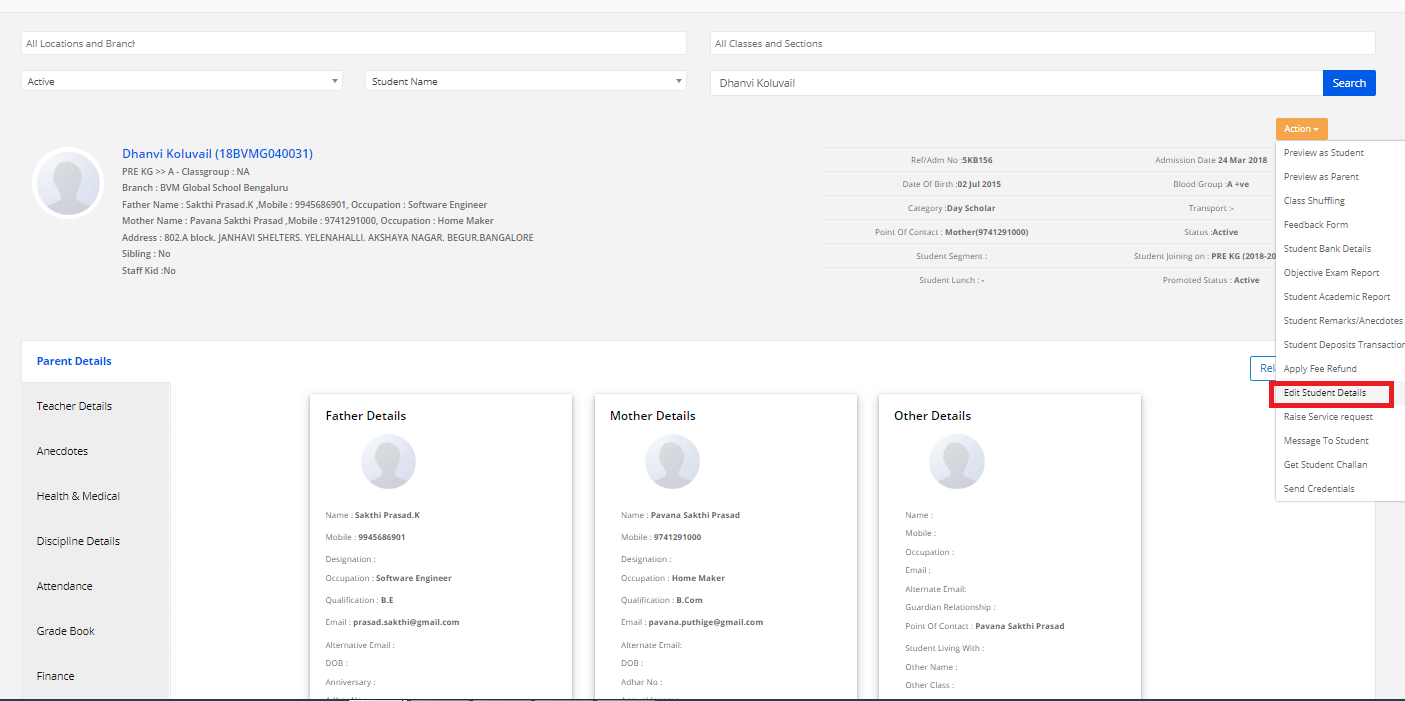
User Manual on Search for Student – Action Button
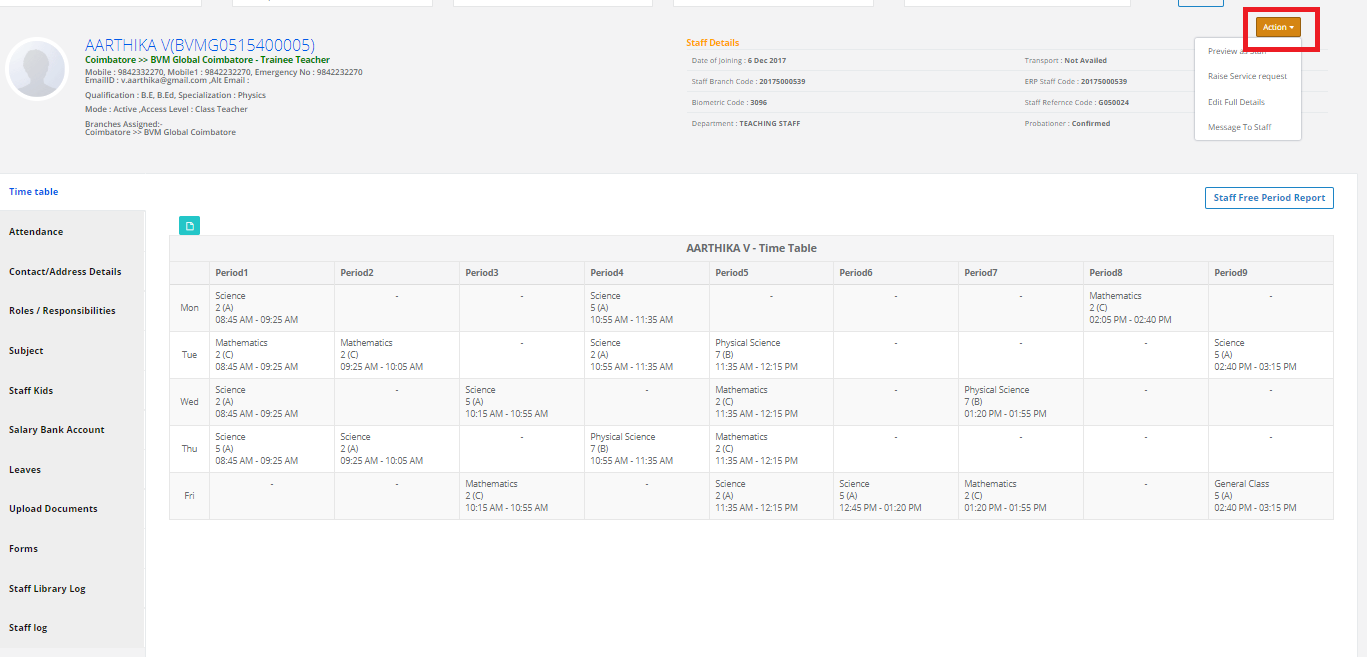
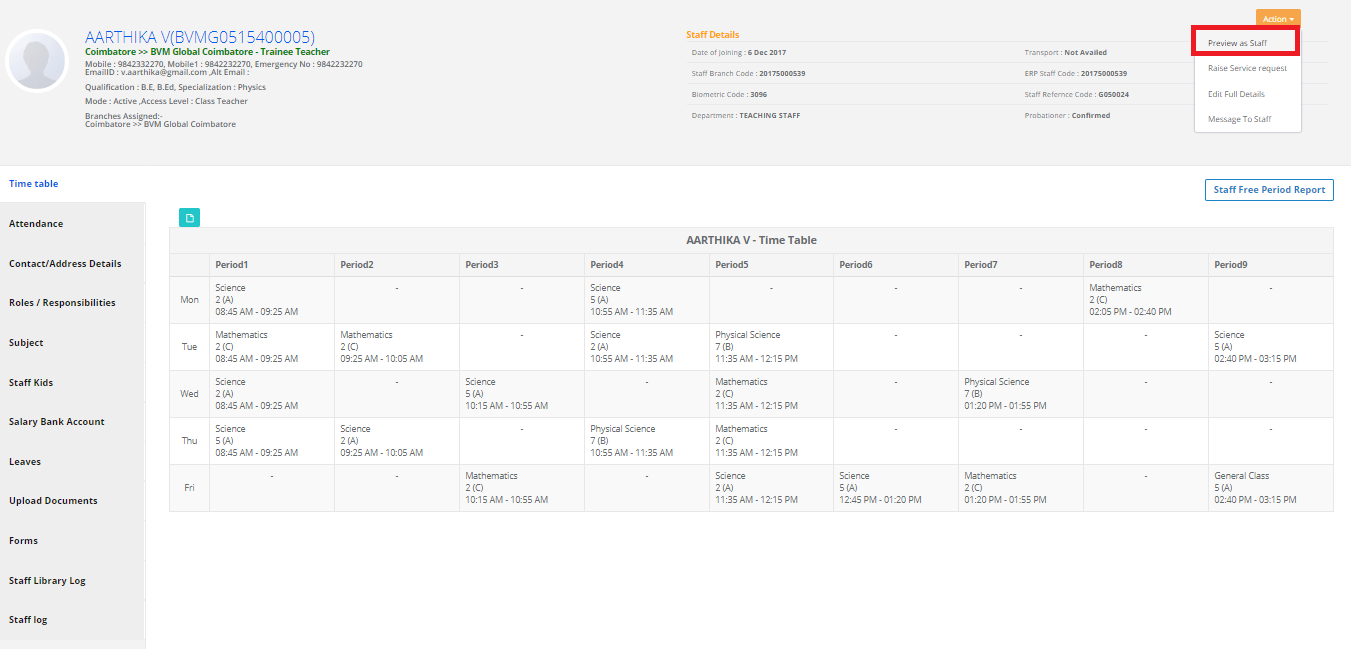
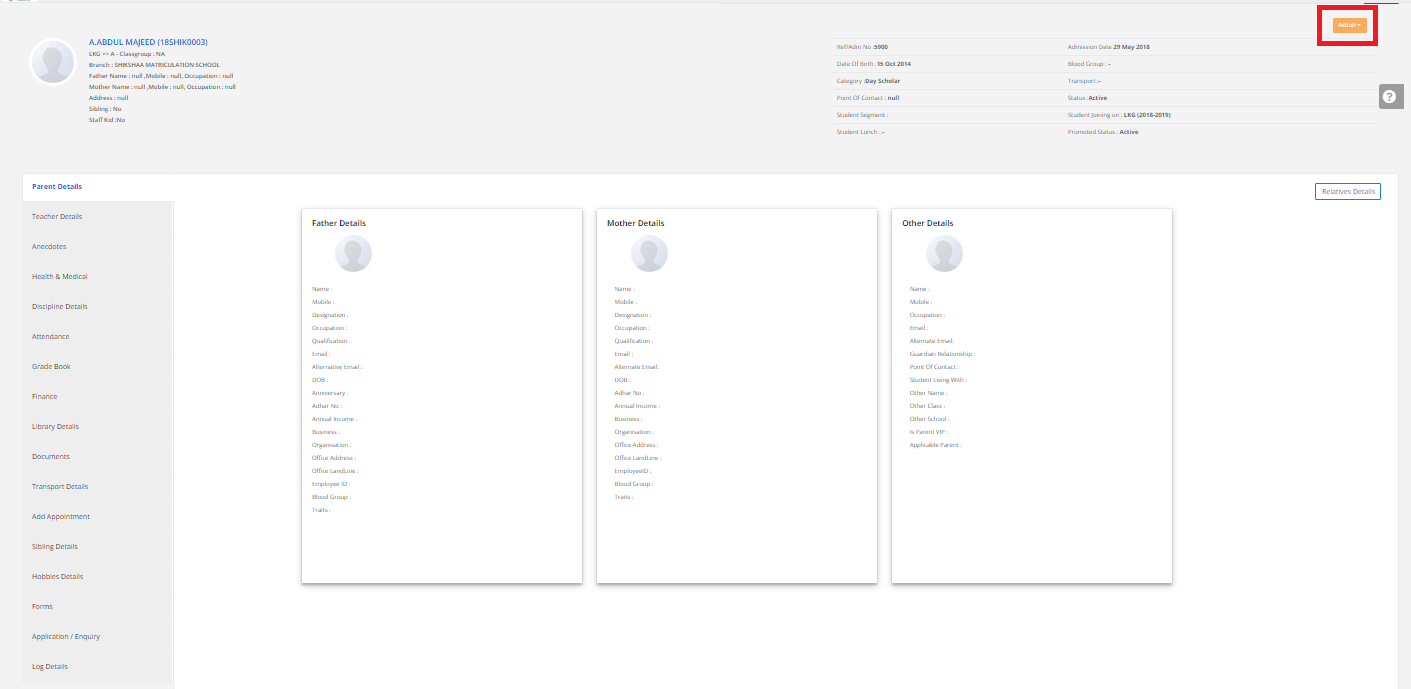
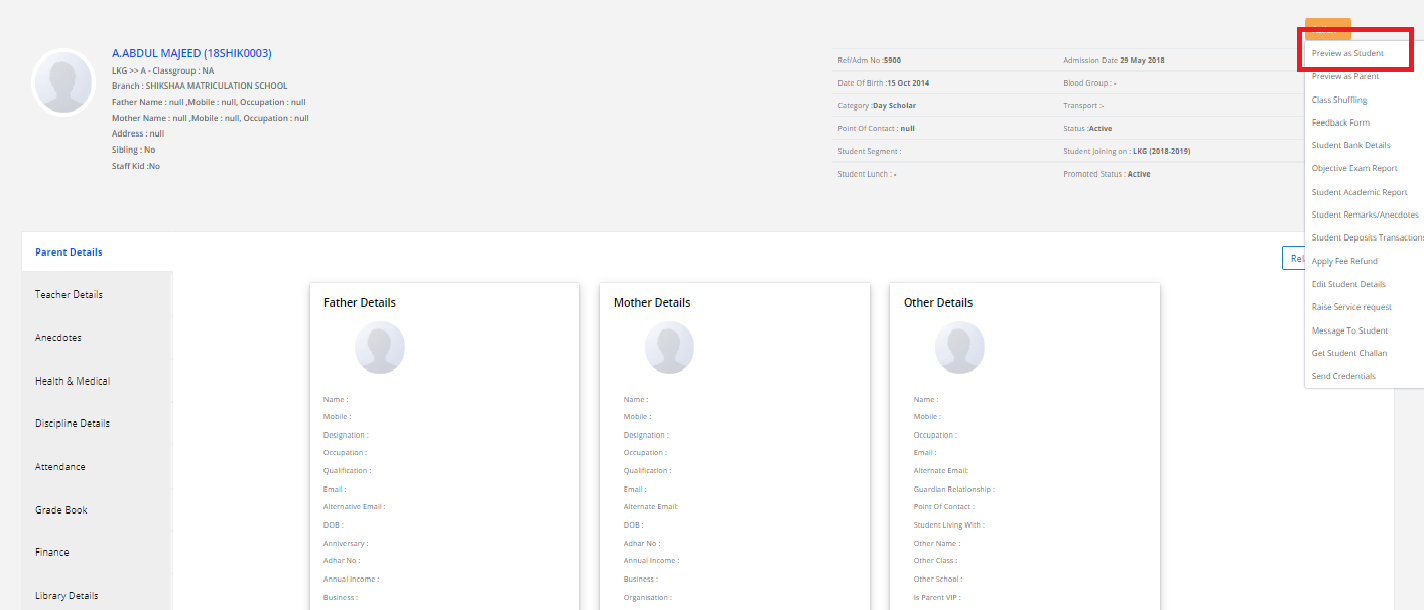
Step 1: In the search result page, On the right Side click on “Action” button.
Preview as Student.
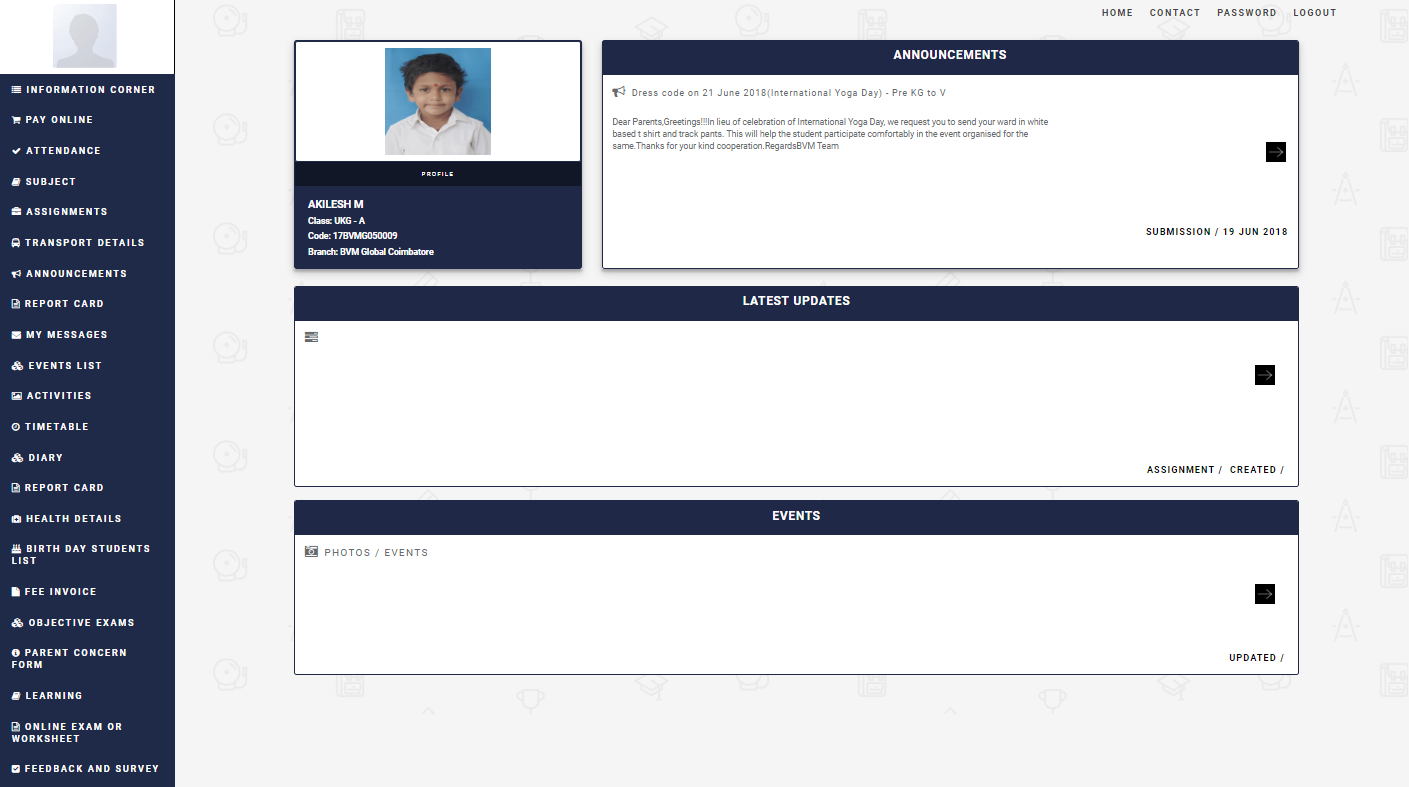
Step 2: To get a student’s preview, click on “Preview as Student”.
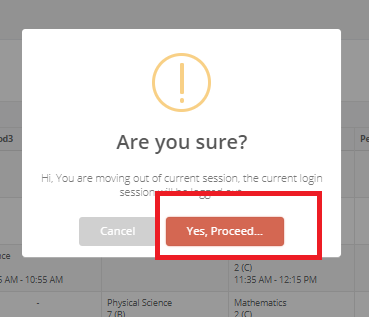
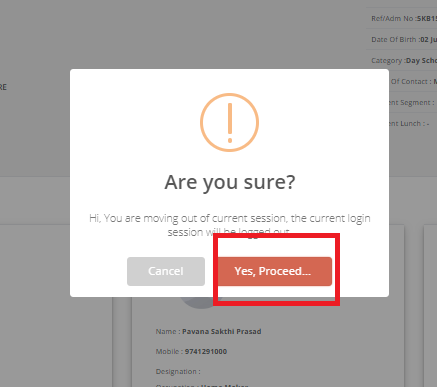
A pop-up button shows out on the screen. Select “Yes Proceed” option.

You are in the student’s access page.
Preview as Parent
Step 3: To get a parent’s preview, click on “Preview as Parent”.

A pop-up button shows out on the screen. Select “Yes Proceed” option.
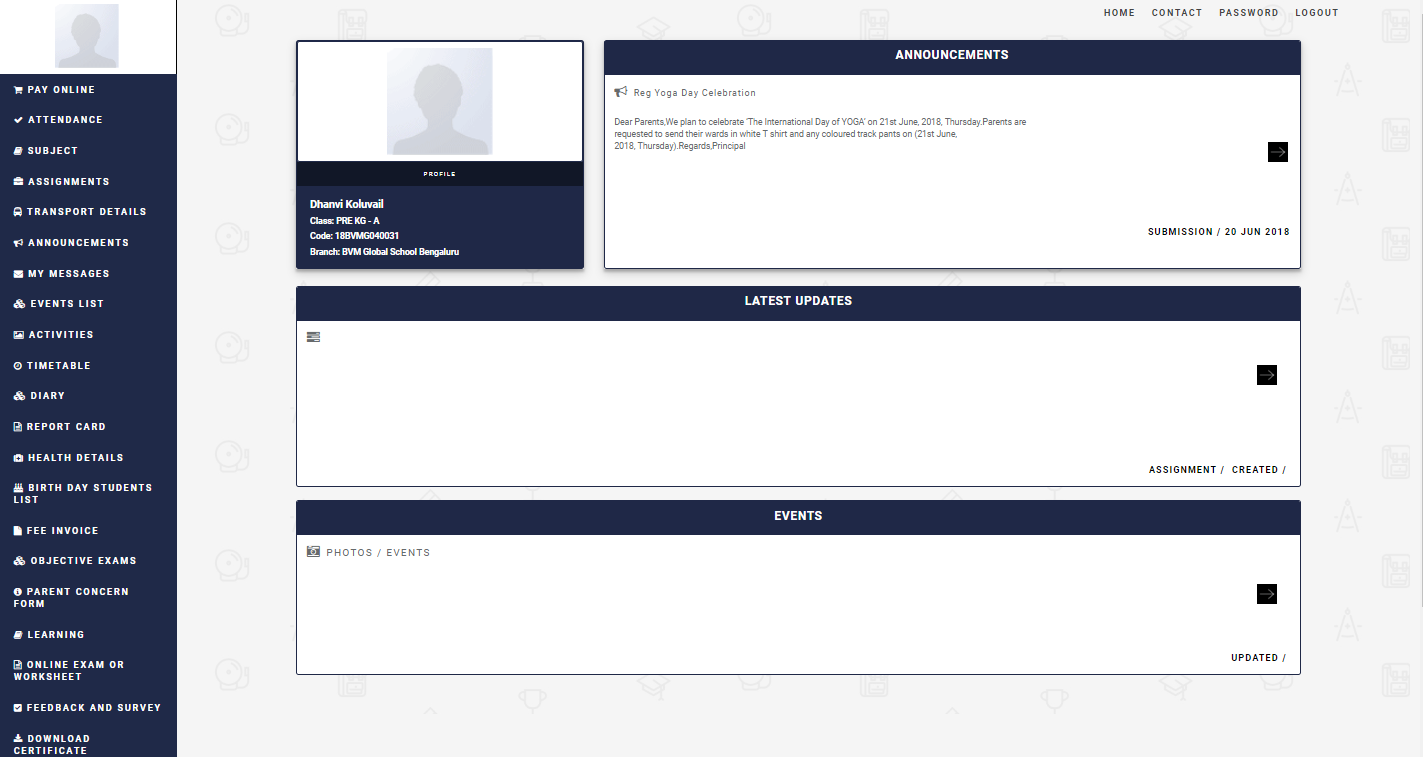
You are at the parent’s access page.
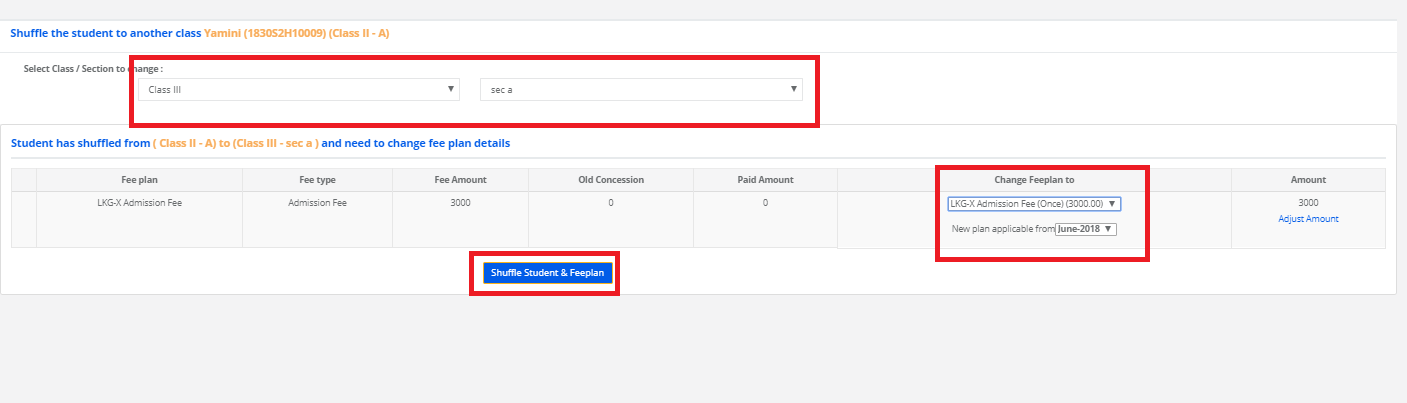
Class Shuffling
Step 4: For Shuffling the student, Click on “Class Shuffling”
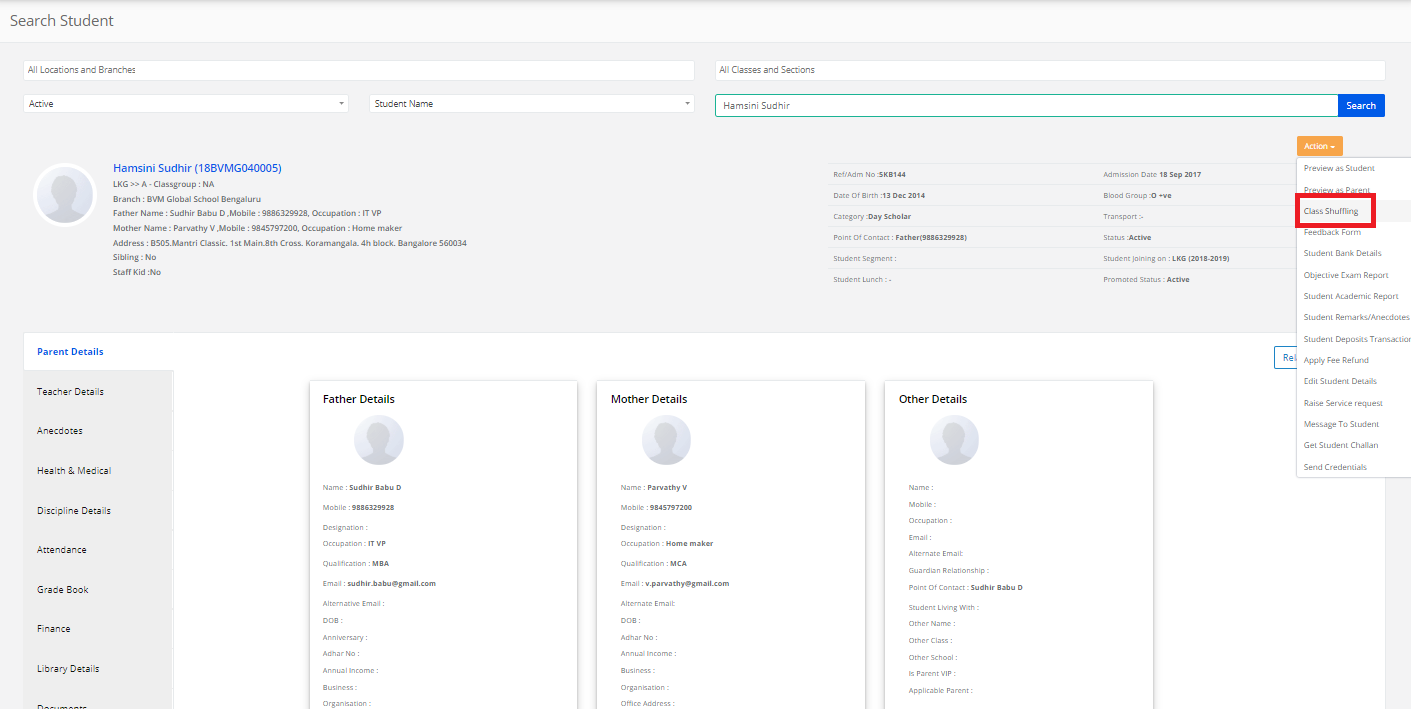
Select the Class & Section and select the fee plan then click on Shuffle student & fee plan. Student shuffled successfully
Feedback Form
Step 5: To view the Feedback Form, Click on Feedback Form.
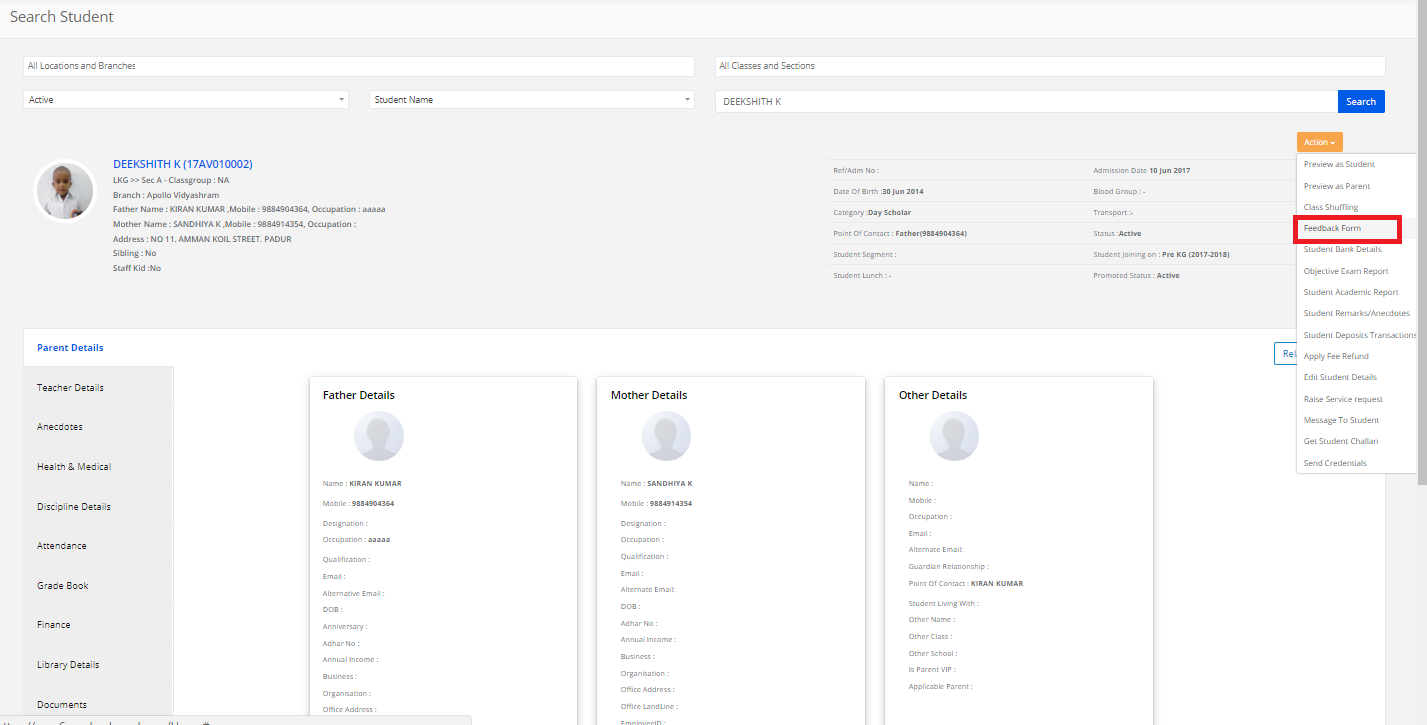
The feedback form is displayed.

Student Bank Details
Step 6: To get the student bank details, Click on Student Bank Details.
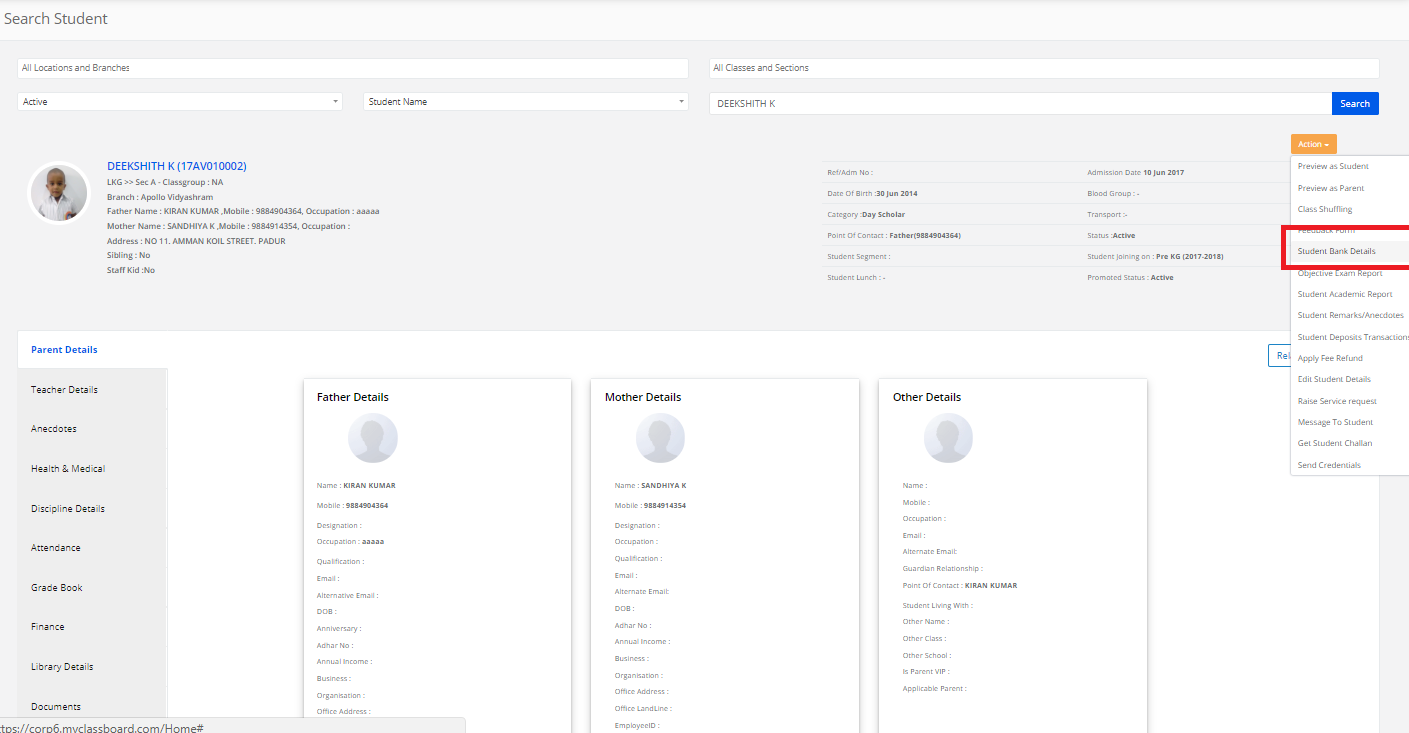
Enter the Parent bank details & Click on Save (Right symbol).

Objective Exam Report
Step 7: To get the Objective Exam Report, Click on Objective Exam Report

Select the exam type & click on Get Report.

Student Academic Report
Step 8: To get the Student Academic Report, Click on Student Academic Report
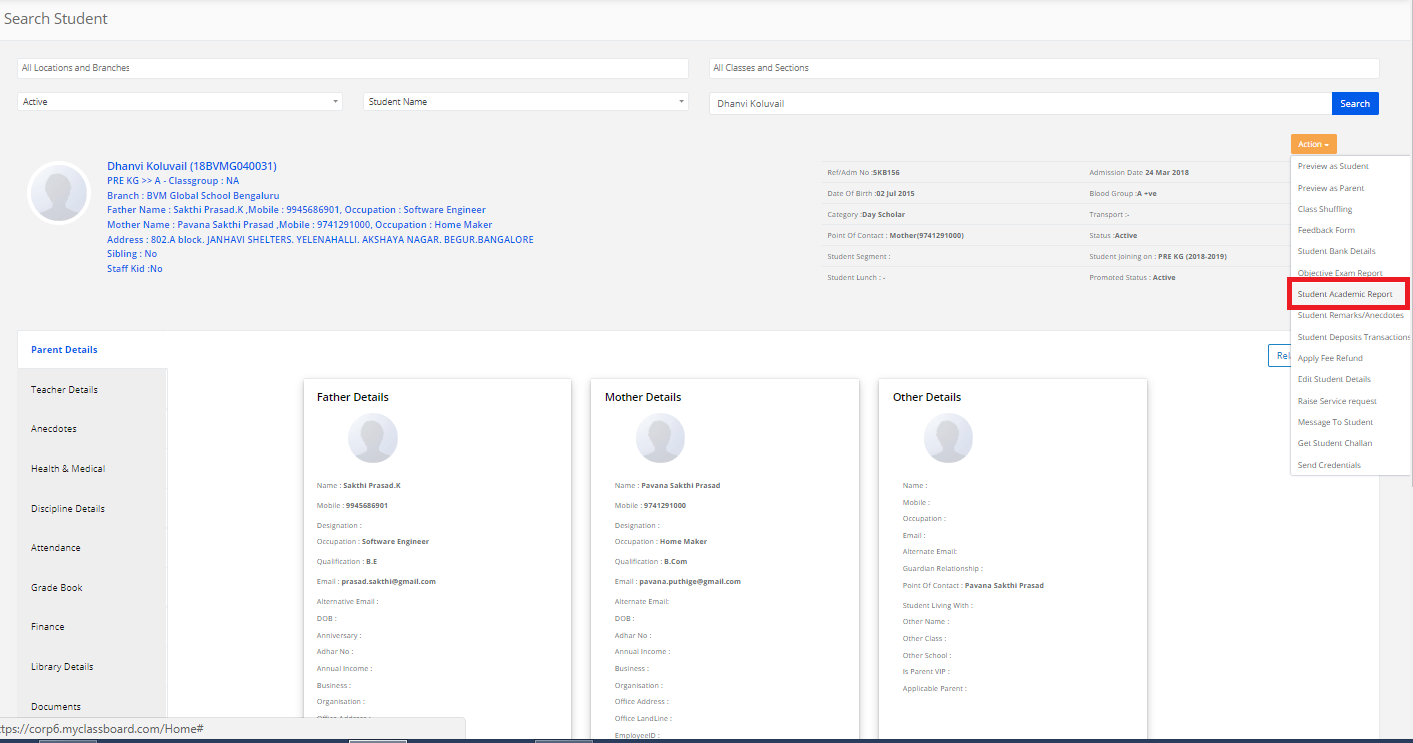
To view the Consolidated Report/Scholastic Reports/Co-Scholastic Reports/Objective exams/Others, Click on the report.

Student Remarks/Anecdotes
Step 9: To get the Student Remarks/Anecdotes, Click on Student Remarks/Anecdotes
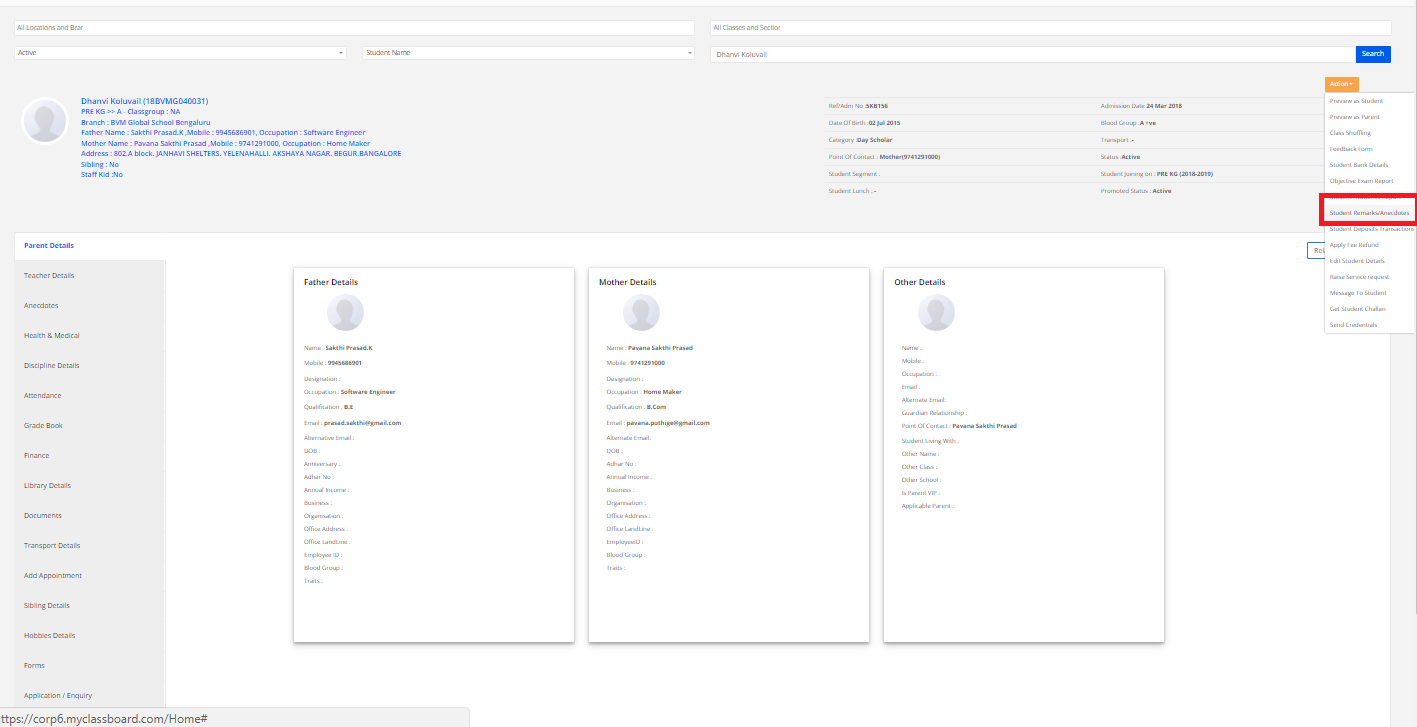
Select the branch, Select Anecdotes then click on Get, You will get the Student Remarks/Anecdotes details.

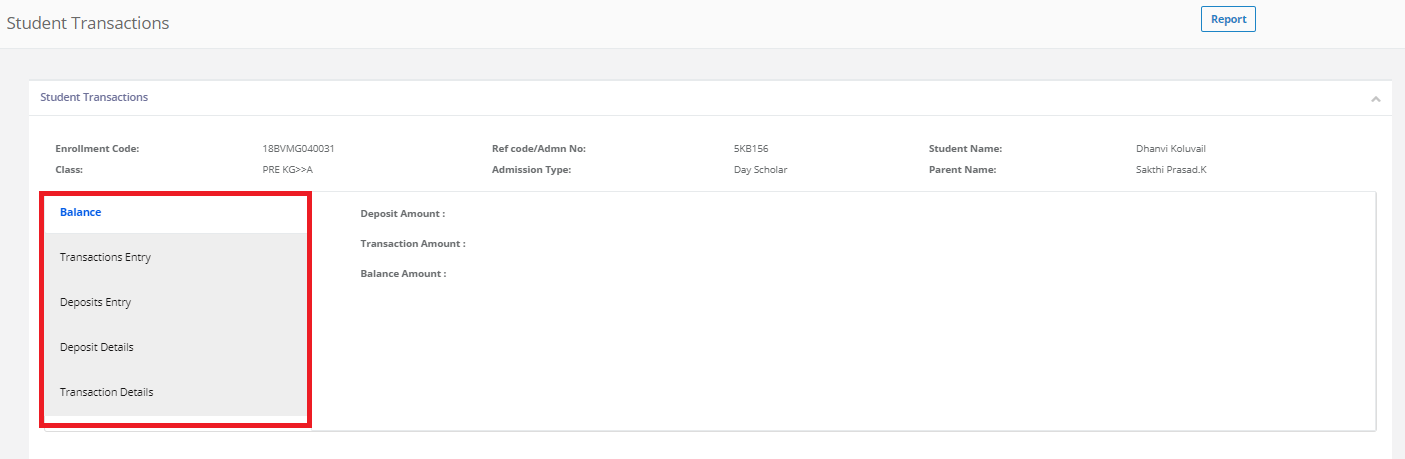
Student Deposit Transactions
Step 10: To get the Student Deposit Transactions, Click on Student Deposit Transactions
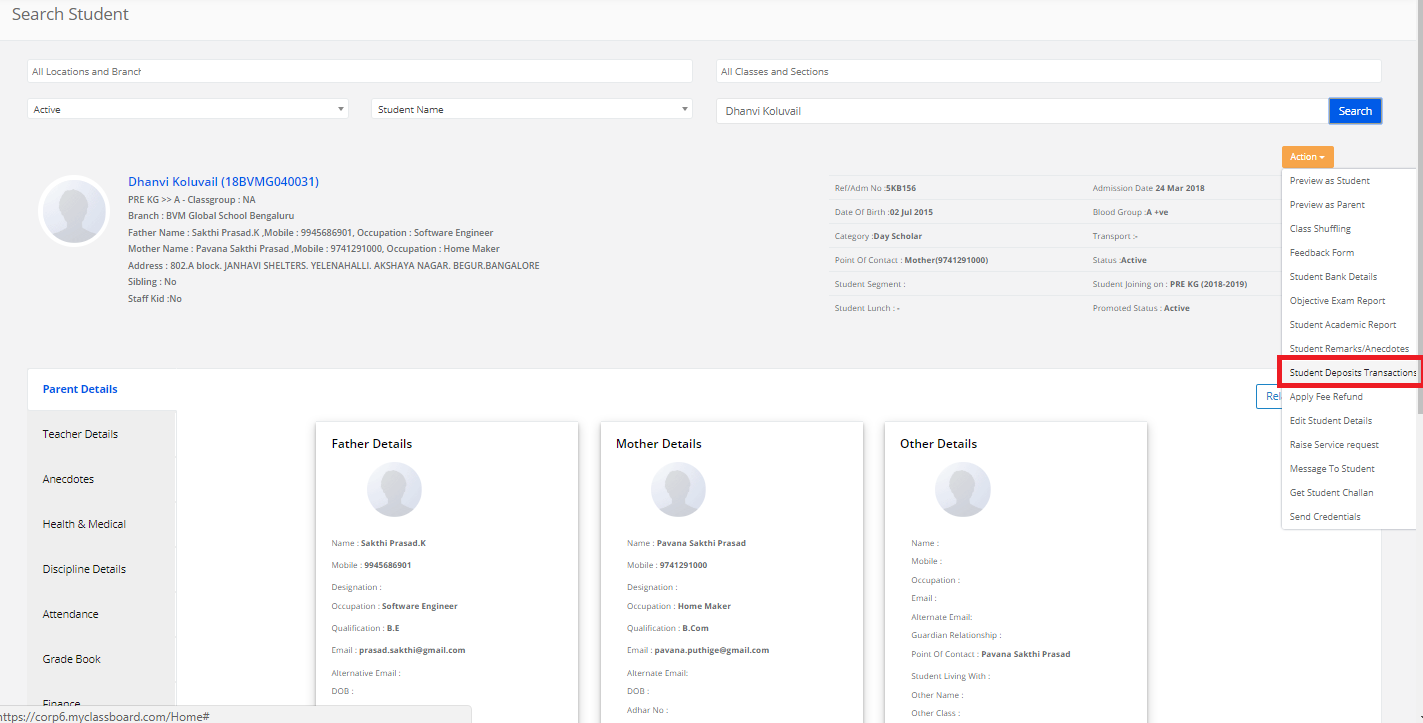
Here we can see the Balance, Transactions entry, Deposits Entry, Deposits Details, Transaction Details.
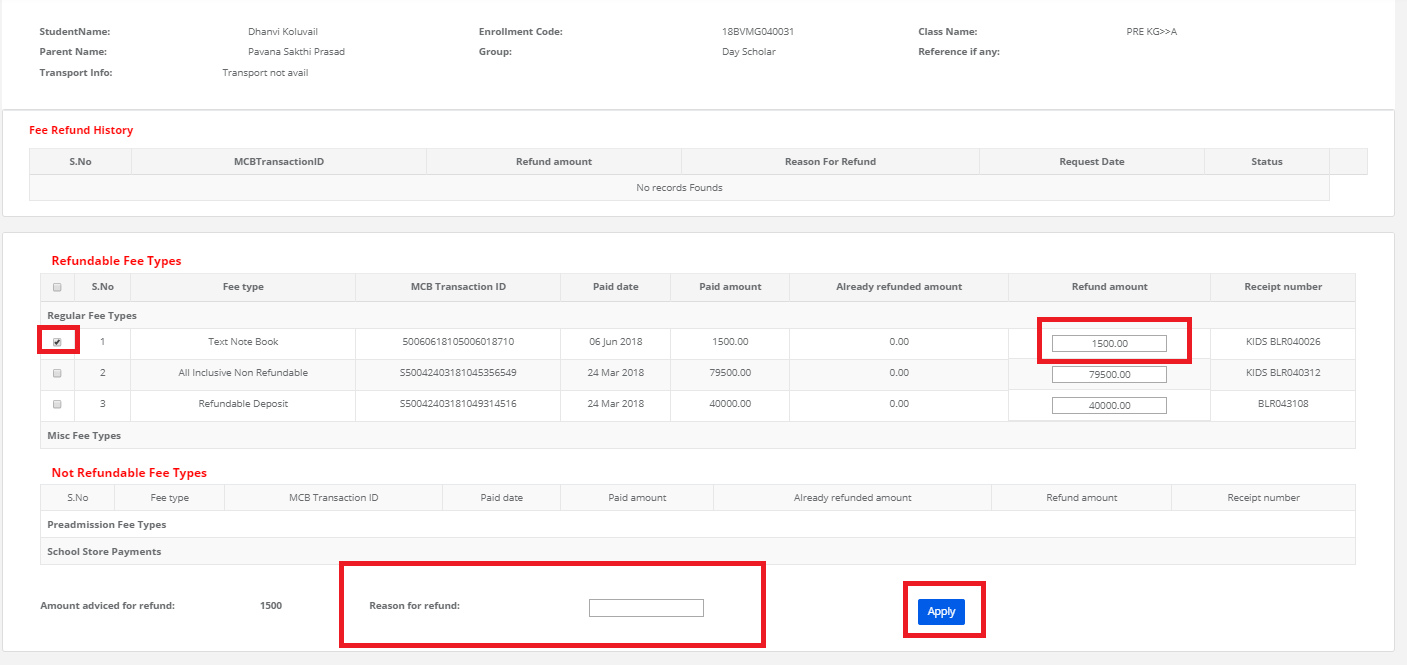
Apply for Fee Refund
Step 11: To Apply for Fee Refund, Click on Apply Fee Refund
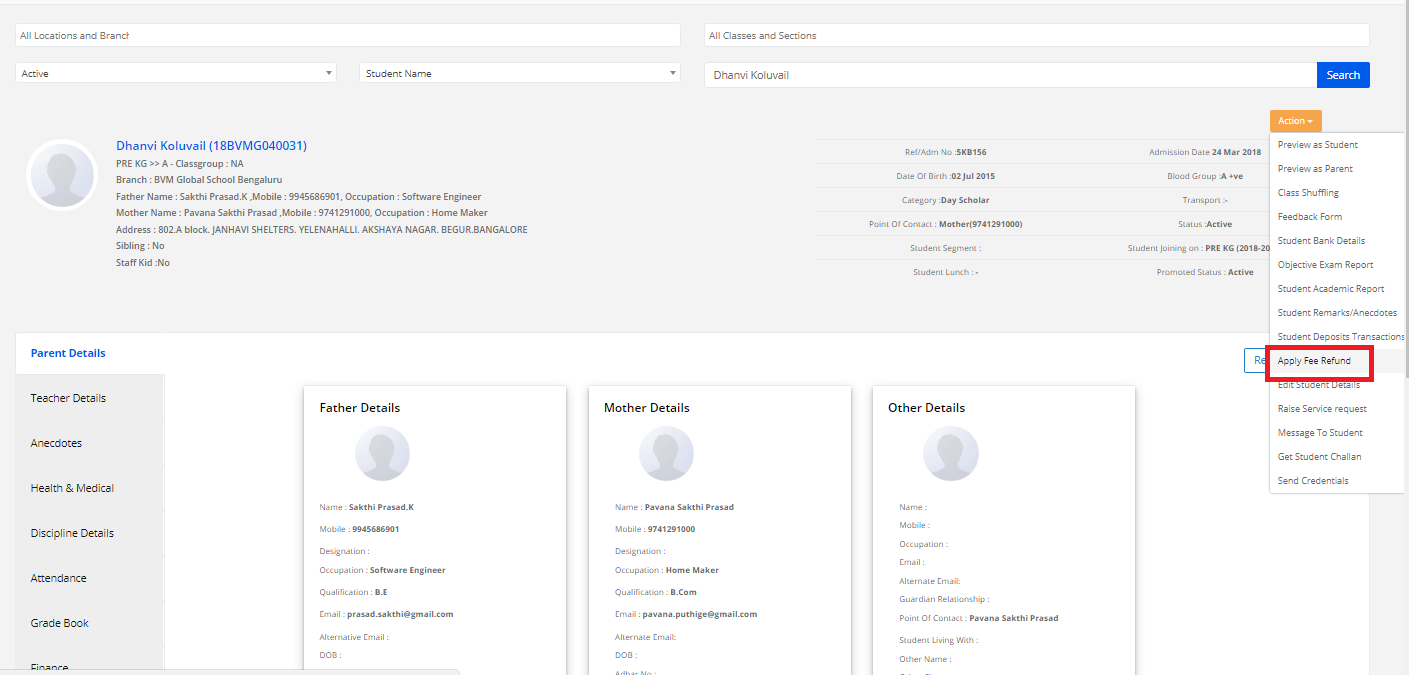
Select the fee type & enter the refund amount & enter the reason for the refund then click on Apply.
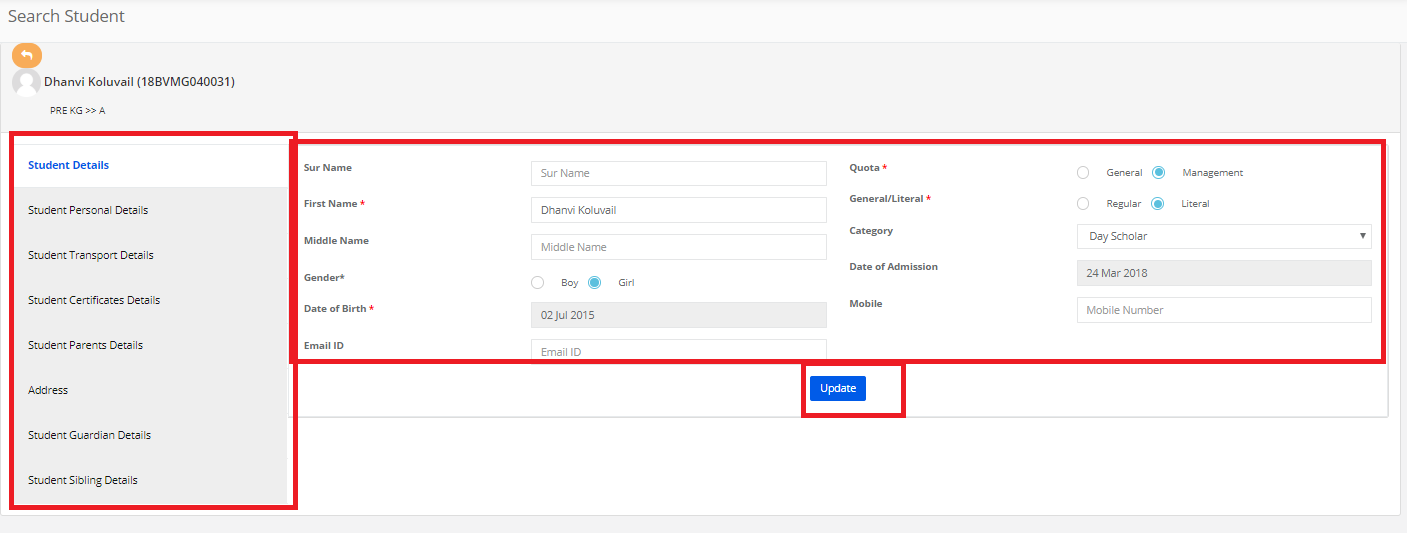
Edit Student Details
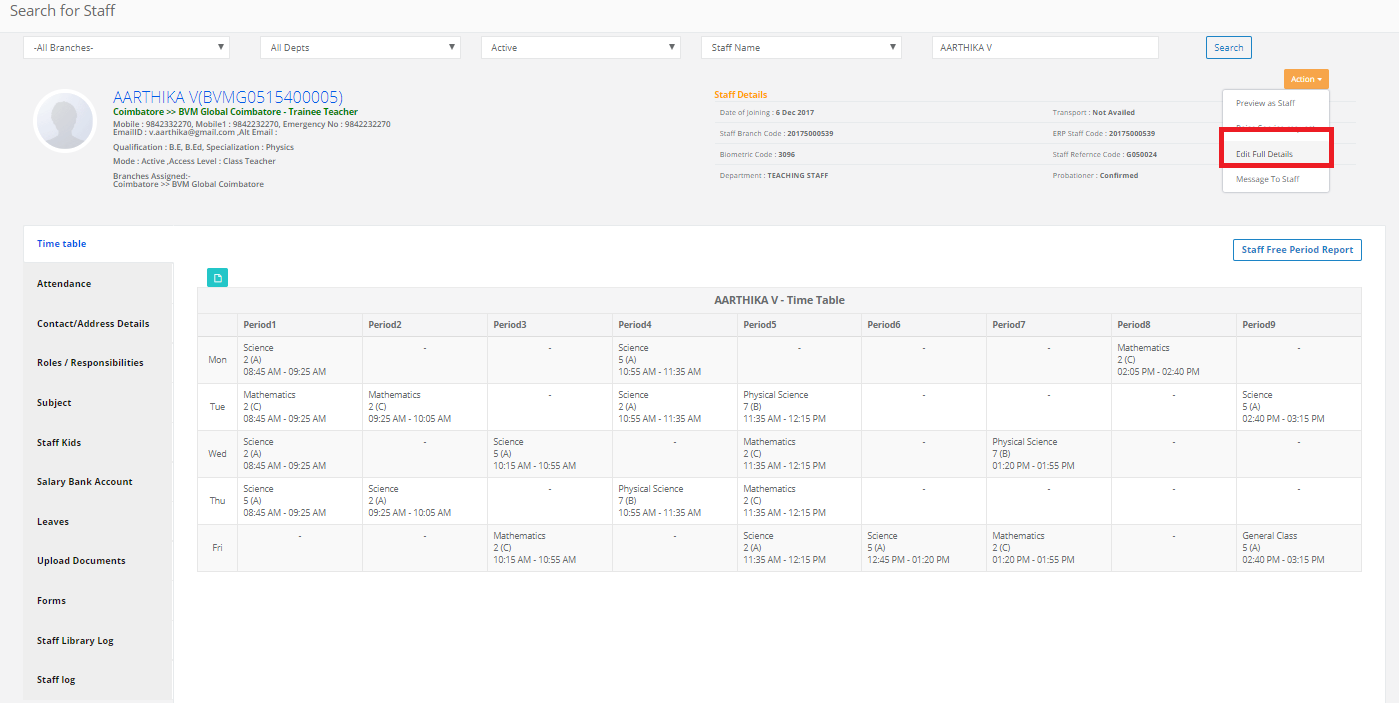
Step 12: To edit Student Details, Click on edit Student Details
Edit the student details which you want & then click on update.
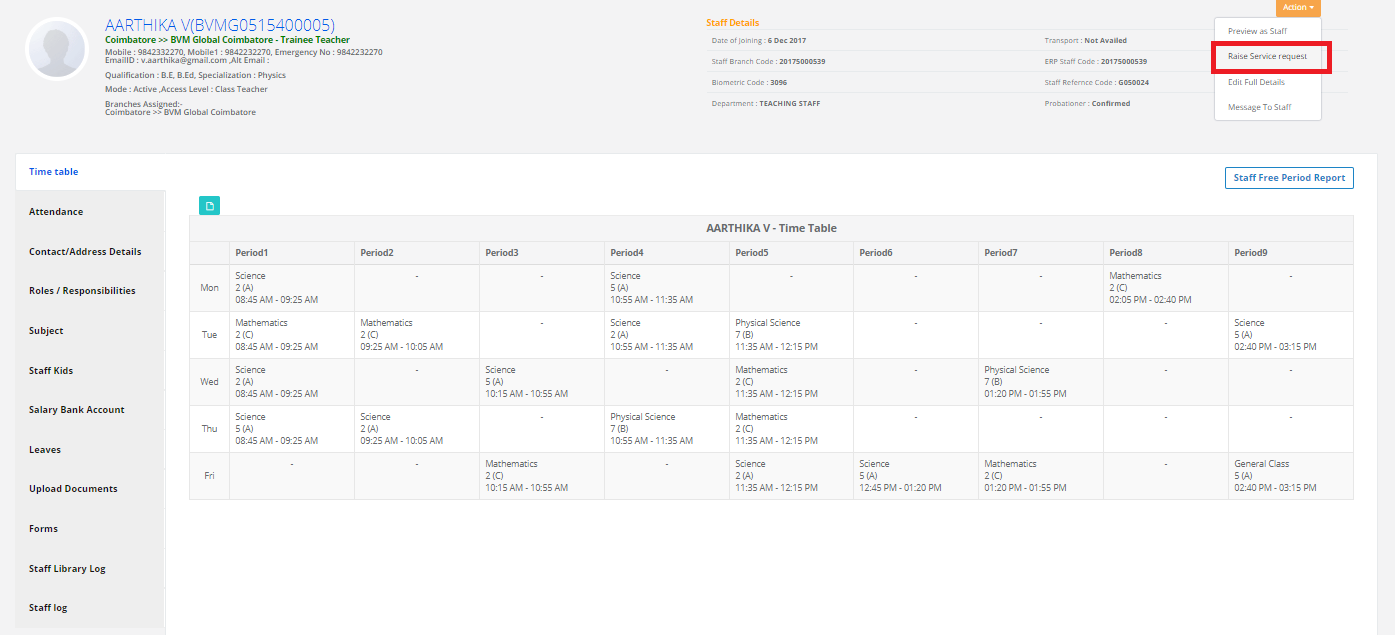
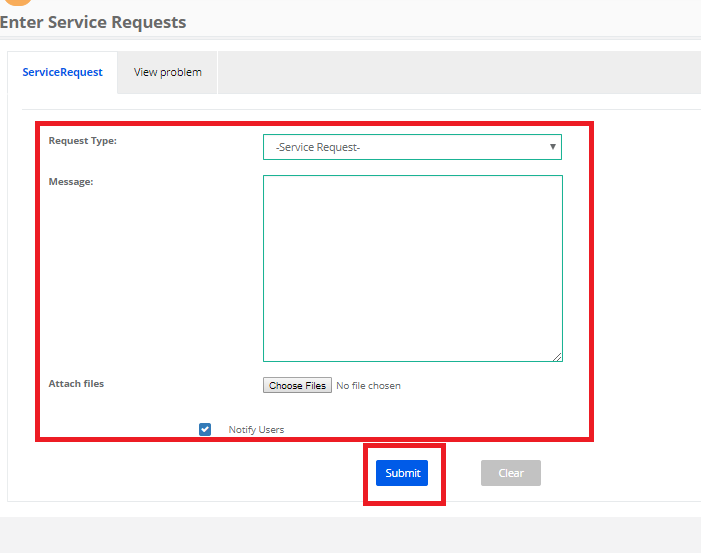
Raise Service Request
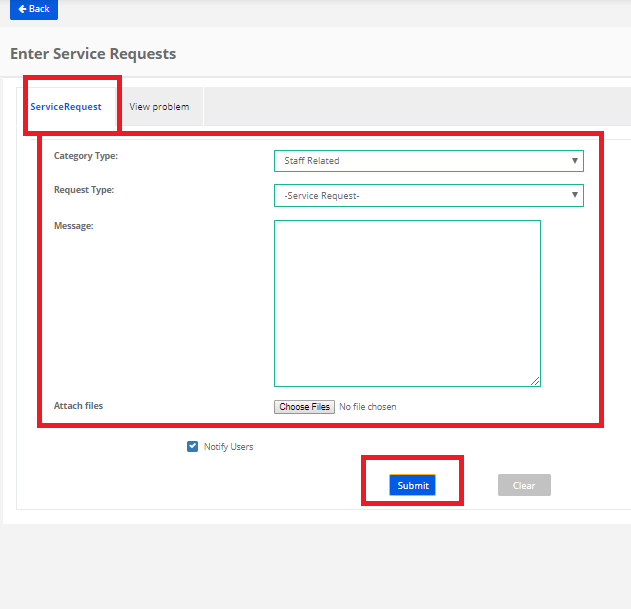
Step 13: To raise service request ,Click on Raise Service Request
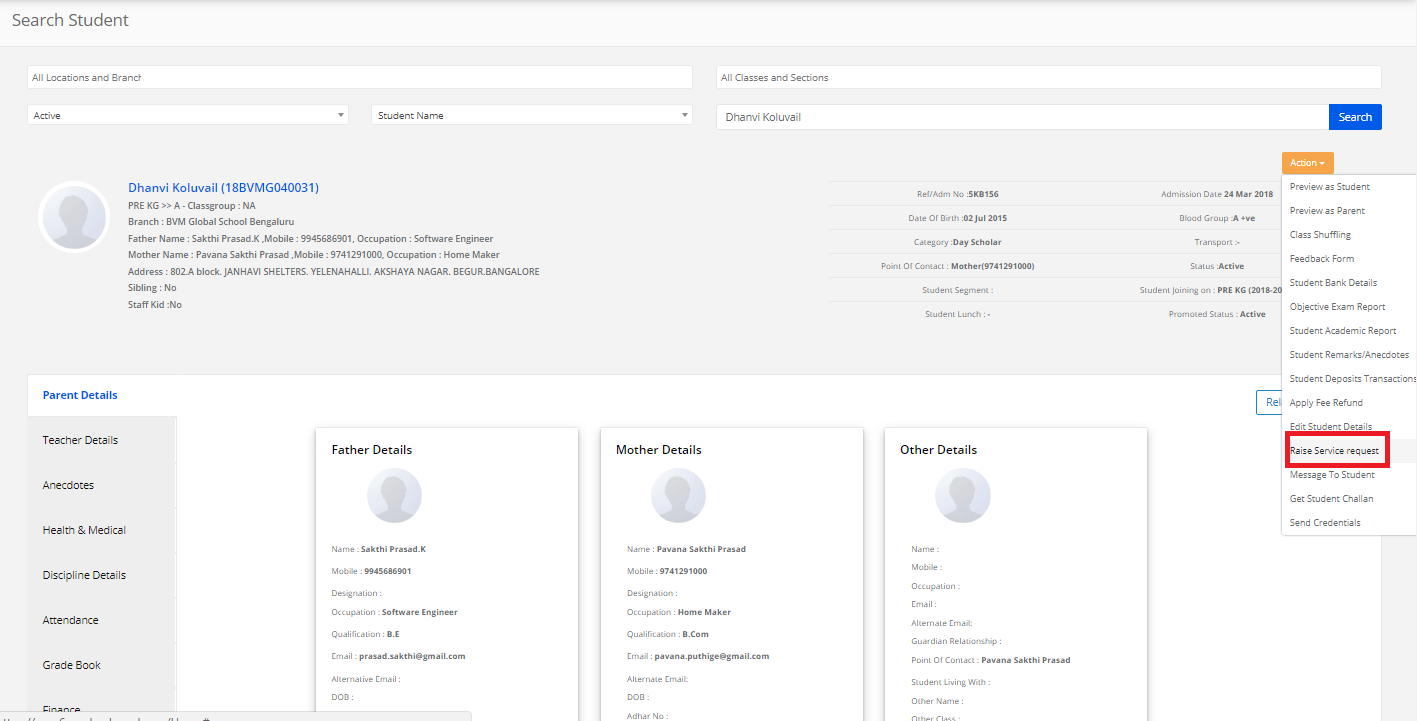
Select the Service Request type, Message. If any files to upload, Click on choose file then click on Submit.
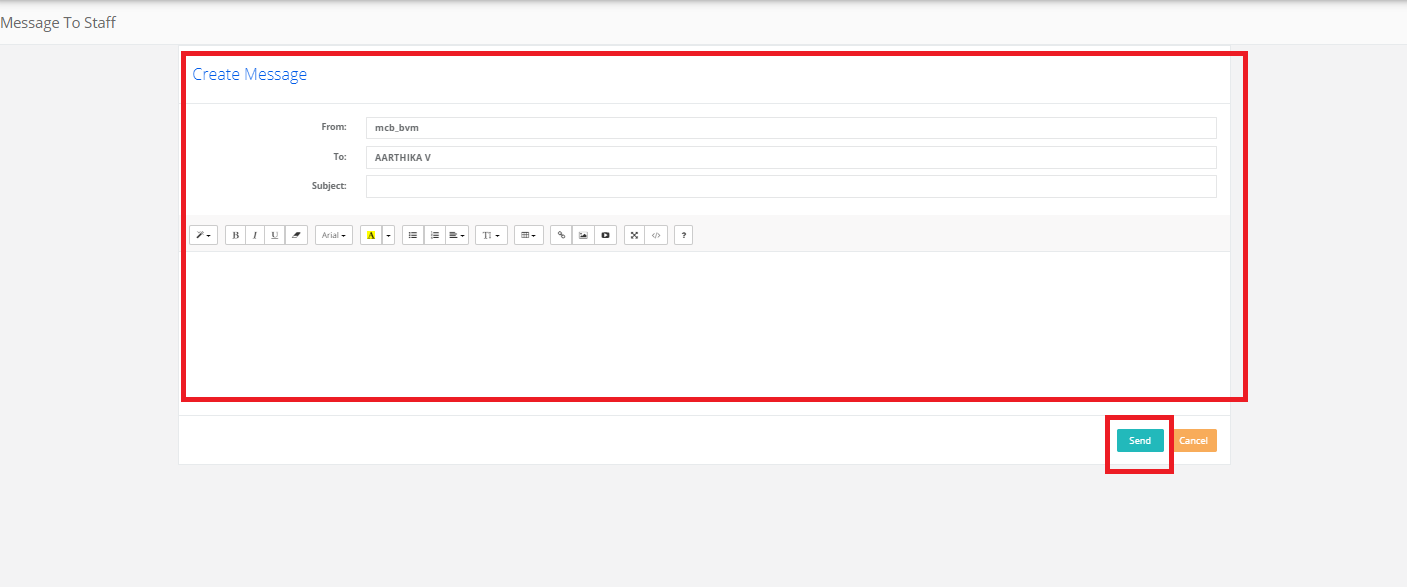
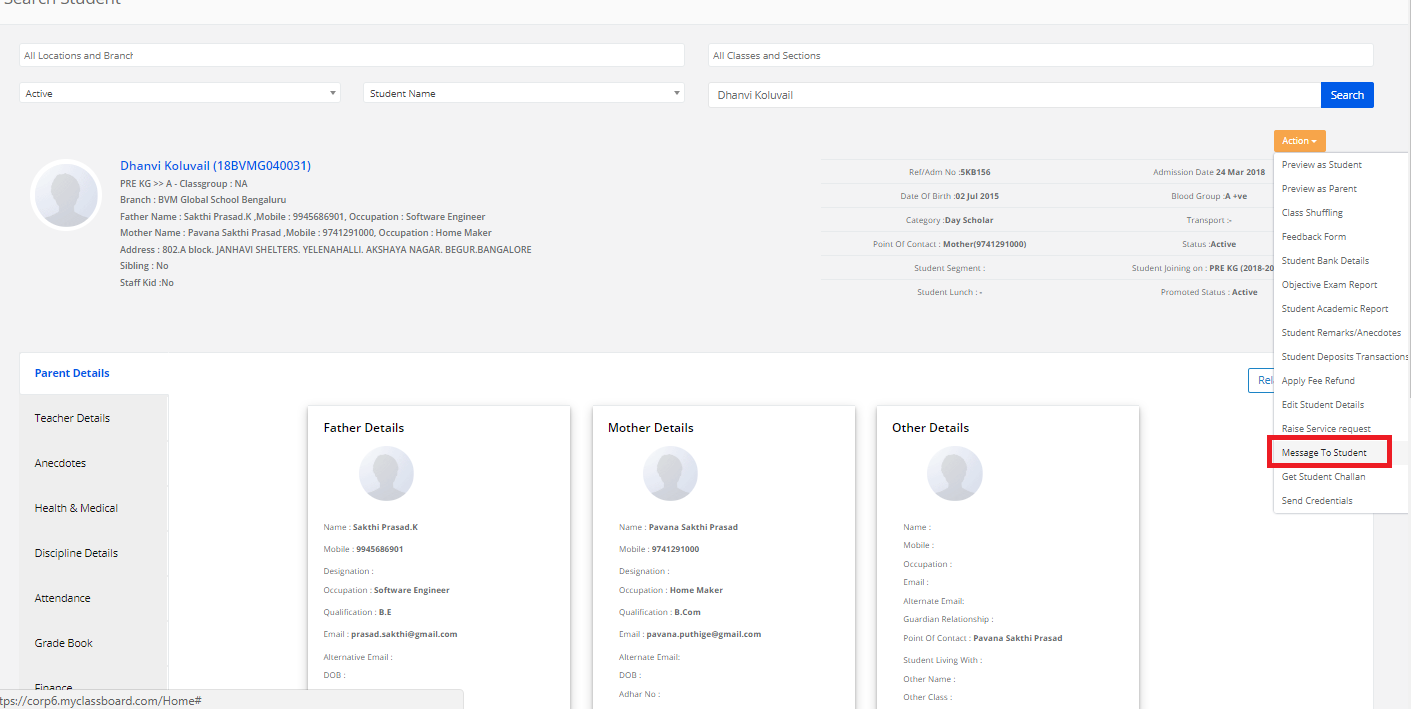
Message to Student
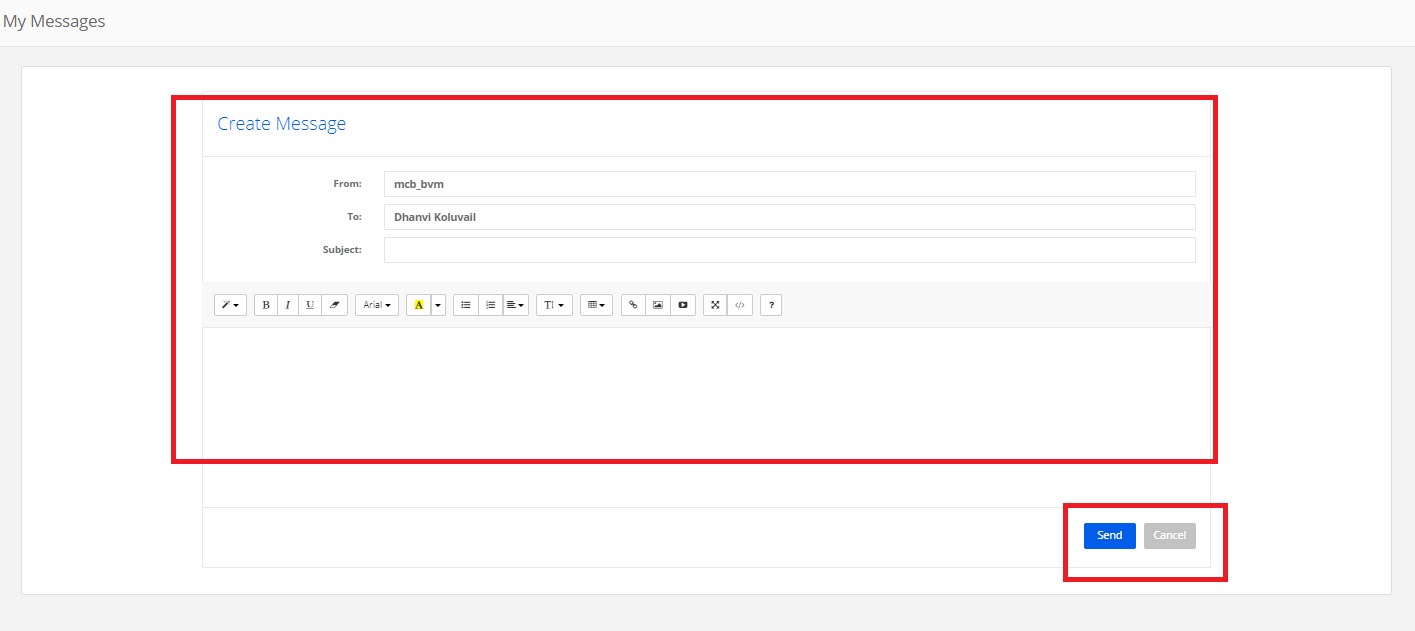
Step 14: To send the message to the student, Click on Message to Student
Click on Compose, Enter the message, click on “Send”.
Get Student Challan
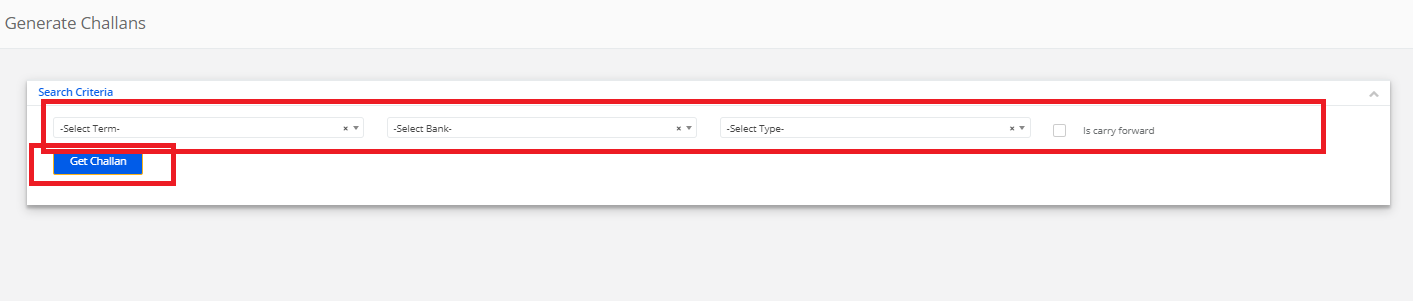
Step 15: To get a student challan, click on “Get Student Challan”.

Select the Term, Bank, Type and click on “Get Invoice Details”.
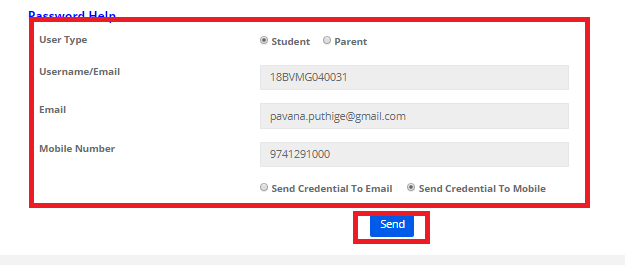
Send Login Credentials
Step 16: To Send Login Credentials, click on “Send Login Credentials”.
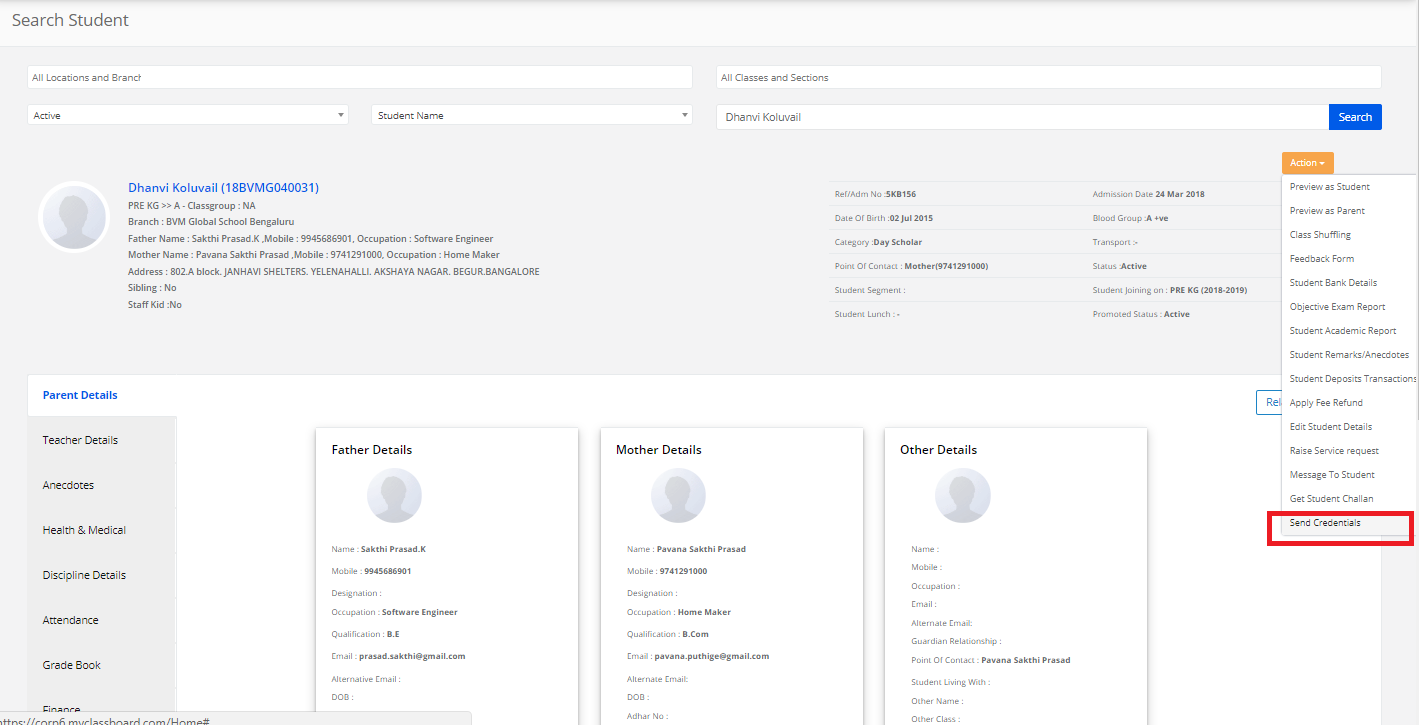
Select the user type & Click on Send Credentials via Email or mobile then click on Send.