How to update Exam Type Percentage?

Step 1: Login to MCB with Principal login credentials.

Step 2: If you’re already logged in with System Admin credentials, change access to “Principal” level. (Click on user profile picture in the right corner – change access level – click on Principal against the respective branch).

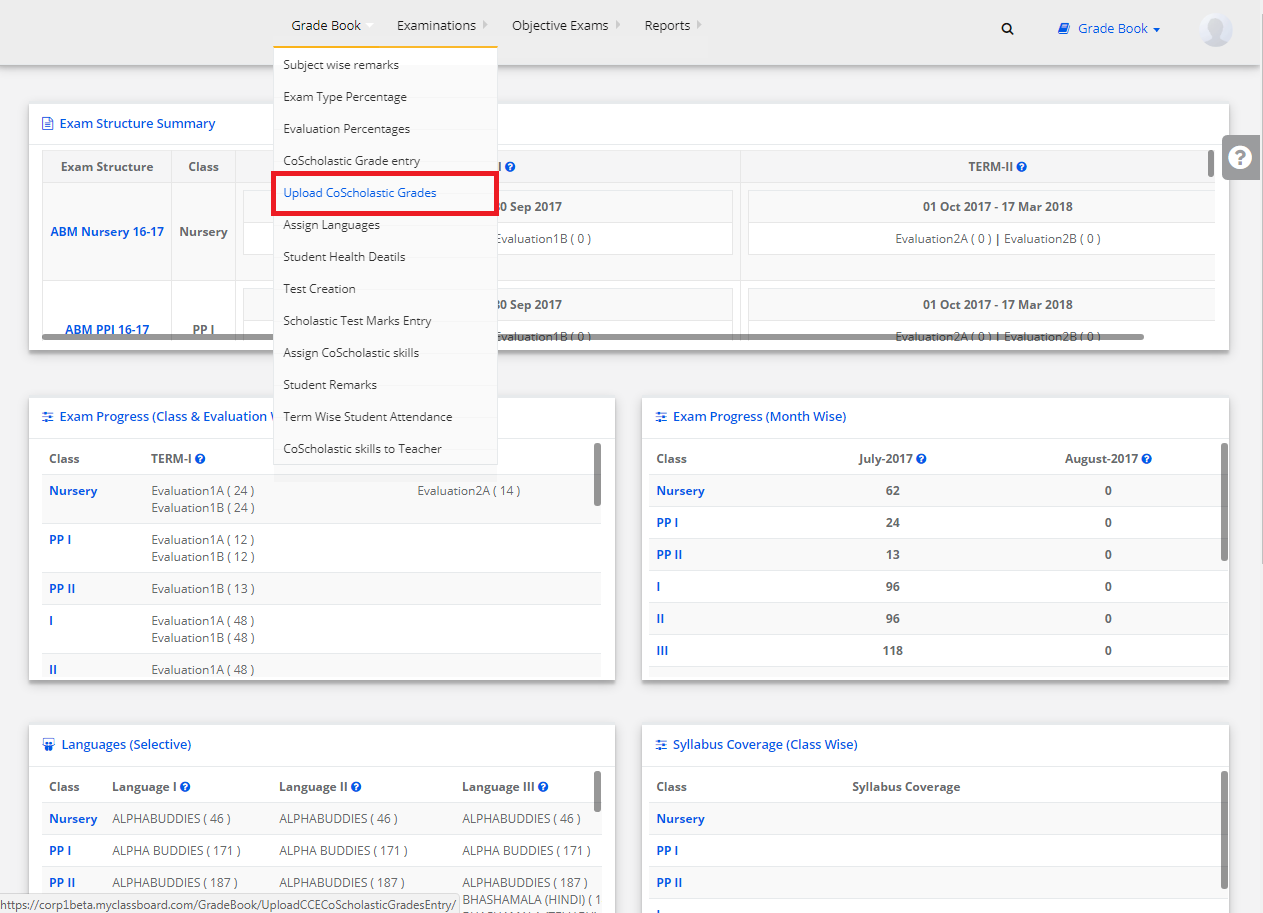
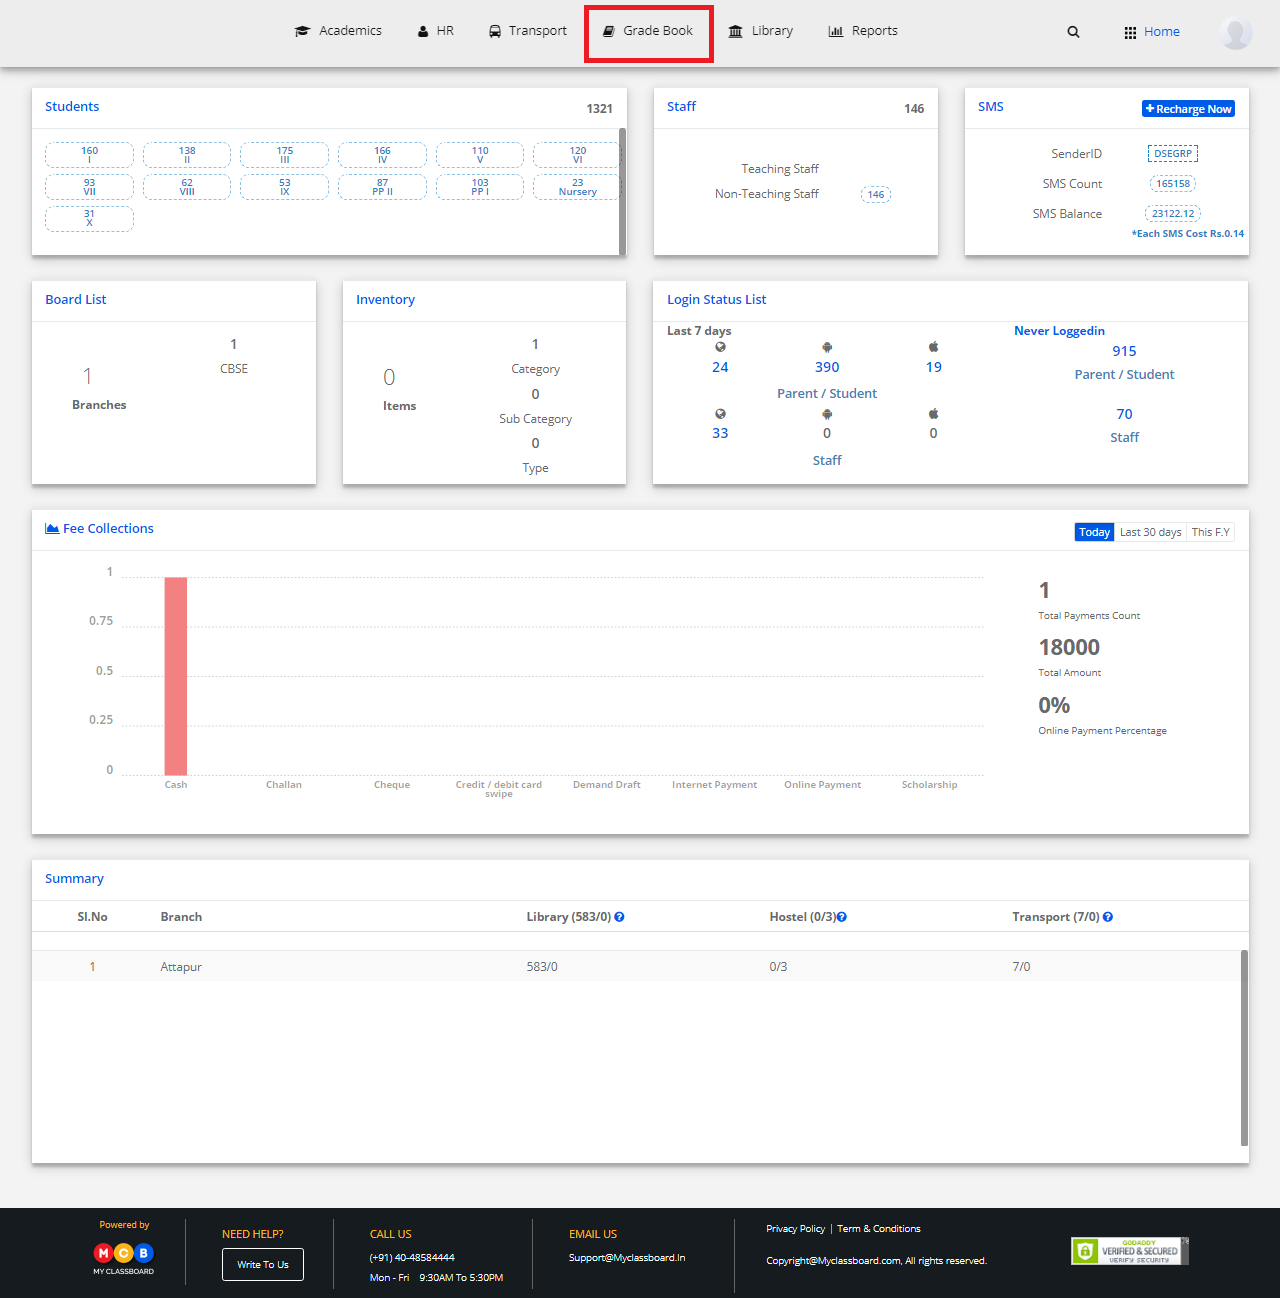
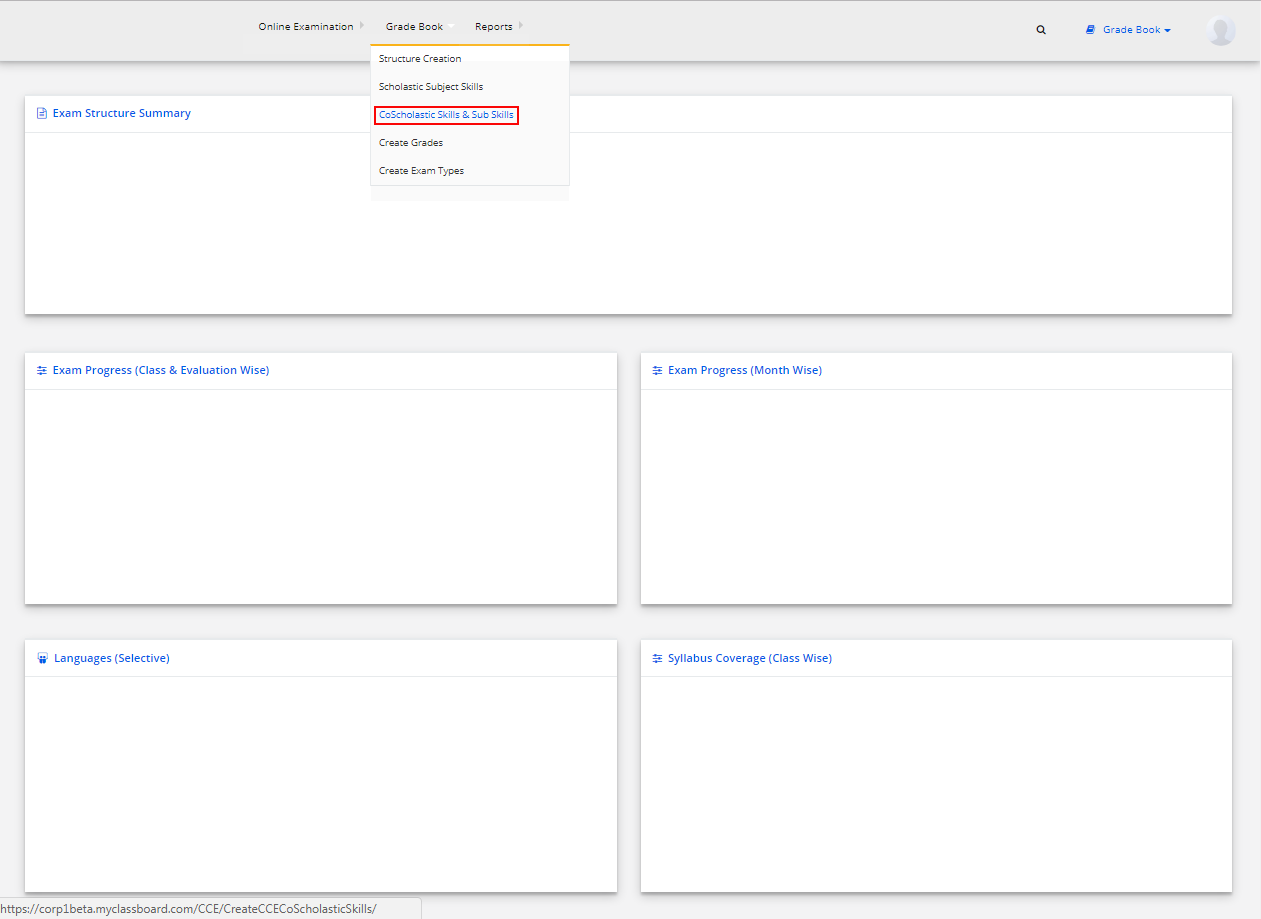
Step 3: Select Gradebook on the top bar of the dashboard. You’ll be directed to the “Gradebook” page.

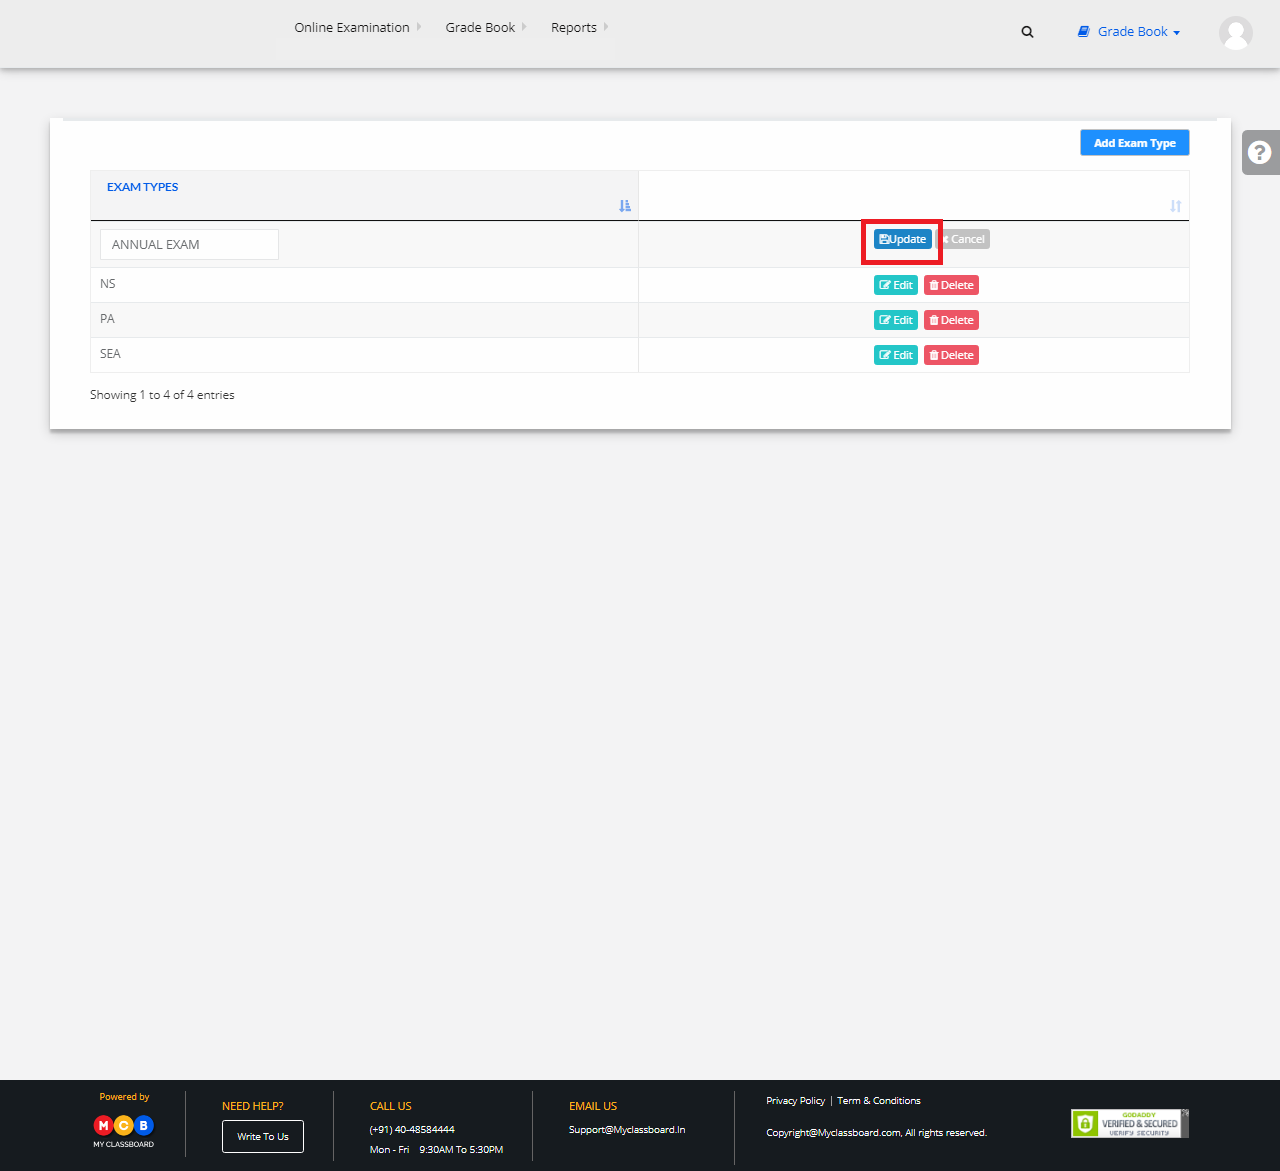
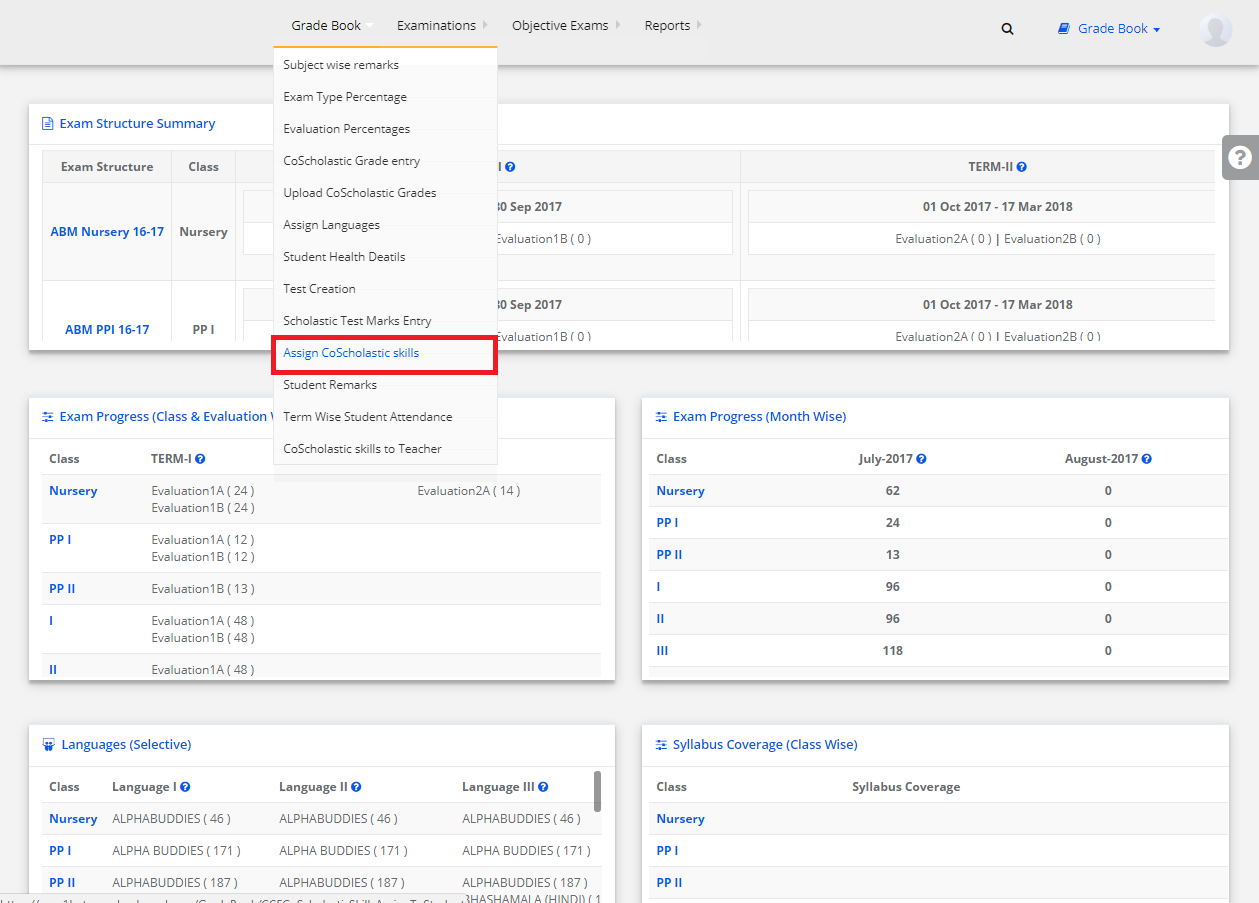
Step 4: Click on “Gradebook” on the top bar and select “Evaluation Percentages”.

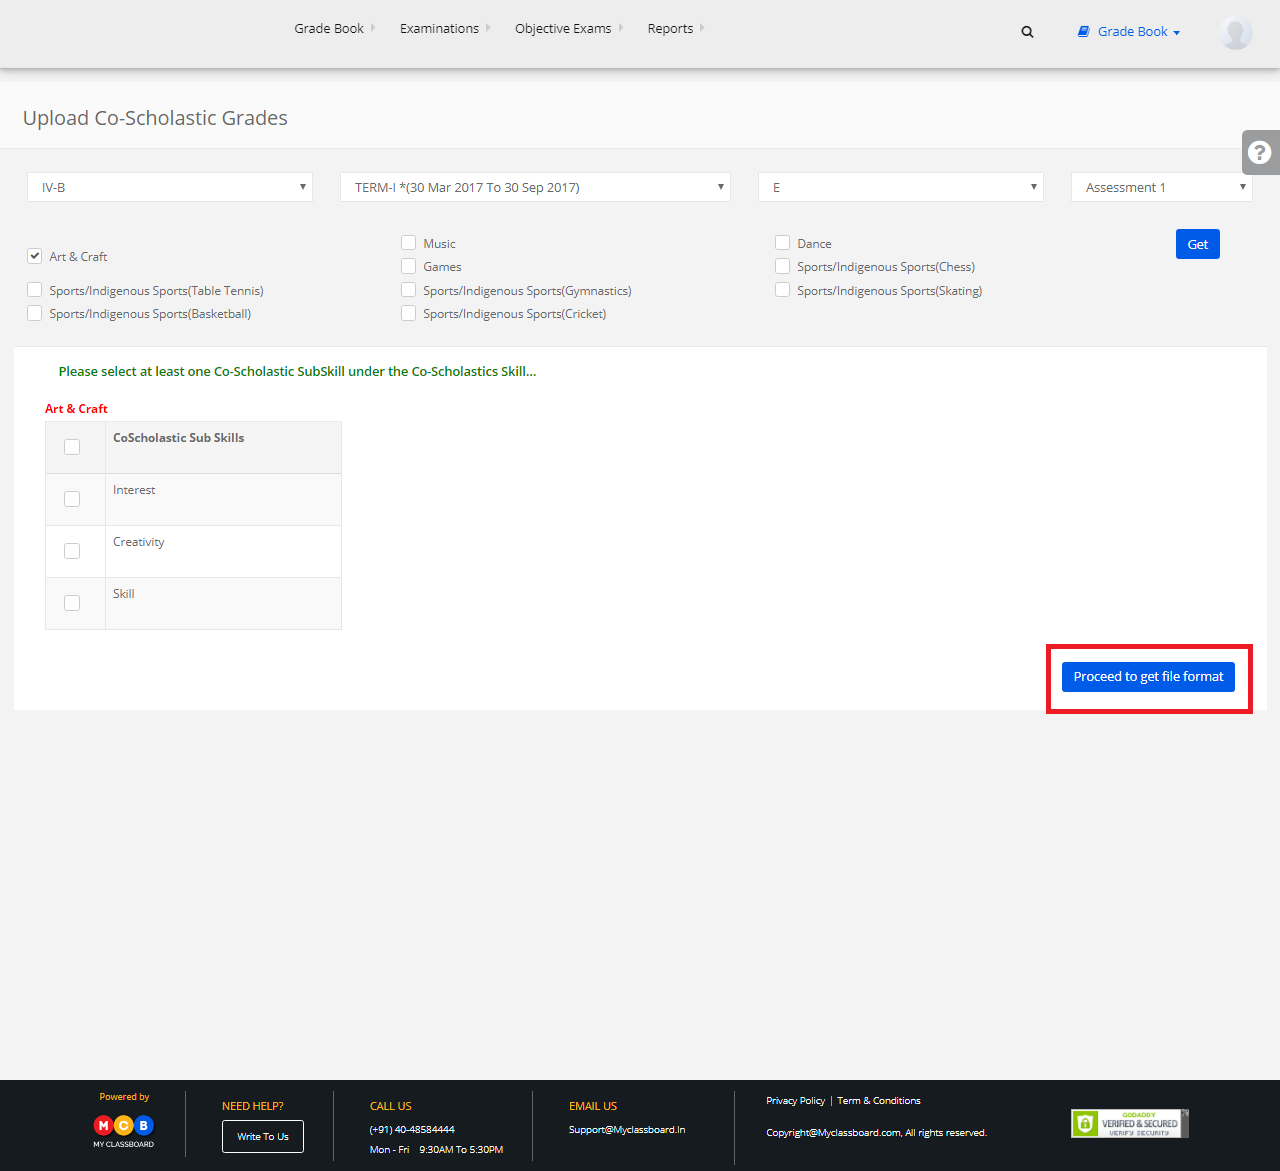
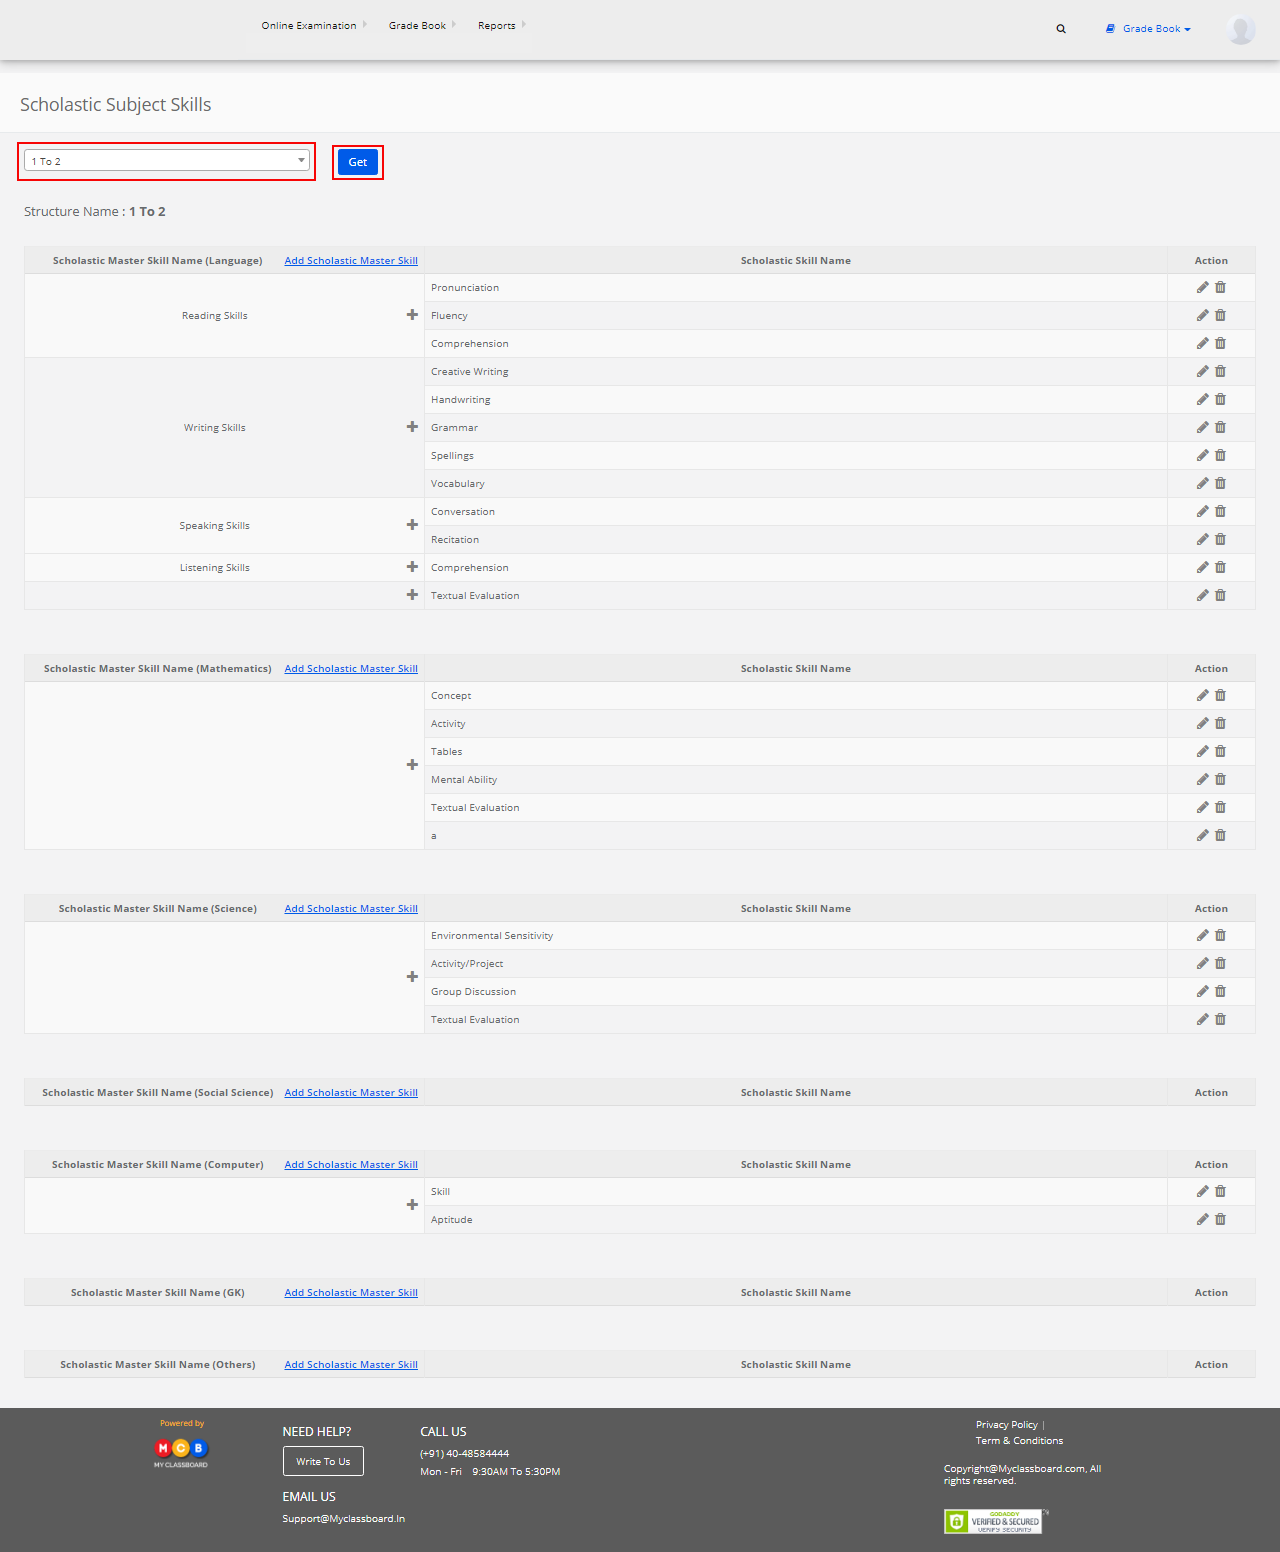
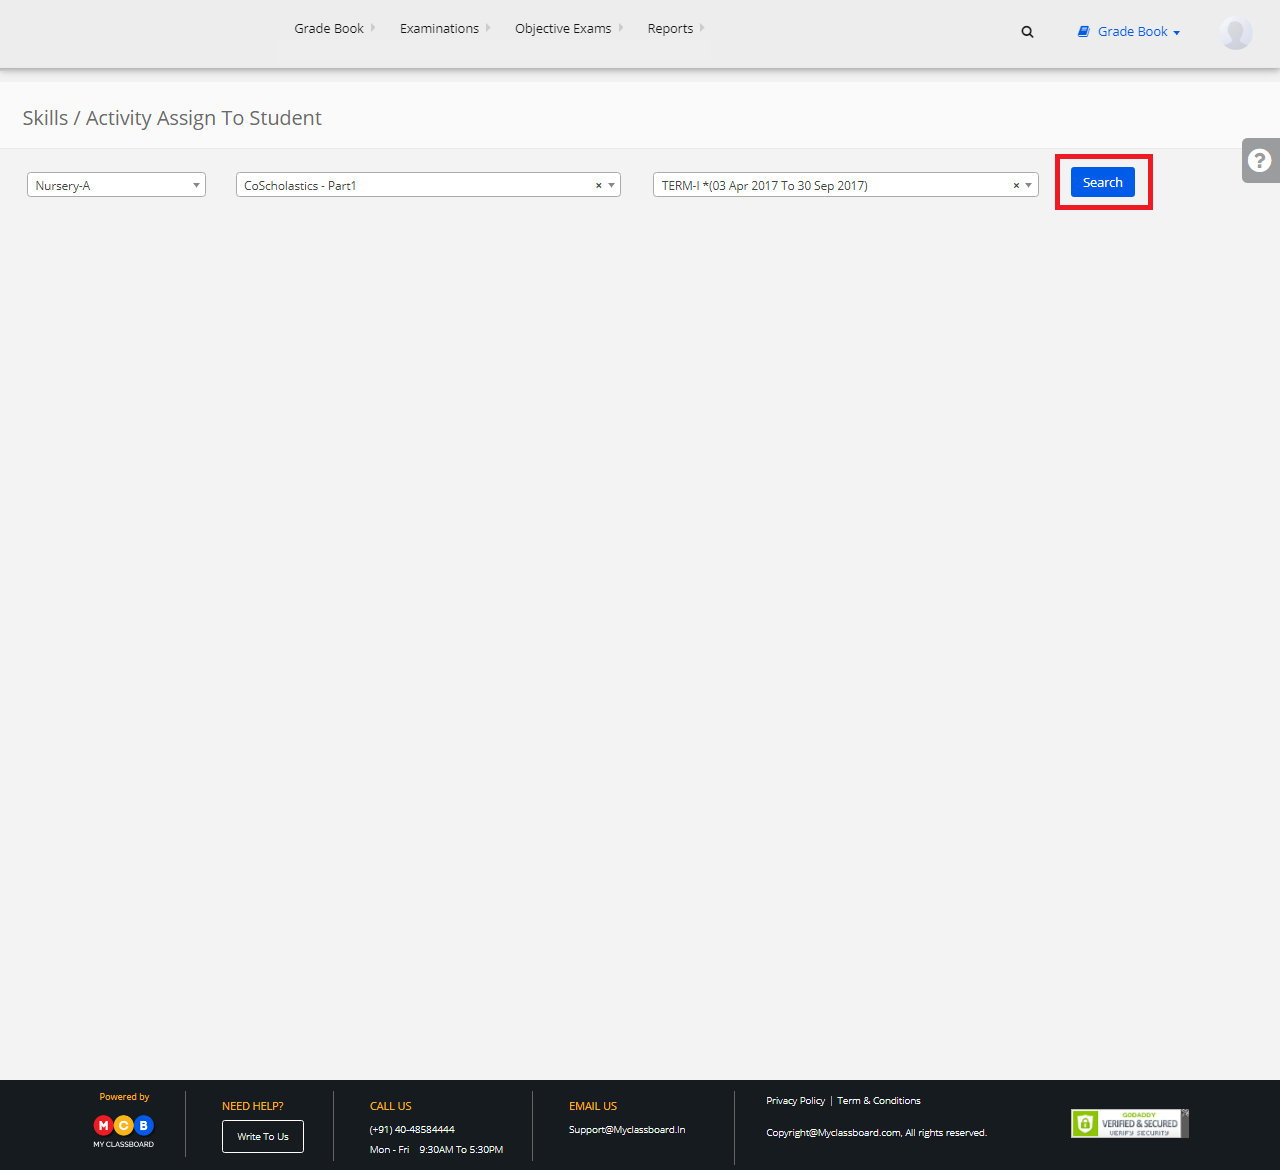
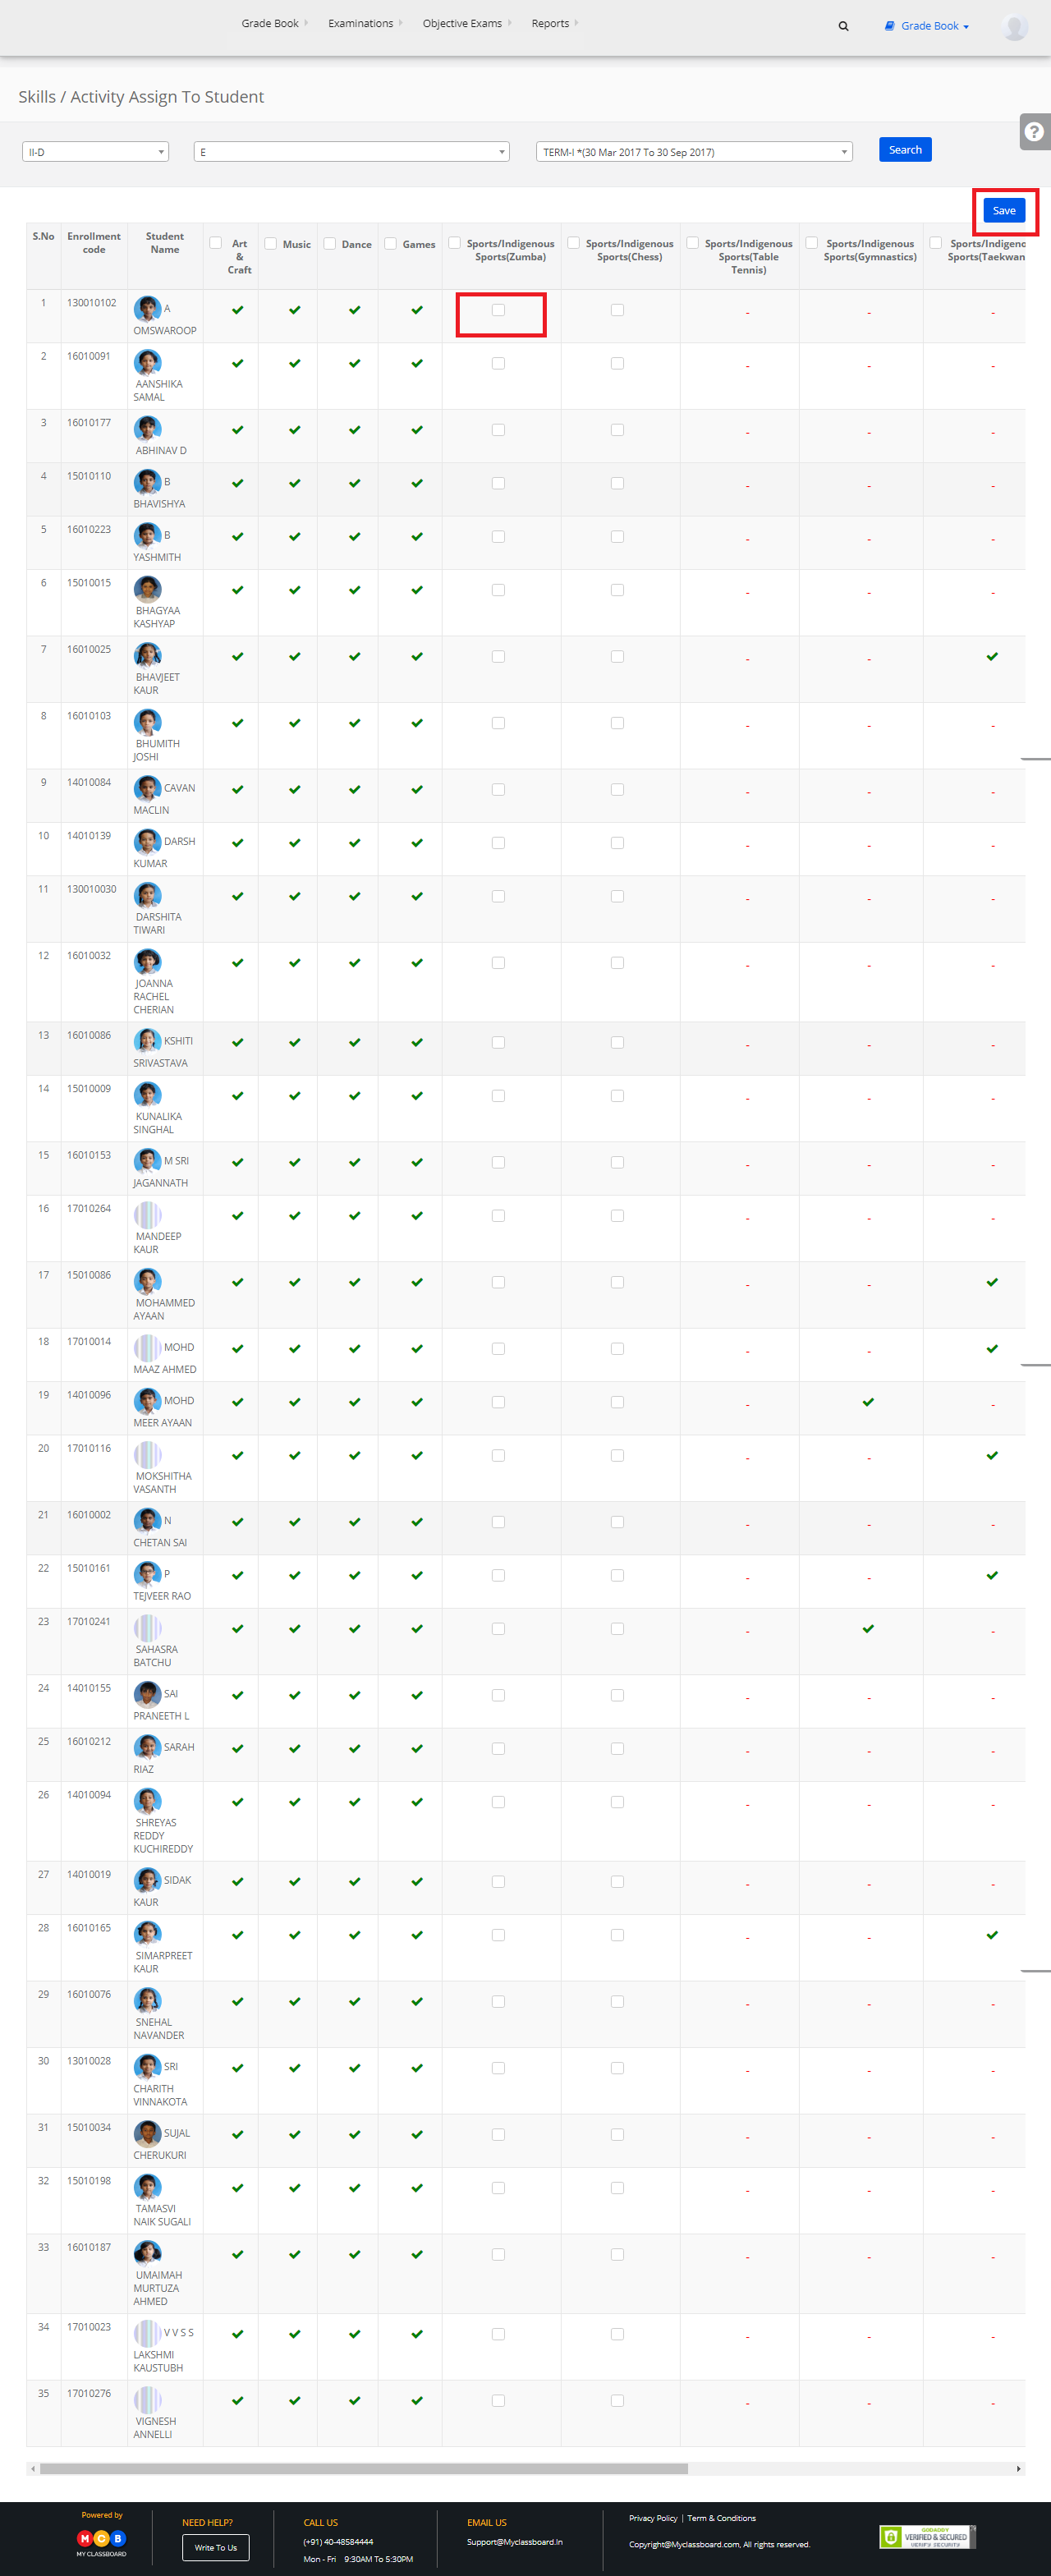
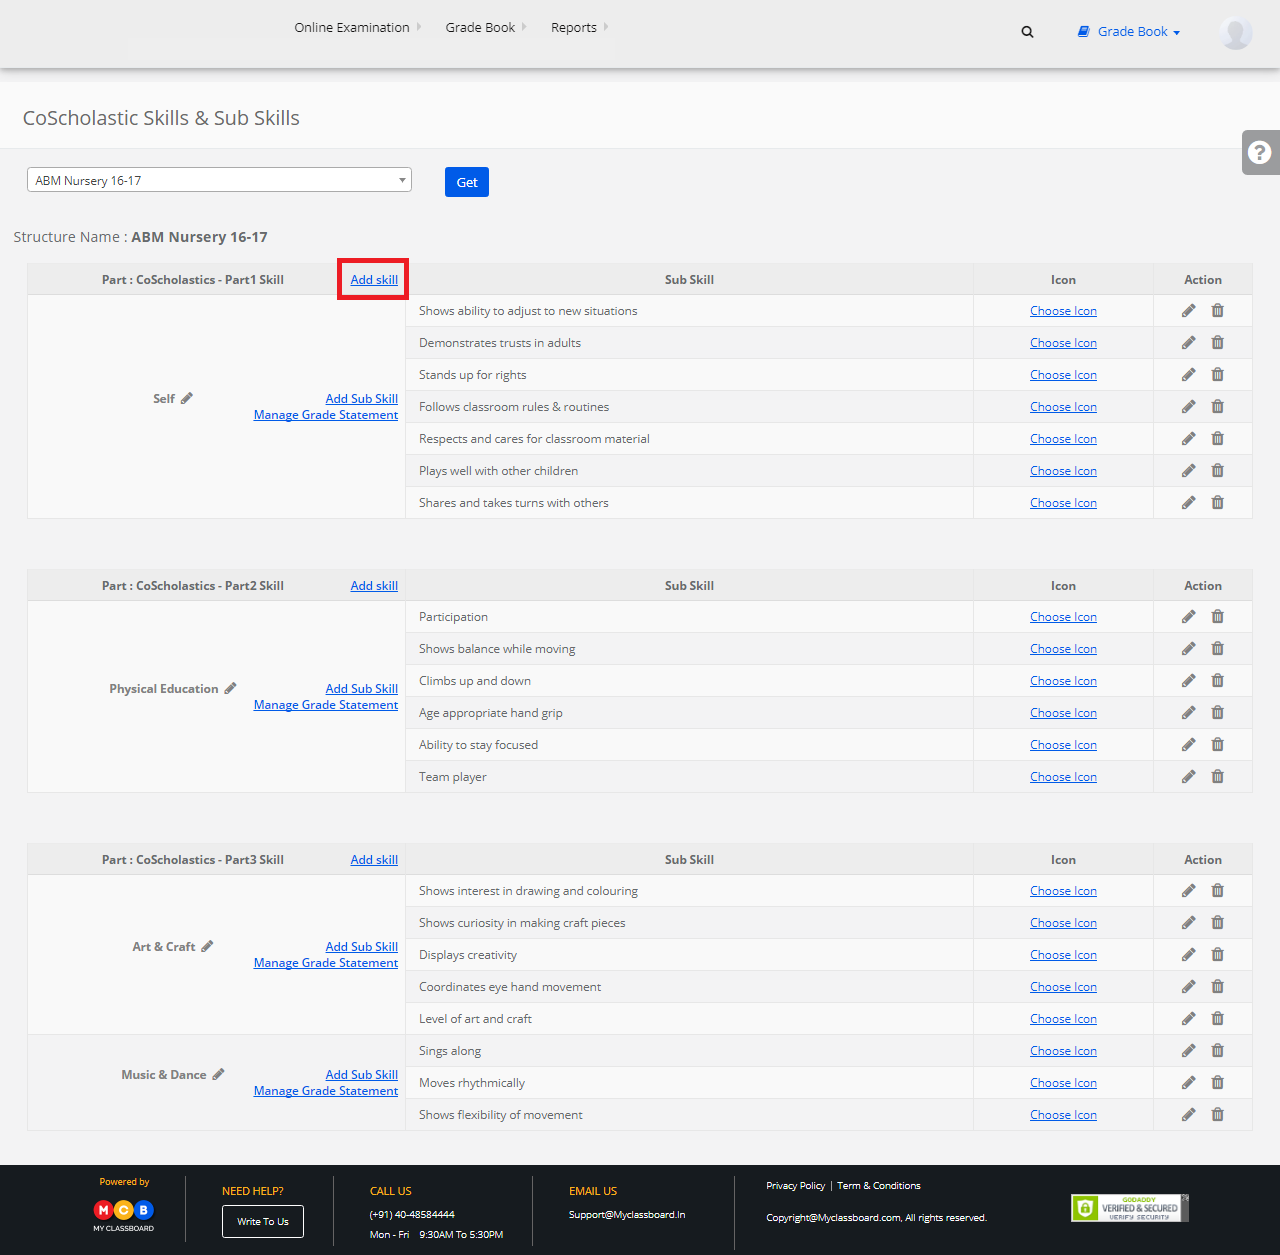
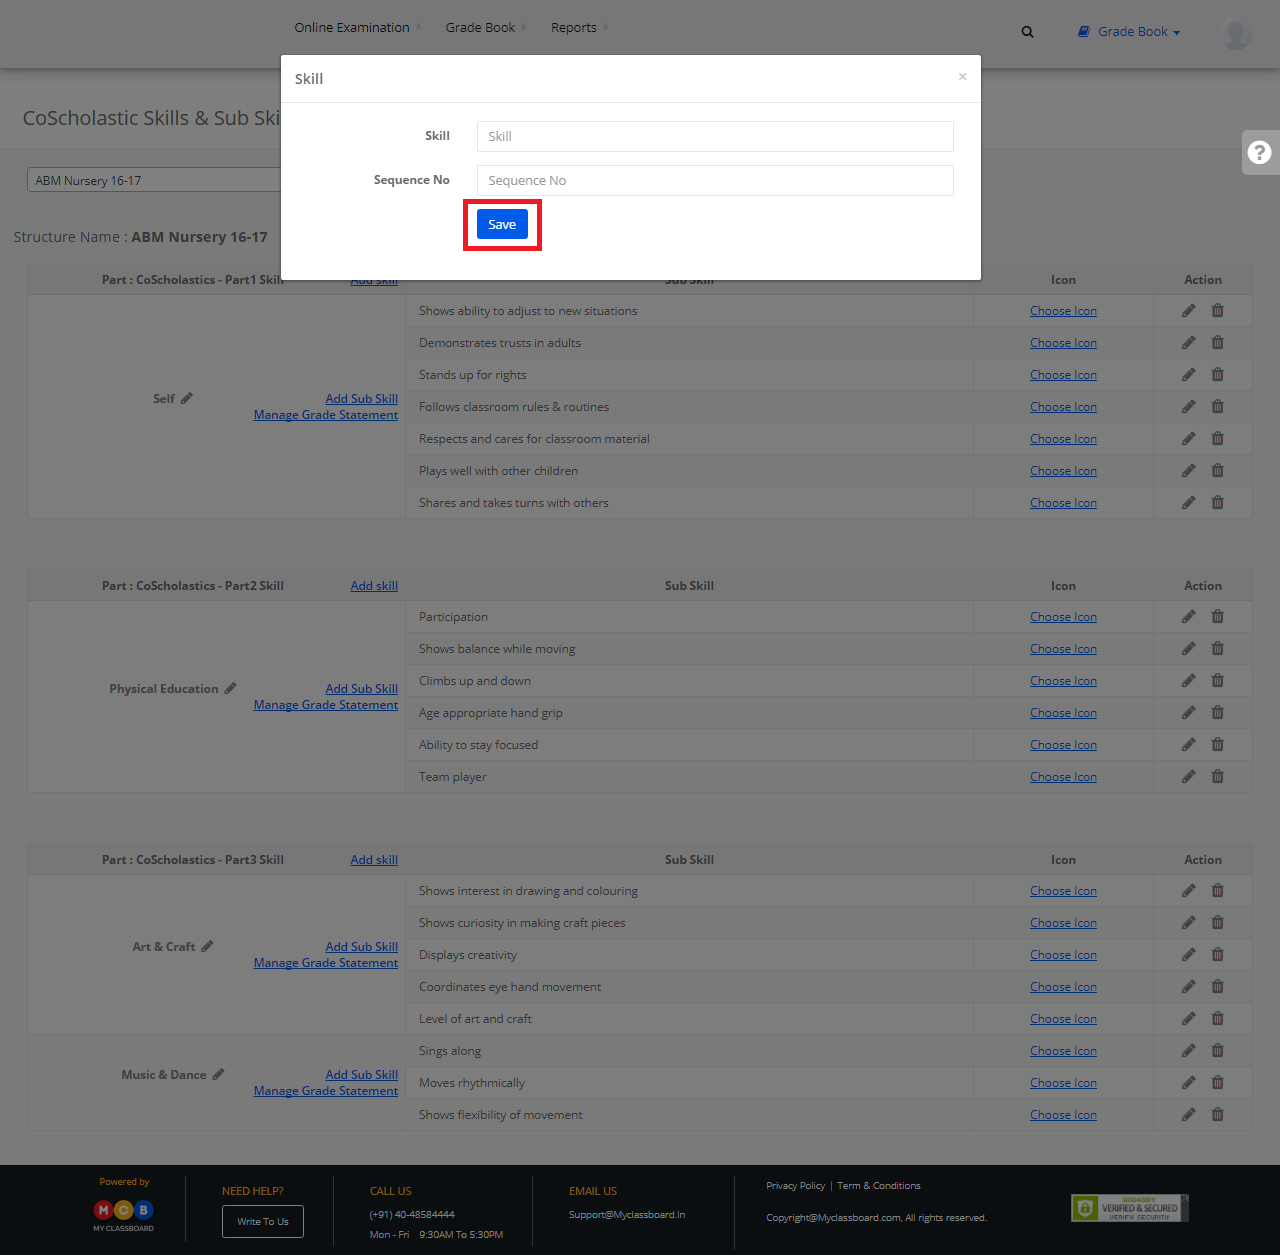
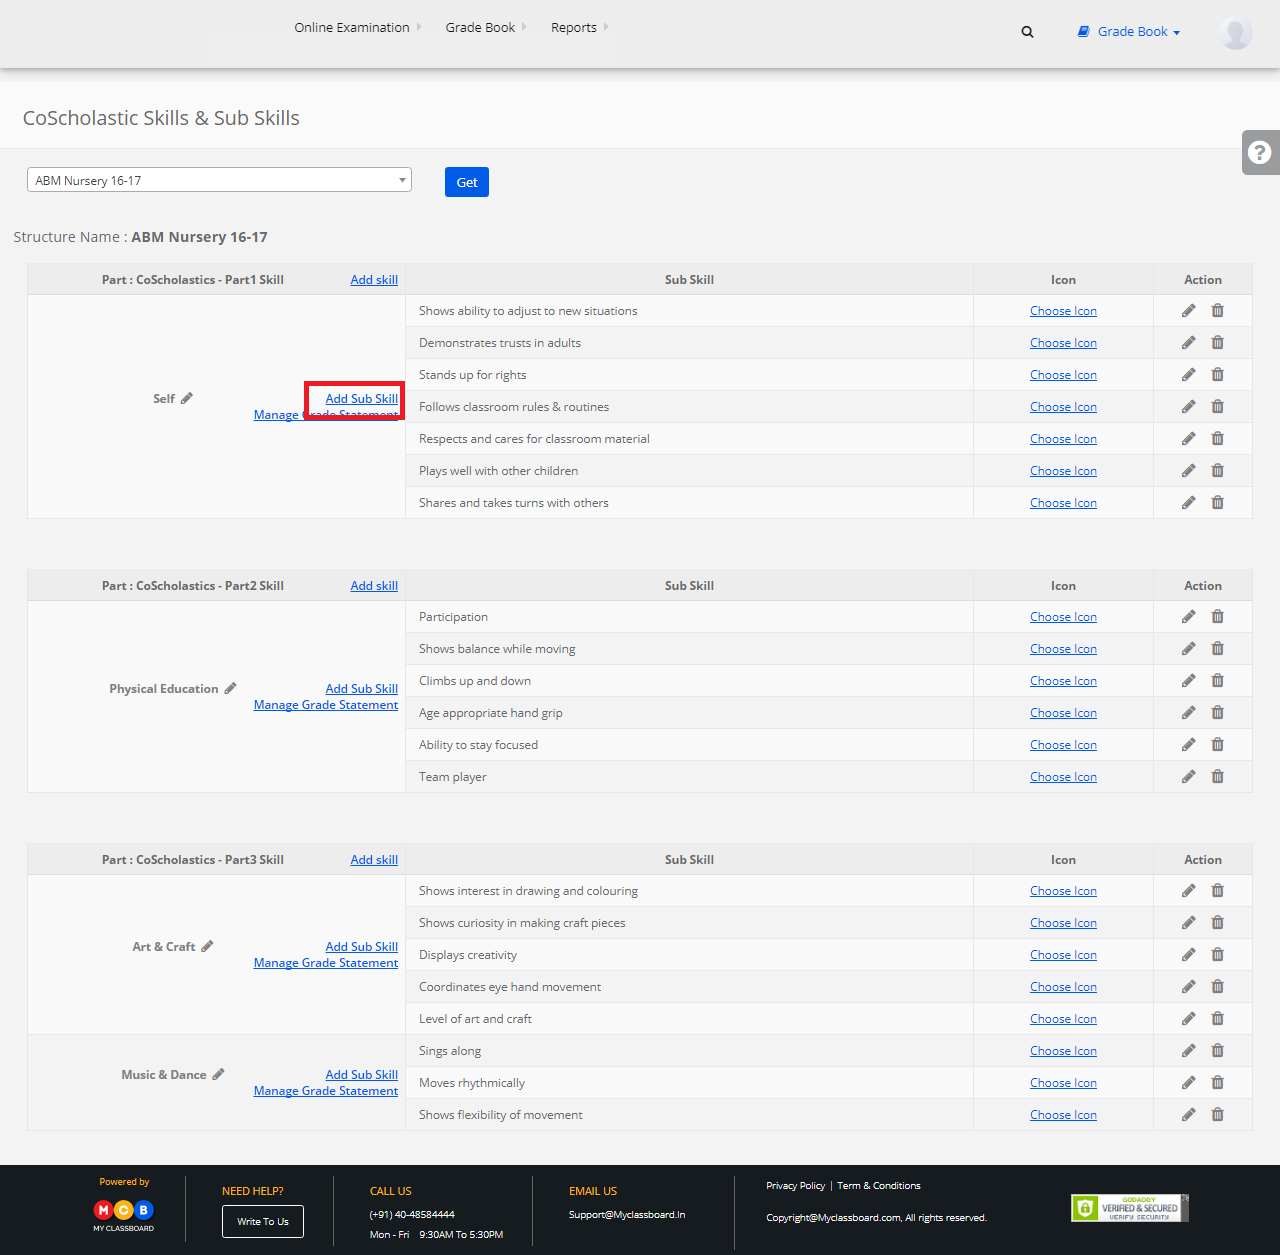
Step 5: Select Structure and Class. Enter the Percentages against each Assessment and click on “Save”.

How to Upload Co Scholastic Grades?

Step 1: Login to MCB with Principal login credentials.

Step 2: If you’re already logged in with System Admin credentials, change access to “Principal” level. (Click on user profile picture in the right corner – change access level – click on Principal against the respective branch).

Step 3: Select Gradebook. You’ll be directed to the “Gradebook” page.

Step 4: Click on “Reports” on the top bar and select “Upload Co Scholastic Grades”.

Step 5: Select the required options like Class, Term, Co Scholastic Part, Assessment, Co Scholastic Master Skill and click on “Get”.

Step 6: Select at least one Co-Scholastic SubSkill under the Co-Scholastics Skill and click on “Proceed to get file format”.

Step 7: Click on “Download File Format” to download the sample file, enter the details to upload and finally select “Choose Files” to upload CCE Co Scholastic SubSkill Grades.

How to Create Exam Types?

Step 1: Login to MCB with System Admin credentials.

Step 2: Select Gradebook on the top bar of the dashboard. You’ll be directed to the “Gradebook” page.


Step 3: Click on “Gradebook” on the top bar and select “Create Exam Types” under it.


Step 4: Click on “Add Exam Type” to add a new exam type.


Step 5: Add a new exam type here and click on “Save”.


The new exam type is created.


Step 6: To Edit the created Exam type, click on the “Edit” option.


Step 7: Make the necessary changes and click on “Update” button. The changes are saved successfully.


Step 8: To Delete the Exam Type, simply click on the “Delete” button.


How to create Scholastic Subject Skills?

Step 1: Login to MCB with SysAdmin login credentials.

Step 2: Select “Gradebook” on the top bar on the dashboard page. You’ll be directed to the “Gradebook” page.

Step 3: Click on “Gradebook” on the top bar and select “Scholastic Subject Skills”.

Step 4: Select “Structure Name” and Click on “Get”.

Step 5: Click on “Add Scholastic Master Skill” to create new Scholastic Master Skills.

Step 6: Select the Skill Master and name a skill under it and click on save. The new Scholastic Master Skill is created.

Step 7: To add more skills to the skill master, select any scholastic skill master. Click on “Add Scholastic Skill” to add new skills under it.

Step 8: Name the Skill and click on Save. The new Scholastic Skill is added under the Scholastic Master Skill.

How to Assign Co-Scholastic Skills?

Step 1: Login to MCB with Principal login credentials.

Step 2: If you’re already logged in with System Admin credentials, change access to “Principal” level. (Click on user profile picture in the right corner – change access level – click on
principal against the respective branch).

Step 3: Select Gradebook. You’ll be directed to the “Gradebook” page.

Step 4: Click on “Gradebook” on the top bar and select “Assign Co-Scholastic Skills”.

Step 5: Select Class, Co-Scholastic Part, Term and click on “Search”.

Step 6: To Assign, Select student —-> Select Skills(Mark the checkbox) and click on Save.

How to Create Co Scholastic Skills and Sub skills?

Step 1: Login to MCB with SysAdmin login credentials.

Step 2: Select “Gradebook” on the top bar on the dashboard page. You’ll be directed to the “Gradebook” page.

Step 3: Click on “Gradebook” on the top bar and select “Co-scholastic Skills and Sub Skills”.

Step 4: Select “Structure Name” and Click on “Get”.

Step 5: Click on “Add Skill” to create new skills.

Step 6: Enter the Skill Name, Sequence No. and click on Save. The new Skill is created.

Step 7: Click on “Add Sub Skill” to create new sub-skills.

Step 8: Name the Sub Skill and click on Save. The new Sub Skill is created.