How to remove late fee?

Step 1: Login to MCB with Accountant login credentials.

Step 2: Select “Fee Management” on the top bar and choose “Fine Management”.

Step 3: Select Branch, Fee Type and click on “Show Report”.

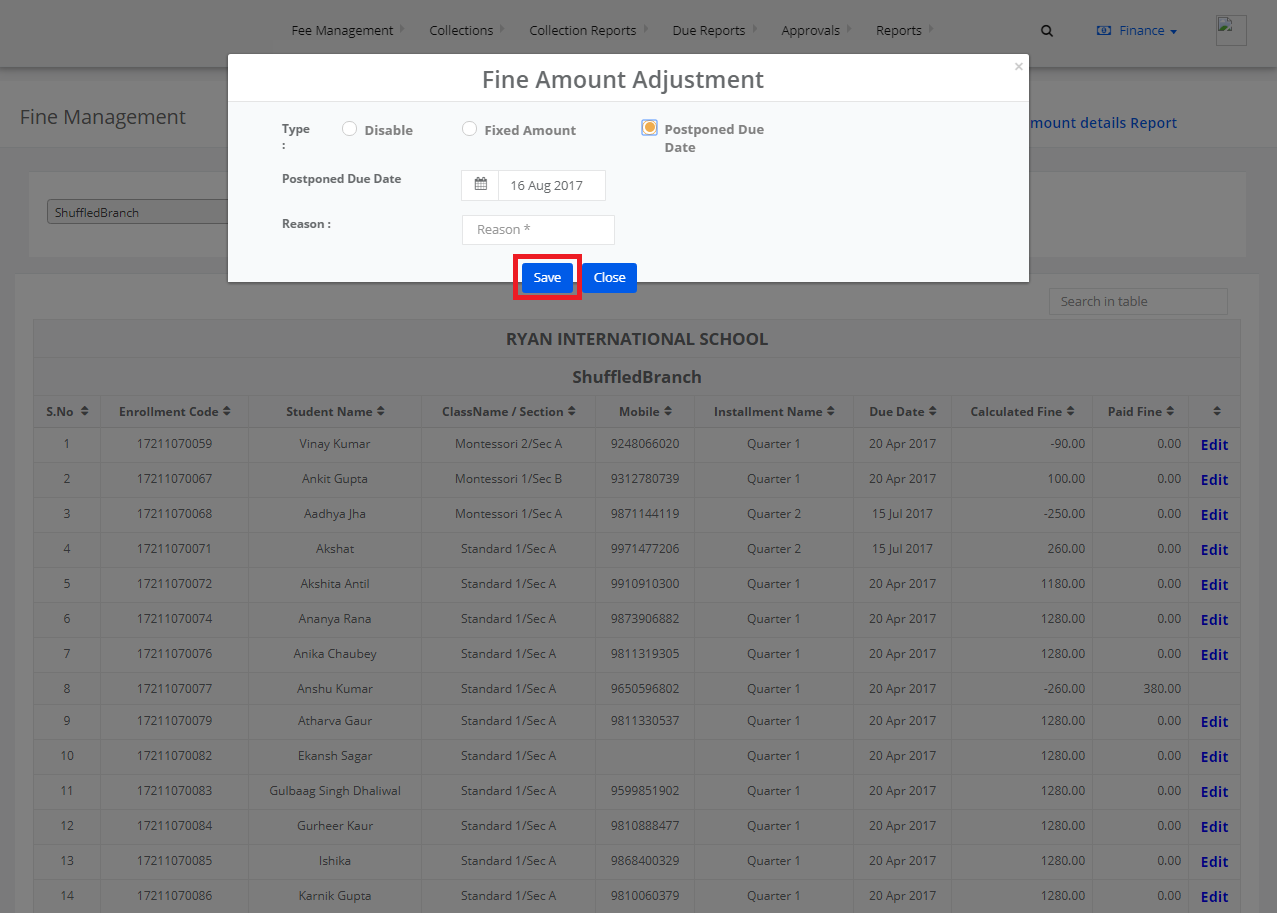
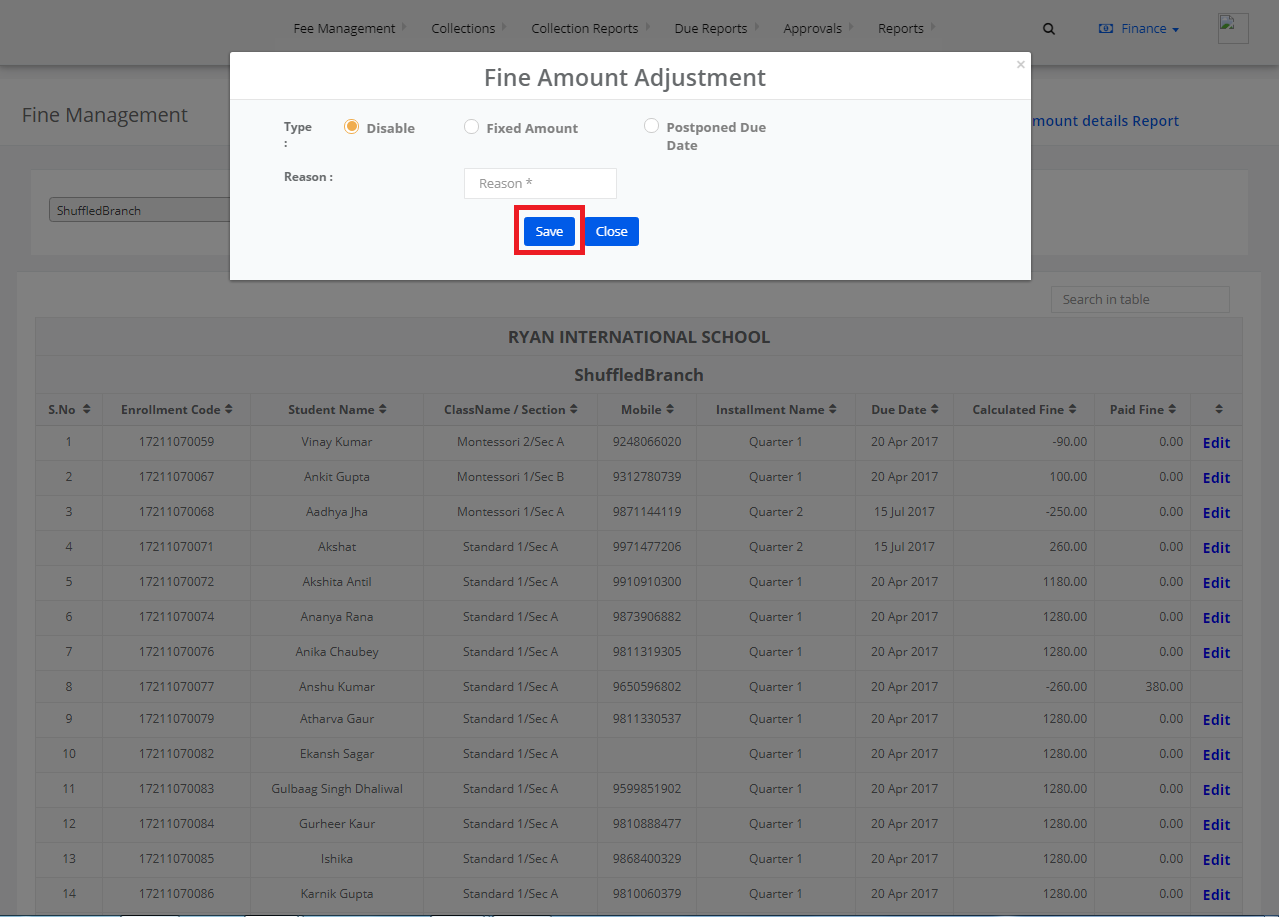
Step 4: Select any student and click on the “Edit” option beside.

Step 5: To disable the amount, select “Disable”, enter the reason and click on “Save”. The amount is disabled successfully.

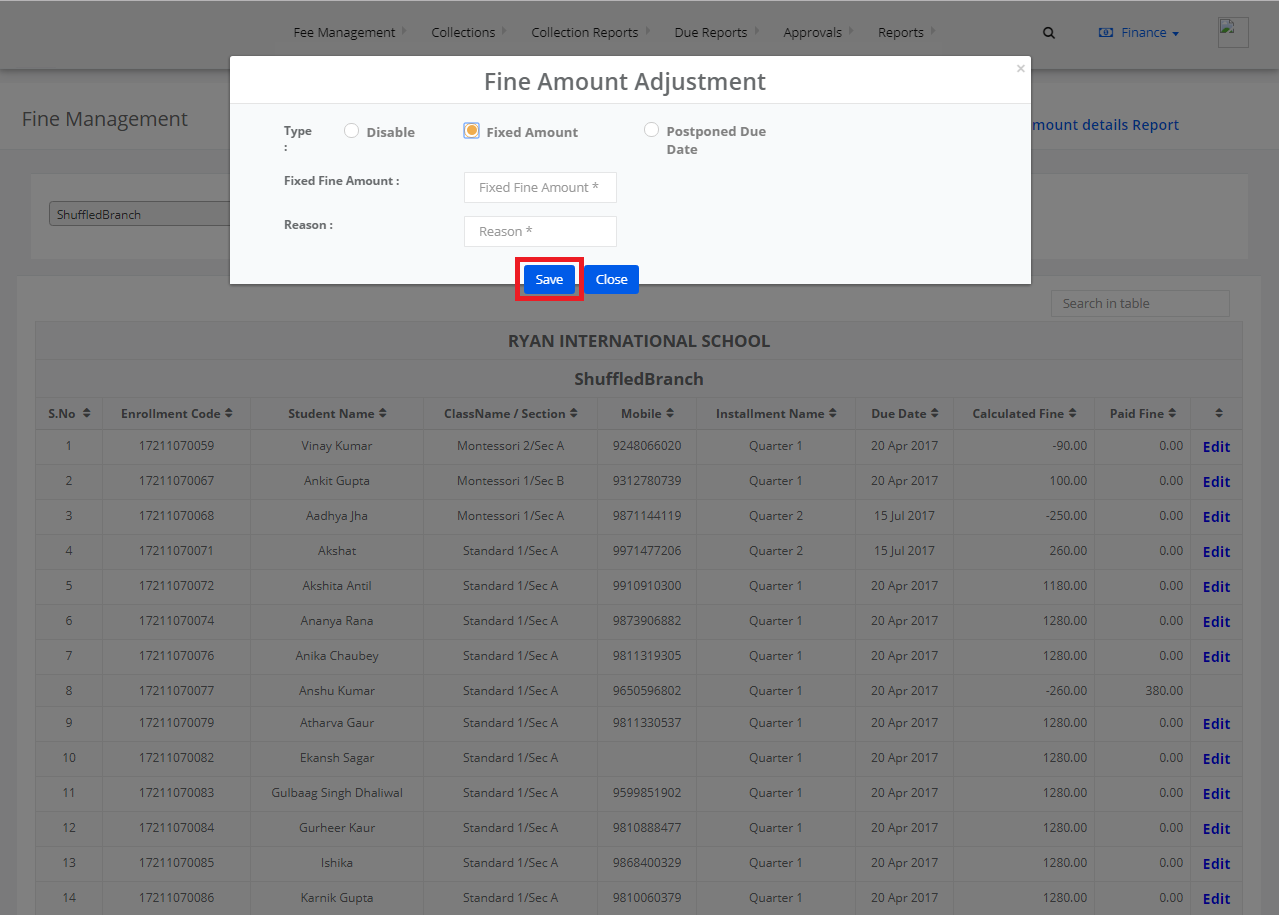
Step 6: To give a fixed amount to the fine, click on “Fixed Amount”, enter the fixed fine amount, reason and click on “Save”.
A fixed fine amount is given to the student.

Step 7: To postpone the due date, click on “Postpone Due Date”, select a due date, enter the reason and click on “Save”.

How to change Fee Plan?

Step 1: Login to MCB with Accountant login credentials.

Step 2: Select “Collections” on the top bar and choose “Make Payment”.

Step 3: Search for the student by entering the required information in the search criteria.

Step 4: Select “Fee Management”. Mark the checkbox against any fee plan, select fee plan under “Change Fee Plan to” and then click on “Change”.

Step 5: The Fee Plan is changed successfully and the changed fee plan is reflected on the screen.

How to Edit Cheque details?

Step 1: Login to MCB with Accountant login credentials.

Step 2: Select “Collections” on the top bar and choose “Make Payment”.

Step 3: Search for the student by entering the required information in the search criteria.

Step 4: Select “Cheque Payment” on the left pane. Choose any payment and click on the “Cheque Edit” option.

Step 5: To edit cheque details, click on “Edit Cheque Details” and select “Edit”.

Step 6: Make the necessary changes and click on “Update” button.

Step 7: To edit cheque amount, click on “Edit Cheque Amount”, enter the amount to be changed, enter “Remarks” and click on “Update”.

How to add an entry for cheque bounce?

Step 1: Login to MCB with Accountant login credentials.

Step 2: Select “Collections” on the top bar and choose “Make Payment”.

Step 3: Search for the student by entering the required information in the search criteria.

Step 4: Select “Cheque Payment”. Select any payment and click on the “Cheque Bounce” option.

Step 5: Click on “Bounce” and select “Yes, Proceed” option in the dialogue box that appears.

Step 6: Select “Bounce Date”, “Cheque Bounce Reason” and click on “Save Data”.

Step 7: The cheque bounce is done successfully and the same is reflected on the screen.

How to generate a receipt for Cancelled Transactions?

Step 1: Login to MCB with Accountant login credentials.

Step 2: Select “Collections” on the top bar and choose “Make Payment”.

Step 3: Search for the student by entering the required information in the search criteria.

Step 4: Select “Cancelled Transactions” on the left pane. Choose any payment and click on the “Print” option.

Step 5: The canceled transactions receipt is generated.

How to remove Cheque Bounce Charges?

Step 1: Login to MCB with Accountant login credentials.

Step 2: Select “Collections” on the top bar and choose “Make Payment”.

Step 3: Select “Cheque Bounce Charges” on the left pane. Select the entry and click on “Delete” option.

Step 4: Select the reason and click on “Save”.

The cheque bounce charges are removed successfully.