How to assign/ unassign fee to Students?

Step 1: Login to MCB with Login Credentials.

Step 2: Select Finance on the dashboard and you will be directed to the Finance page.

Step 3: Click on Fee management and select fee assign to students.

Step 4: Select the Student to assign the fee and Click on “Assign fee to students” option.

For Unassigning fee to students

Step 5: To unassign click on fee assign to students and click on “unassign” option and click on Get.

Double Payment Issue – When parent makes a payment twice

Thank you for your recent inquiry about “Making payment twice”.
If you happen to have made a double payment, we request you to go for an auto adjust or refund.
If you request for an auto adjust, the payment made will be automatically adjusted to the next quarter.
However, if you request a refund, the refund would be processed from the school’s end.
Note: We strongly recommend you to go for an auto adjust rather than a refund as the auto adjustment is completely done from our end. Whereas, the refund is processed by the school.
Please let us know of your request at the earliest time possible to help us serve you better in solving the issue.
Hope this helps. Please feel free to reply back to this email or call us at 040-48584444, should you need any further assistance.

How To Assign Fee Plan to Students?

Thank you for your recent inquiry about assigning Fee Plan to students. Please follow the steps below:

Step 1: Login to MCB with Accountant login credentials. If you’re already logged in with Sys Admin, you can change the access to “Accountant”.

Step 2: Click on the “User Profile” icon on the right-hand top corner.

Step 3: Select “Change Access Level”.

Step 4: Change the User Type here by selecting “Accountant”.

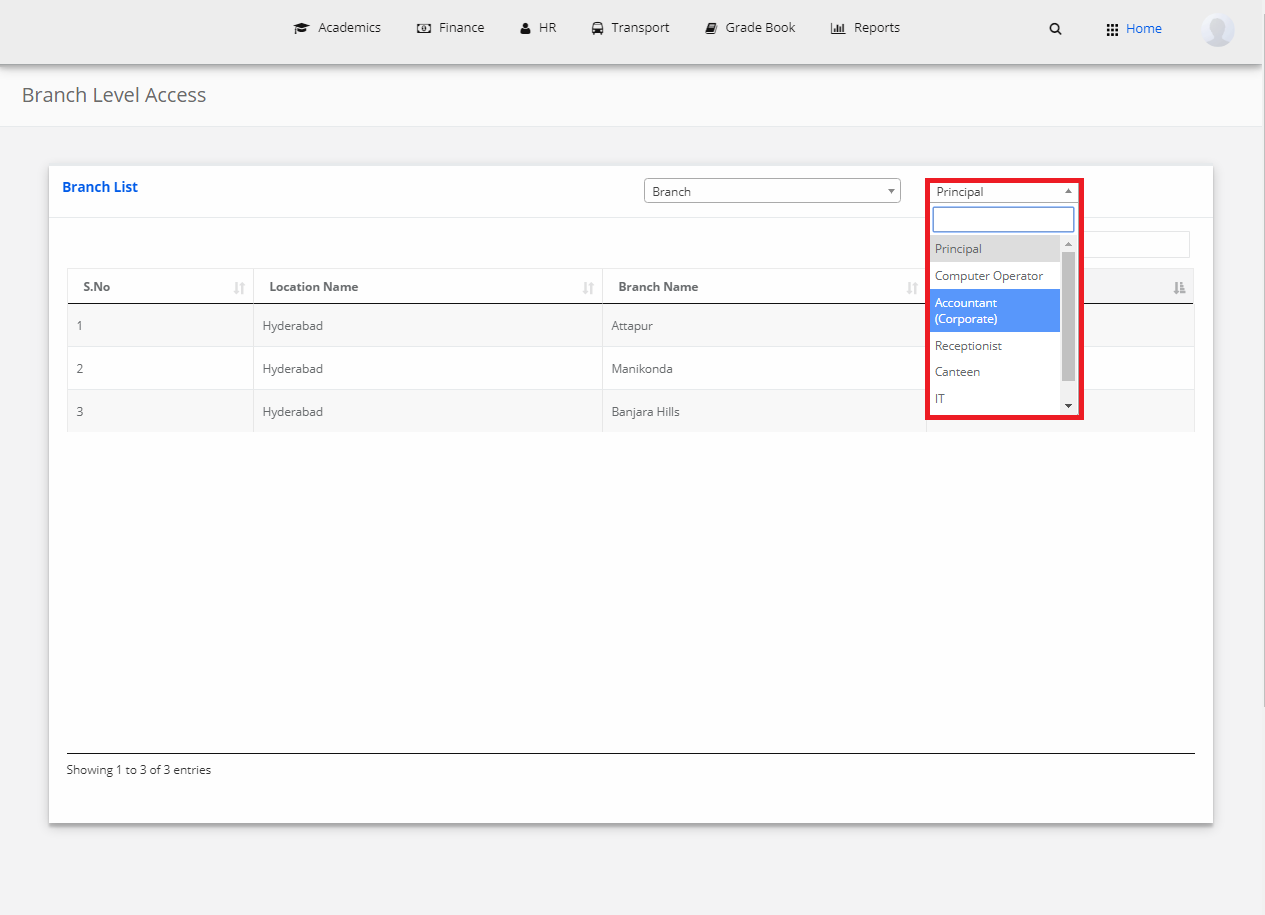
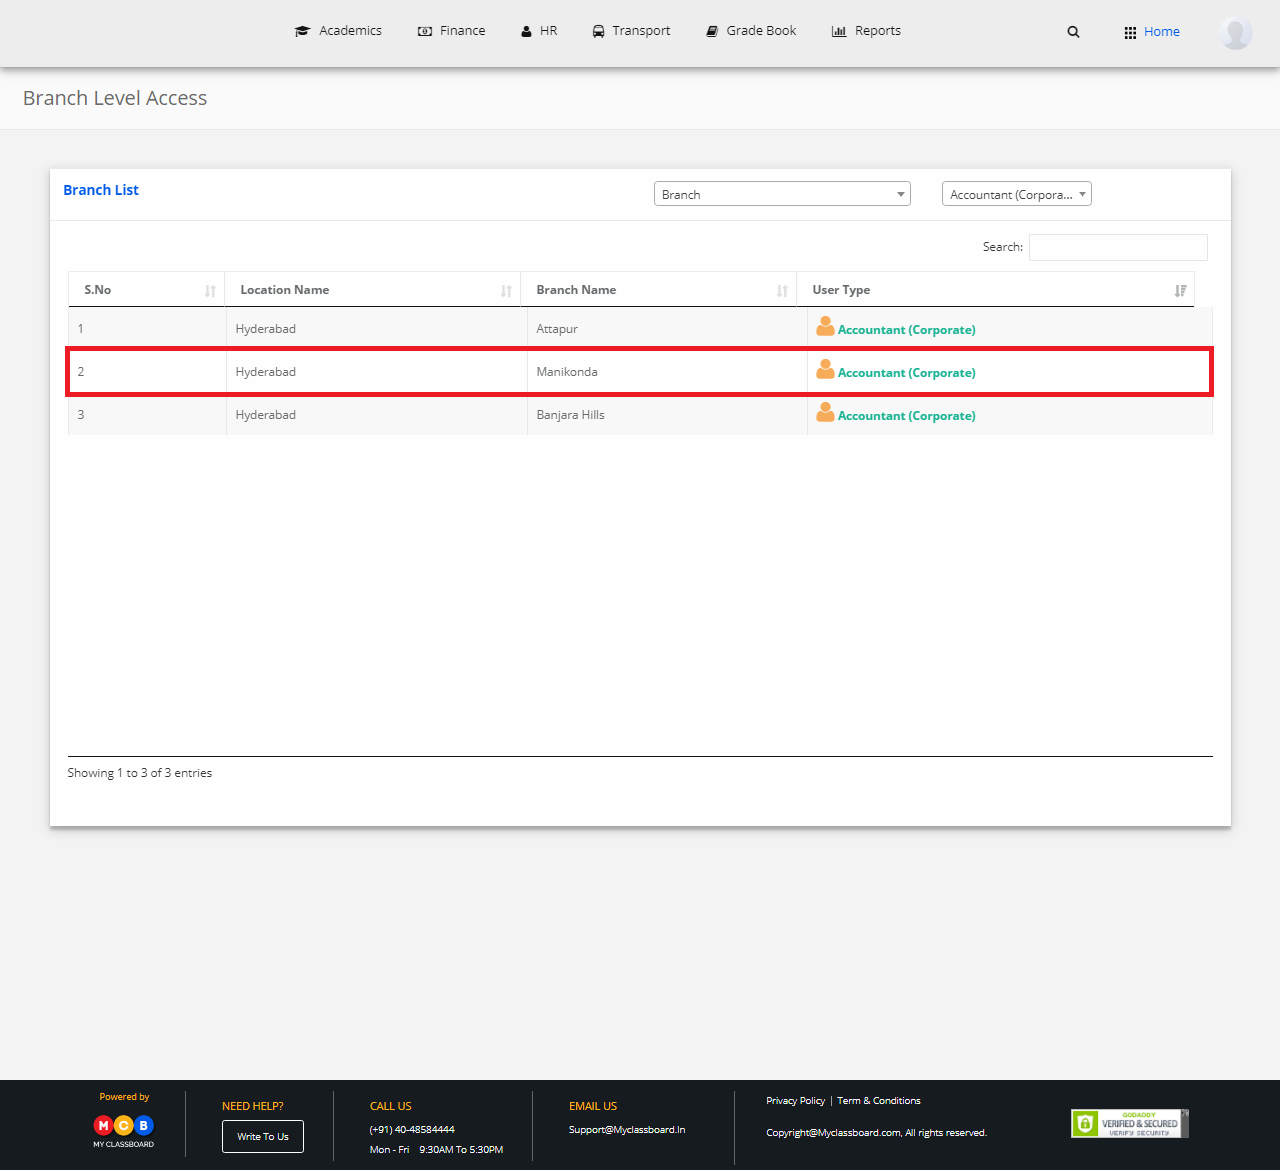
Step 5: After changing, select “Accountant” against any branch.

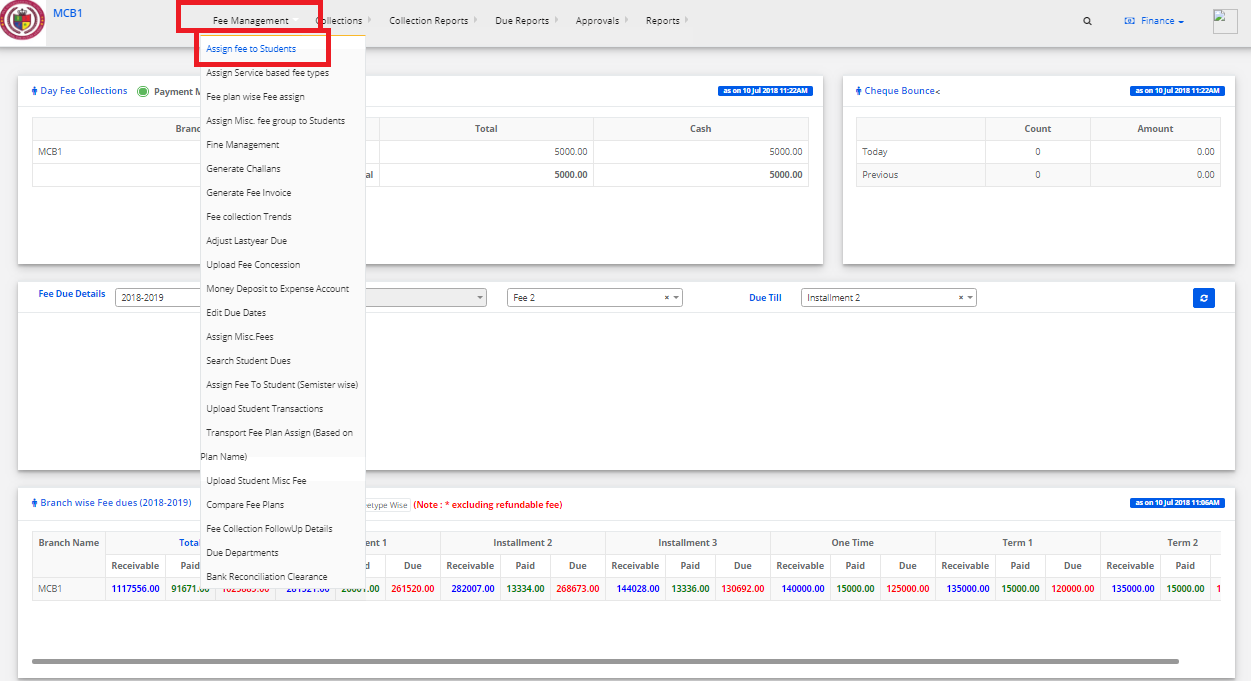
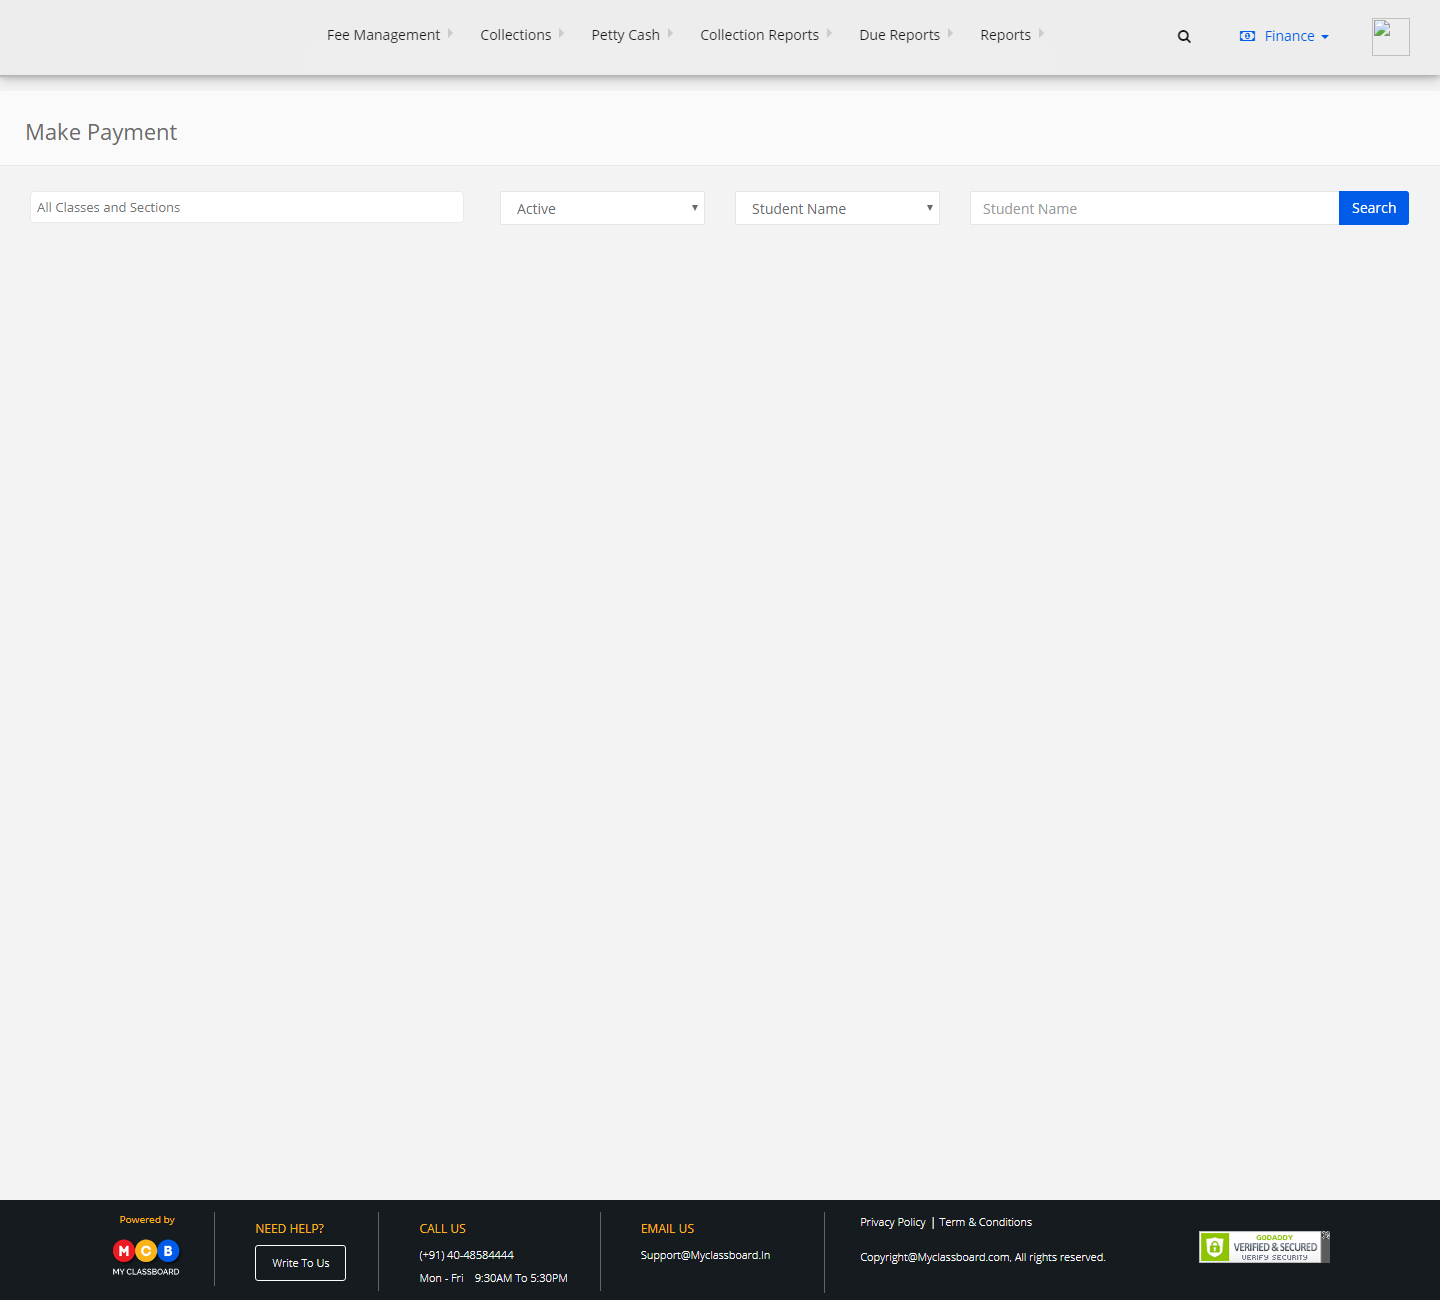
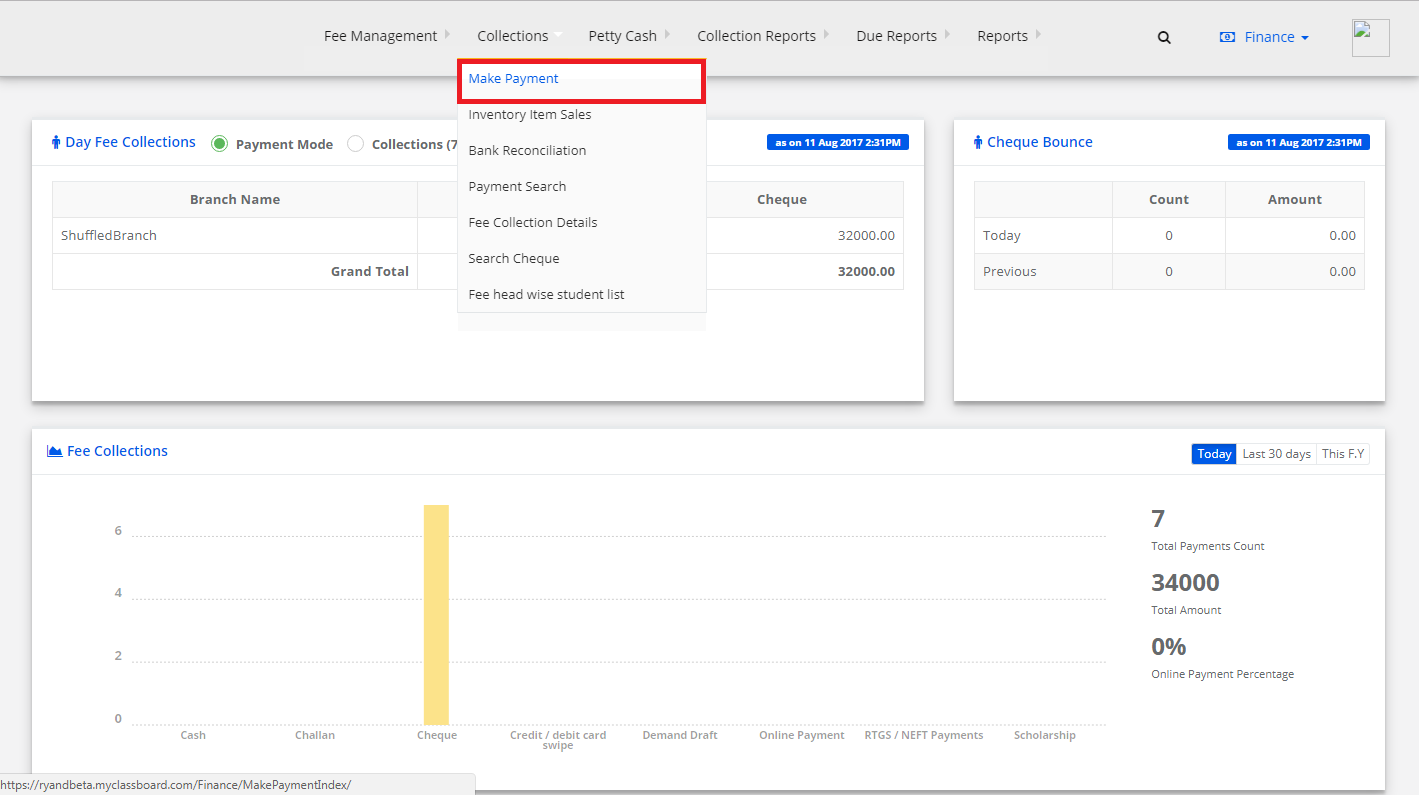
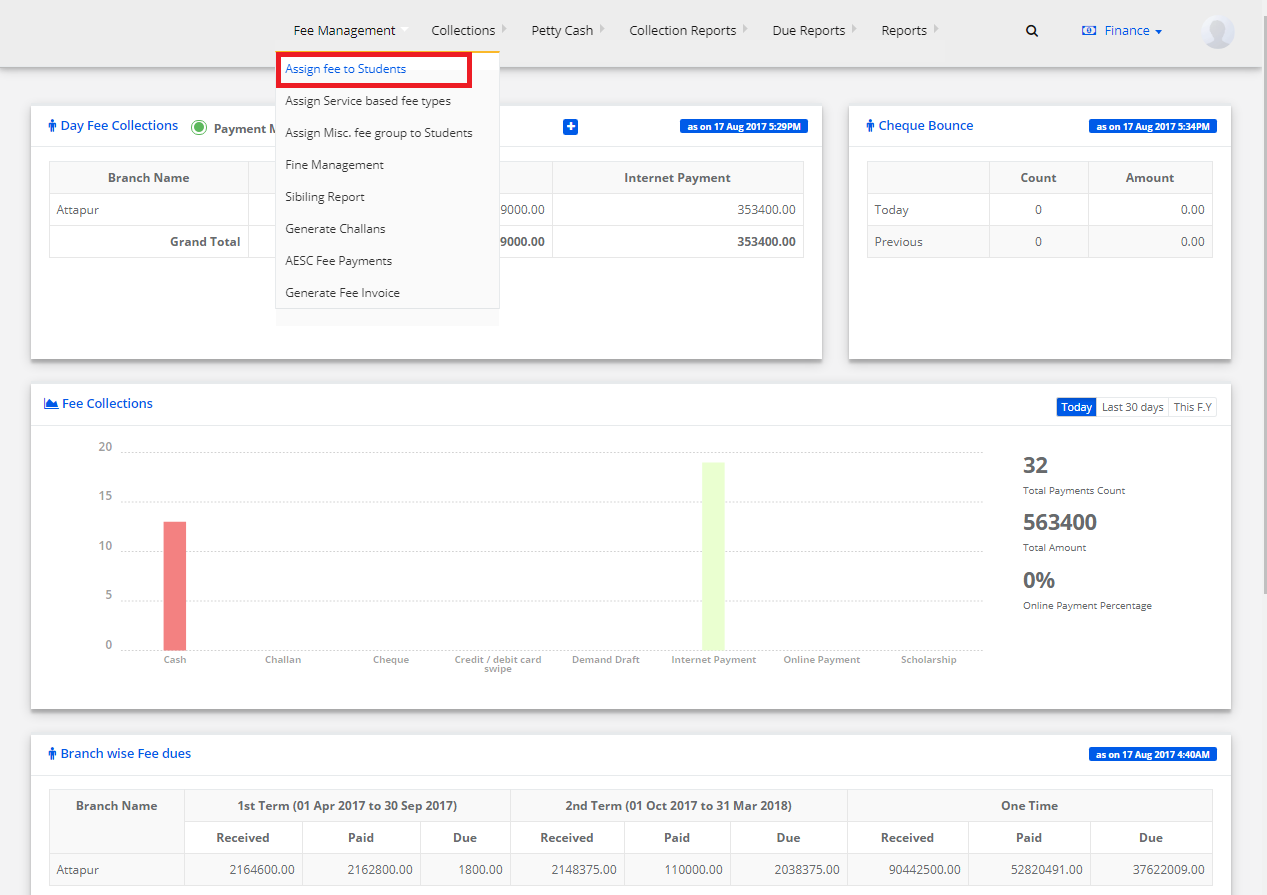
Step 6: In the dashboard, select “Fee Management” on the top bar and choose “Assign Fee to Students”.

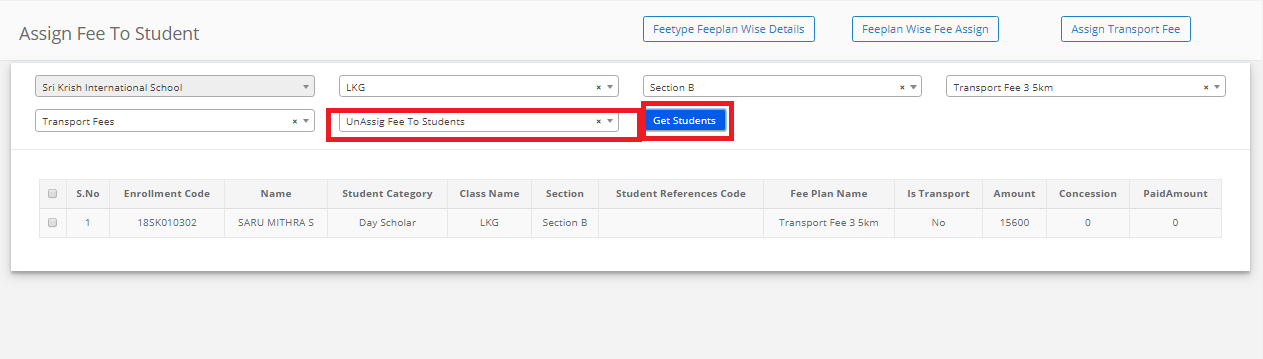
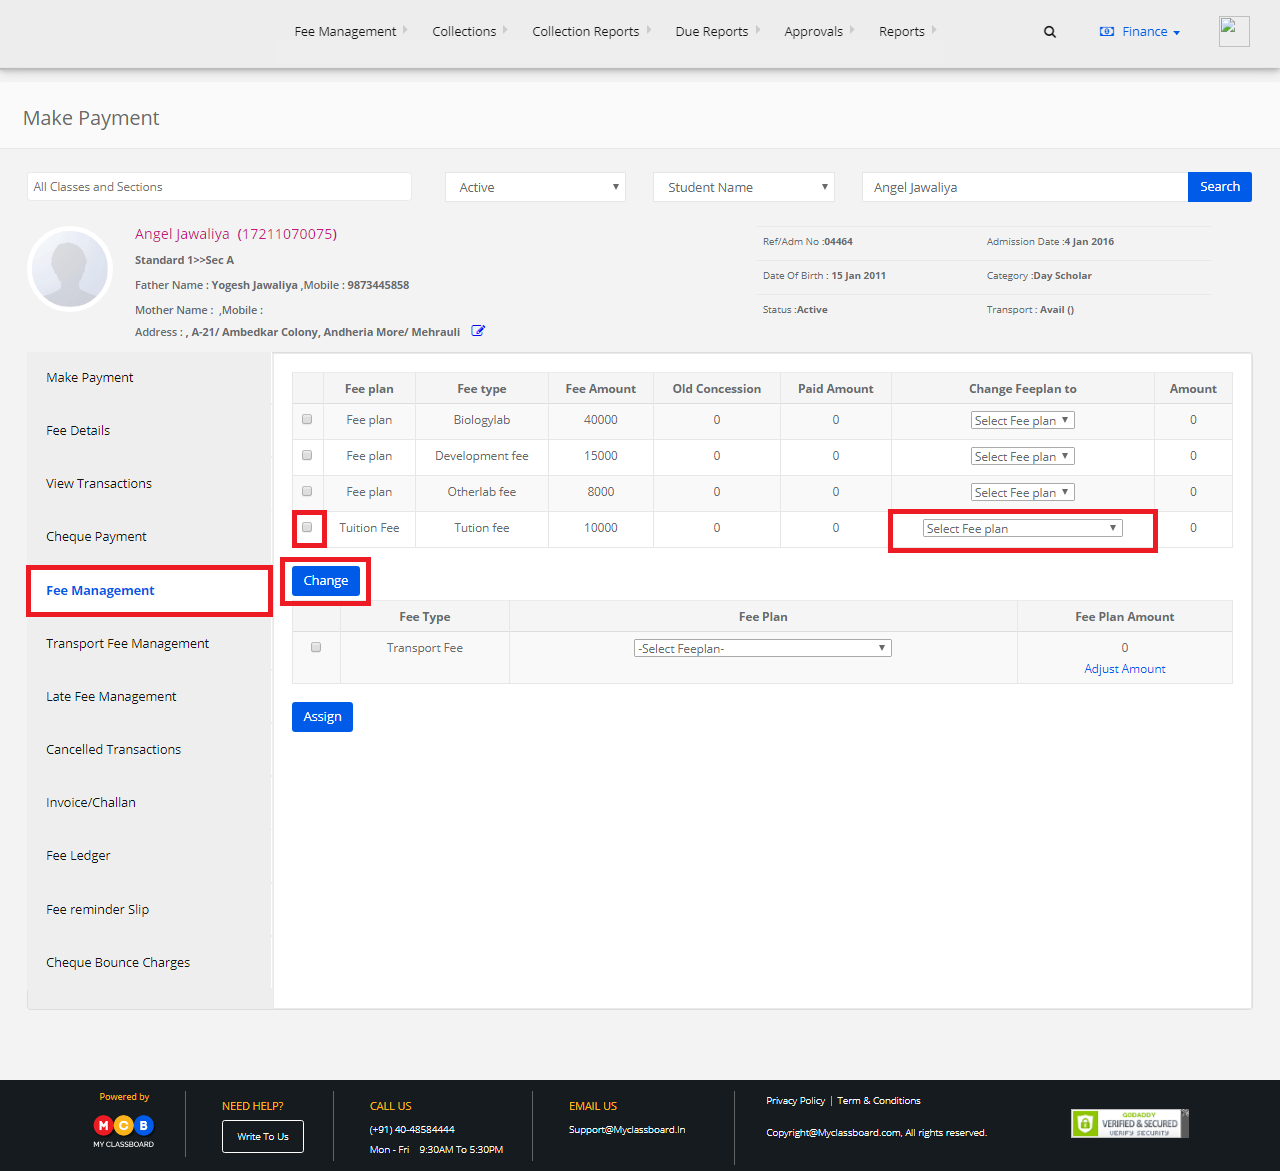
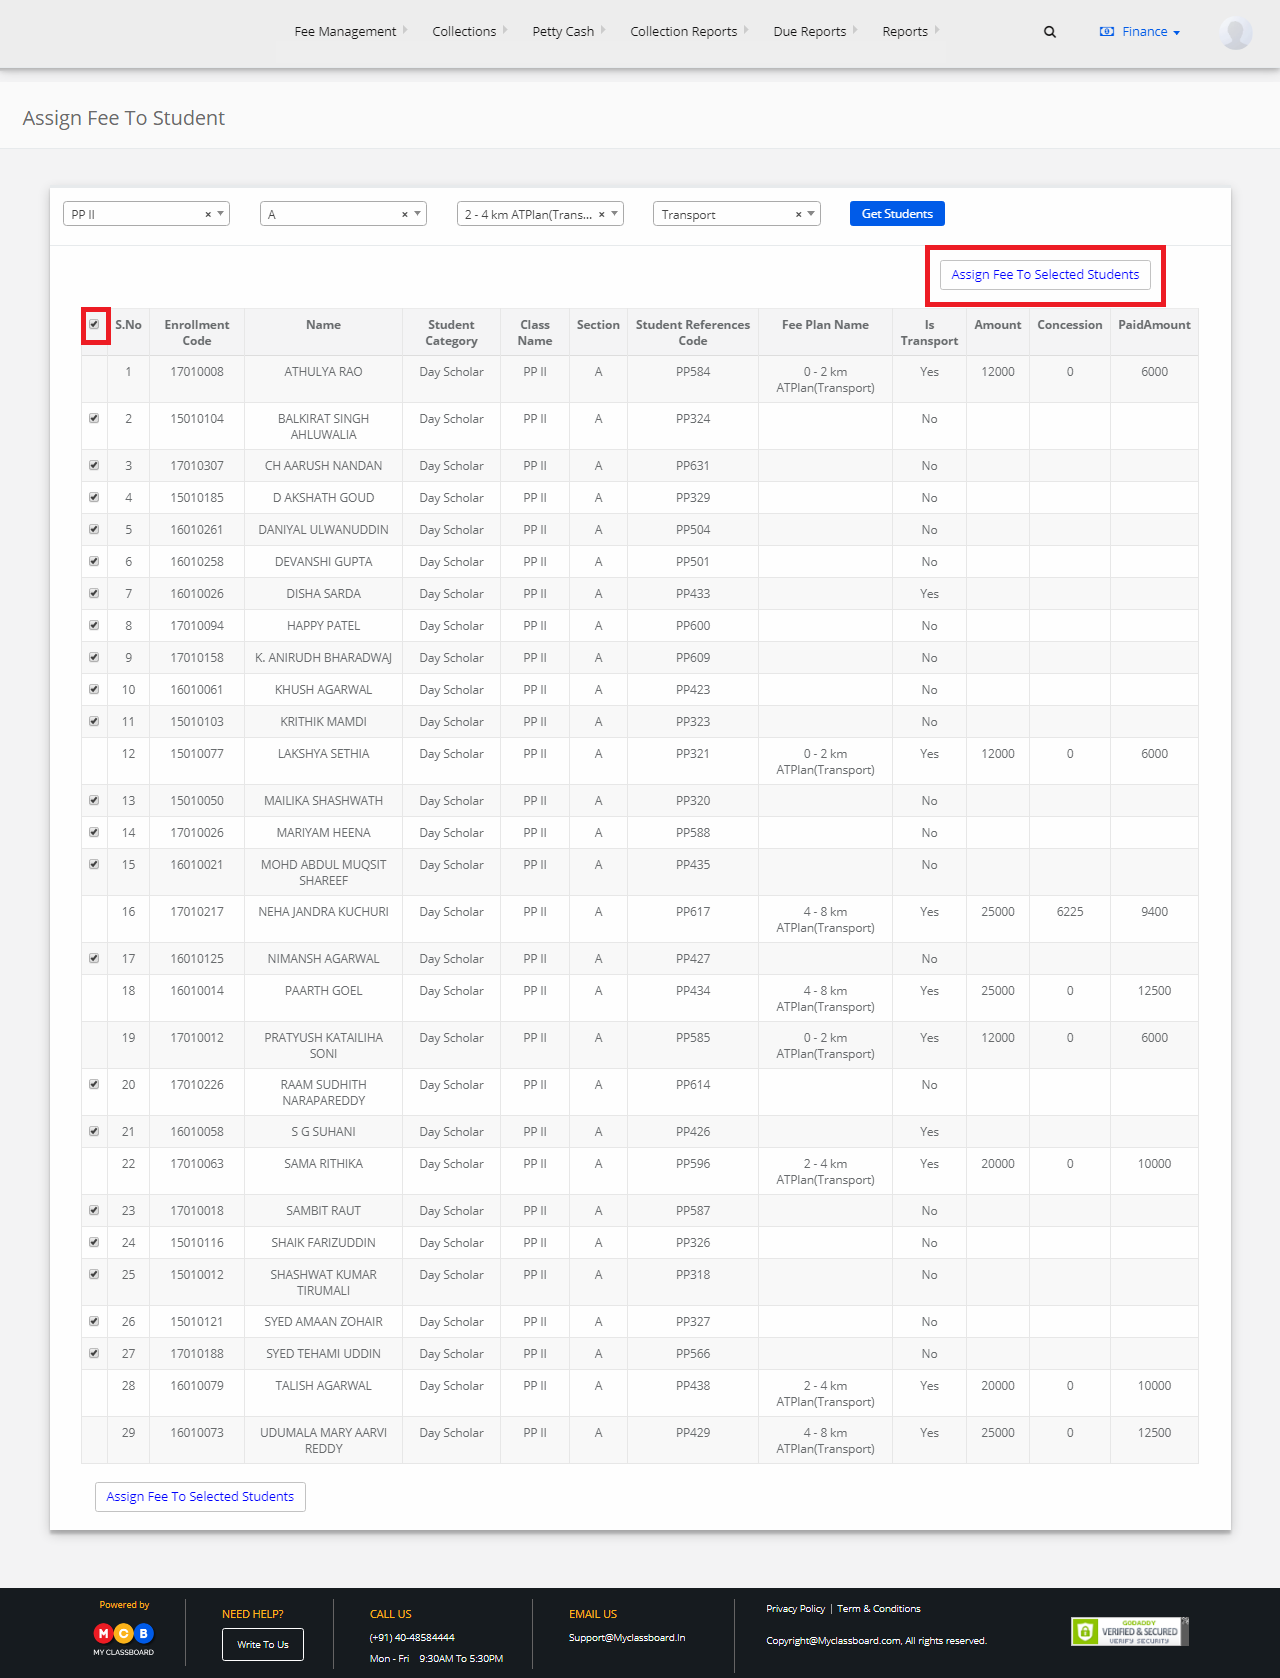
Step 7: Select Class, Section, Plan, Fee Type and click on “Get Students”.

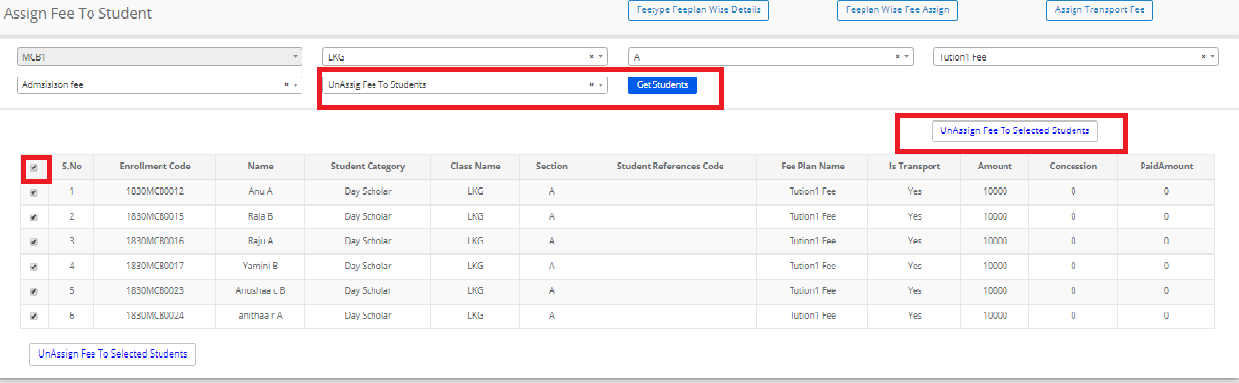
Step 8: In the below-displayed list, select the master check box and click on “Assign Fee To Selected Students.”

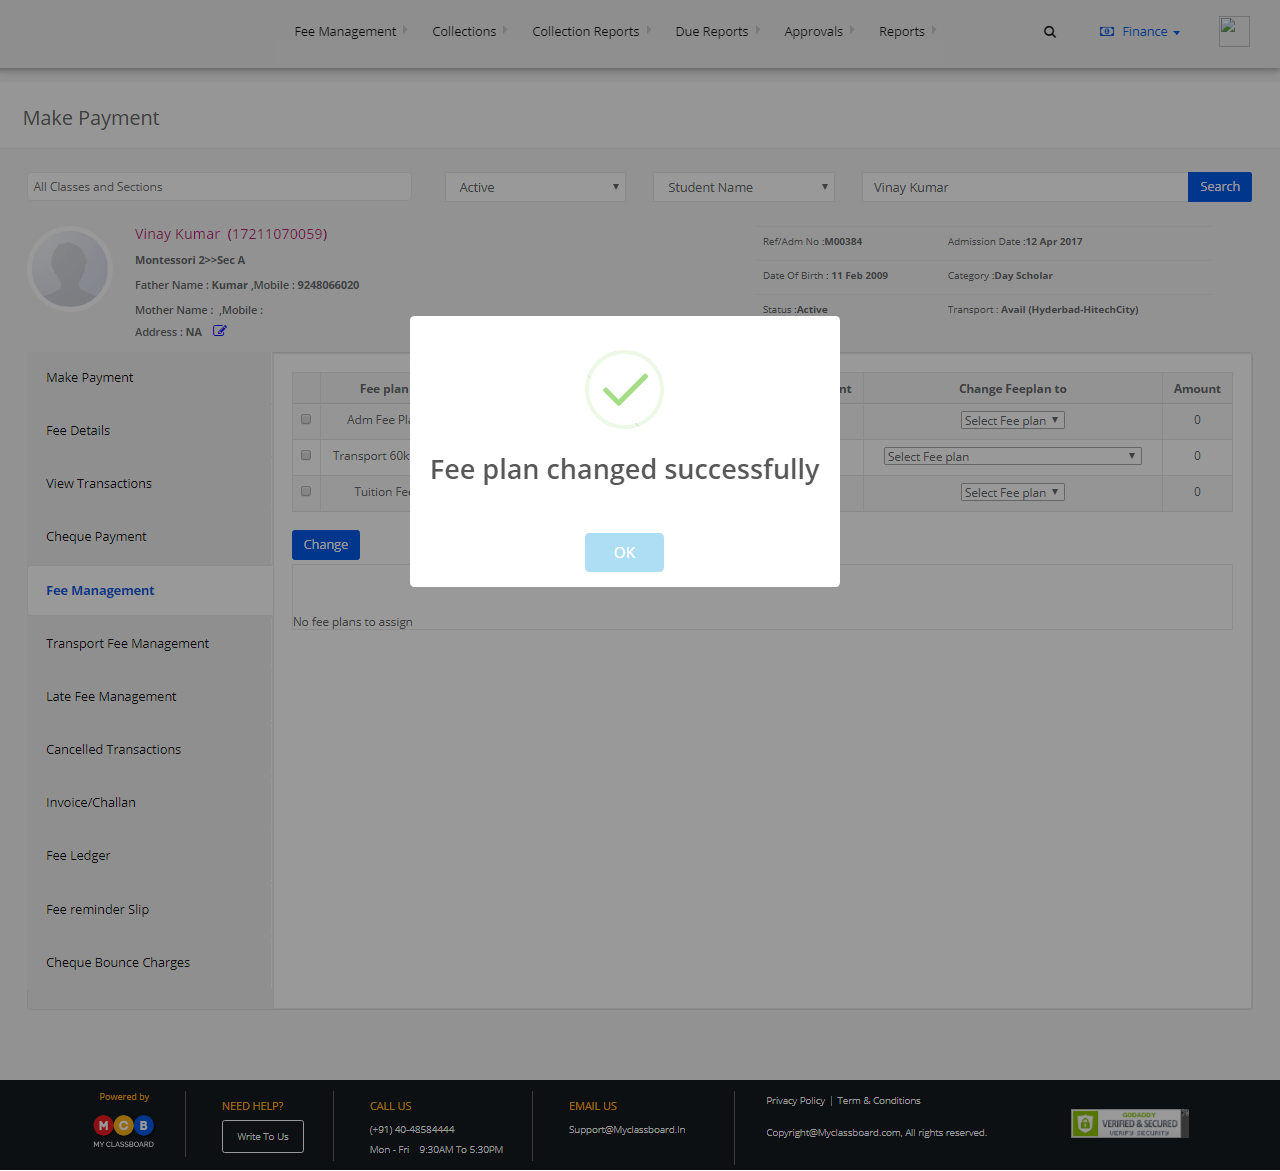
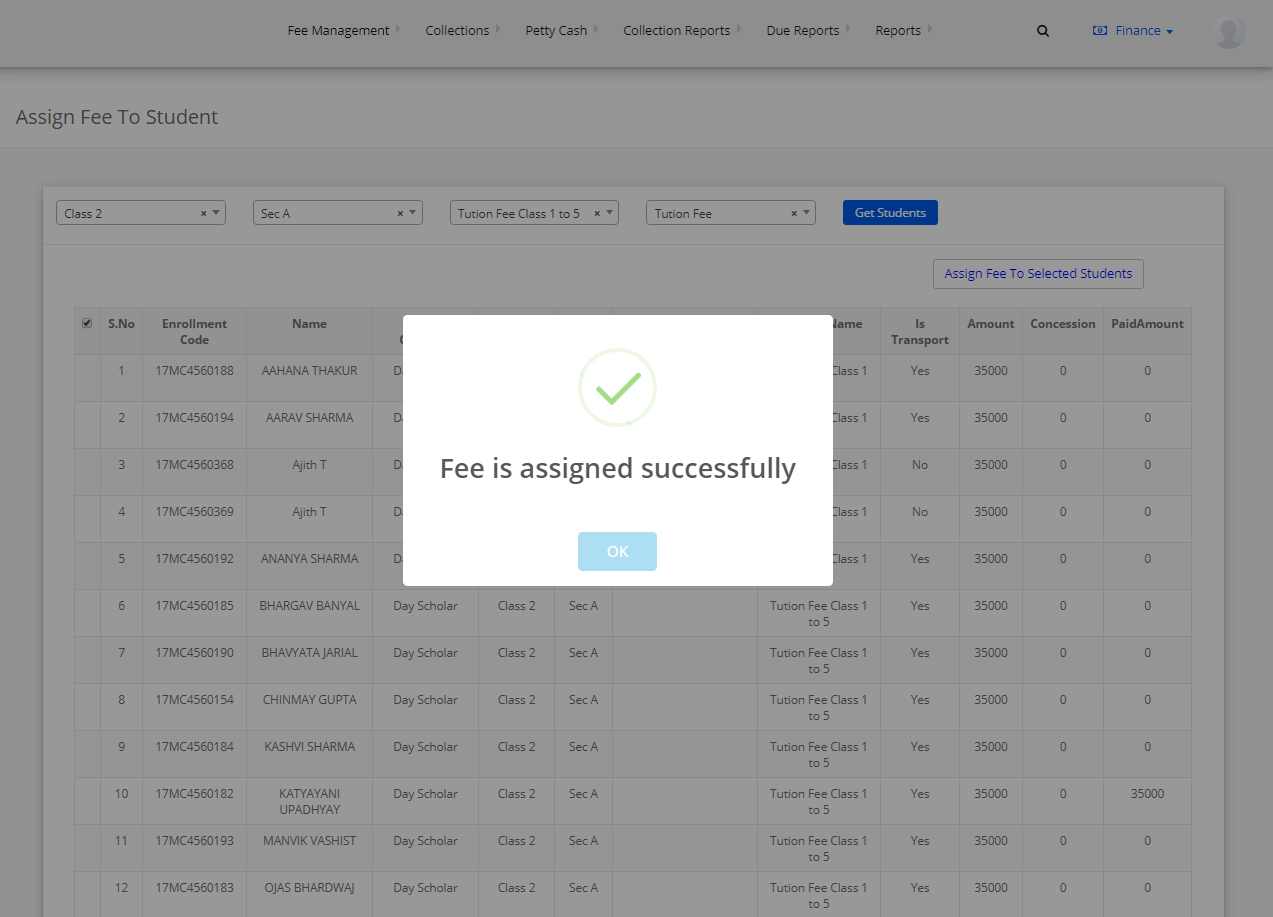
The fee plan is assigned successfully.

Hope this helps. Please feel free to reply back to this email or call us at 040-48584444, should you need any further assistance.

How to remove late fee?

Step 1: Login to MCB with Accountant login credentials.

Step 2: Select “Fee Management” on the top bar and choose “Fine Management”.

Step 3: Select Branch, Fee Type and click on “Show Report”.

Step 4: Select any student and click on the “Edit” option beside.

Step 5: To disable the amount, select “Disable”, enter the reason and click on “Save”. The amount is disabled successfully.

Step 6: To give a fixed amount to the fine, click on “Fixed Amount”, enter the fixed fine amount, reason and click on “Save”.
A fixed fine amount is given to the student.

Step 7: To postpone the due date, click on “Postpone Due Date”, select a due date, enter the reason and click on “Save”.

How to change Fee Plan?

Step 1: Login to MCB with Accountant login credentials.

Step 2: Select “Collections” on the top bar and choose “Make Payment”.

Step 3: Search for the student by entering the required information in the search criteria.

Step 4: Select “Fee Management”. Mark the checkbox against any fee plan, select fee plan under “Change Fee Plan to” and then click on “Change”.

Step 5: The Fee Plan is changed successfully and the changed fee plan is reflected on the screen.

How to Edit Cheque details?

Step 1: Login to MCB with Accountant login credentials.

Step 2: Select “Collections” on the top bar and choose “Make Payment”.

Step 3: Search for the student by entering the required information in the search criteria.

Step 4: Select “Cheque Payment” on the left pane. Choose any payment and click on the “Cheque Edit” option.

Step 5: To edit cheque details, click on “Edit Cheque Details” and select “Edit”.

Step 6: Make the necessary changes and click on “Update” button.

Step 7: To edit cheque amount, click on “Edit Cheque Amount”, enter the amount to be changed, enter “Remarks” and click on “Update”.