Step 1: Login to MCB with Accountant login credentials.
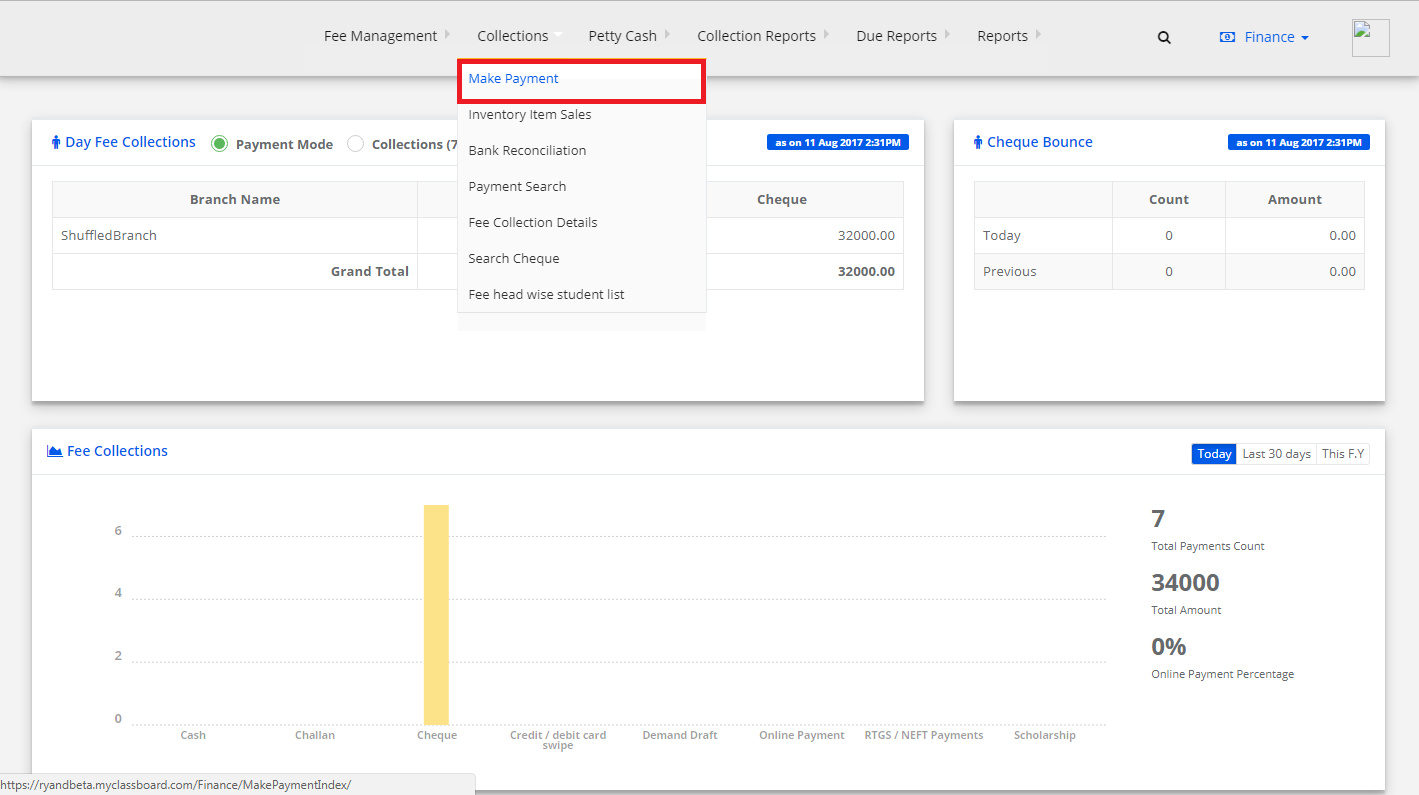
Step 2: Select “Collections” on the top bar and choose “Make Payment”.

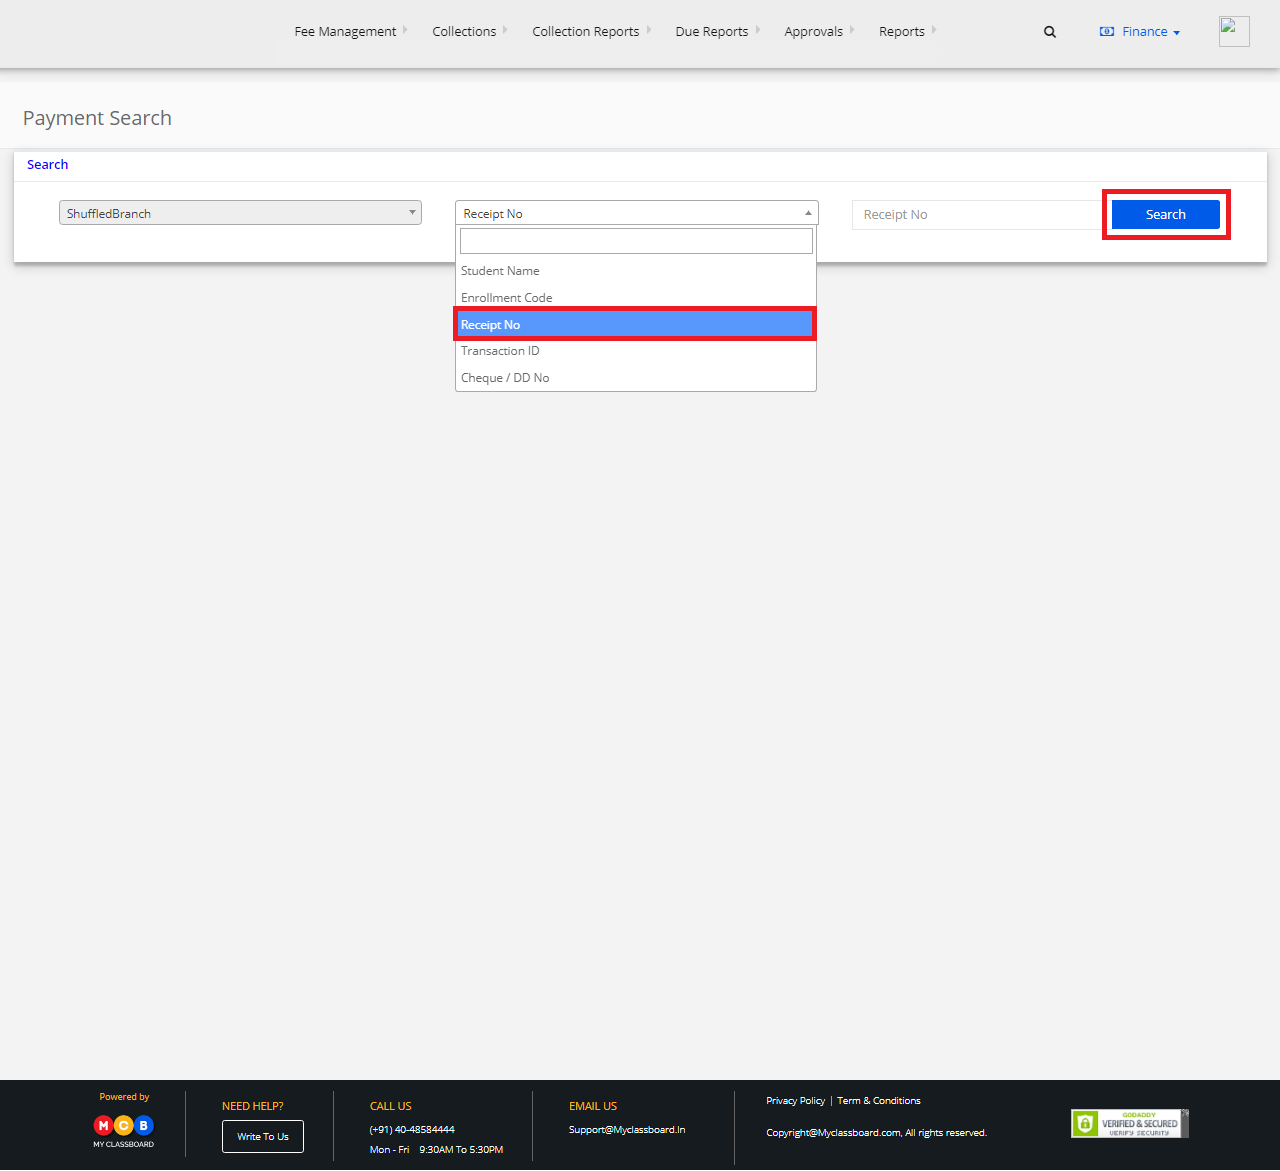
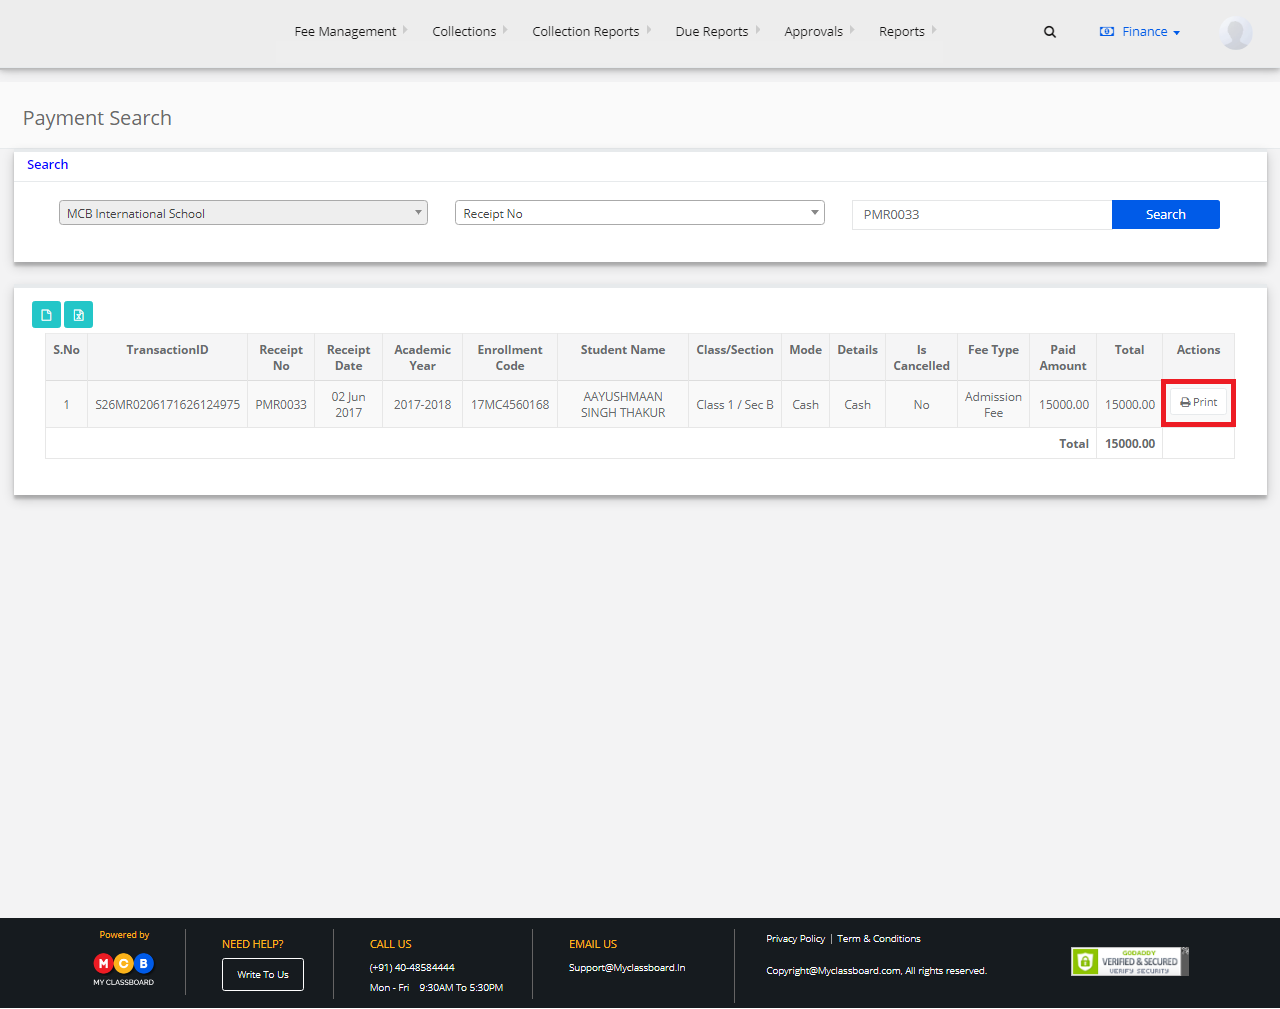
Step 3: Search for the student by entering the required information in the search criteria.
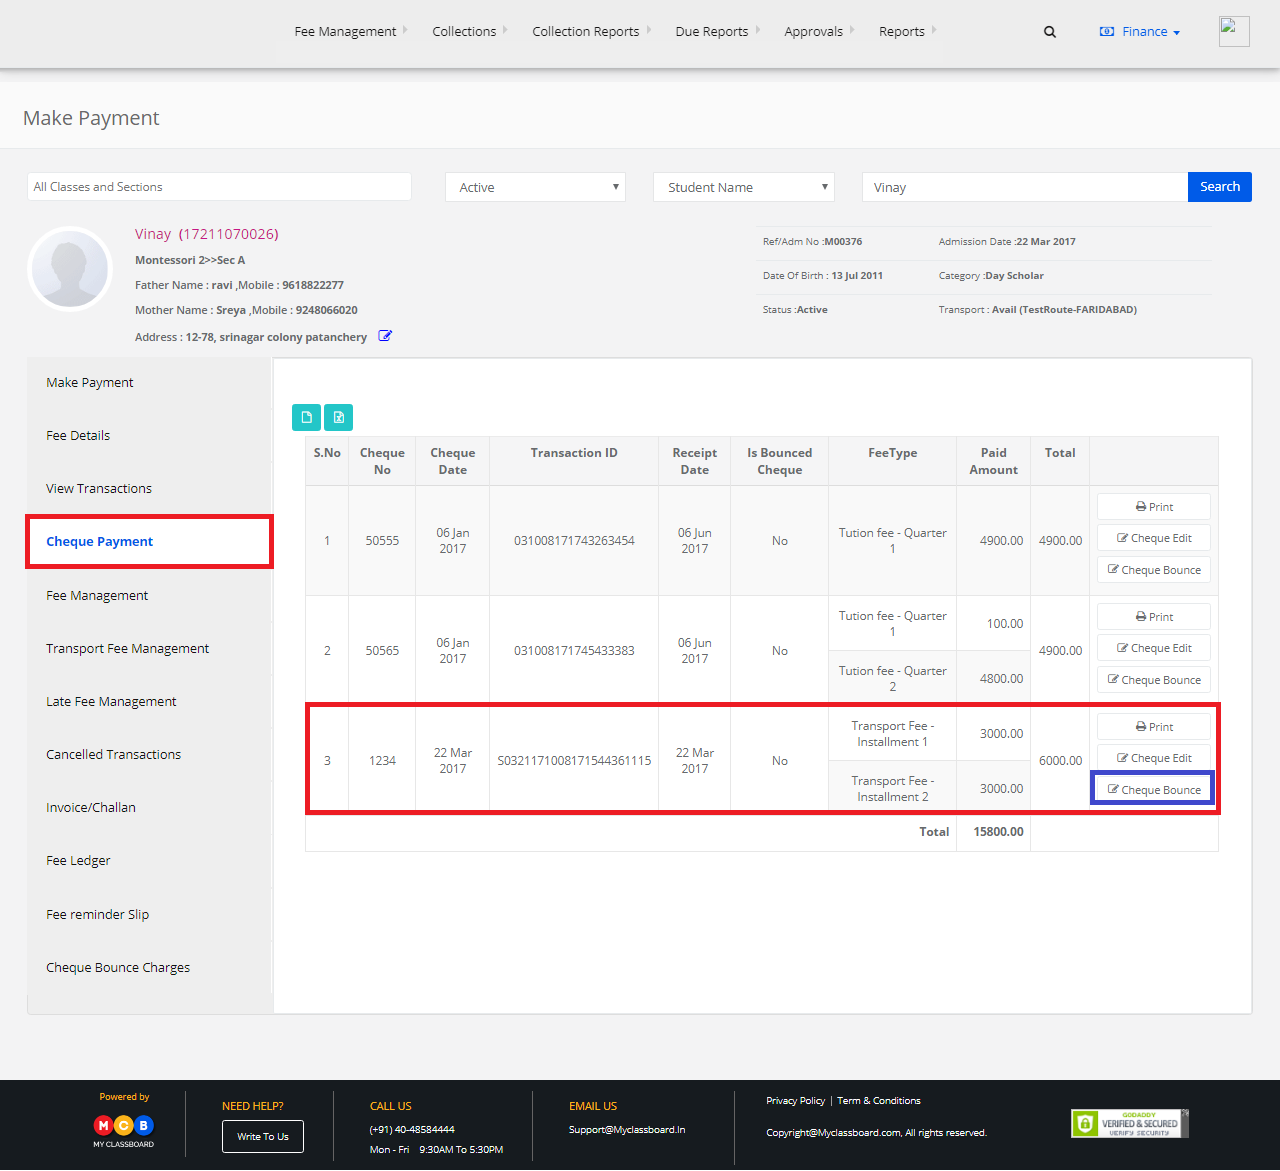
Step 4: Select “Cheque Payment”. Select any payment and click on the “Cheque Bounce” option.
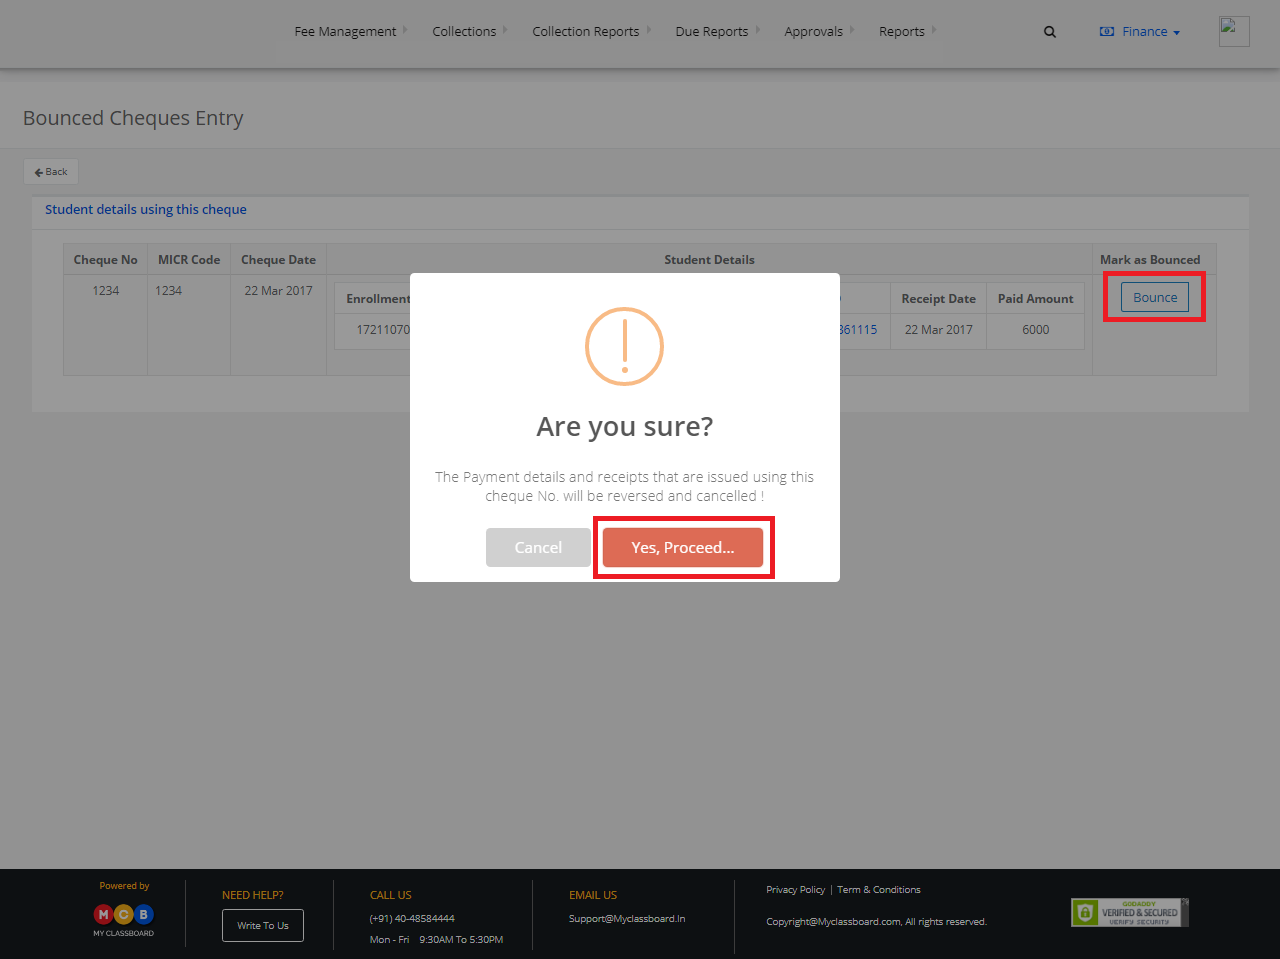
Step 5: Click on “Bounce” and select “Yes, Proceed” option in the dialogue box that appears.
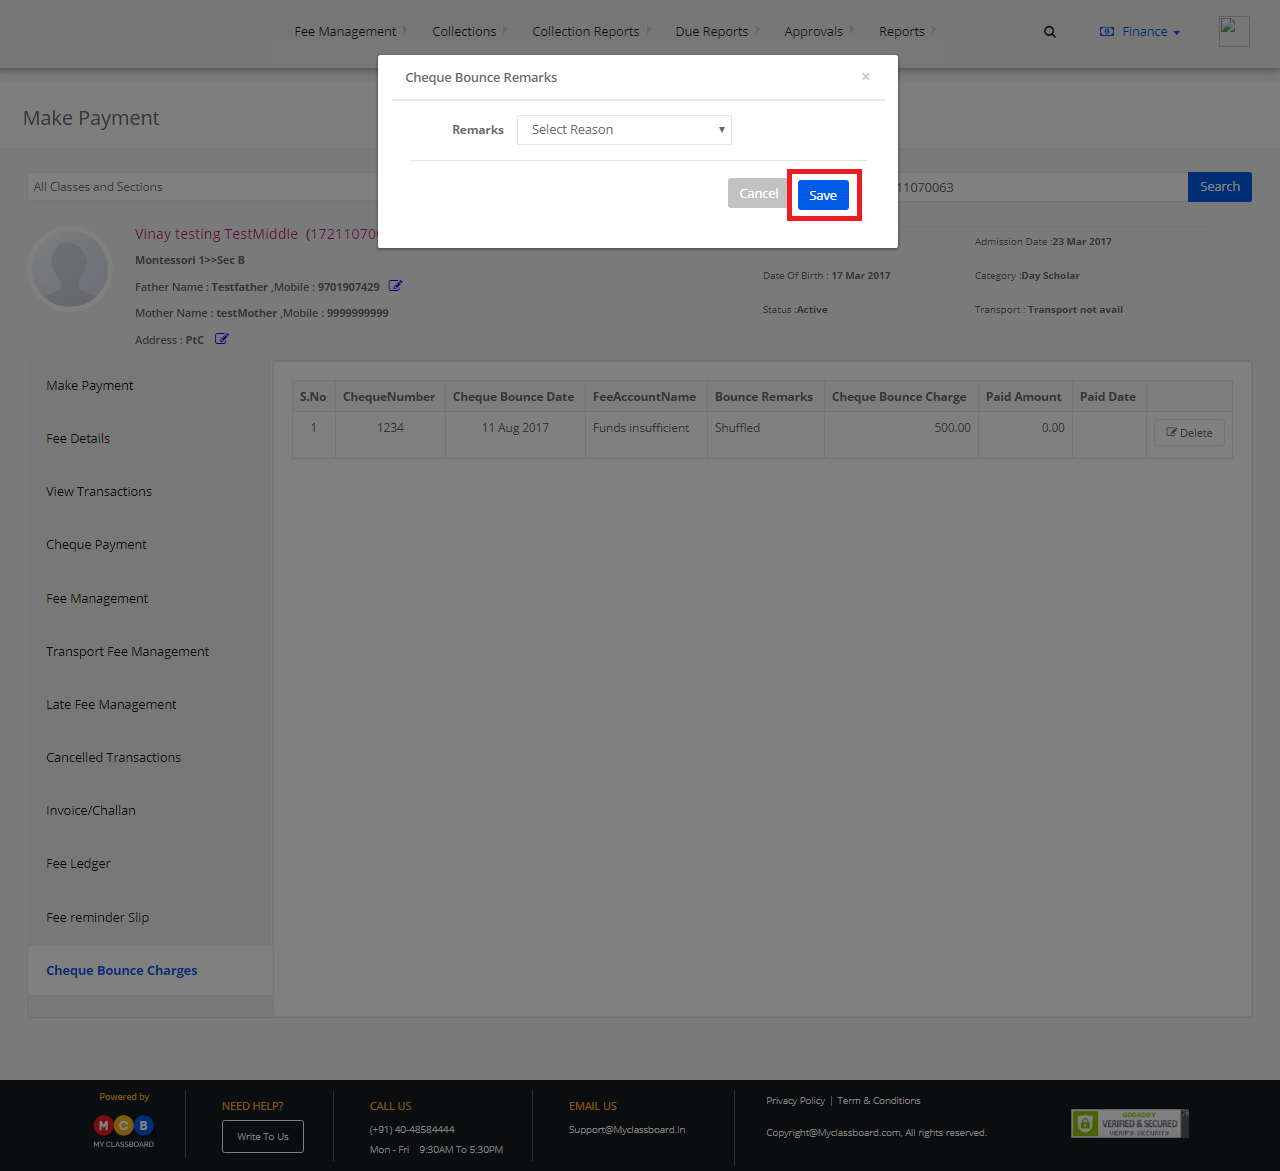
Step 6: Select “Bounce Date”, “Cheque Bounce Reason” and click on “Save Data”.

Step 7: The cheque bounce is done successfully and the same is reflected on the screen.