How to add an entry for cheque bounce?

Step 1: Login to MCB with Accountant login credentials.

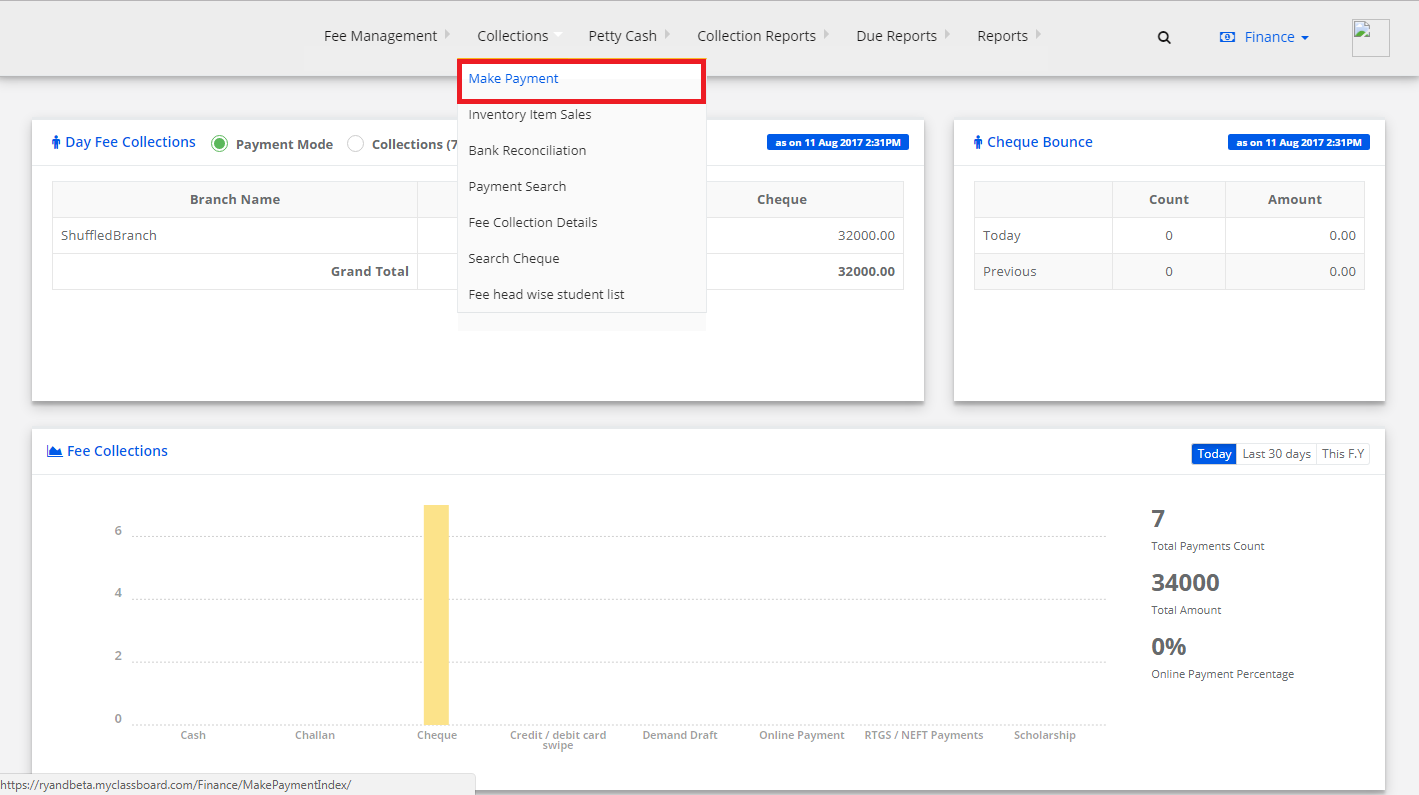
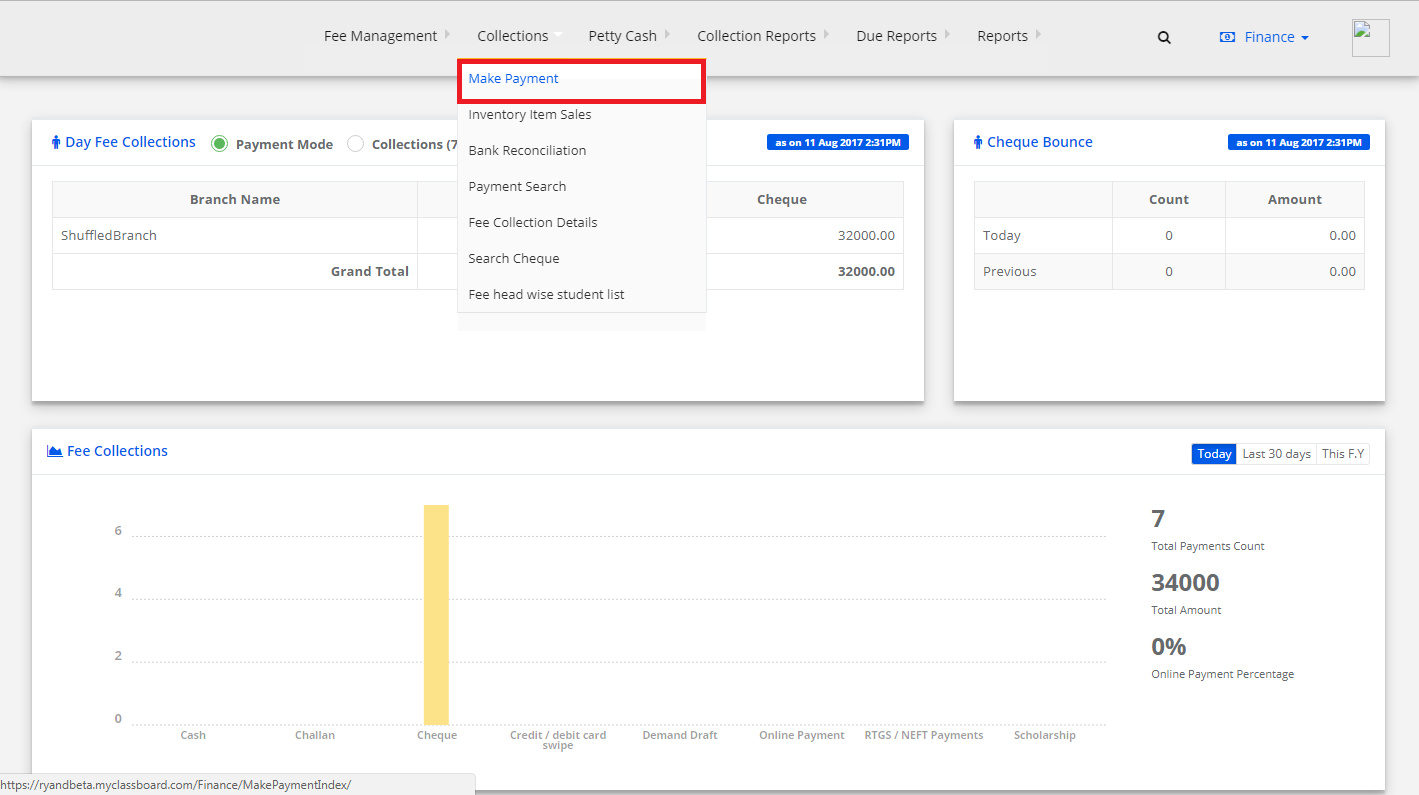
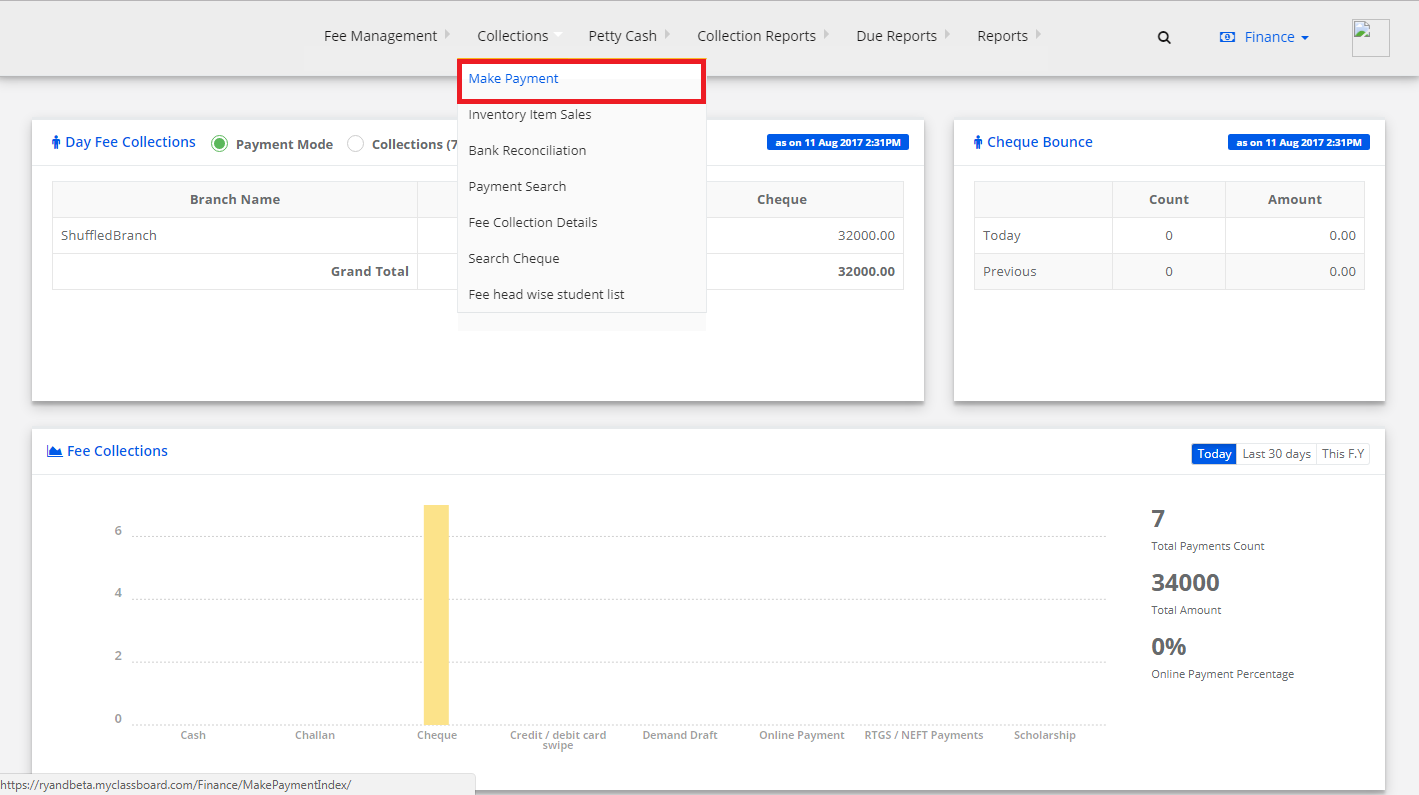
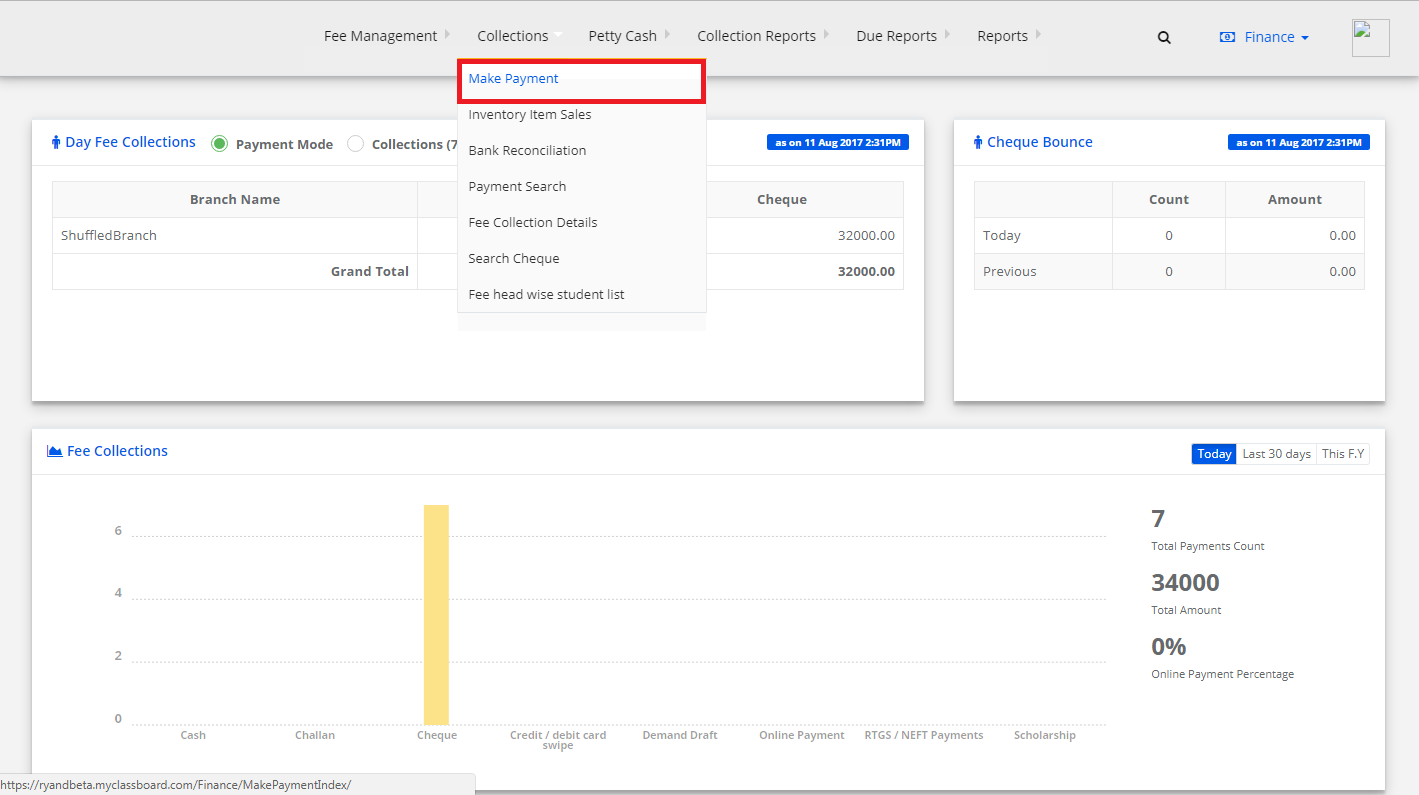
Step 2: Select “Collections” on the top bar and choose “Make Payment”.
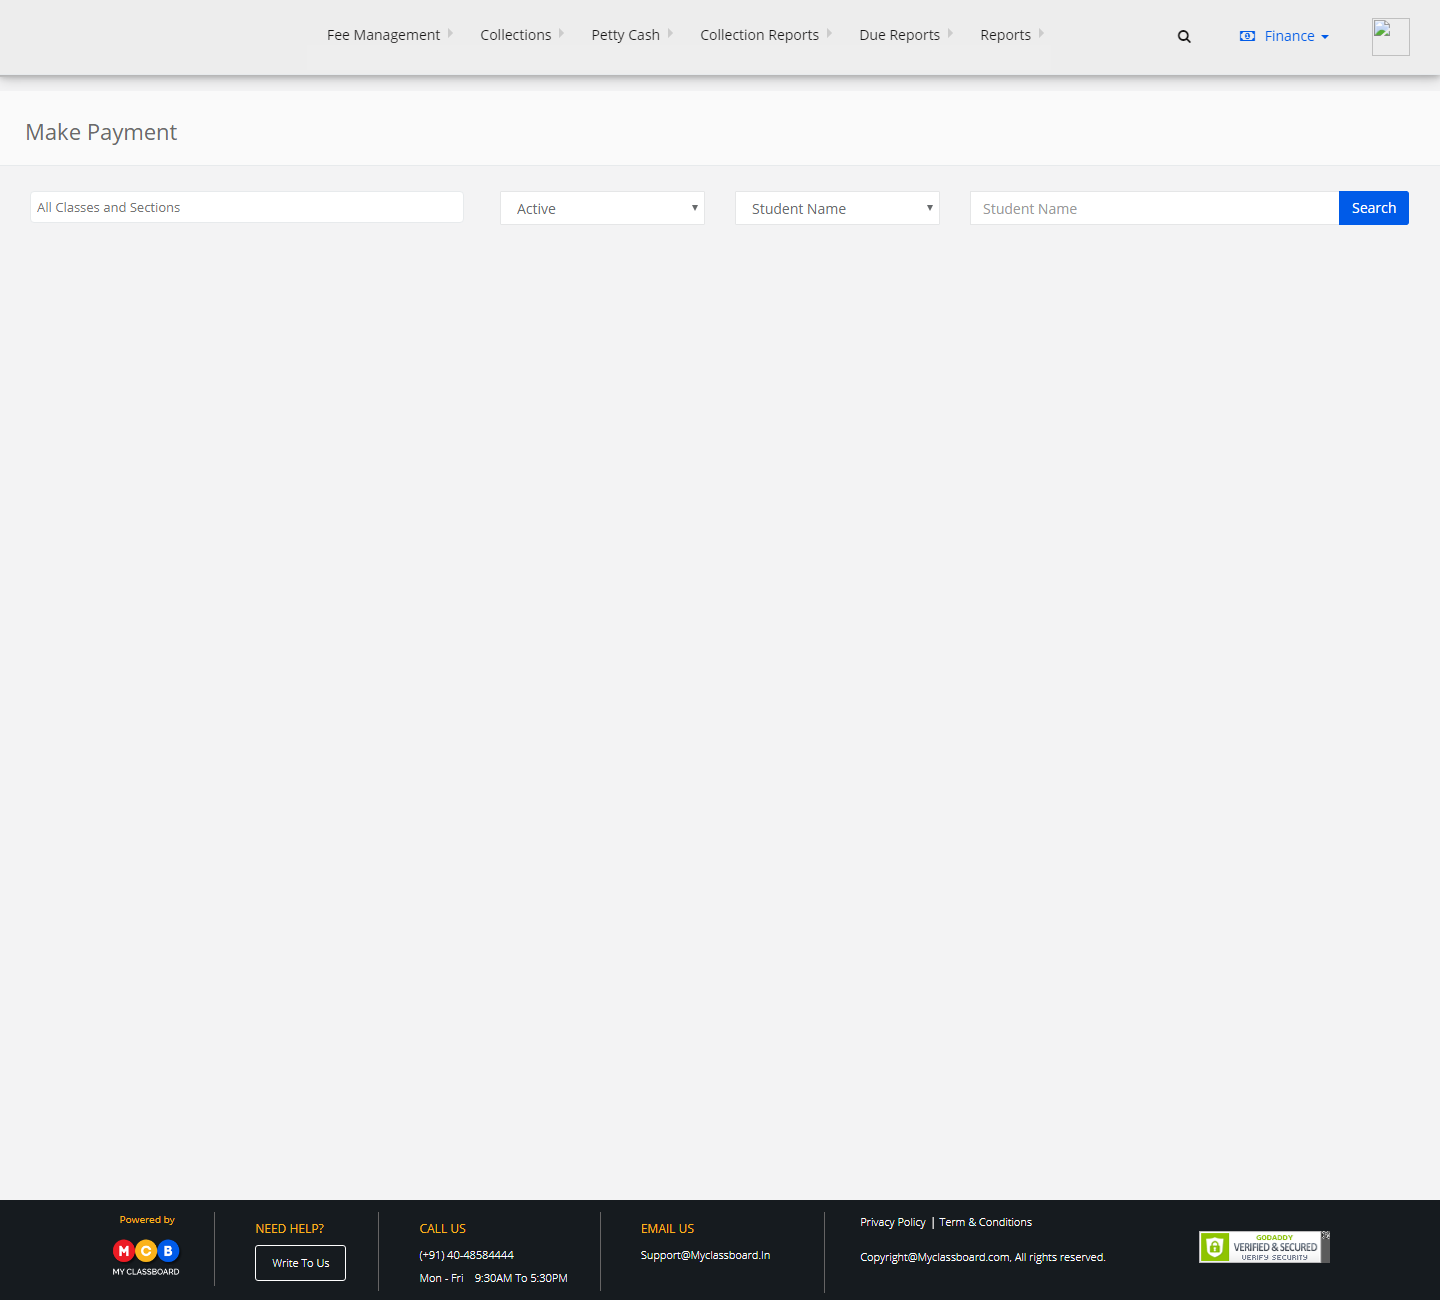
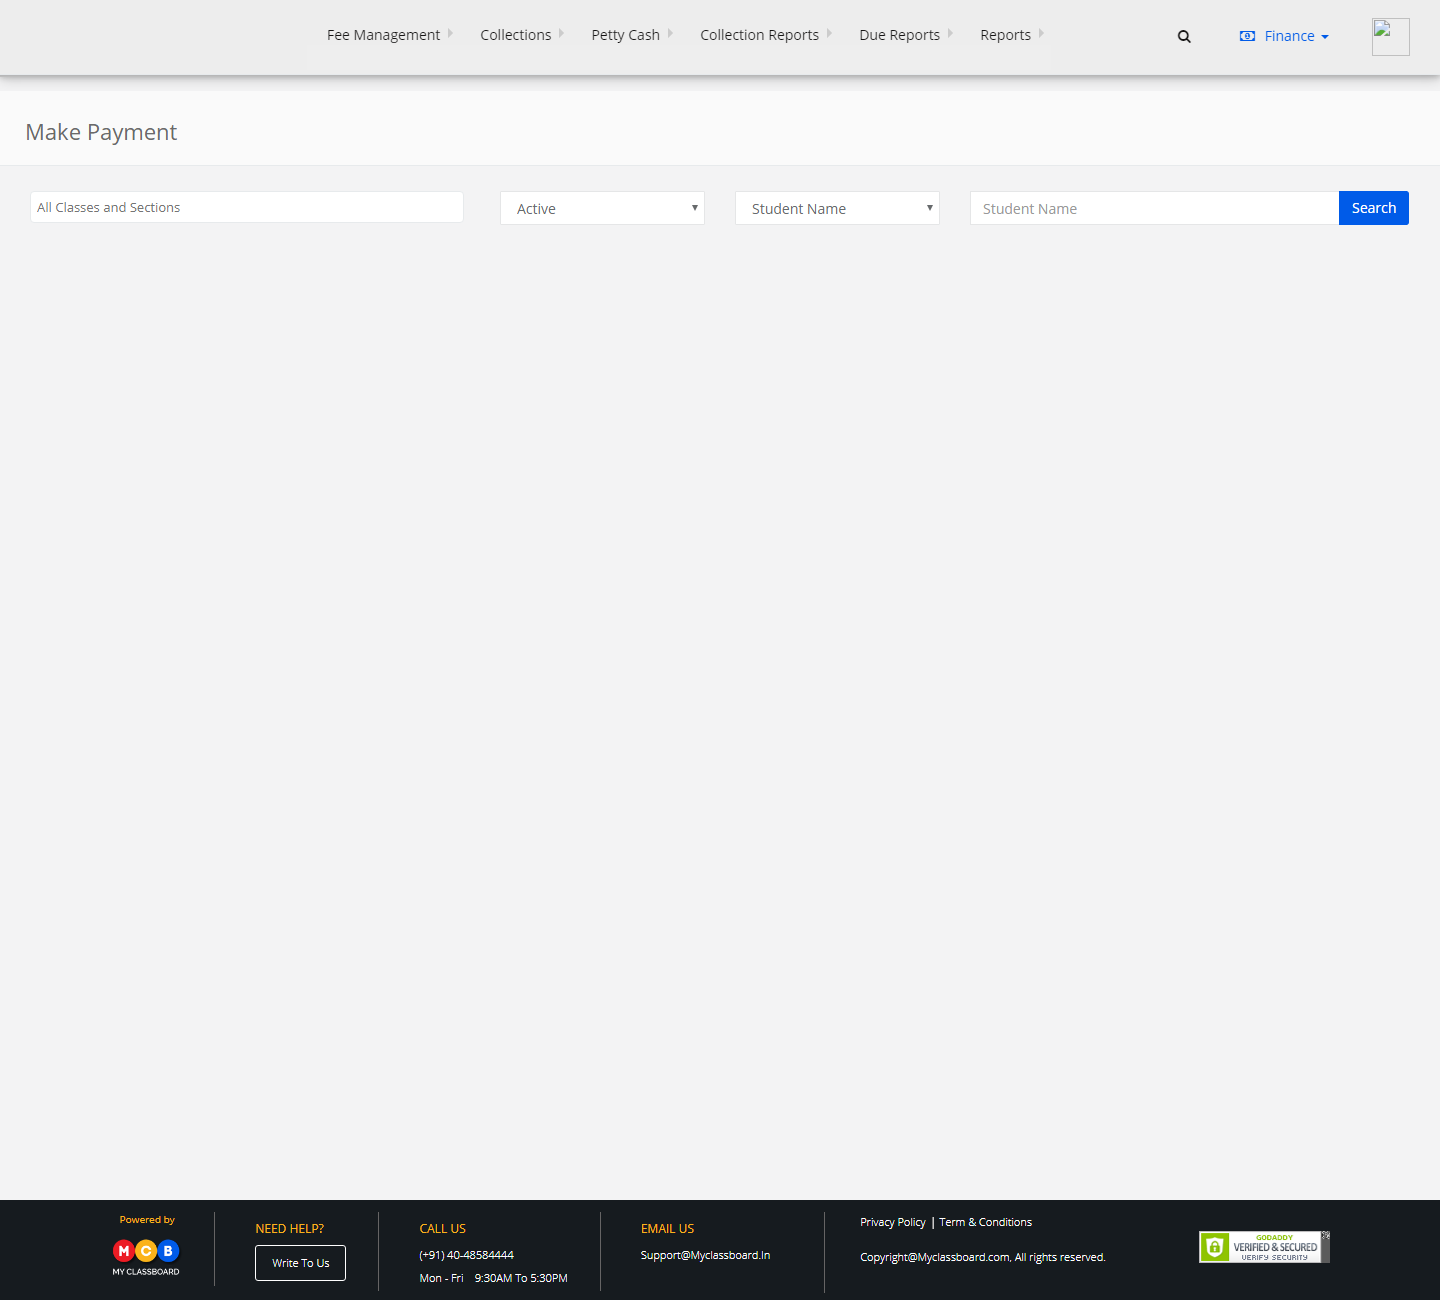
Step 3: Search for the student by entering the required information in the search criteria.
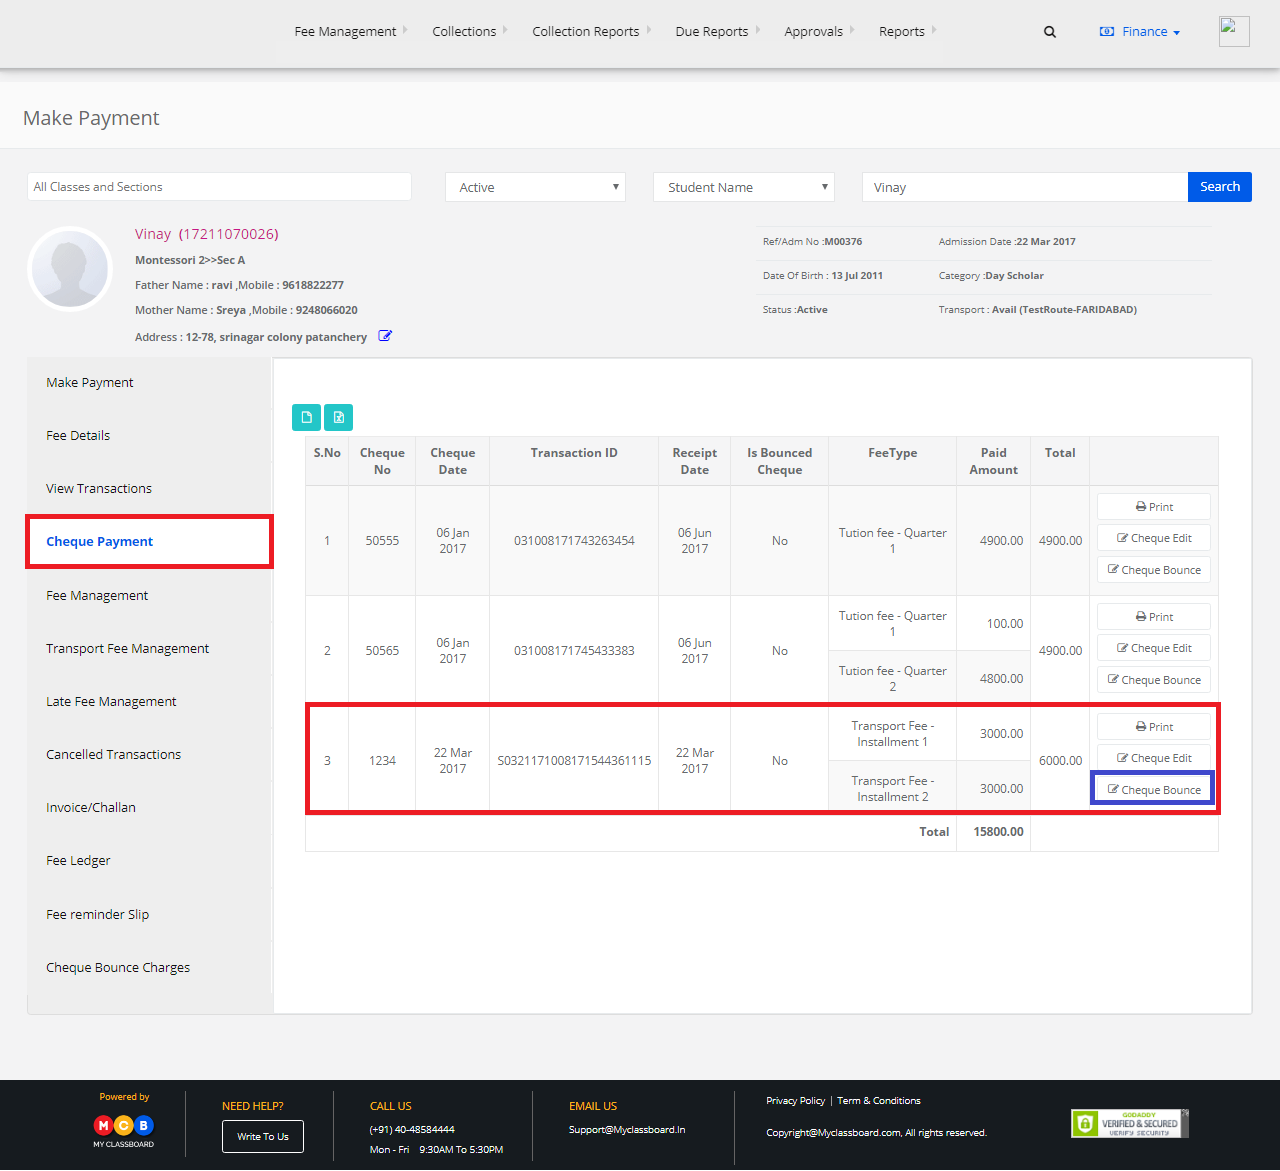
Step 4: Select “Cheque Payment”. Select any payment and click on the “Cheque Bounce” option.
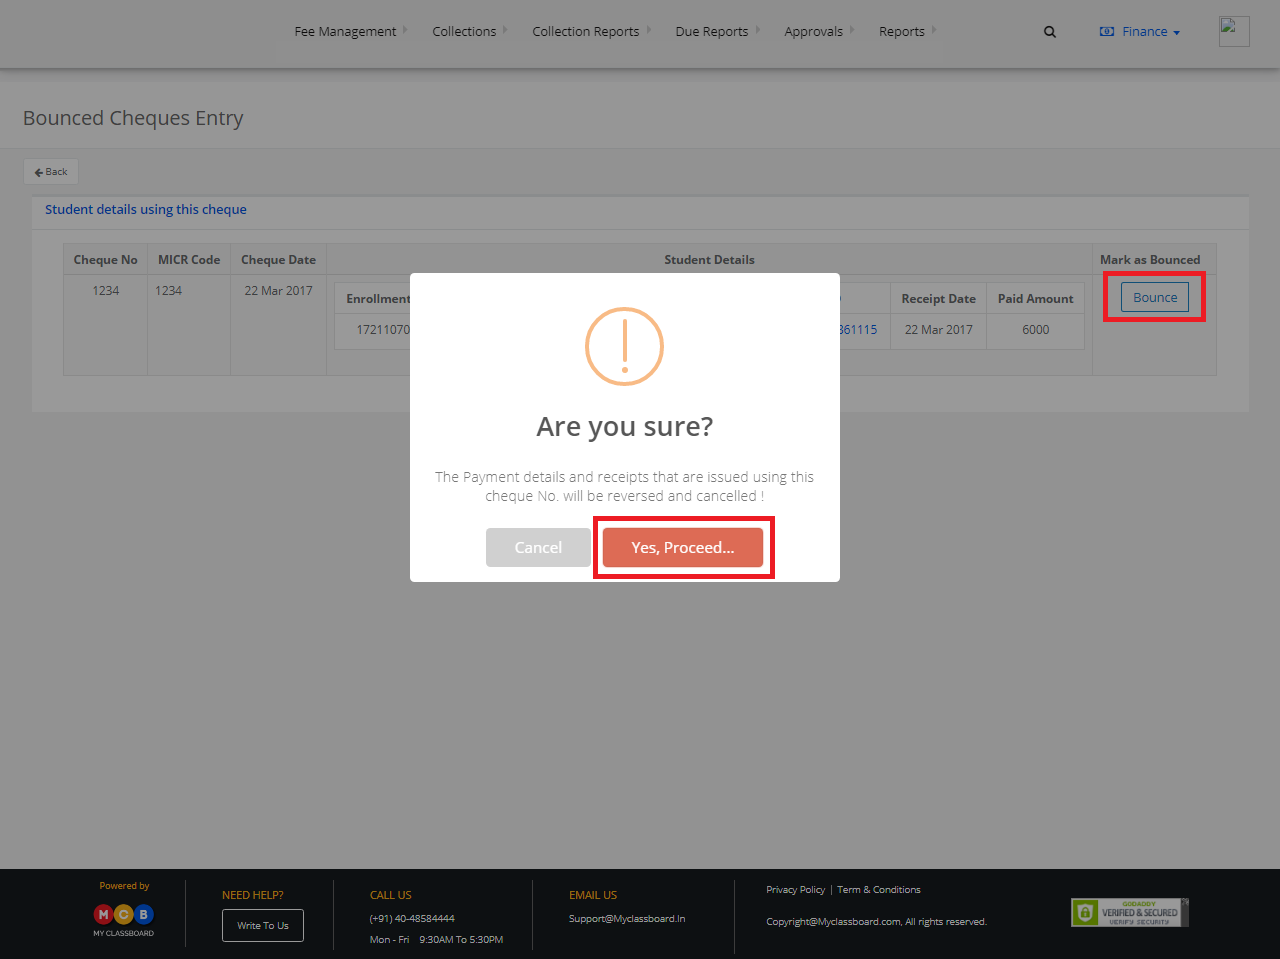
Step 5: Click on “Bounce” and select “Yes, Proceed” option in the dialogue box that appears.
Step 6: Select “Bounce Date”, “Cheque Bounce Reason” and click on “Save Data”.

Step 7: The cheque bounce is done successfully and the same is reflected on the screen.

How to generate a receipt for Cancelled Transactions?

Step 1: Login to MCB with Accountant login credentials.

Step 2: Select “Collections” on the top bar and choose “Make Payment”.

Step 3: Search for the student by entering the required information in the search criteria.

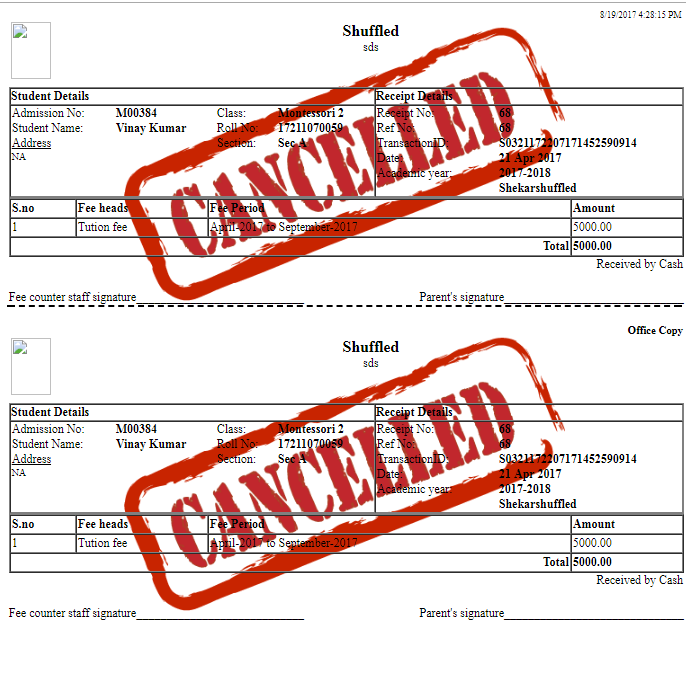
Step 4: Select “Cancelled Transactions” on the left pane. Choose any payment and click on the “Print” option.

Step 5: The canceled transactions receipt is generated.

How to remove Cheque Bounce Charges?

Step 1: Login to MCB with Accountant login credentials.

Step 2: Select “Collections” on the top bar and choose “Make Payment”.

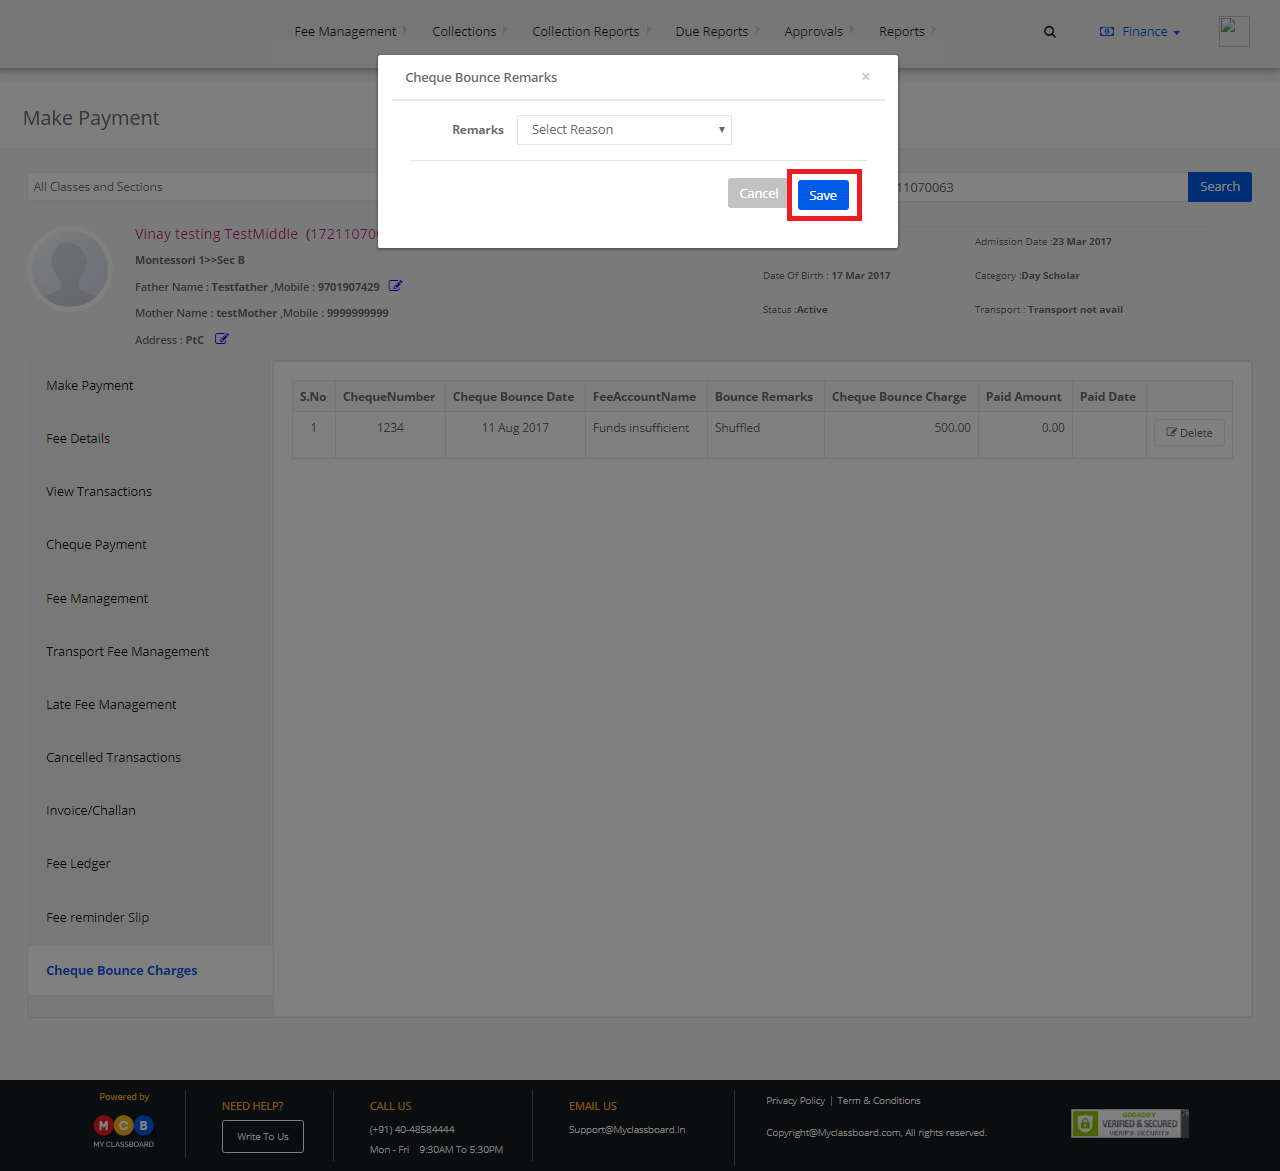
Step 3: Select “Cheque Bounce Charges” on the left pane. Select the entry and click on “Delete” option.

Step 4: Select the reason and click on “Save”.

The cheque bounce charges are removed successfully.

How to process Change Request?

Step 1: Login to MCB with Accountant login credentials.

Step 2: Select “Collections” on the top bar and choose “Make Payment”.

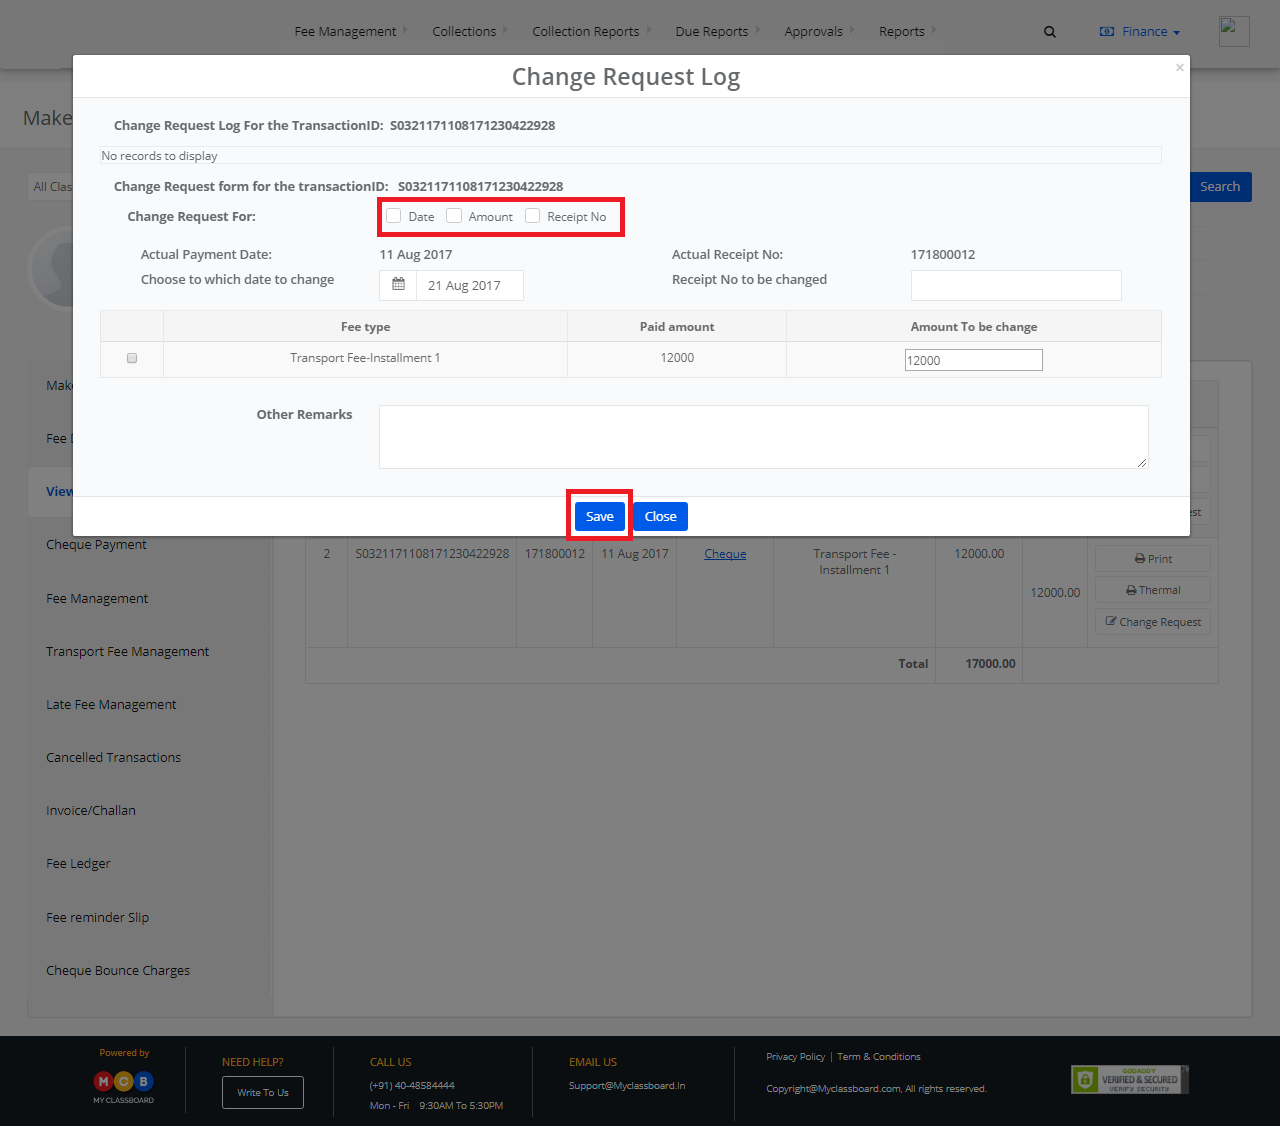
Step 3: Select “View Transactions” on the left pane. Choose any transaction and click on “Change Request” option.

The change request can be made for Date, Amount and Receipt Number.

Step 4: Click on any of the above-mentioned options, make the necessary changes and click on “Save”.

The change request is processed successfully.

How to search Receipt Number?

Step 1: Login to MCB with Accountant login credentials.

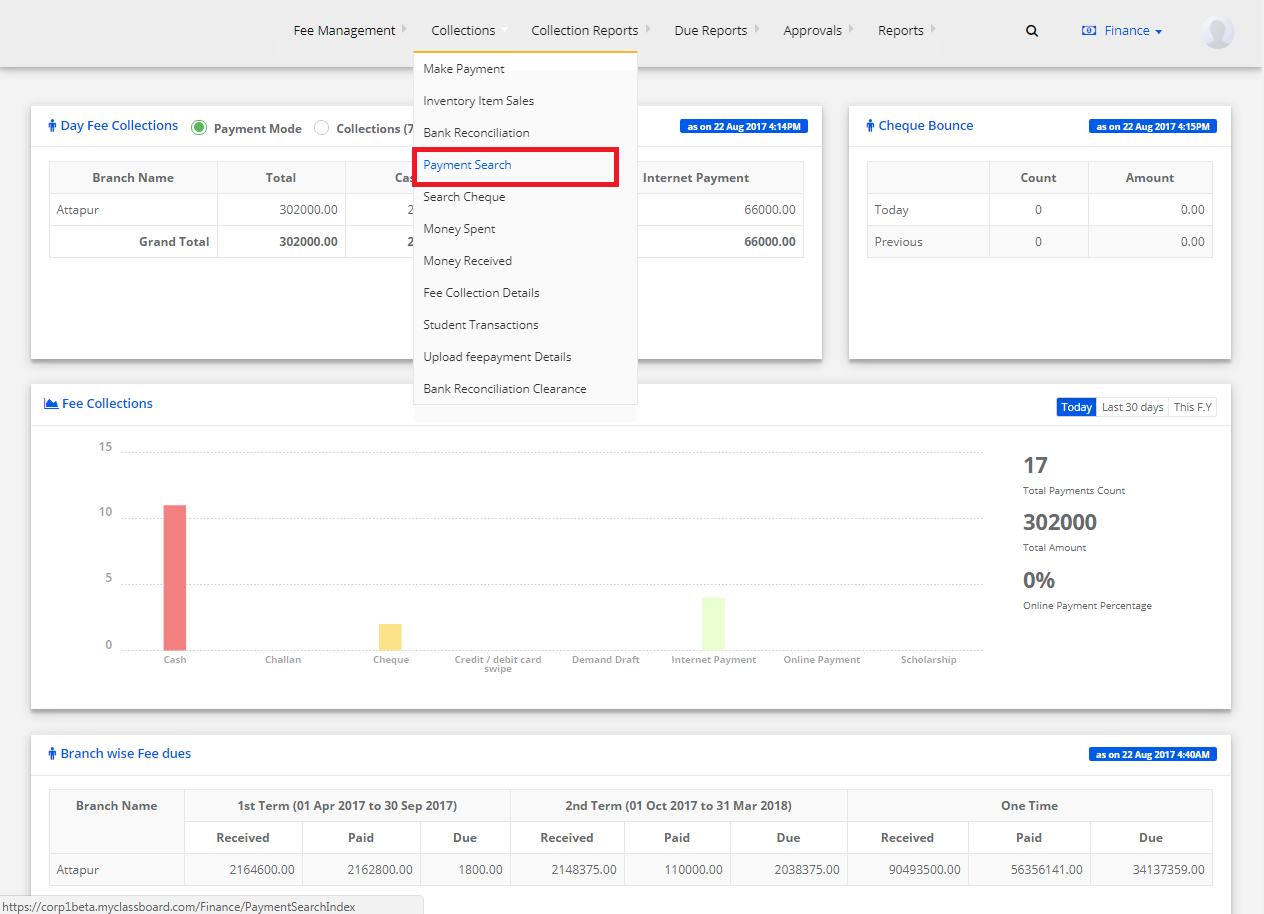
Step 2: Select “Collections” on the top bar and choose “Payment Search”.

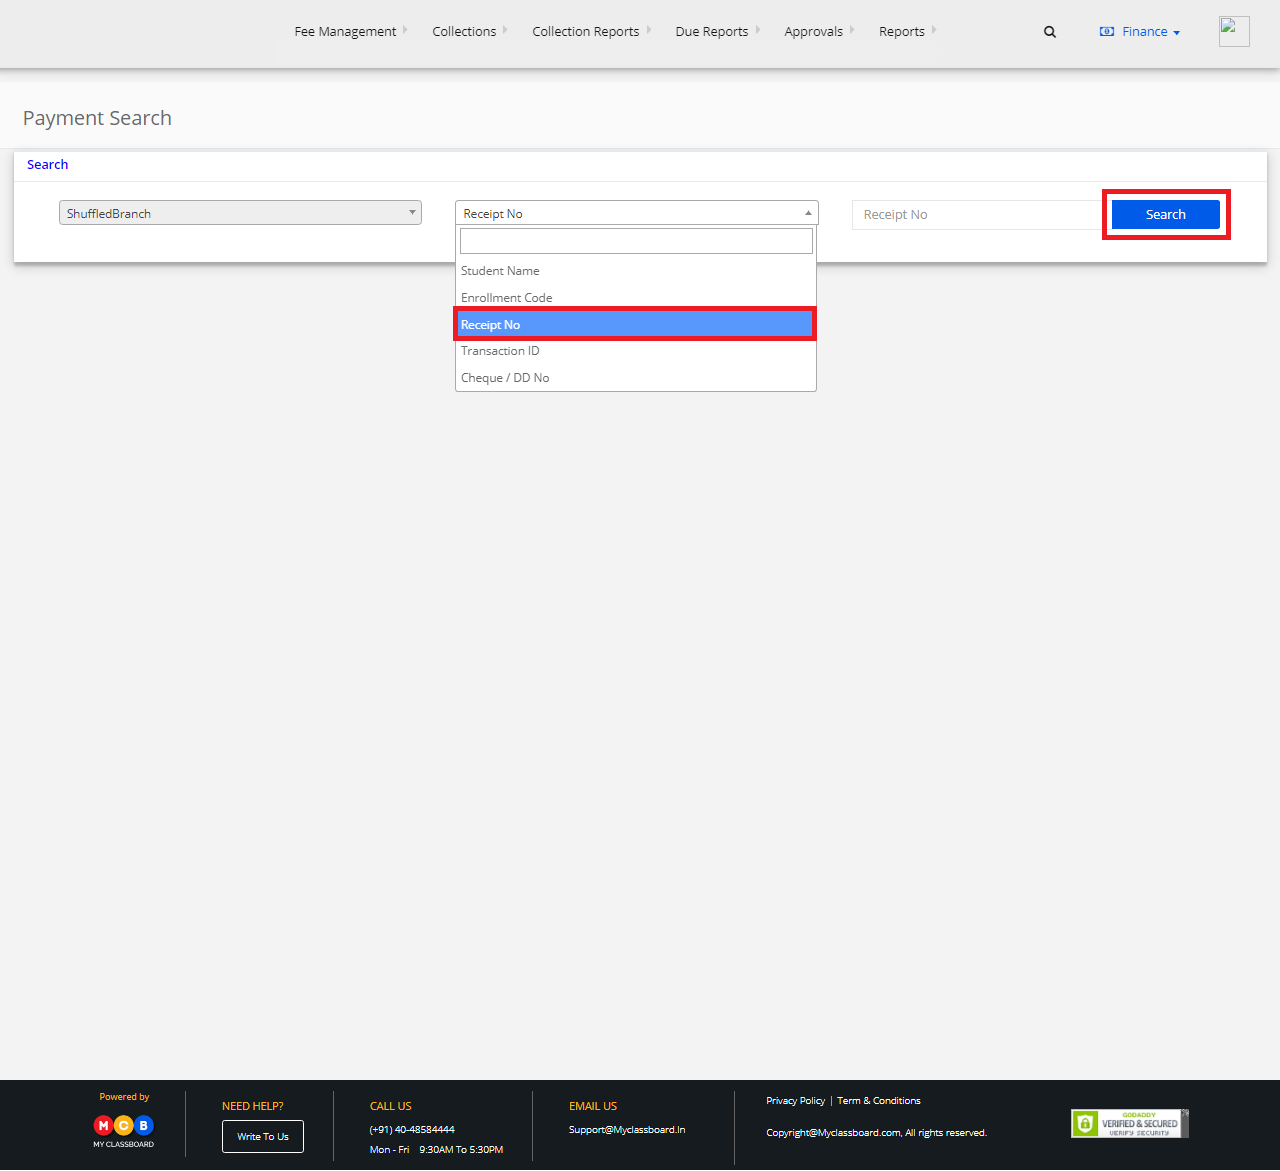
Step 3: Select Branch. In the drop-down choose receipt number and enter the receipt number. After entering, click on search.


Step 4:
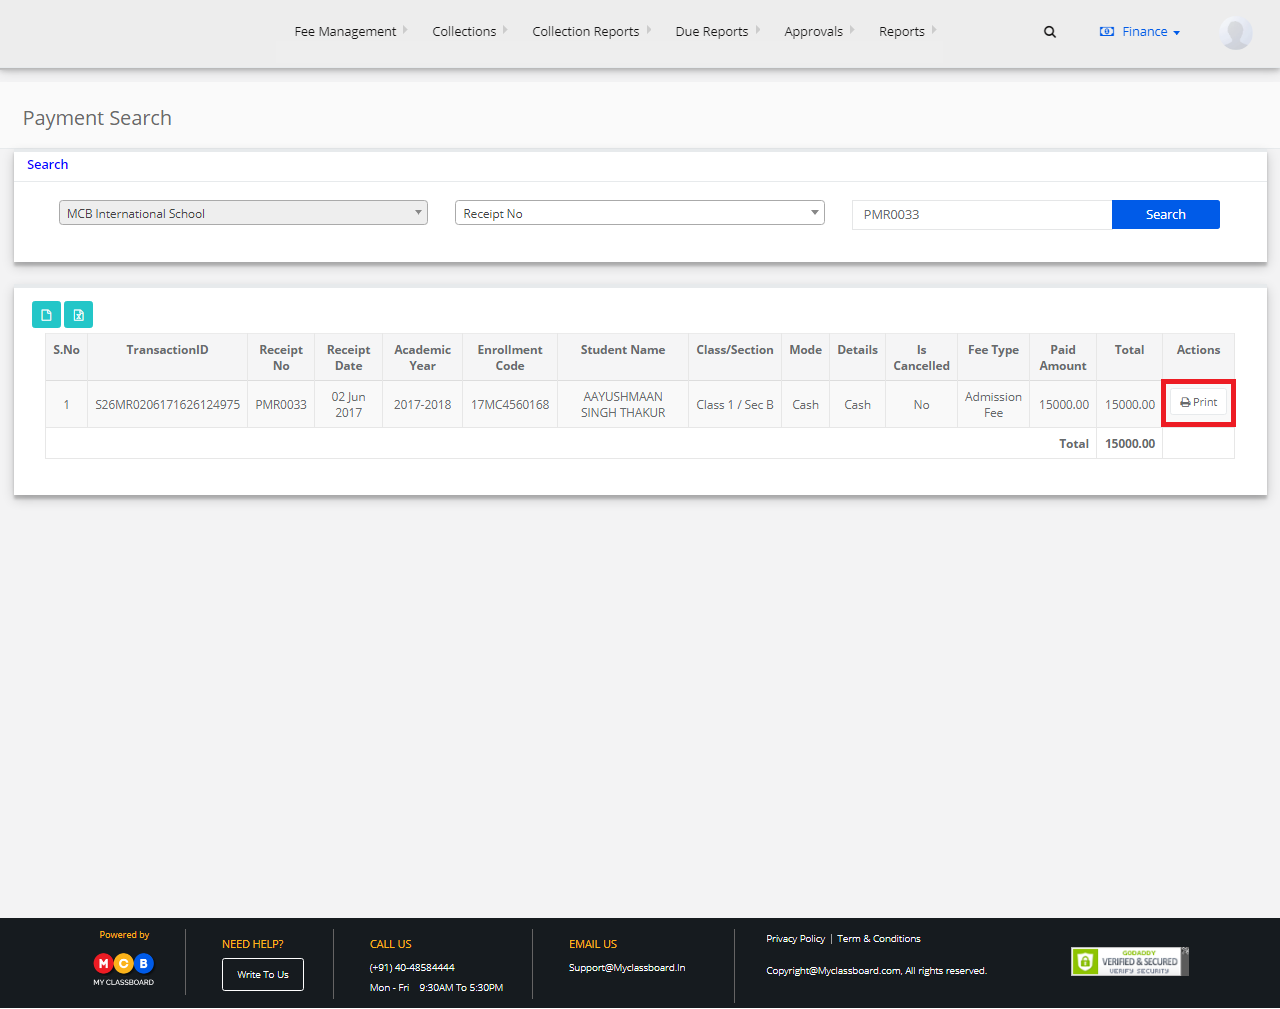
The receipt and the transaction details related to that receipt number are displayed. You may print the receipt by clicking on the print option.

Siblings Payment Issue – All payments credited to a single sibling

Thank you for your recent inquiry about “Siblings Payment Issue”.

We suggest you follow the below process while making siblings payment to avoid all uncertainty.

We request you to proceed with the payment of the first sibling and after successful payment, log out from the application. Now log in again to proceed with the second payment.

This will prevent the payments from being accredited to a single sibling.

Hope this helps. Please feel free to reply back to this email or call us at 040-48584444, should you need any further assistance.