Step 1: Login to MCB with System admin login credentials.
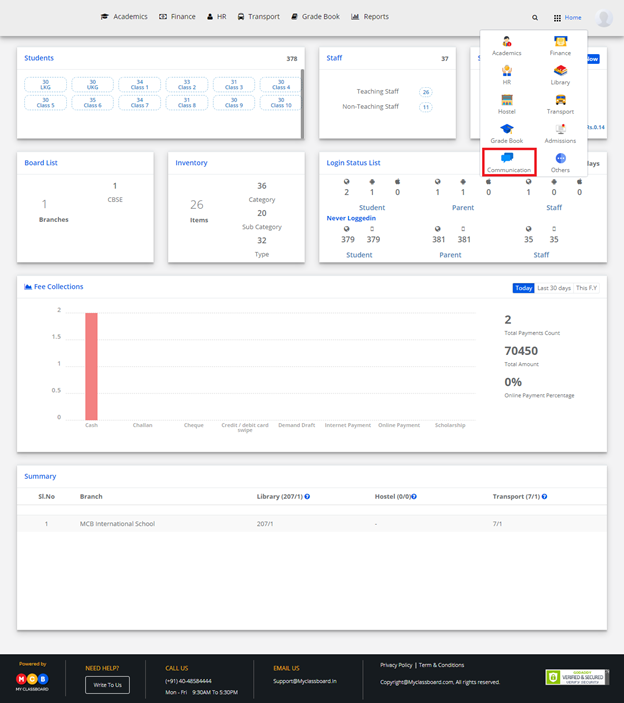
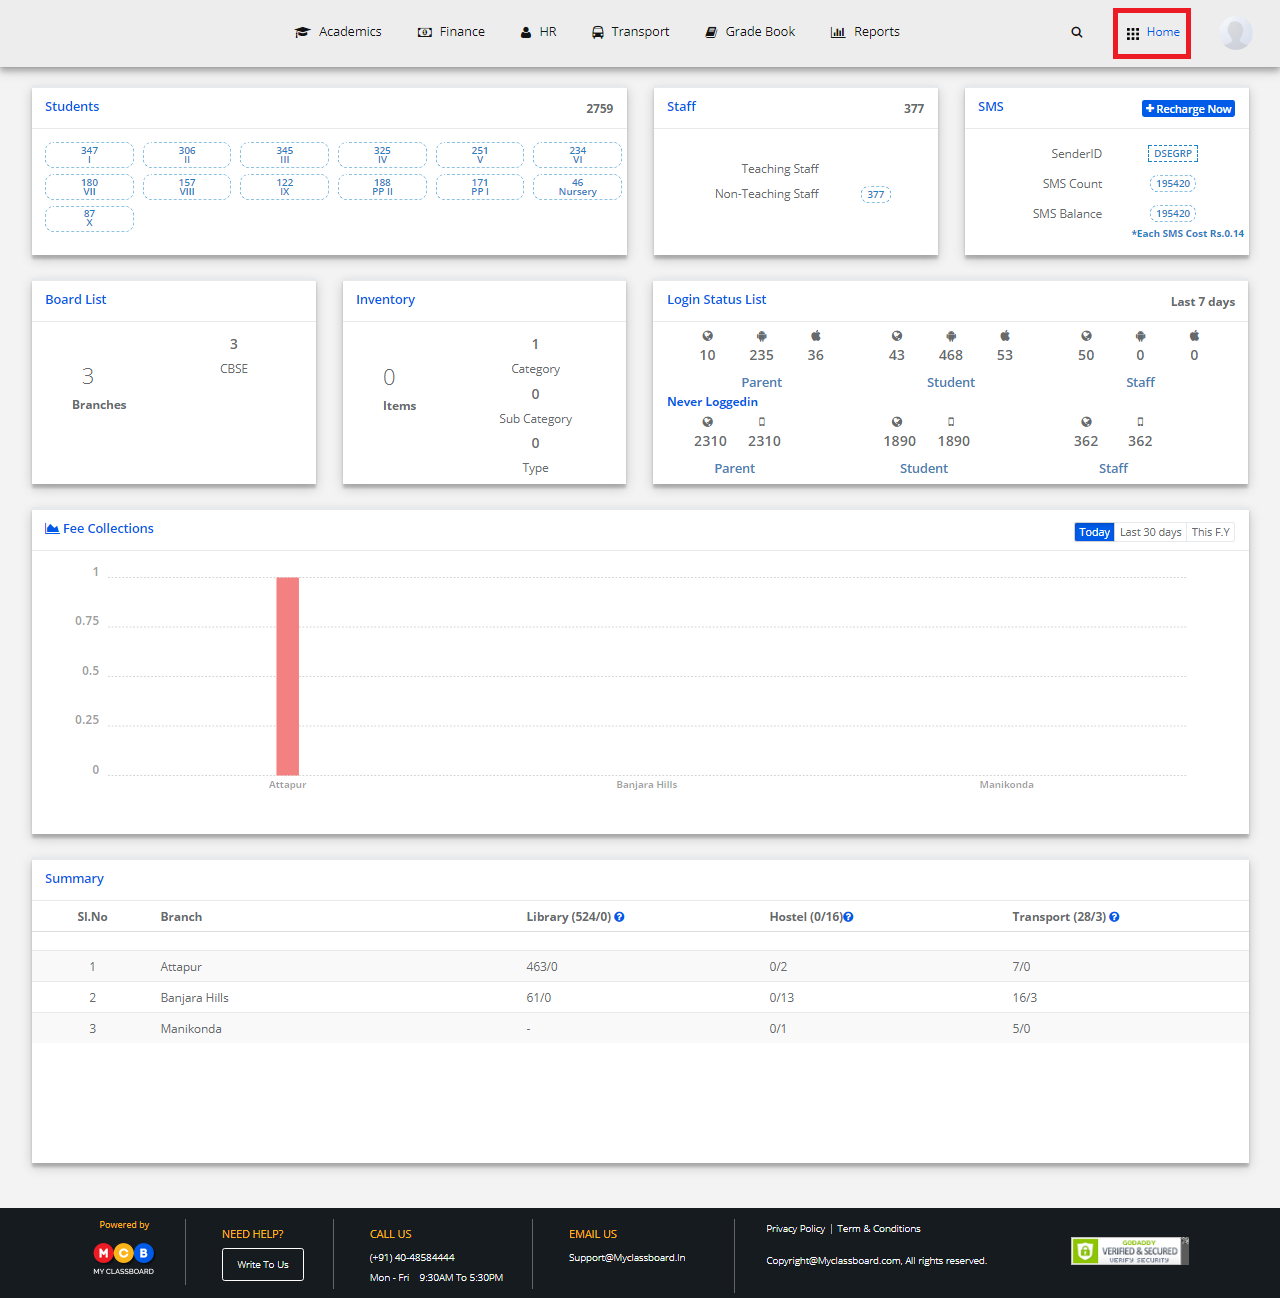
Step 2: Select “Home” on the right-hand top corner.

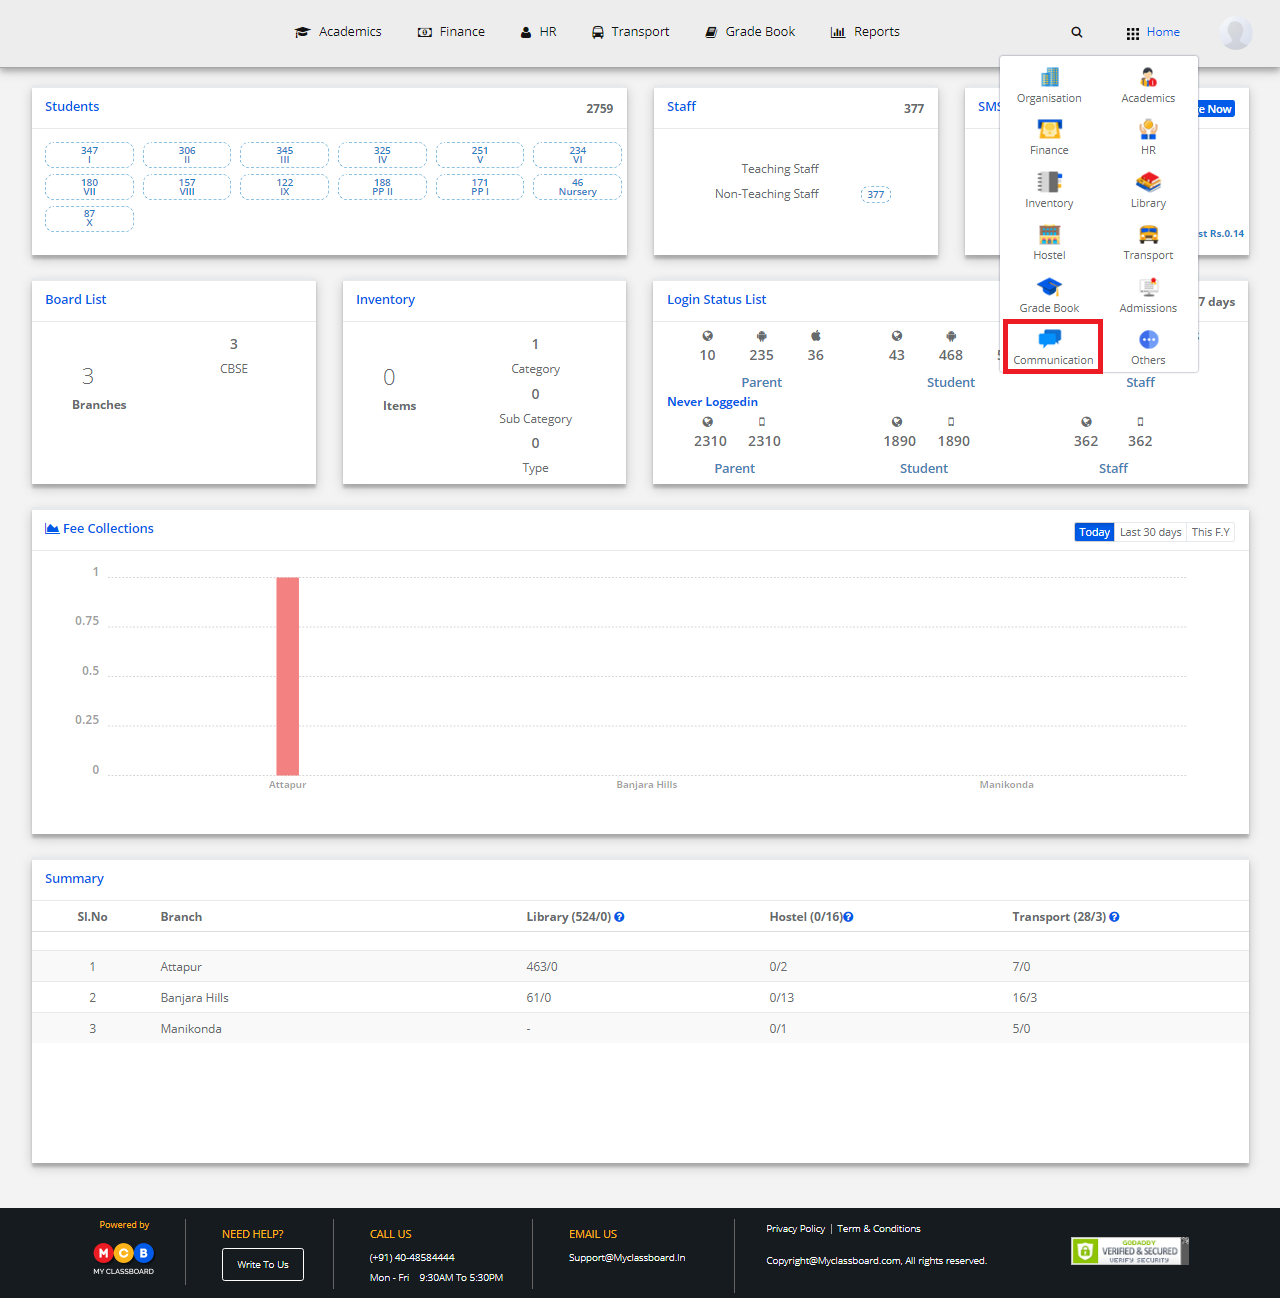
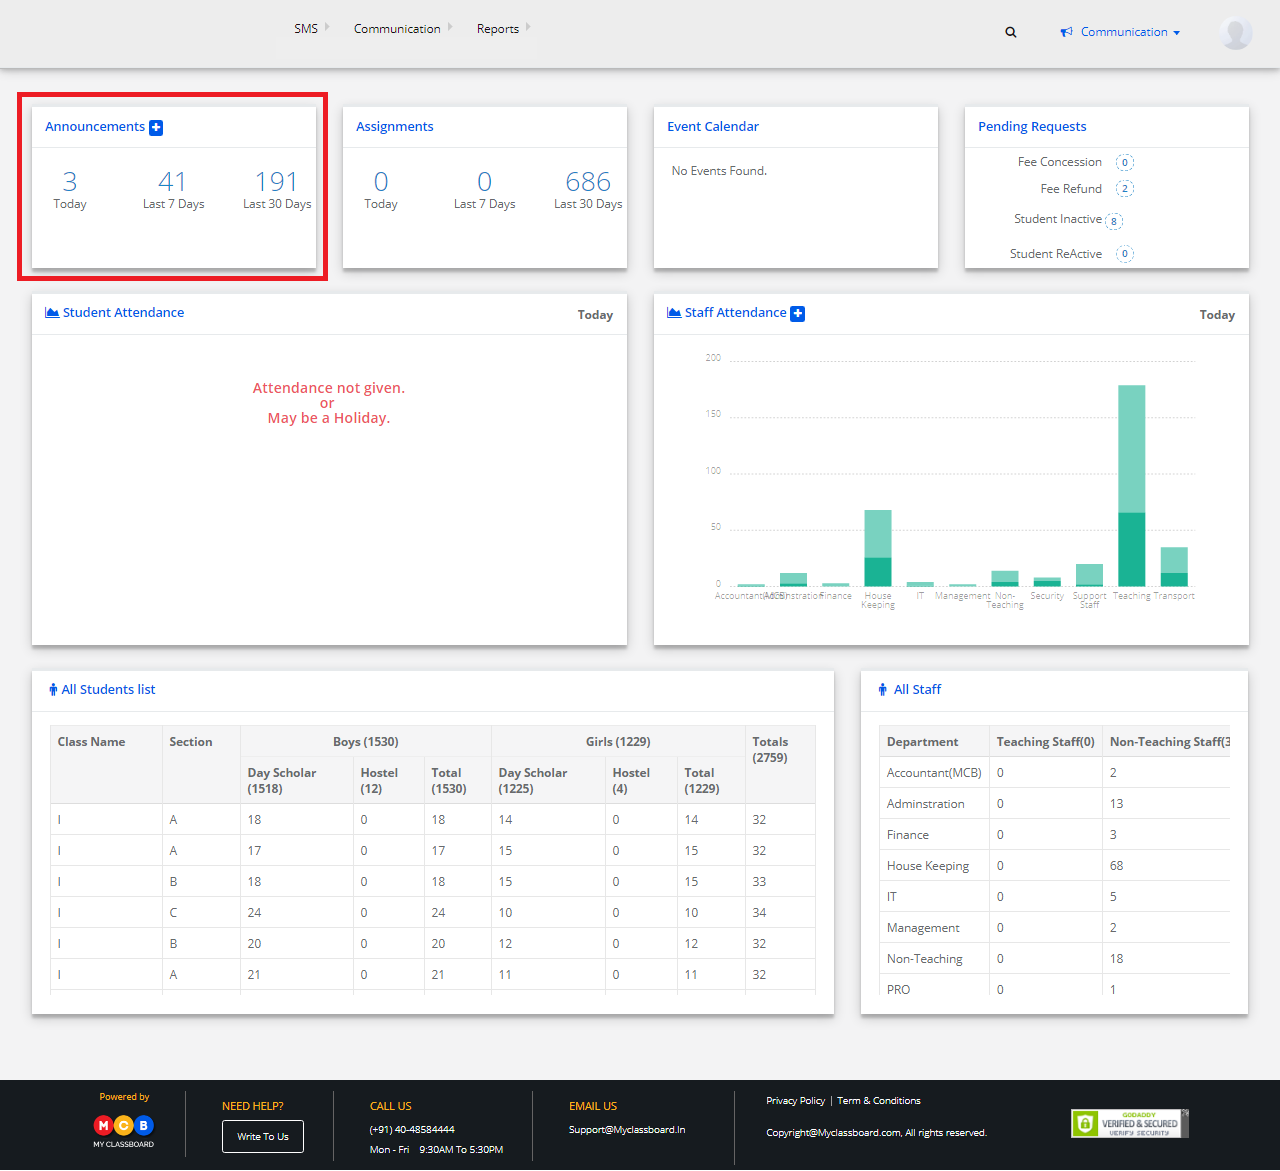
Step 3: Select Communication. You’ll be directed to the “Communication” page

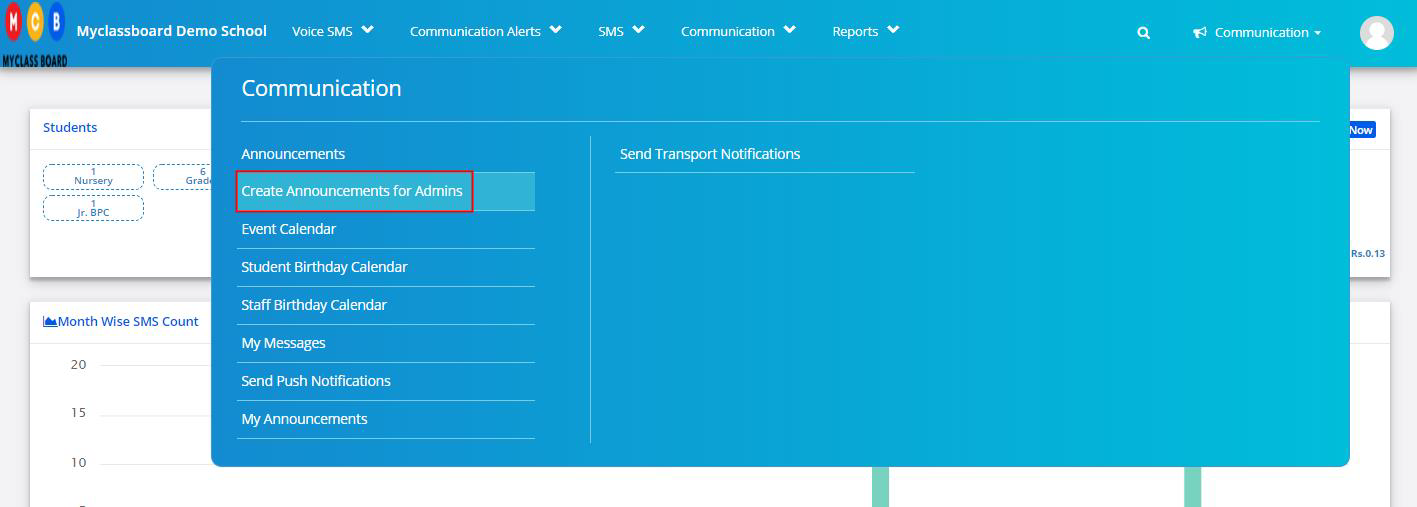
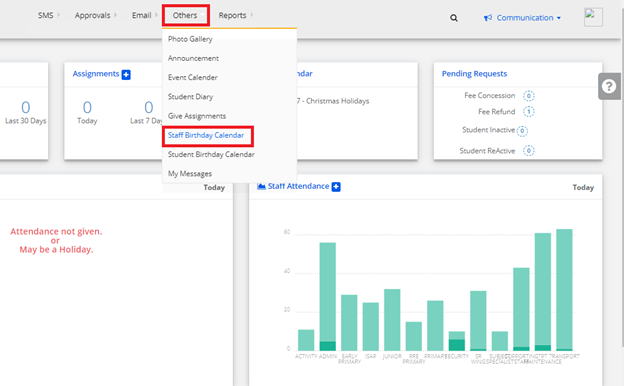
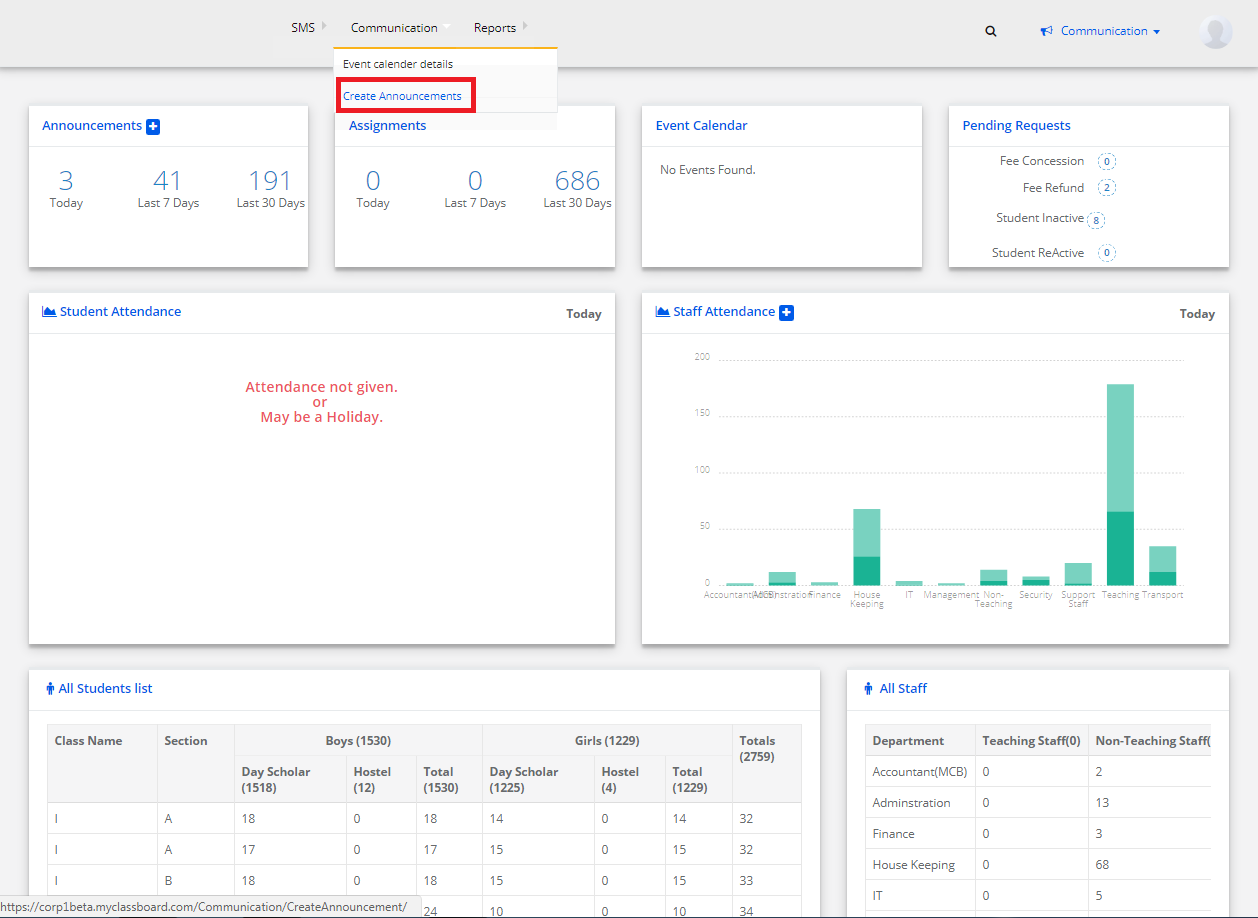
Step 4: Choose to Send Push Notifications option under the Communication menu.

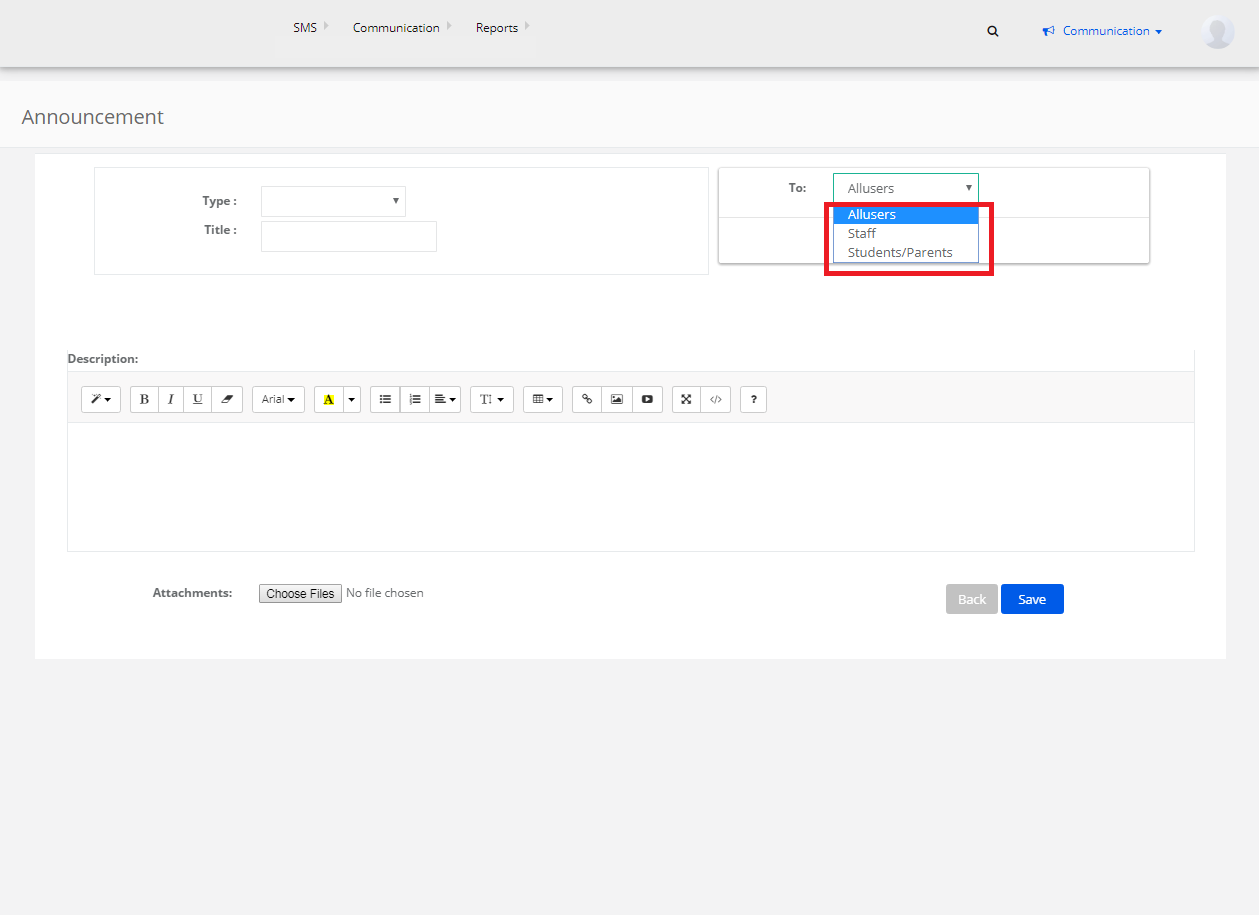
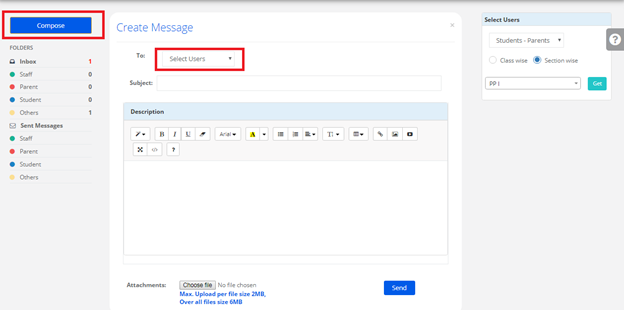
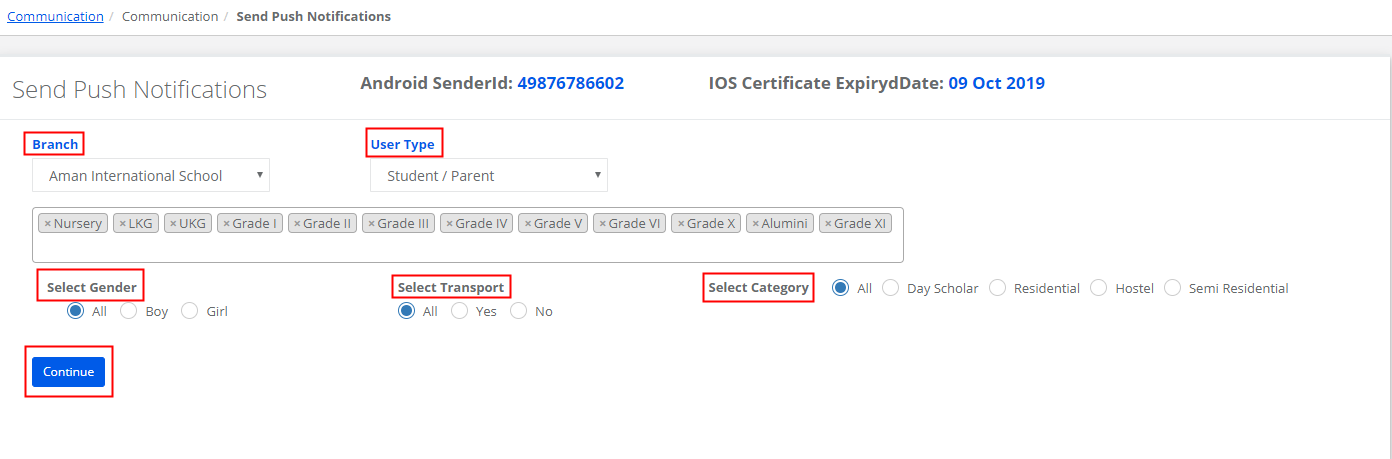
Step 5: Choose branch, user type as Student/Parents or staff, Gender, Transport type, Student Category and click on continue.
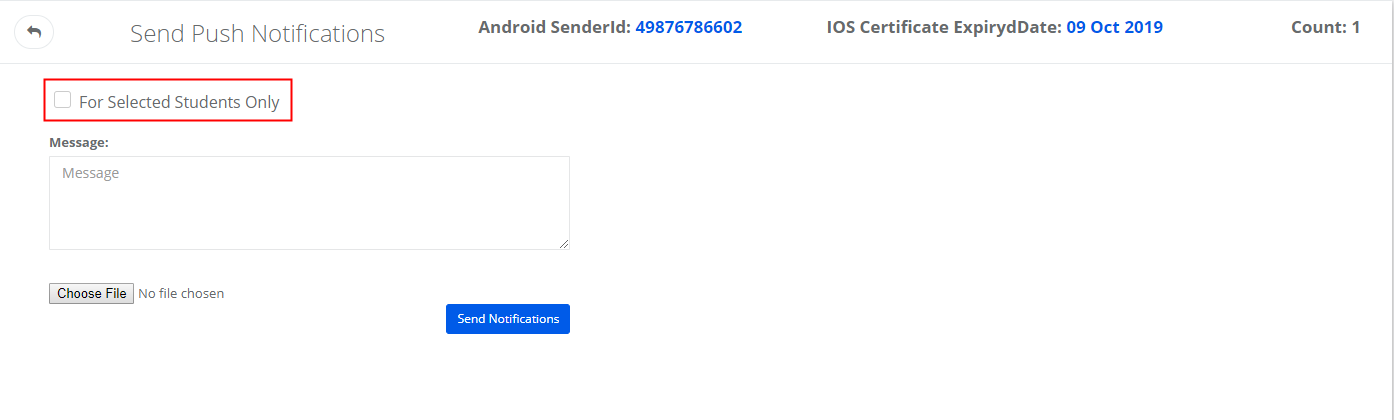
Step 6: If you would like to send notifications only for selected students, select the checkbox “For selected students only” to get the list of students based on your selection in the previous screen.
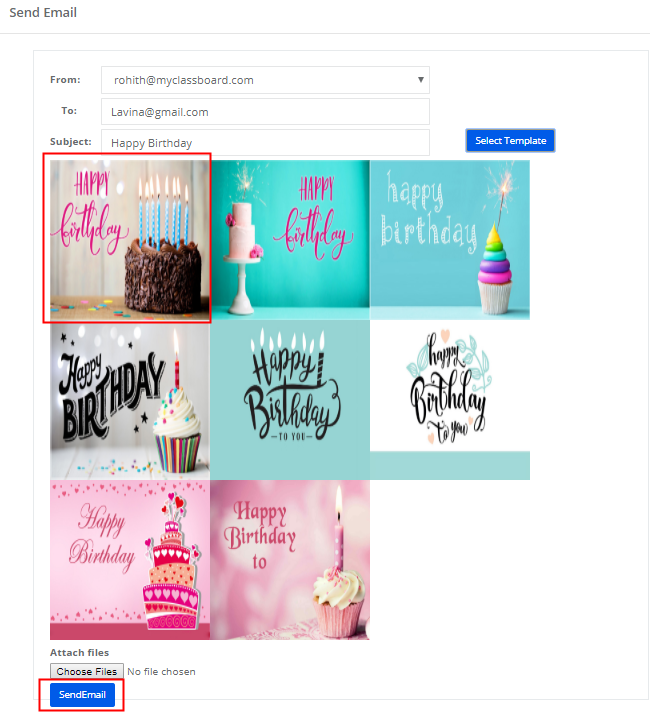
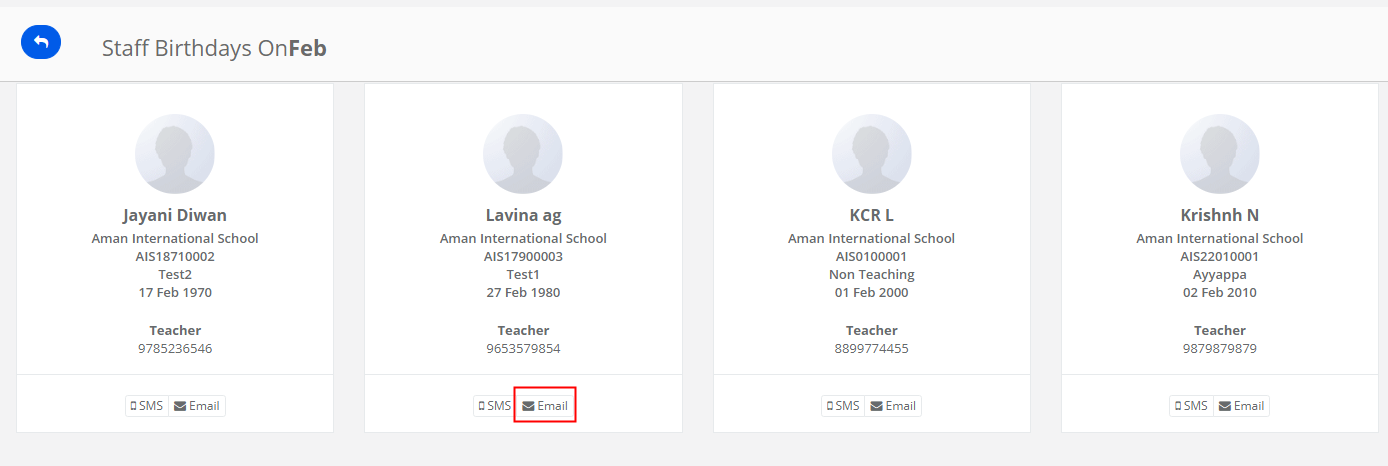
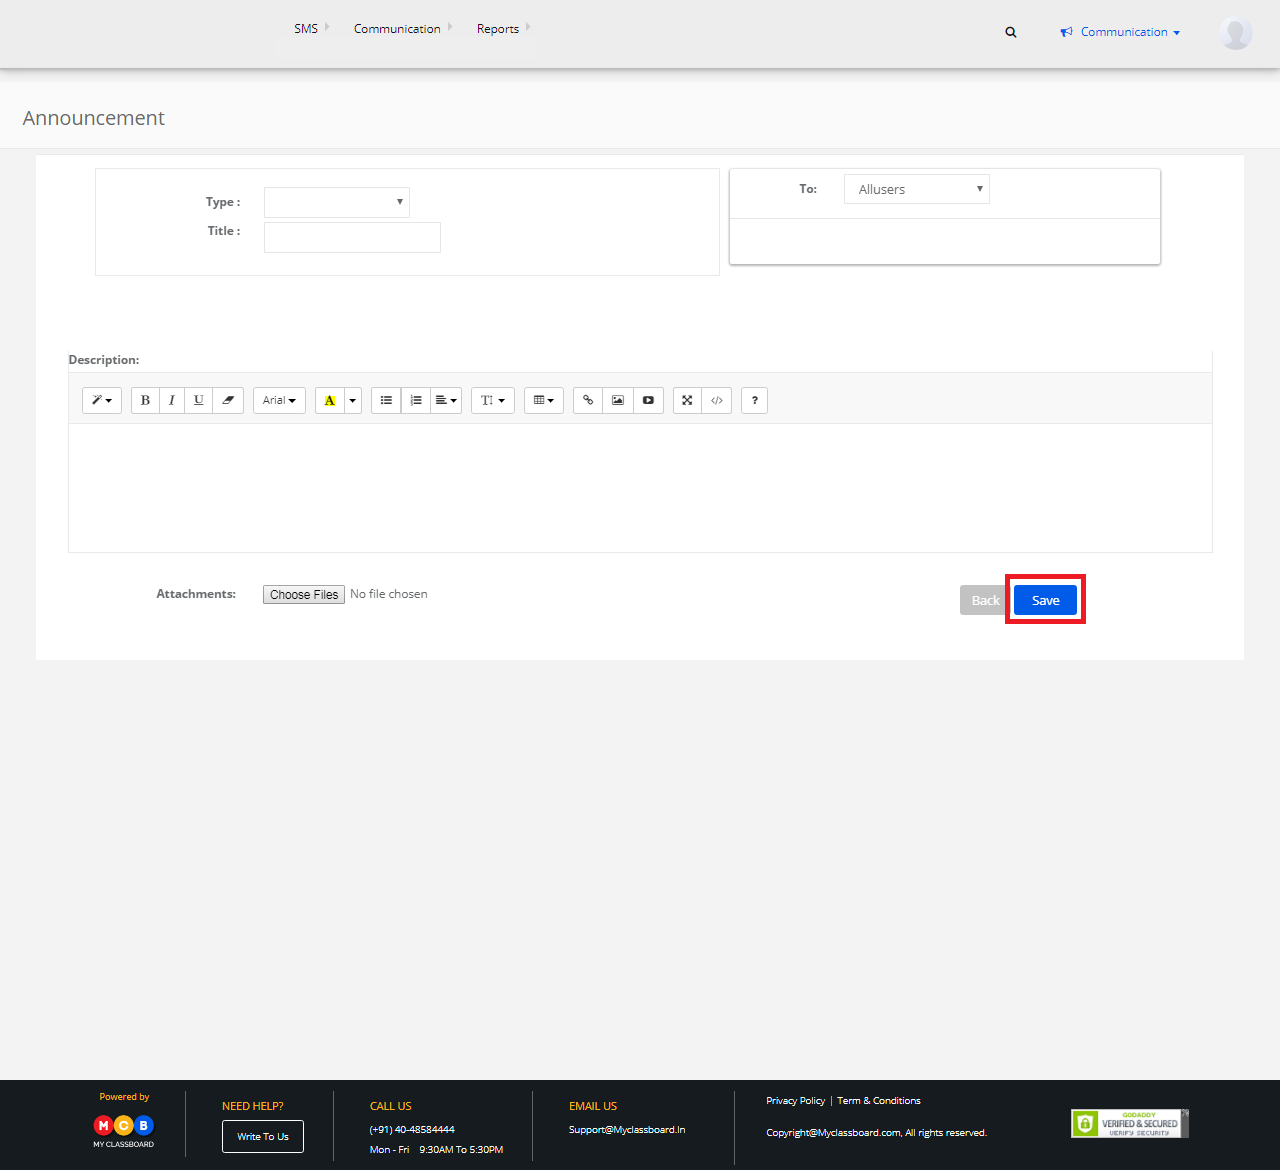
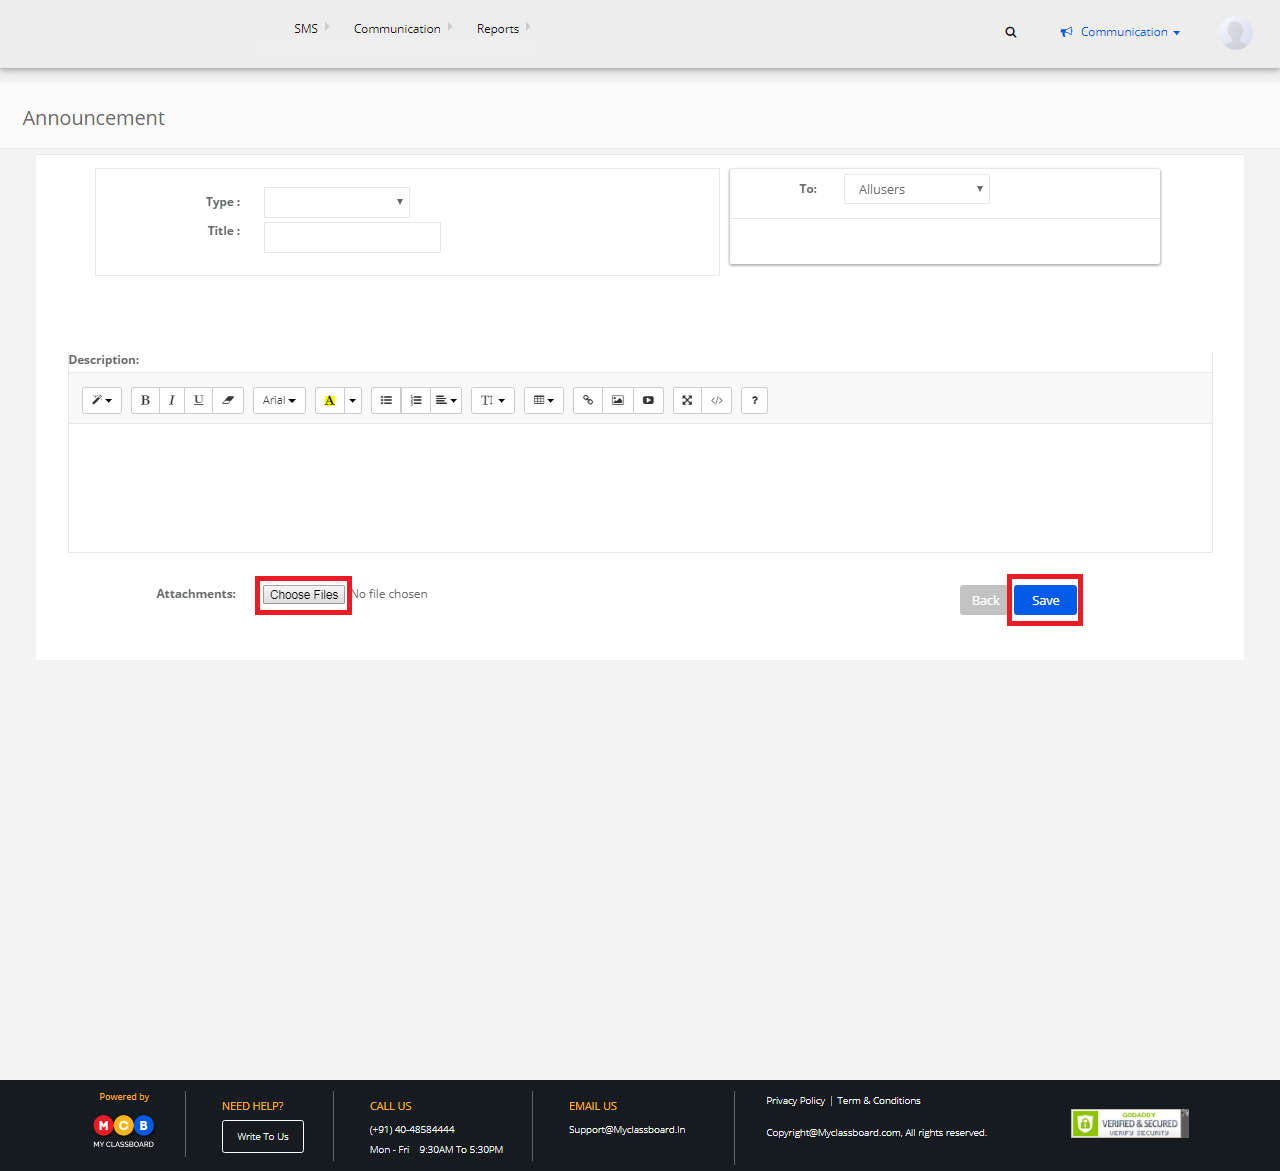
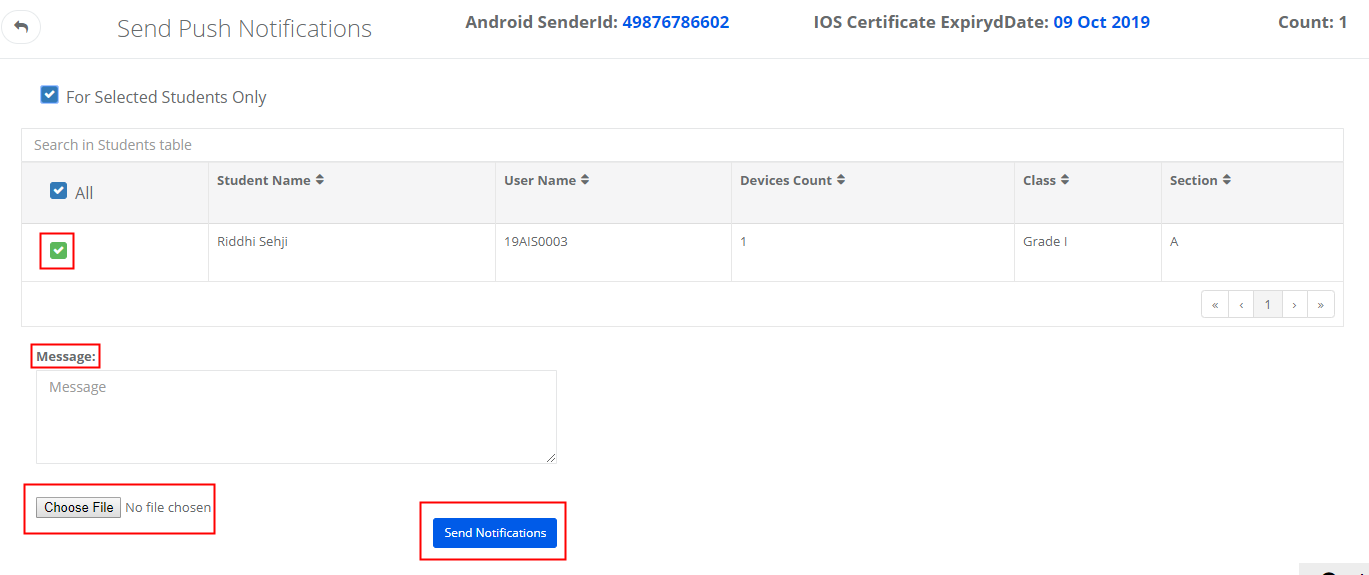
Step 7: Select the students for whom you would like to send a message, enter the message and attach the file if required and click on Send Notifications button.
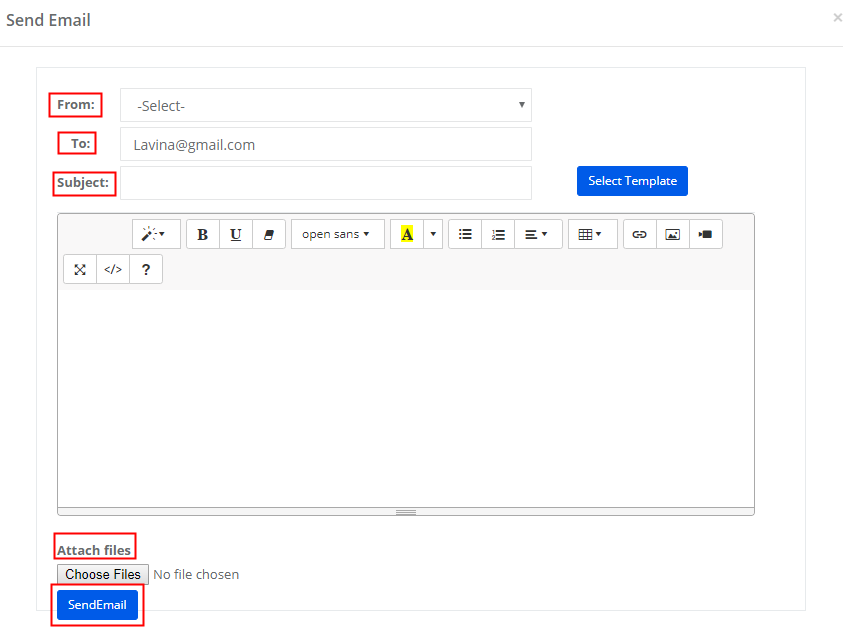
Step 8: If you would like to send a message for all students based on your selection in the previous screen, uncheck the box “For selected students only” and type the message, attach the file, enter the message and click on “Send Notifications” button.

Note: Please follow the procedure described above for sending push notifications to staff.