Subjects can be created from the System admin level. The chapters can be created from both System admin and branch level.
Create Subjects:
Step 1: Choose Subject Creation under Subjects and Notes menu

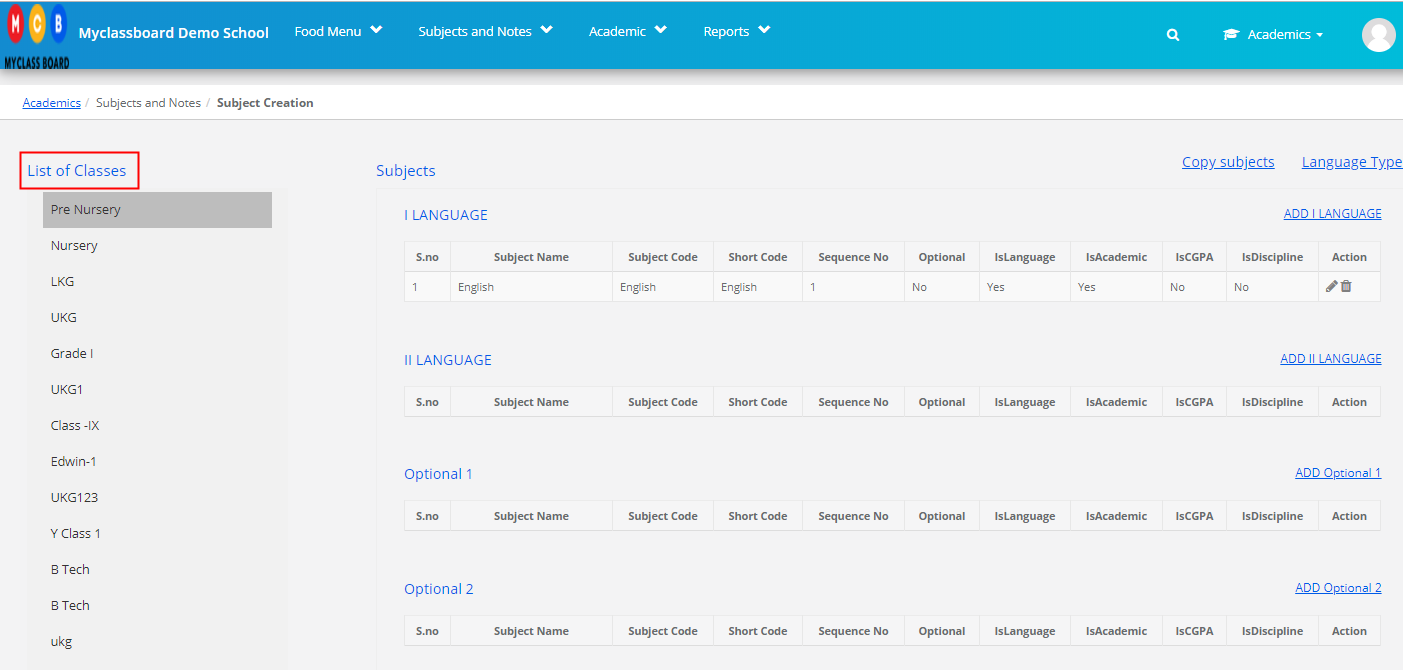
Step 2: Click on the class for which you would like to create the subjects.
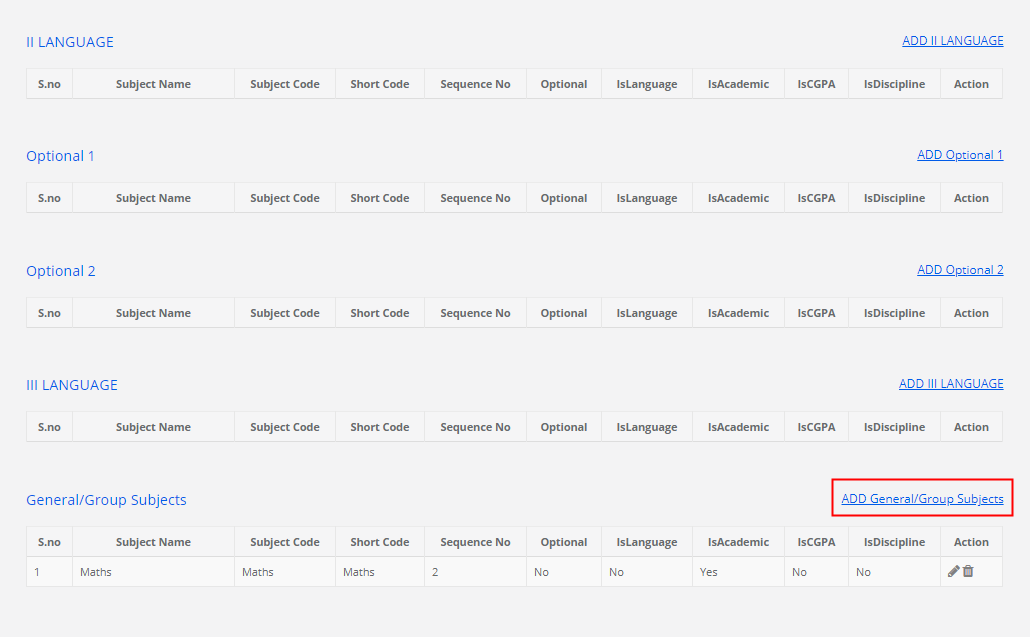
Step 3: You will find Different sections to create languages, optional subjects, and general subjects. Click on Add to create a new subject.
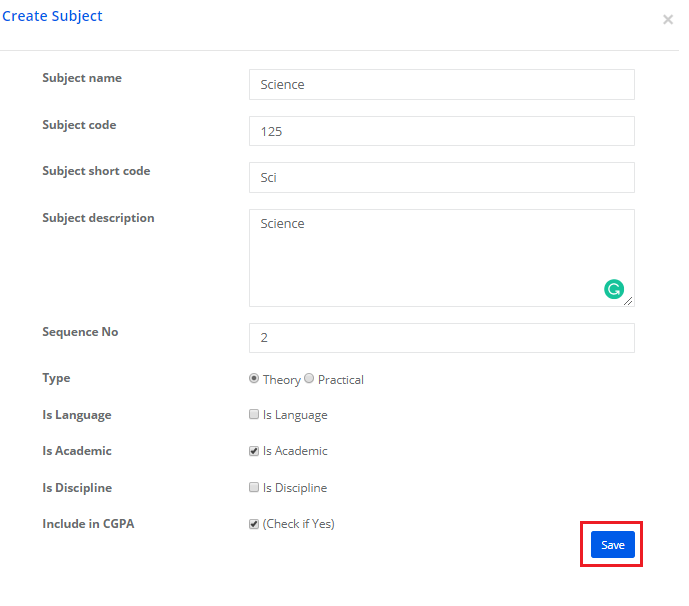
Step 4: Fill in the details, choose the appropriate status and click on the Save button.
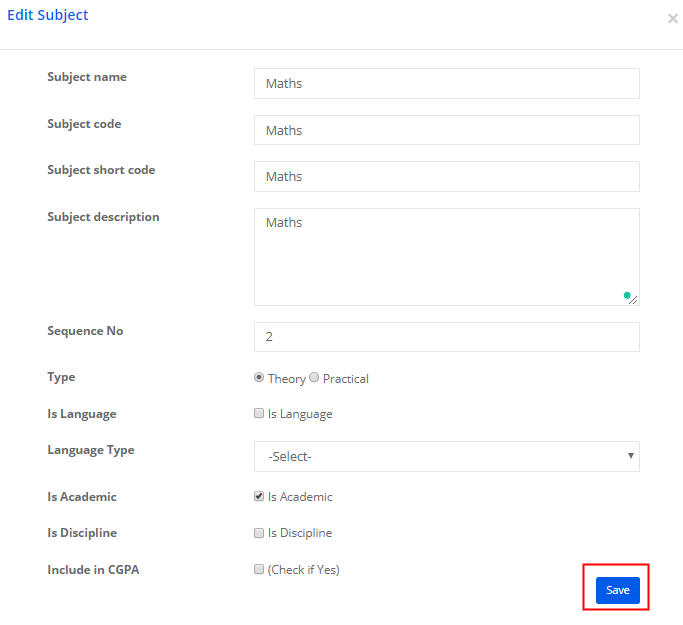
Step 5: To edit the Subject click on edit icon against the subject.

Step 6: Make the necessary changes and click on Save.
Step 7: To delete the subject, Click on delete icon against the subject and confirm.
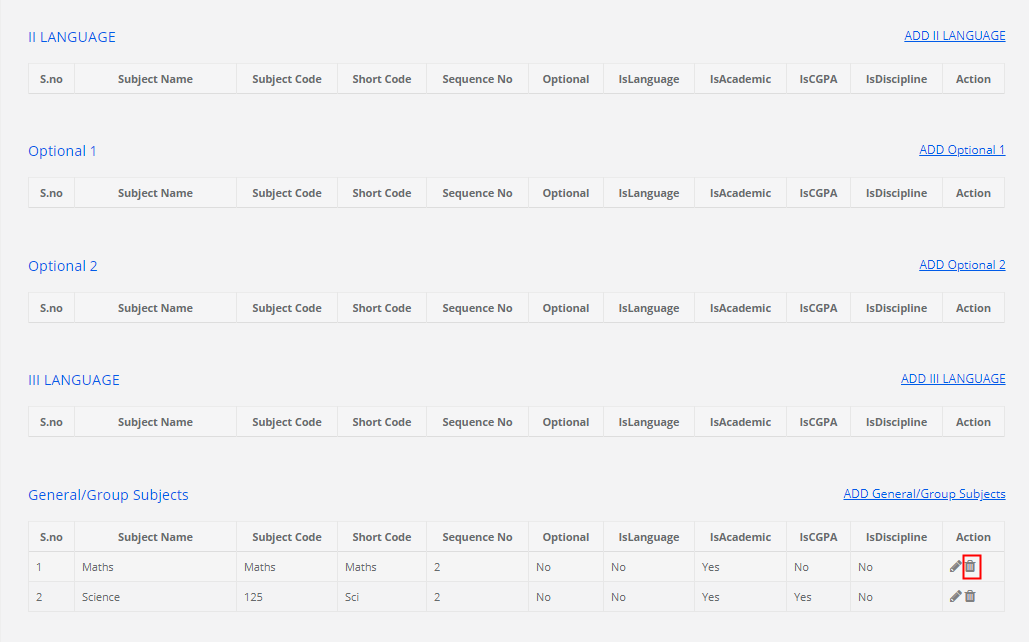
Step 8: Click Yes to confirm the deletion or No to cancel the deletion.

Create Chapters:
Step 9: Click on Learning under Subjects and Notes menu under Academics module.

Step 10: It will take you to the Learning Dashboard displaying the number of subjects available under each class. You can add a new subject in any class by clicking on the + button which is placed at the top right corner of each class.
The number next to the subject denotes the number of chapters available under each subject.

Step 11: To add a new chapter, click on the subject name.

Step 12: Please find the following options and their uses
1. Add Chapter – to add the chapter manually
2. Upload Chapters – to bulk upload chapters though Excel sheet
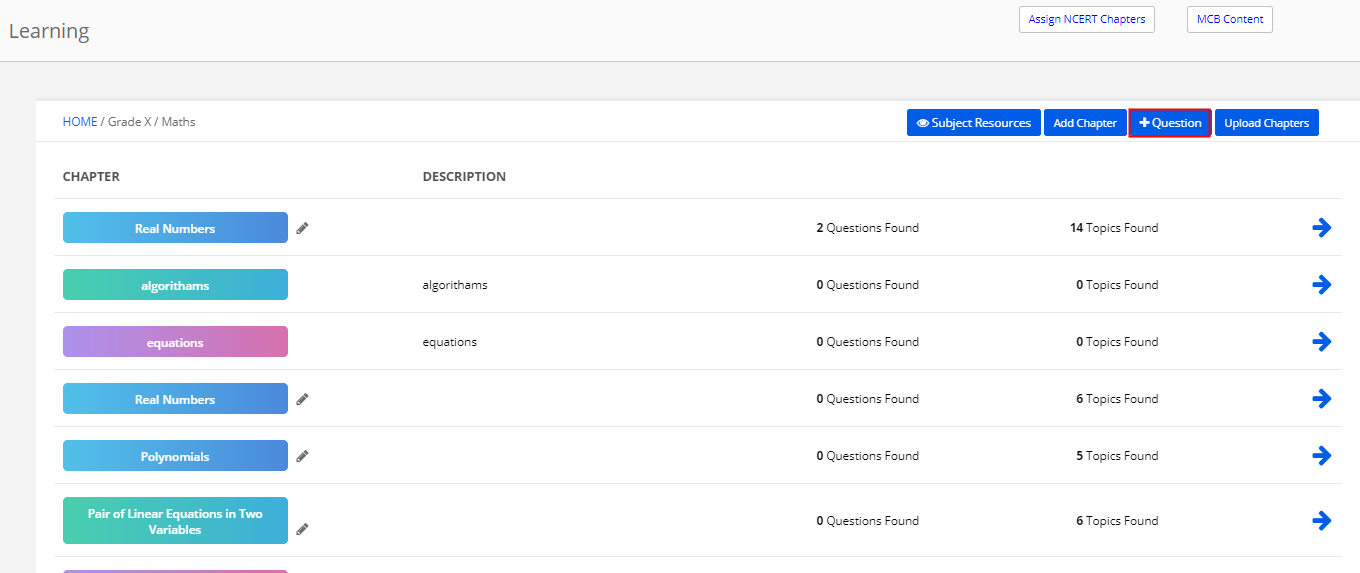
3. +Question – to add questions in the question bank under the selected subject.
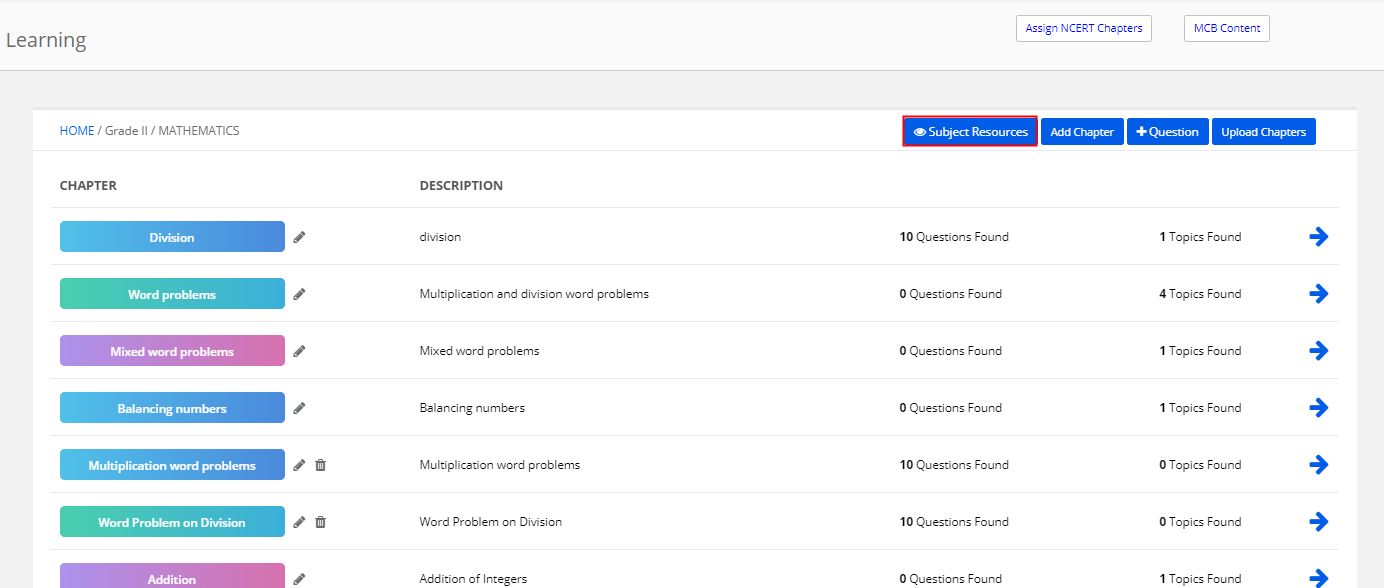
4. Subject Resources – It will list the attachments shared over the diary and assignments of the selected subject. Please note that the resources listed here are from all the academic years together.
5. Assign NCERT Chapters – You can assign all chapters prescribed by NCERT without having to create manually.
6. MCB Content – when you assign chapters from NCERT, It will list the chapters and topics along with a topic description and suggested videos. So that you can, choose the videos you wish to populate for the students in their learning.

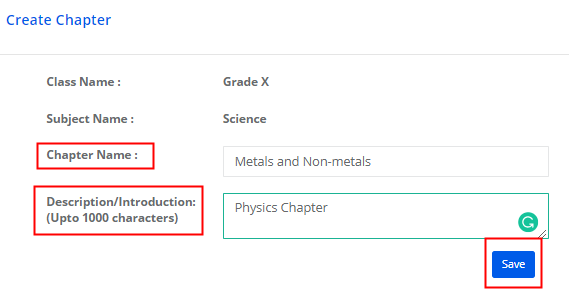
Step 13: To add Chapter manually, Click on Add Chapter option.

Step 14: Enter Chapter Name and Description. Click on Save button to save the chapter.
Step 15: To edit the chapter name, click on the Edit icon available against the chapter name.

Step 16: Make the necessary changes and click on Save to save the changes or Cancel to revert.

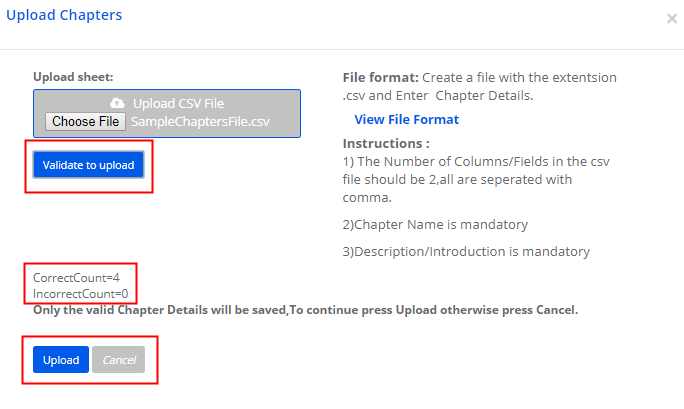
Step 17: To upload Chapters, Click on Upload chapters option.

Step 18: Read through the instructions and click on View File Format to download the file.
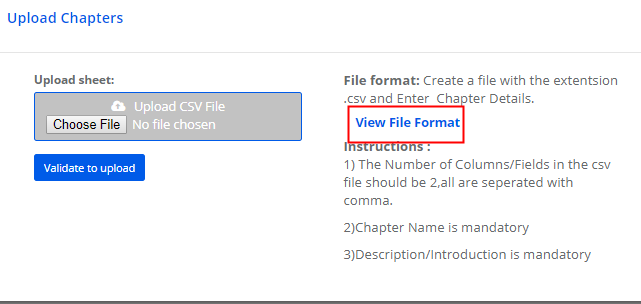
Step 19: Enter the chapter names and Description. Save the file without changing the format. Click on Choose File option, Locate the file on your computer.
Click on validate to upload, check for the correct count and click on Upload button to upload the chapters. Click on Cancel to revert.
Question Bank:
Step 20: To add questions to the chapter or topic, click on the +Question option.
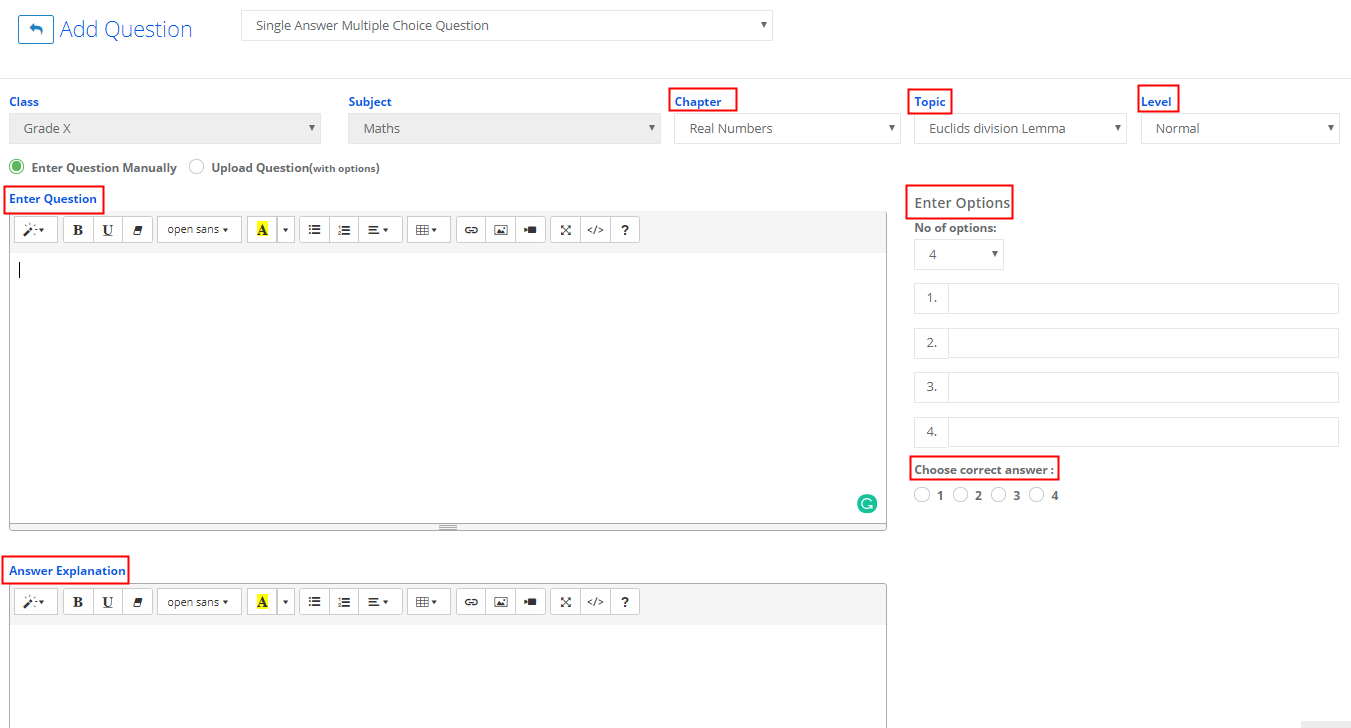
Step 21: Choose question type, chapter, topic and difficulty level of the question.
Enter the Question description, options and choose the correct answer.
Enter the Answer Explanation and click on Save.
Subject Resources:
Step 22: To view the resources shared on the diary and assignment for the subject, click on the Subject Resources tab.
Step 23: You will be directed to the page where you can find three options called All, Assignments and Diary.
All: It will list all the details of the assignments and dairy in one page.
Assignments: It will list the details of assignments alone.
Diary: It will list the details of the diary alone.
You can export the report to excel by clicking on the Excel icon placed on the top left corner of the report.

Assign NCERT Chapters:
Step 24: To assign NCERT chapters and topics without having to create manually, Click on Assign NCERT Chapters option.

Step 25: Select the Chapters and the topics you wish to assign and click on the Assign button which is available at the bottom.

MCB Content:
Step 26: To view MCB content available, Click on MCB Content option.

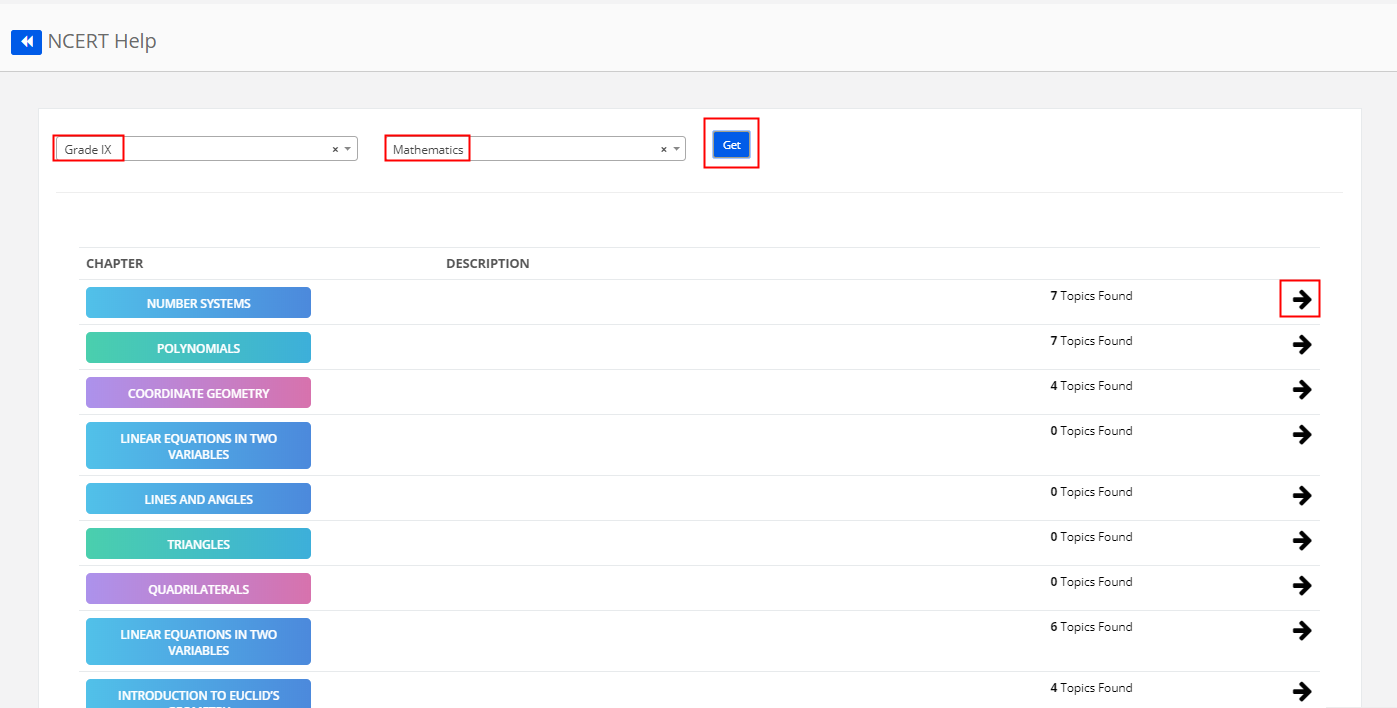
Step 27: Select Grade, Subject and Click on Get option. To view the content, click on the arrow against the Chapter name.
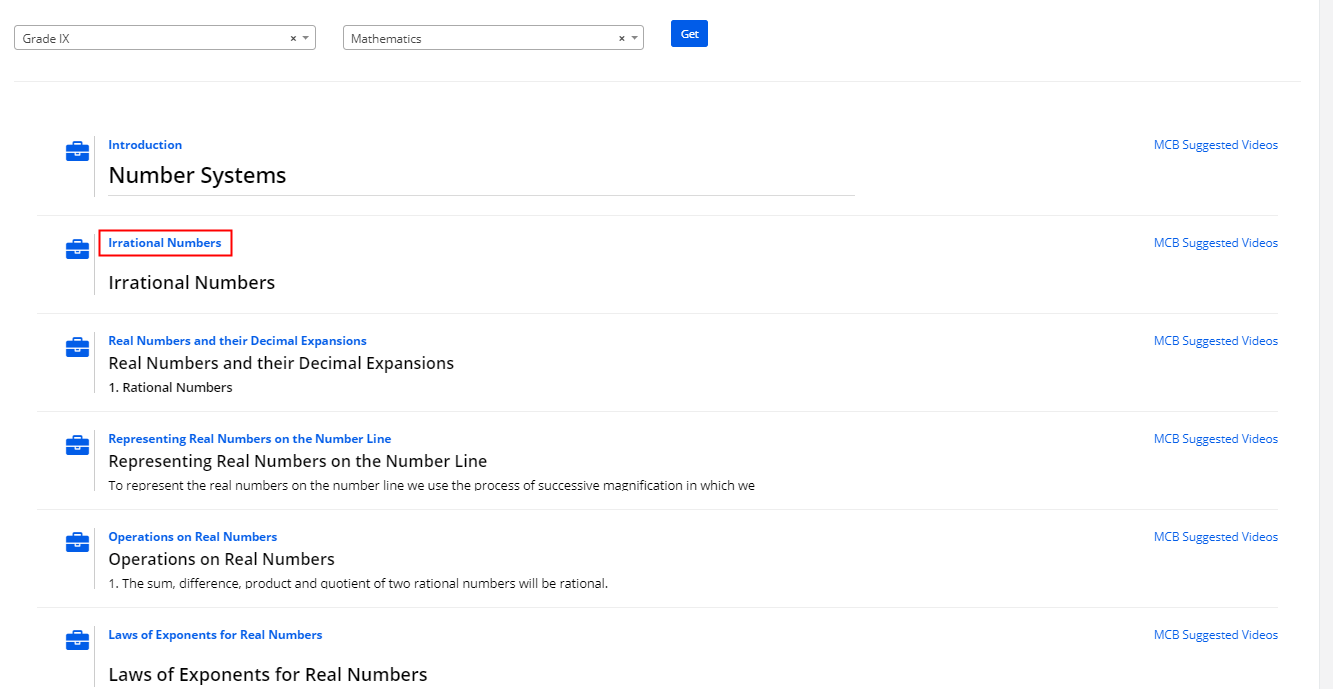
Step 28: It will list the topics available under the chapter. To view the description, click on the topics name.
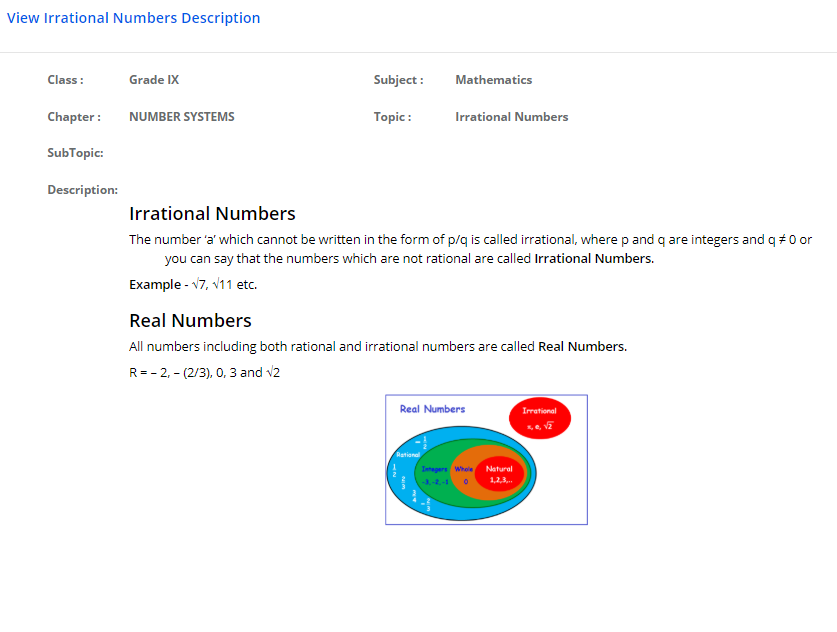
Step 29: It will display the description available for the topic.
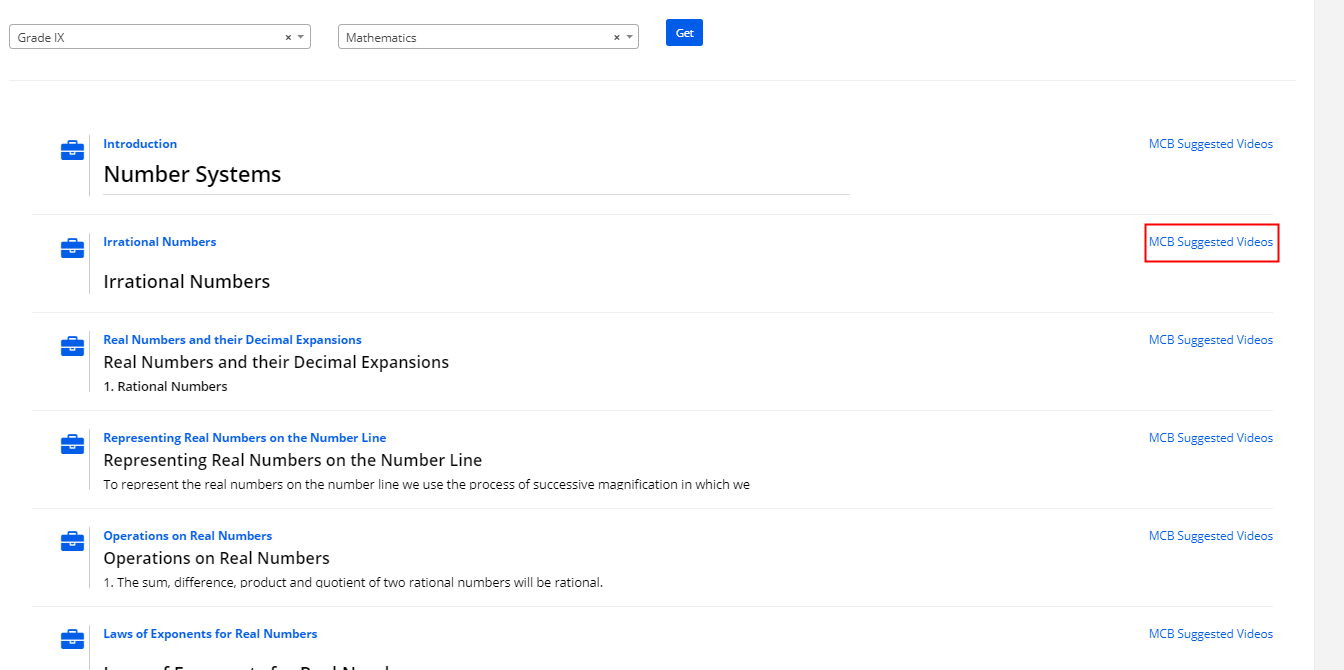
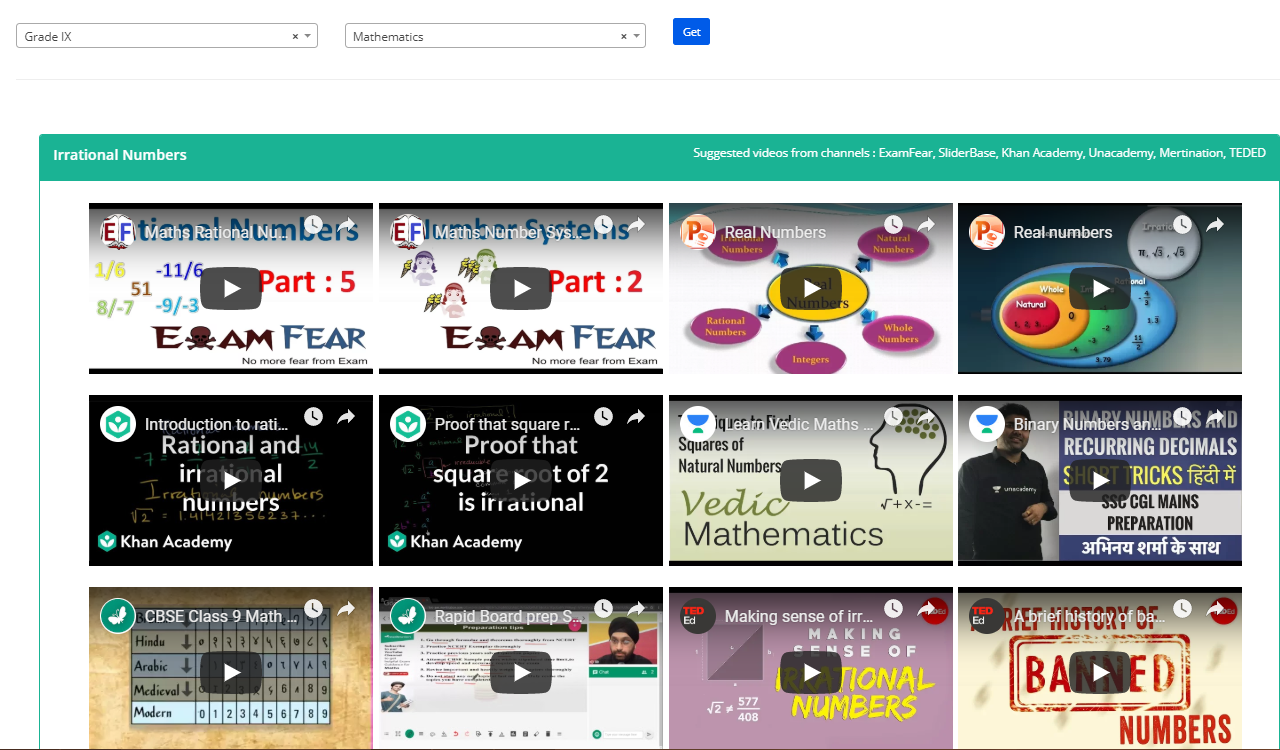
Step 30: To view the suggested videos which are being streamed from different channels, Click on the suggested videos link.
Step 31: You may click on the video to play.
Create Topics:
Step 32: To create Topics under a chapter, Click on the arrow against the Chapter name. You can create the topics manually or upload them.

Step 33: To create the topic manually, click on Add topic.

Step 34: Add the Topic name, Description and Click on Save.

Step 35: You can view the description by clicking on the topic’s name. You can edit or delete the topic by clicking on the respective icons.

Step 36: MCB Learning module allows you to add learning resources in three formats like files, website links, and videos. To add resource files for the topic, Click on the file icon.
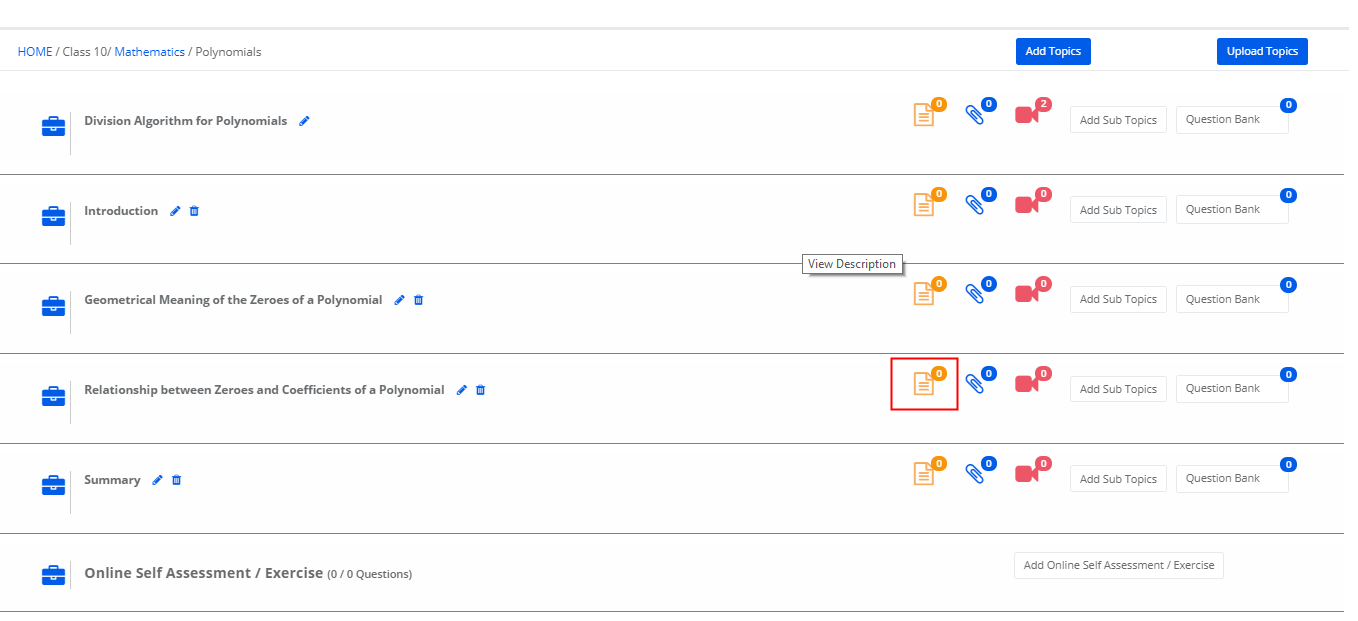
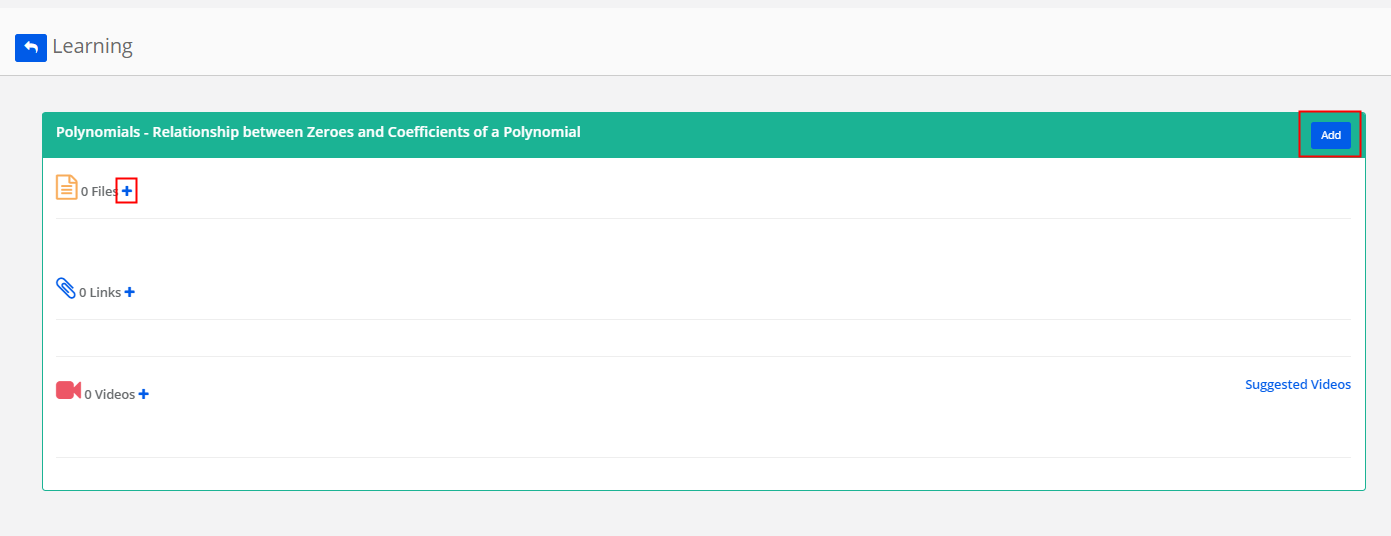
Step 37: Click on Add button on the top corner.
To add a file, Click on + sign against the Files.
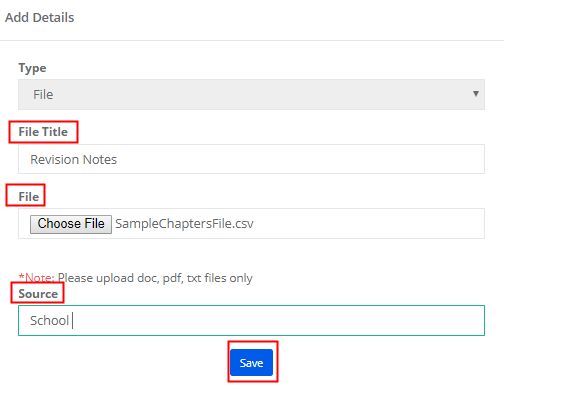
Step 38: Enter the File Title, attach the file, enter the source and click on Save.
Step 39: You can edit or delete the file by clicking on the respective icon.

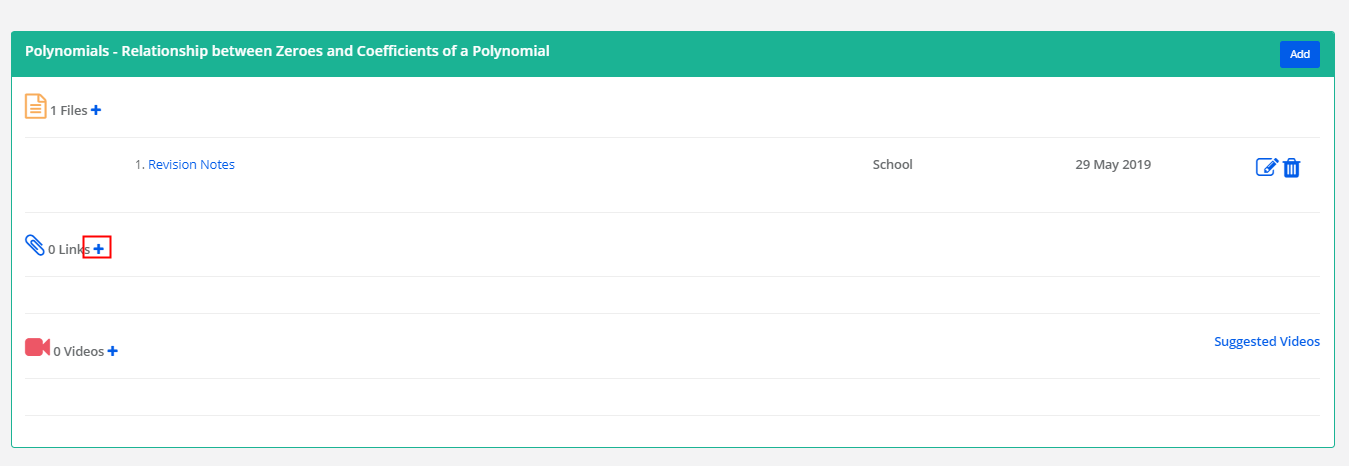
Step 40: To add a link, Click on +sign against the Link option.
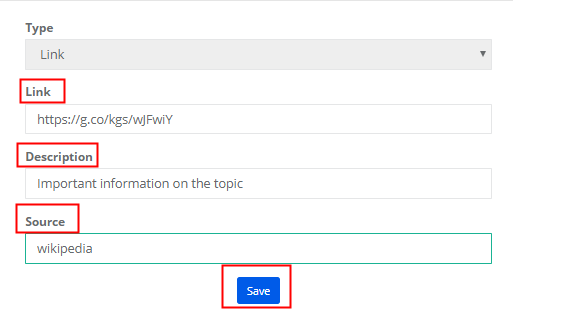
Step 41: Enter the link, description, source and click on Save.
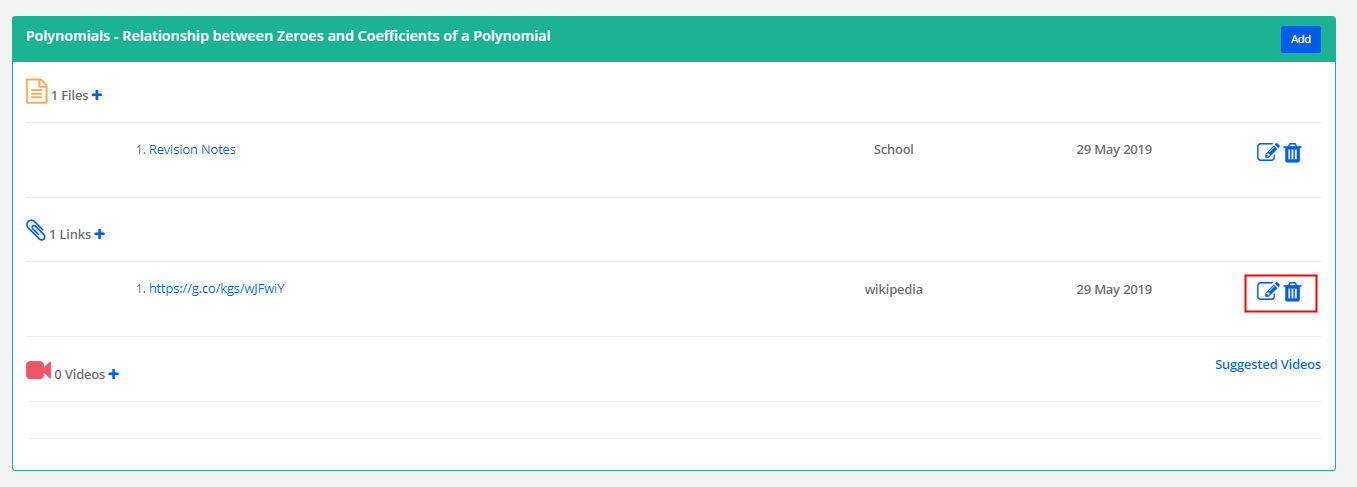
Step 42: You can edit or delete by clicking on the respective icons.
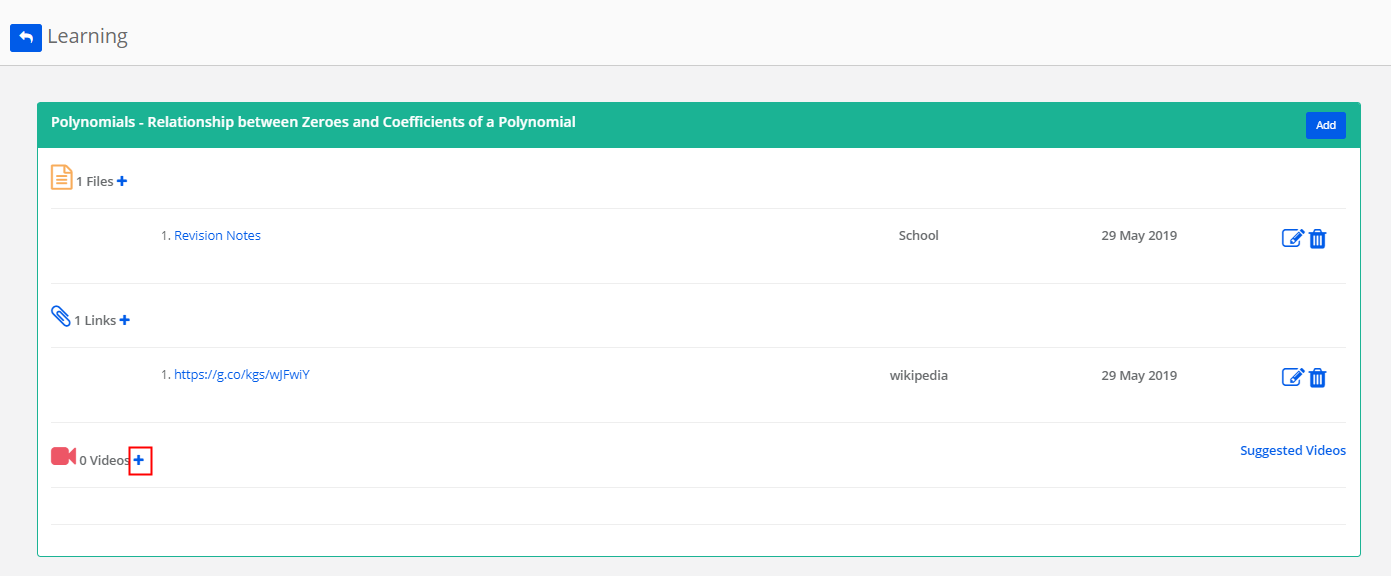
Step 43: To add videos, Click on +Sign against the Videos option.
Step 44: Enter video name, Embedded URL, Sources and click on Save.

Step 45: To add MCB Suggested videos from open source channels, click on suggested videos option.
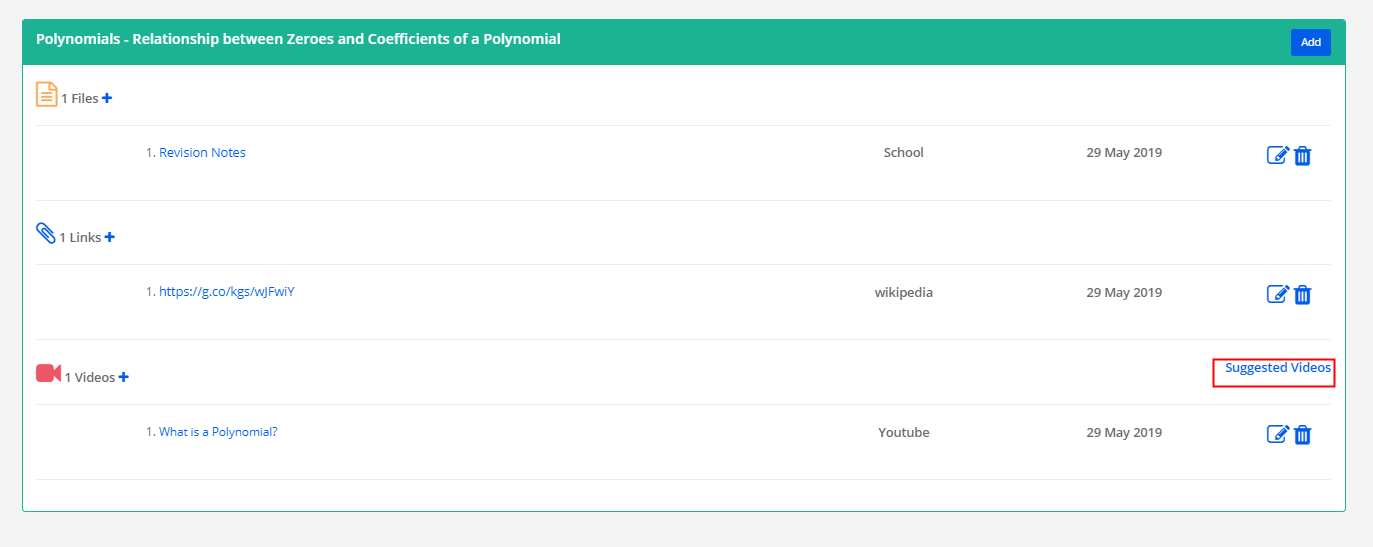
Step 46: Please note the channels from which the videos are steamed. Choose the videos that you would like to add them as resources for students and click on Save.

Step 47: You may edit or delete the videos by clicking on the respective icons.

Step 48: As you go back to the topics page, it clearly displays the number of resources available against their respective icons.
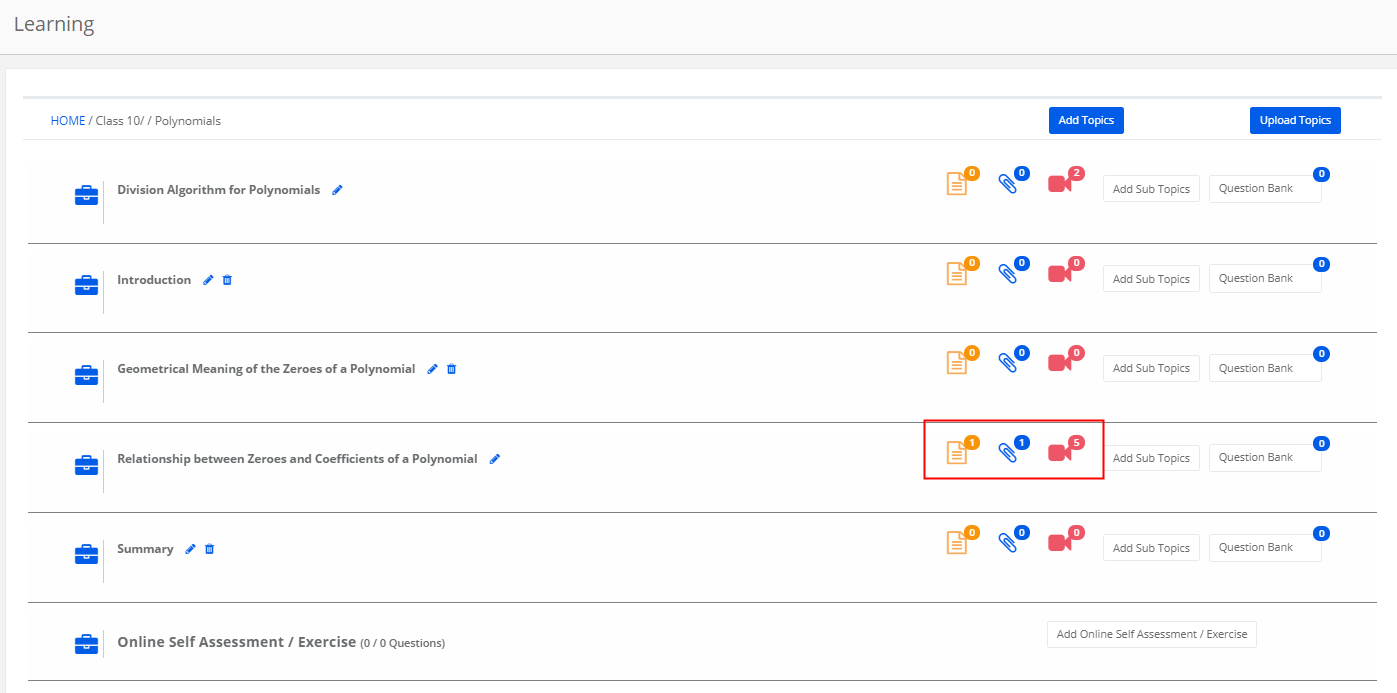
Step 49: To add questions to the topic, click on Question bank.
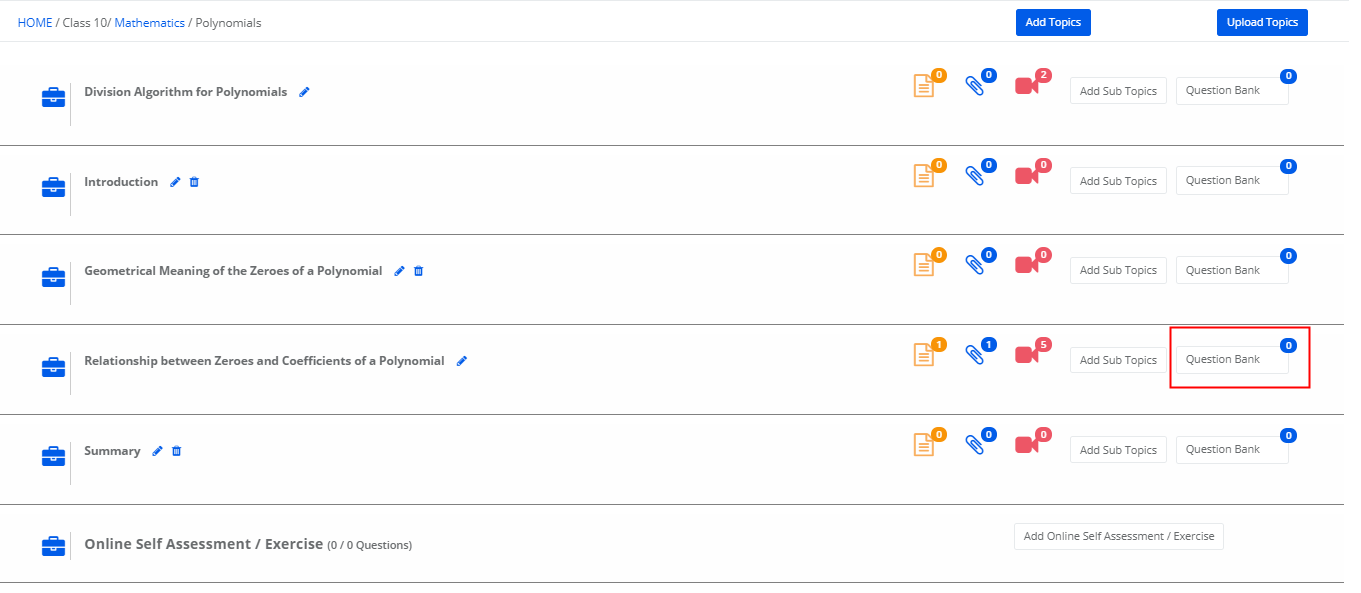
Step 50: Click on +Question and repeat step 21.

Step 51: When the question is added, you can find them in the count against the topic.

Create a Self Assessment:
Step 52: To create self Assessment or Exercise for the students to practice from their login, Click on Add online Self Assessment / Exercise.
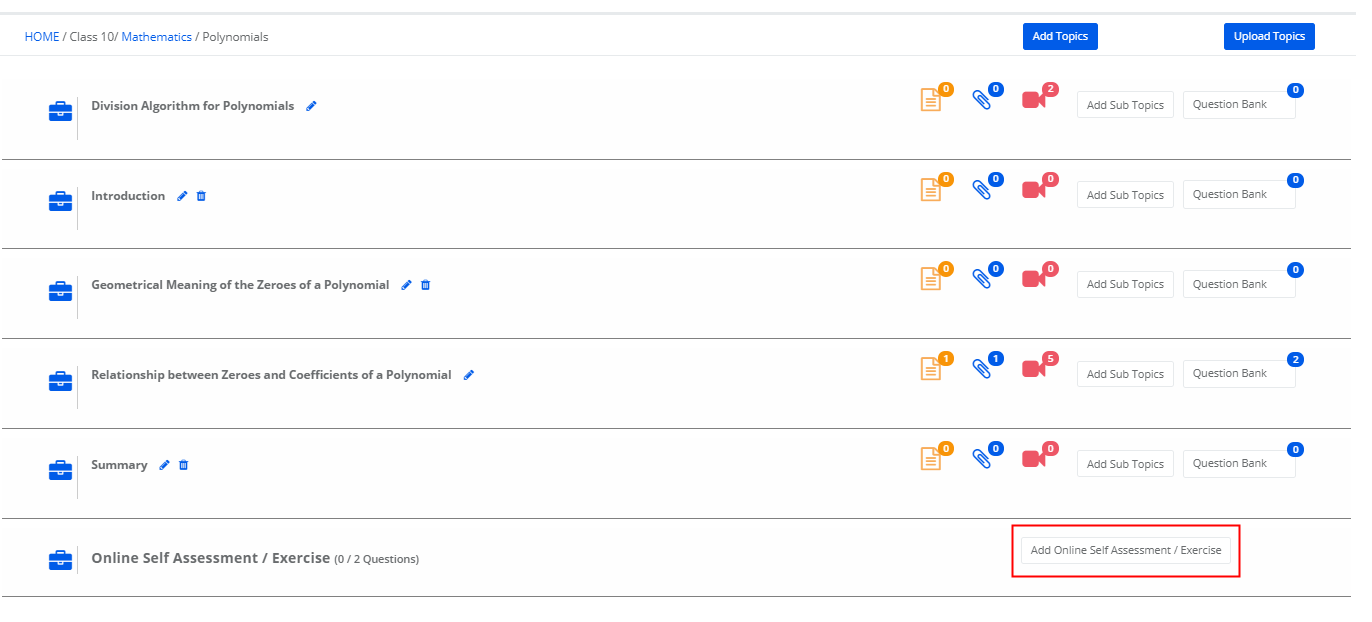
Step 53: Choose the questions available for the chapter and click on Save.
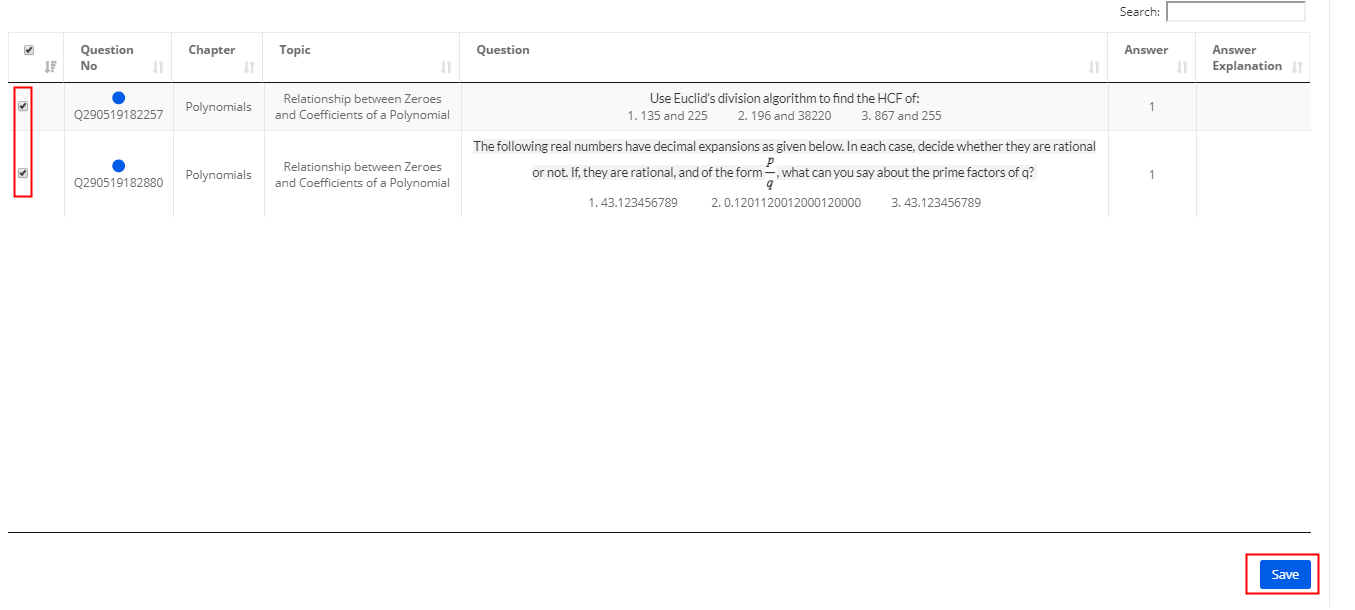
Step 54: To edit the online Self Assessment / Exercise, Click on Manage online Self Assessment / Exercise.

Step 55: Make the required changes and click on Save.
