Step 1: Login to MCB
Step 2: Click on “User Profile” icon on the right-hand top corner and select “Settings”.
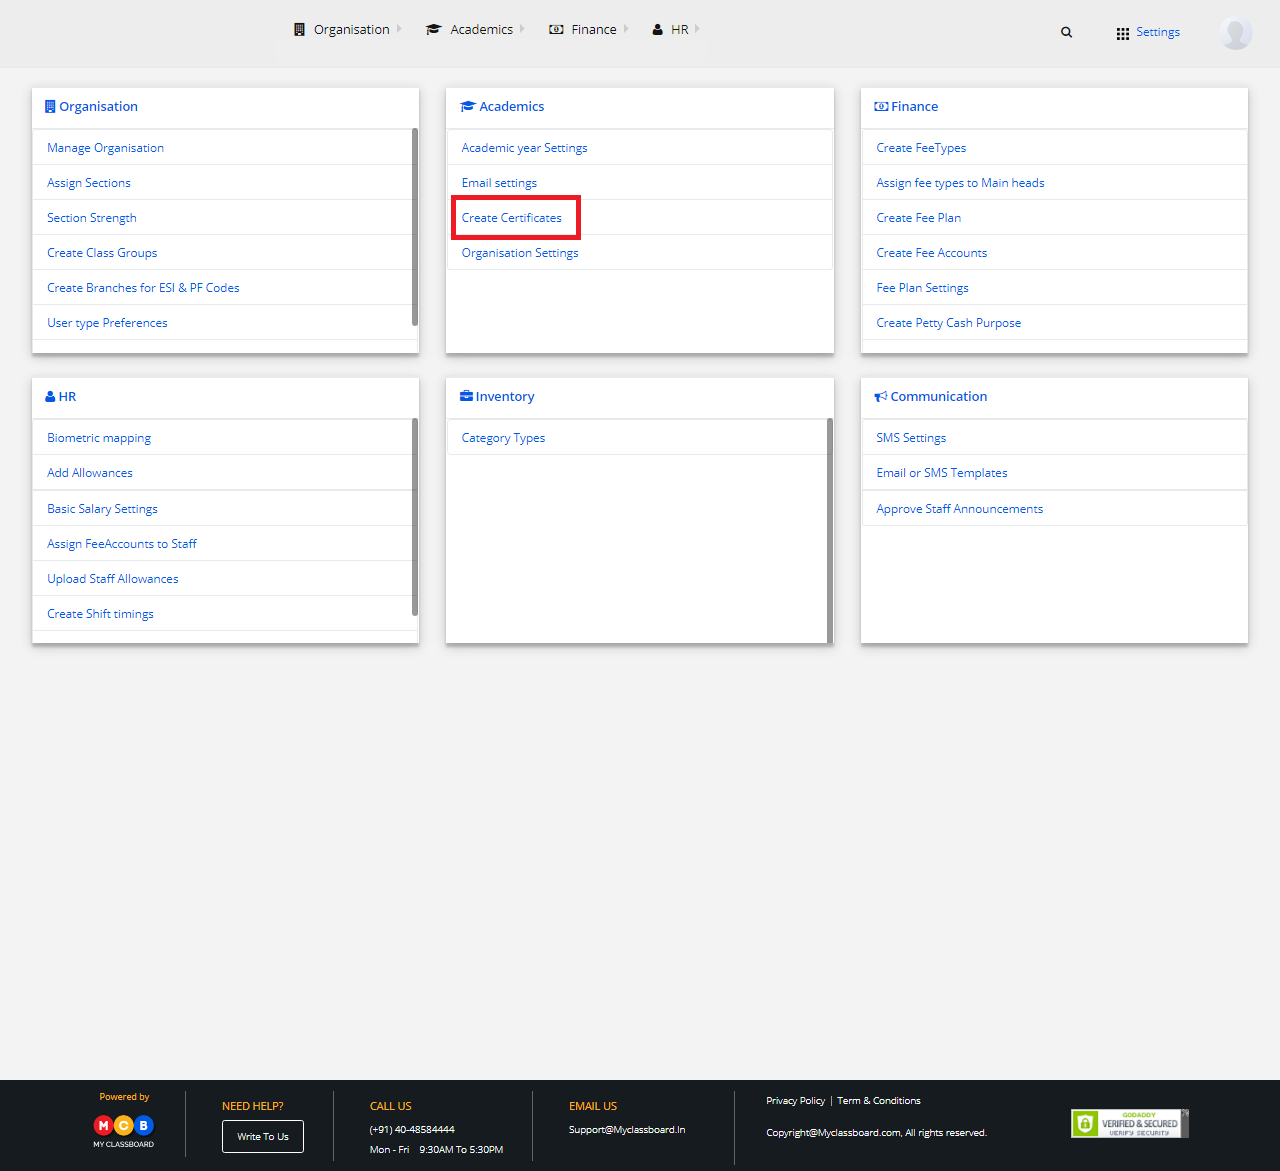
Step 3: Select Academics and click on “Create Certificate”.

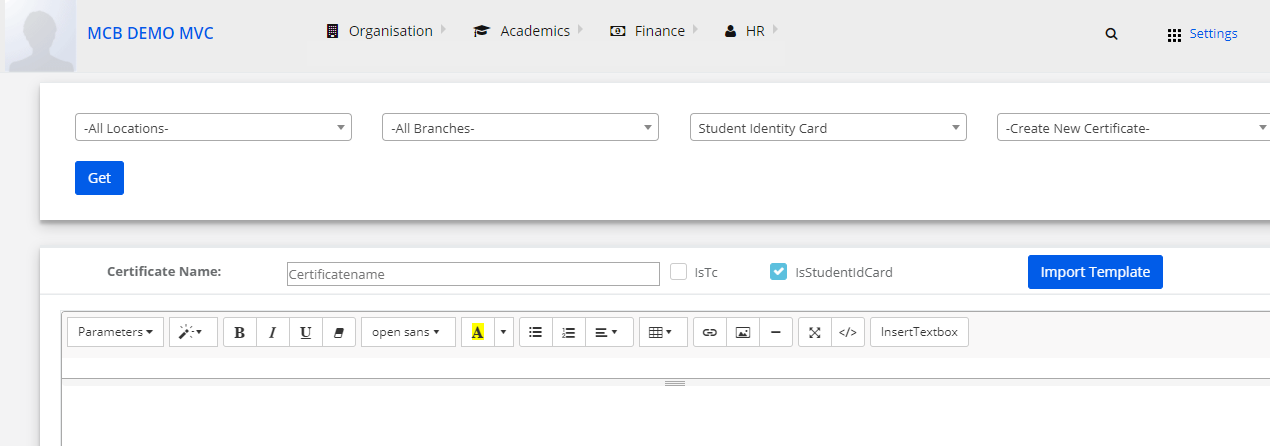
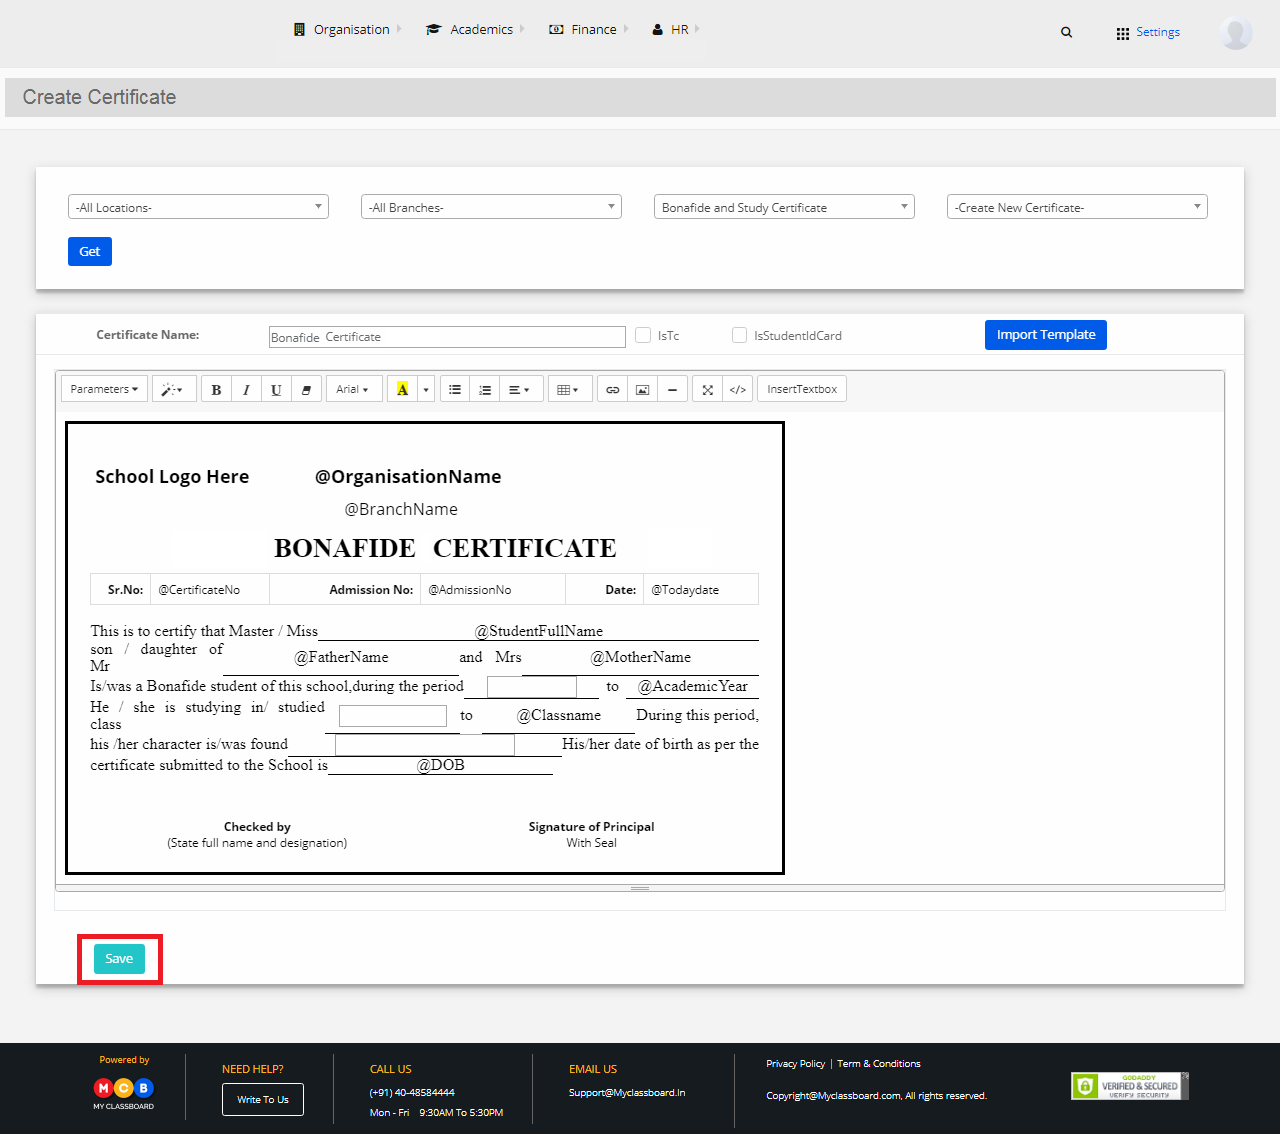
Step 4: Select the required options here(Location, Branch, Certificate Type) and click on “Get”.
(In Certificate type, please select “Bonafide Certificate”)
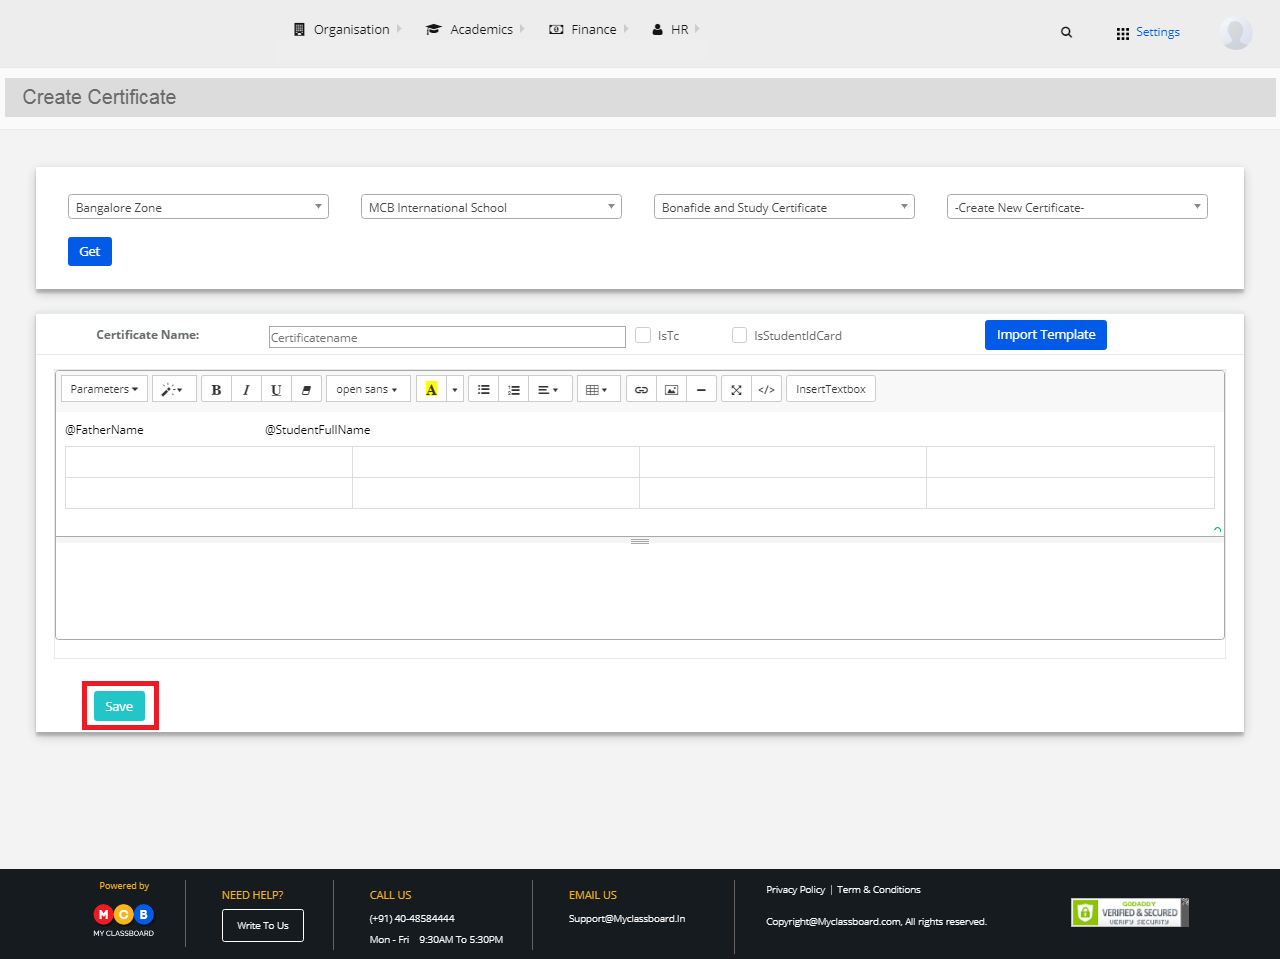
Step 5: Give Certificate name and choose your parameters to be included in the certificate by clicking on the “Parameters” button and create a certificate in your desired format.

Step 6: After designing, click on “Save”. The Bonafide Certificate is generated and saved.
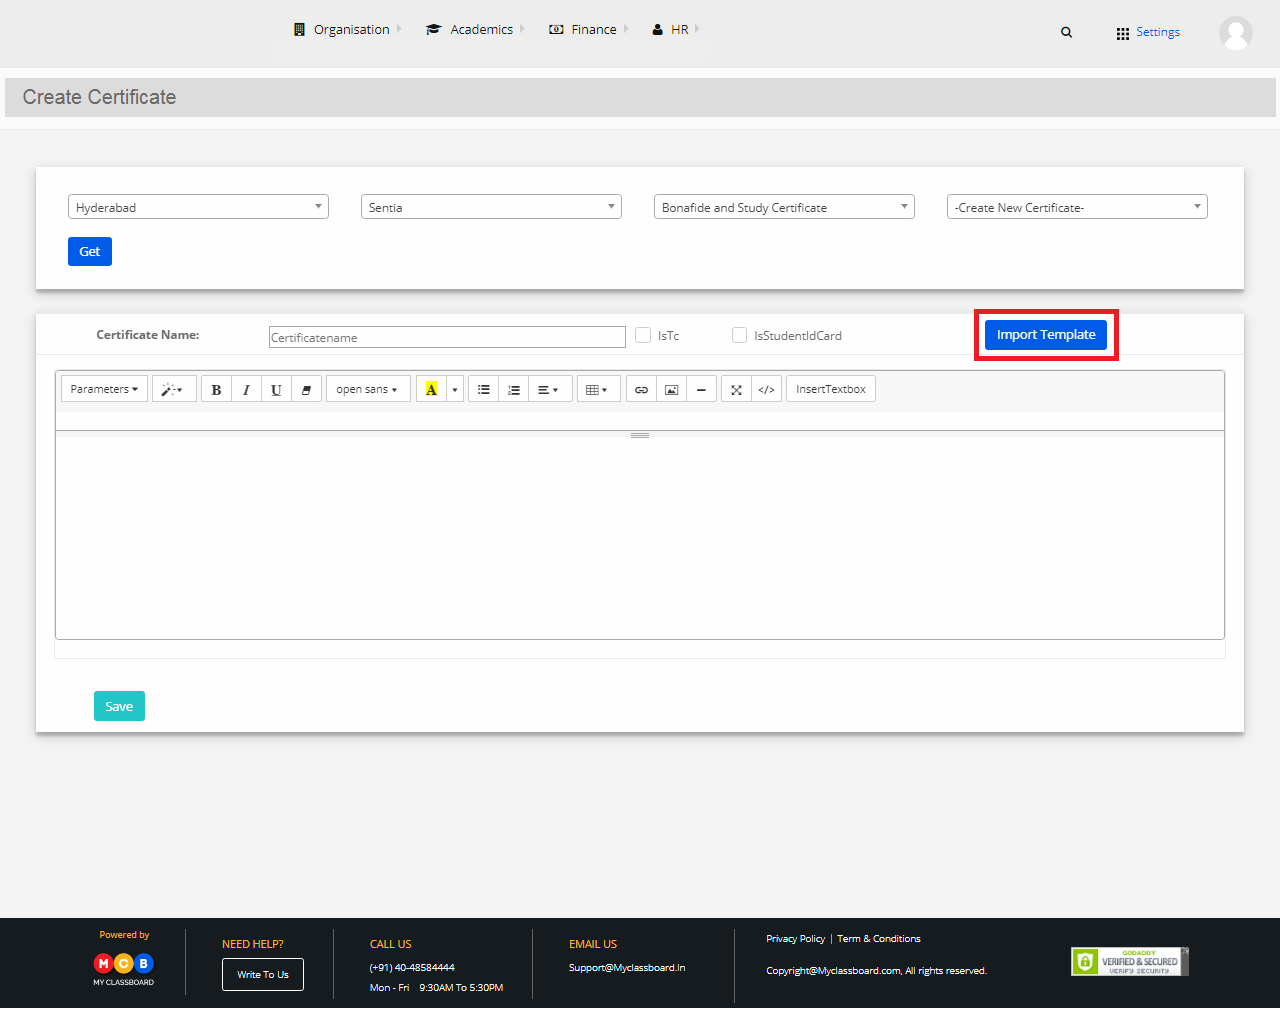
Step 7: If you want to import the template from the previous academic years, click on “Import Template”.
Step 8: Choose your template that meets your requirements and select “Use this template”.
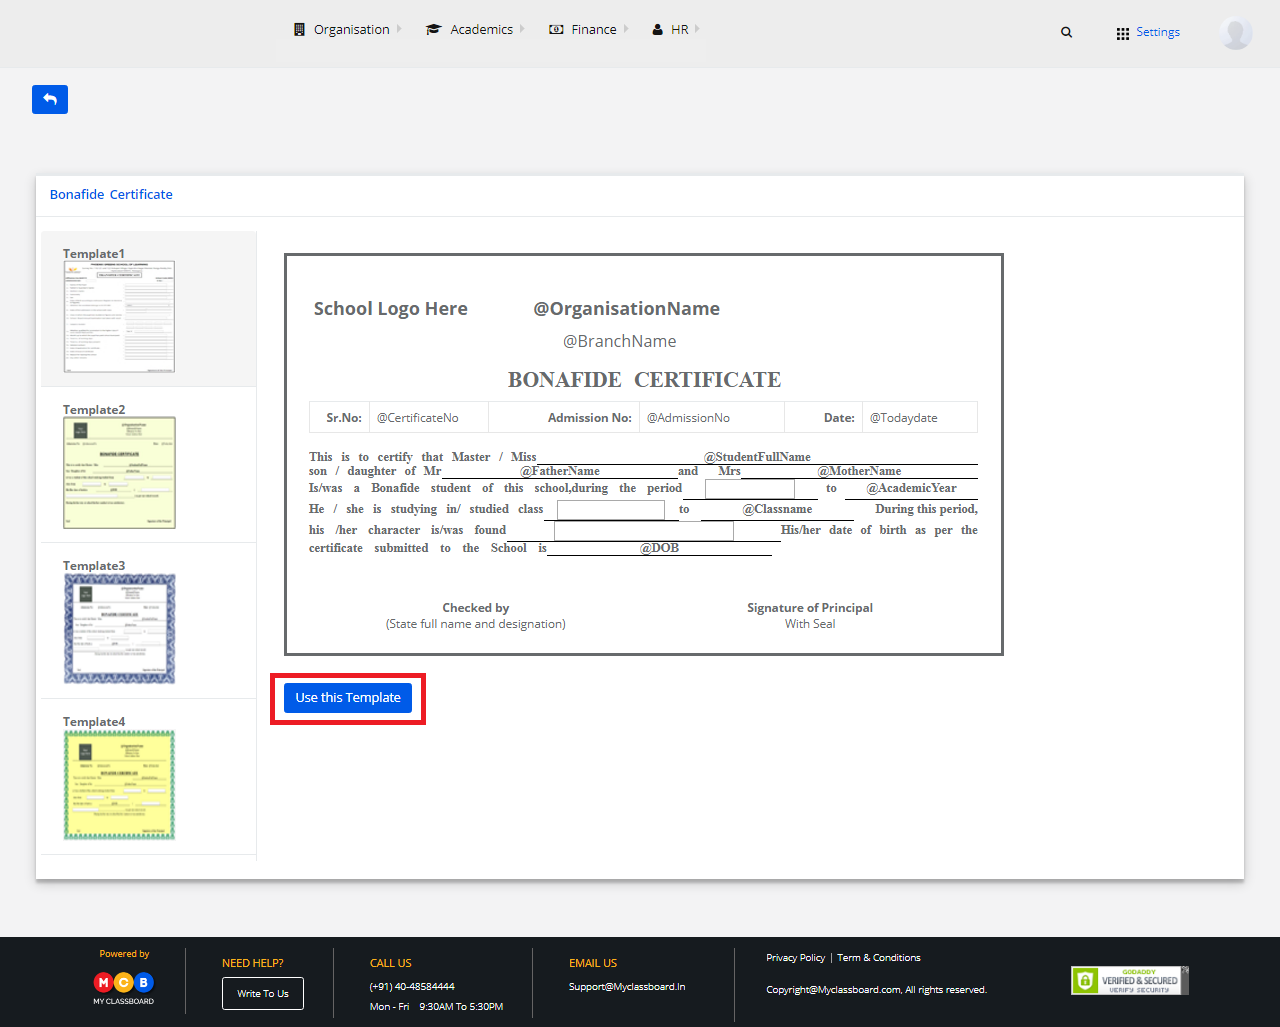
Step 9: The template is successfully imported. Edit the fields by choosing the required options from parameters tab, format the text and alignments from the tools available and click on Save.
Generate Bonafide Certificate
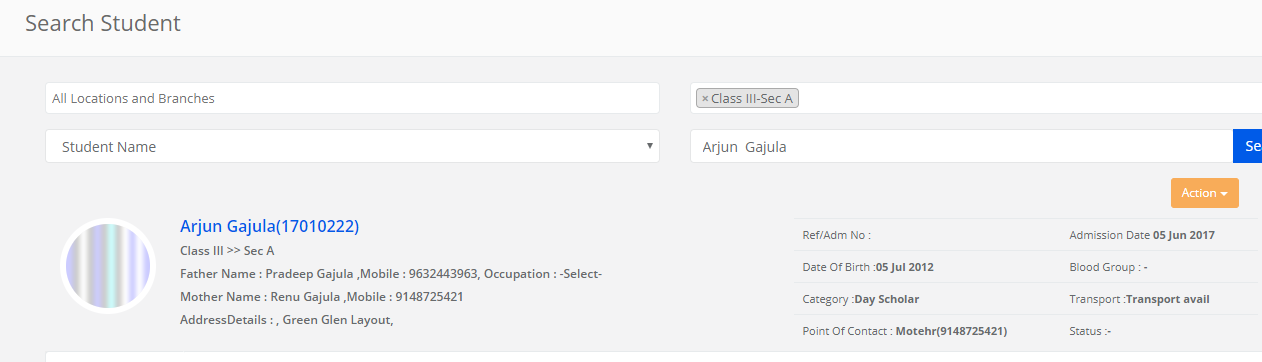
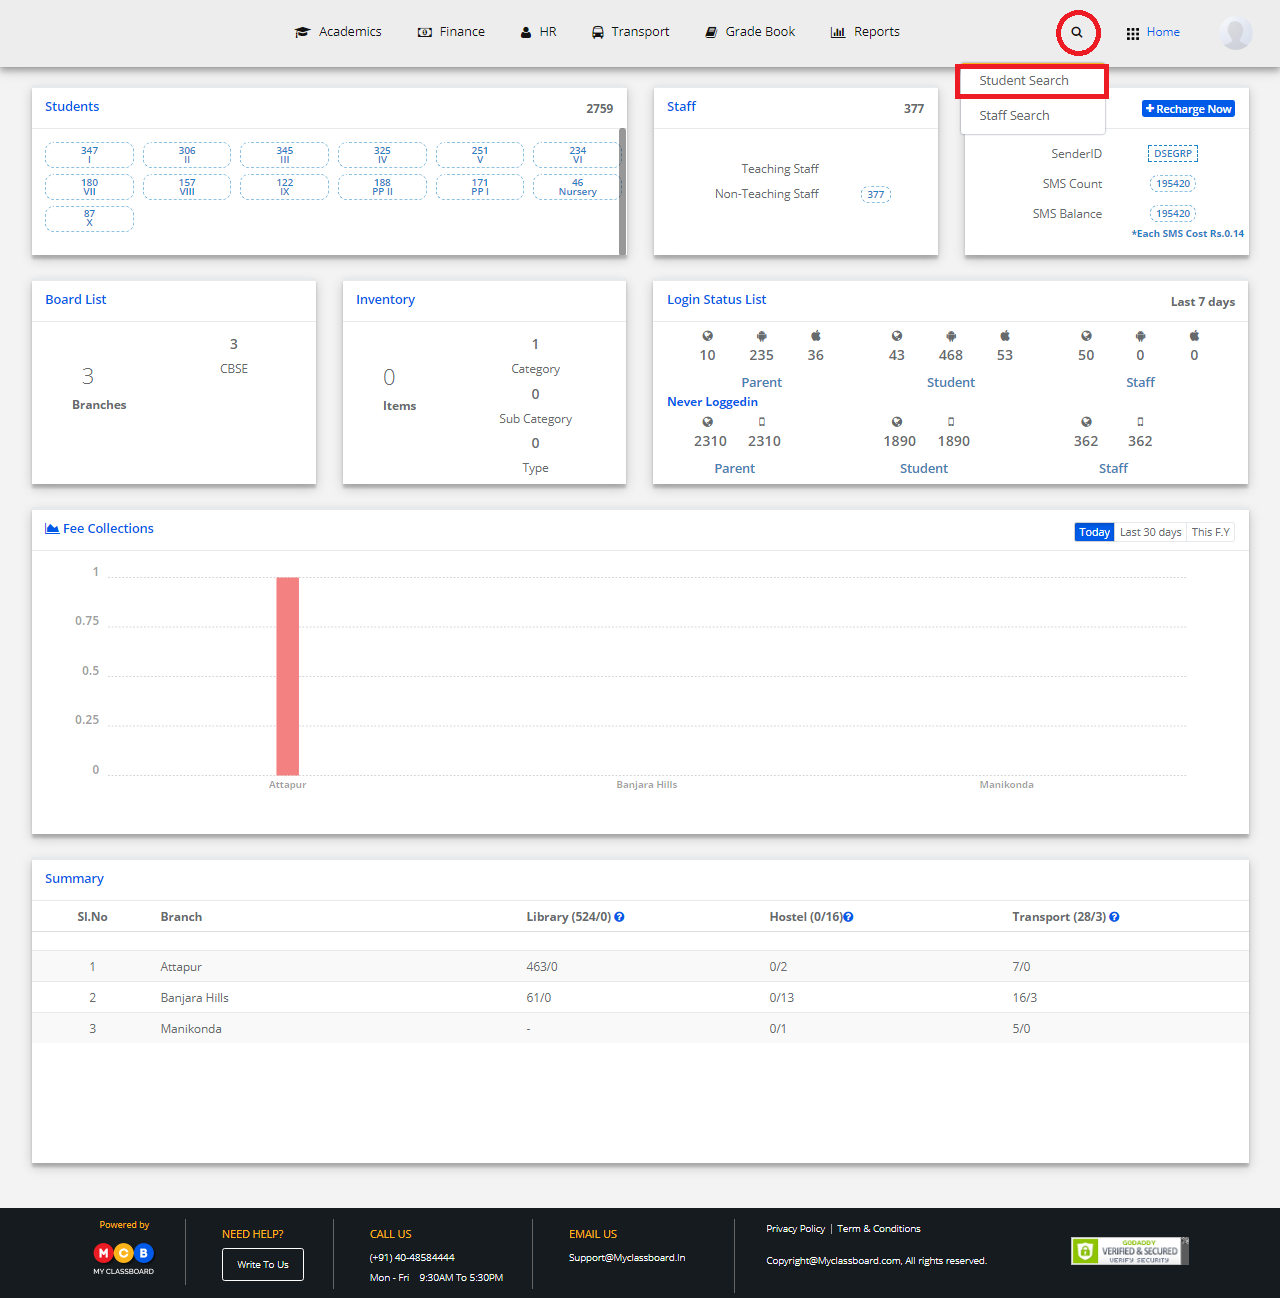
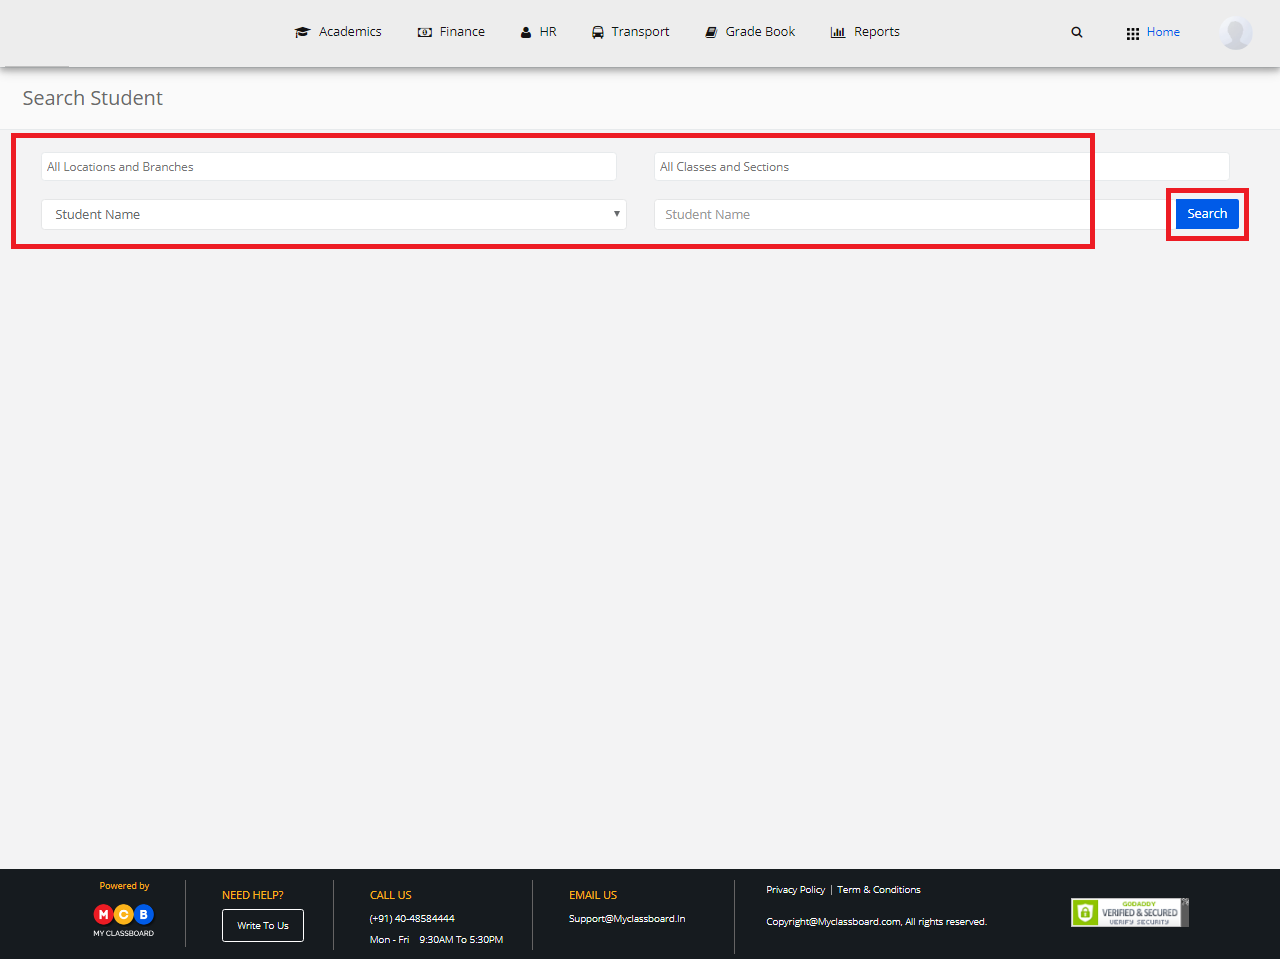
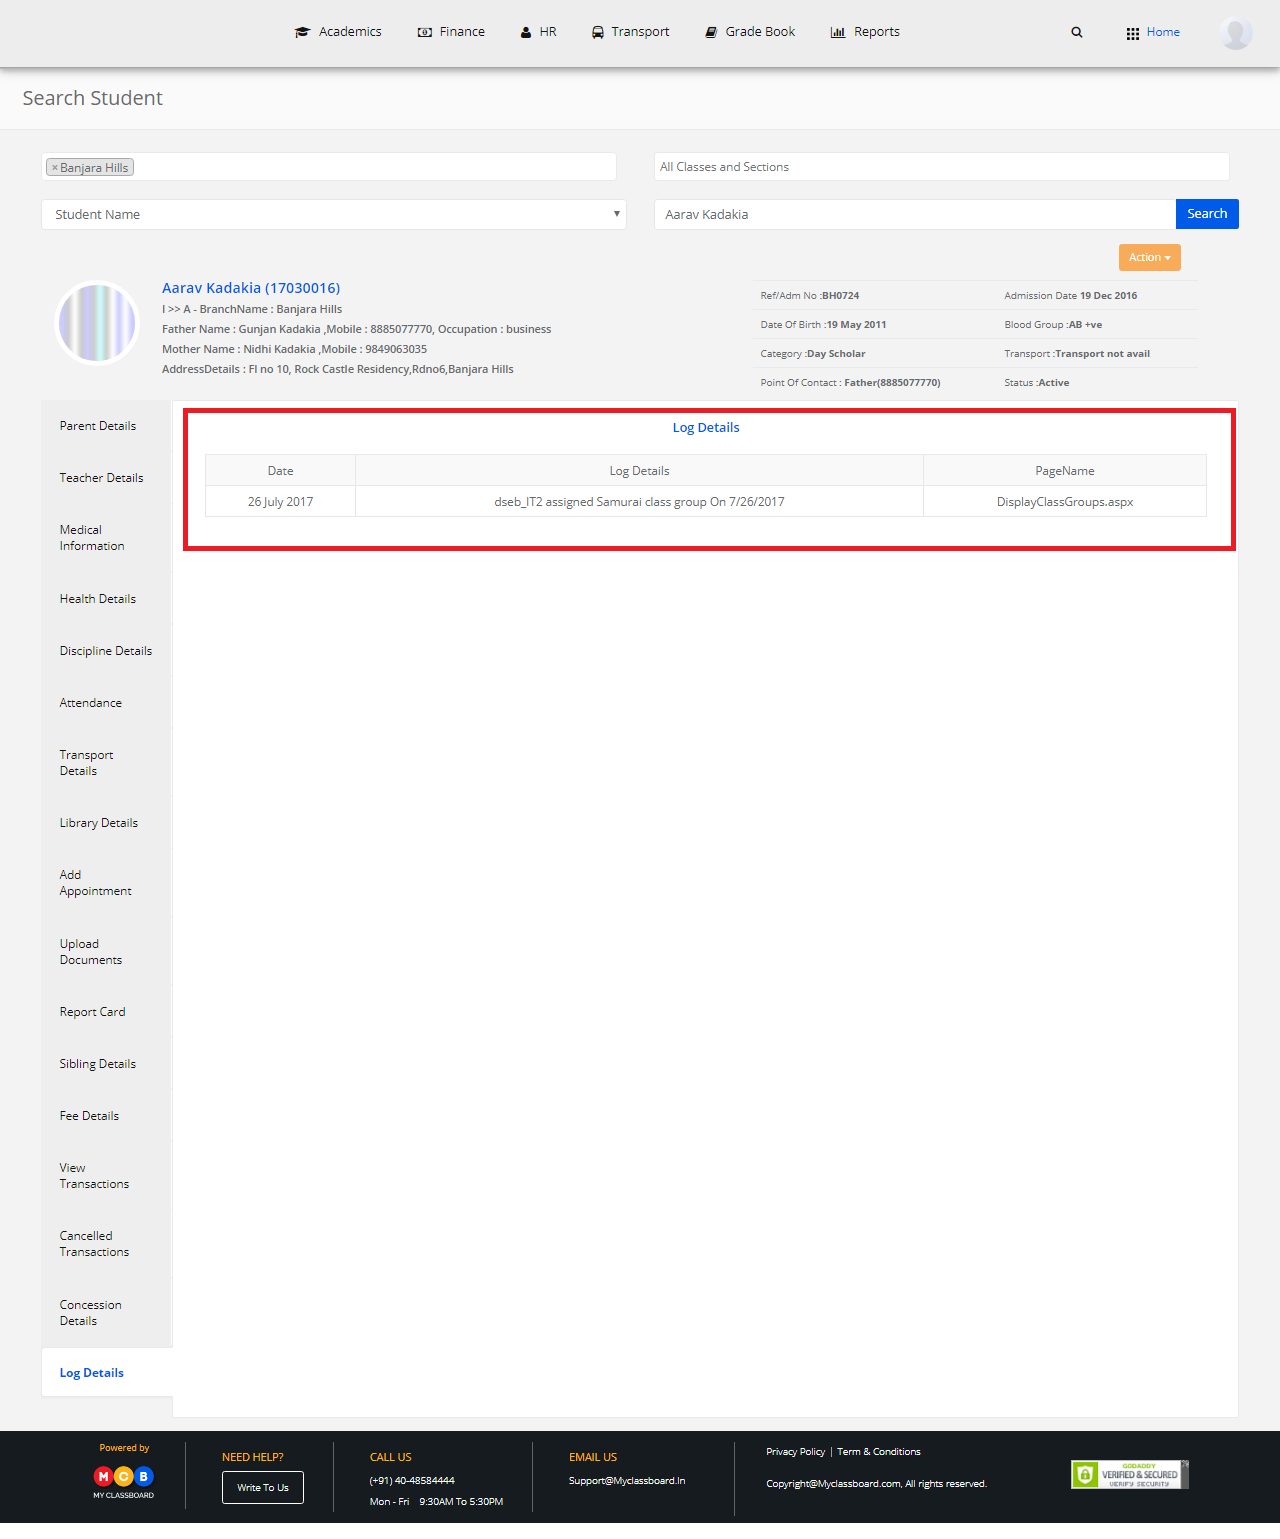
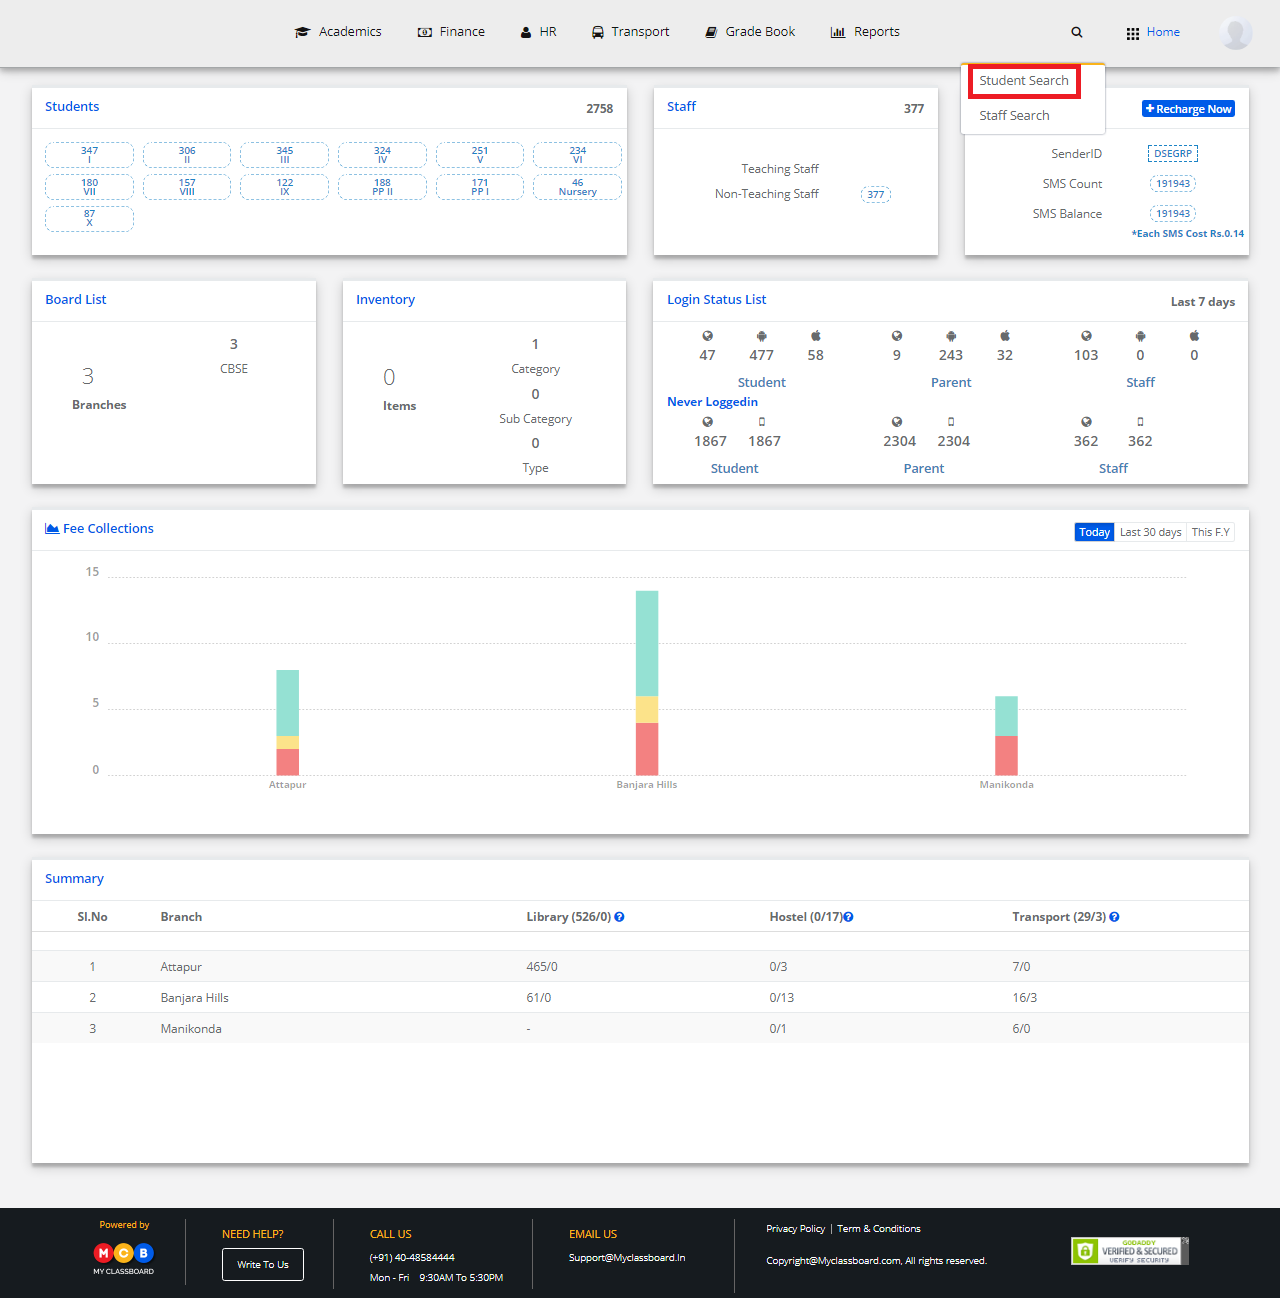
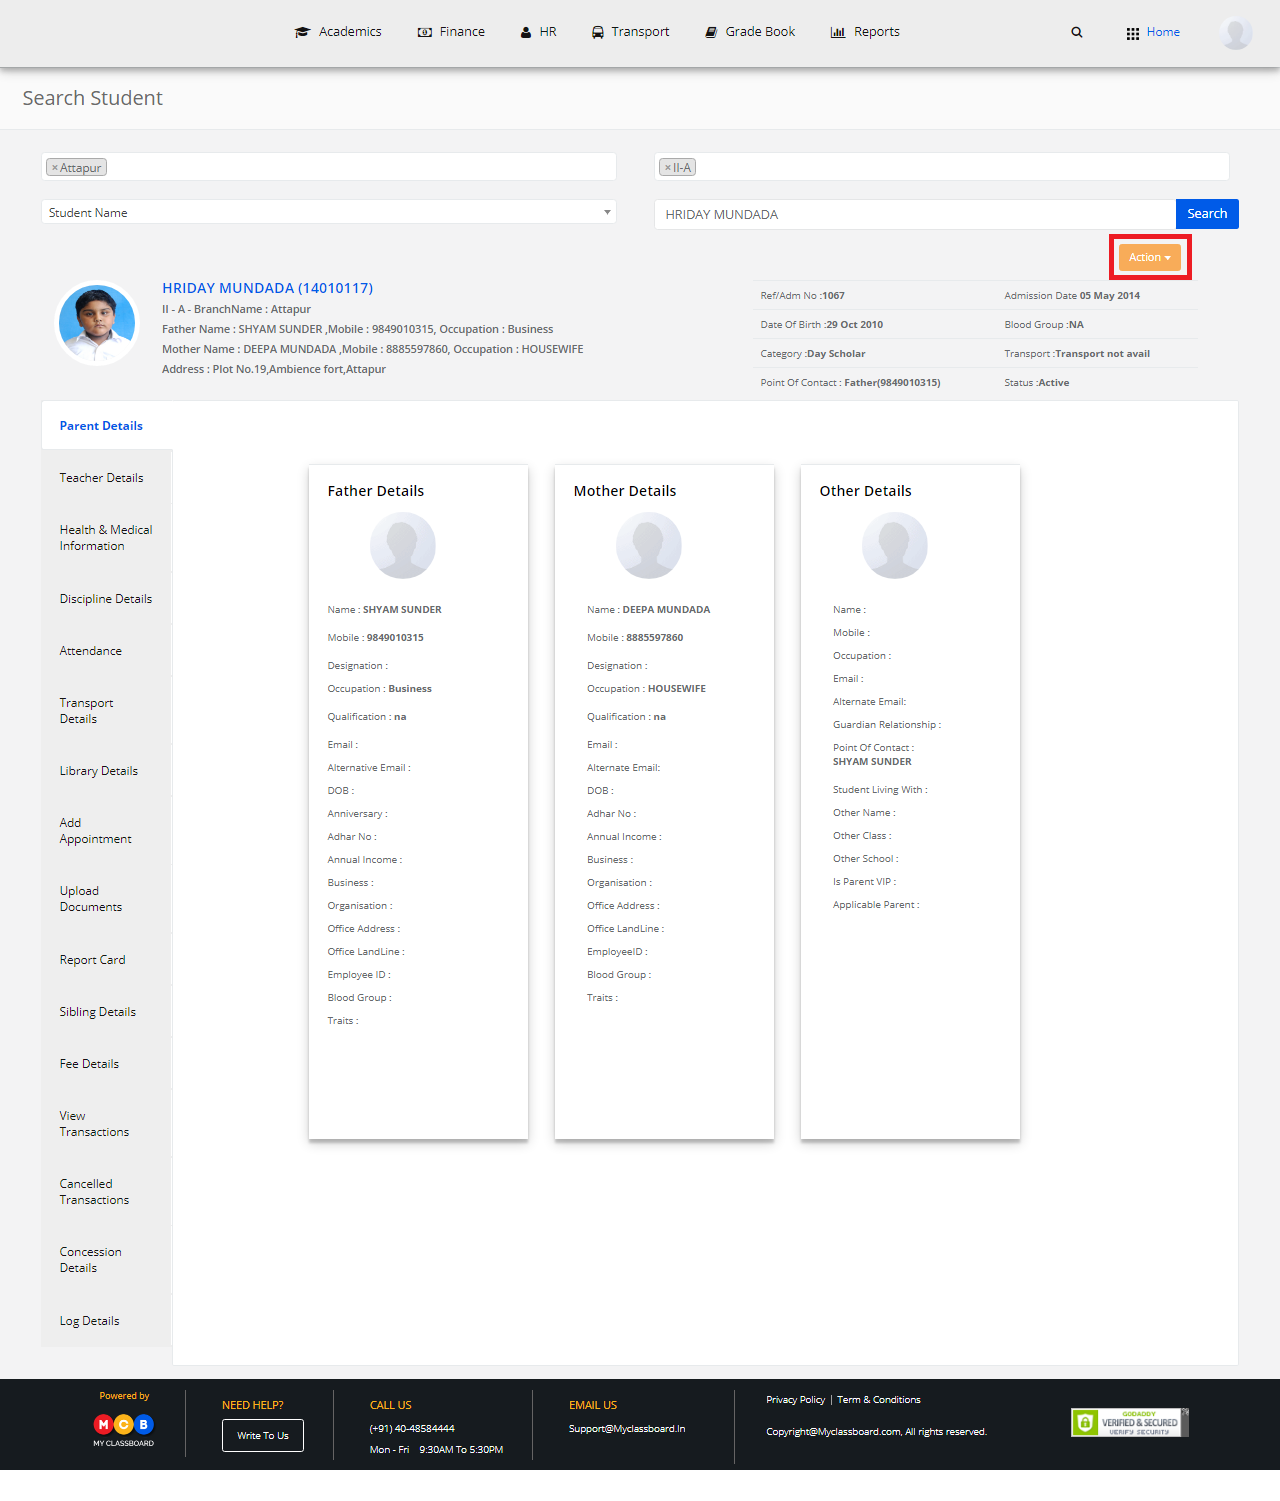
Step 10: To generate Bonafide Certificate – search for the student.
Step 11: Click on Action
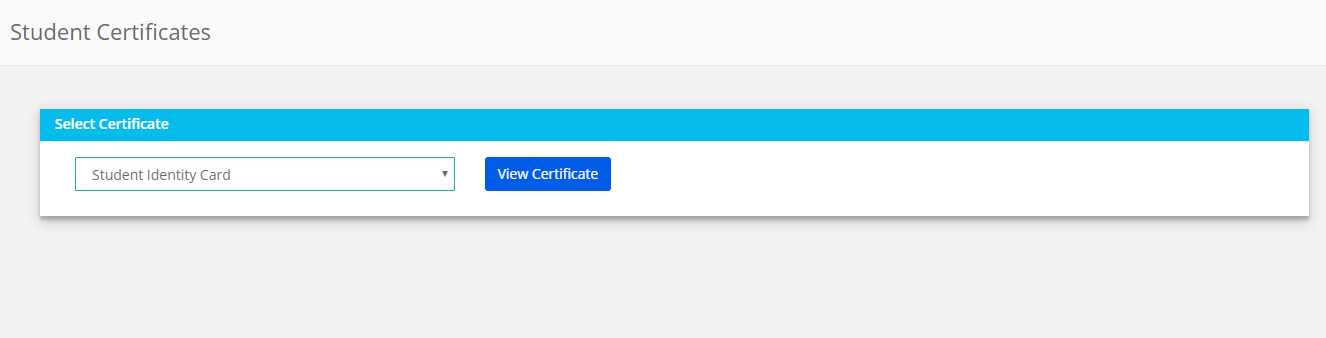
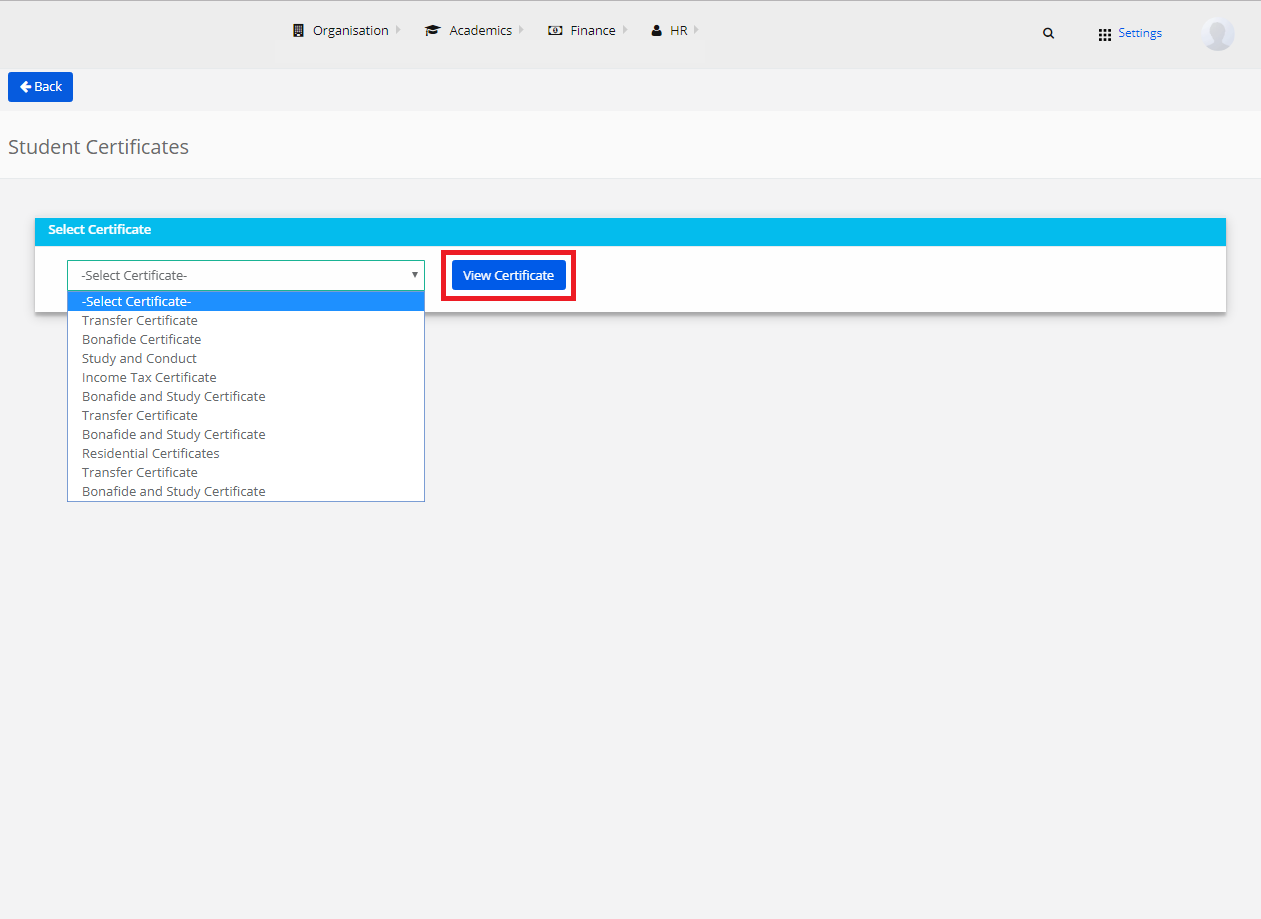
Step 12: Choose Student Certificates
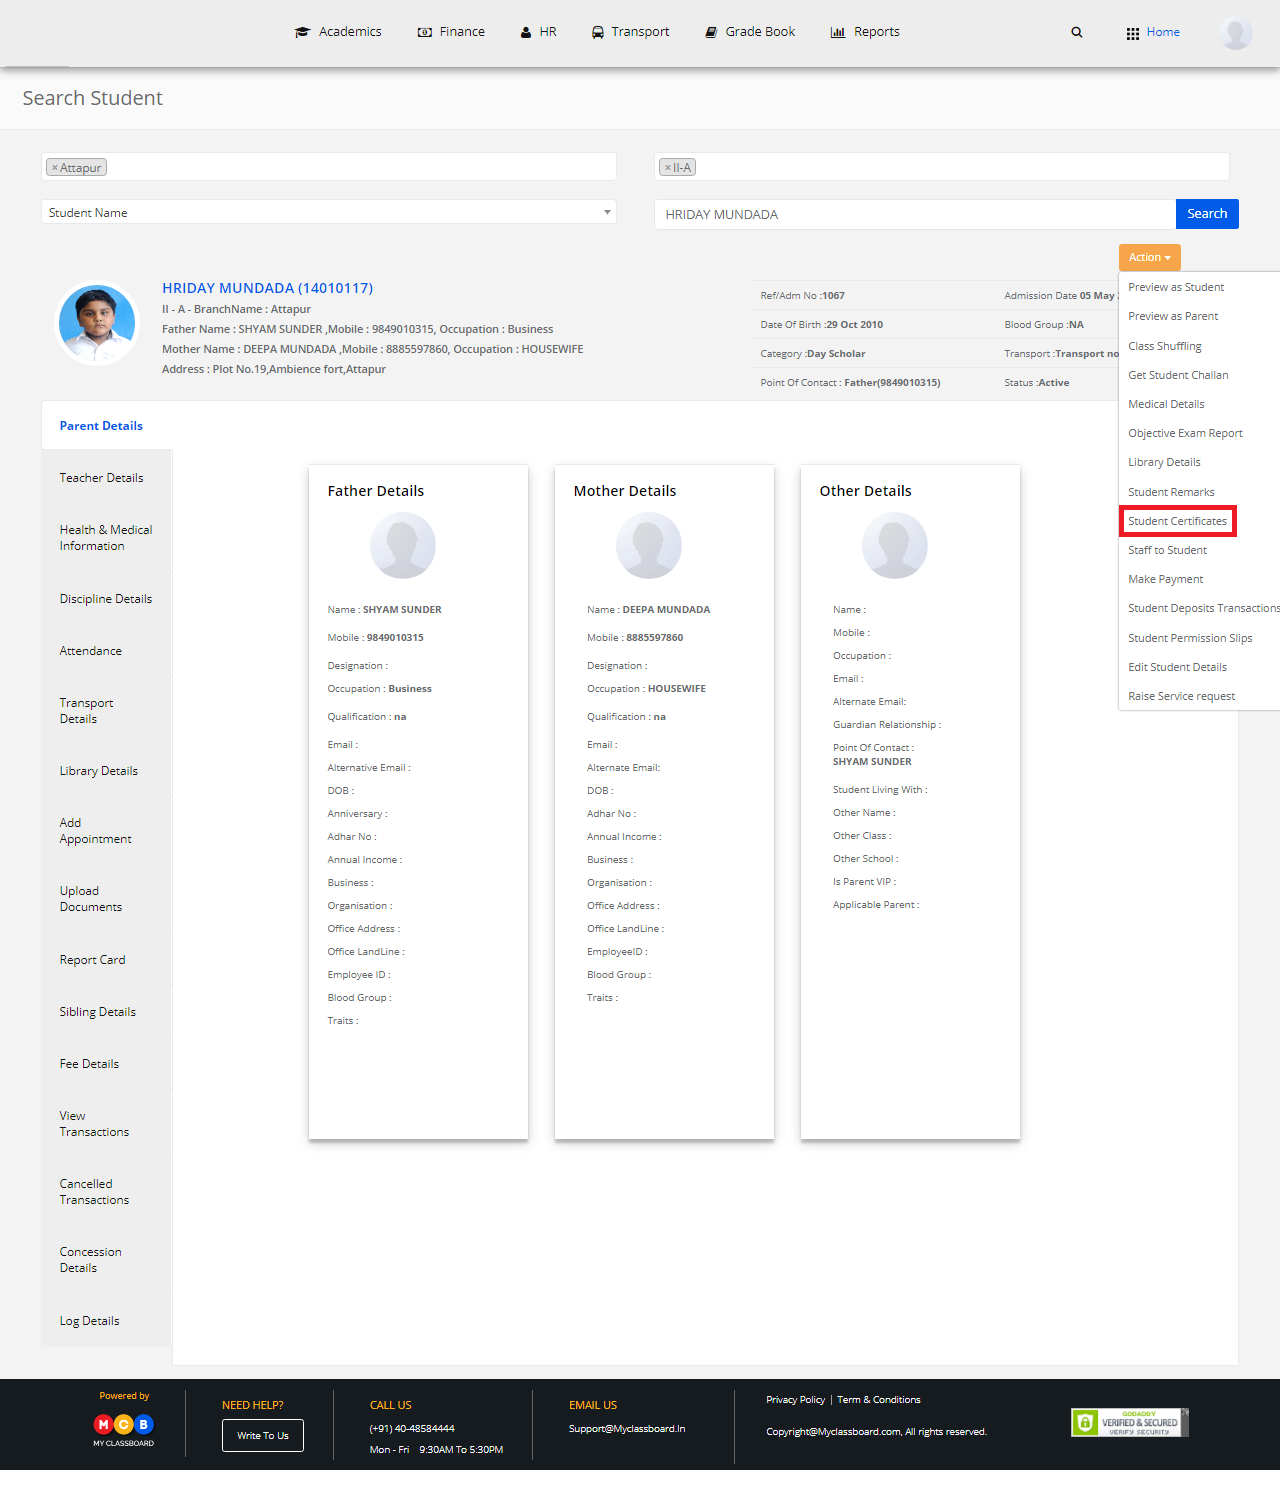
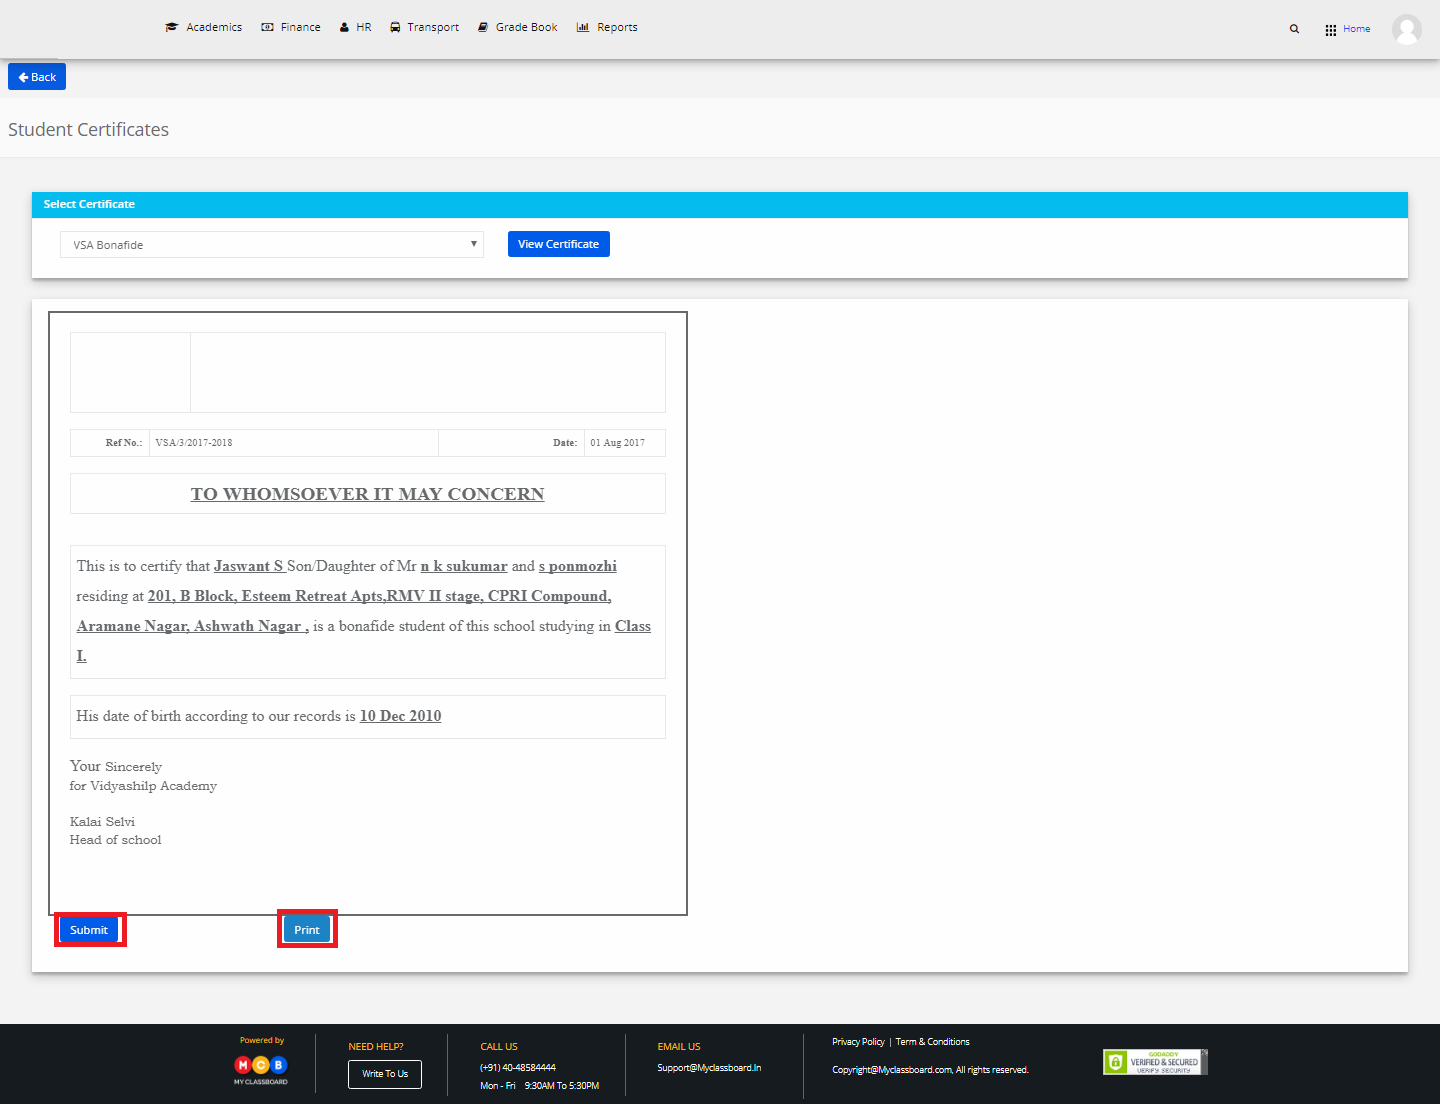
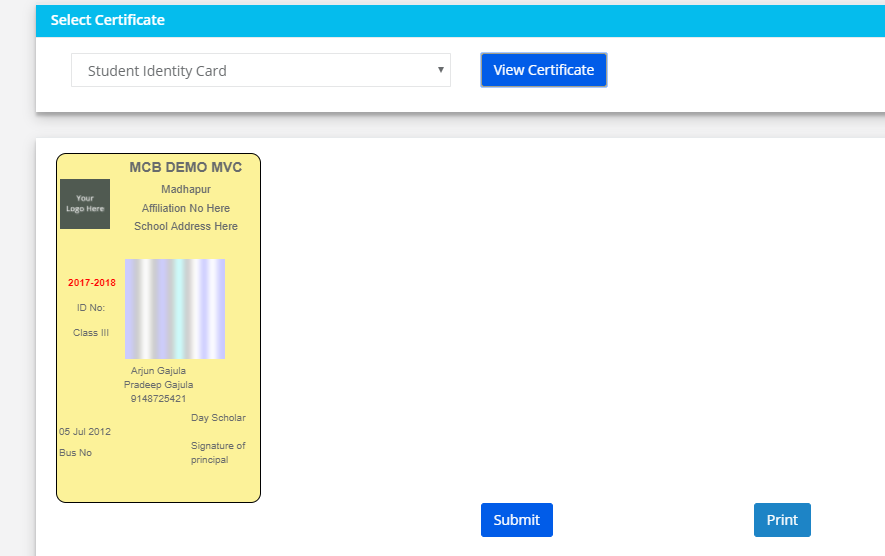
Step 13: Select Certificate Name and click on view certificate
Step 14: You may save it or print it directly.