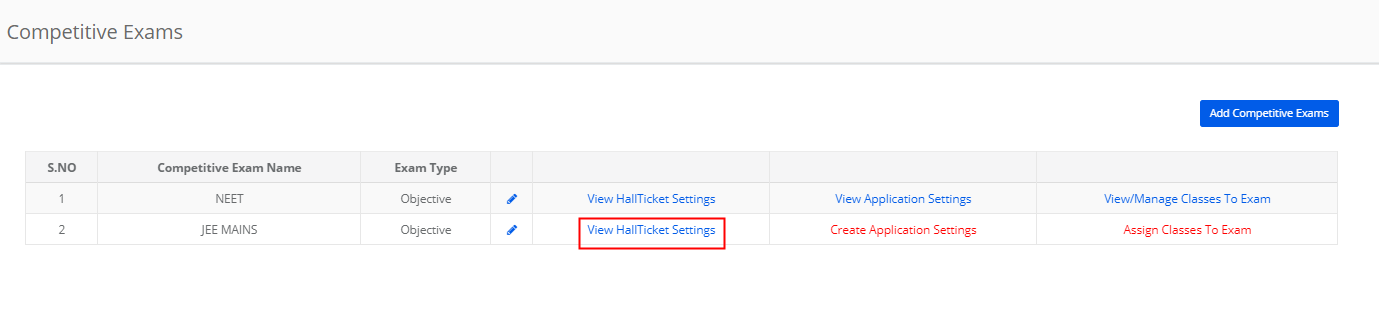
The exam last date setting is linked with the marks entry access. Marks entry for the test is allowed until the date set for Exam Last date. Tests marks entry is locked beyond the date set for the exam the last sate.
To make the settings, pls follow the steps mentioned below.
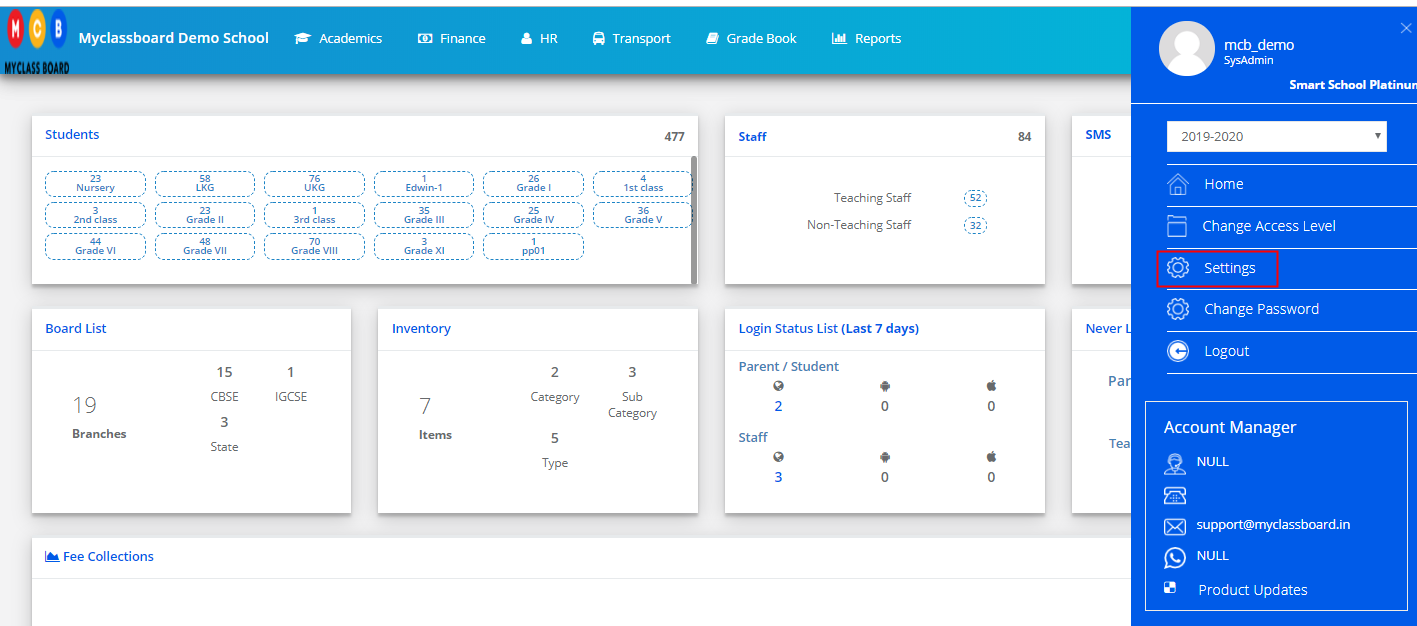
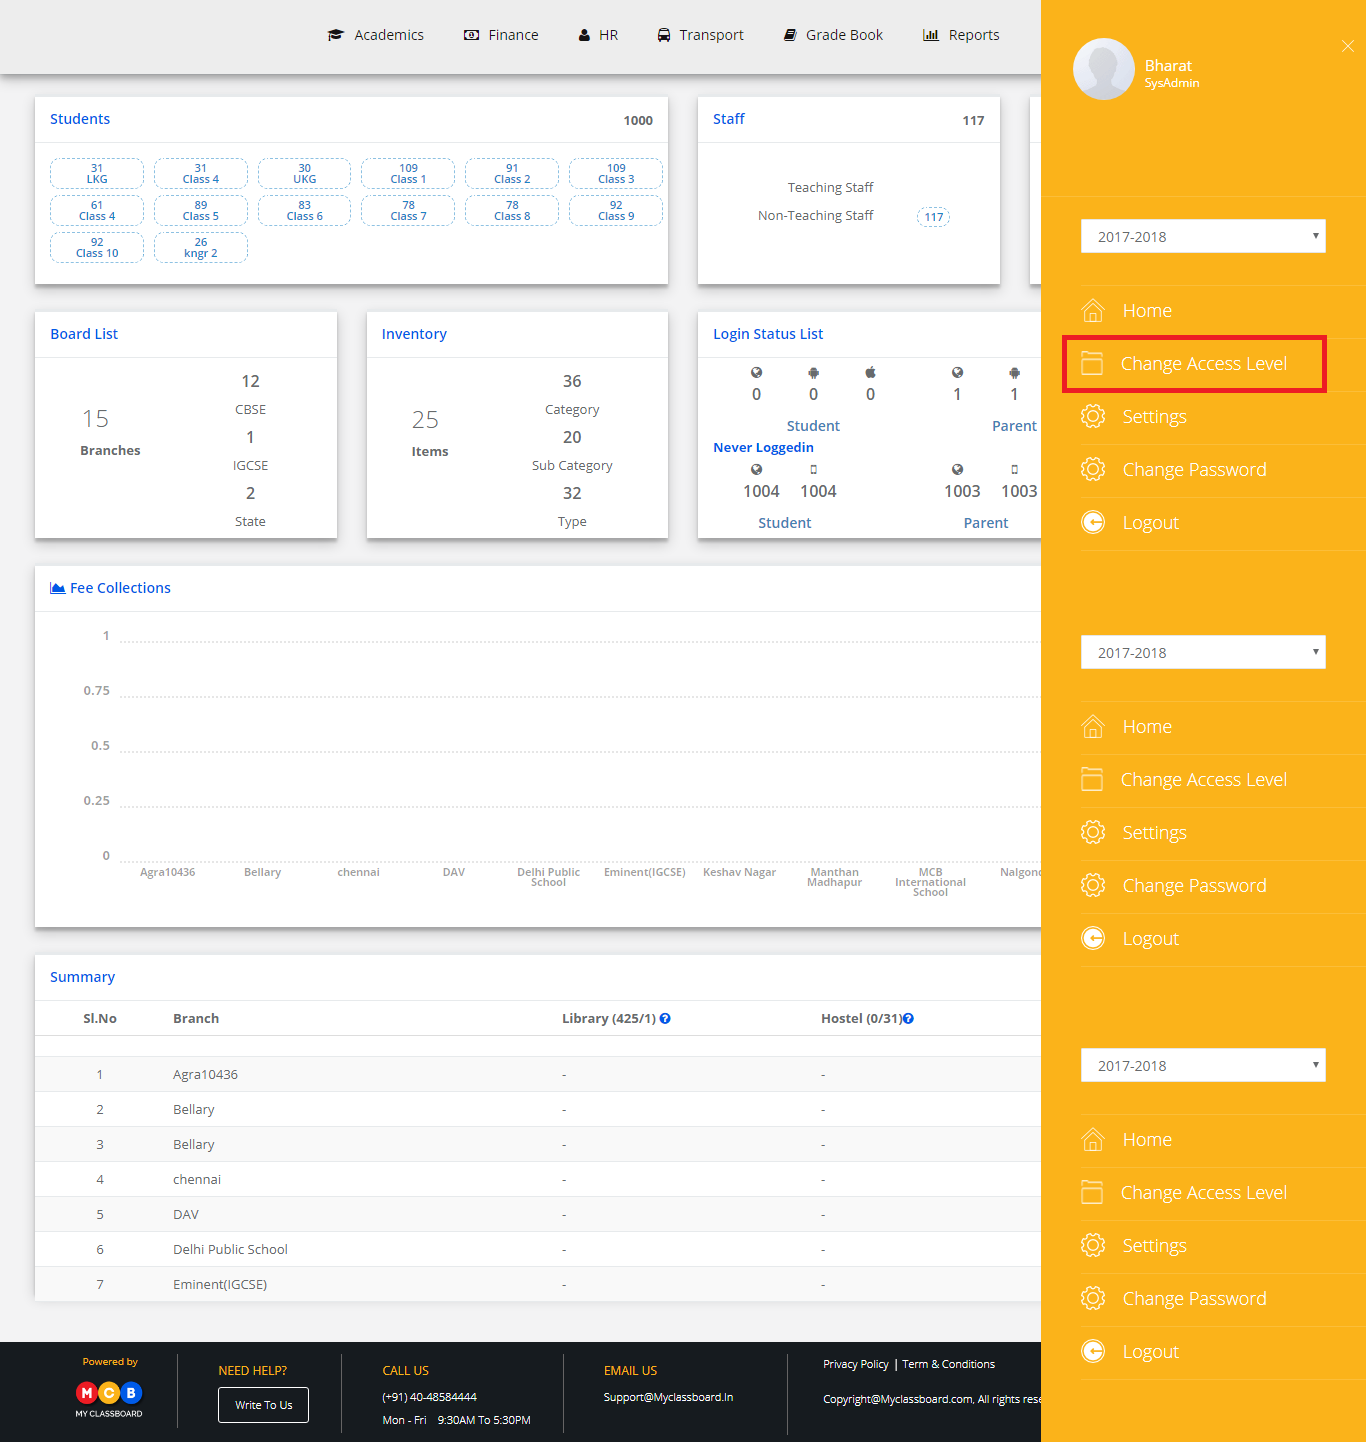
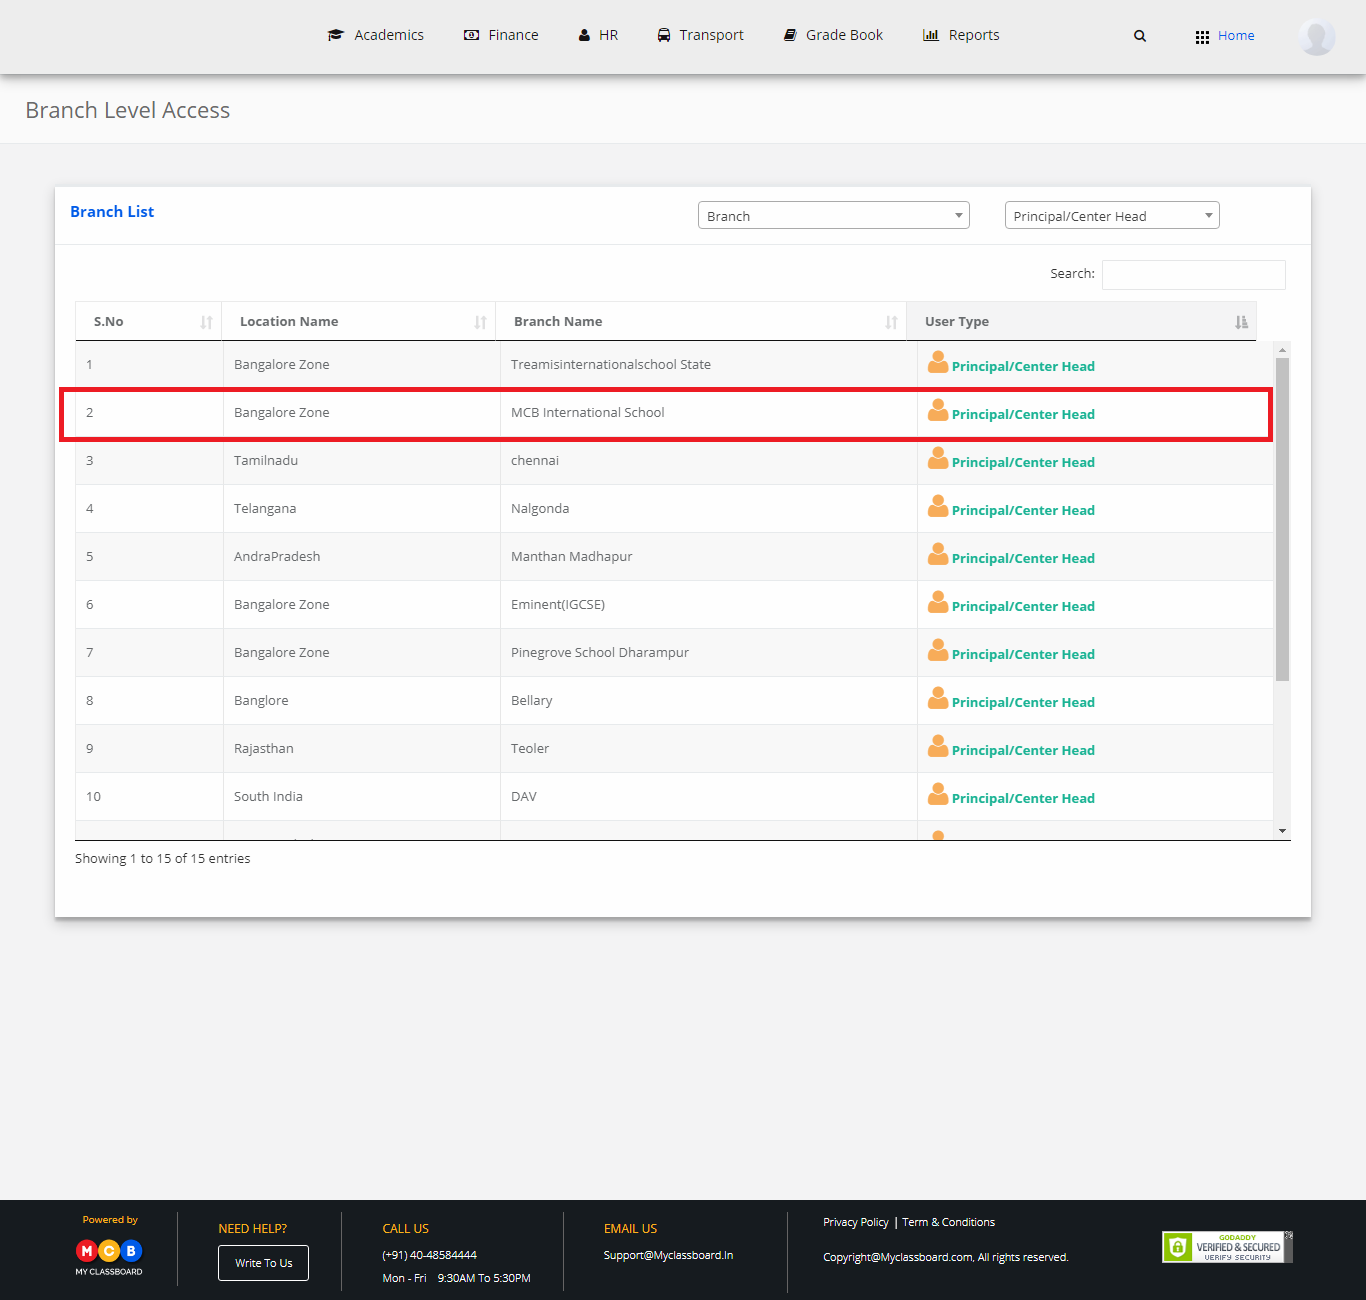
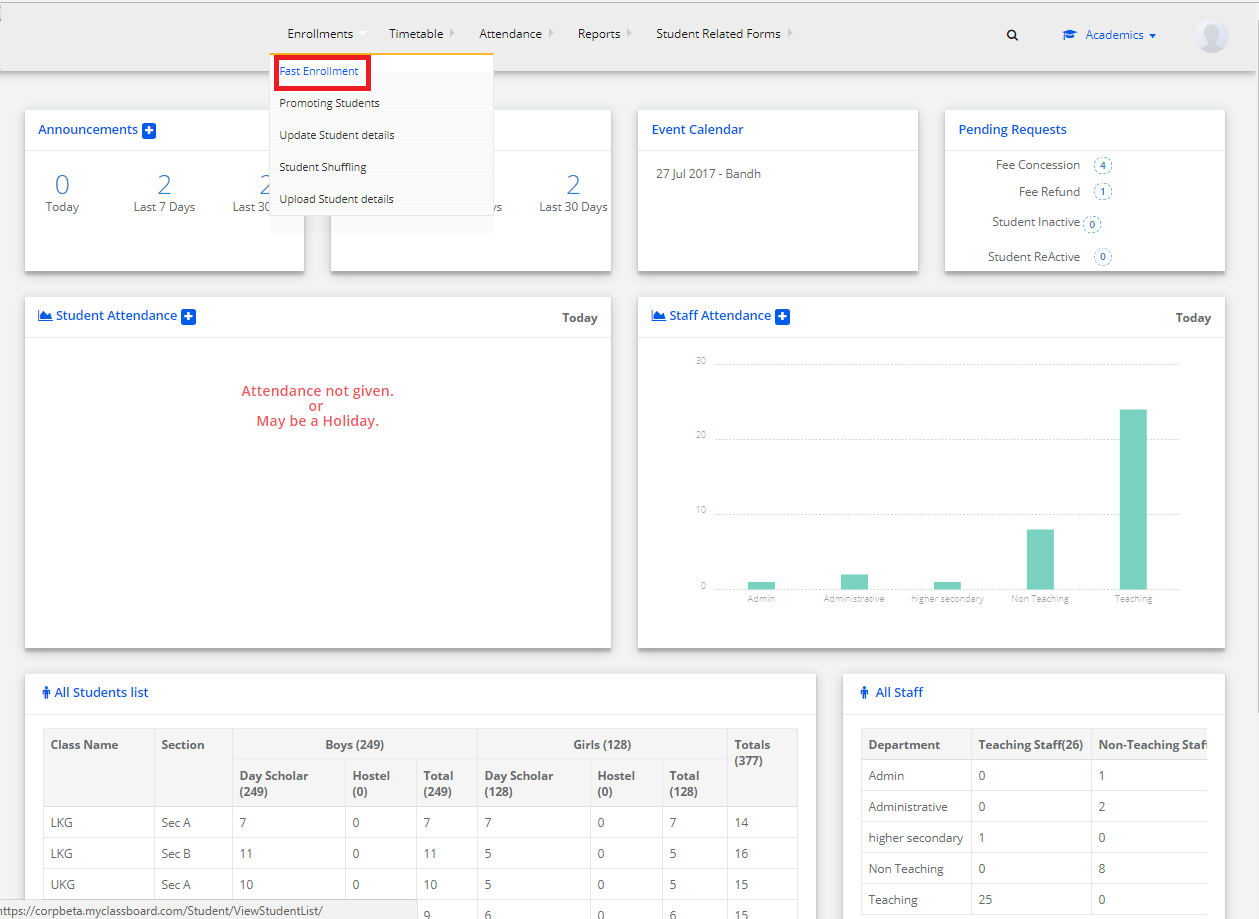
Step 1: Login to MCB and Switch to branch level by clicking on Settings on the right panel as you click on the user profile picture.

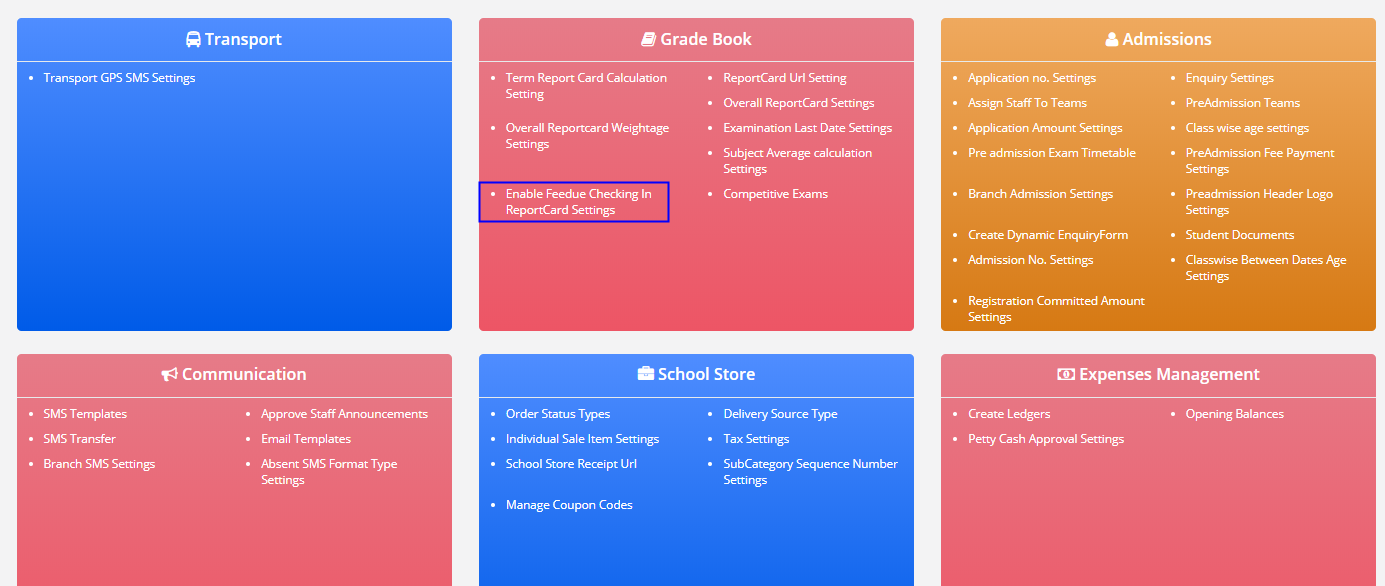
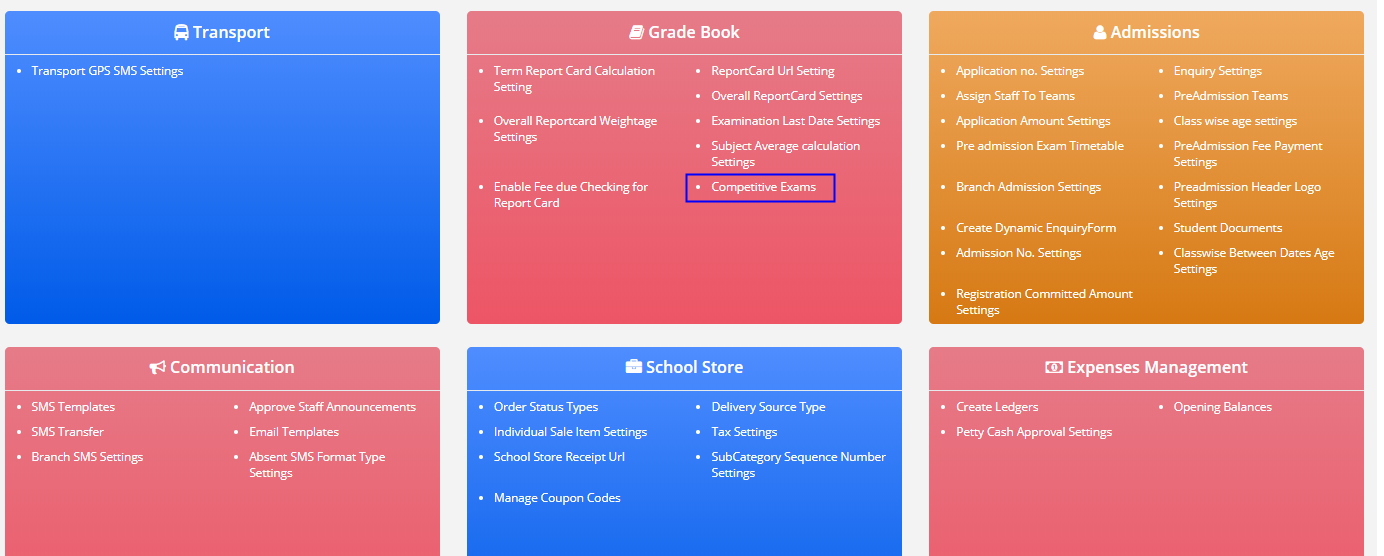
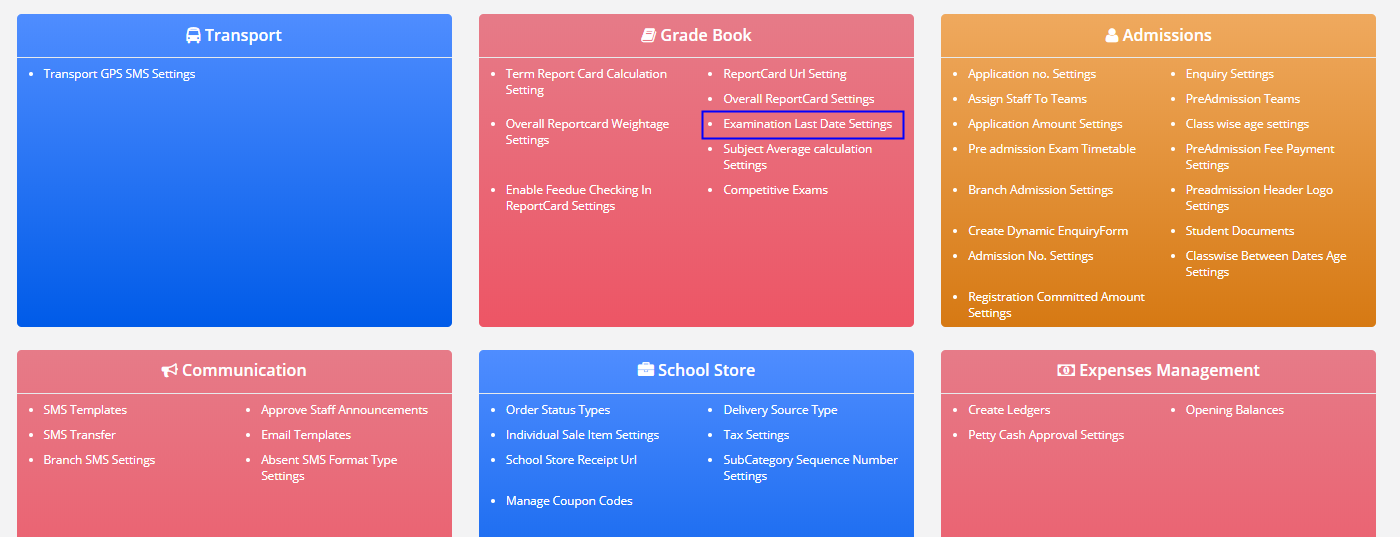
Step 2: Choose Examination last date settings under Grade book Settings.
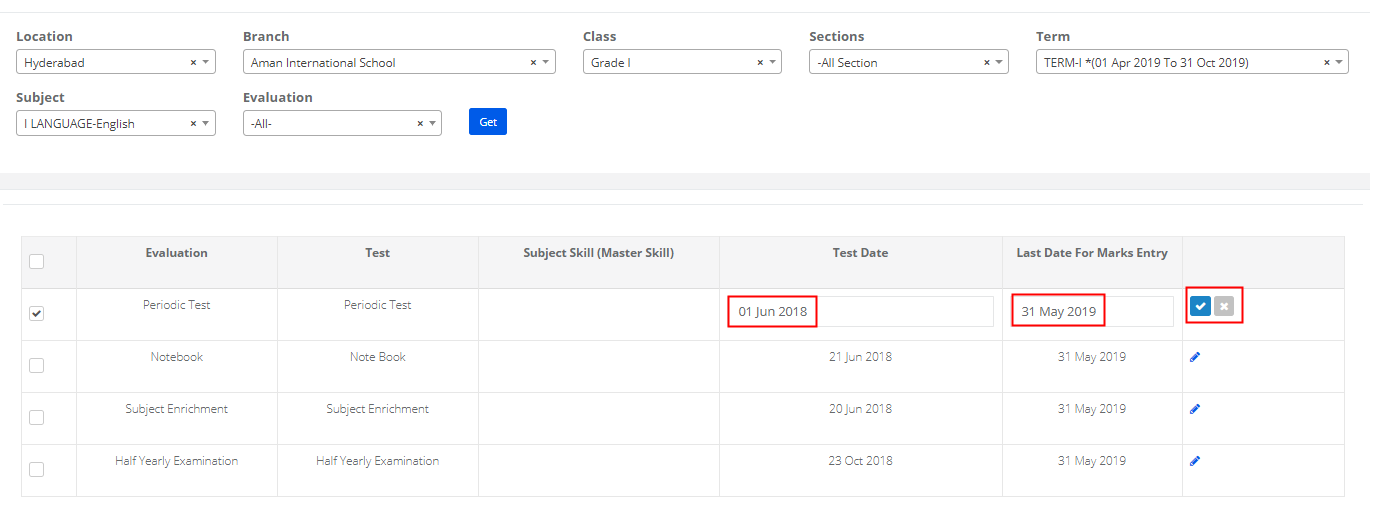
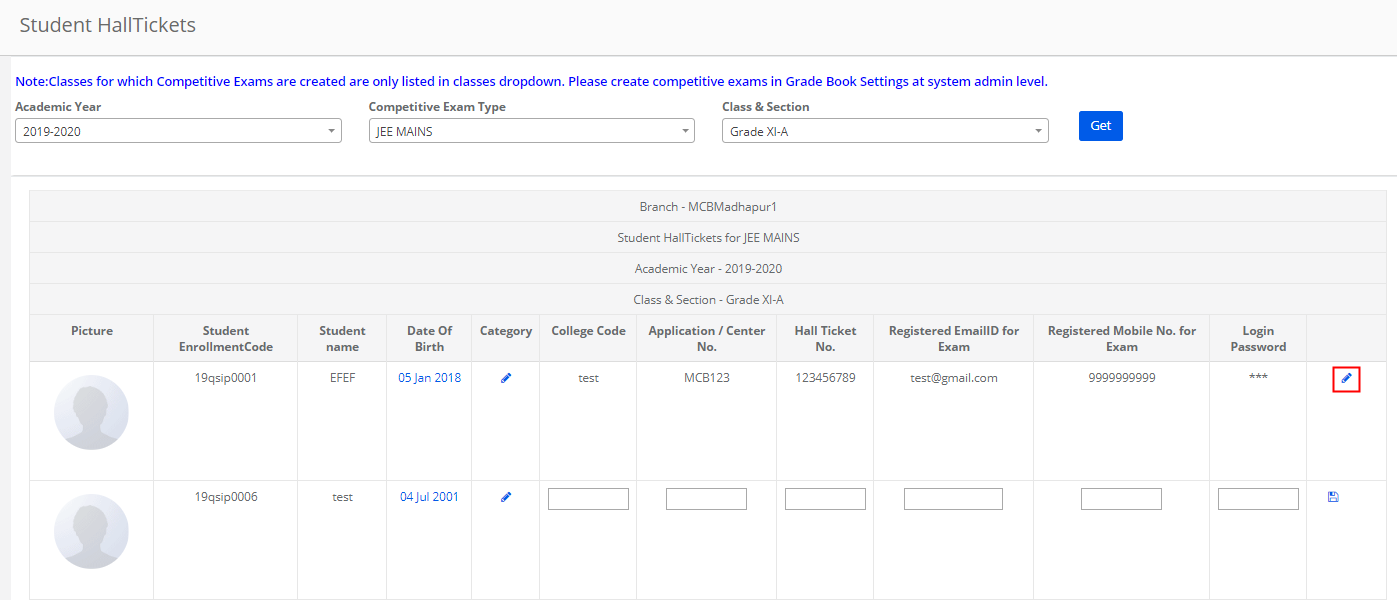
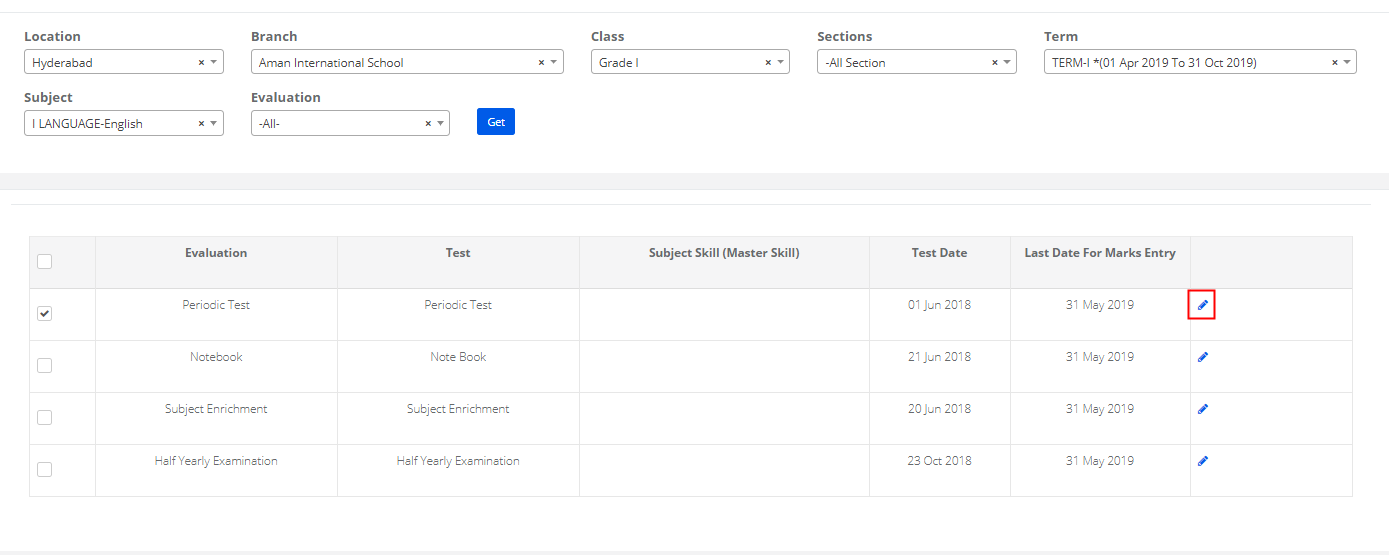
Step 3: Choose Location, Branch, Class, All sections or a specific section, Term, Subject, and All evaluations or a specific evaluation. Click on Get.

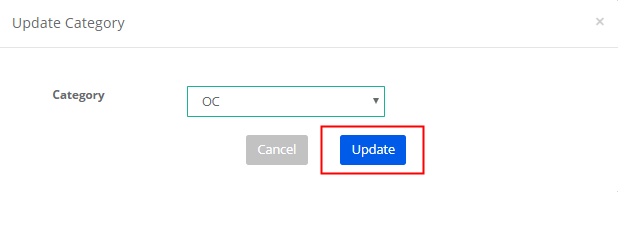
Step 4: To update the same date for all evaluations, Select checkbox, choose the date and click on Update Marks Entry Date.
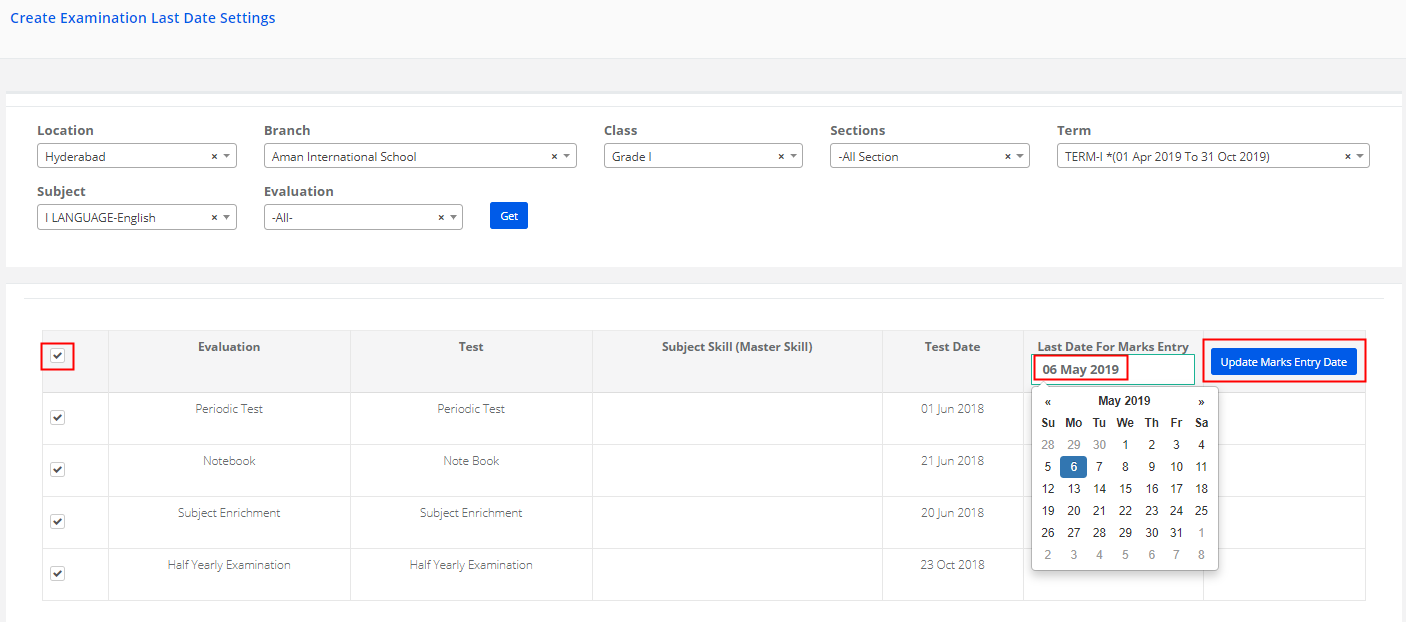
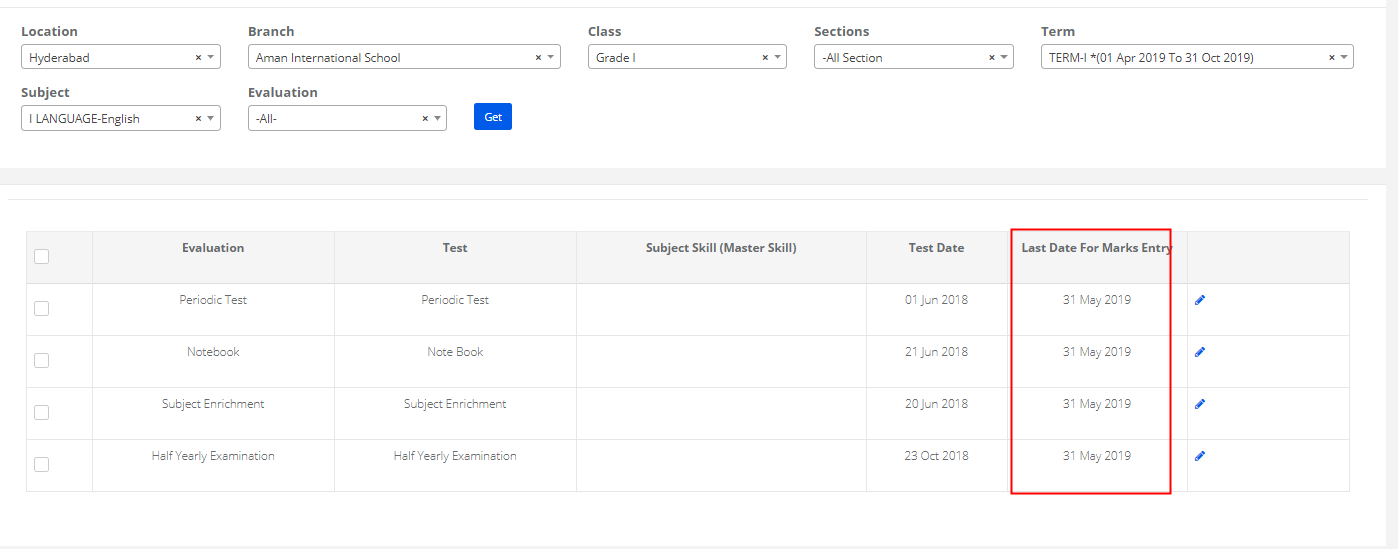
Step 5: The date you chose is updated for all evaluations in common.
Step 6: To edit date for individual Evaluation, Choose the evaluation, Click on Edit icon.
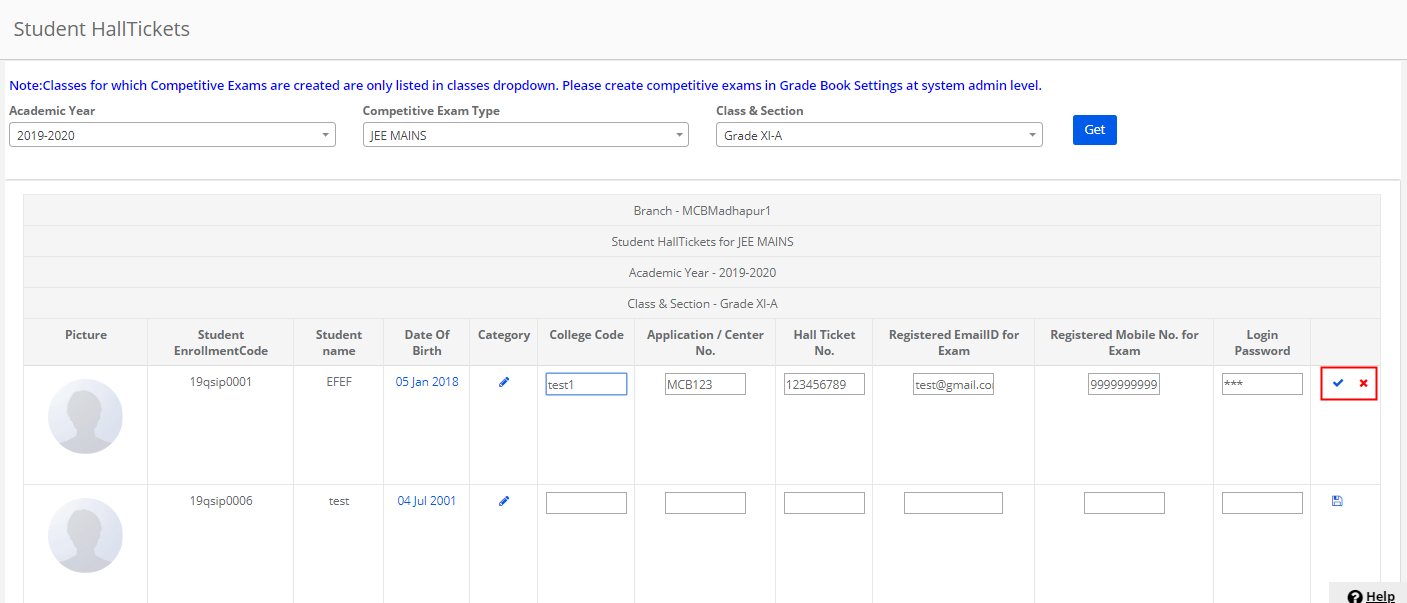
Step 7: Choose the date of the test, Last date for marks entry and click on Tick mark to save the date or cross mark to revert.