Photo Gallery approval access is available for a class coordinator if approvals settings are active.
In the absence Coordinator access to any staff and when approval settings are active, Principal of the branch can approve the Photo Gallery.
So, please make sure the settings are active and users are assigned with the respective access level and classes.
Please note that the Photo Gallery can be approved only when a class teacher / Staff creates it.
If the coordinator or Principal creates the Photo Gallery, it is published instantly without any approval.
To approve the Photo Gallery from Coordinator / Principal logins, please follow the steps mentioned below.
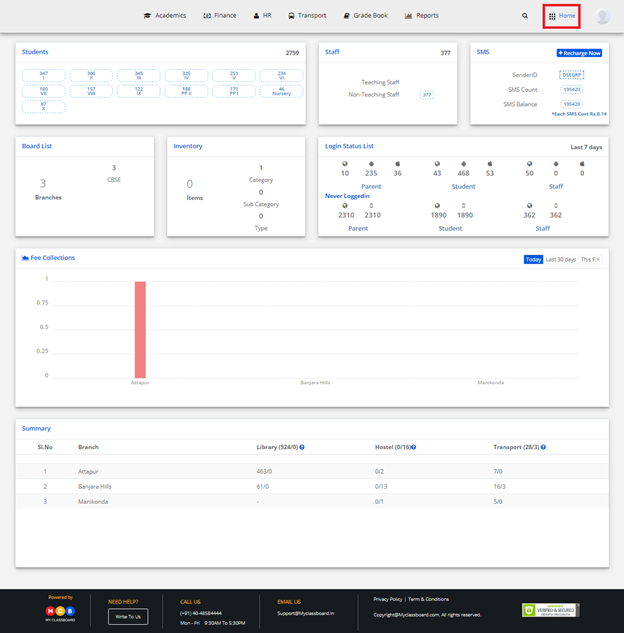
Step 1: Login to MCB with Coordinator / Principal access credentials
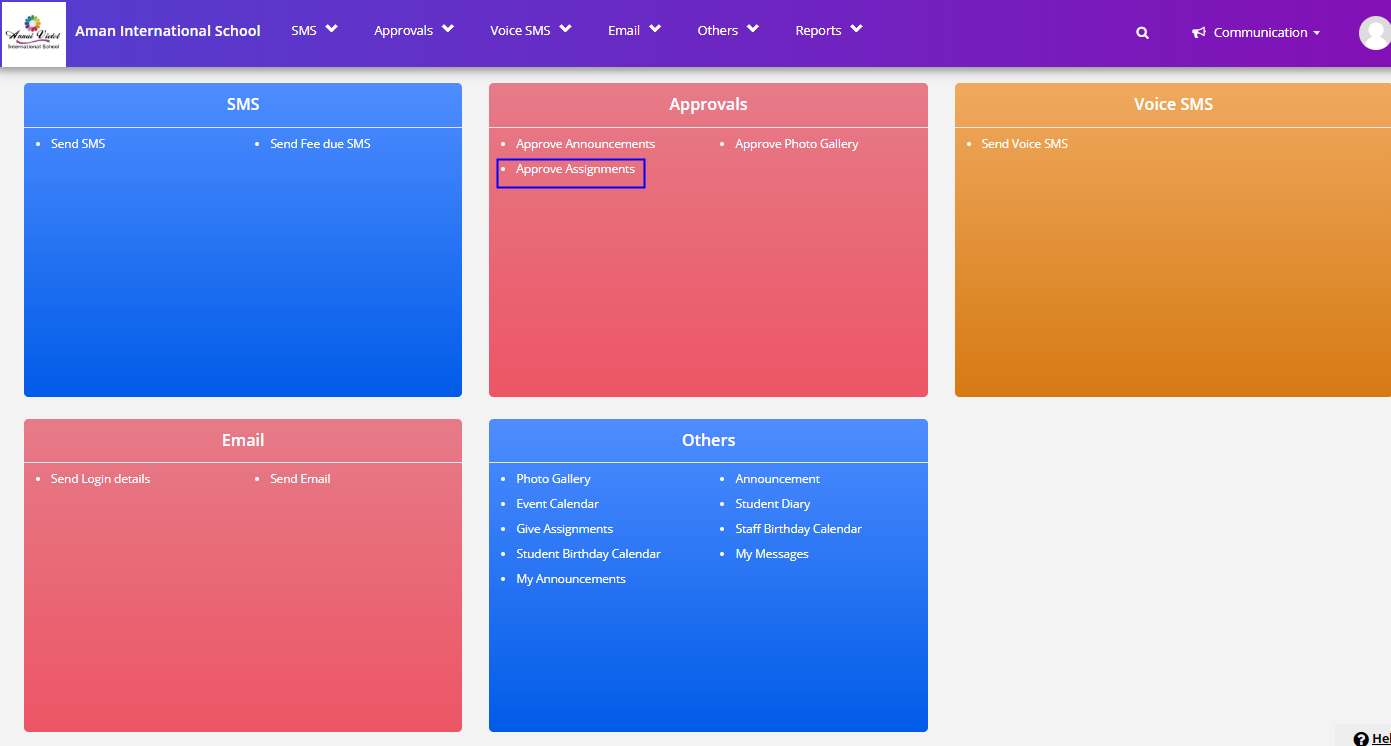
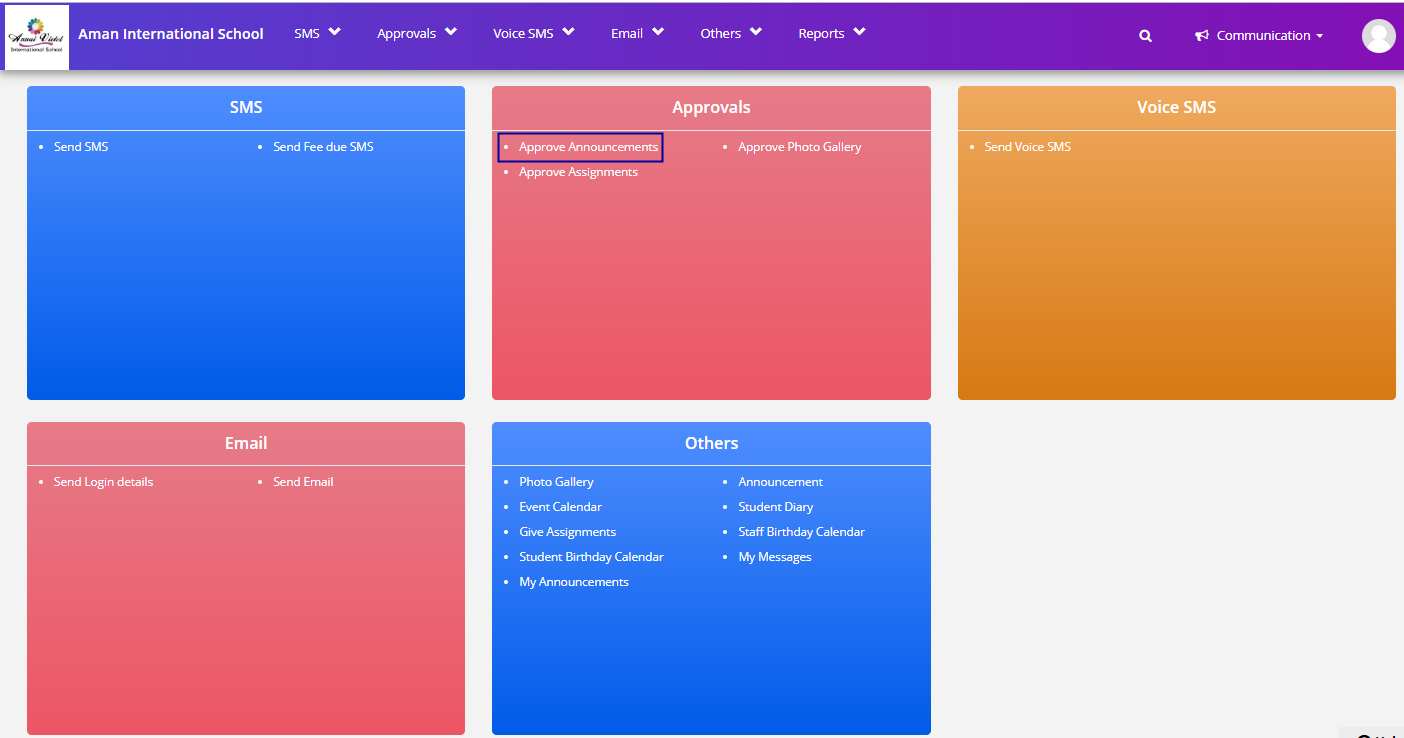
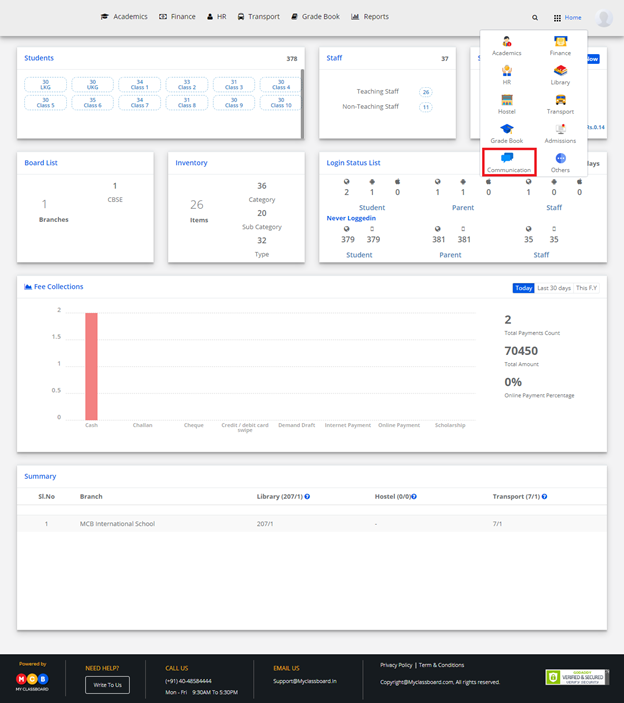
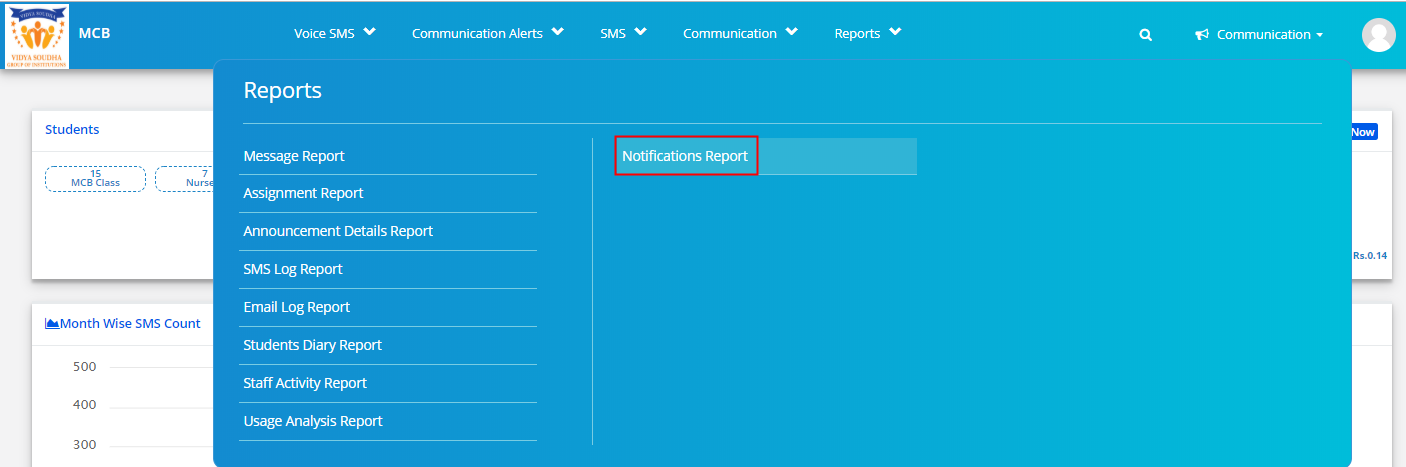
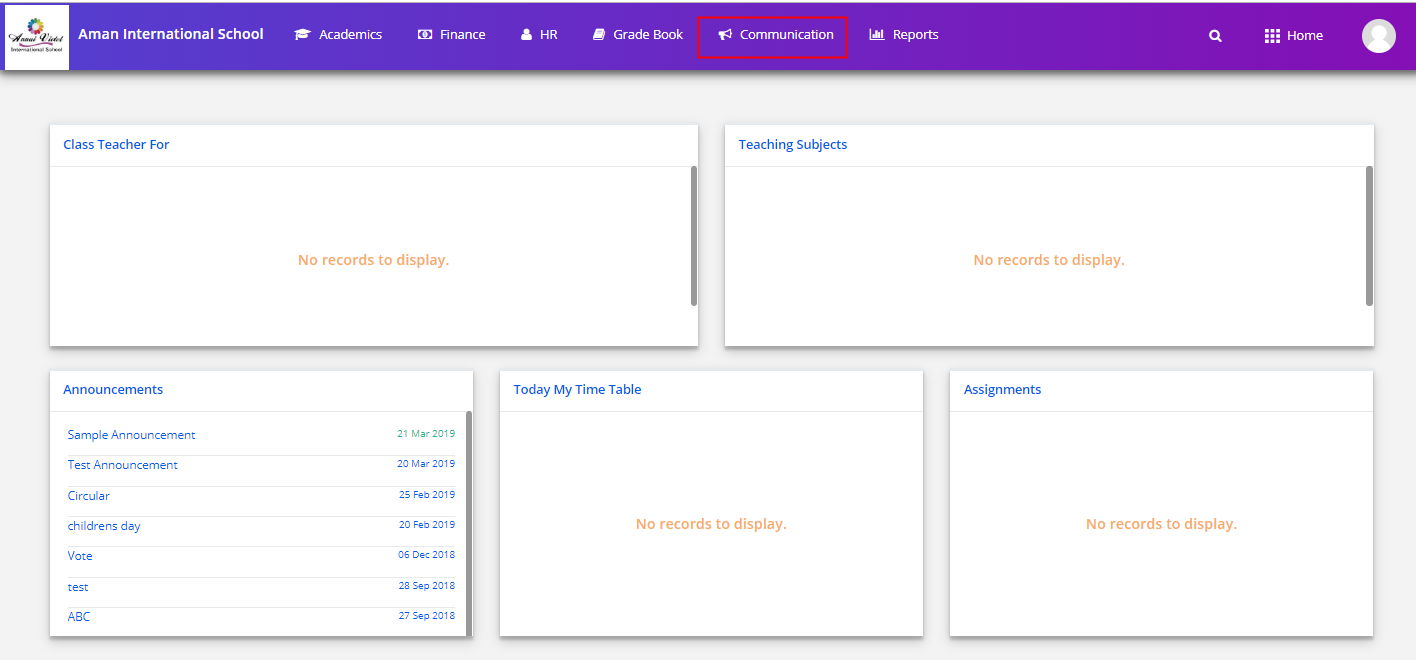
Step 2: Click on Communication on the menu bar
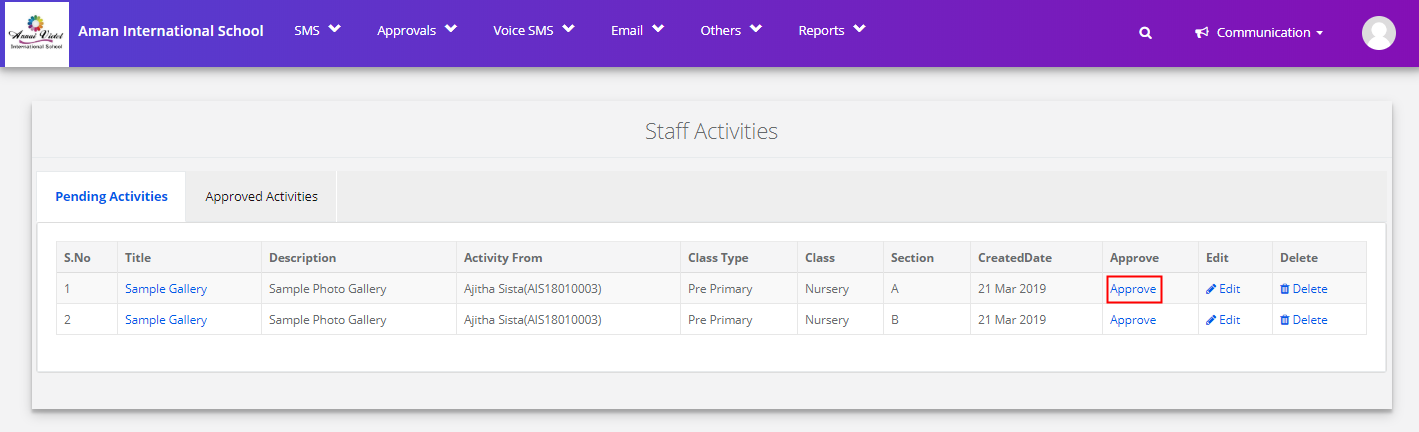
Step 3: Choose Approve Photo Gallery option on the dashboard under Approvals.

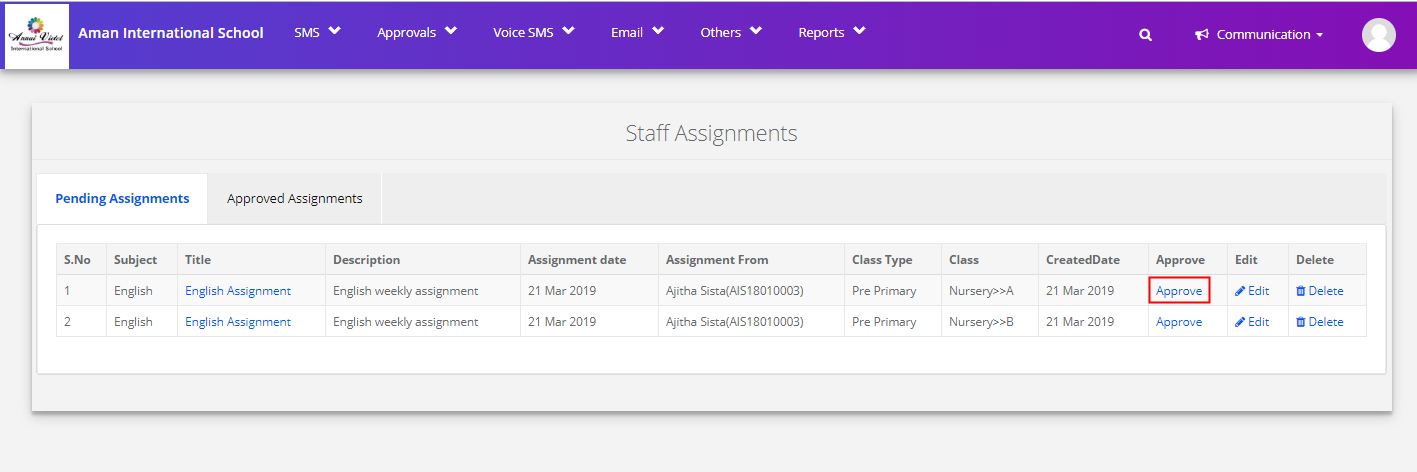
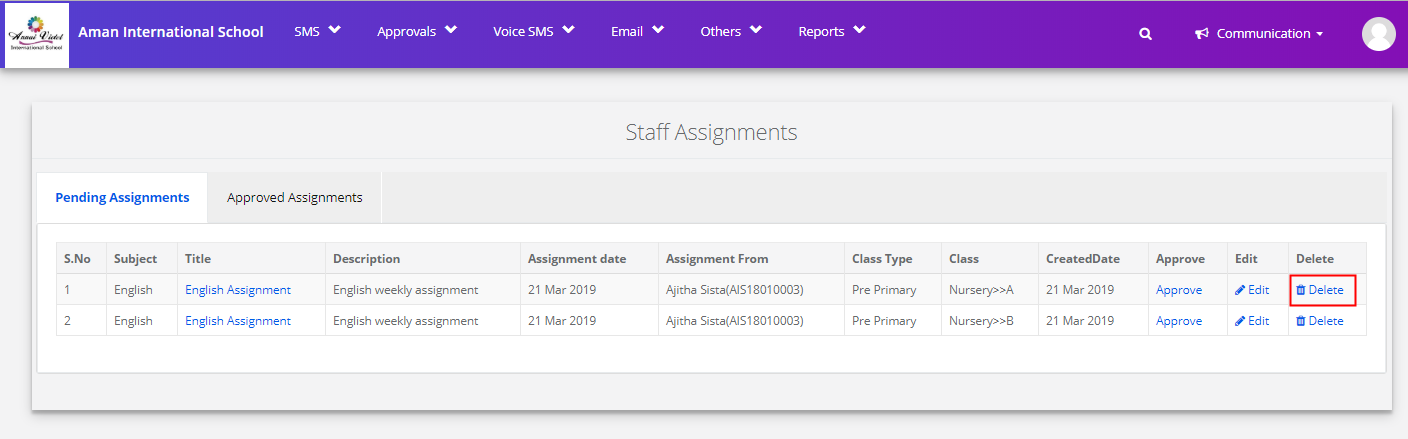
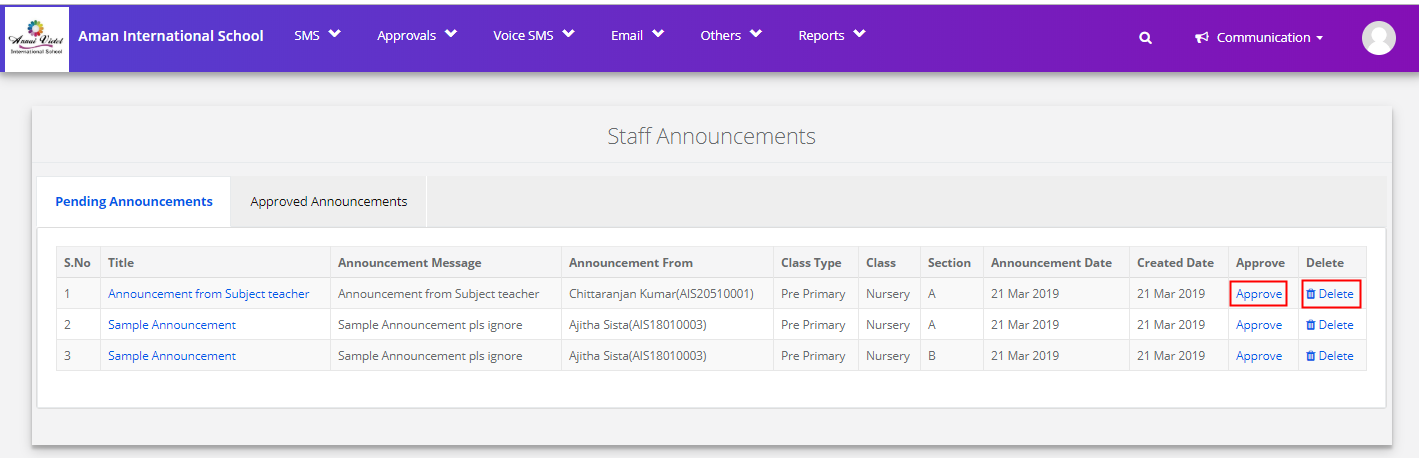
Step 4: Click on Approve option against the Gallery name to approve the Photo Gallery.
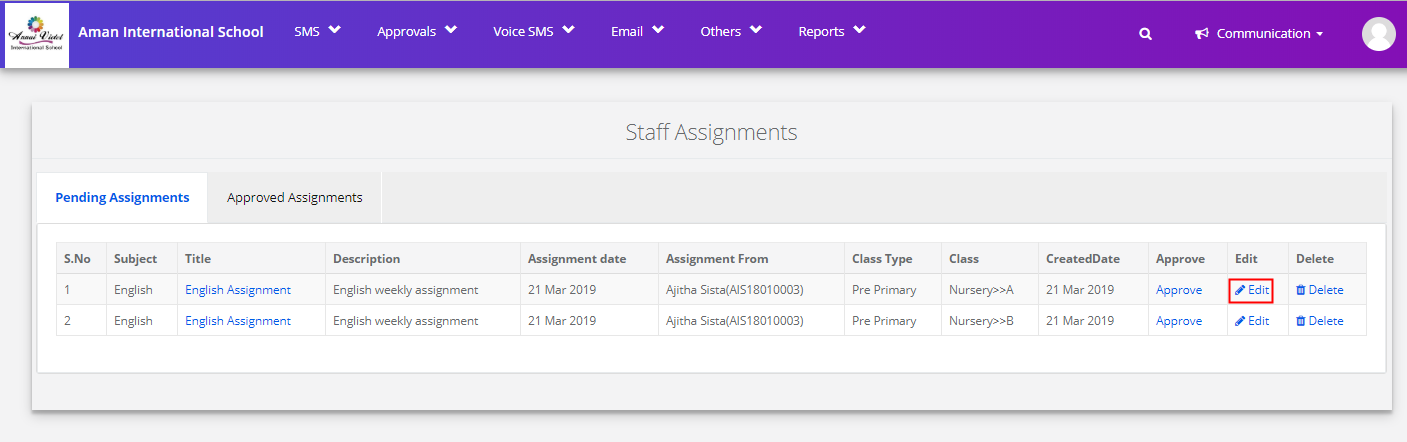
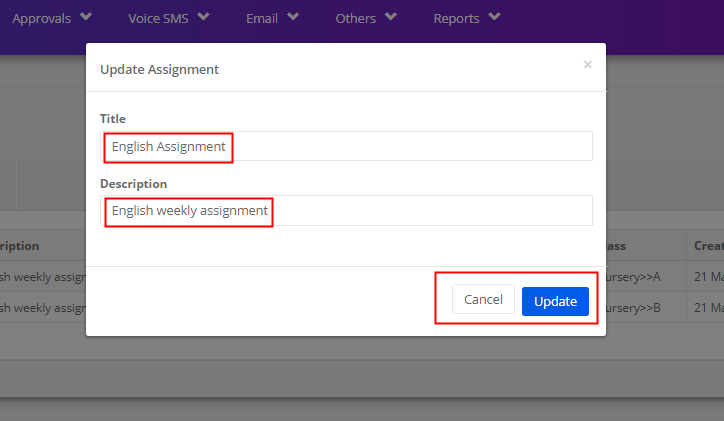
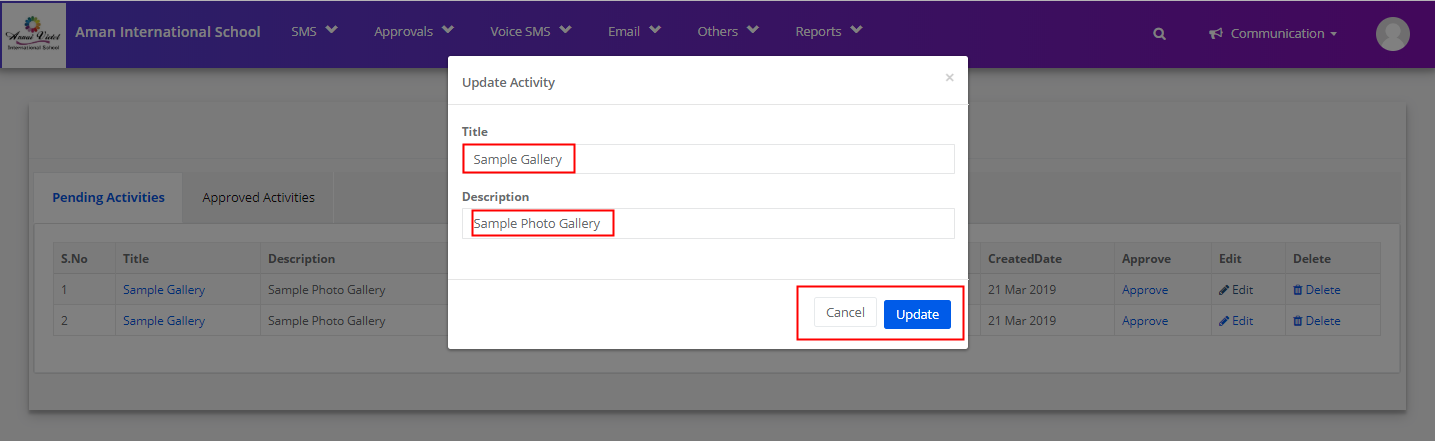
Step 5: To Edit the Gallery Name and Description, Click on Edit option.

Step 6: Make the changes required in Title and Description and click on Update to confirm the changes or Cancel to revert the changes.
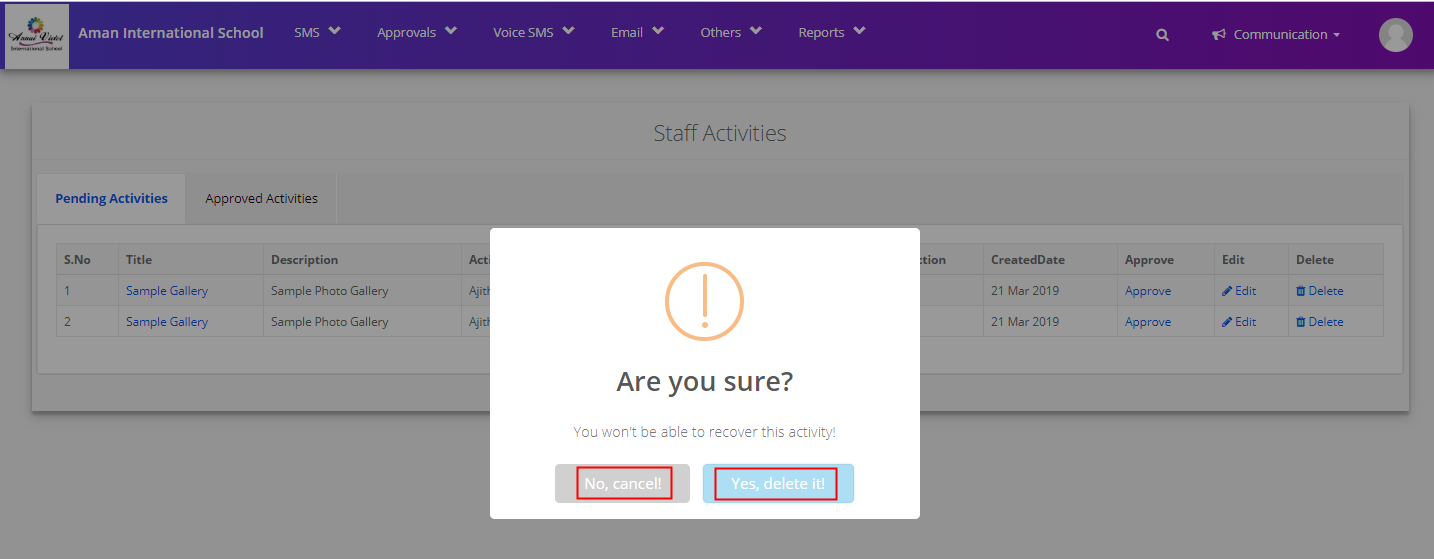
Step 7: Click on delete option to delete the Photo Gallery.

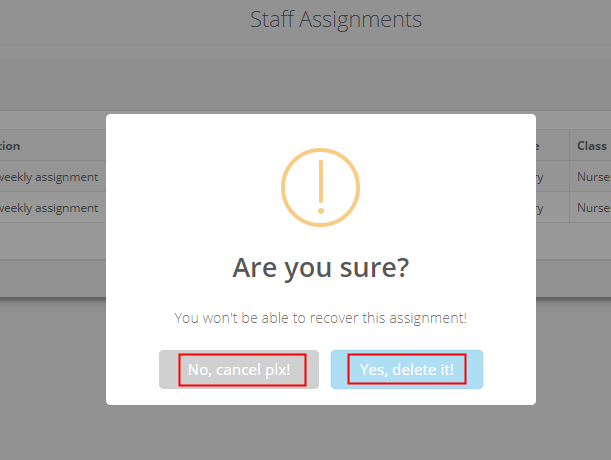
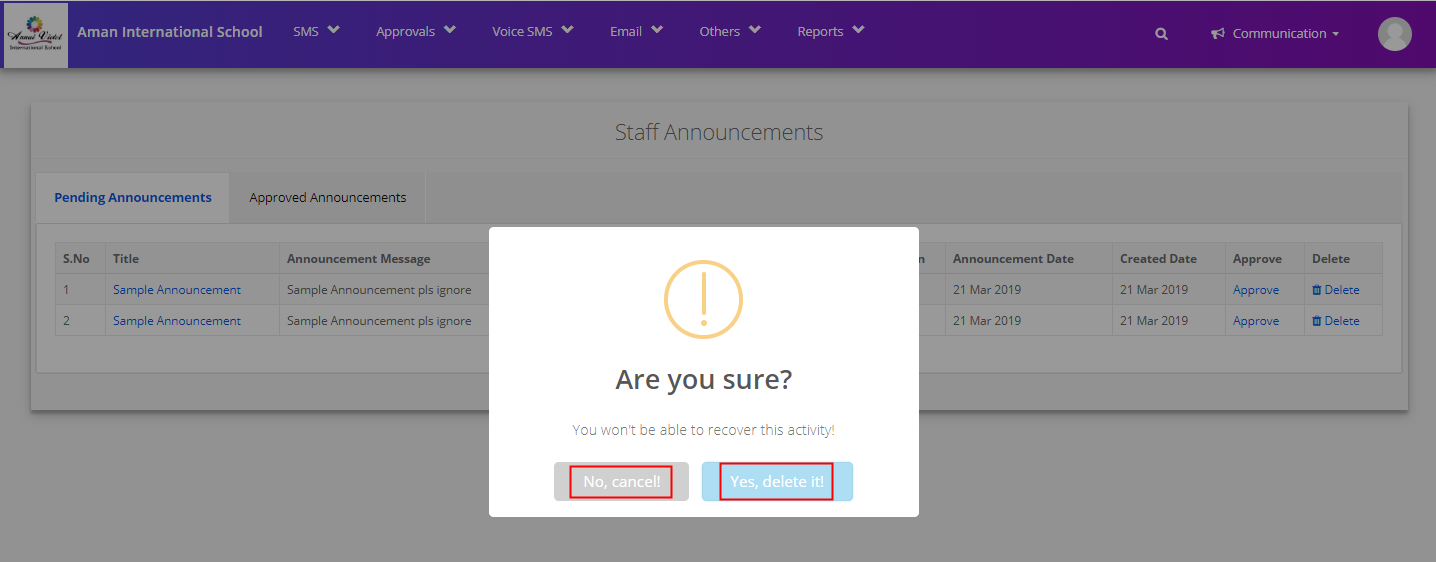
Step 8: Click Yes, Delete it option to confirm the deletion of the Gallery. Click No, Cancel to Cancel the deletion of Gallery.