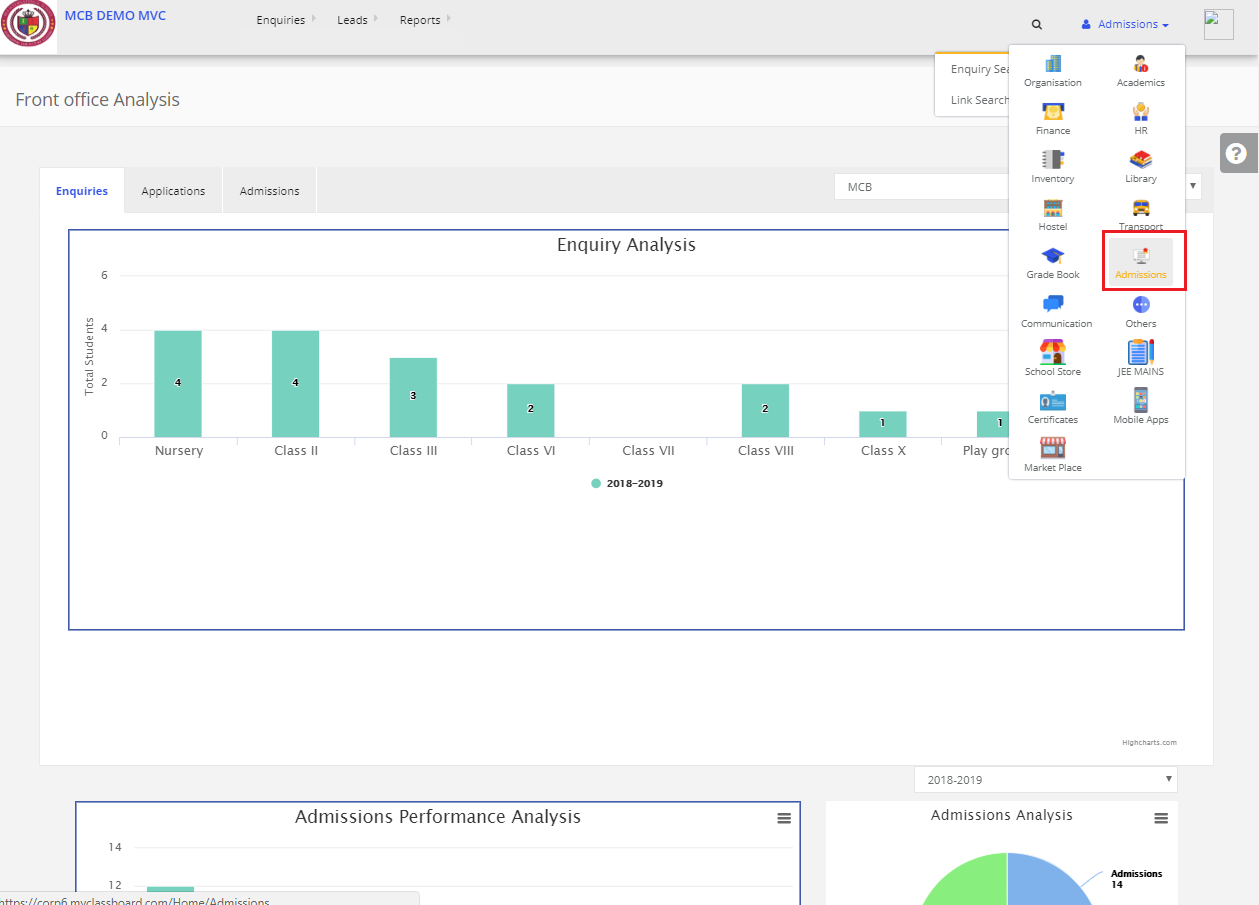
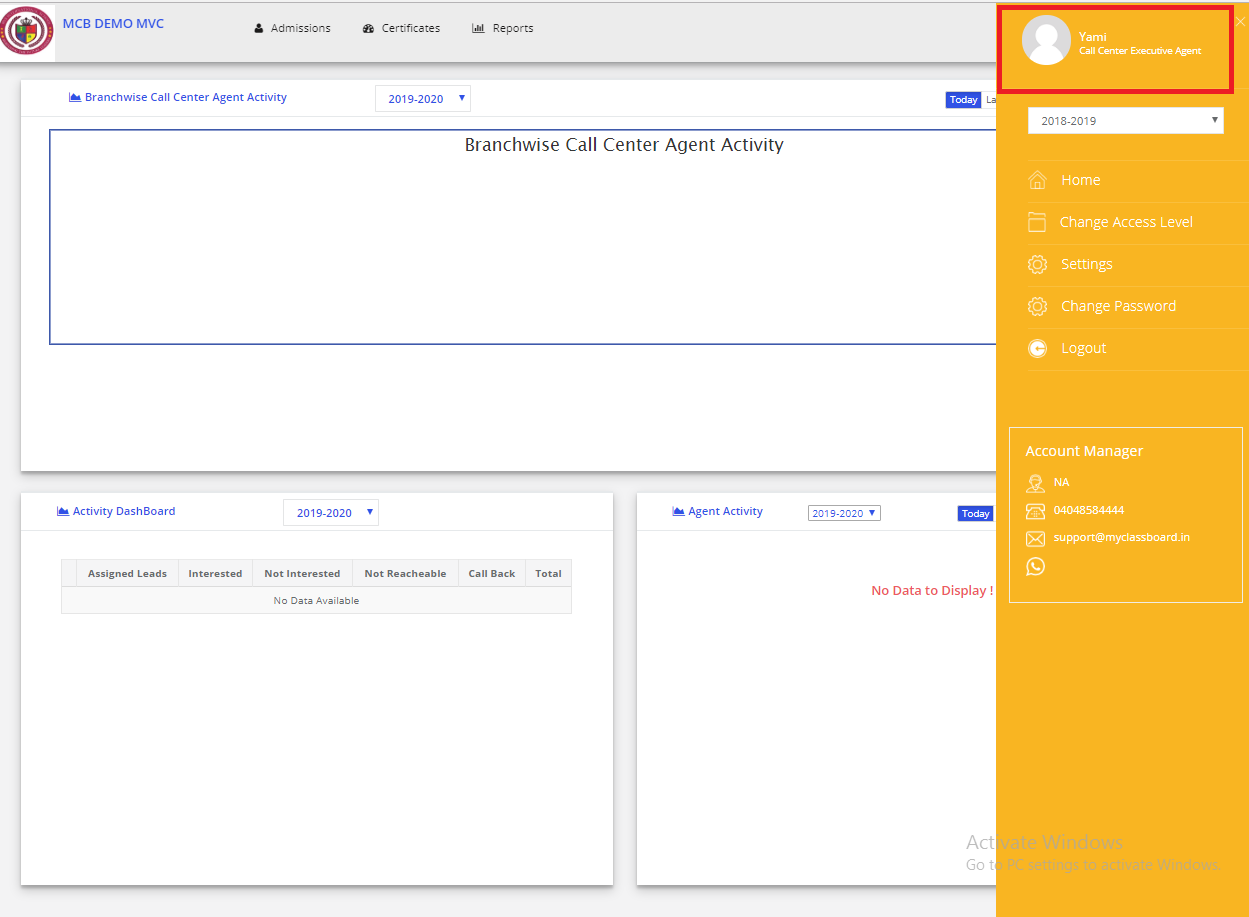
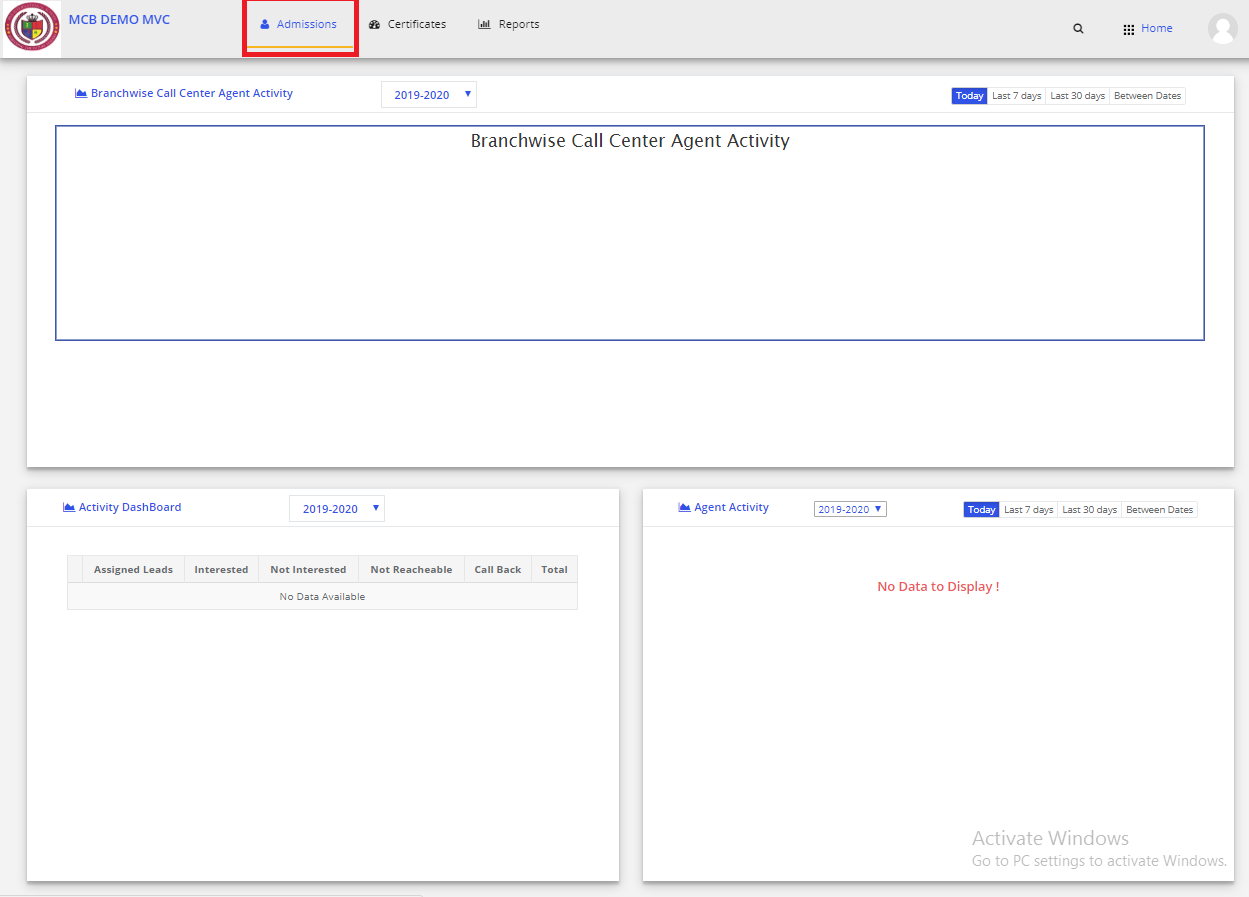
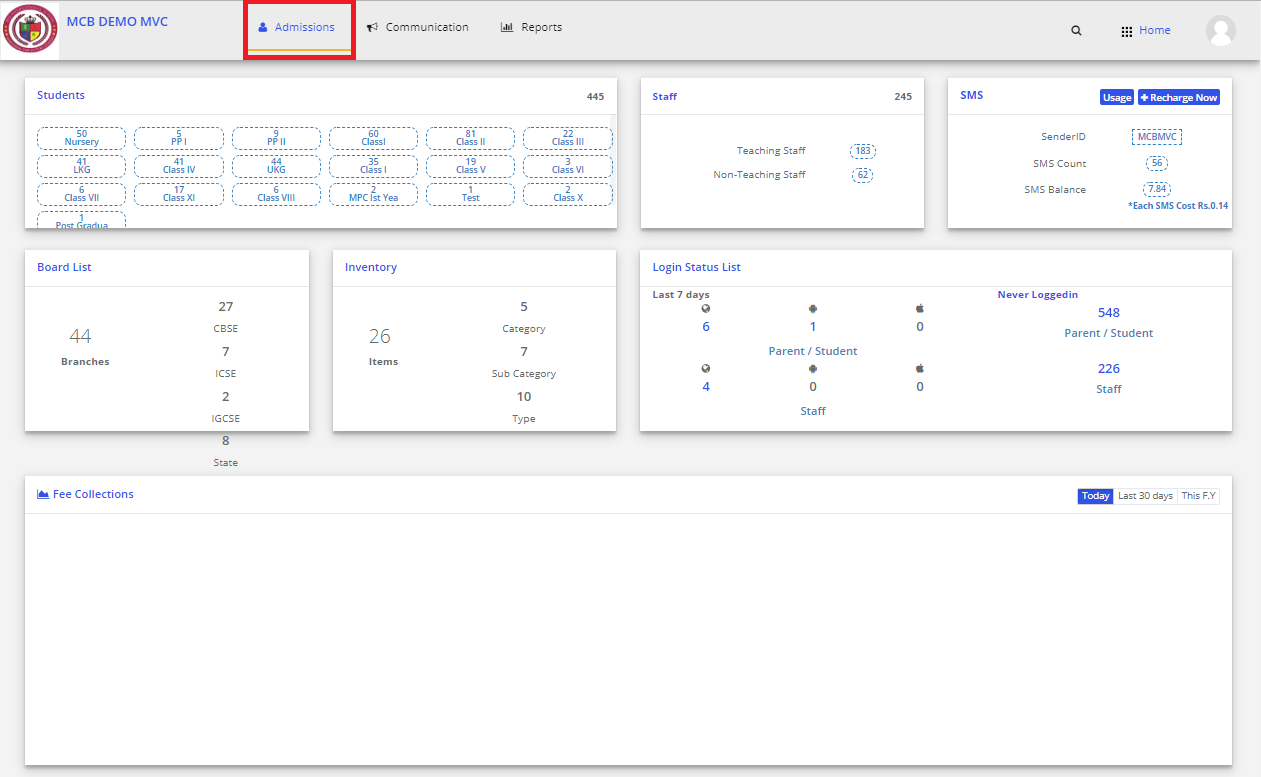
Step 1: Login to MCB with Login Credentials.Step 2: Select Admissions on the dashboard and you will be directed to the Admissions page.
Step 2: Select Admissions on the dashboard and you will be directed to the Admissions page.

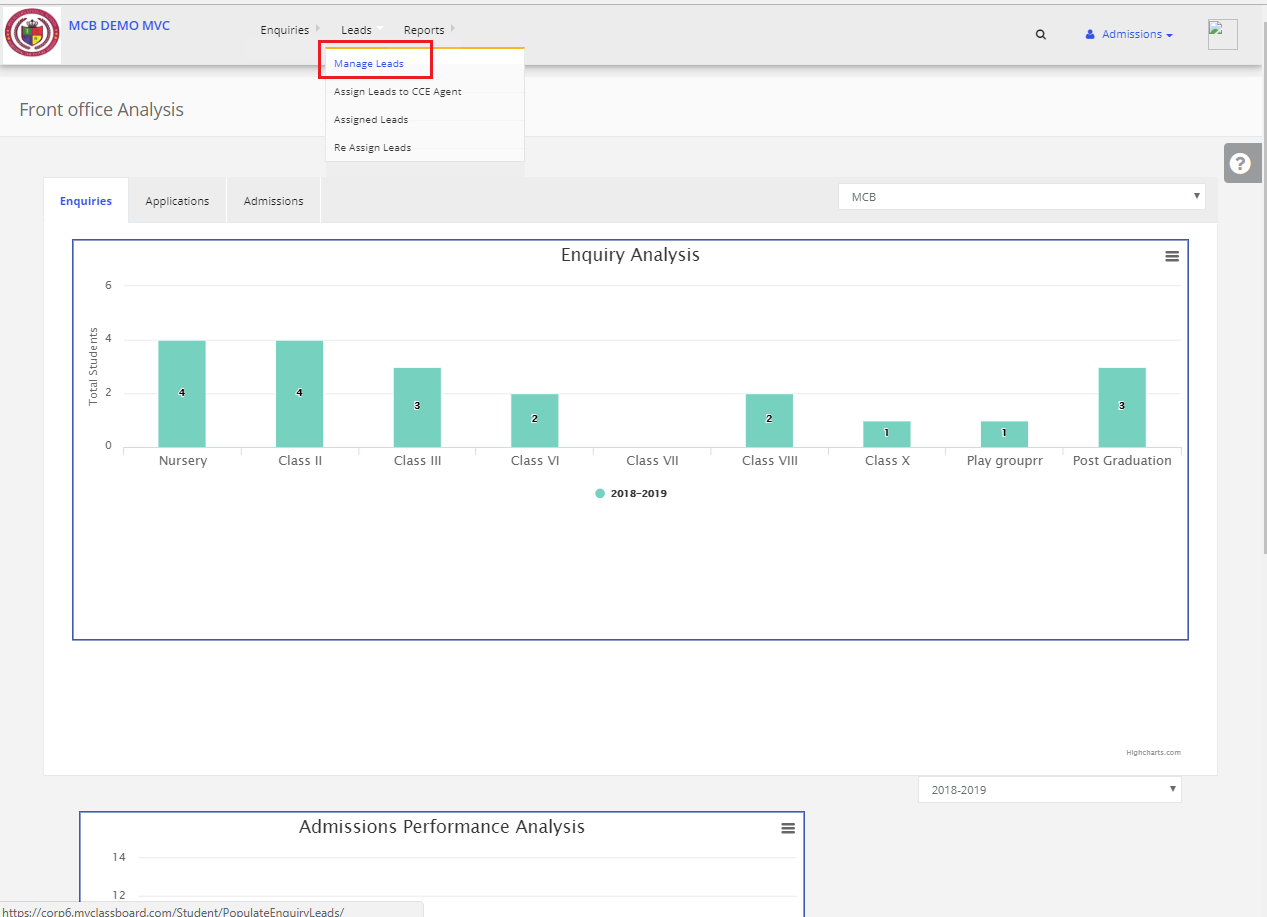
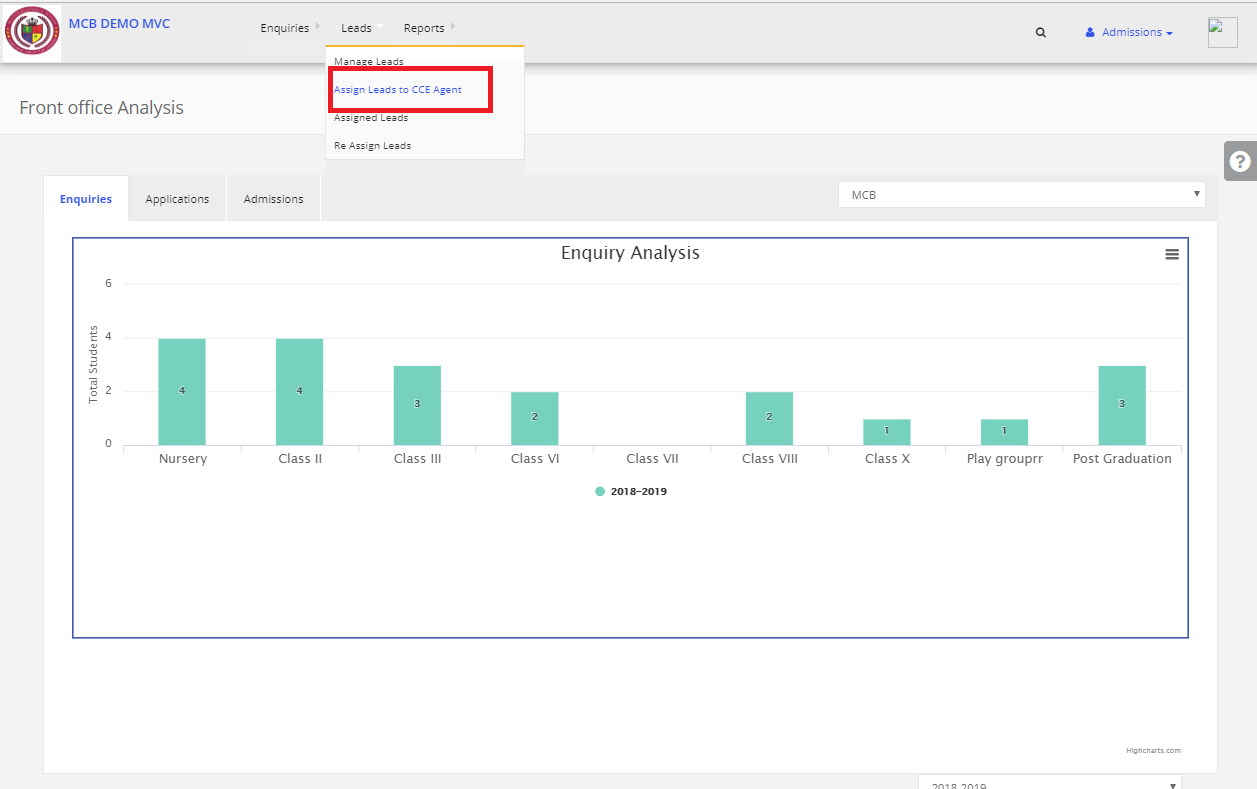
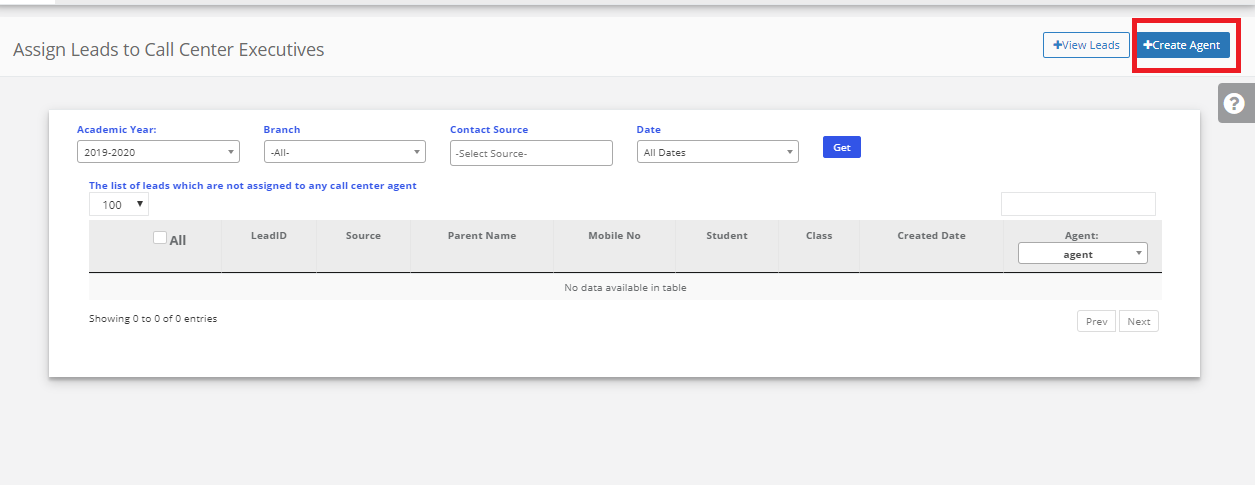
Step 3: Select “ Leads” in the top bar and choose “Assign Leads to CCE Agent”.
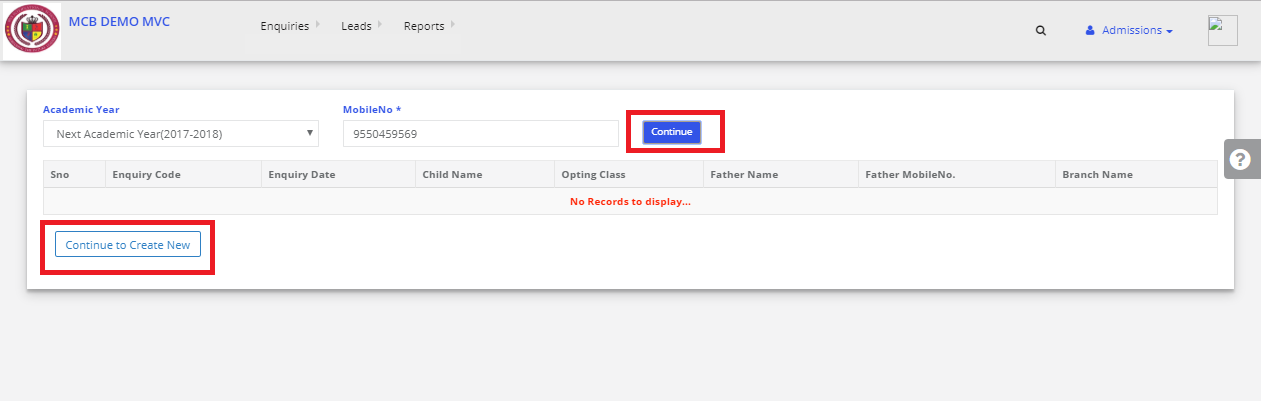
Step 4: Before assigning the leads we have to create an agent. Click on “Create Agent”
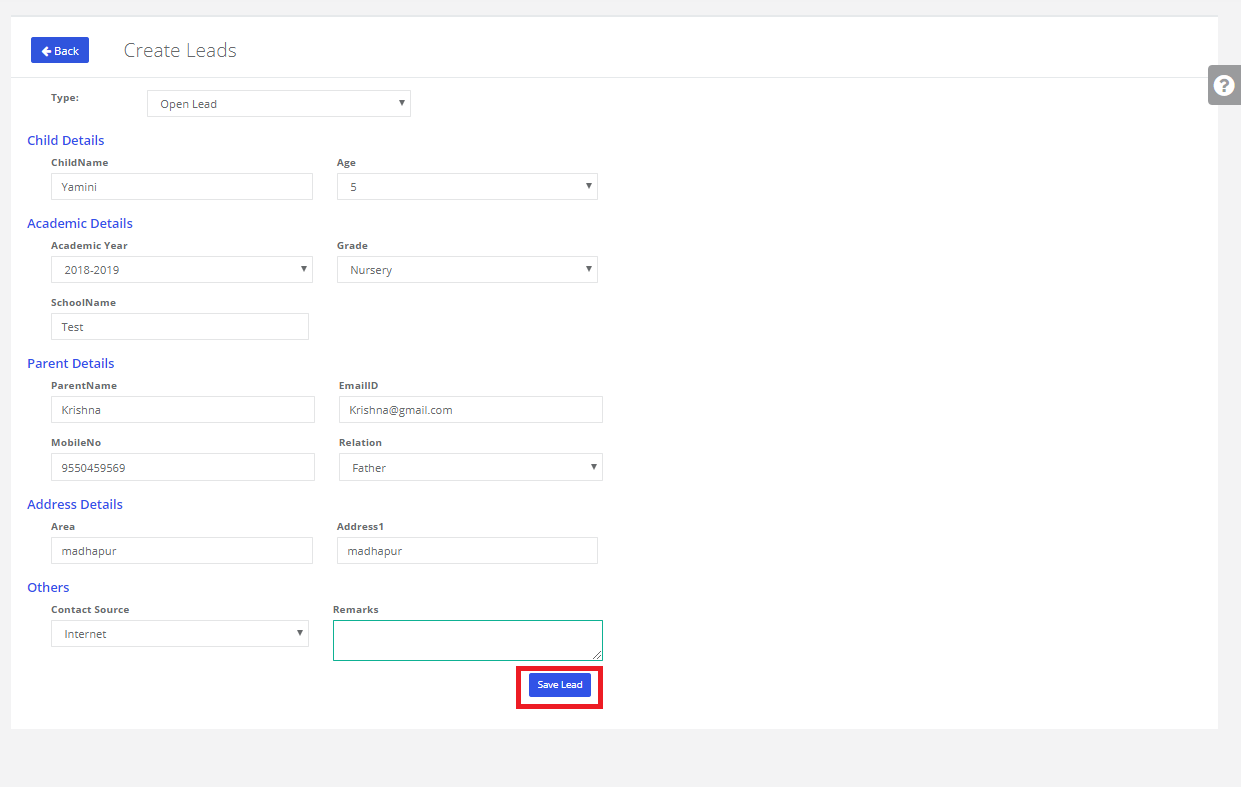
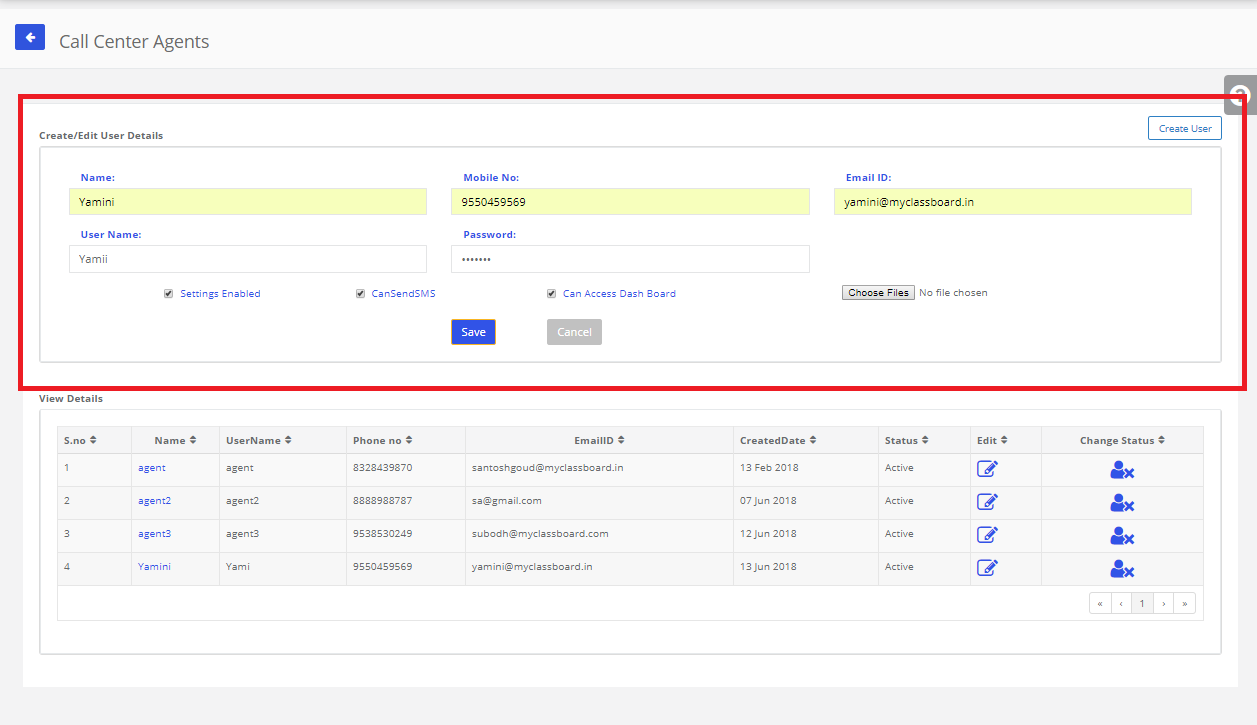
Step 5: Click on Create User then enter all the details & click on save. The agent is Created successfully.
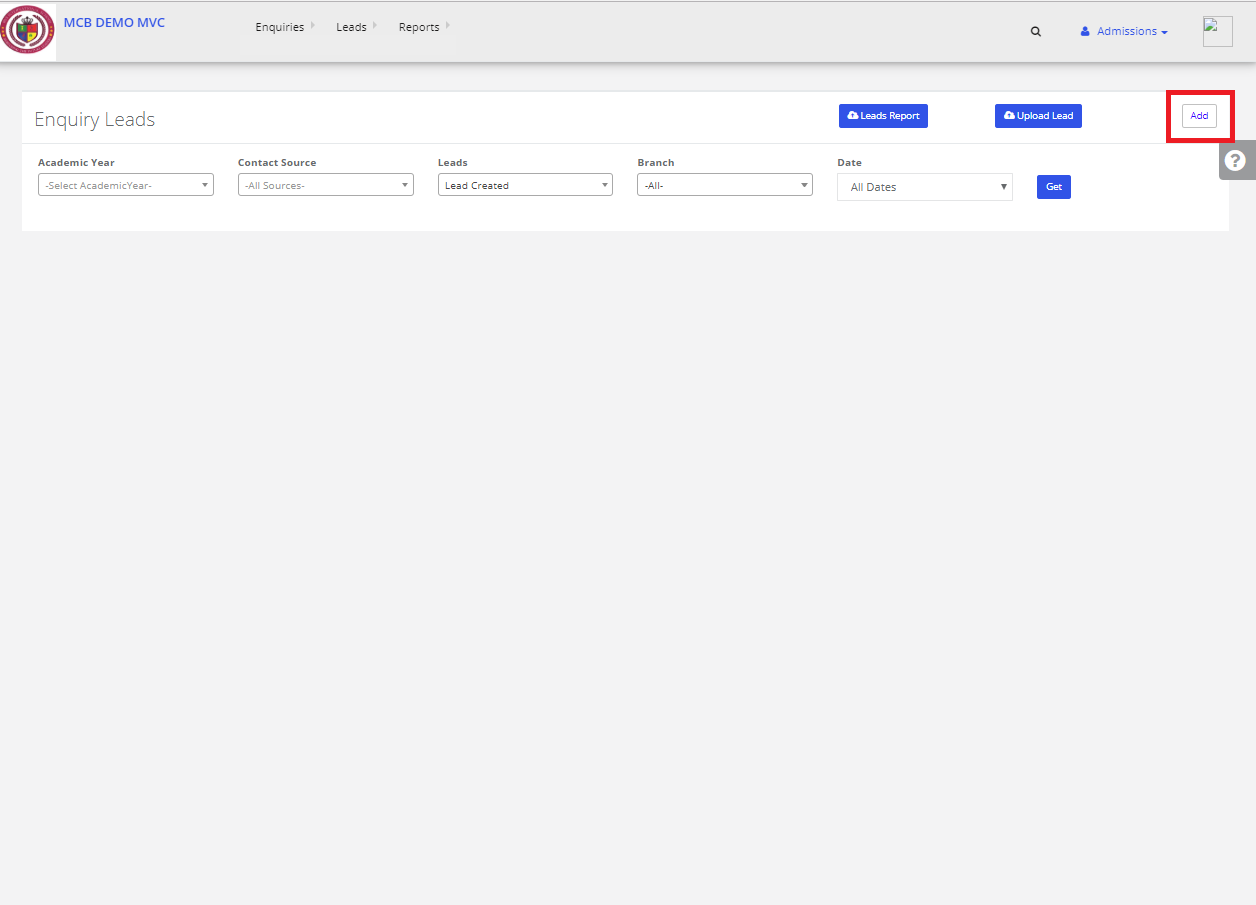
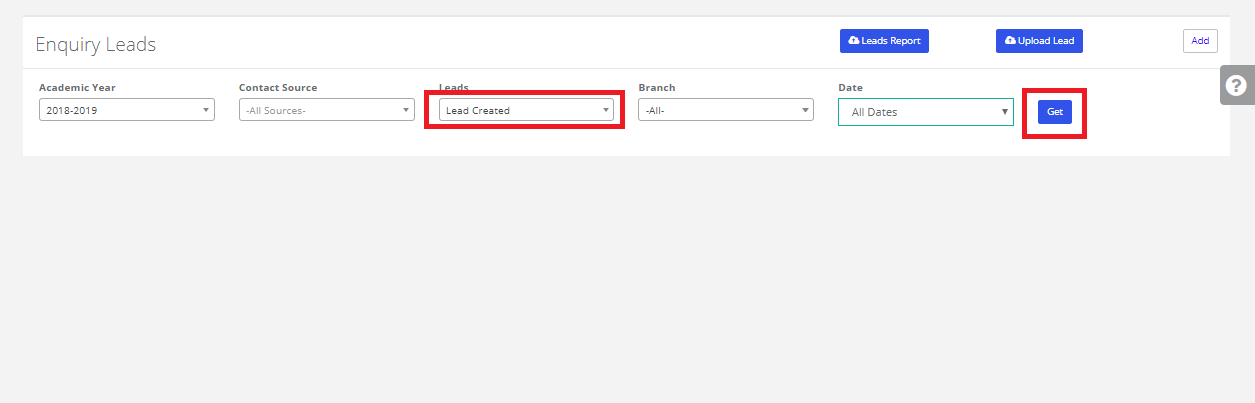
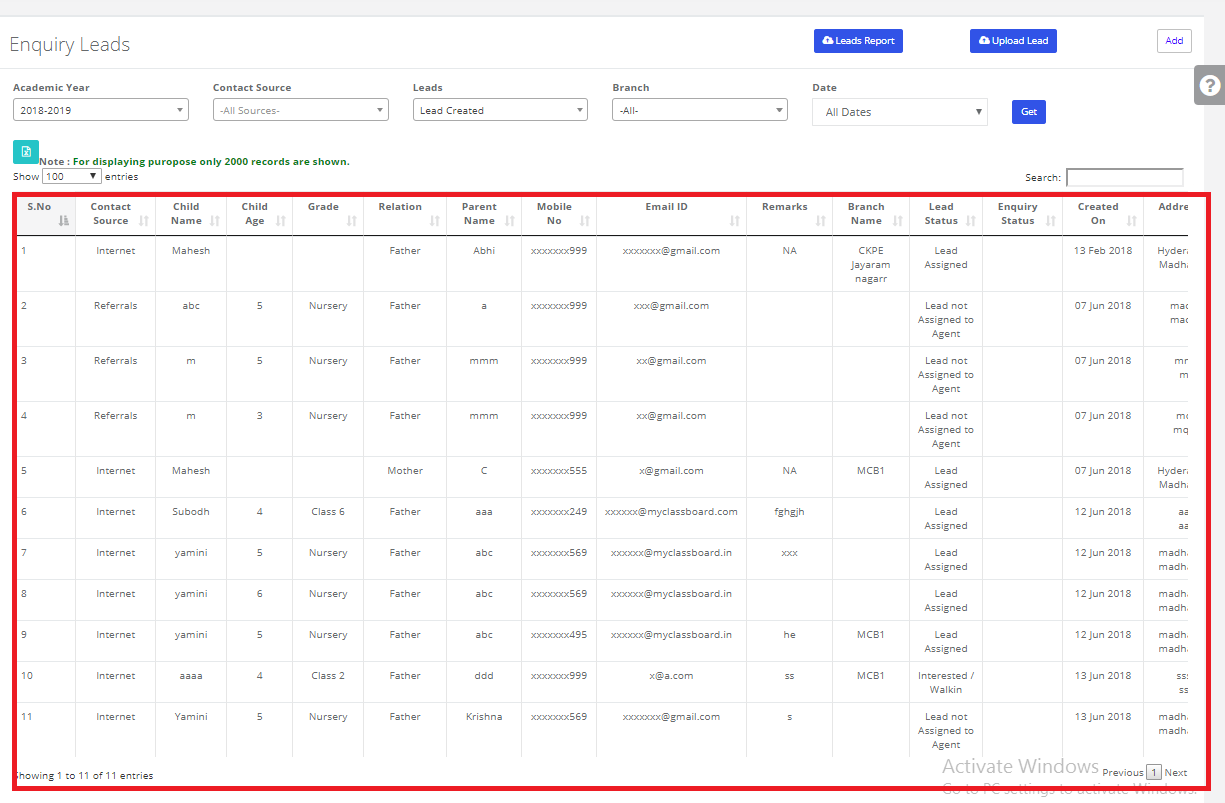
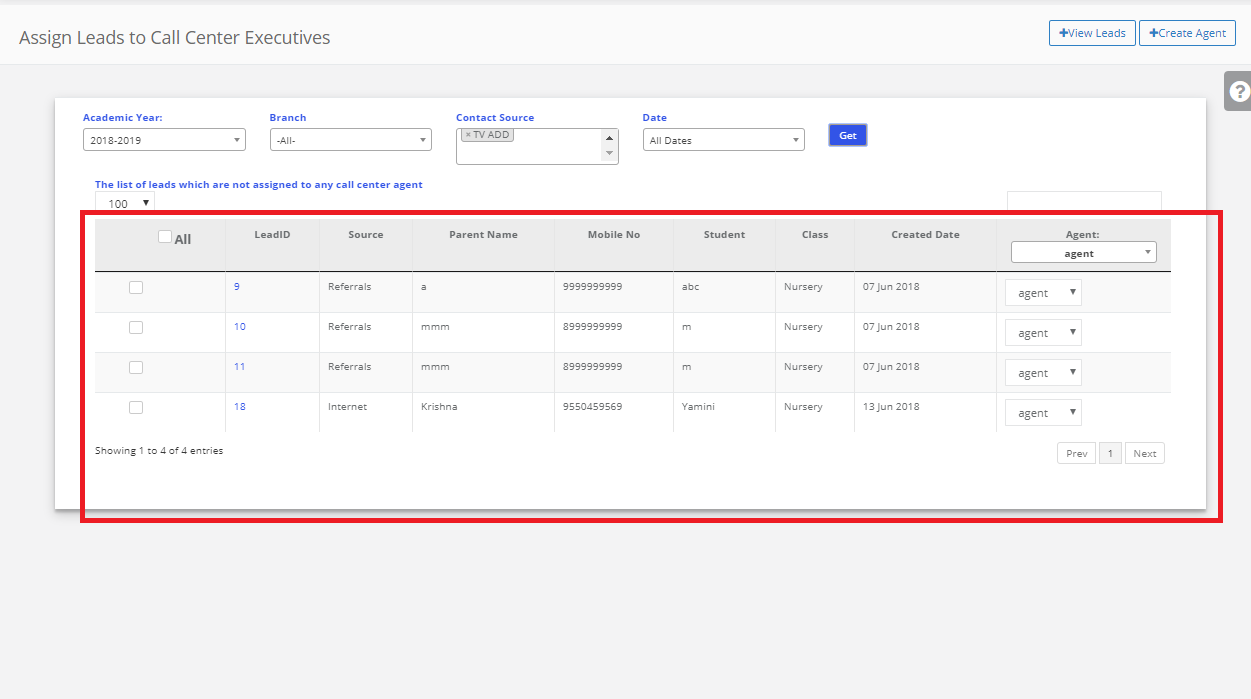
Step 6: Select the Academic year, Branch, Contact source & Date & click on Get. we will get the Created Leads Information.
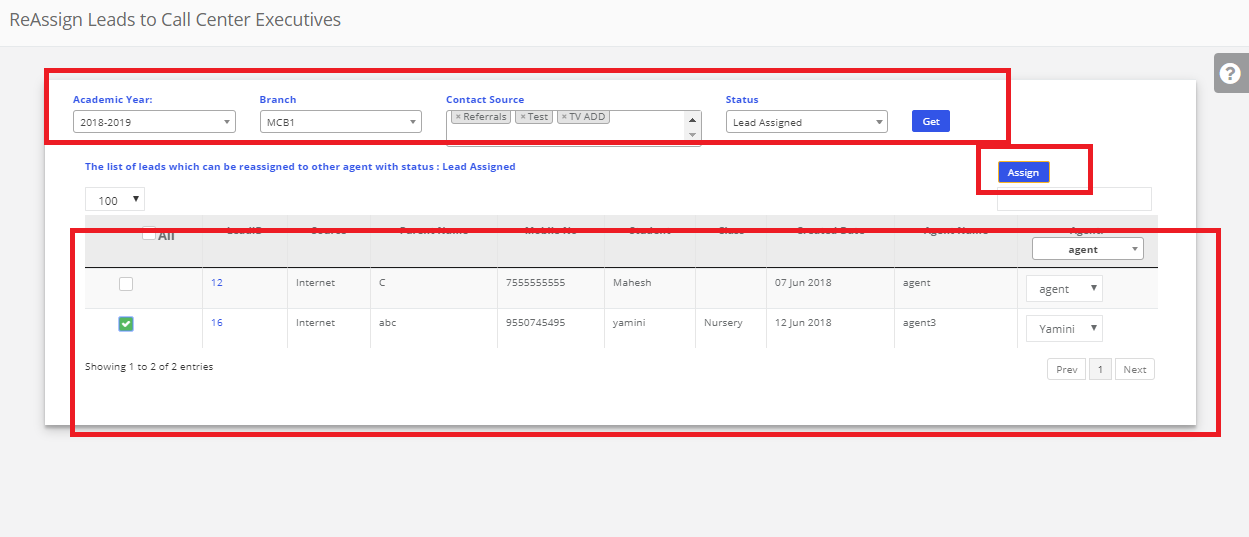
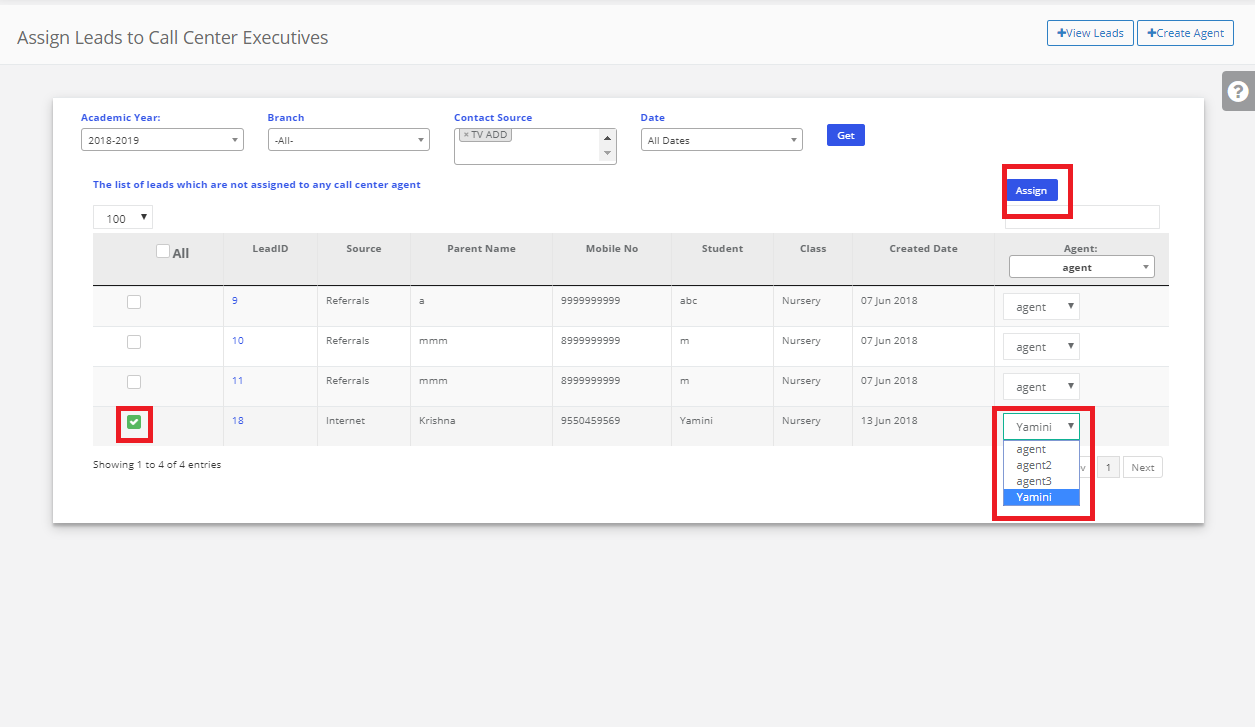
Step 7: Click on the Checkbox which you want to assign the leads to the Particular Agent. Select the Agent which you created & click on Assign.
To check Whether the lead is assigned or not
Step 8: Login MCB with Agent login Credentials
Step 9: Select Admissions on the dashboard and you will be directed to the Admissions page.
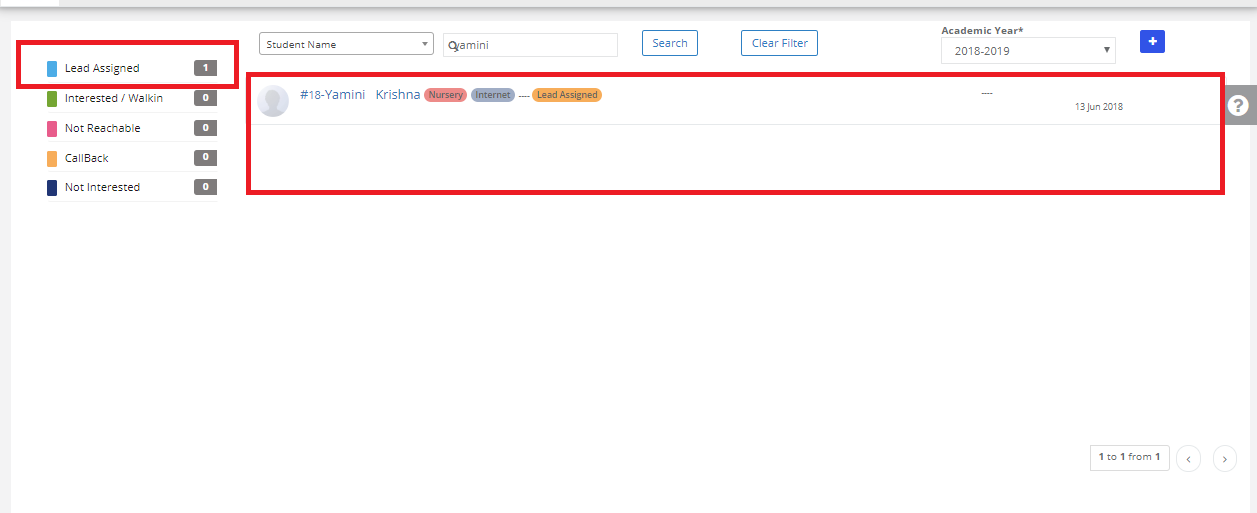
Step 10: Select “ Leads” in the top bar and choose “Assigned Leads”.
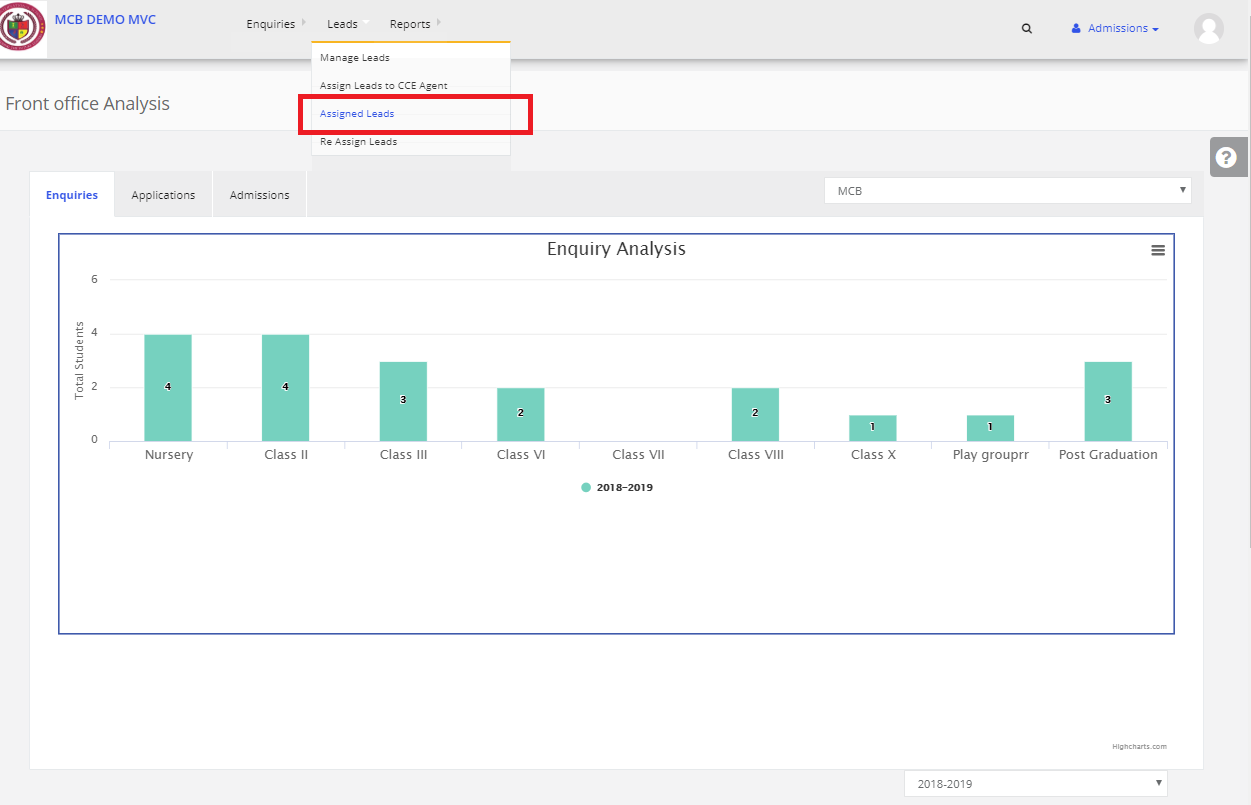
Step 11: Select the year Academic year & Assigned Leads will be displayed
Agent Follow-up Details:
Step 12: Click on Lead assigned & If the child is Interested to Select the Status as “Interested/Walk-in”. Select the next follow update & Assign Student to BDM Head & click on Save.
a)If Child is Interested:

Note: Create BDM head User.
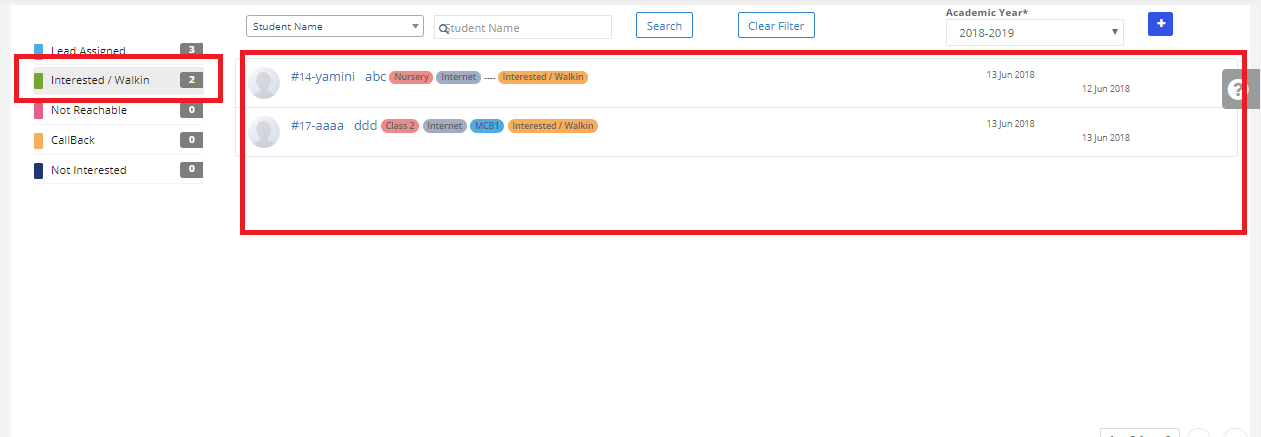
Step 13: Click on Interested/Walk-in, Interested/Walk-in students data will reflect
Step 14: Login MCB with BDM HEAD login Credentials
Step 15: Select Admissions on the dashboard and you will be directed to the Admissions page.
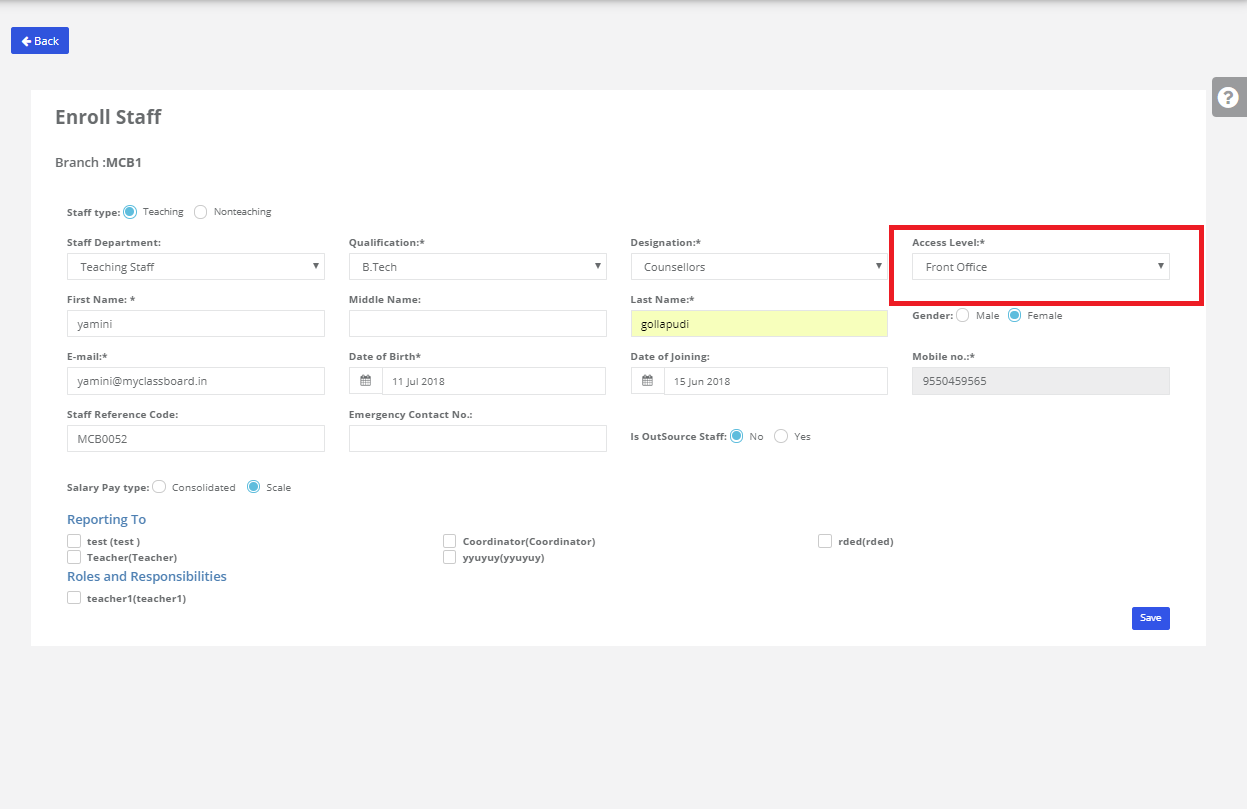
Note: Before assigning the leads to counsellors we have to Create Counsellors. (How to create Counsellors: Login MCB with Admin Login credentials → Click on HR→ In staff Details, click on Create Staff Details→ Select the Branch & Click on ADD Staff → Keep Entering all the detail, Select the Access level as “FRONT OFFICE”& then save)
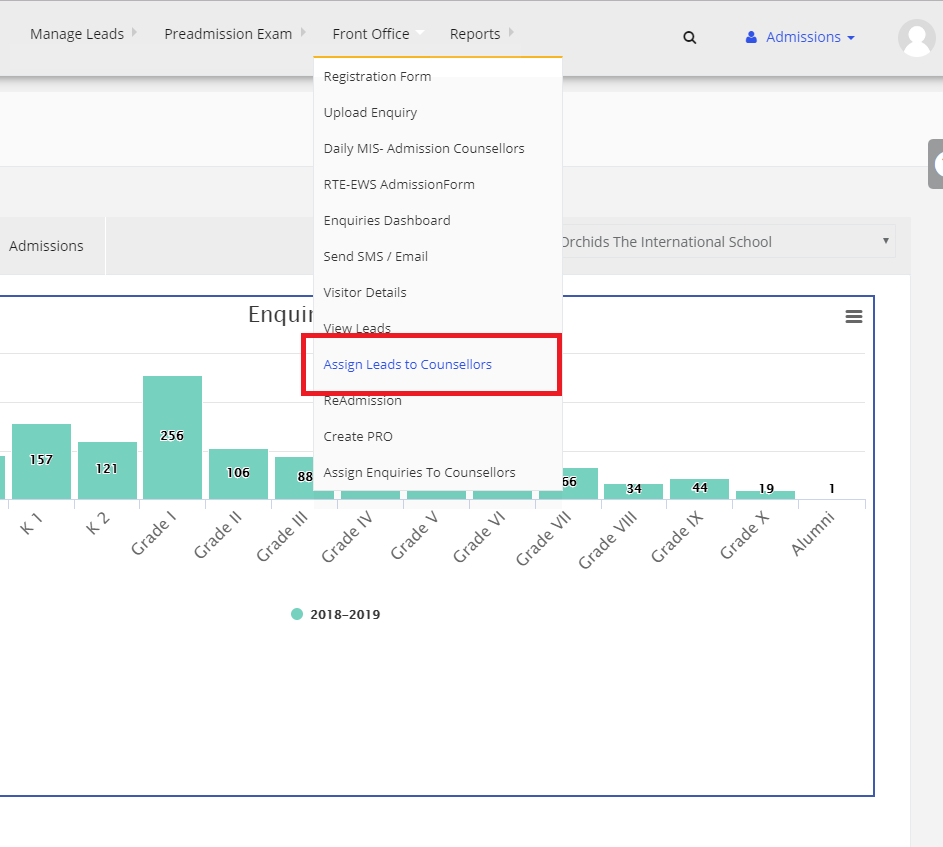
Step 16: Select “ Front Office” on the top bar and choose “Assign Leads to counsellors”.
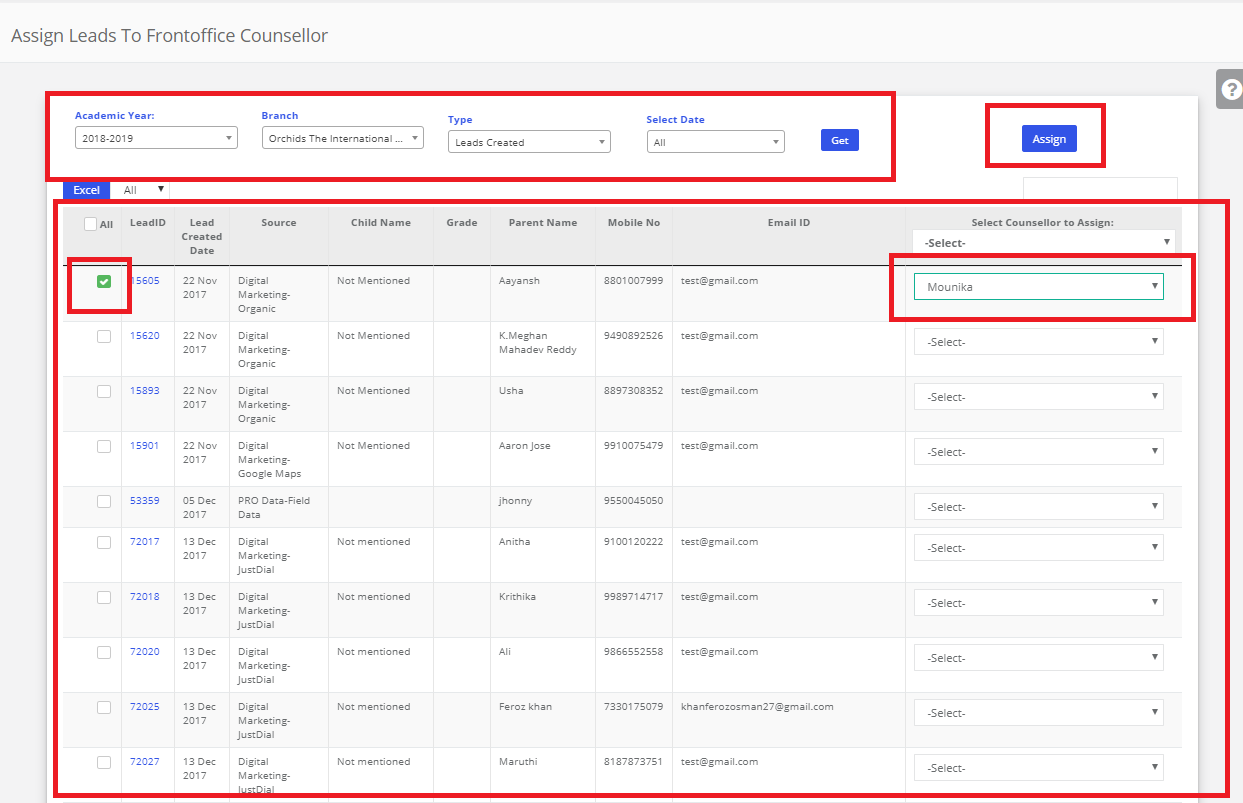
Step 17: Select the Academic year, Branch, Type as Lead Created & date then click on Get. Created Leads data will be displayed. Select the lead which you want to assign to Counsellors click on checkbox & Select the created counsellor & Click on assign.
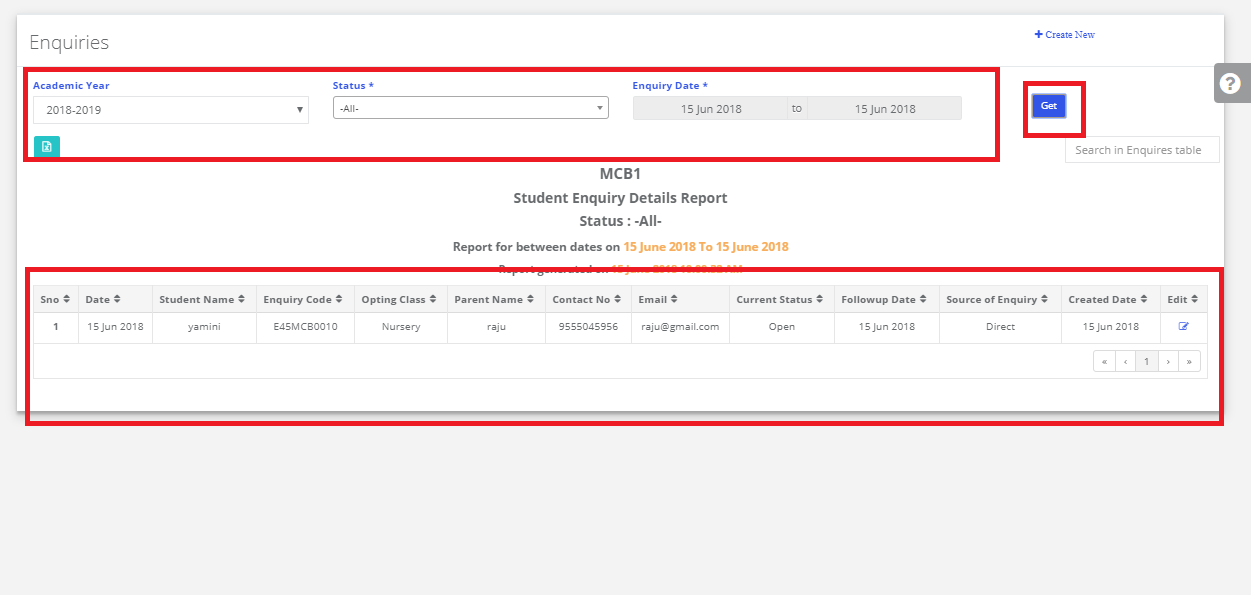
Step 18: After Assigning the leads to counsellors, directly an Enquiry is created for the leads.Login MCB with admin Logins. Click on Admissions & Click on Enquiry Form. Select the Academic year, Status & enquiry dates click on Get. Leads data will be reflected here.
b) Child is not Interested:
Step 20: Click on Lead assigned & If the child is Not interested to Select the Status as“Not Interested”. Enter the remarks & then save.
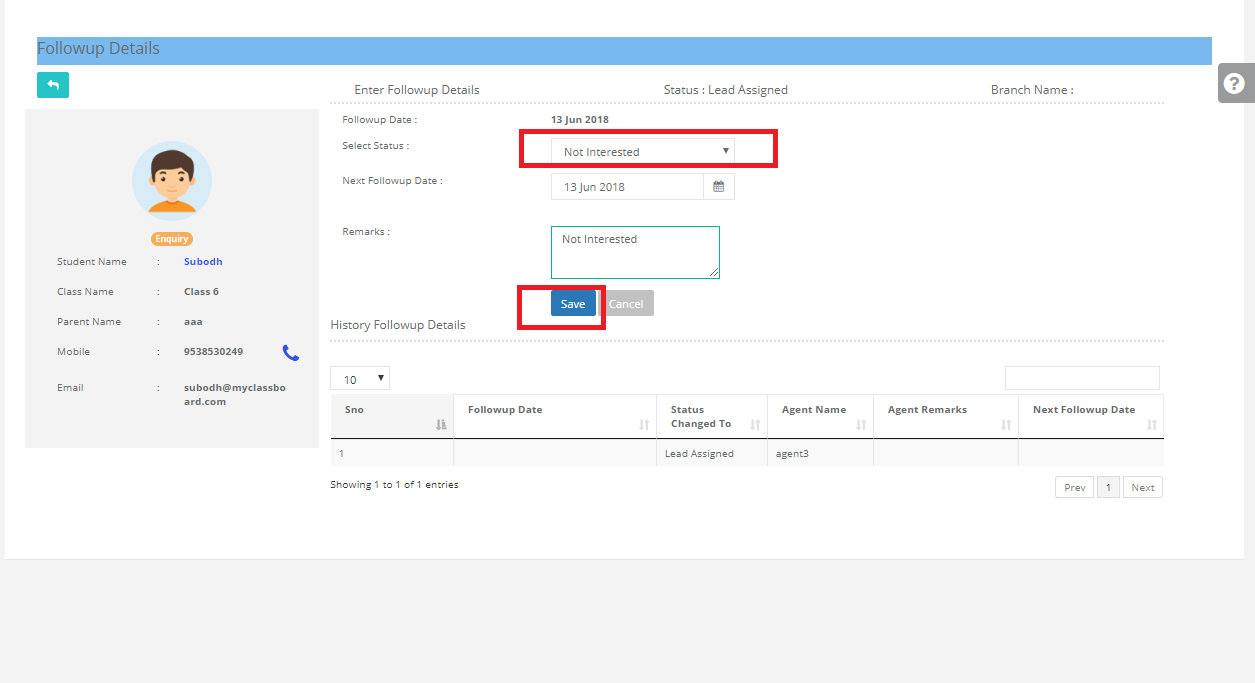
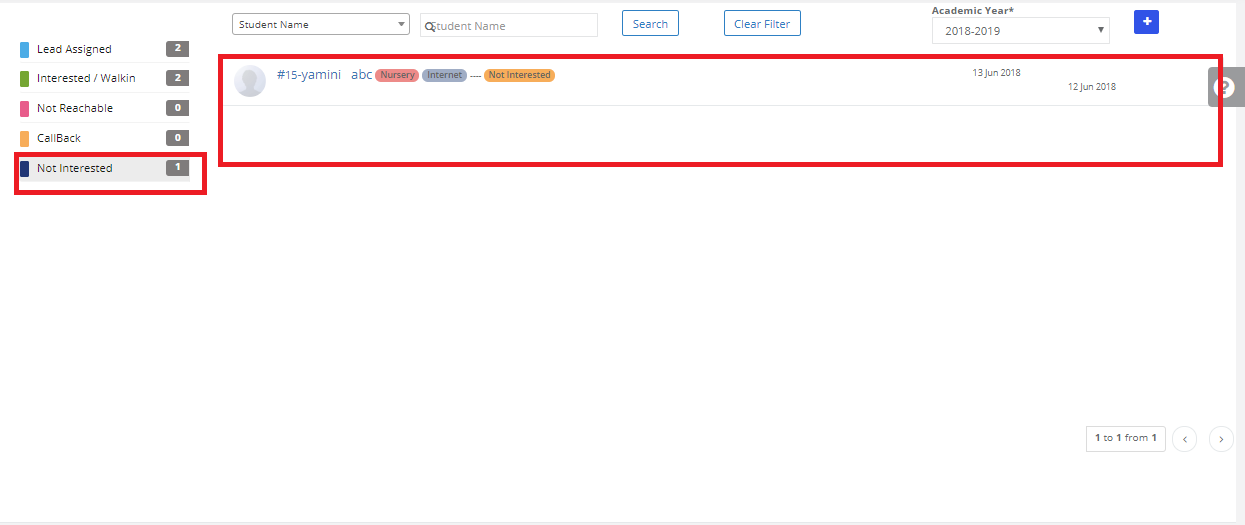
Step 21: Click on Not Interested, Not Interested students data will reflect.