Step 1: Login to MCB with Principal of SysAdmin Login credentials.
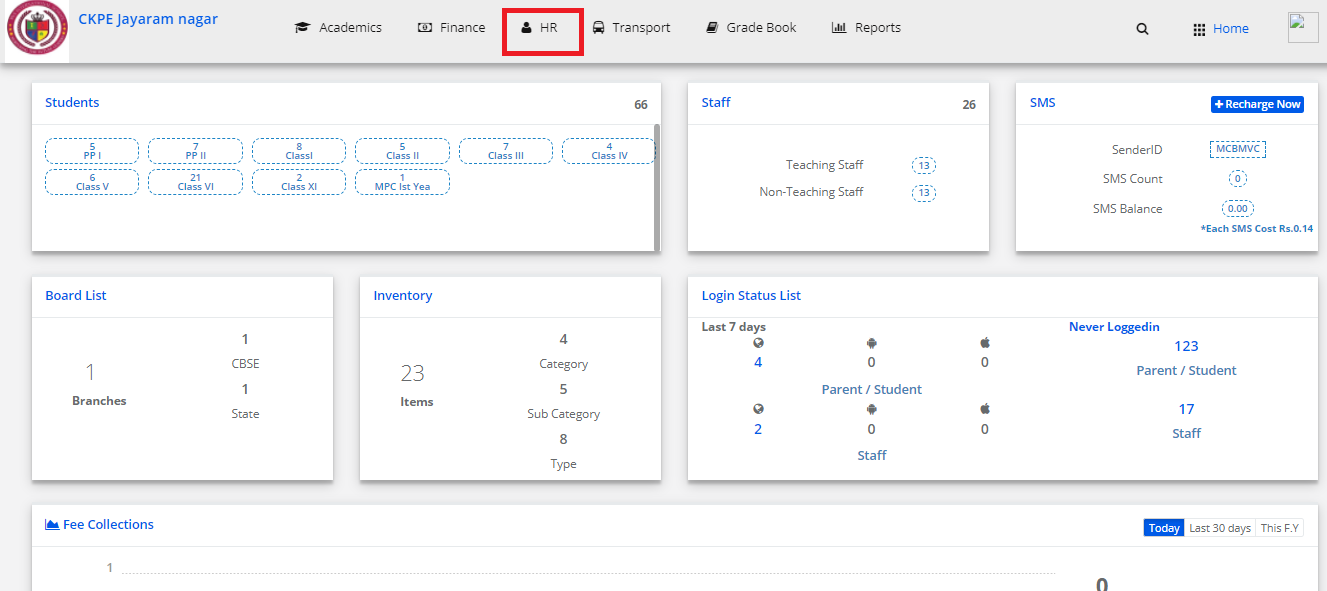
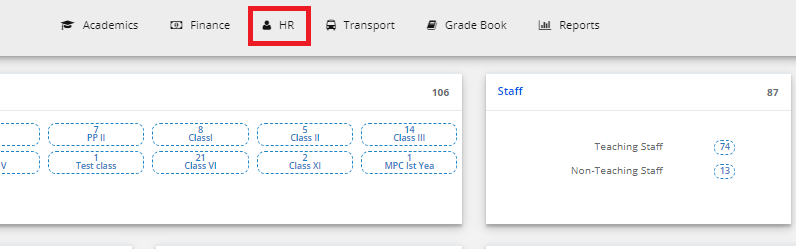
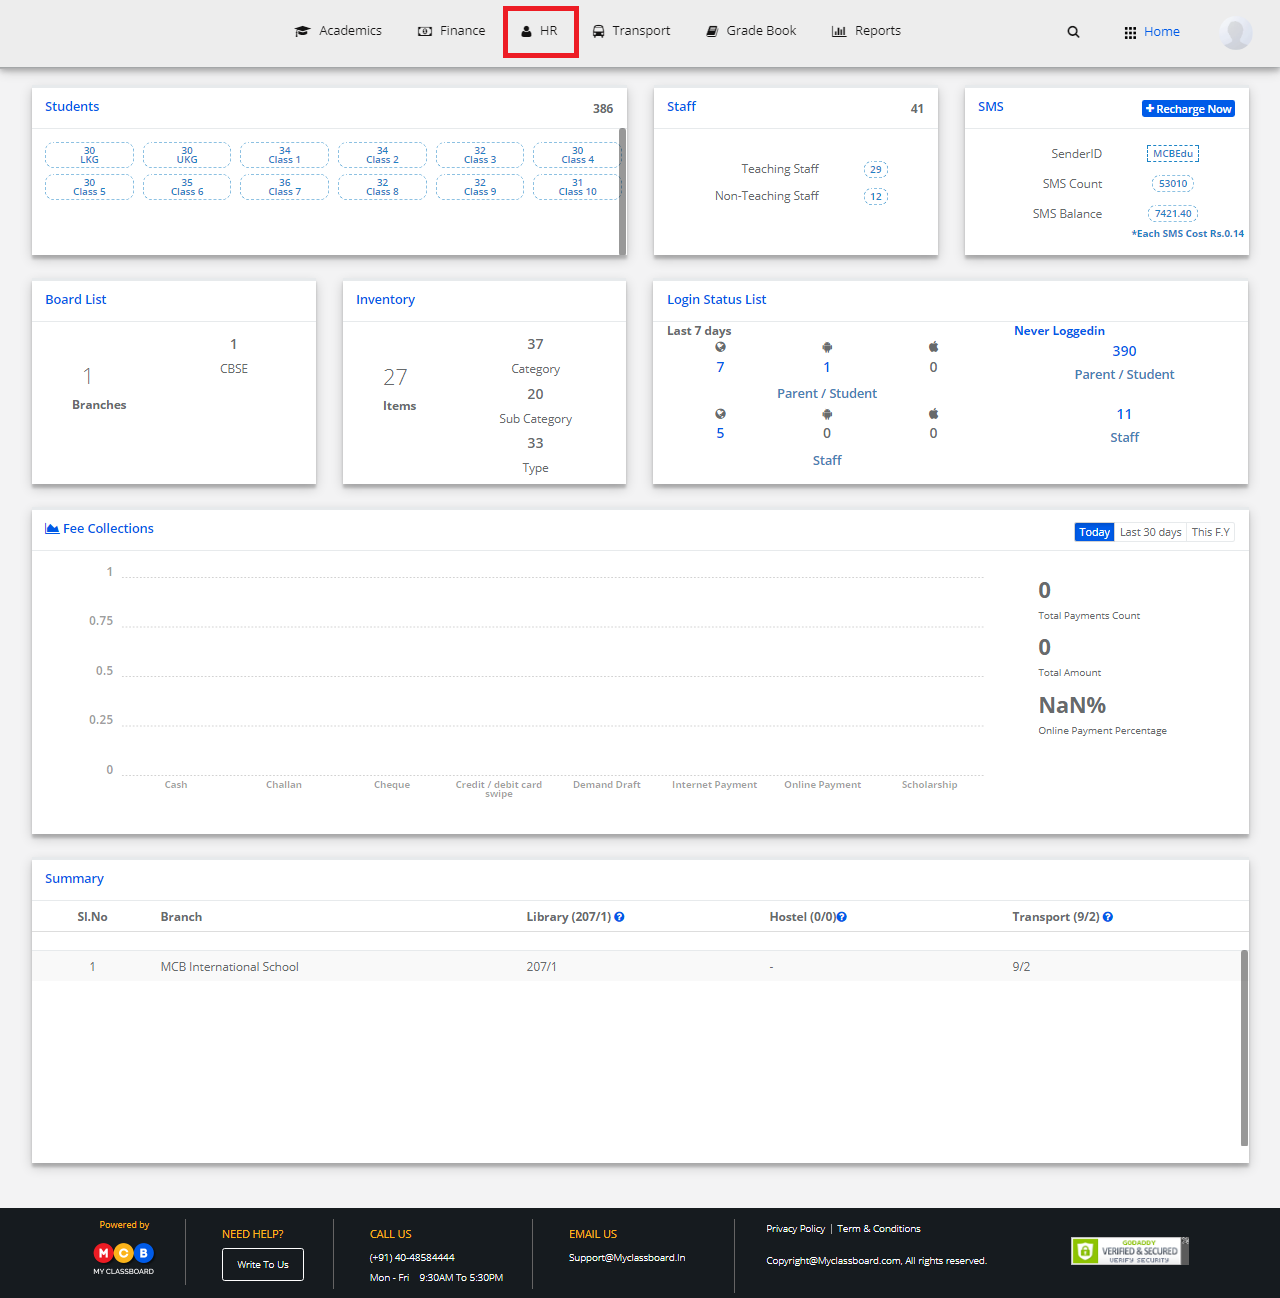
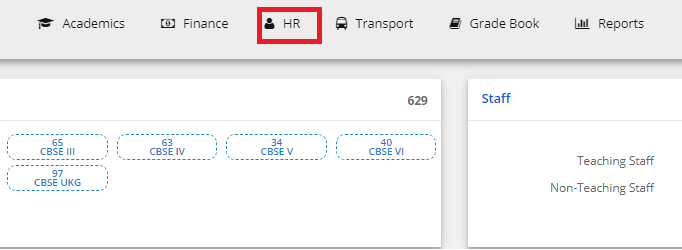
Step 2: Select “HR” on the top bar of the dashboard. You will be directed to the HR page.
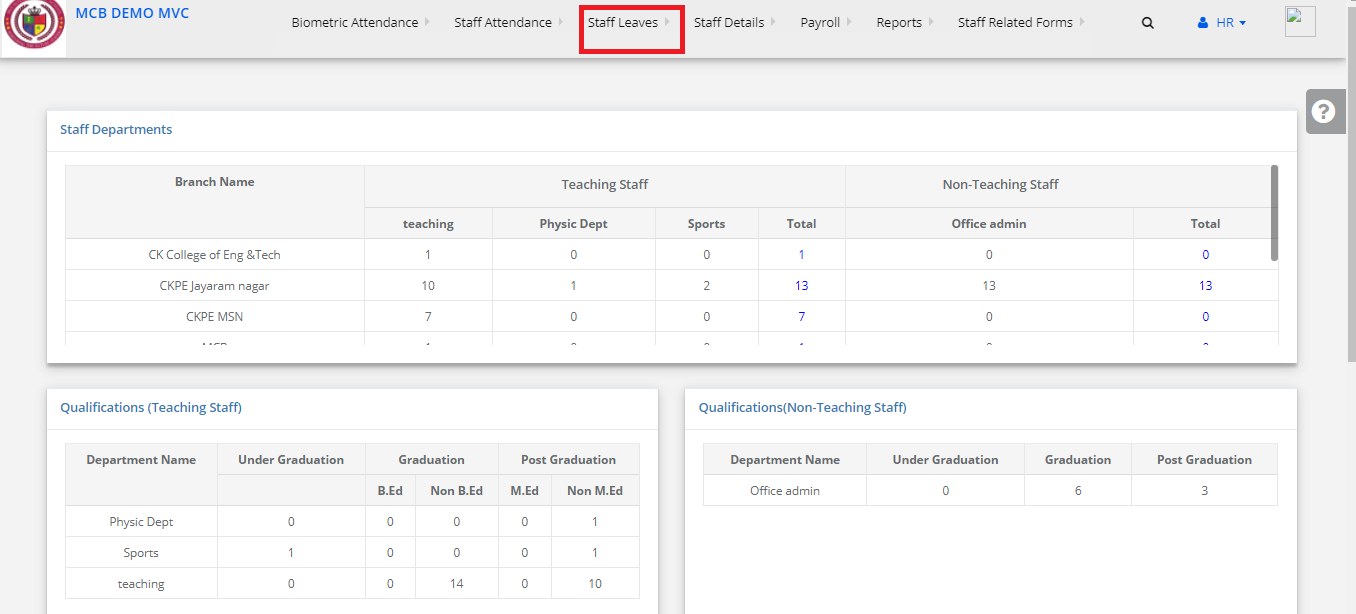
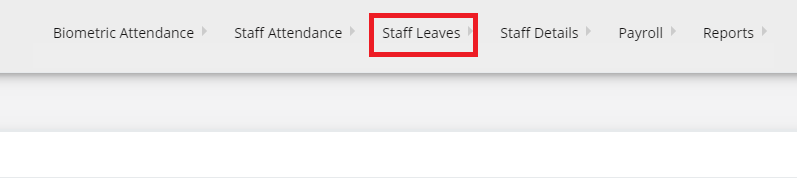
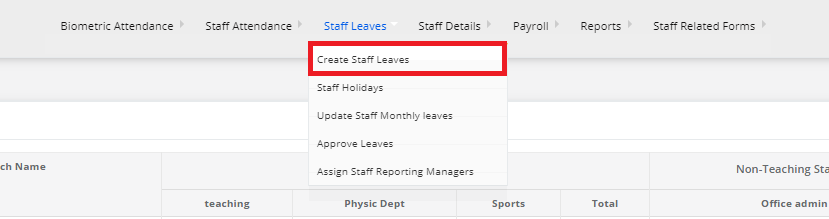
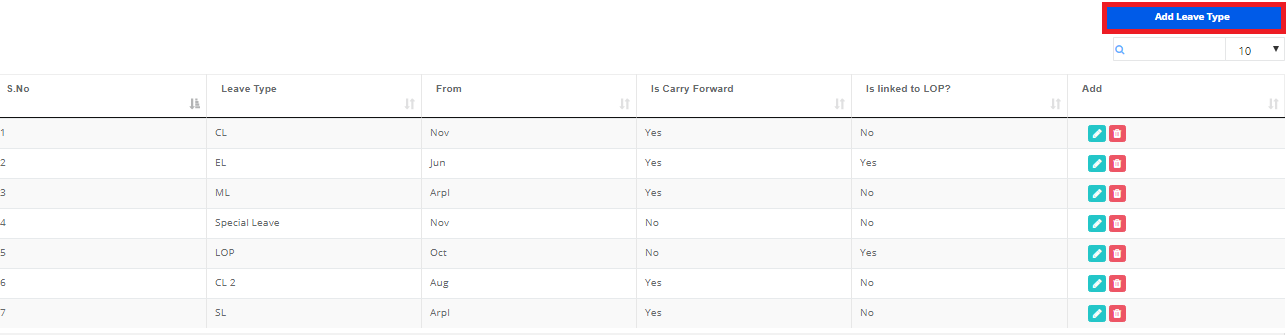
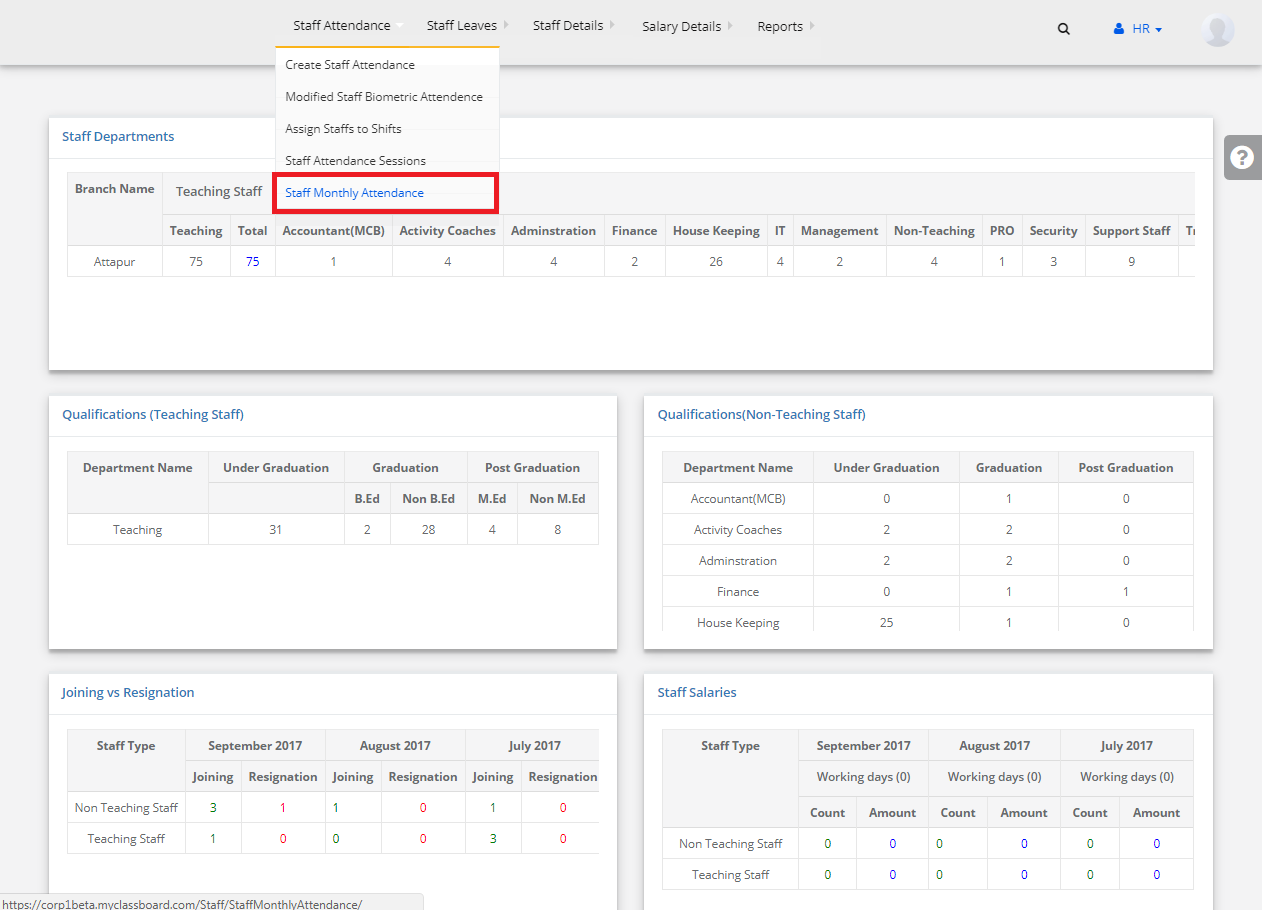
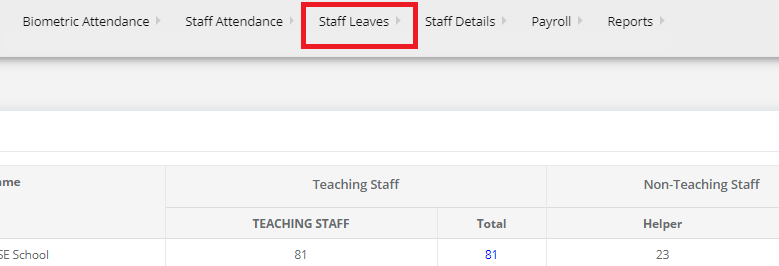
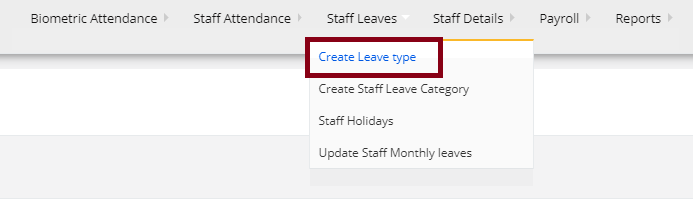
Step 3: Click on Staff Leaves
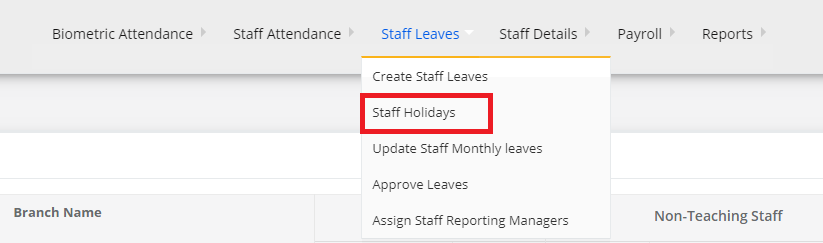
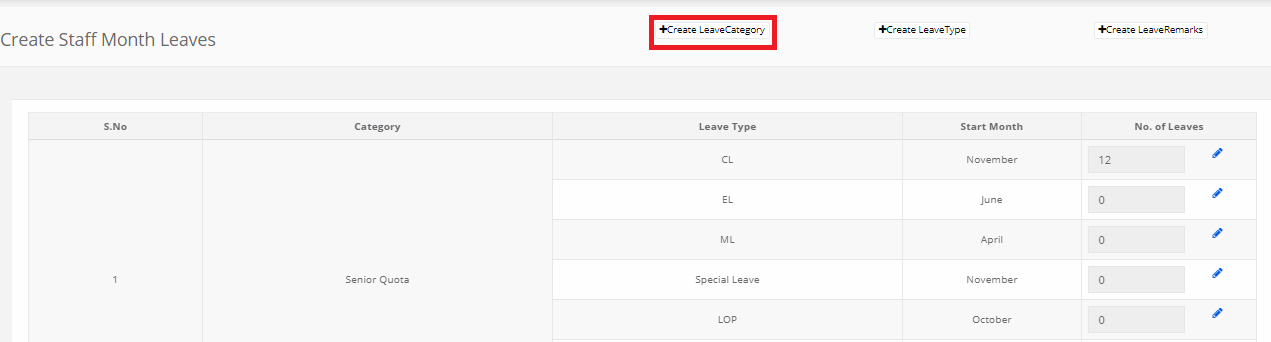
Step 4: choose “Create Leave Type” in drop down
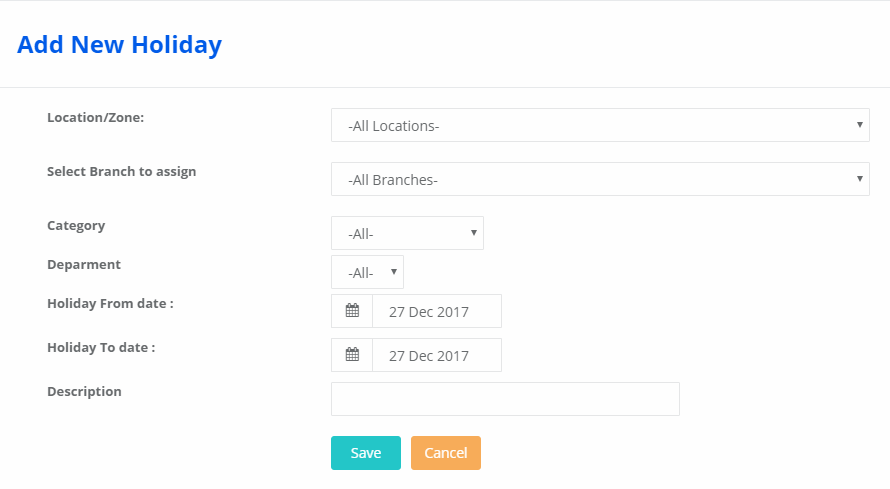
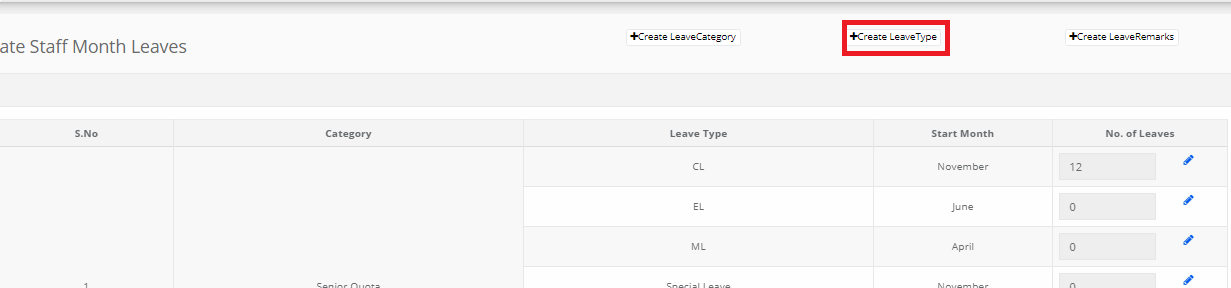
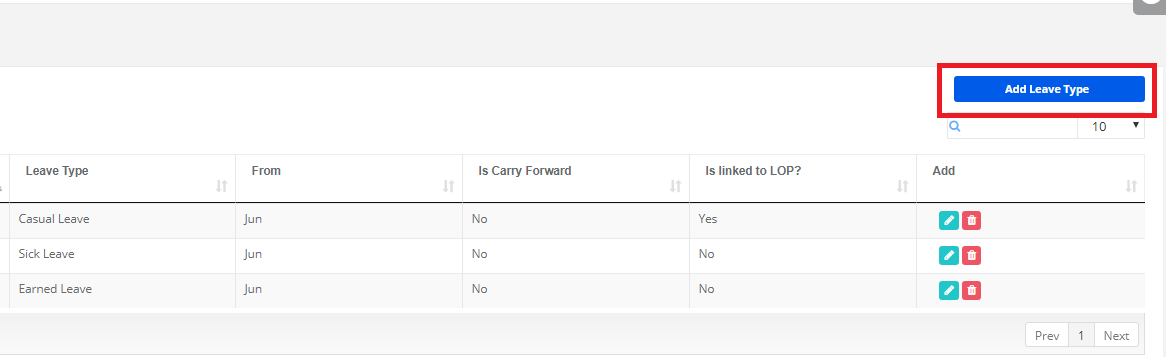
Step 5: Click on “Add Leave Type” to add a new Leave type.
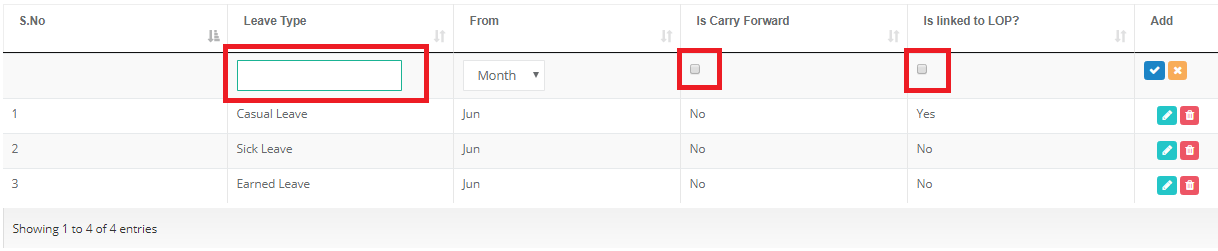
Step 6: Name the leave, choose the month and select the options whether the leave type is a carry forward and linked to LOP and click on “Save” button.
Step 7: The Leave type is created successfully.
To Edit the Leave Type
Step 8: Select any row and click on the “Edit” option.

Step 9: Make the necessary changes and click on”Save”. The changes are updated successfully.