Step 1: Login to MCB.
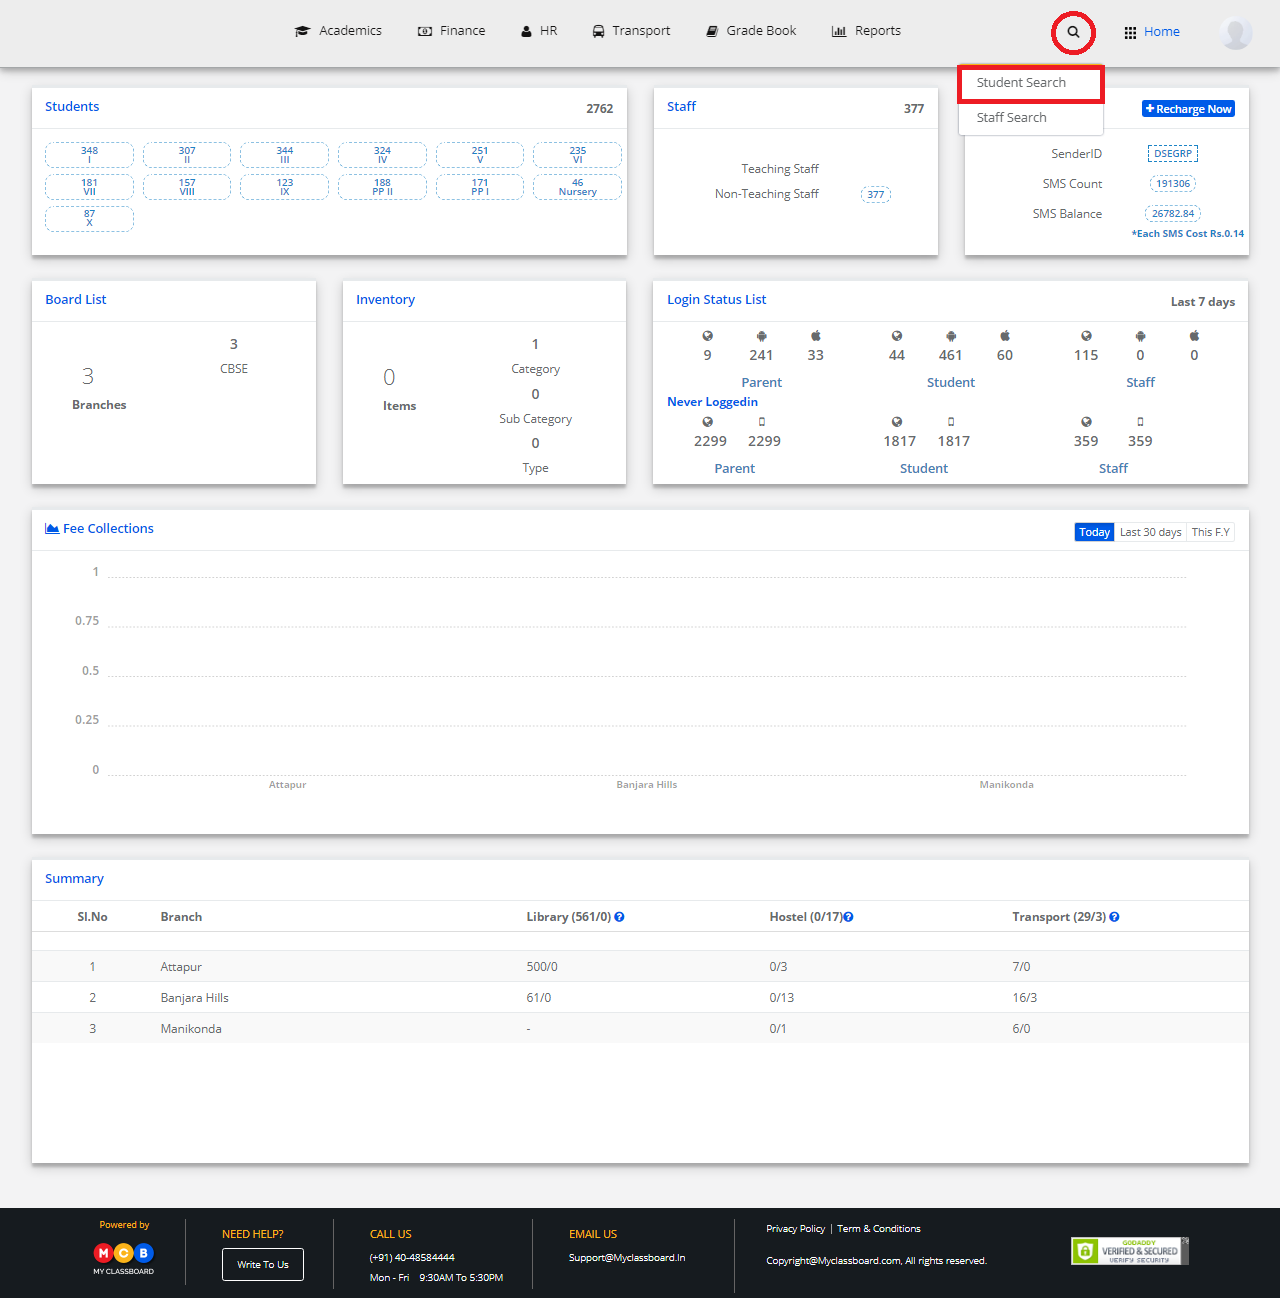
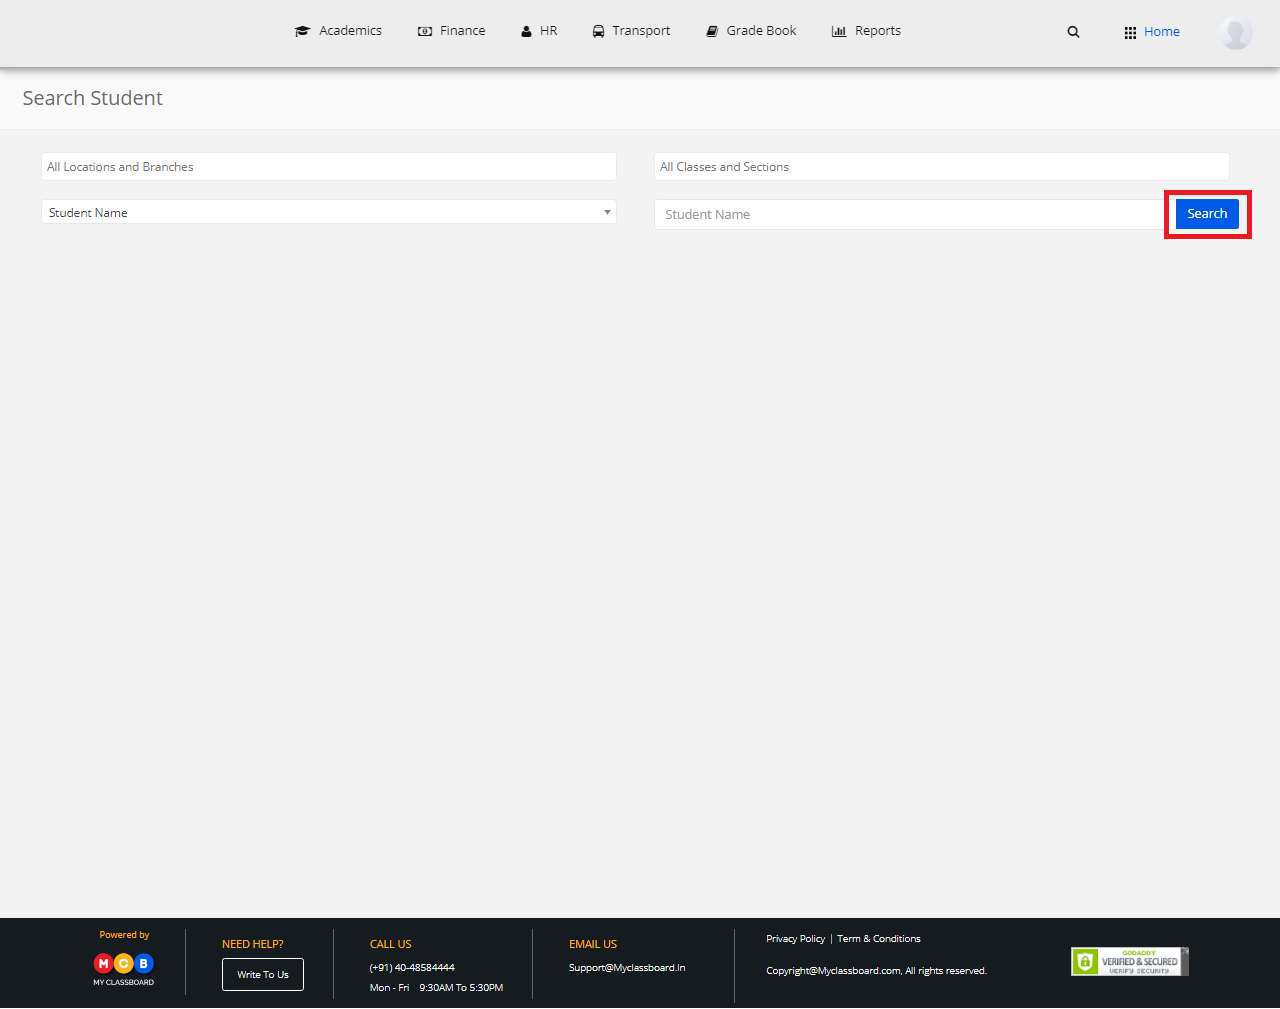
Step 2: Click on the “Search” button on the top bar of the dashboard to search for the student.

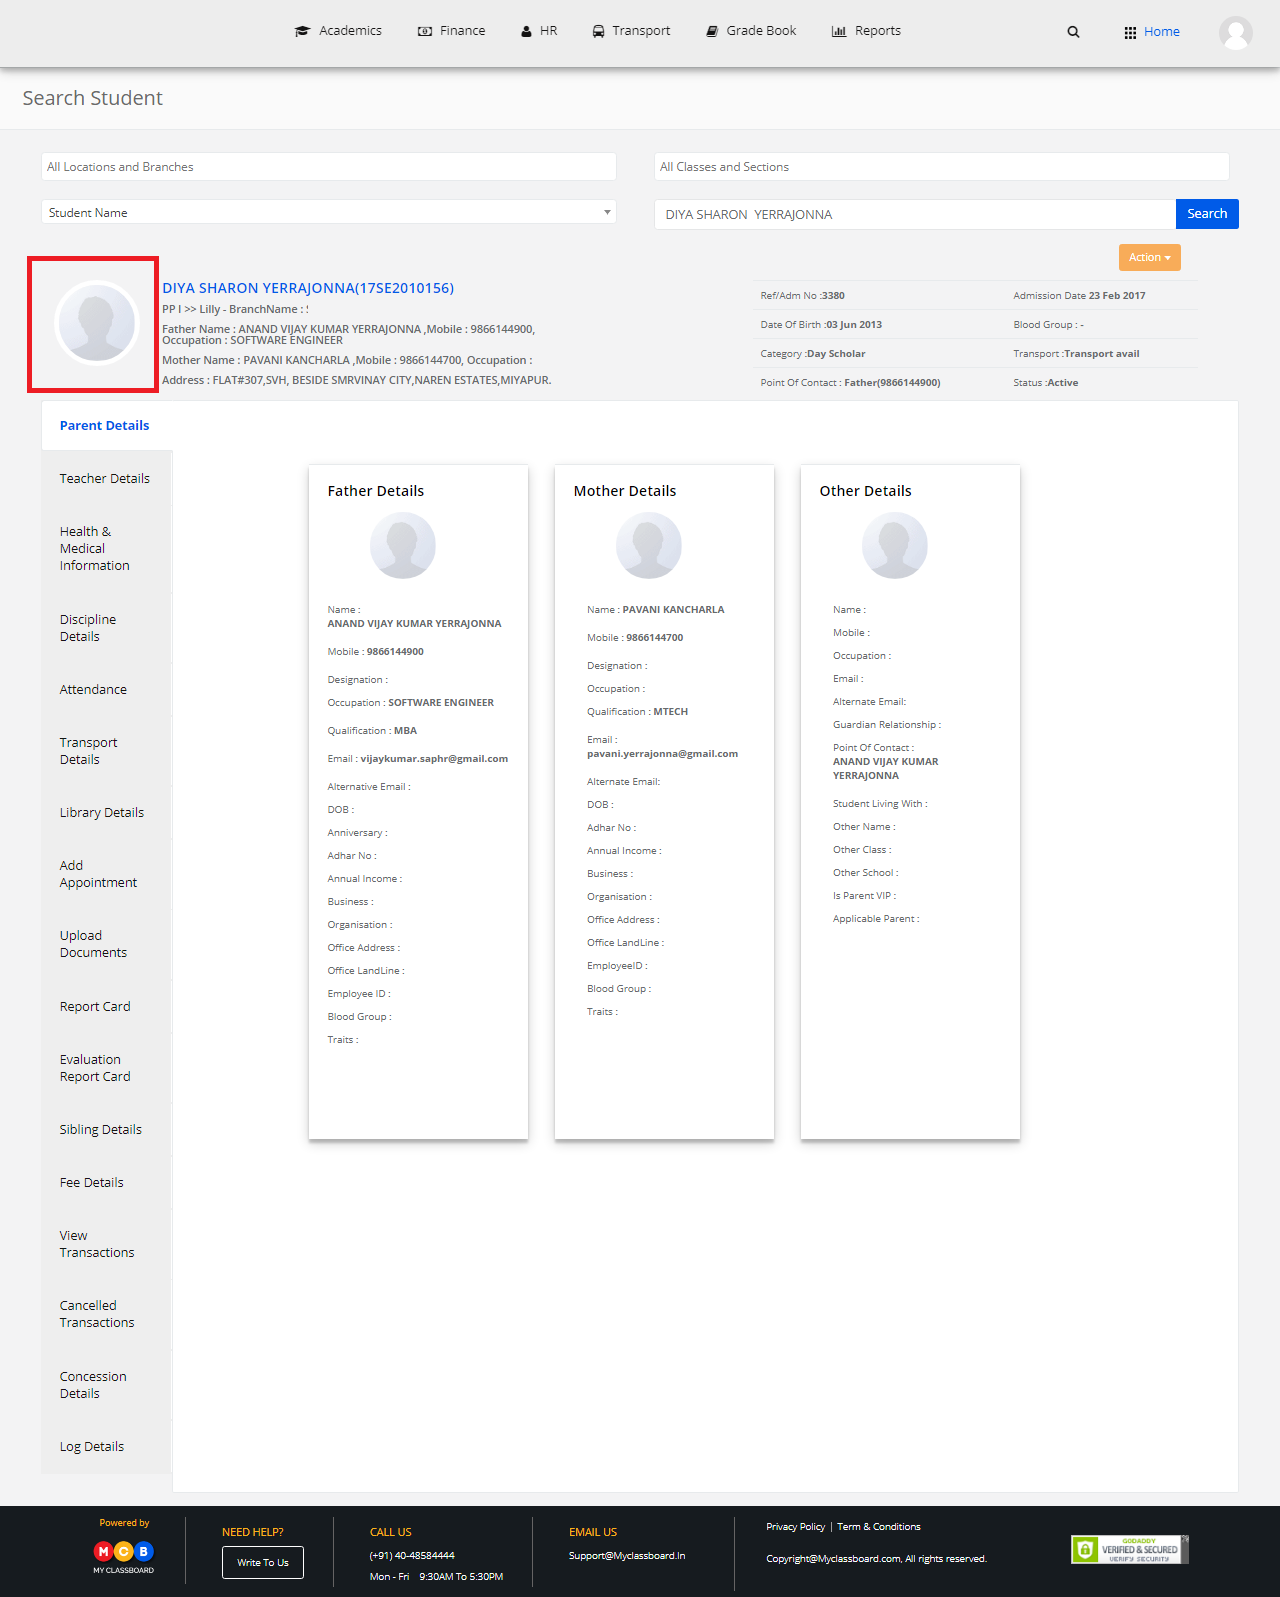
Step 3: Enter the required criteria here and click on “Search”.
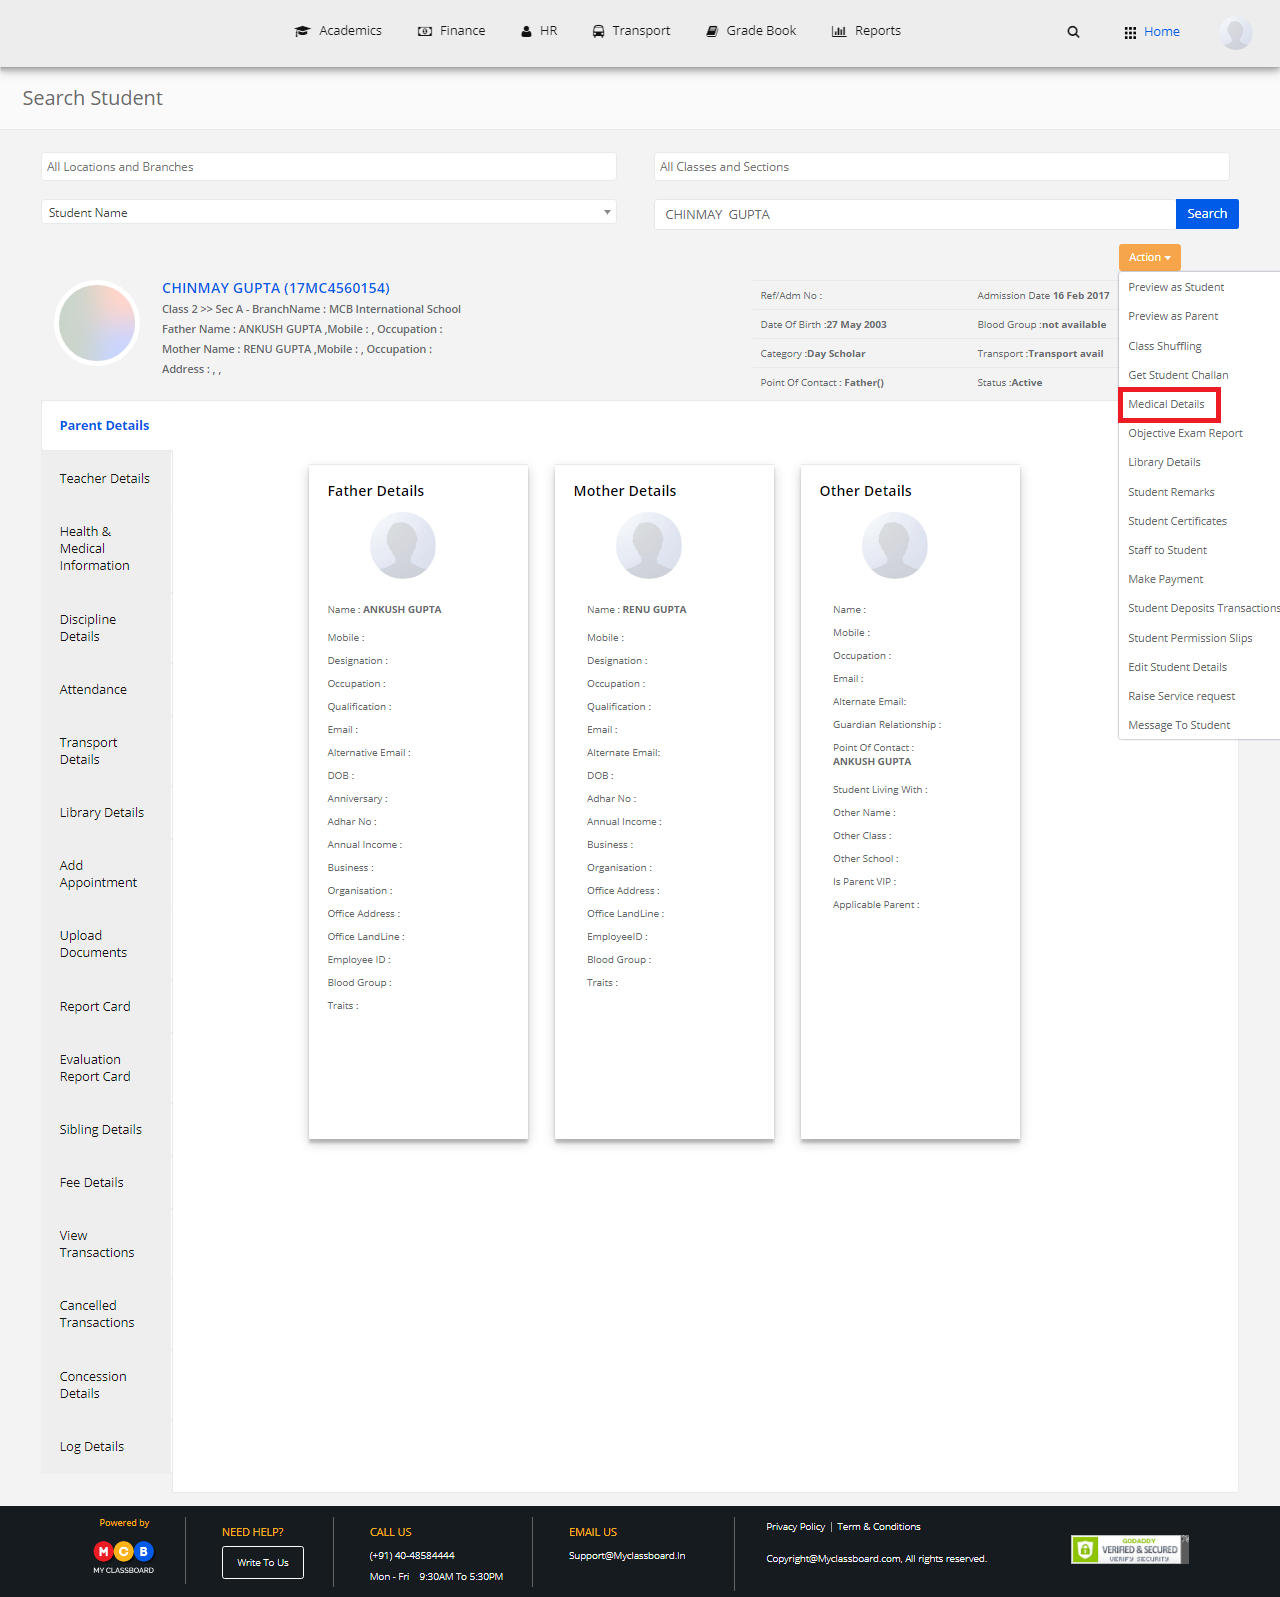
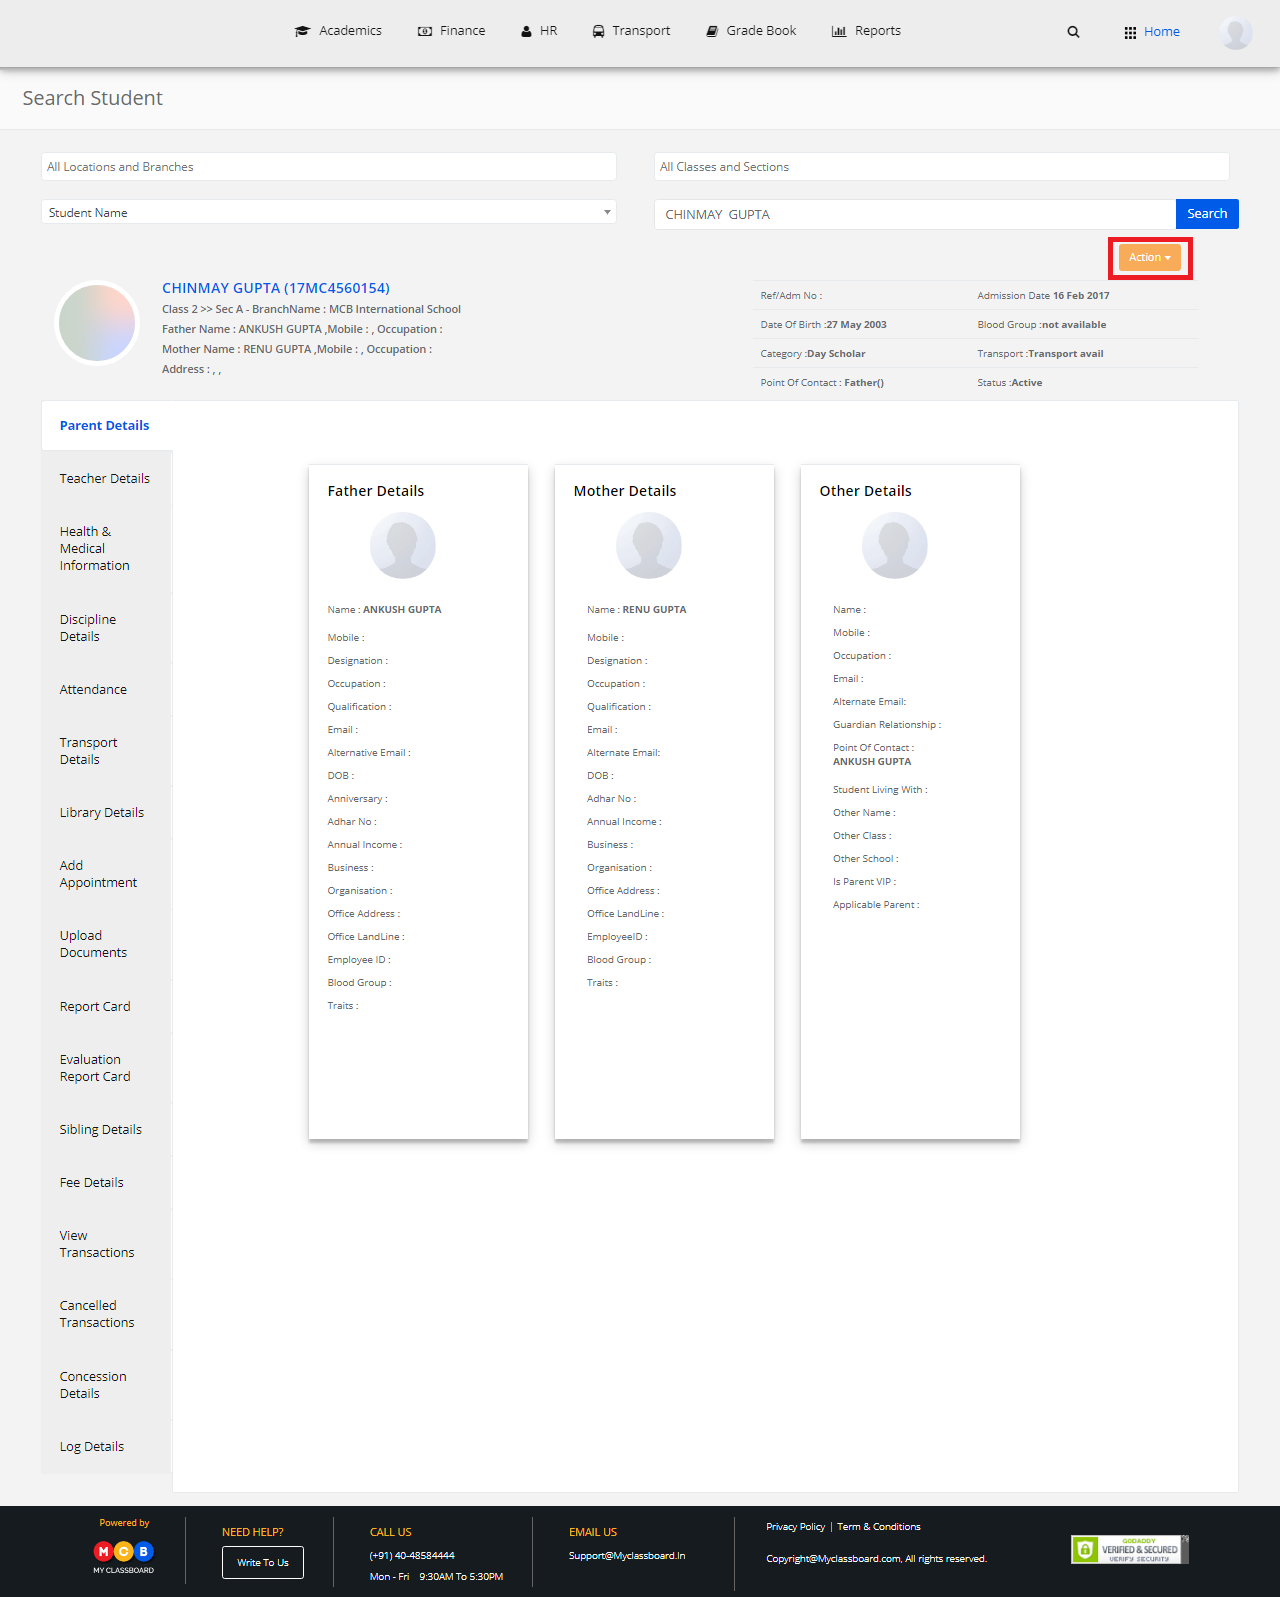
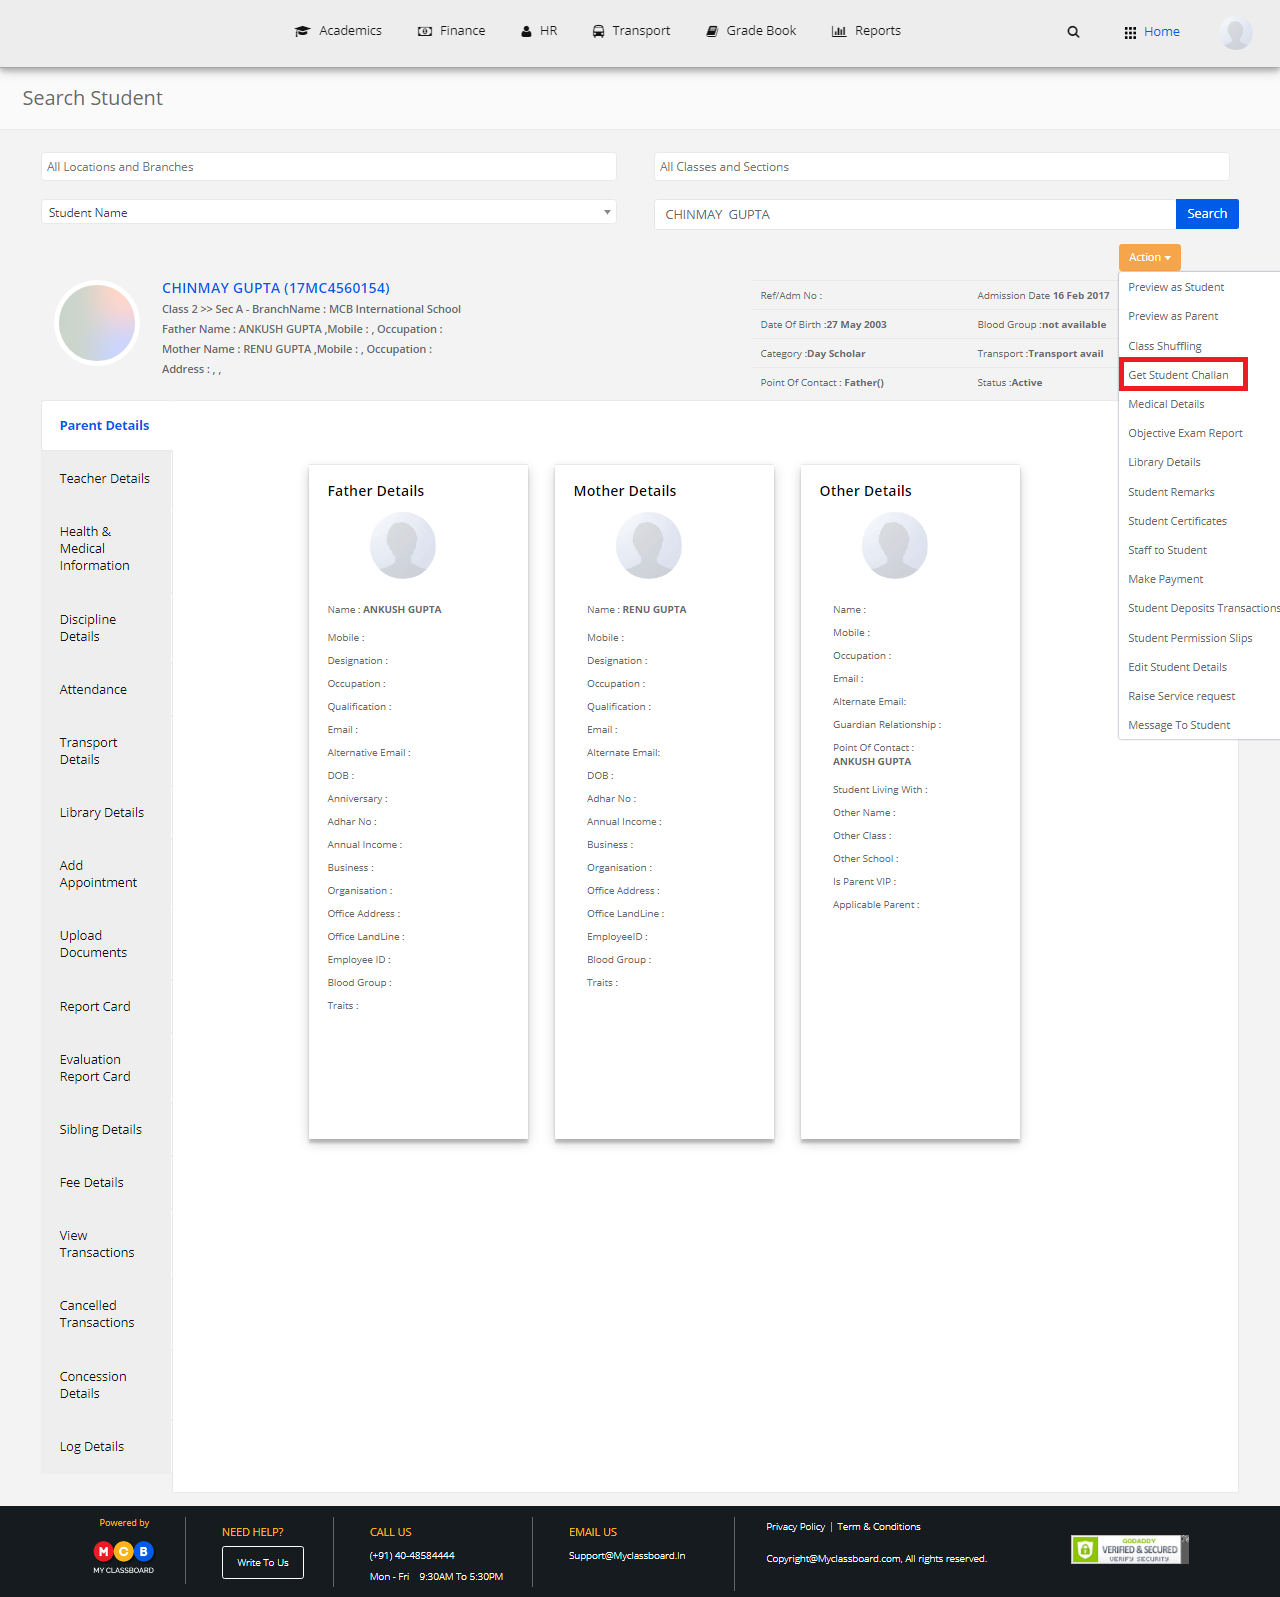
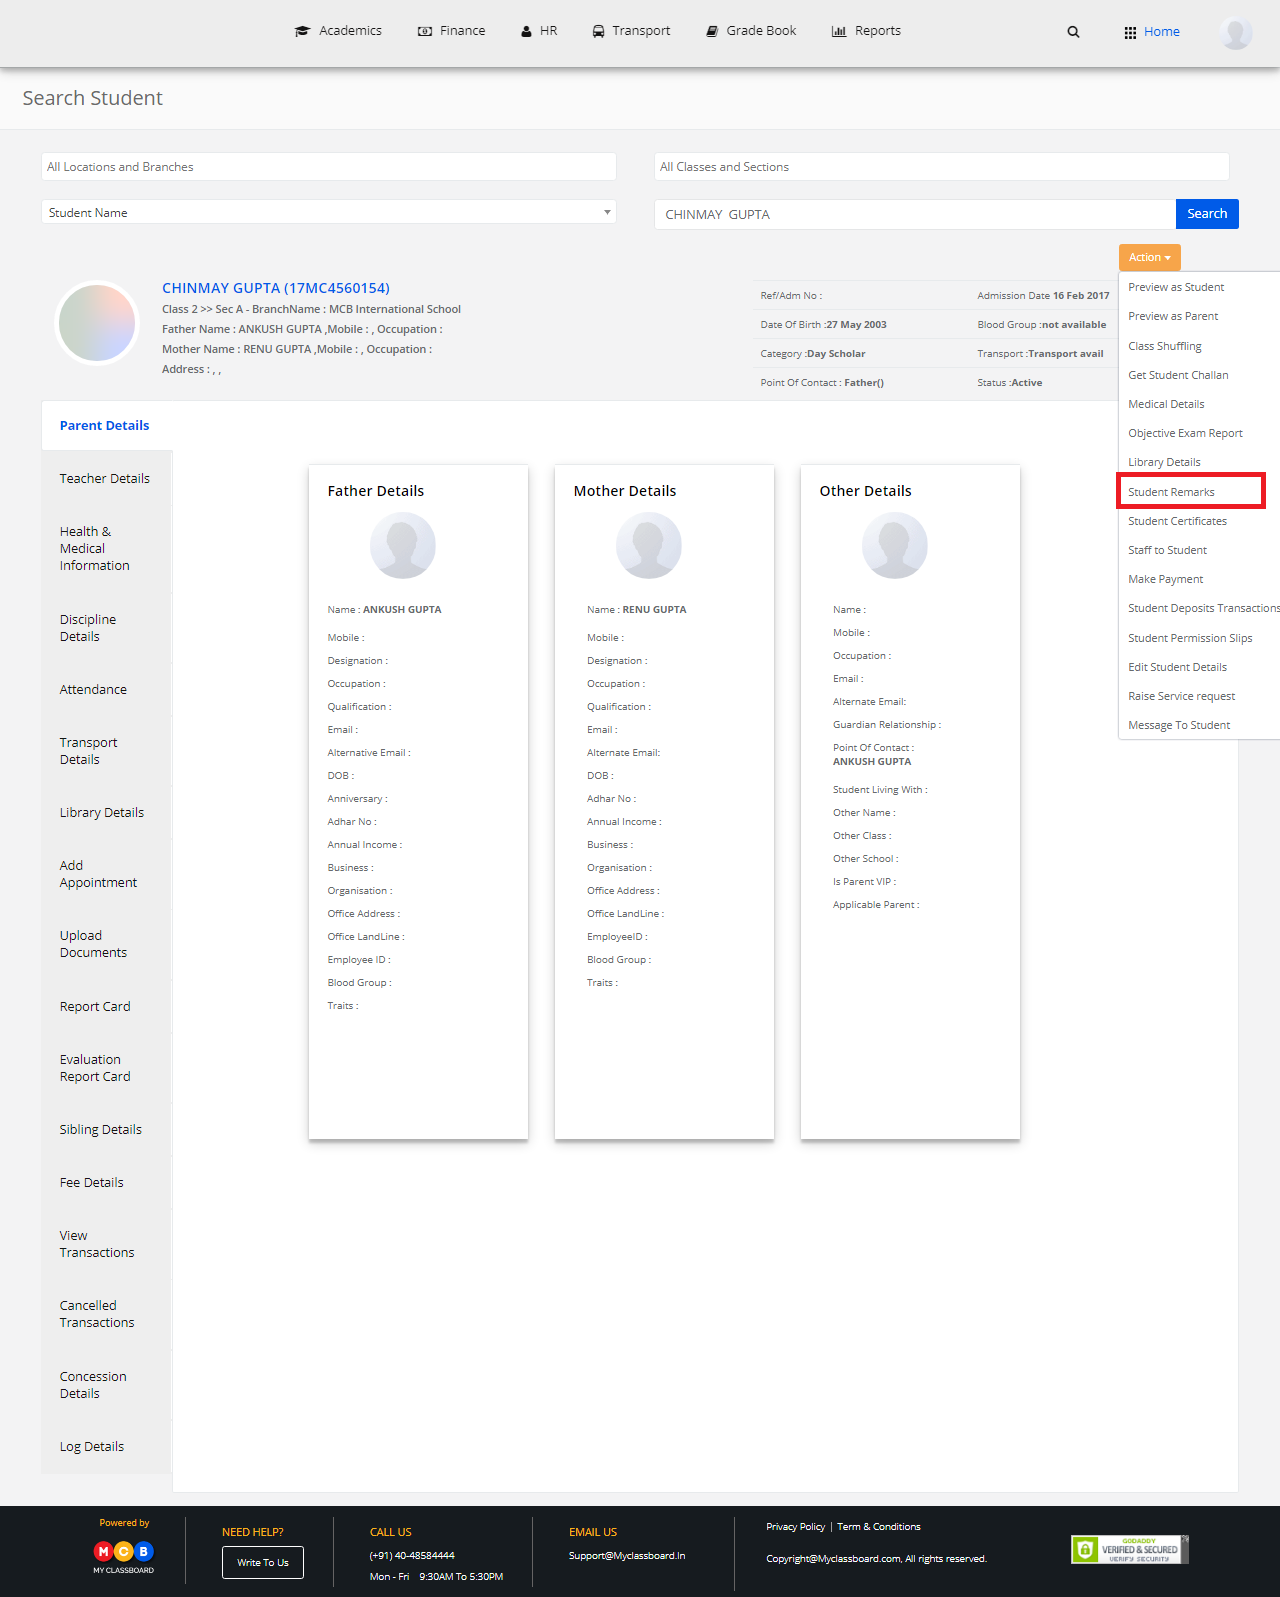
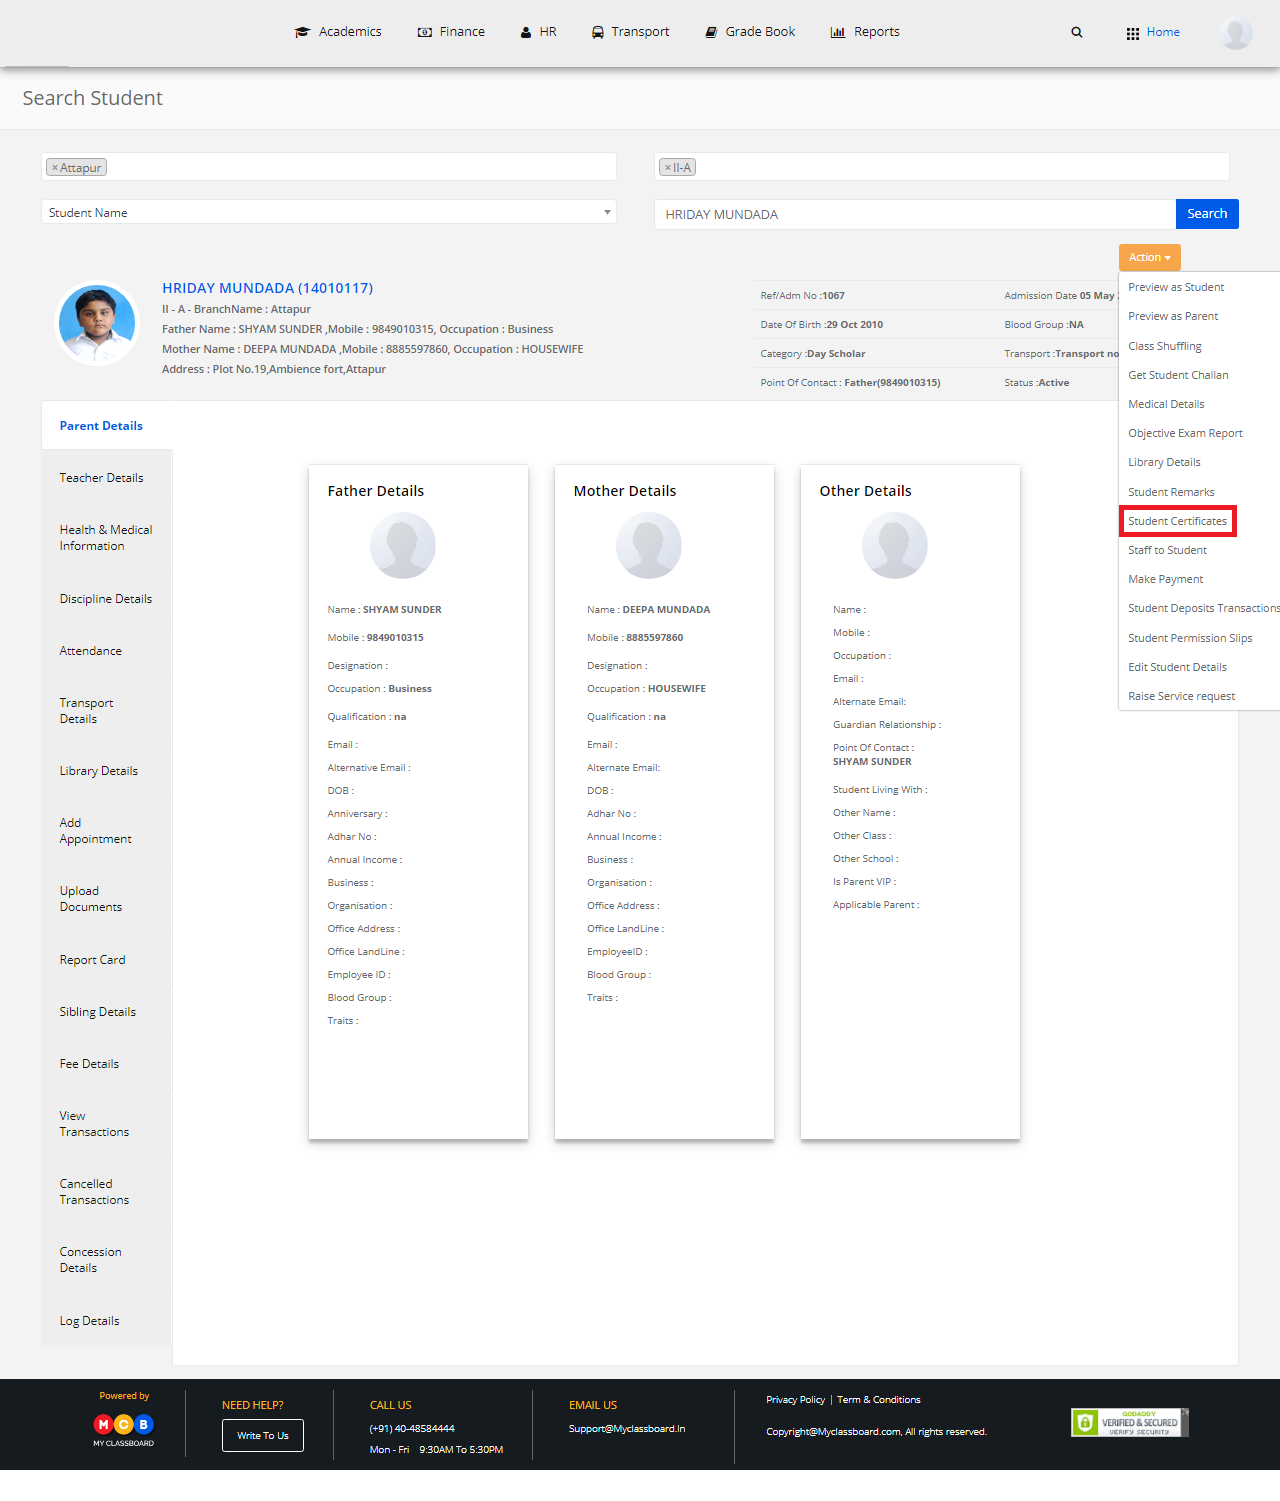
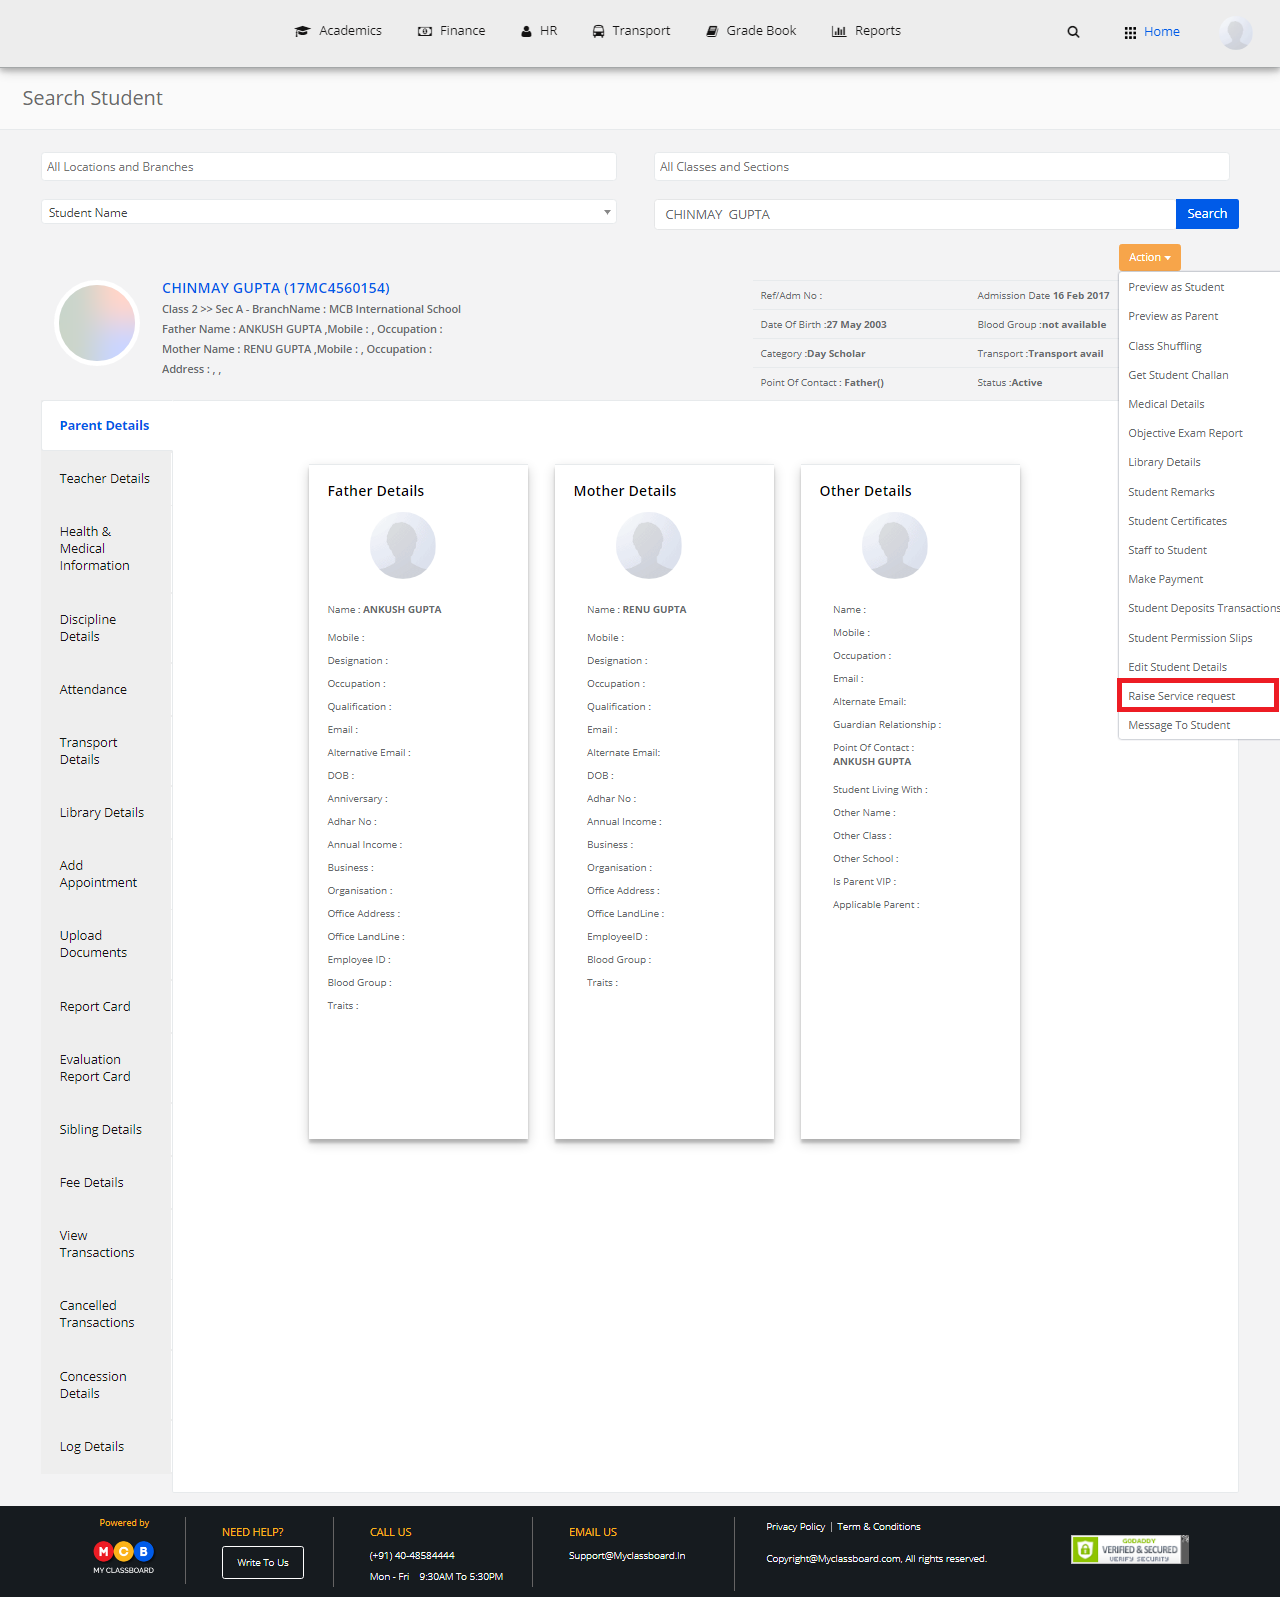
Step 4: In the search result page, click on “Action” button.
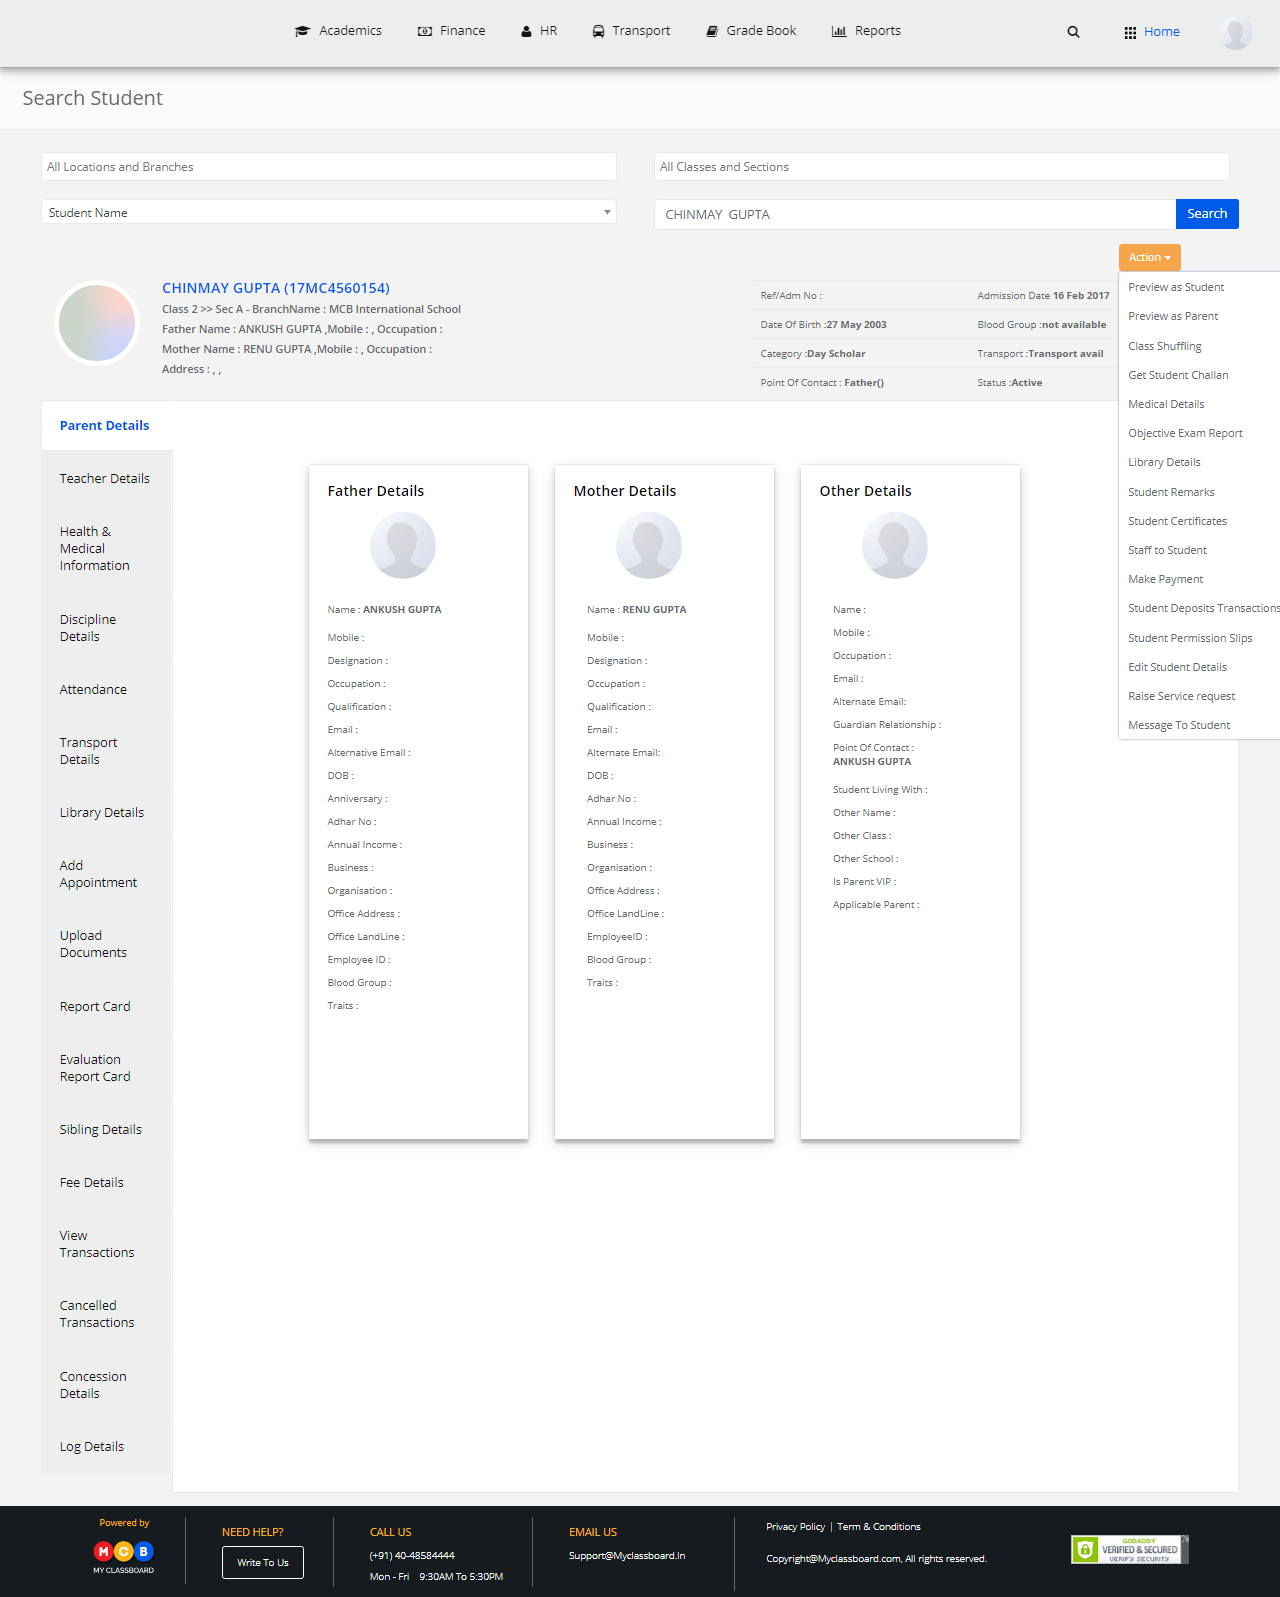
Step 5: In the drop down there are a set of options displayed. Click on any of the options to proceed with the respective process.
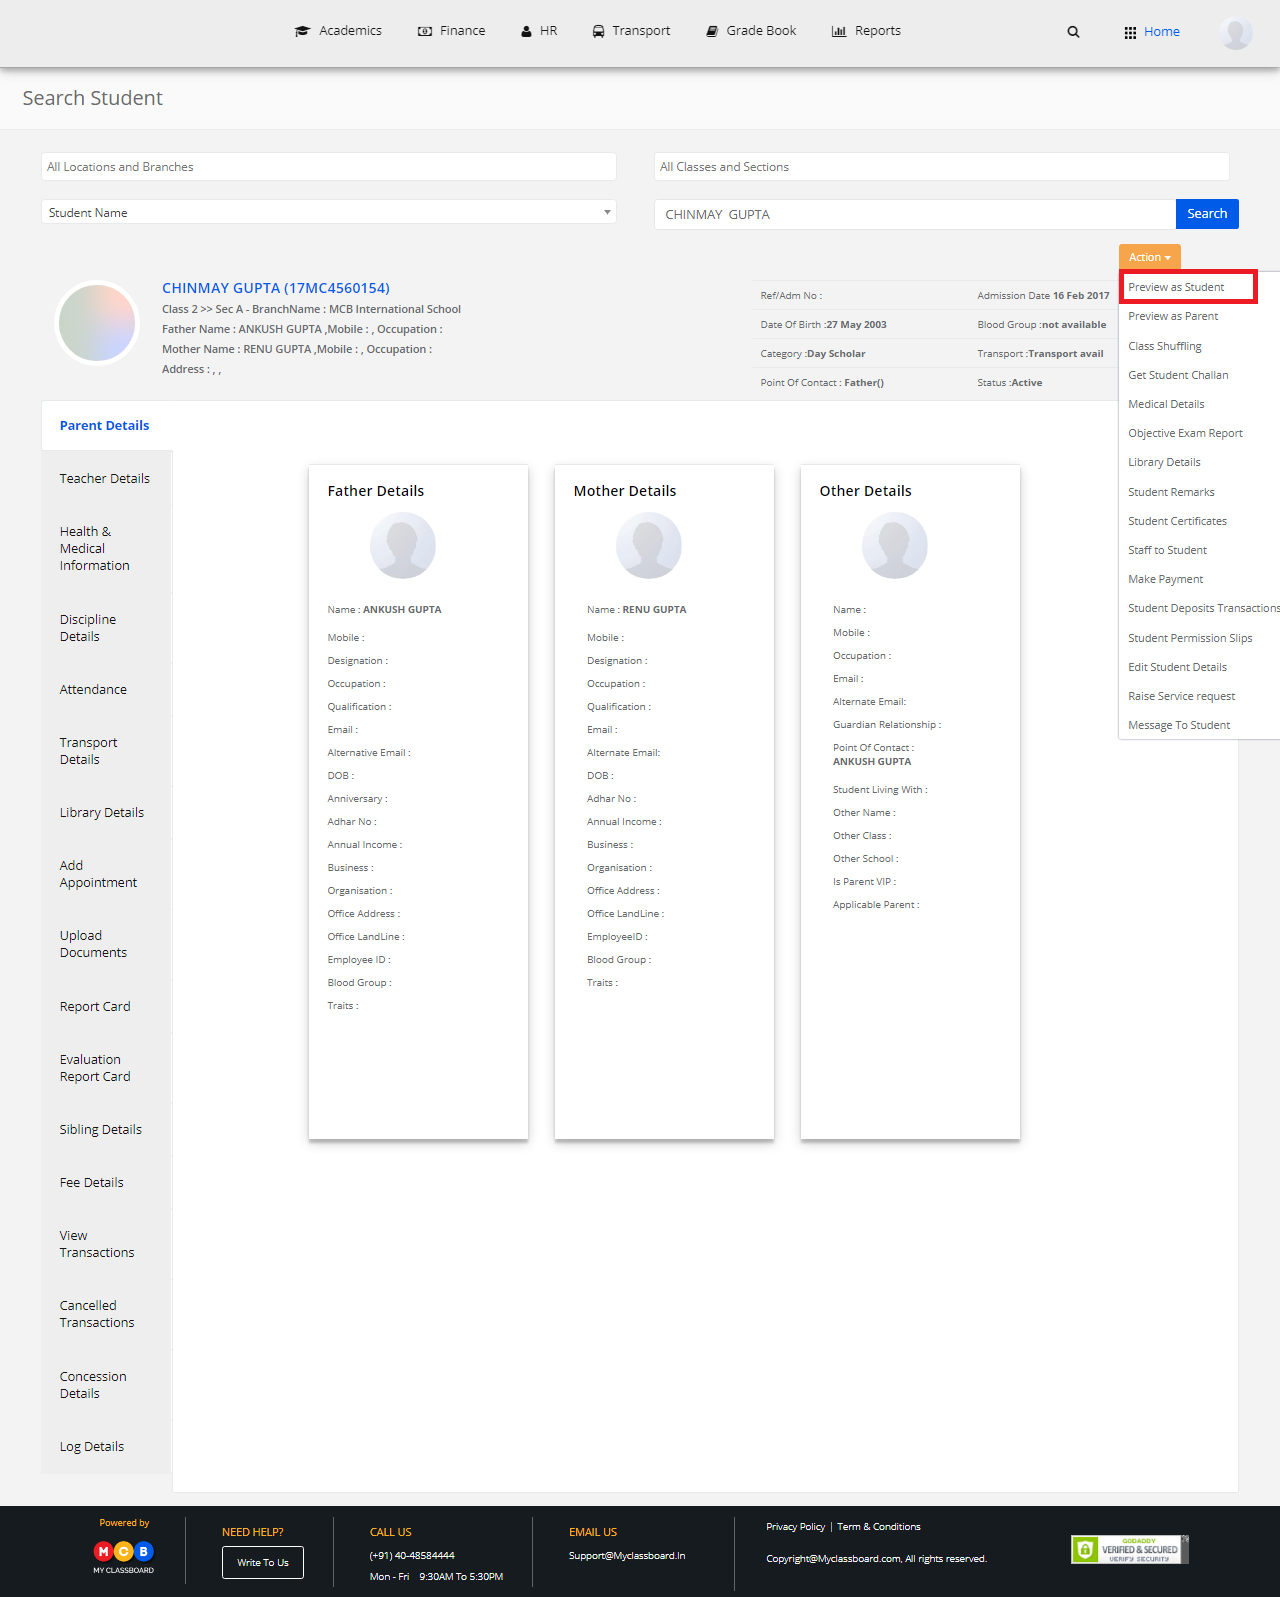
Preview as Student.
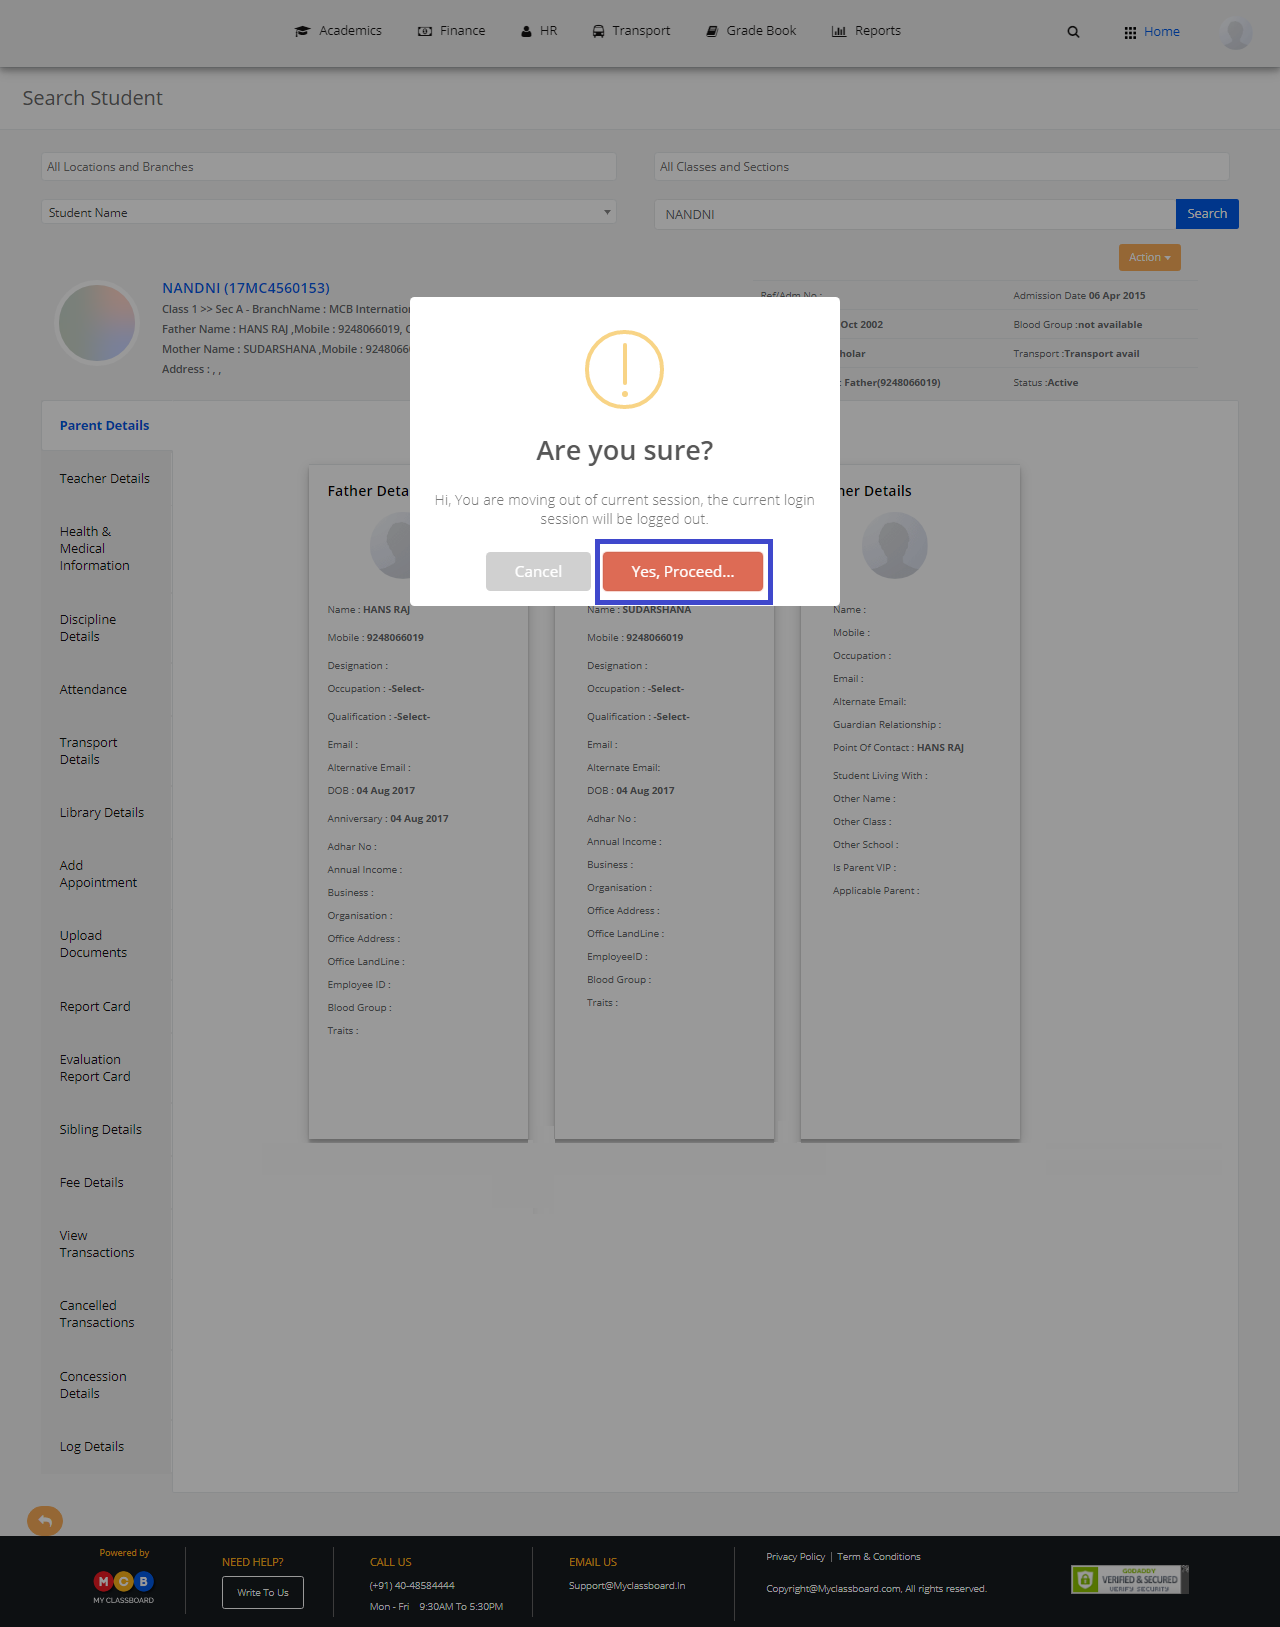
Step 6: To get a student’s preview, click on “Preview as Student”.
Step 7: A pop-up button shows out on the screen. Select “Yes Proceed” option.

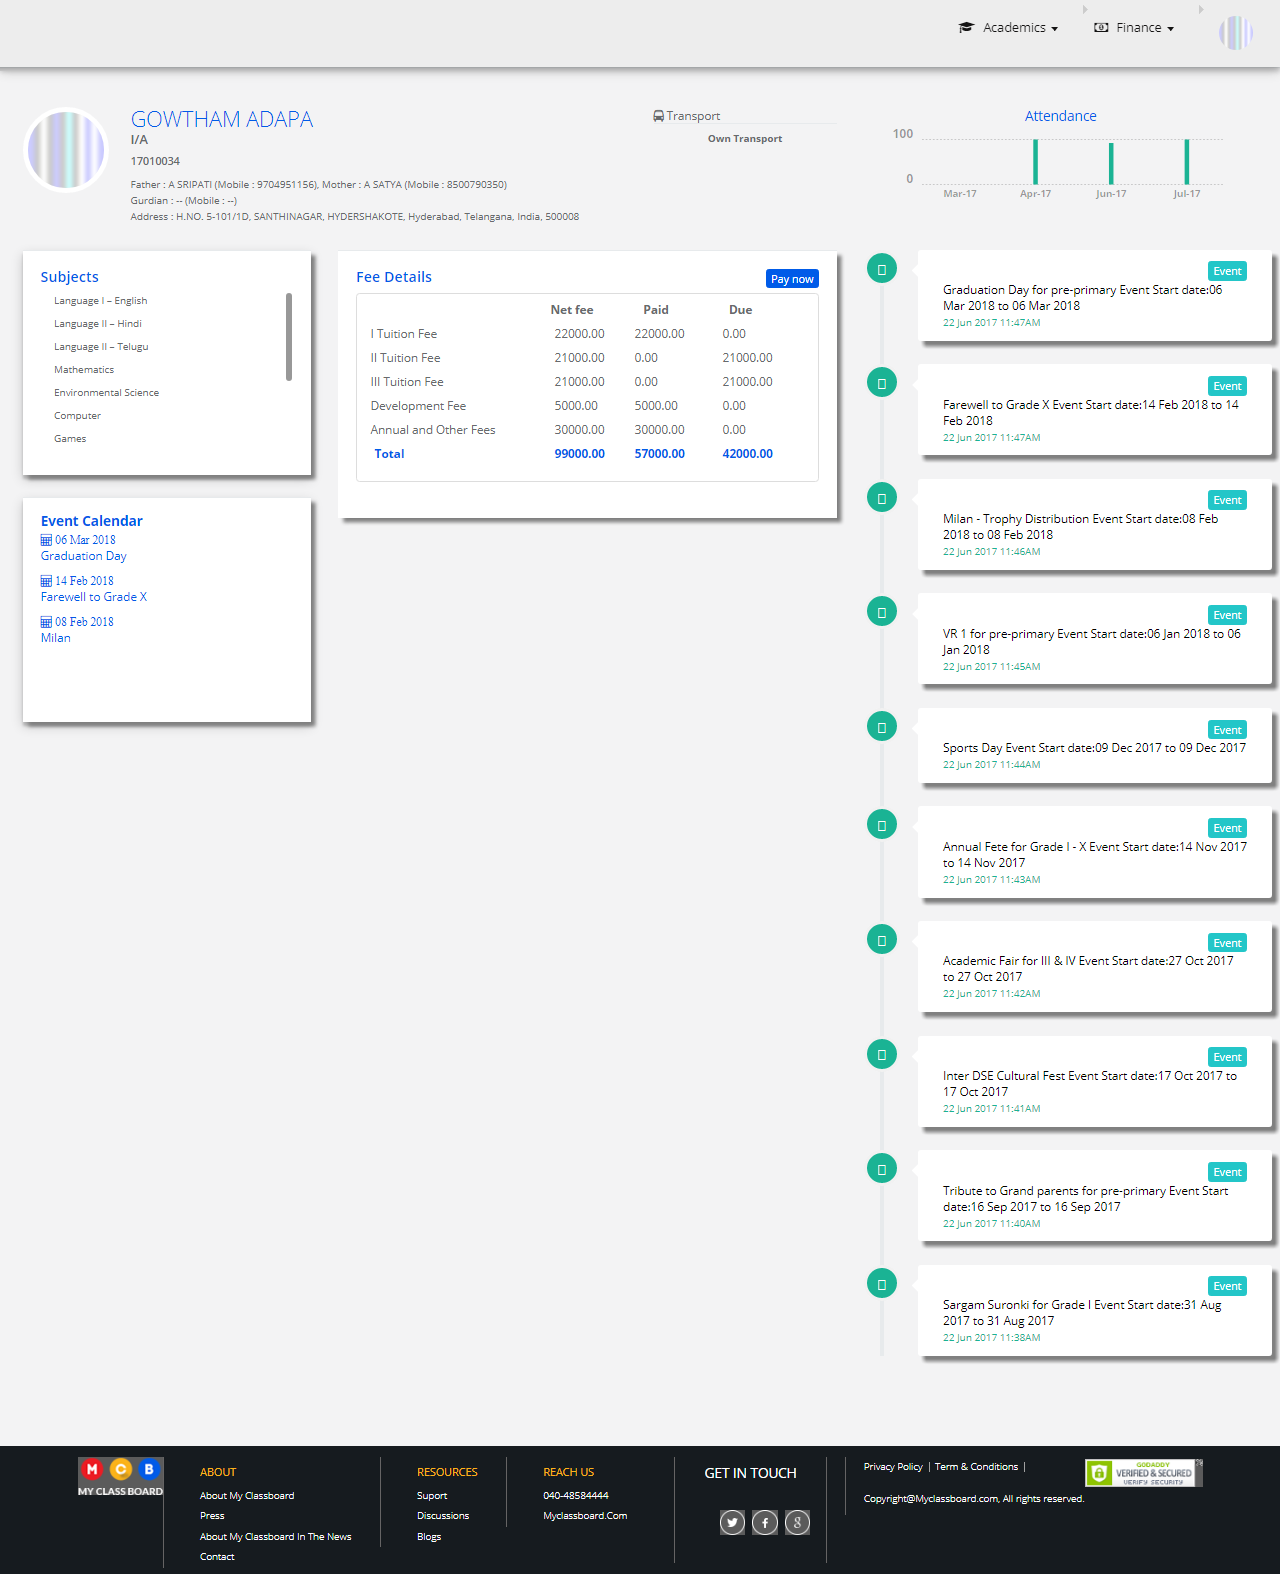
Step 8: You are in the student’s access page.
Preview as Parent
Step 9: To get a parent’s preview, click on “Preview as Parent”.

Step 10: A pop-up button shows out on the screen. Select “Yes Proceed” option.
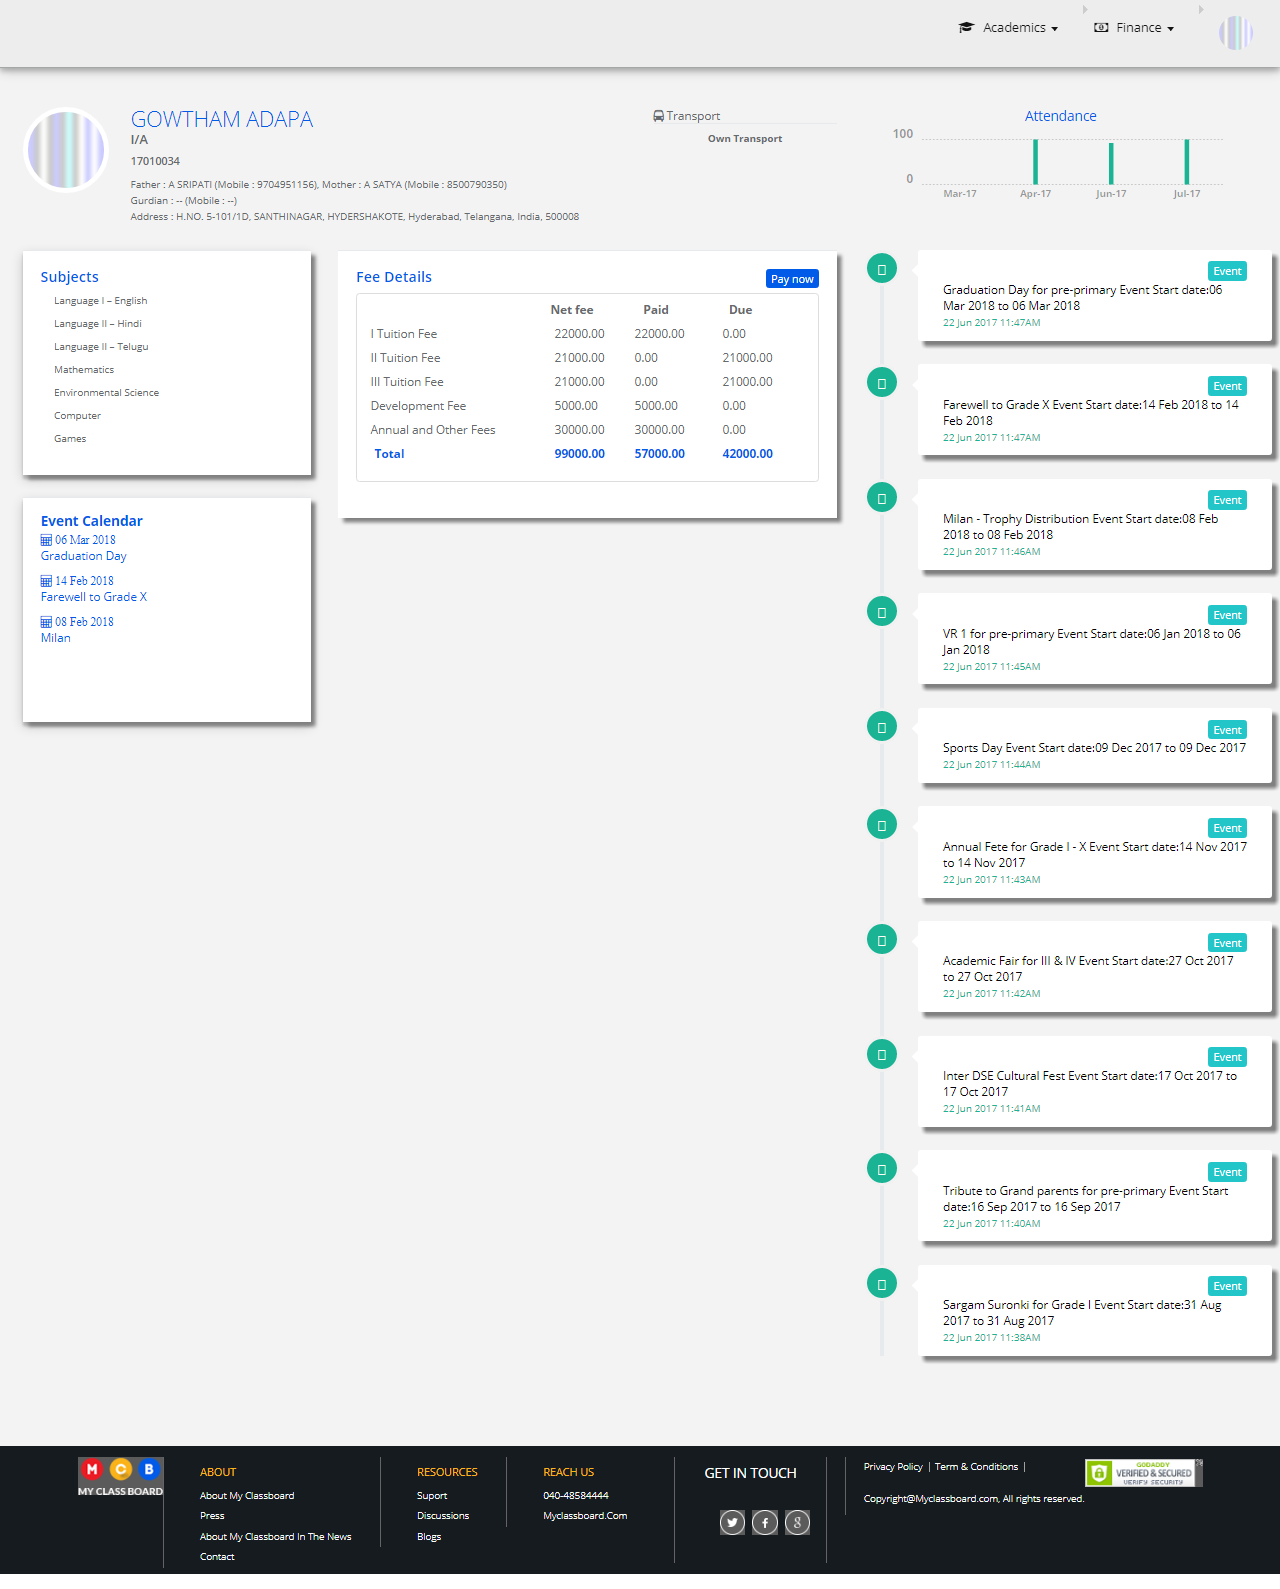
Step 11: You are at the parent’s access page.
Get Student Challan
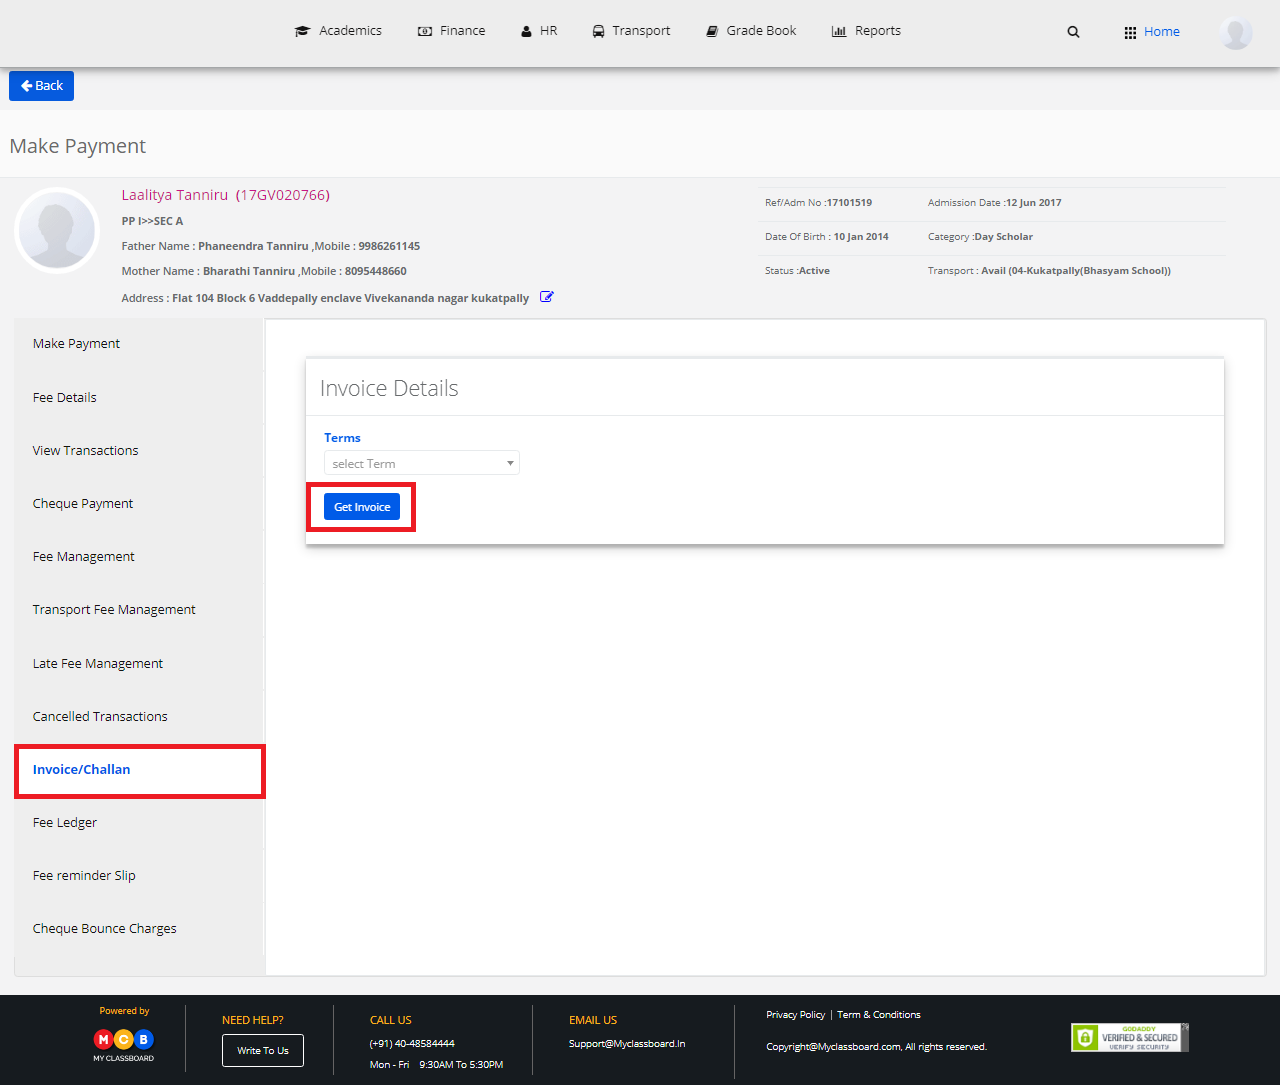
Step 12: To get a student challan, click on “Get Student Challan”.
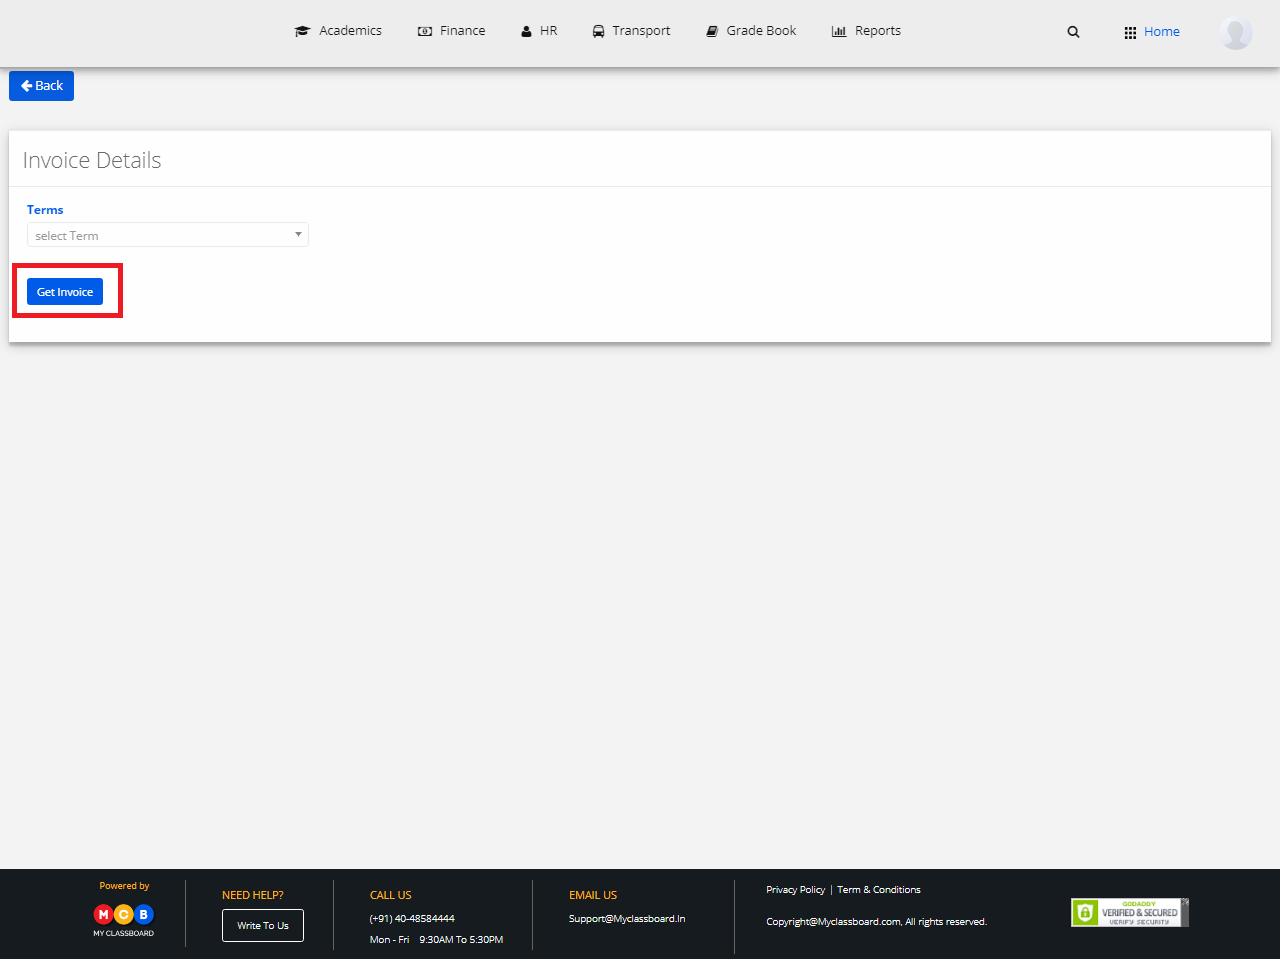
Step 13: Select the Term and click on “Get Invoice Details”.
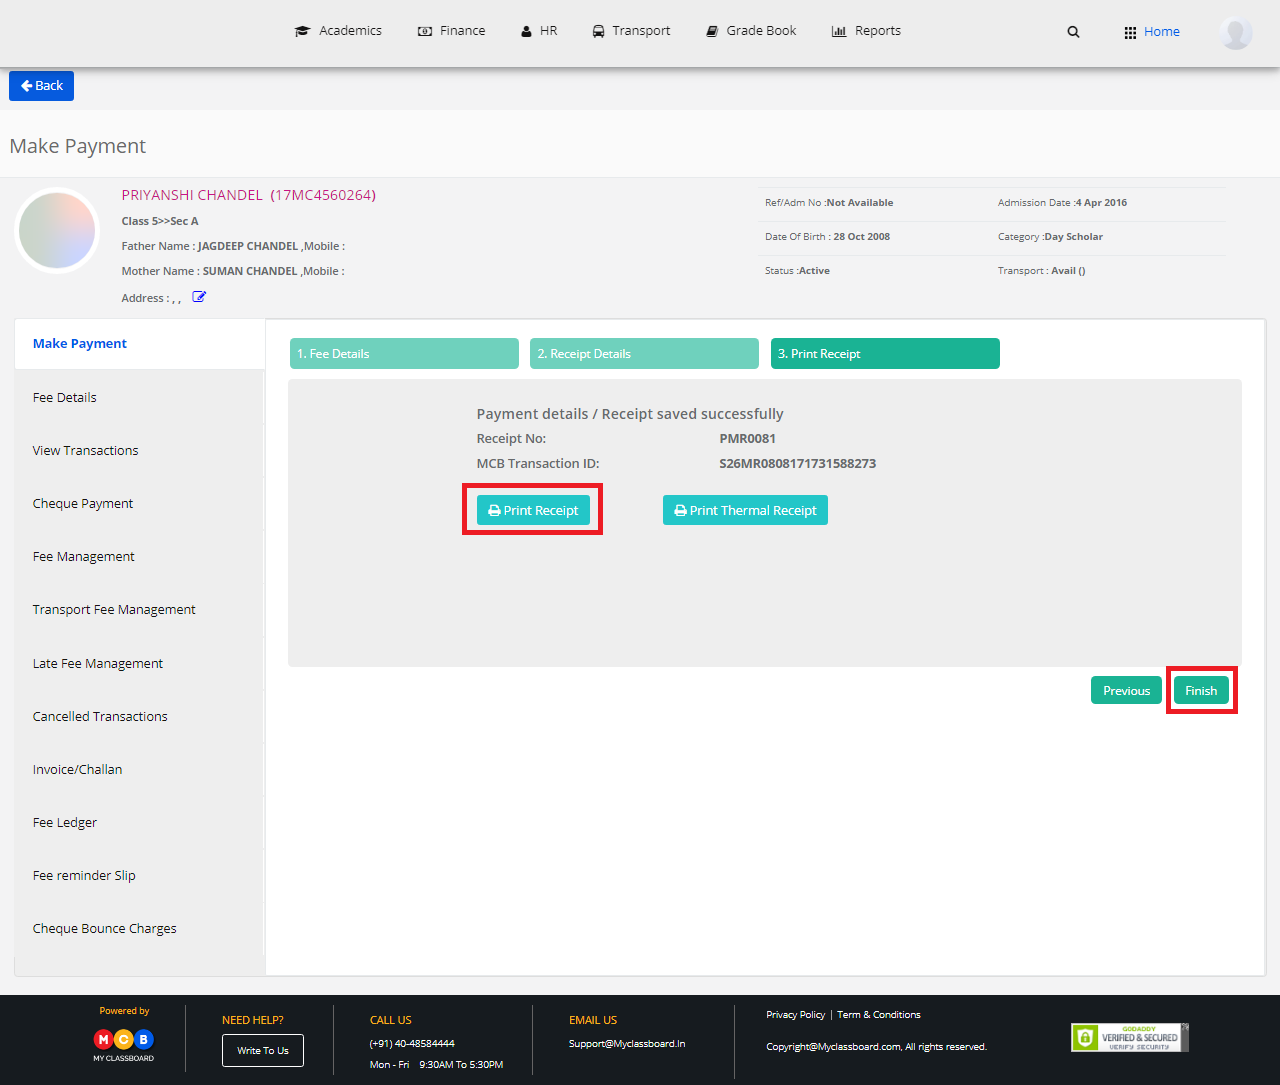
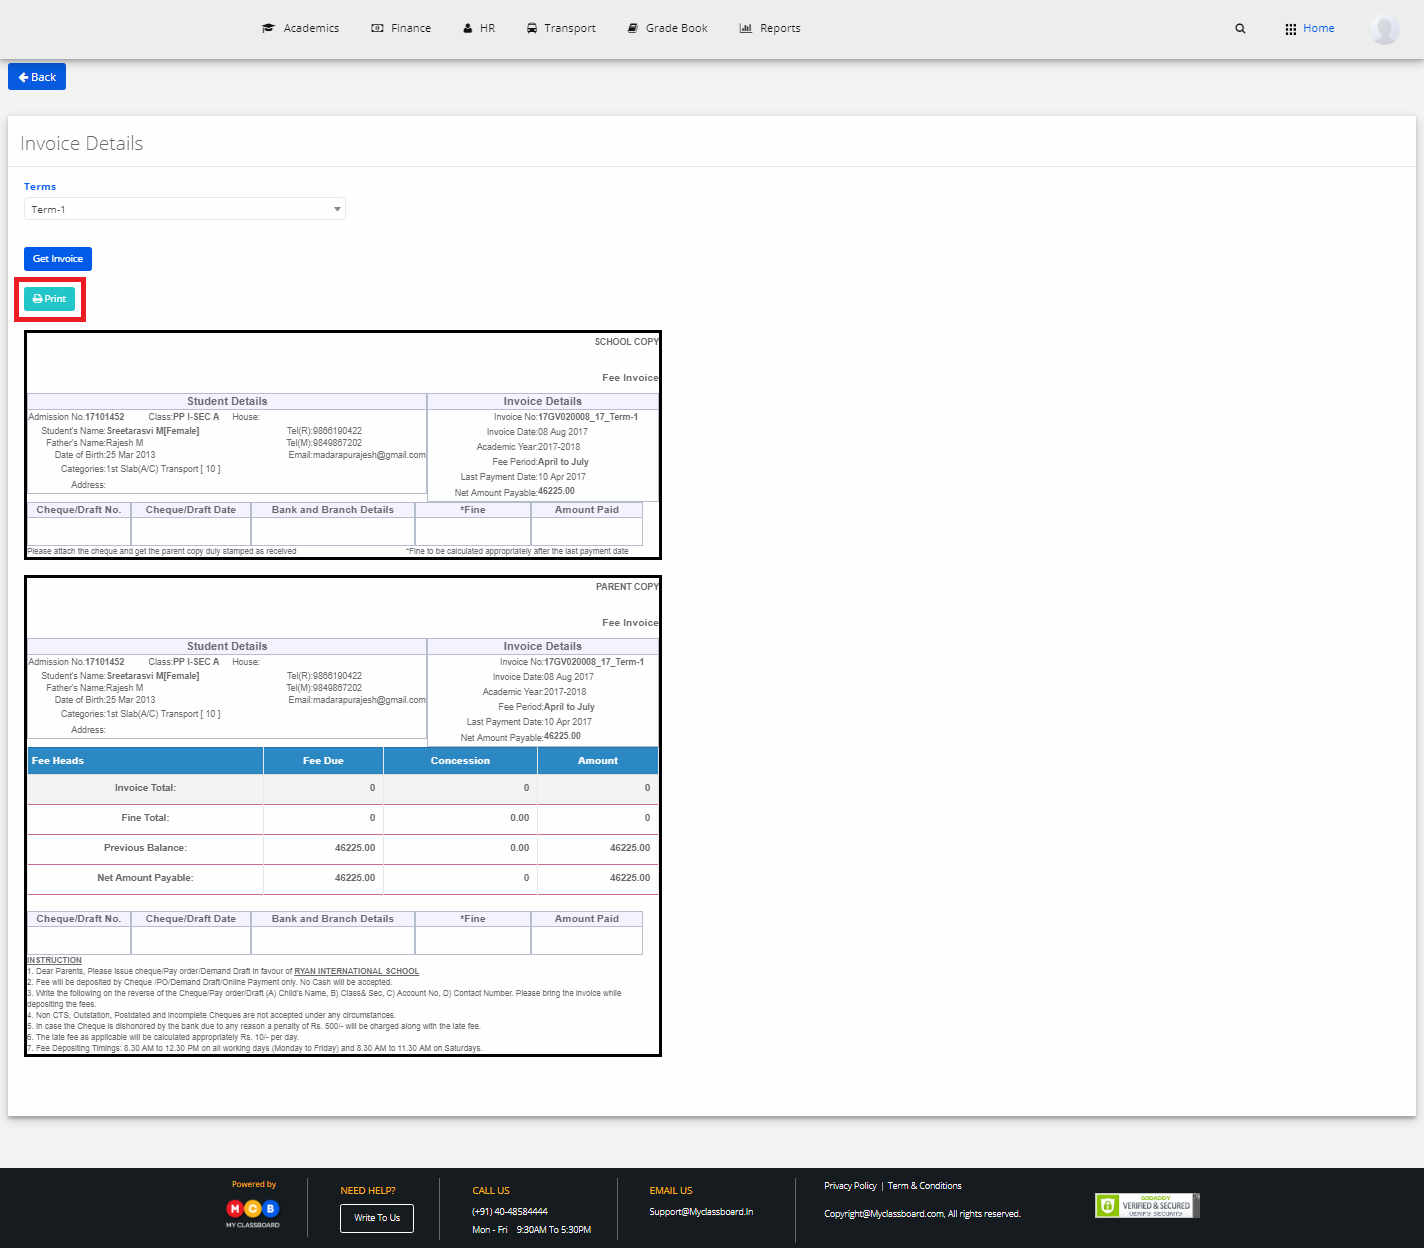
Step 14: Take a print out of the challan by clicking on the “Print option”.
Add Student Remarks
Step 15: To add remarks to students, select “Add Student Remarks”.
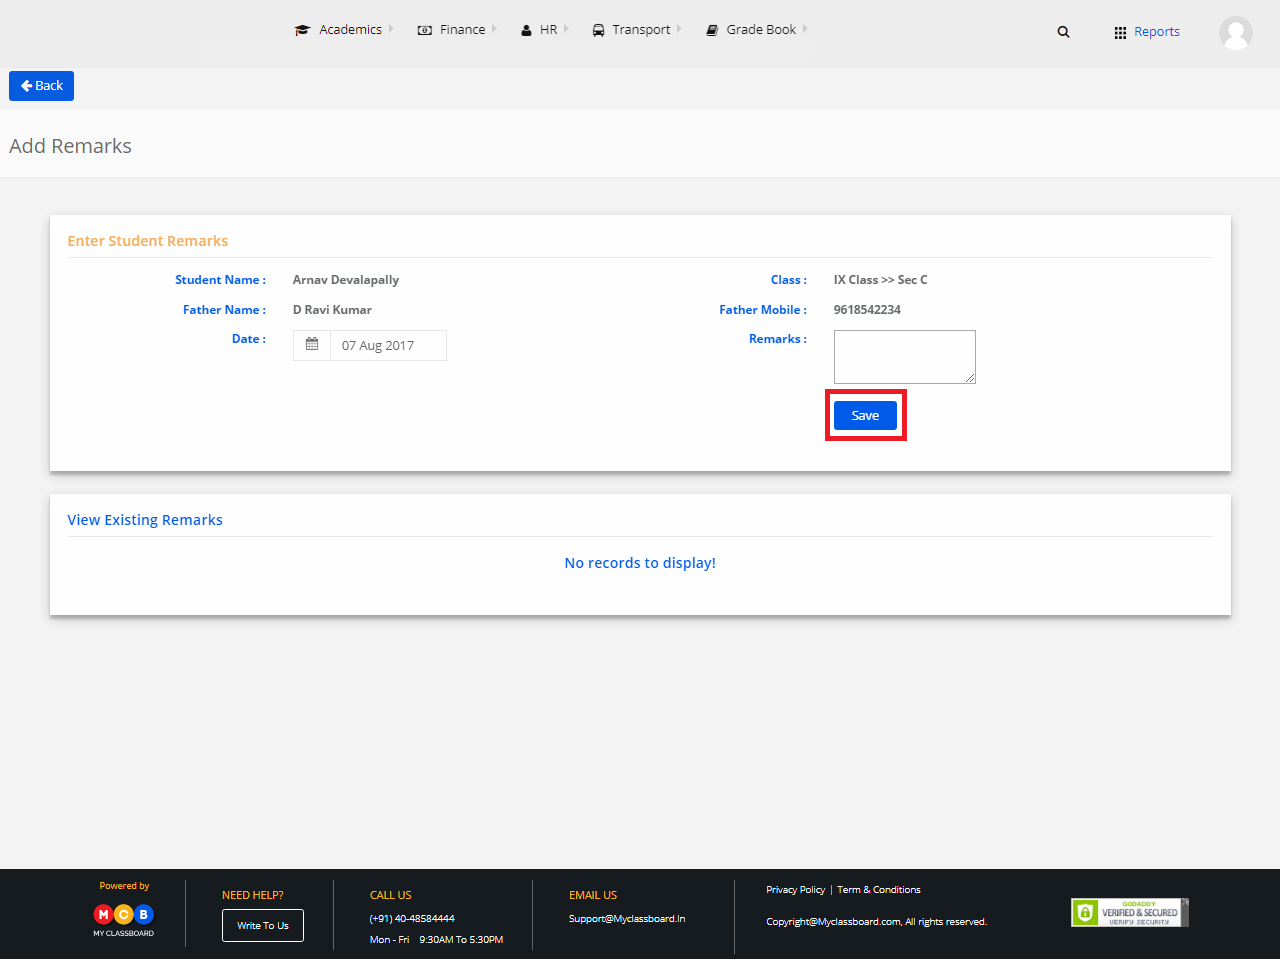
Step 16: Enter the remarks and click on “Save”.
Generate Student Certificates
Step 17: To generate student certificates, click on “Student Certificates” option.
Step 18: Select any certificate and click on “View Certificate”.
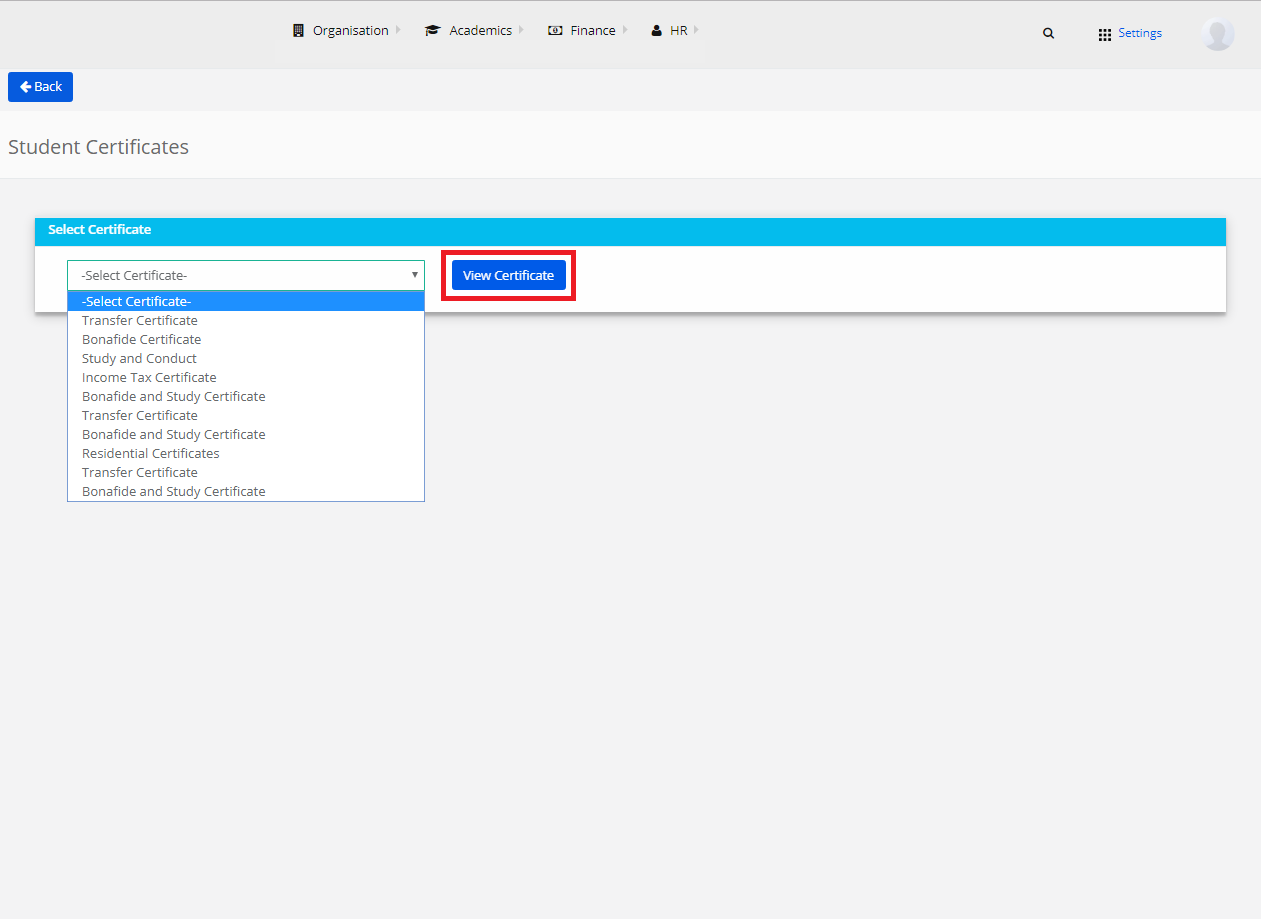
Step 19: You may save it or print it directly.

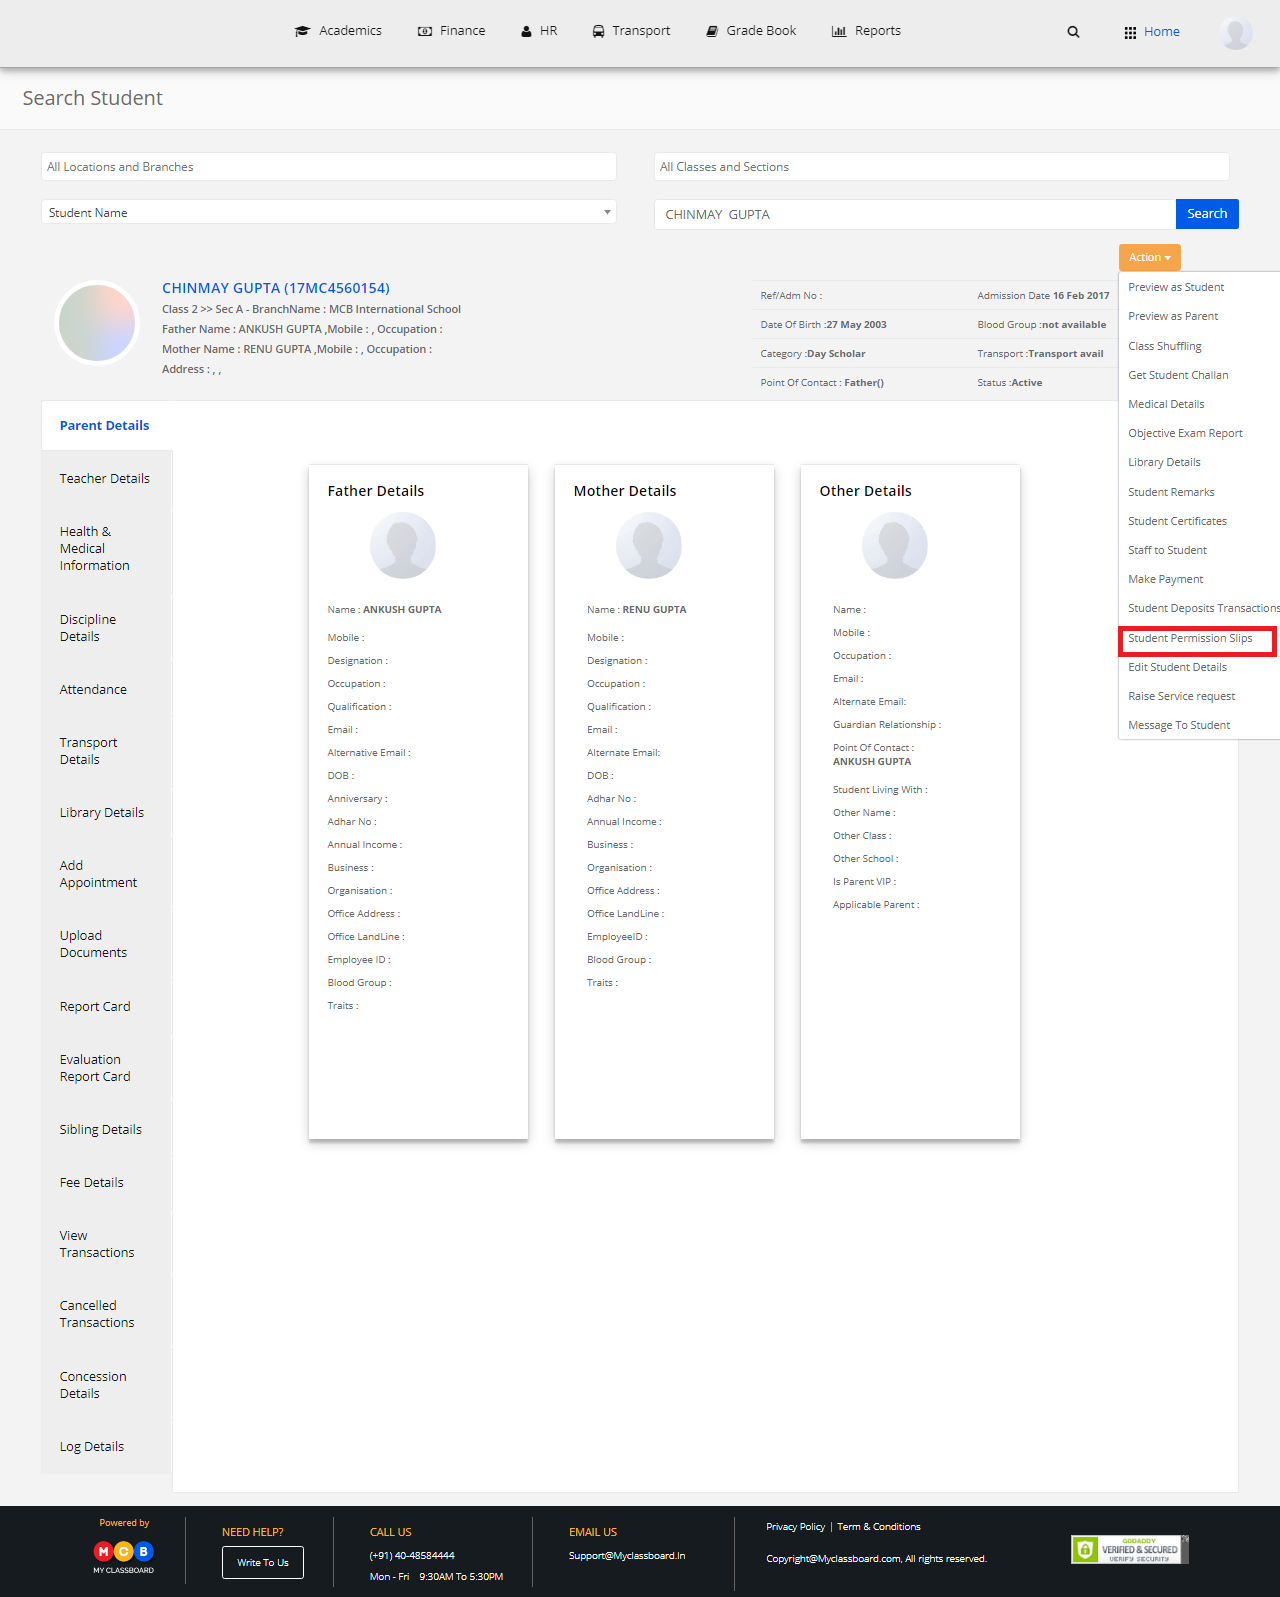
Create Student Permission Slips
Step 20: To create student permission slips, select “Student Permission Slips”.
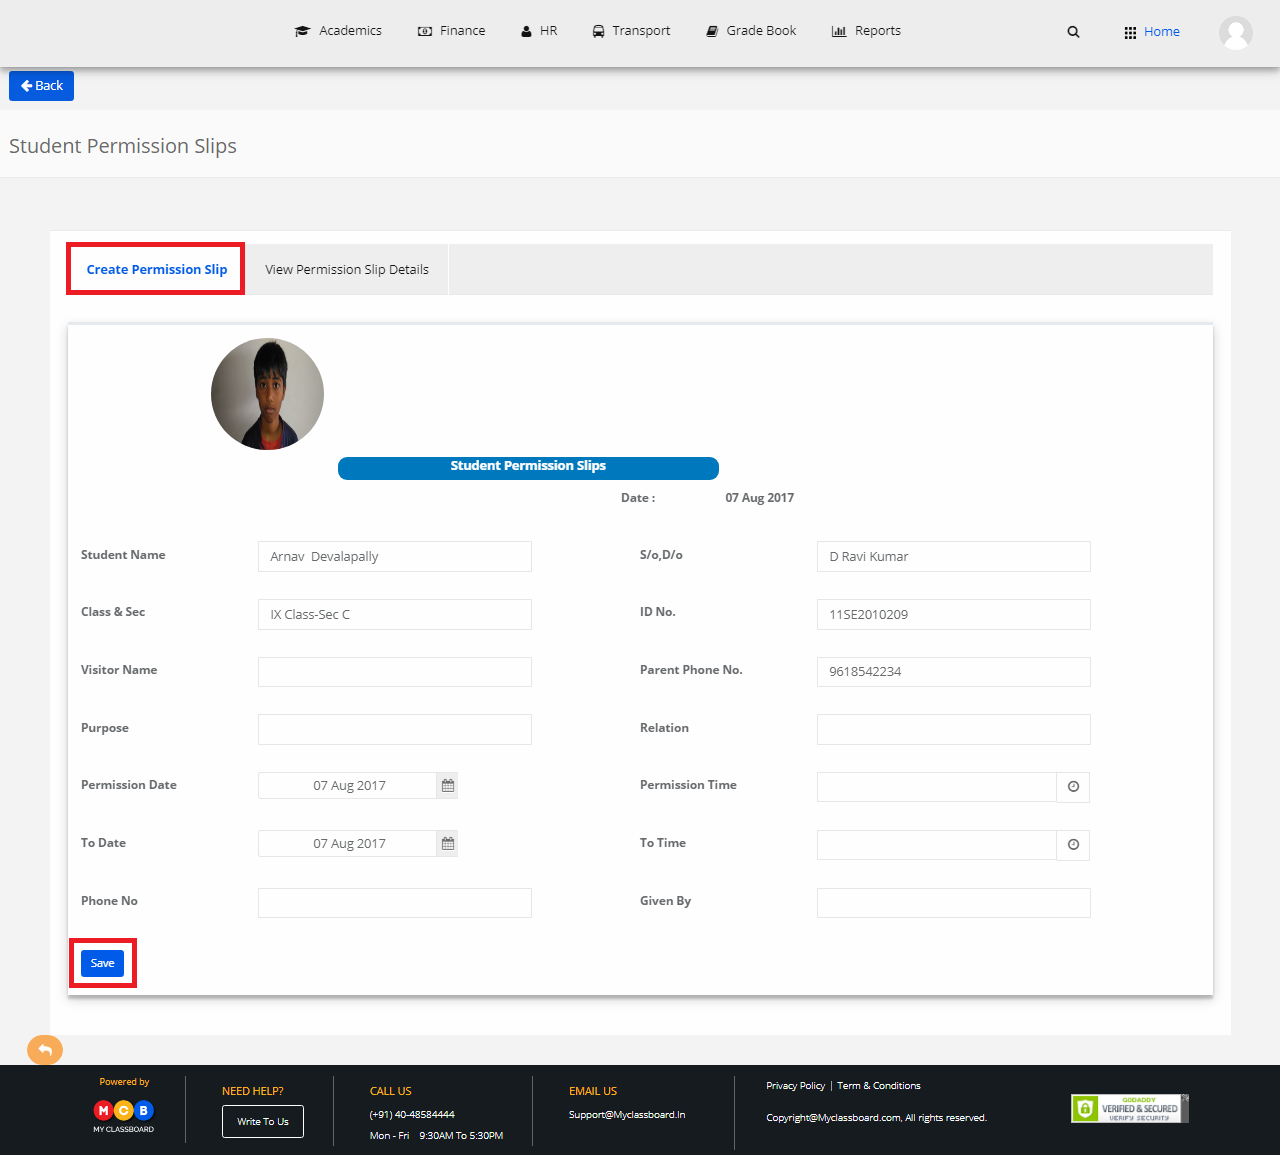
Step 21: Select “Create Permission Slips”, enter the required details and click on save.
Raise Service Request
Step 22: To raise a service request, click on “Raise Service Request”.
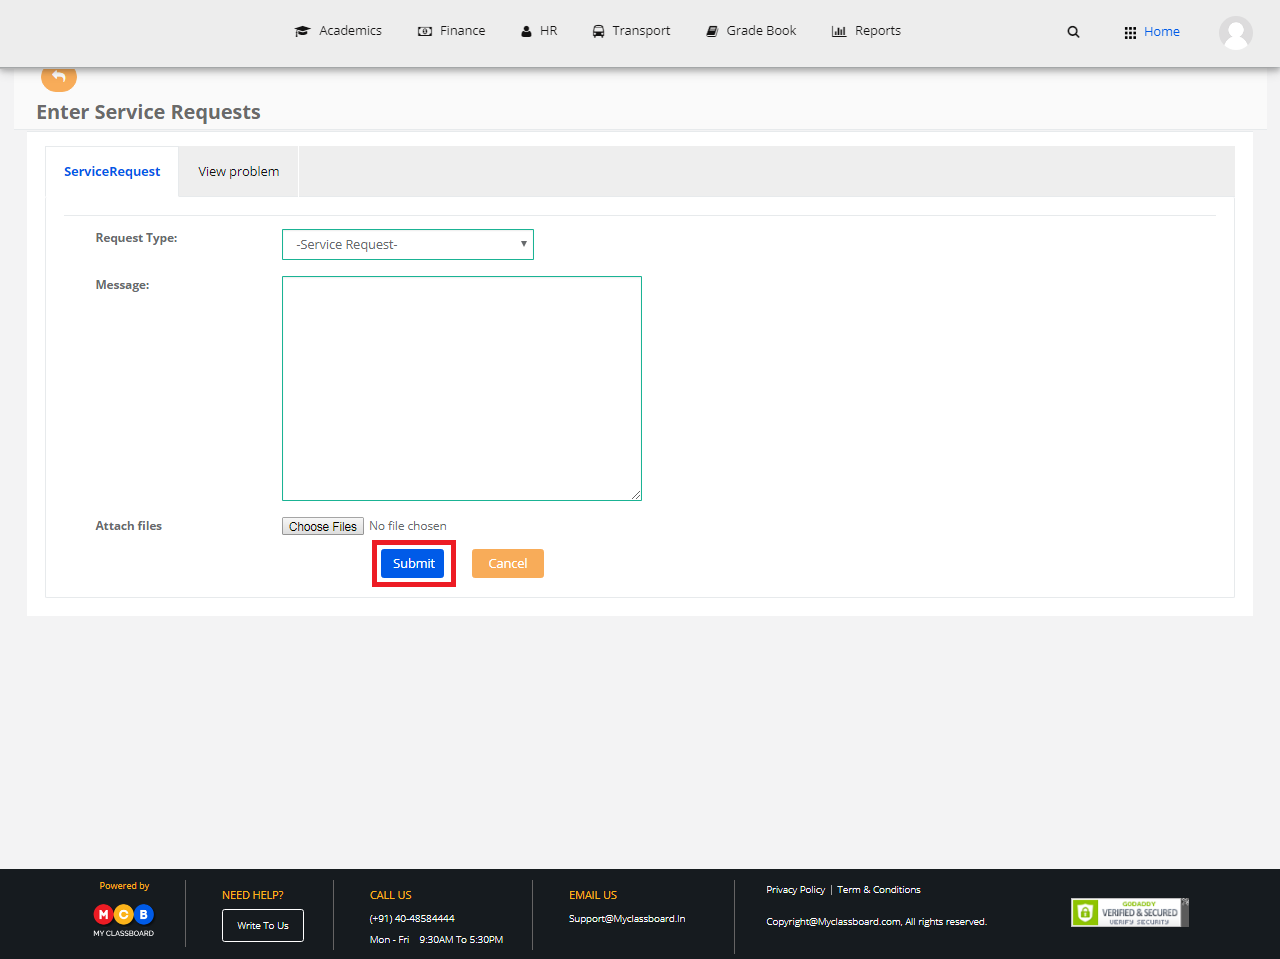
Step 23: Select a “Request Type”, enter the message and click on “Submit”.
Message to Student
Step 24: To send a message to a student, select “Message to student”.

Step 25: Enter the message, click on “Send”.